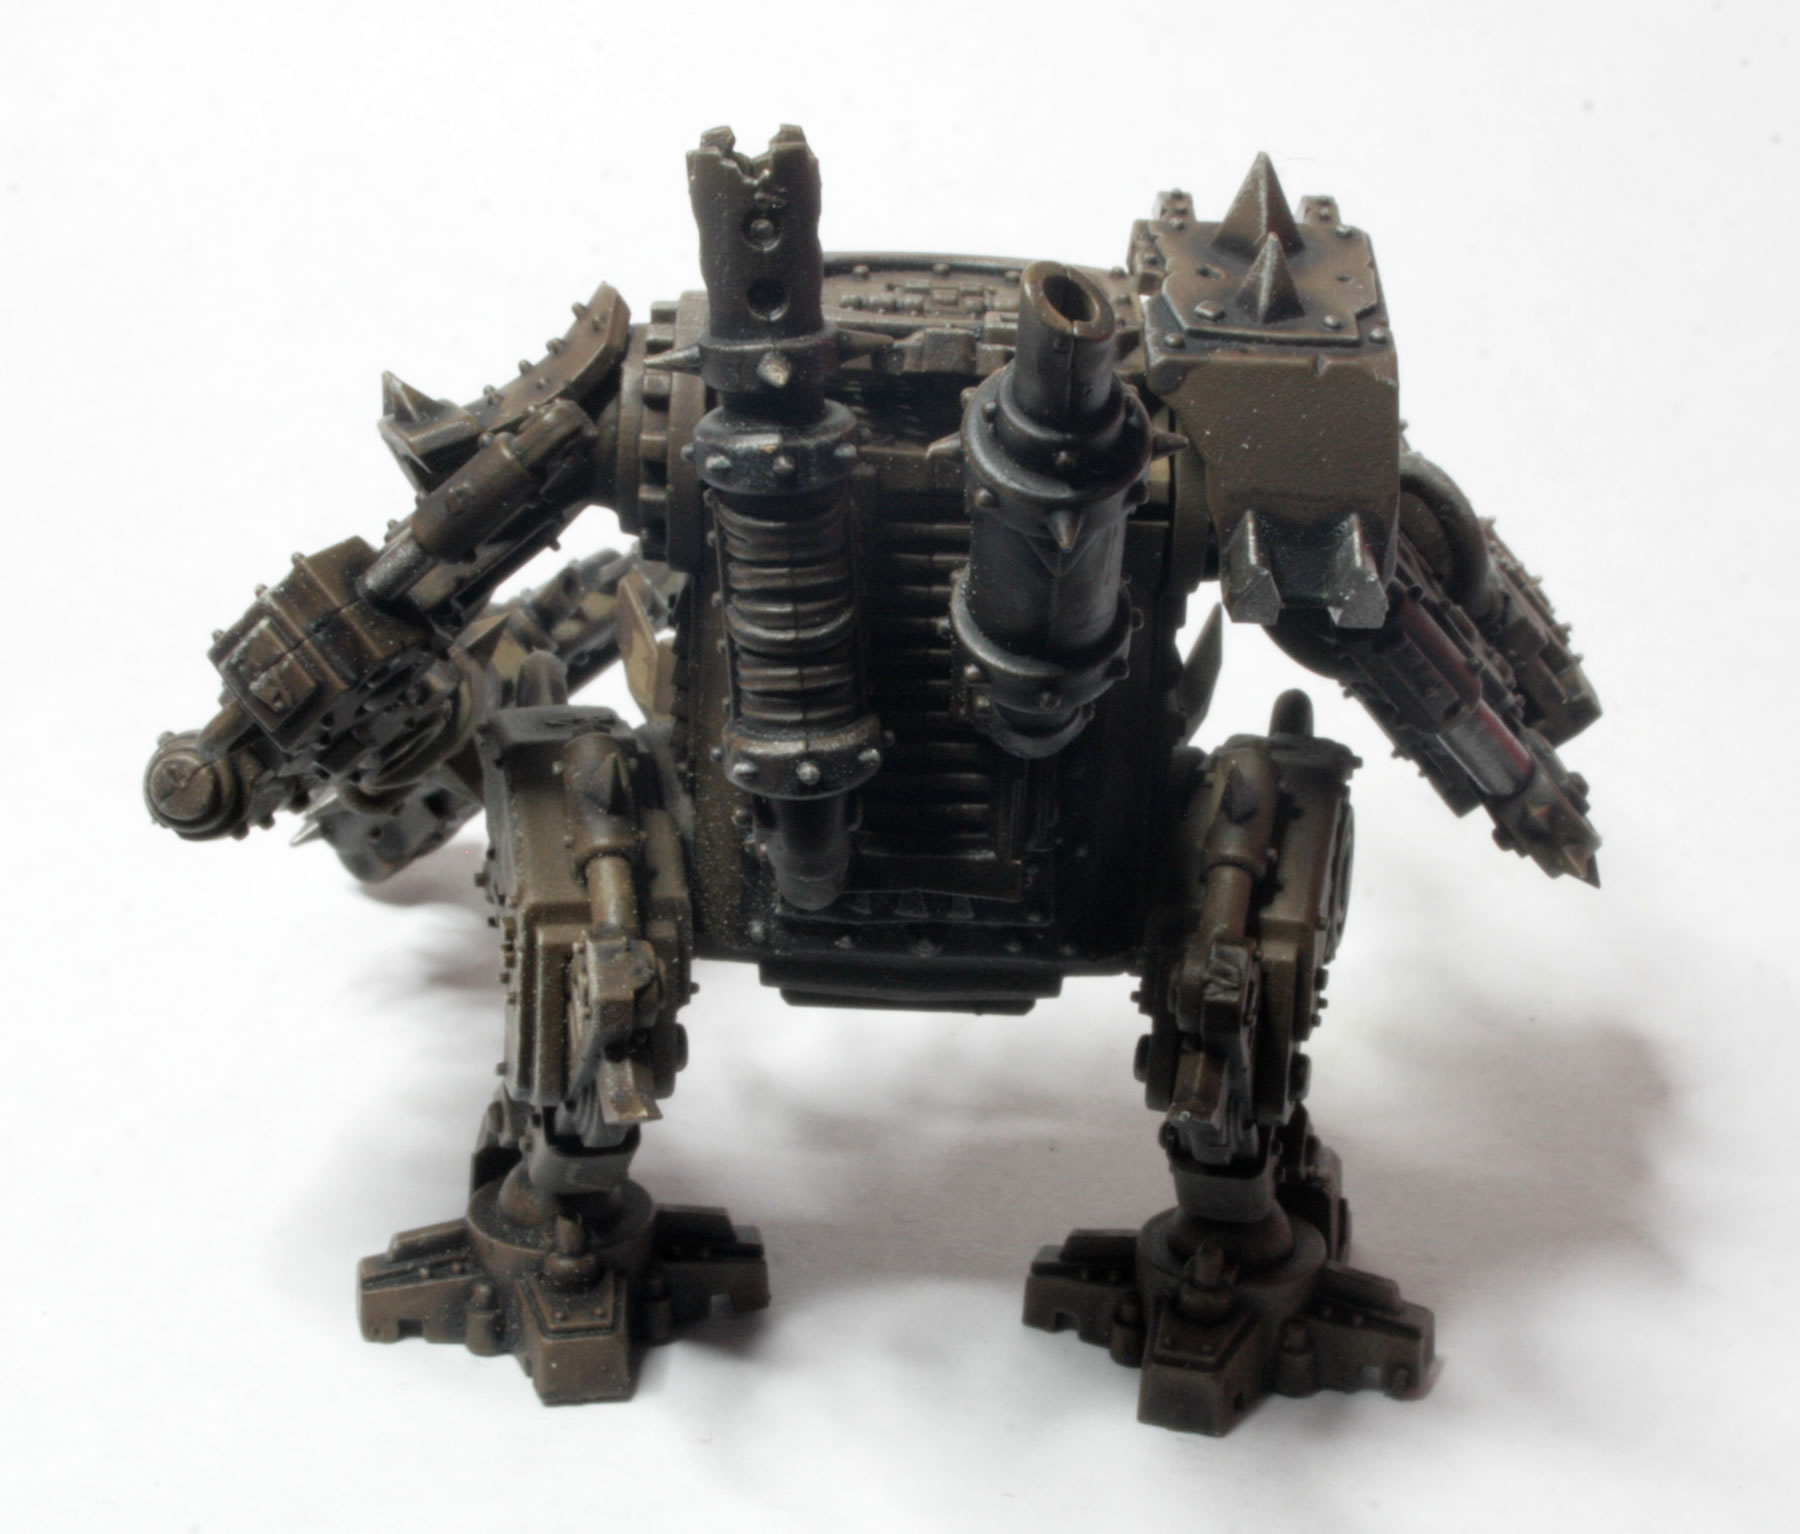
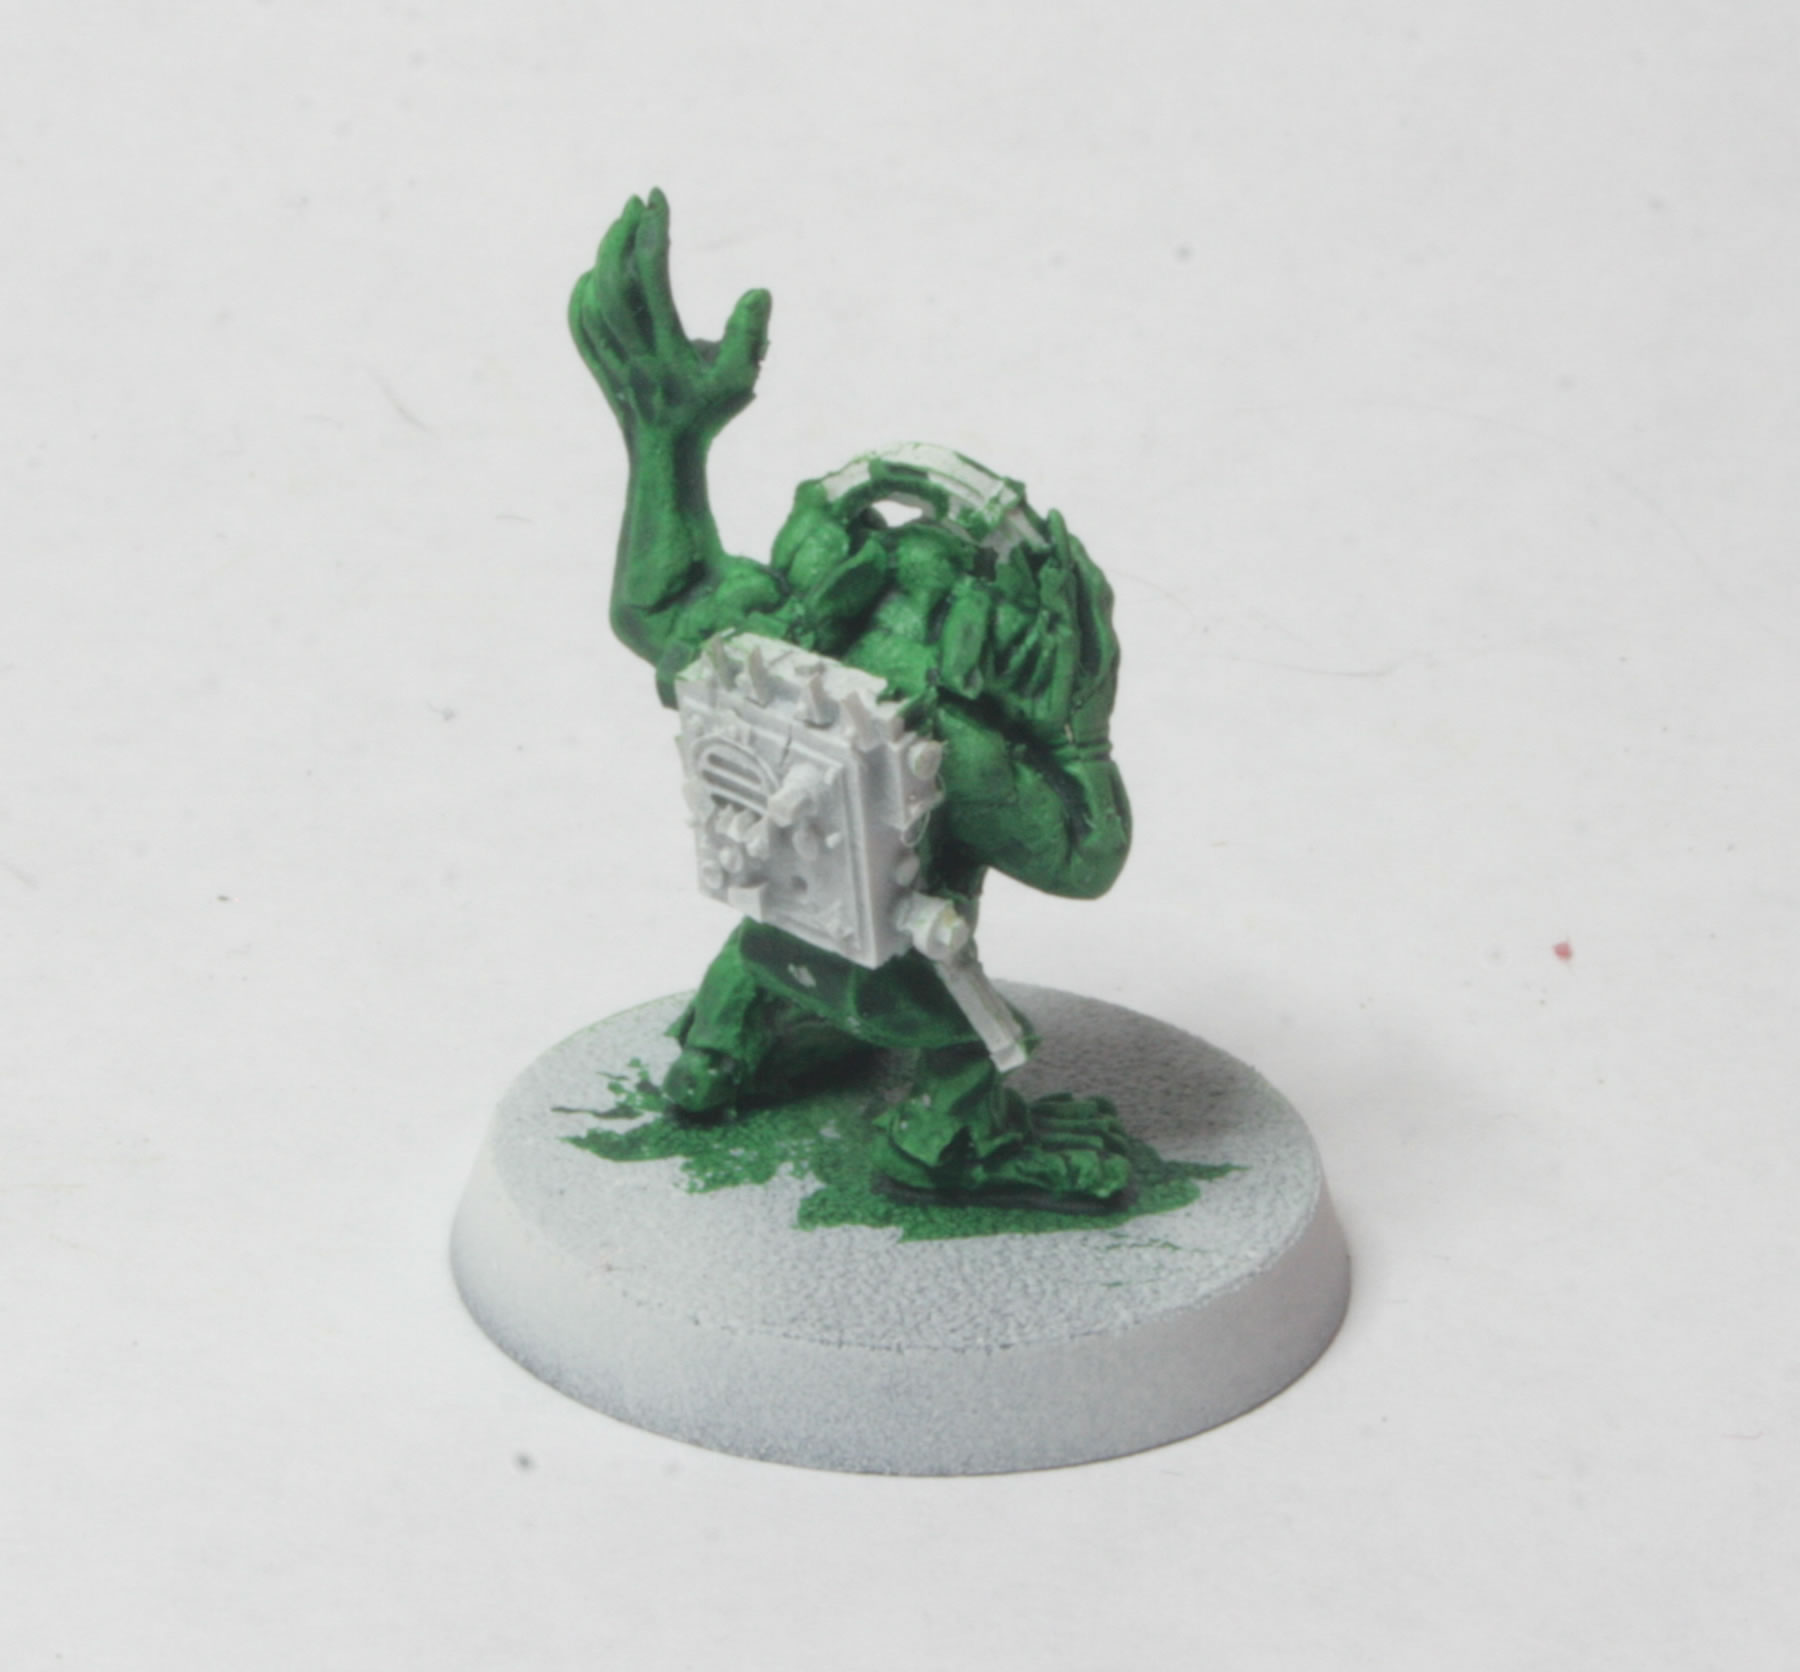
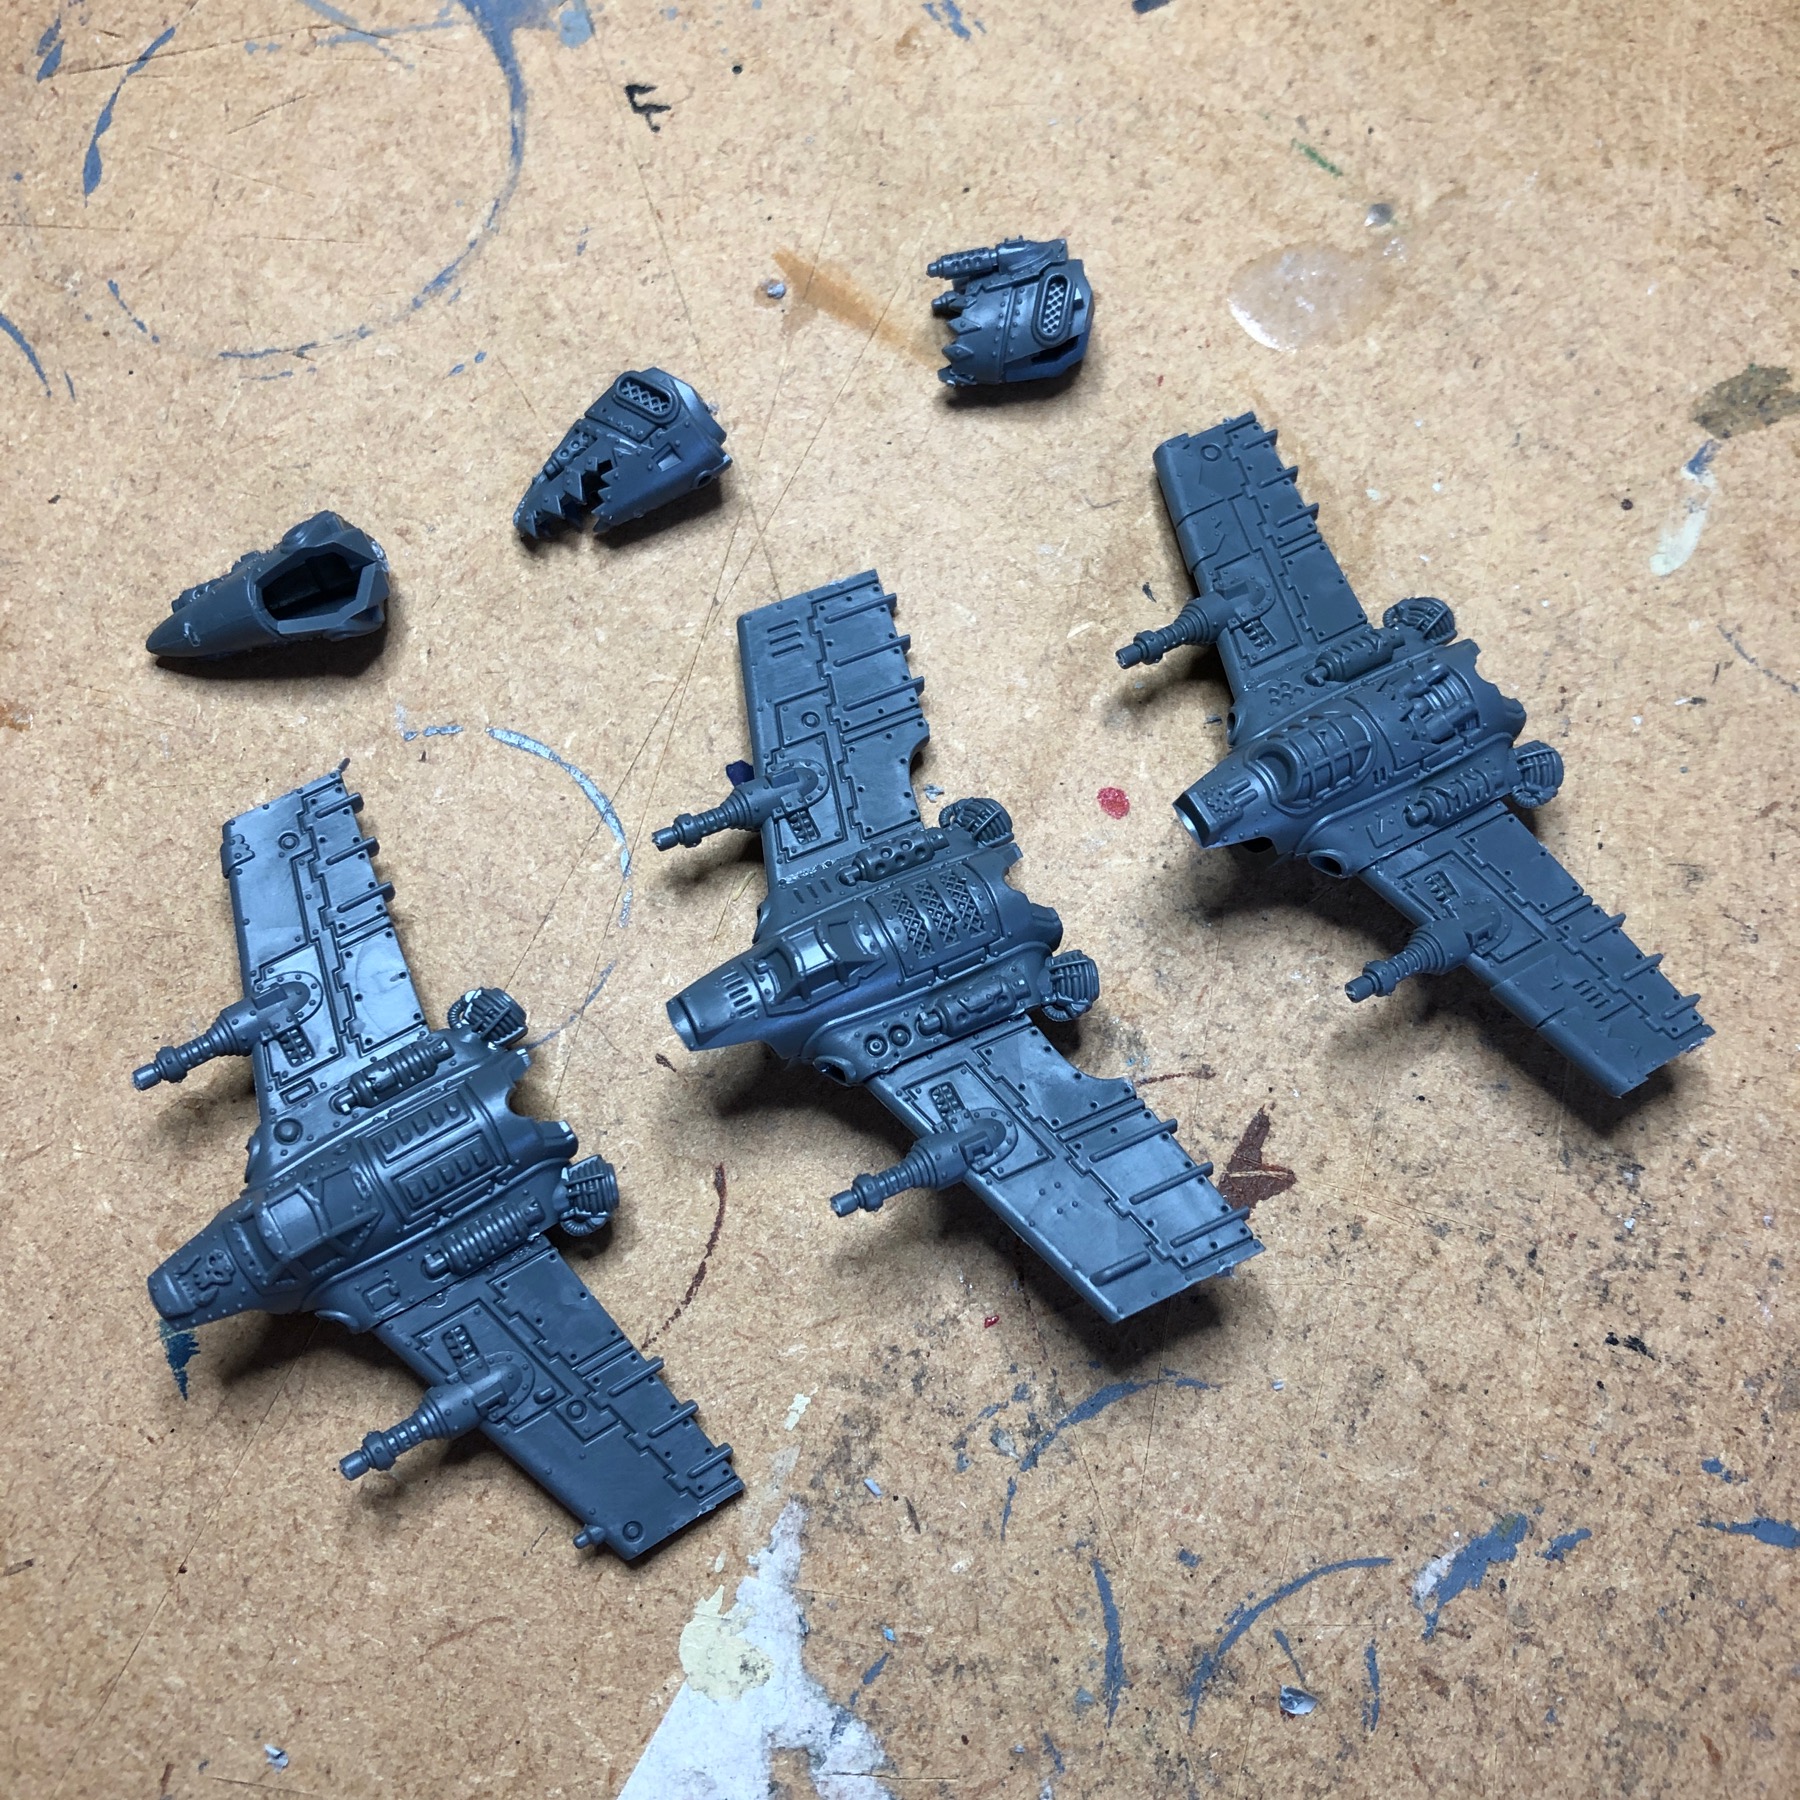
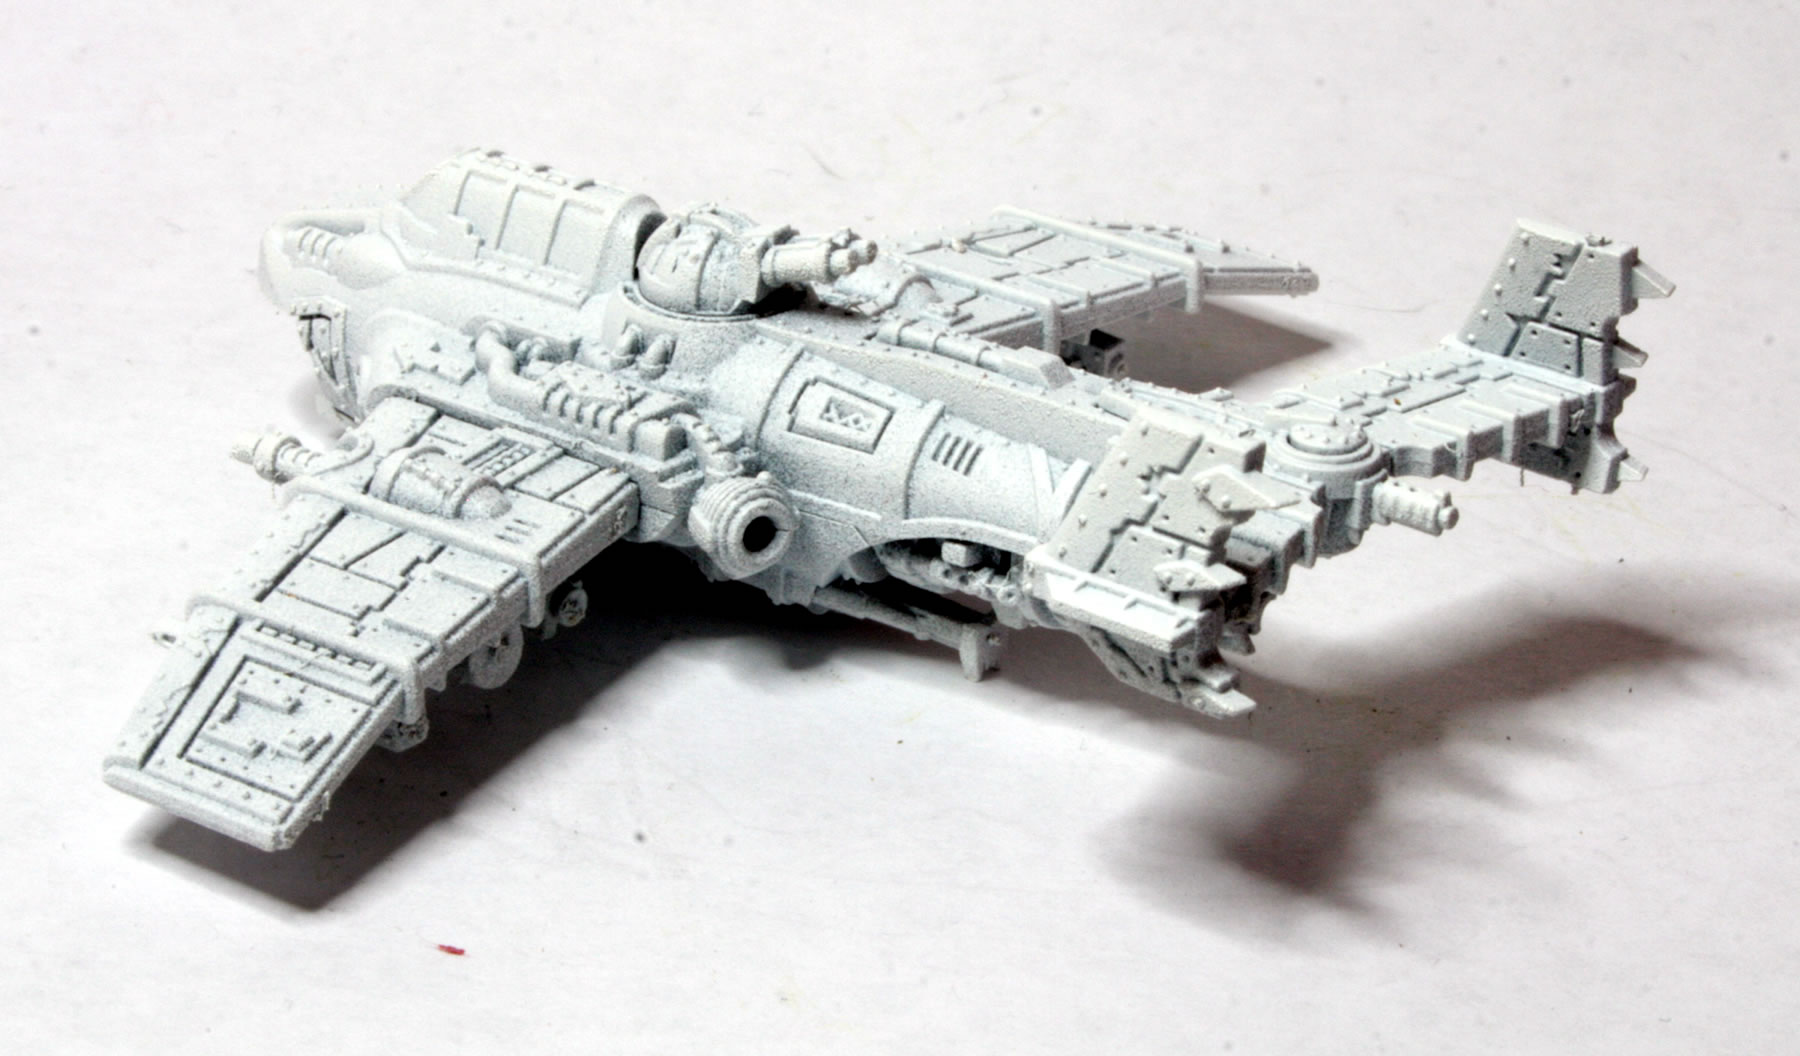
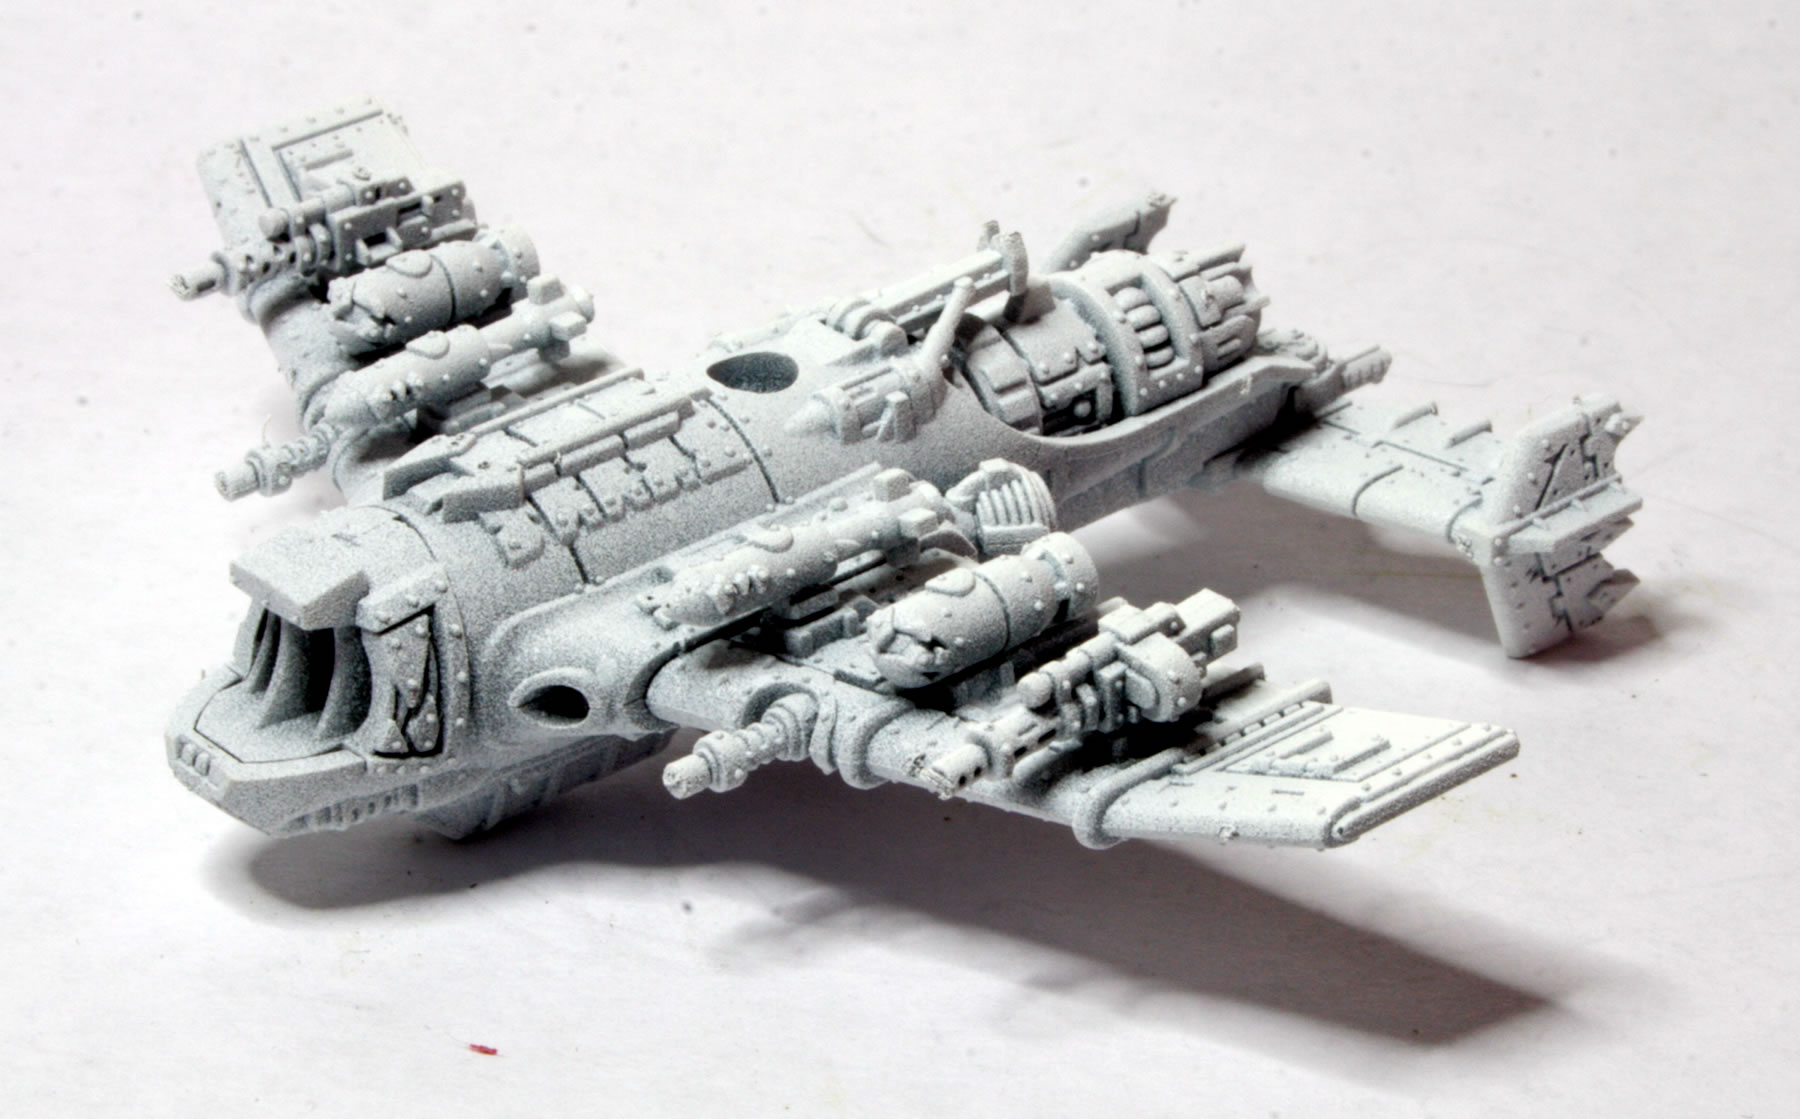
I picked up a set of Grot Tanks on a visit to Warhammer World. Having not really looked at them for a while, having been stuck at the undercoated stage, I thought I might try and finish them and I blogged about this earlier.
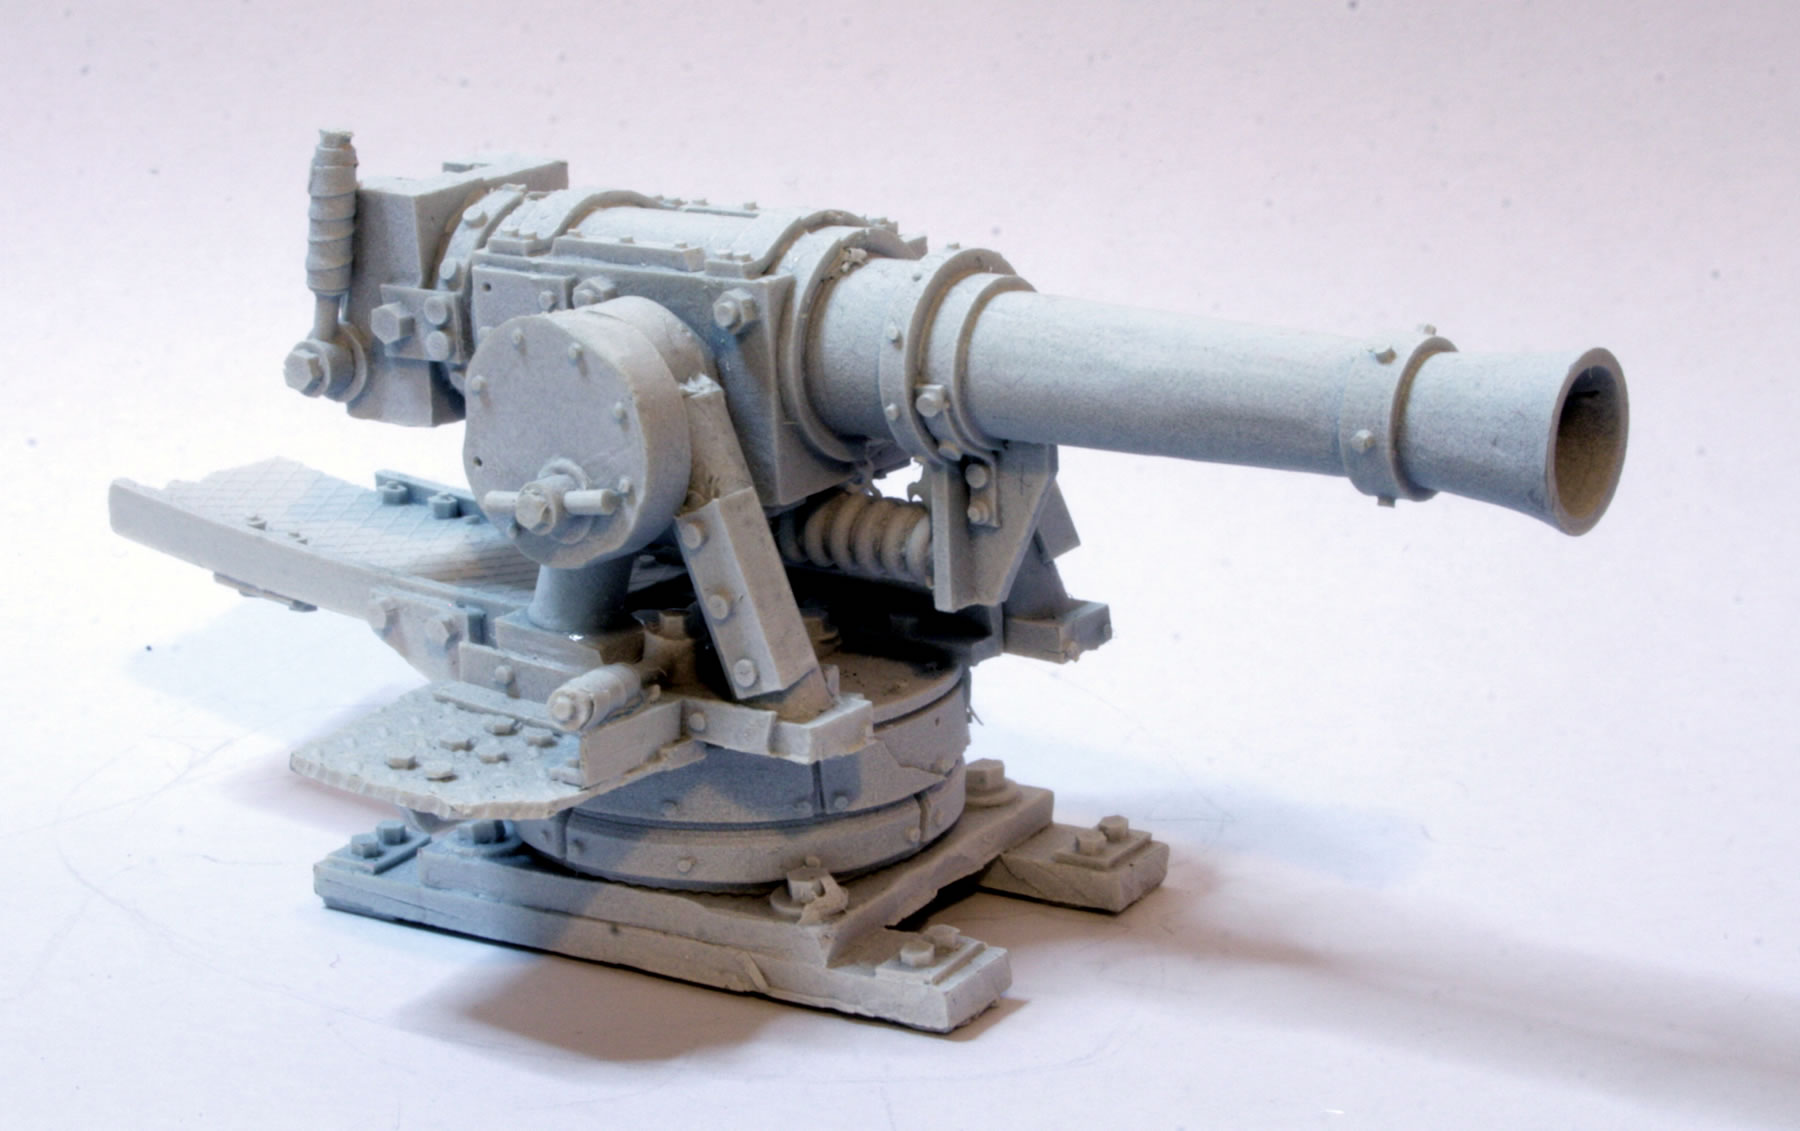
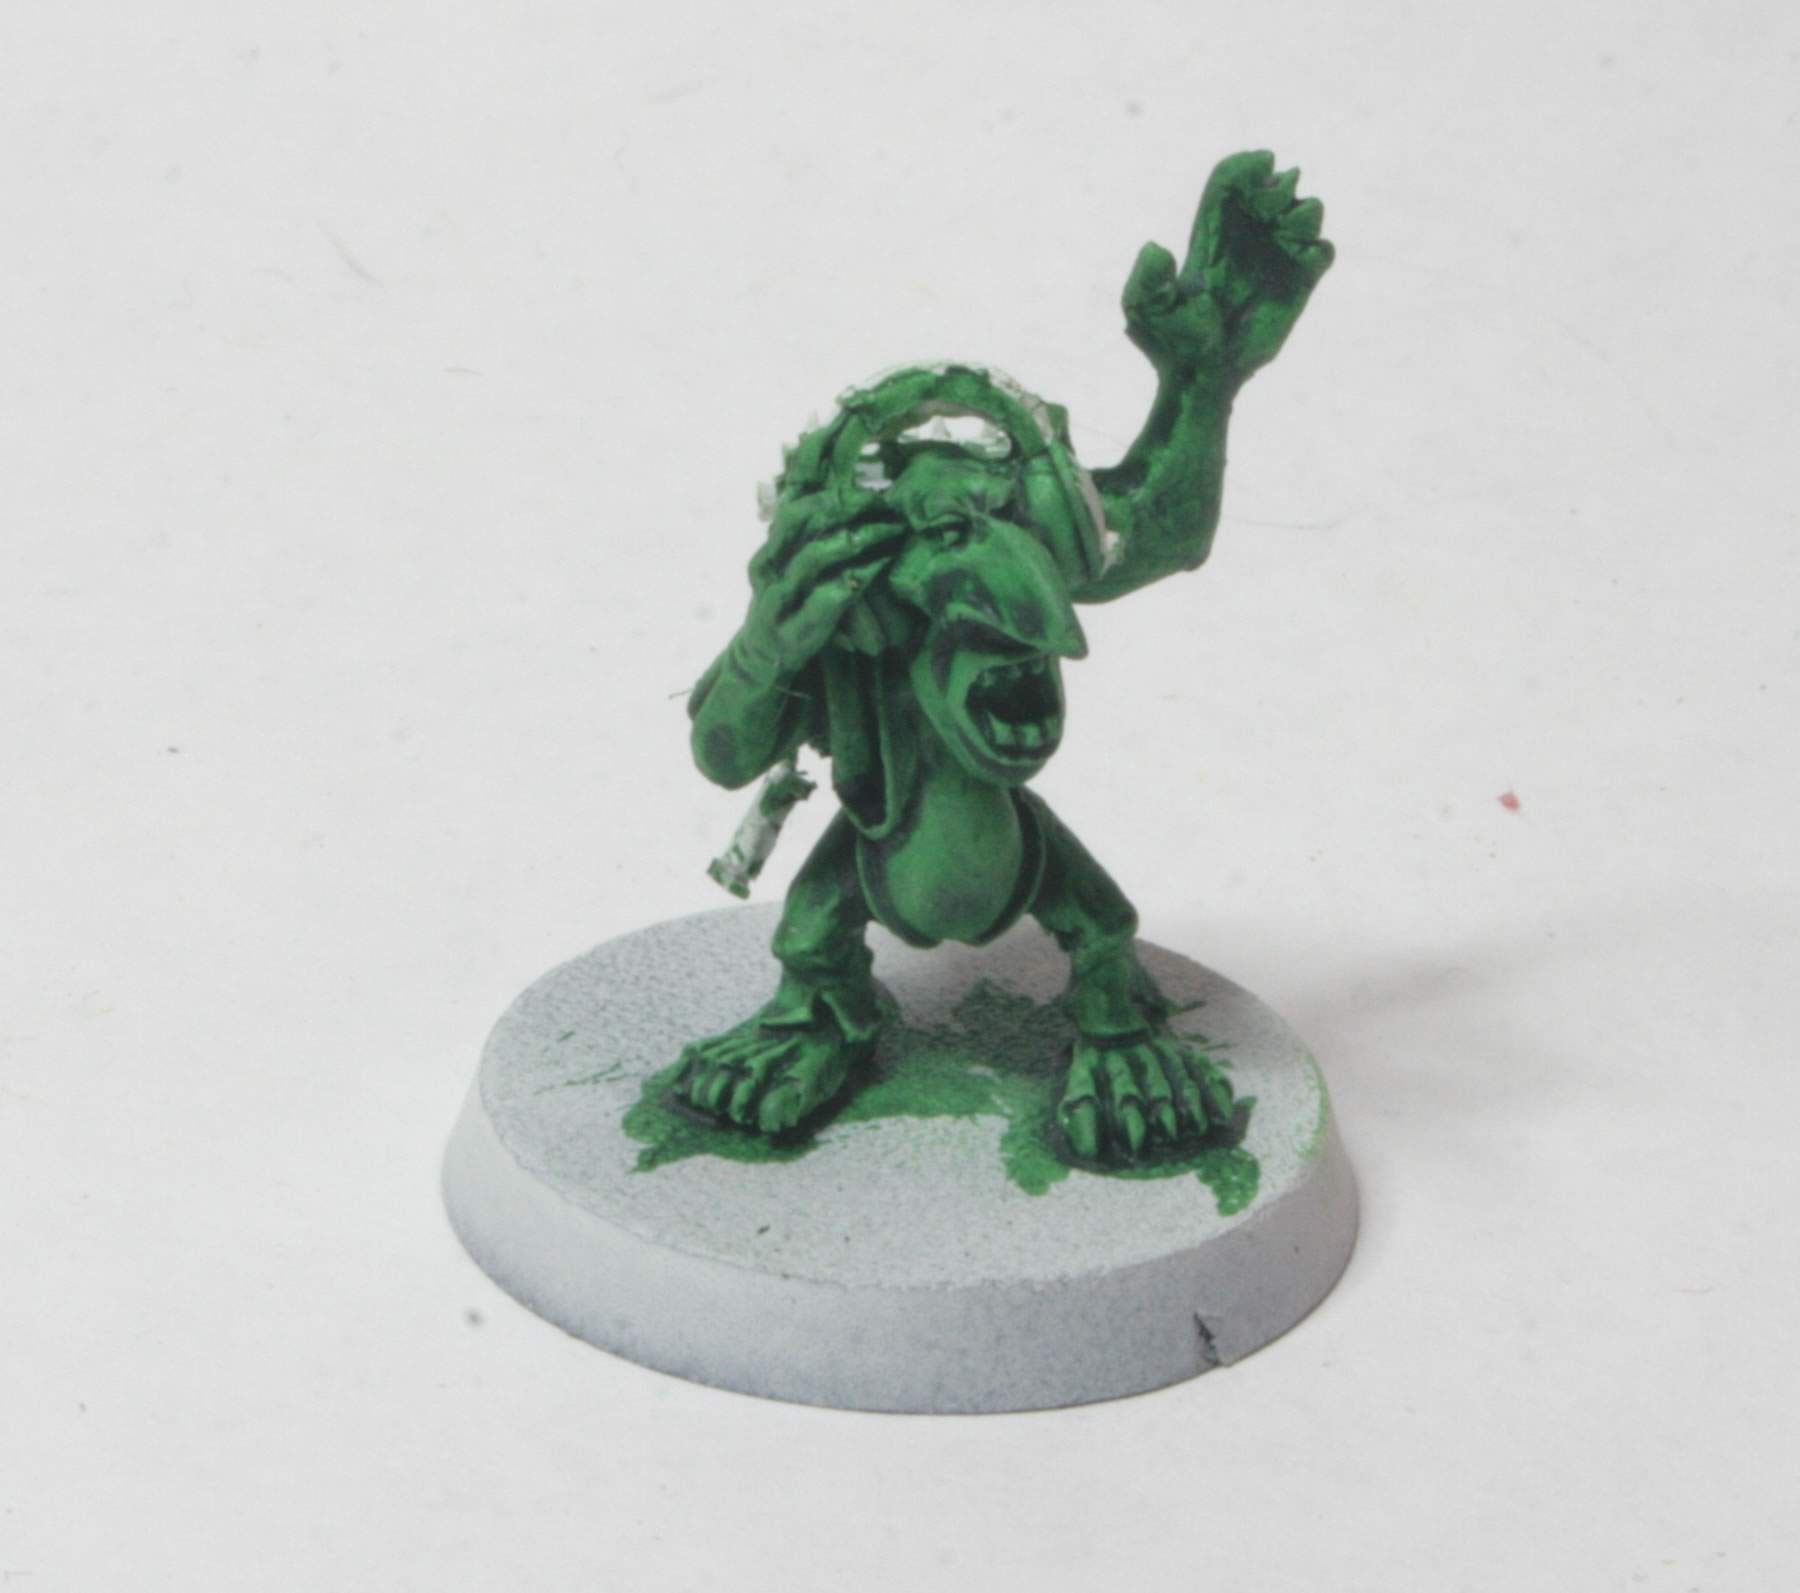
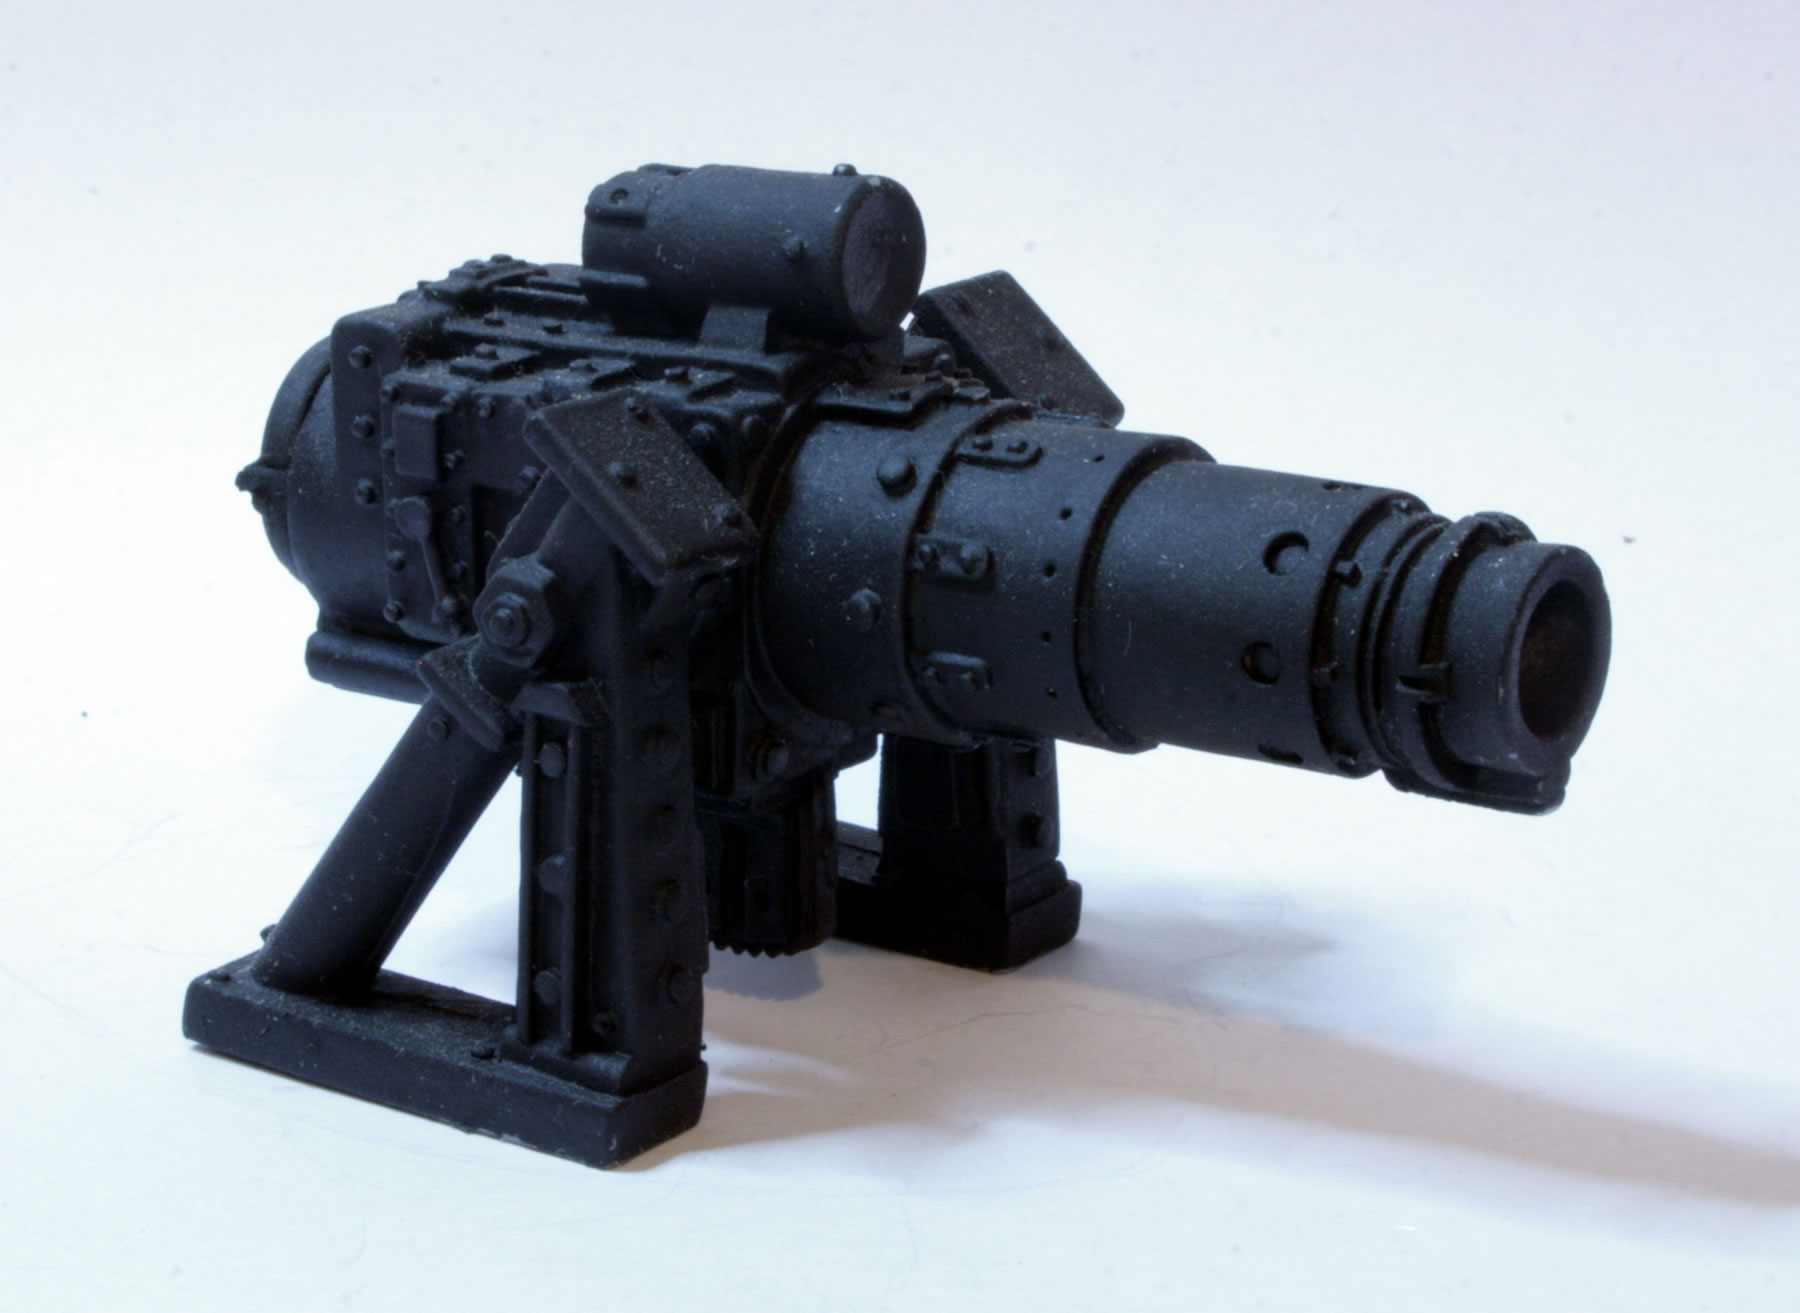
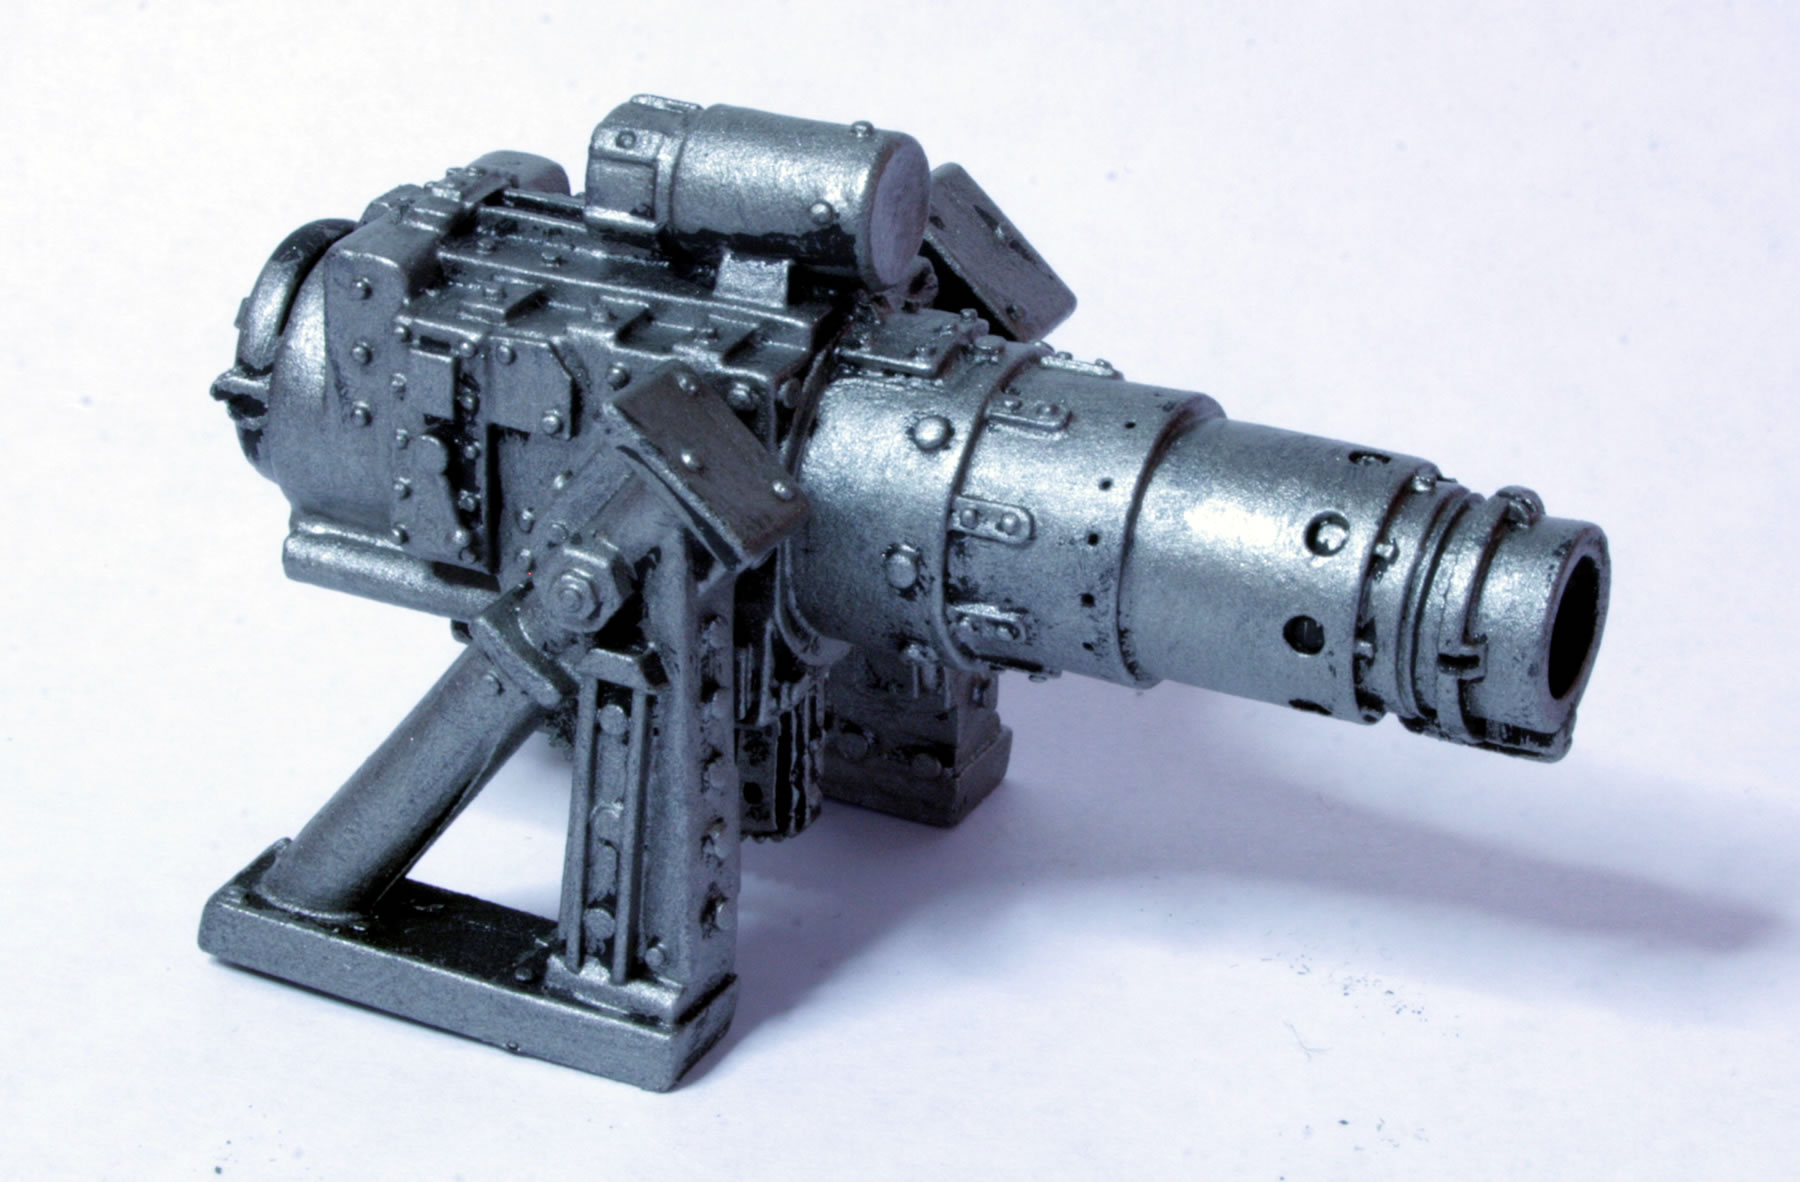
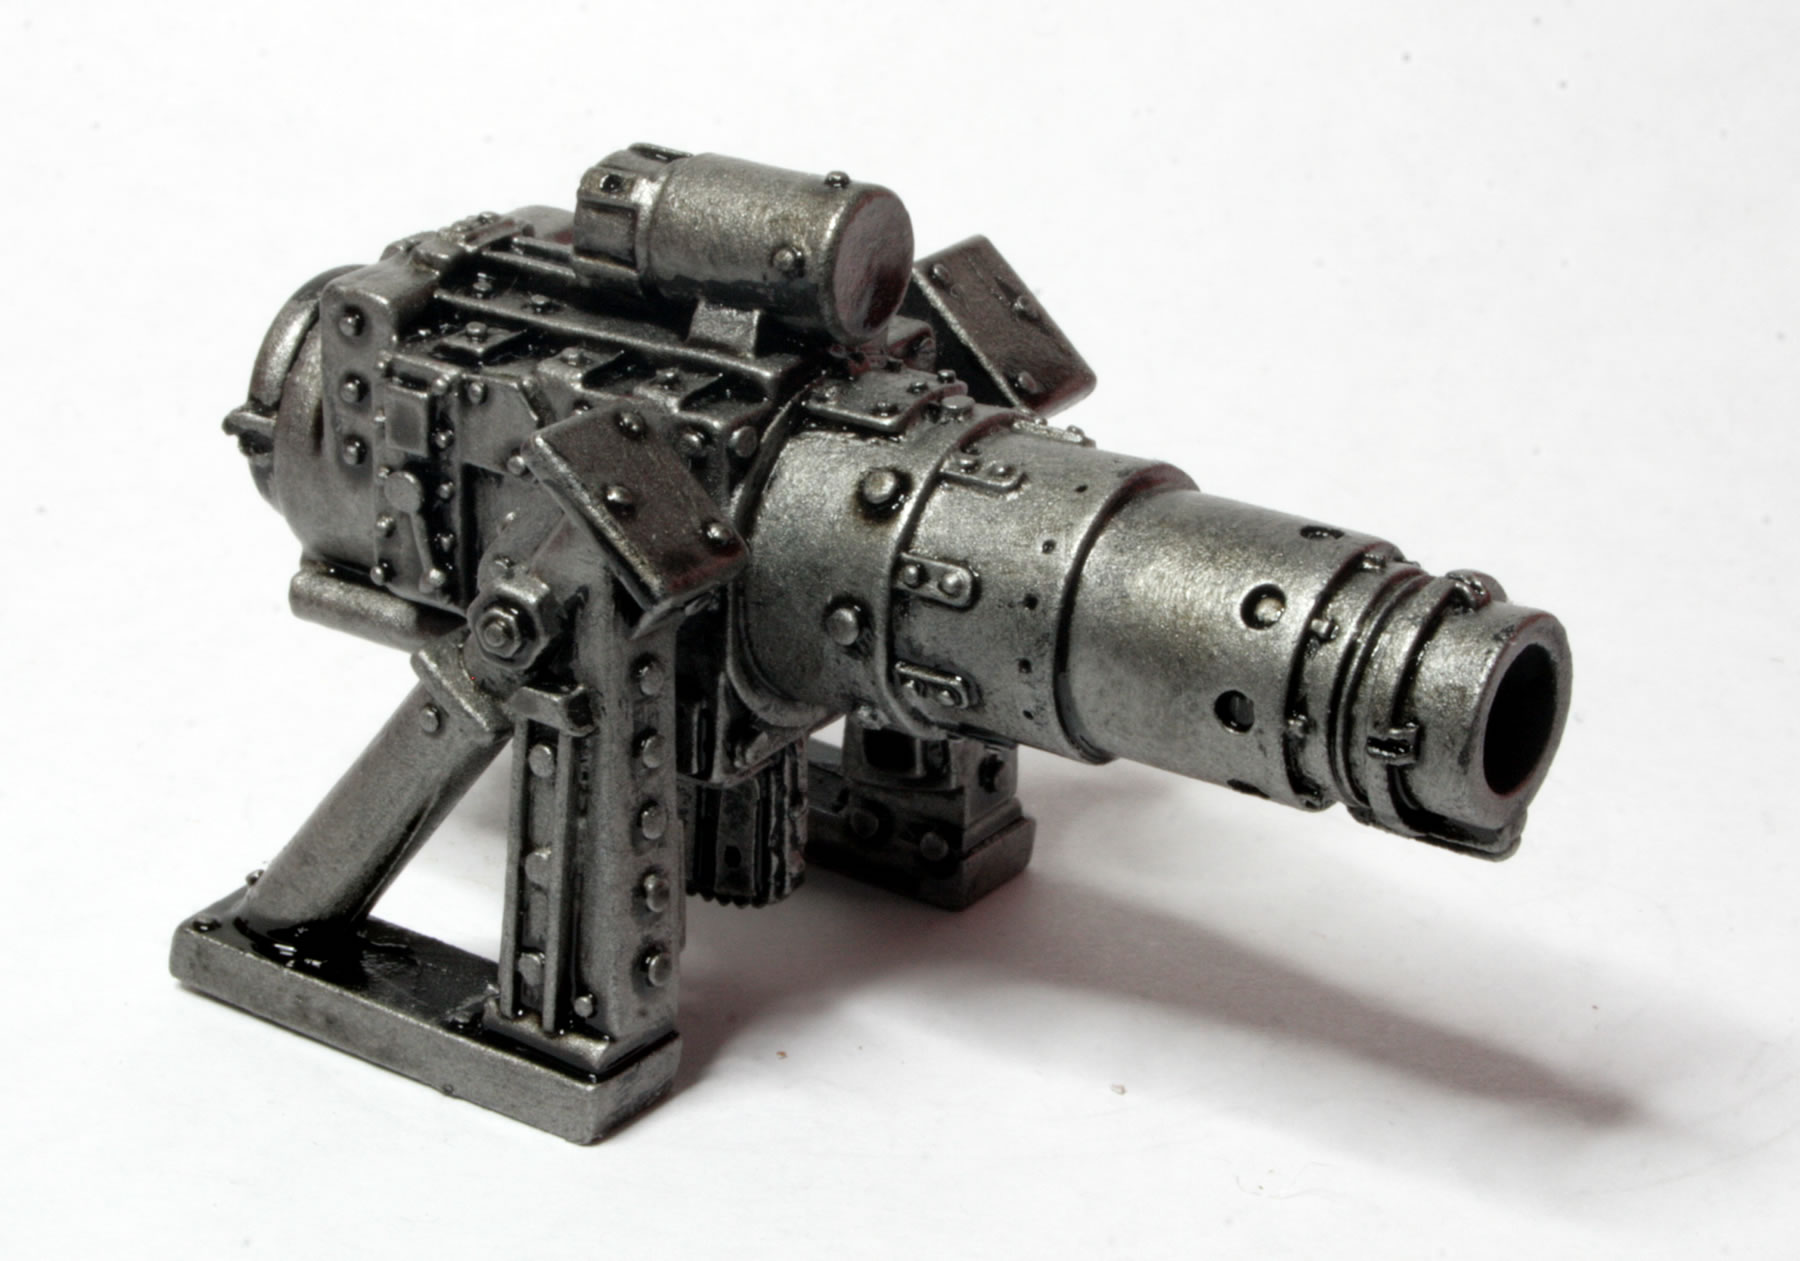
The set contains four different variant chassis, tracks, exhausts and turrets as well as four fantastic Grot Tank Kommandaz and 5 different, incredibly shooty, weapon options.
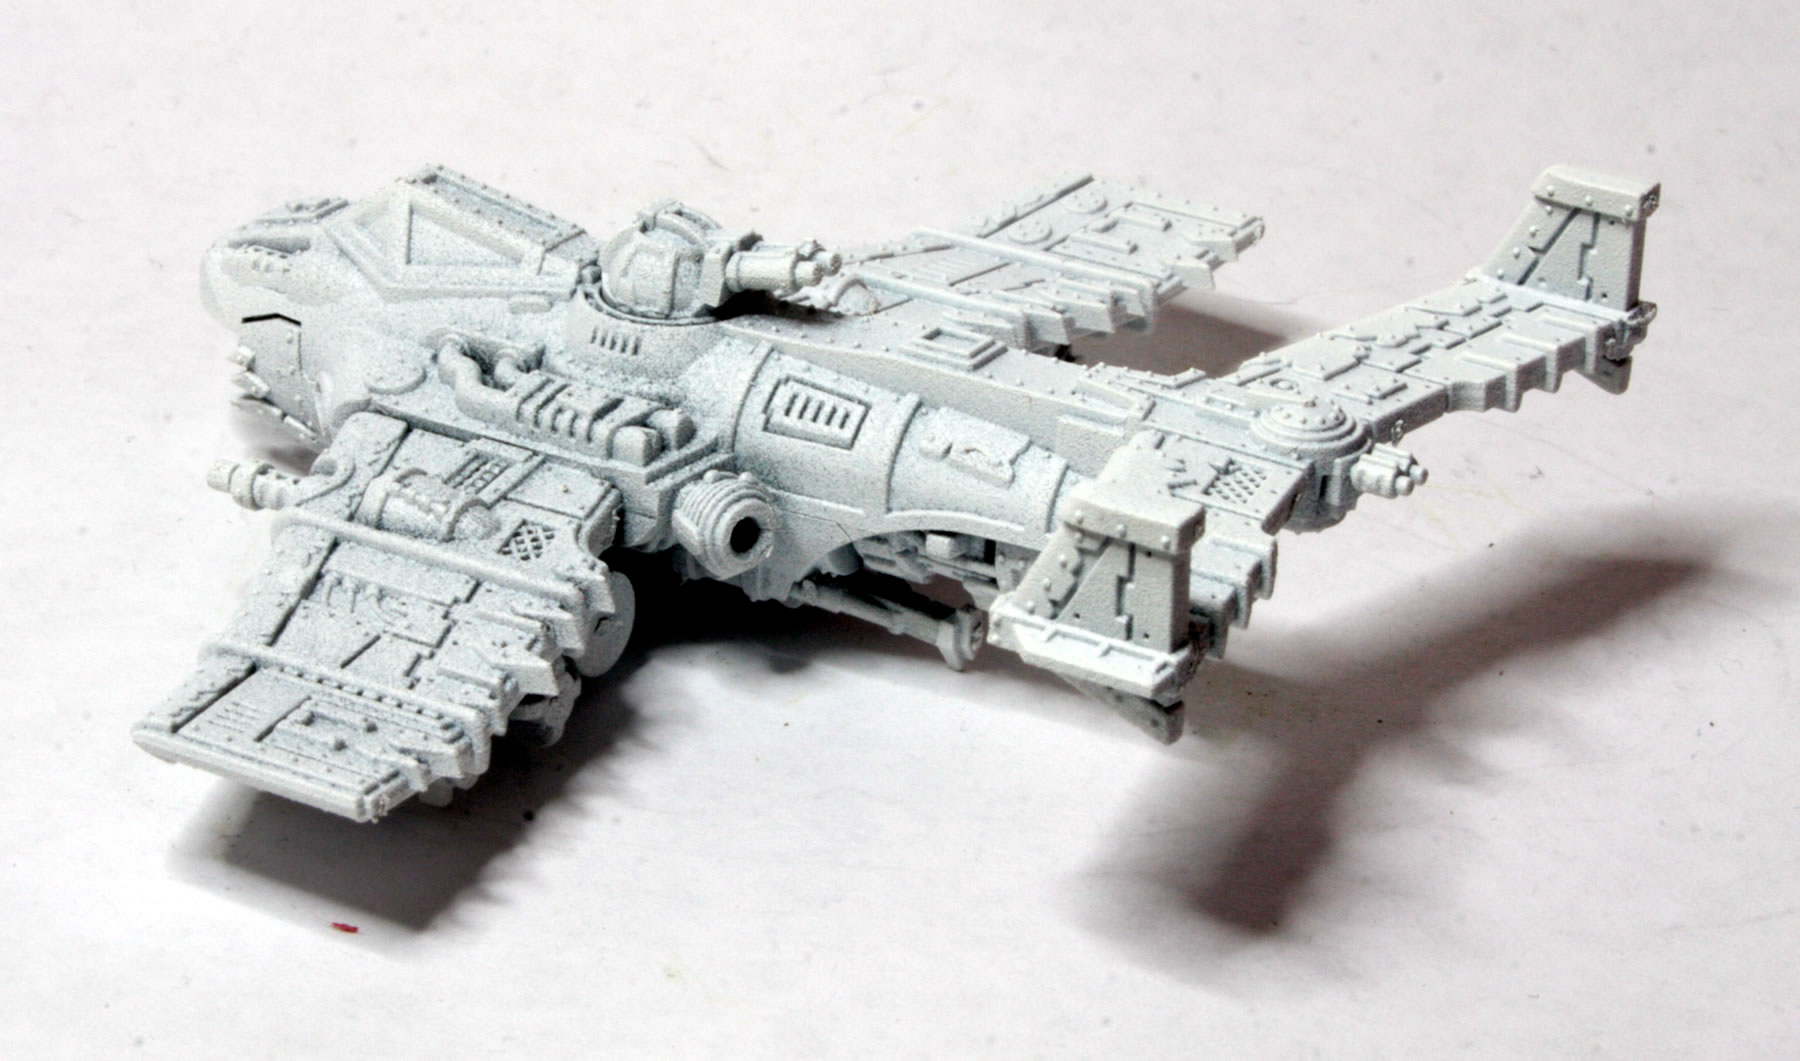
I had given Grot Tank II a base coat of Chieftain Green but painted the tracks with Gorthor Brown and the exhausts with Leadbelcher. I then gave the model various washes of mainly Citadel Shades, Seraphim Sepia, though for some parts of the model, basically the tracks and the engine, I used Agrax Earthshade. I also used Nuln Oil for various metallic parts of the model.

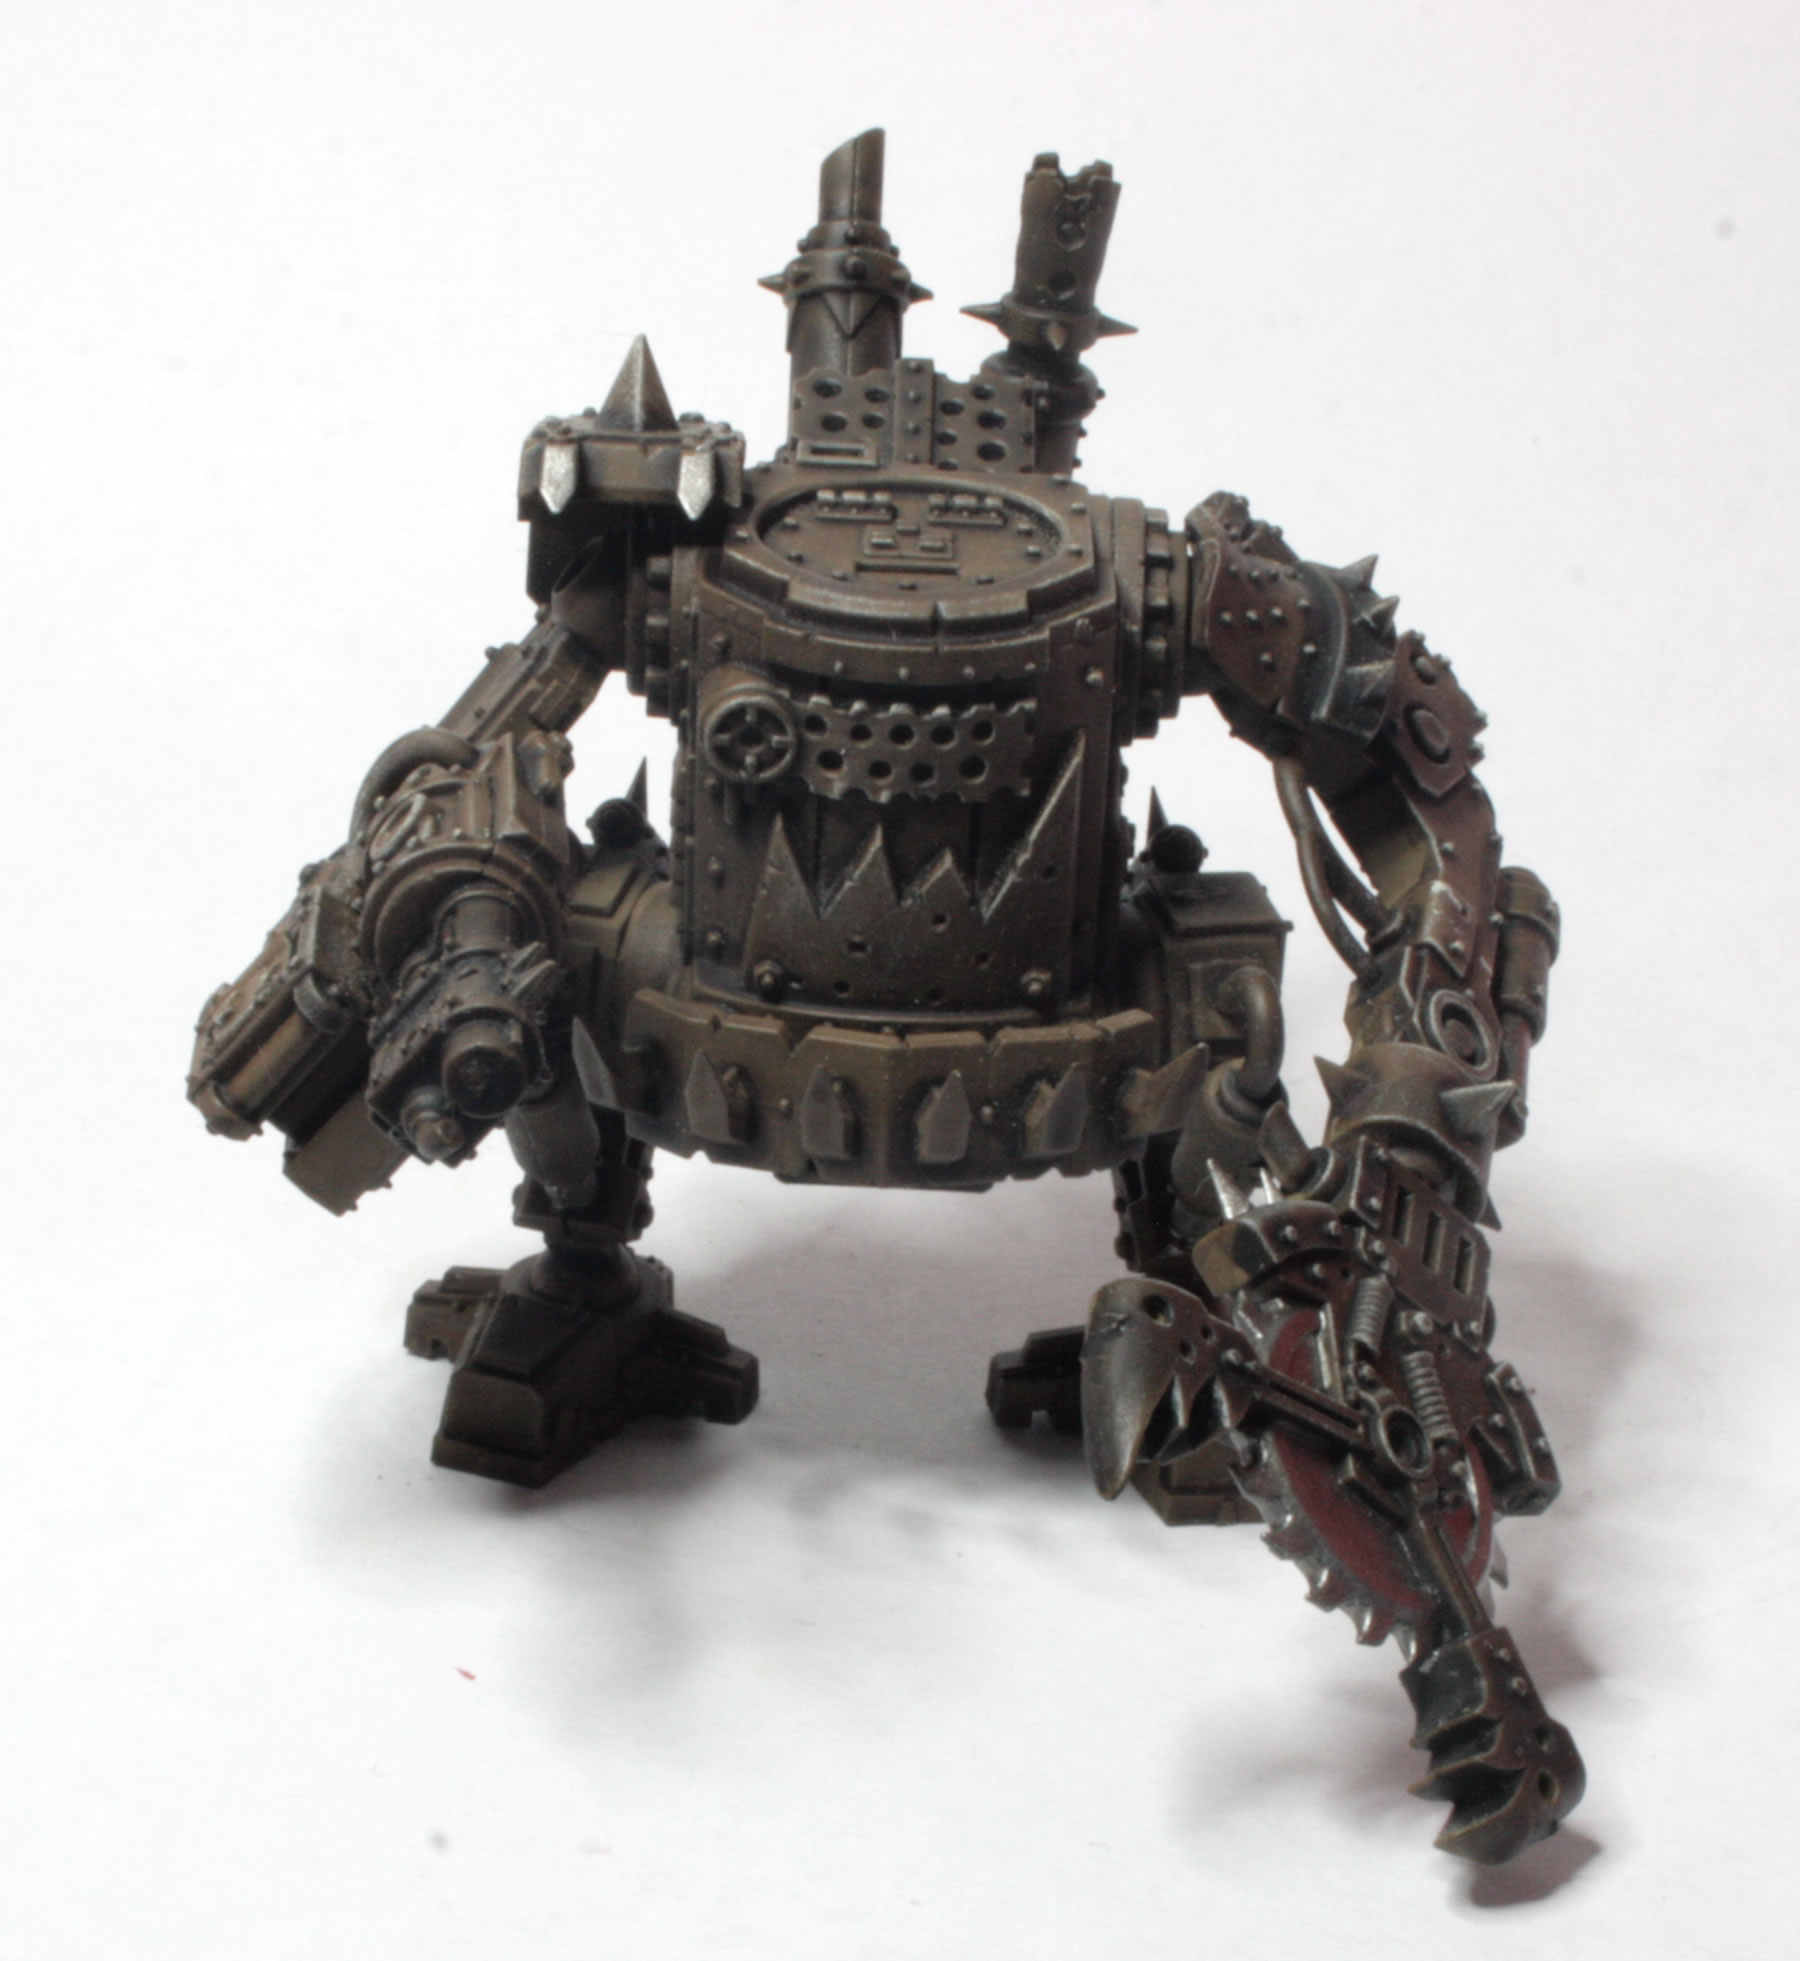
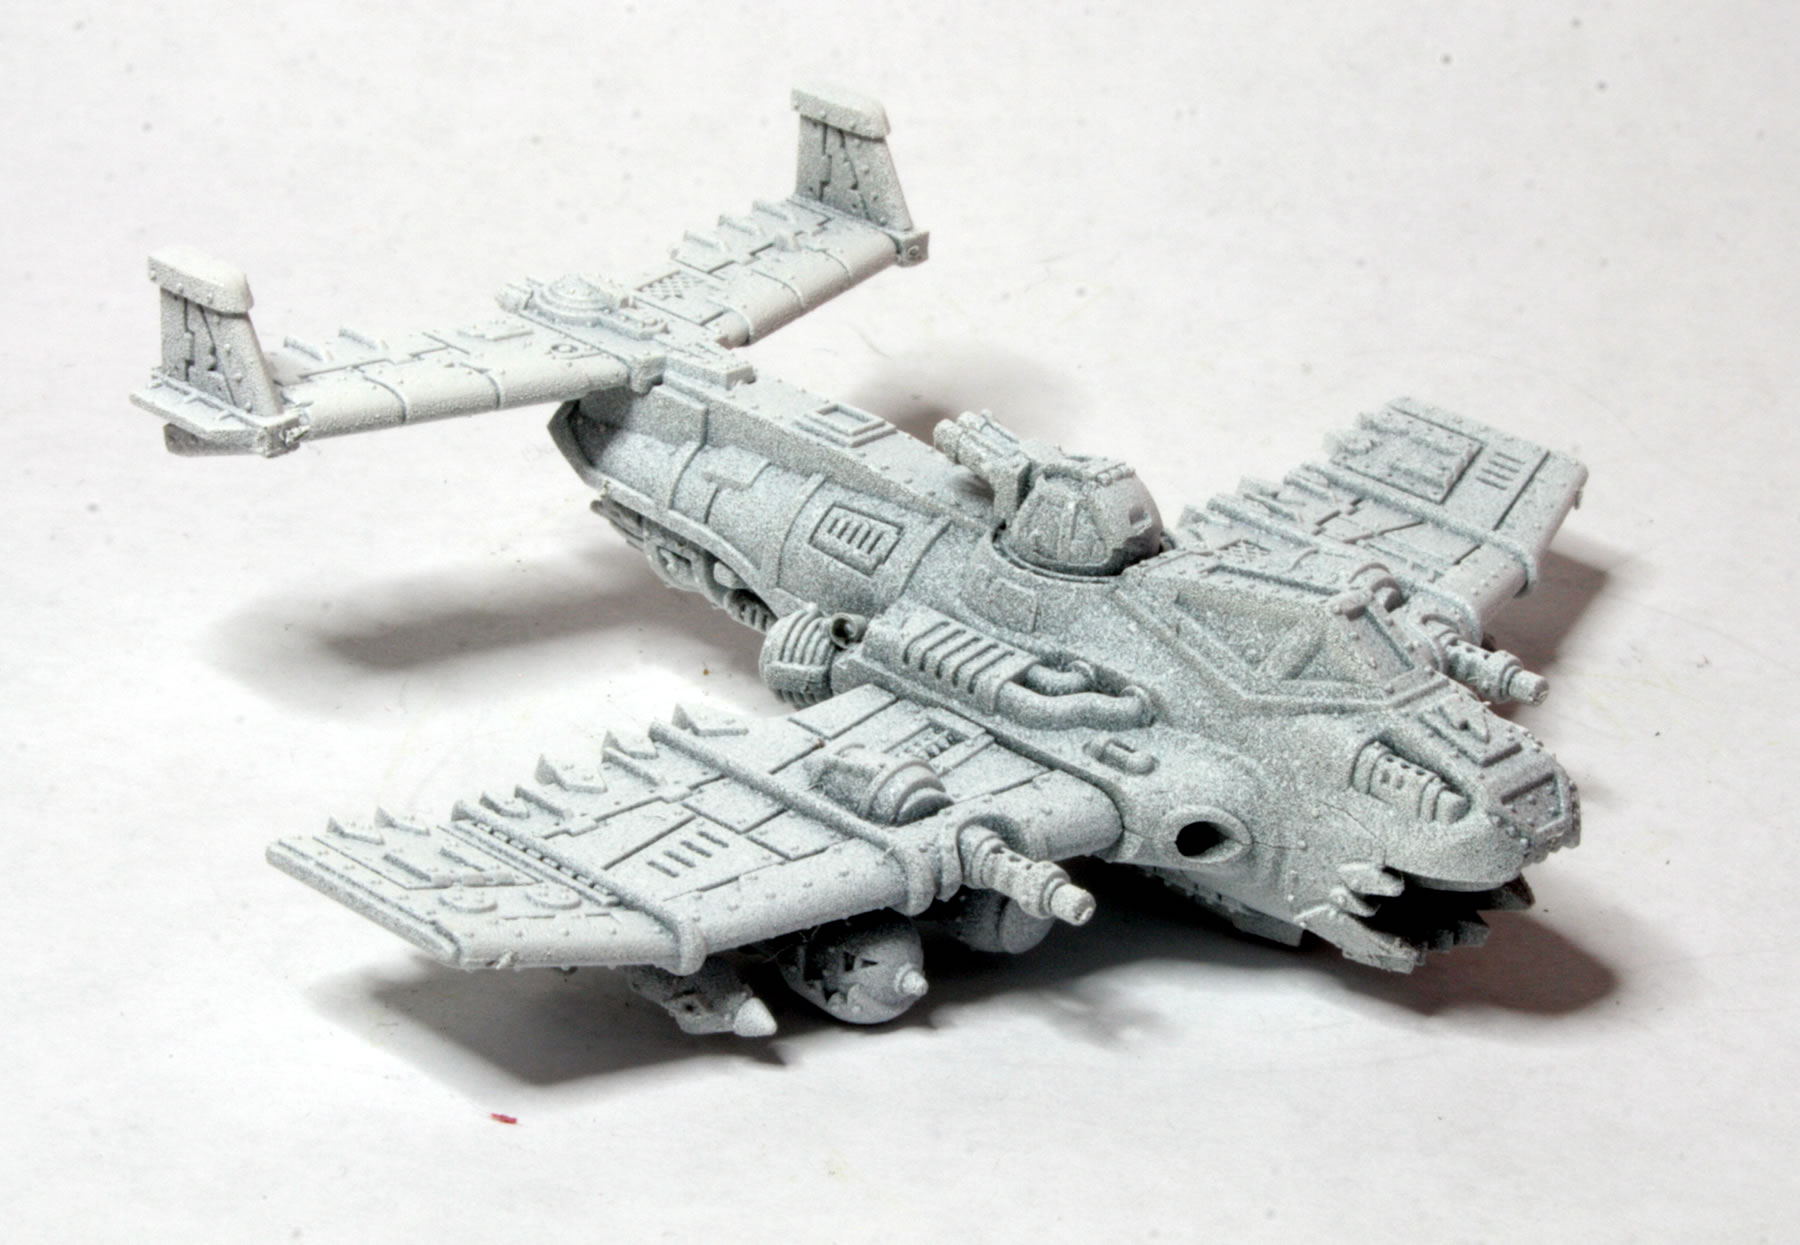
I did the tracks on the Grot Tank IV with Gorthor Brown. I then painted the exhausts with Leadbelcher. As with the other tank I gave the tracks and exhausts various washes.

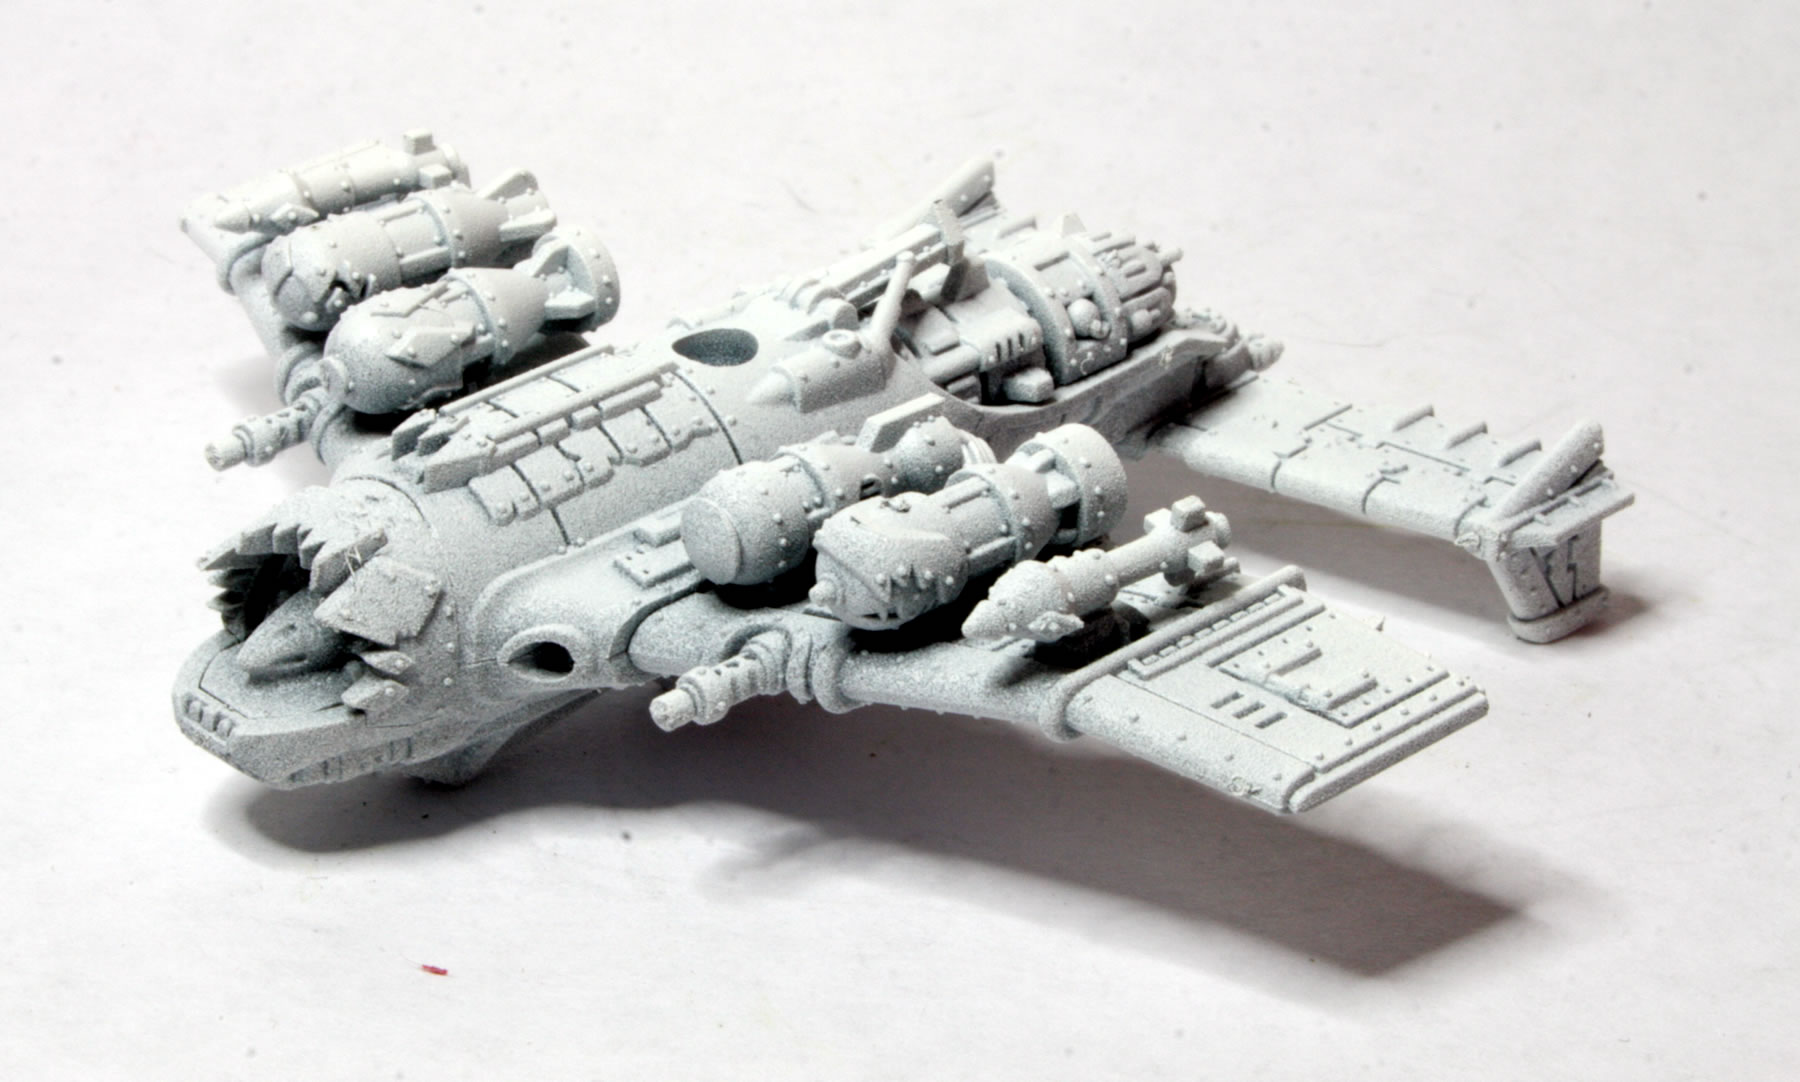
The model’s main hull and turret was given a basecoat of Ushabti Bone, before I gave the model a wash of Seraphim Sepia. Continue reading “Getting there with my Grot tanks…”