Rohan Stronghold at Warhammer World

A shadow has fallen upon the once-green lands of Rohan. Under the cruel command of Saruman, the armies of Isengard, a relentless force of Uruk-hai and vengeful Dunlendings, are not merely raiding—they’ve come for total annihilation. As the Westfold burns, a tide of destruction turns toward the great strongholds of Rohan. Yet, within those ancient walls, the proud Rohirrim stand ready. They know the odds are overwhelming, but with shields locked and spears raised, they will face the onslaught, prepared to fight to the last man to defend their home from the Legion of the White Hand.

From the display at Warhammer World.

More photographs of the diorama.

The Battle of Osgiliath

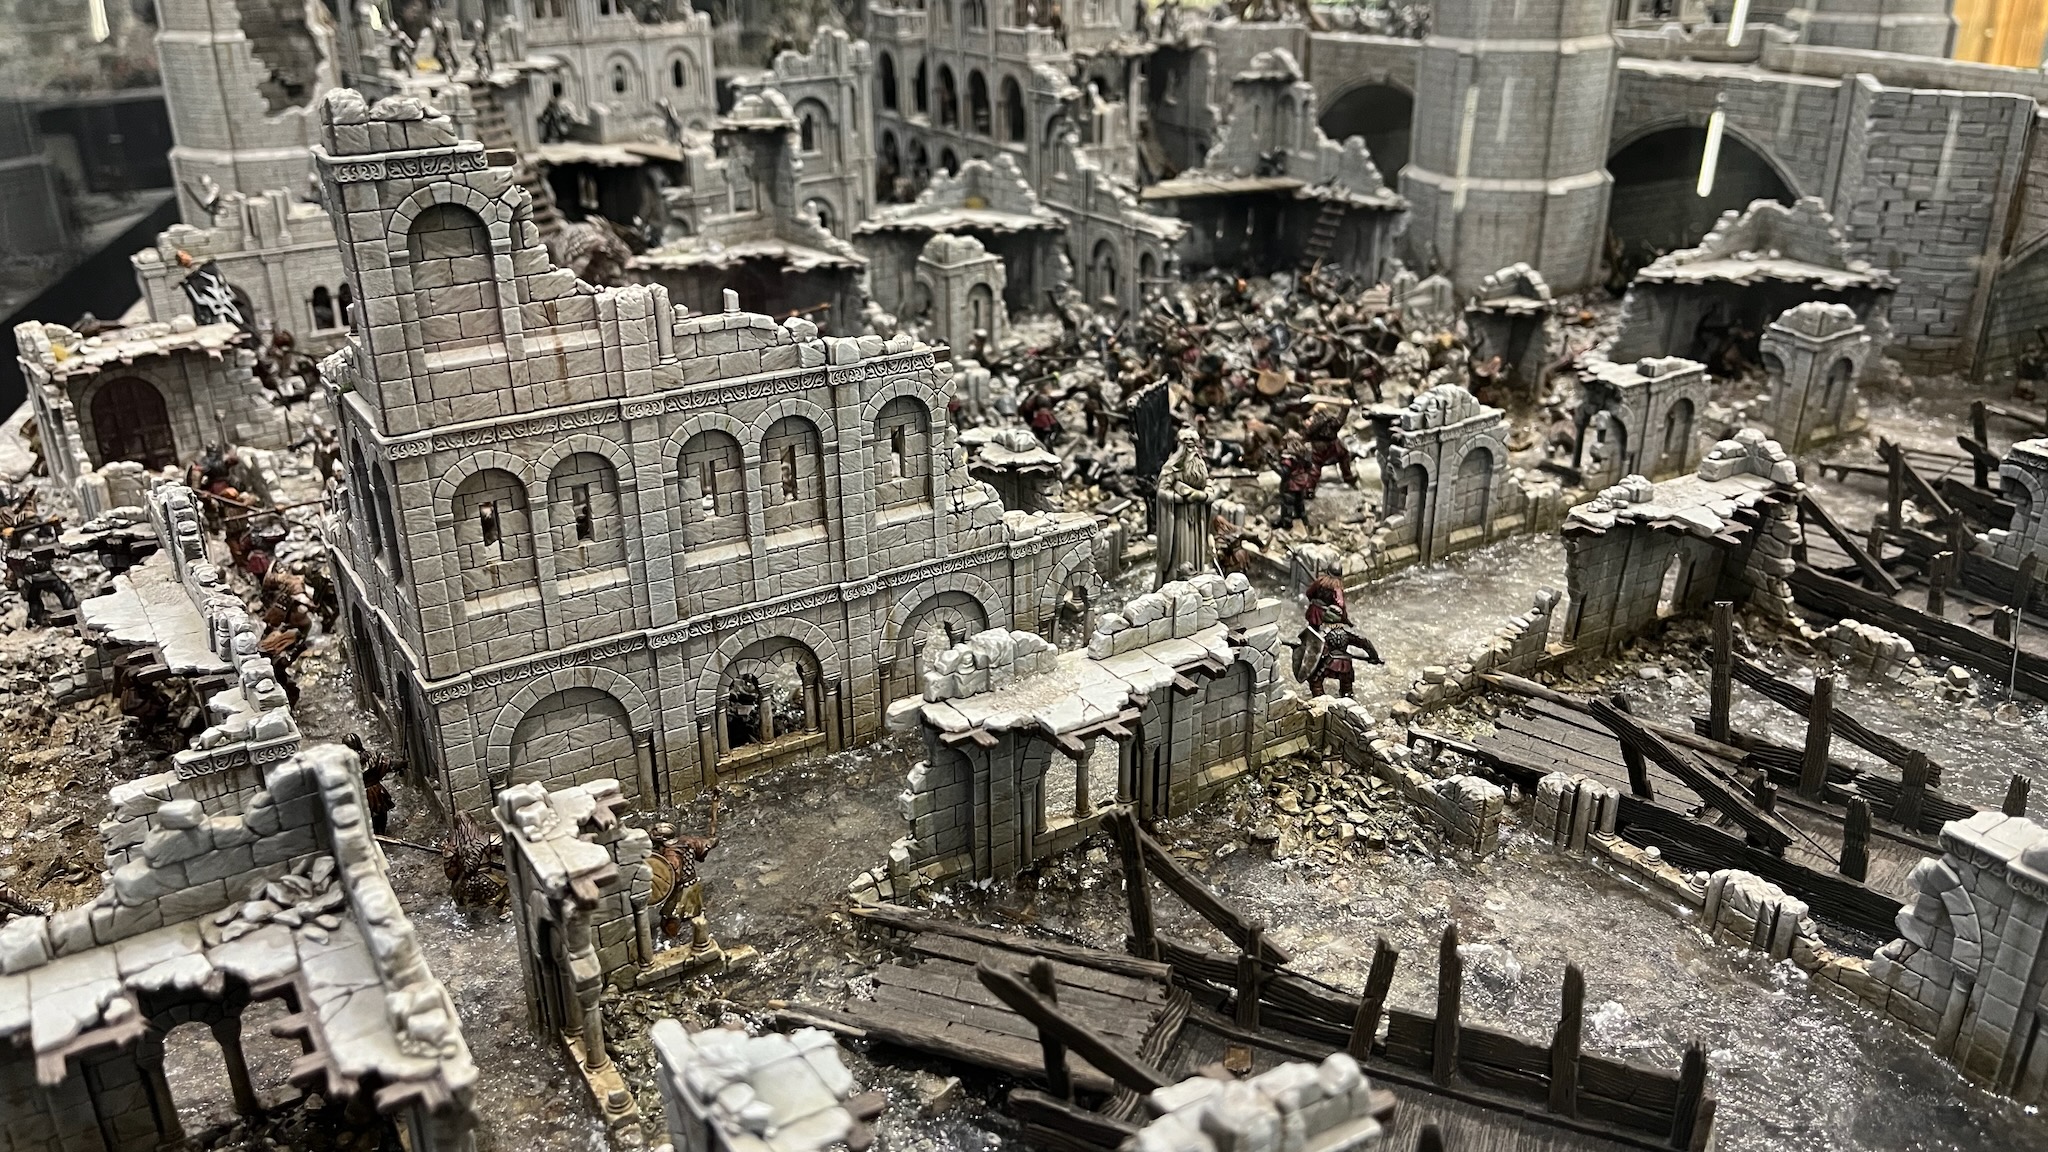
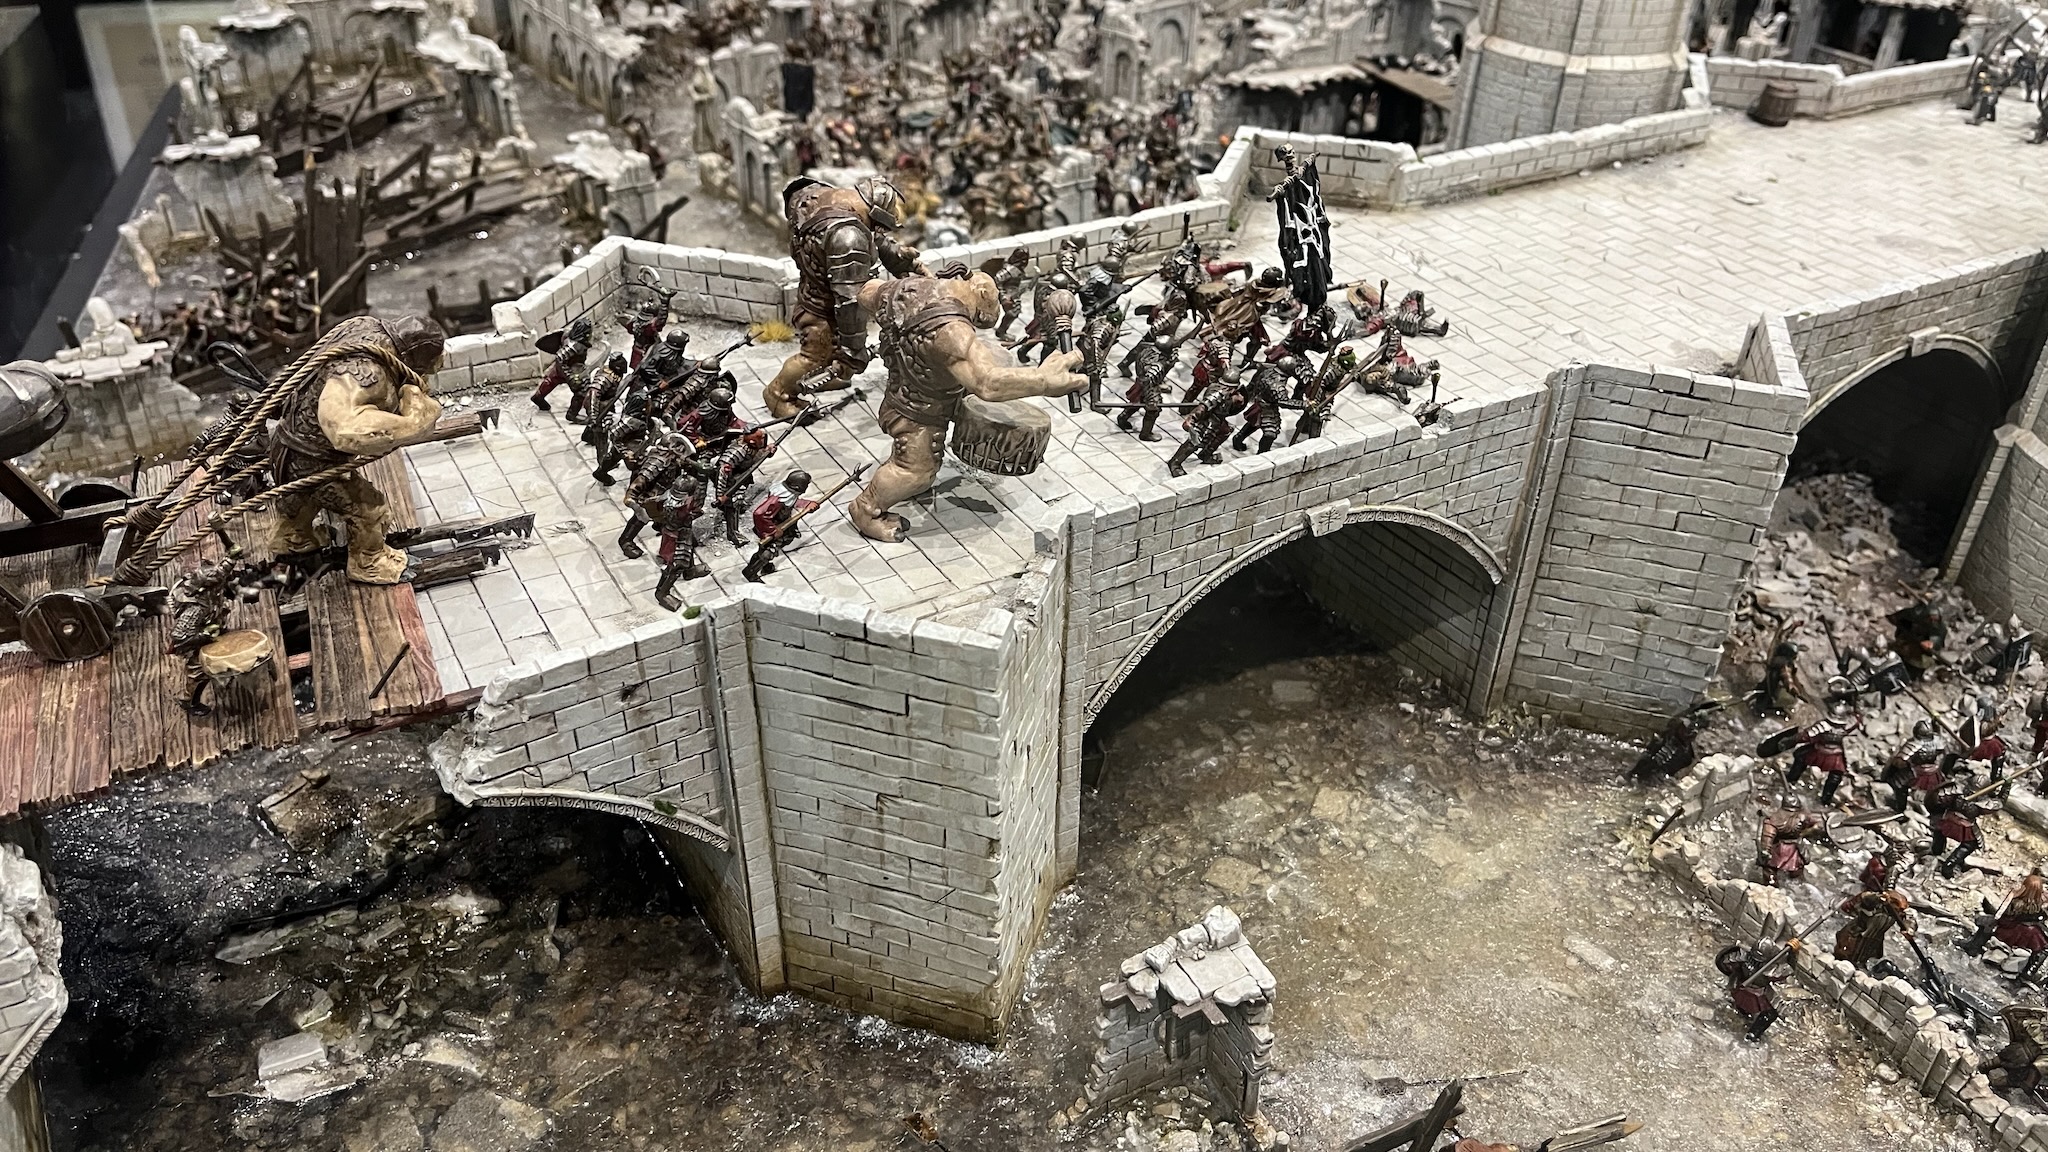
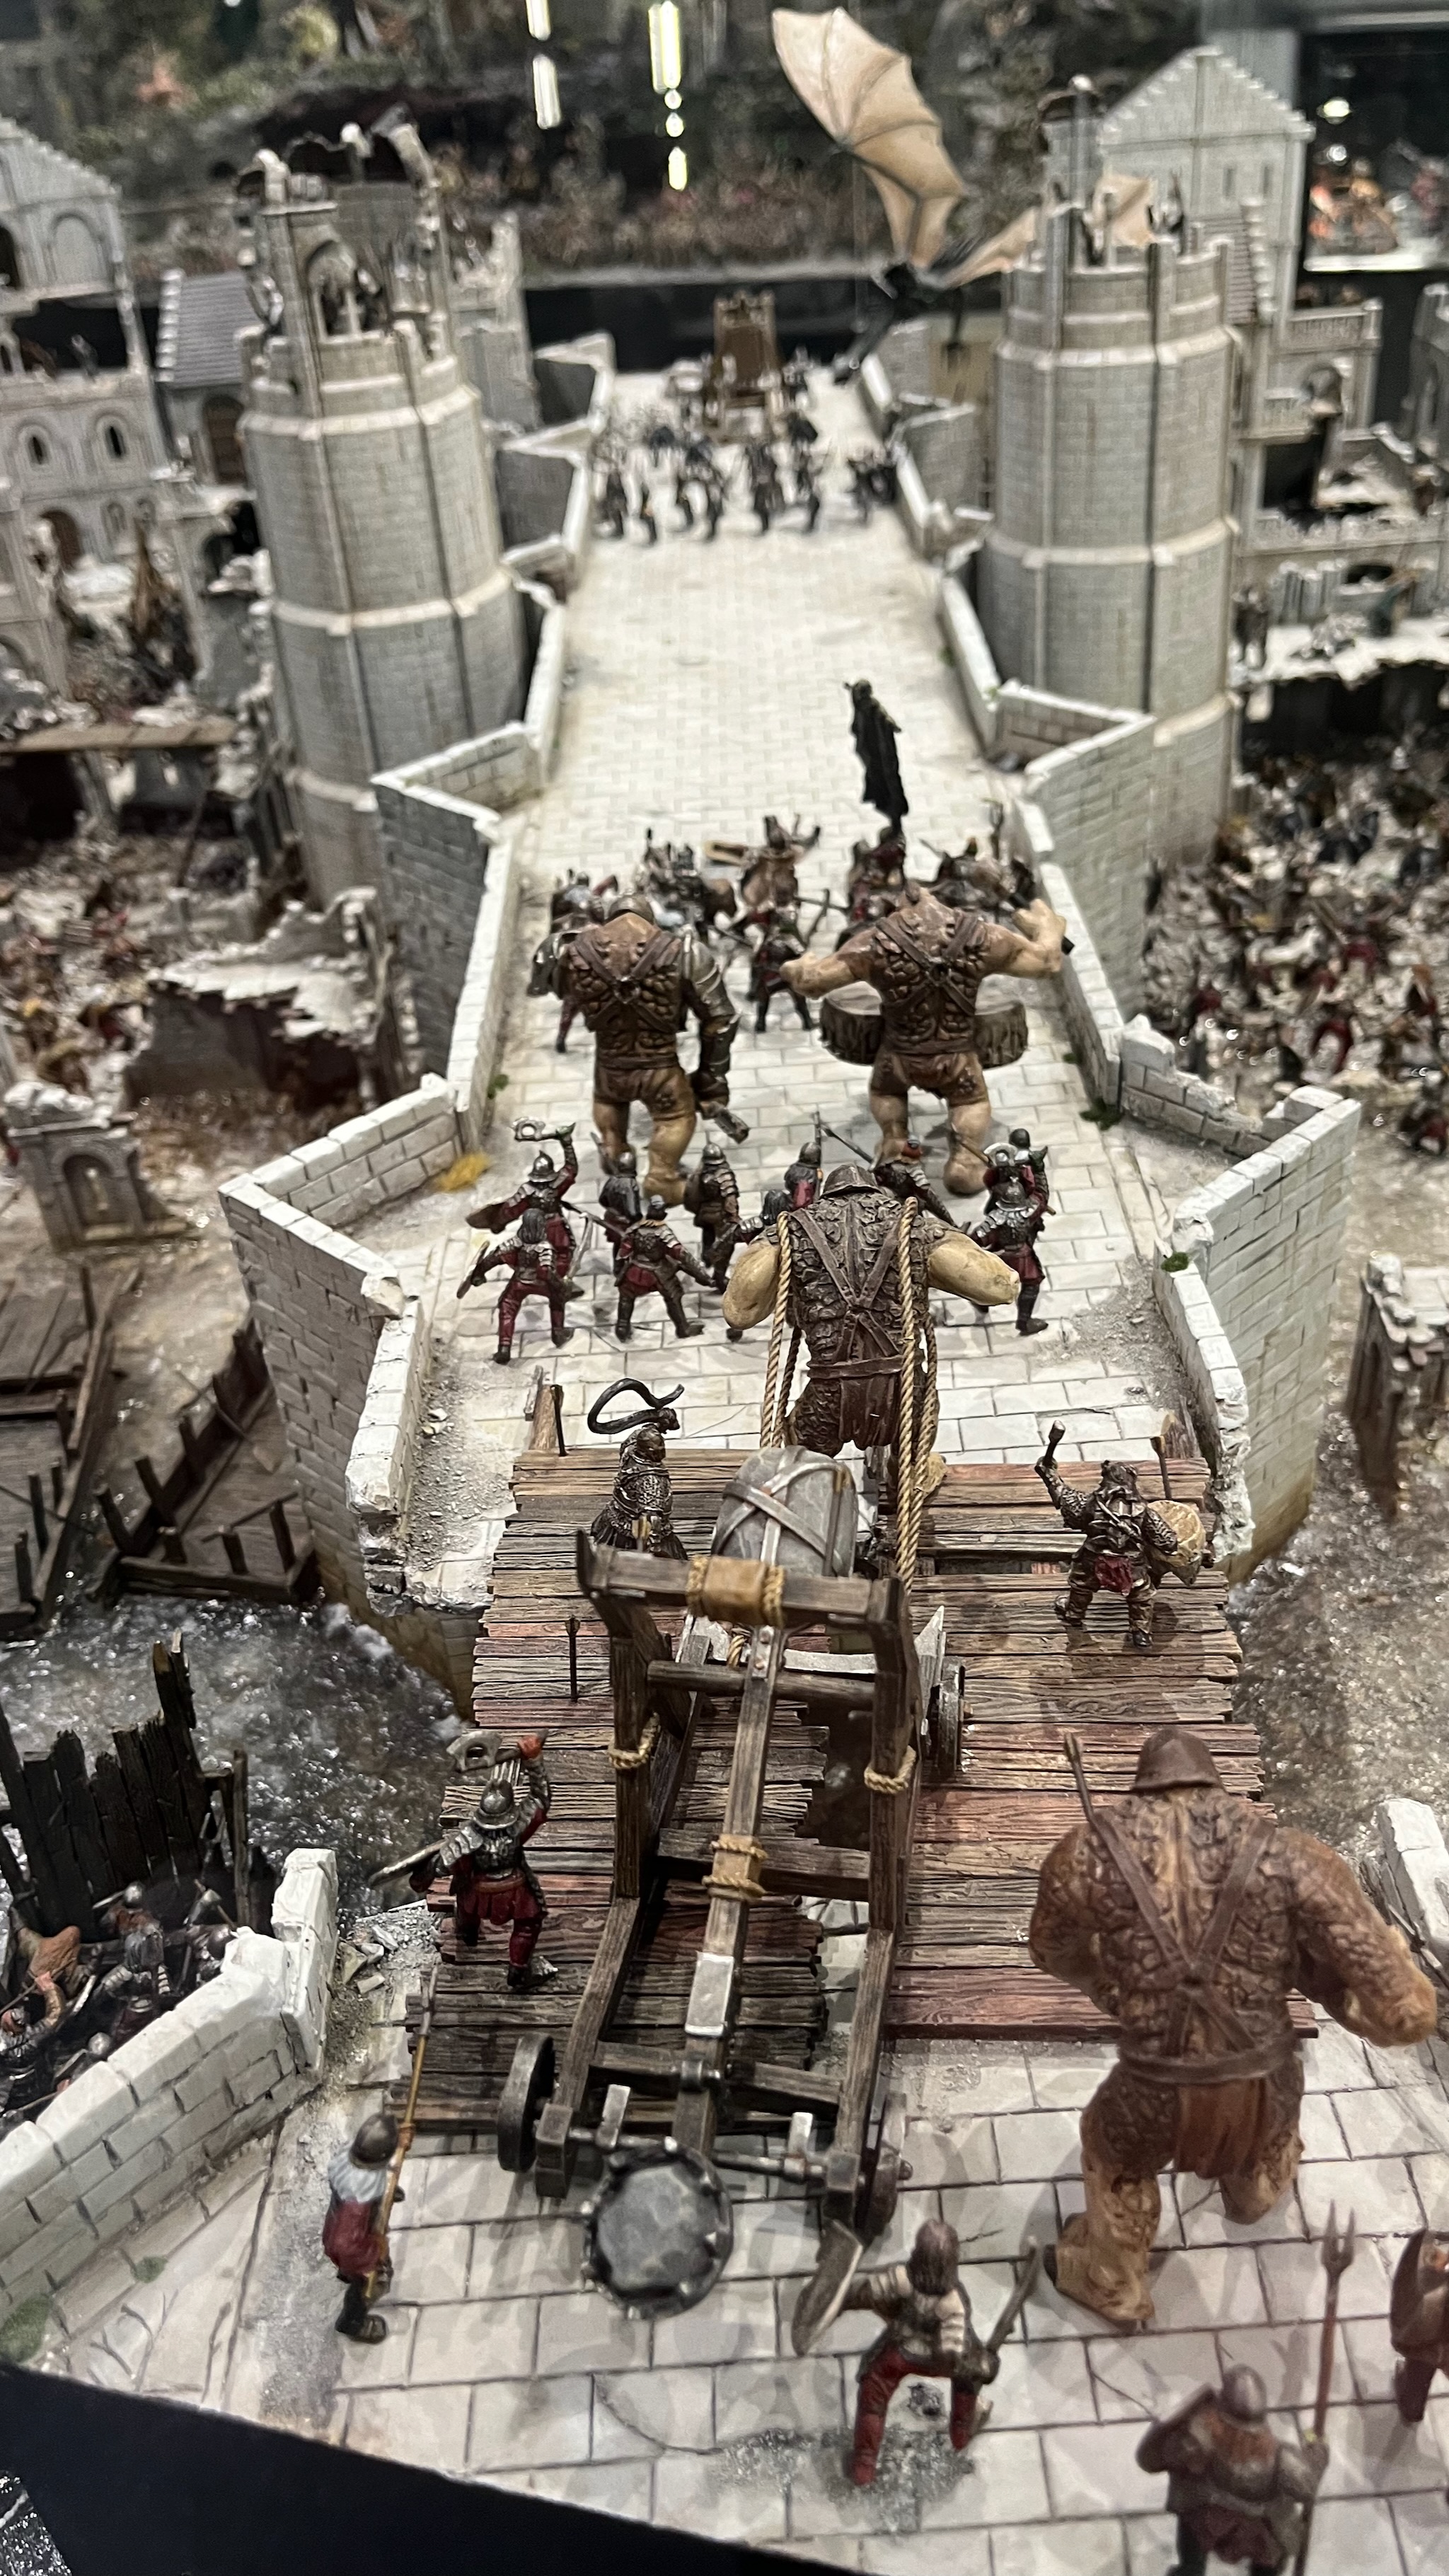
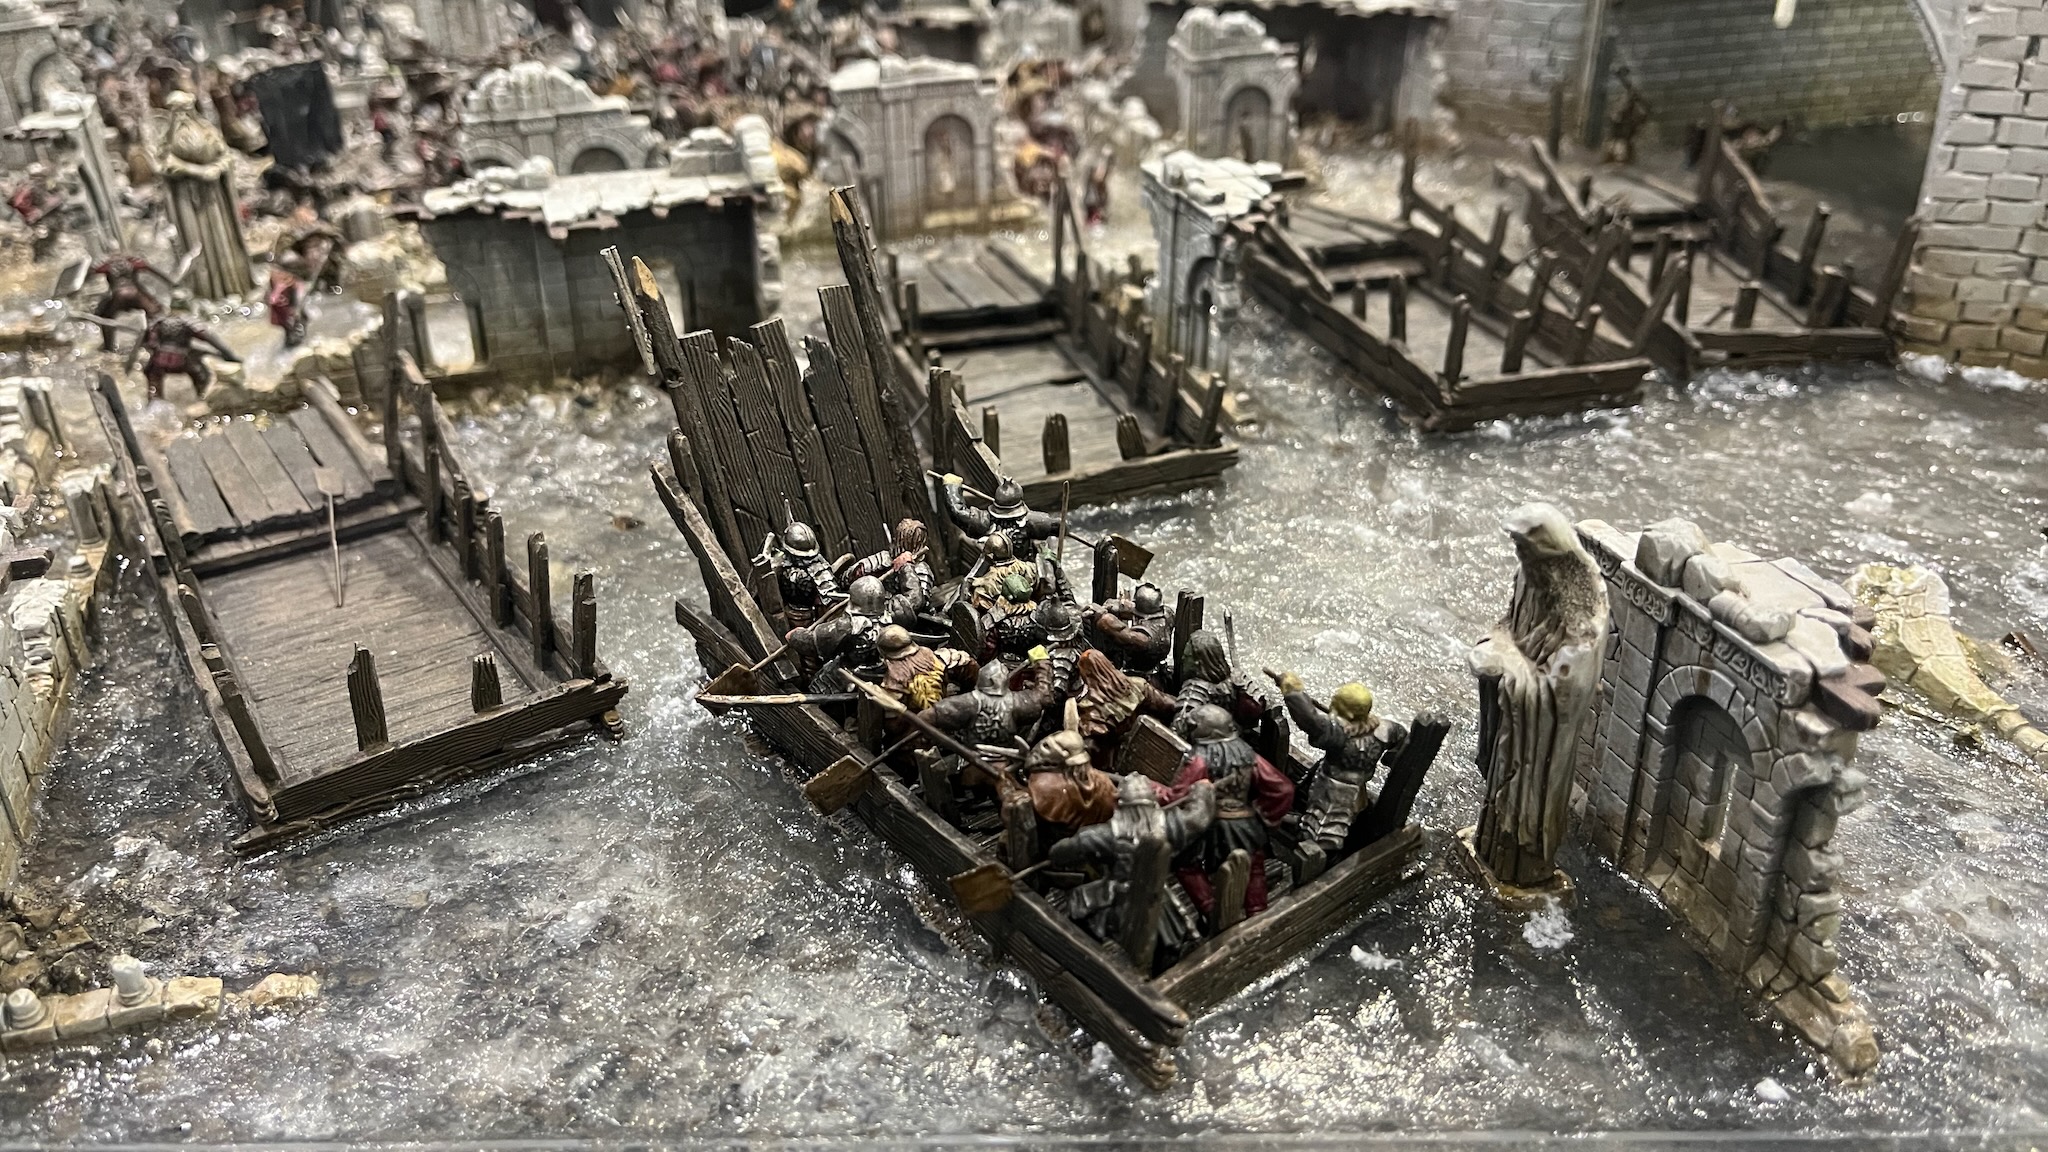
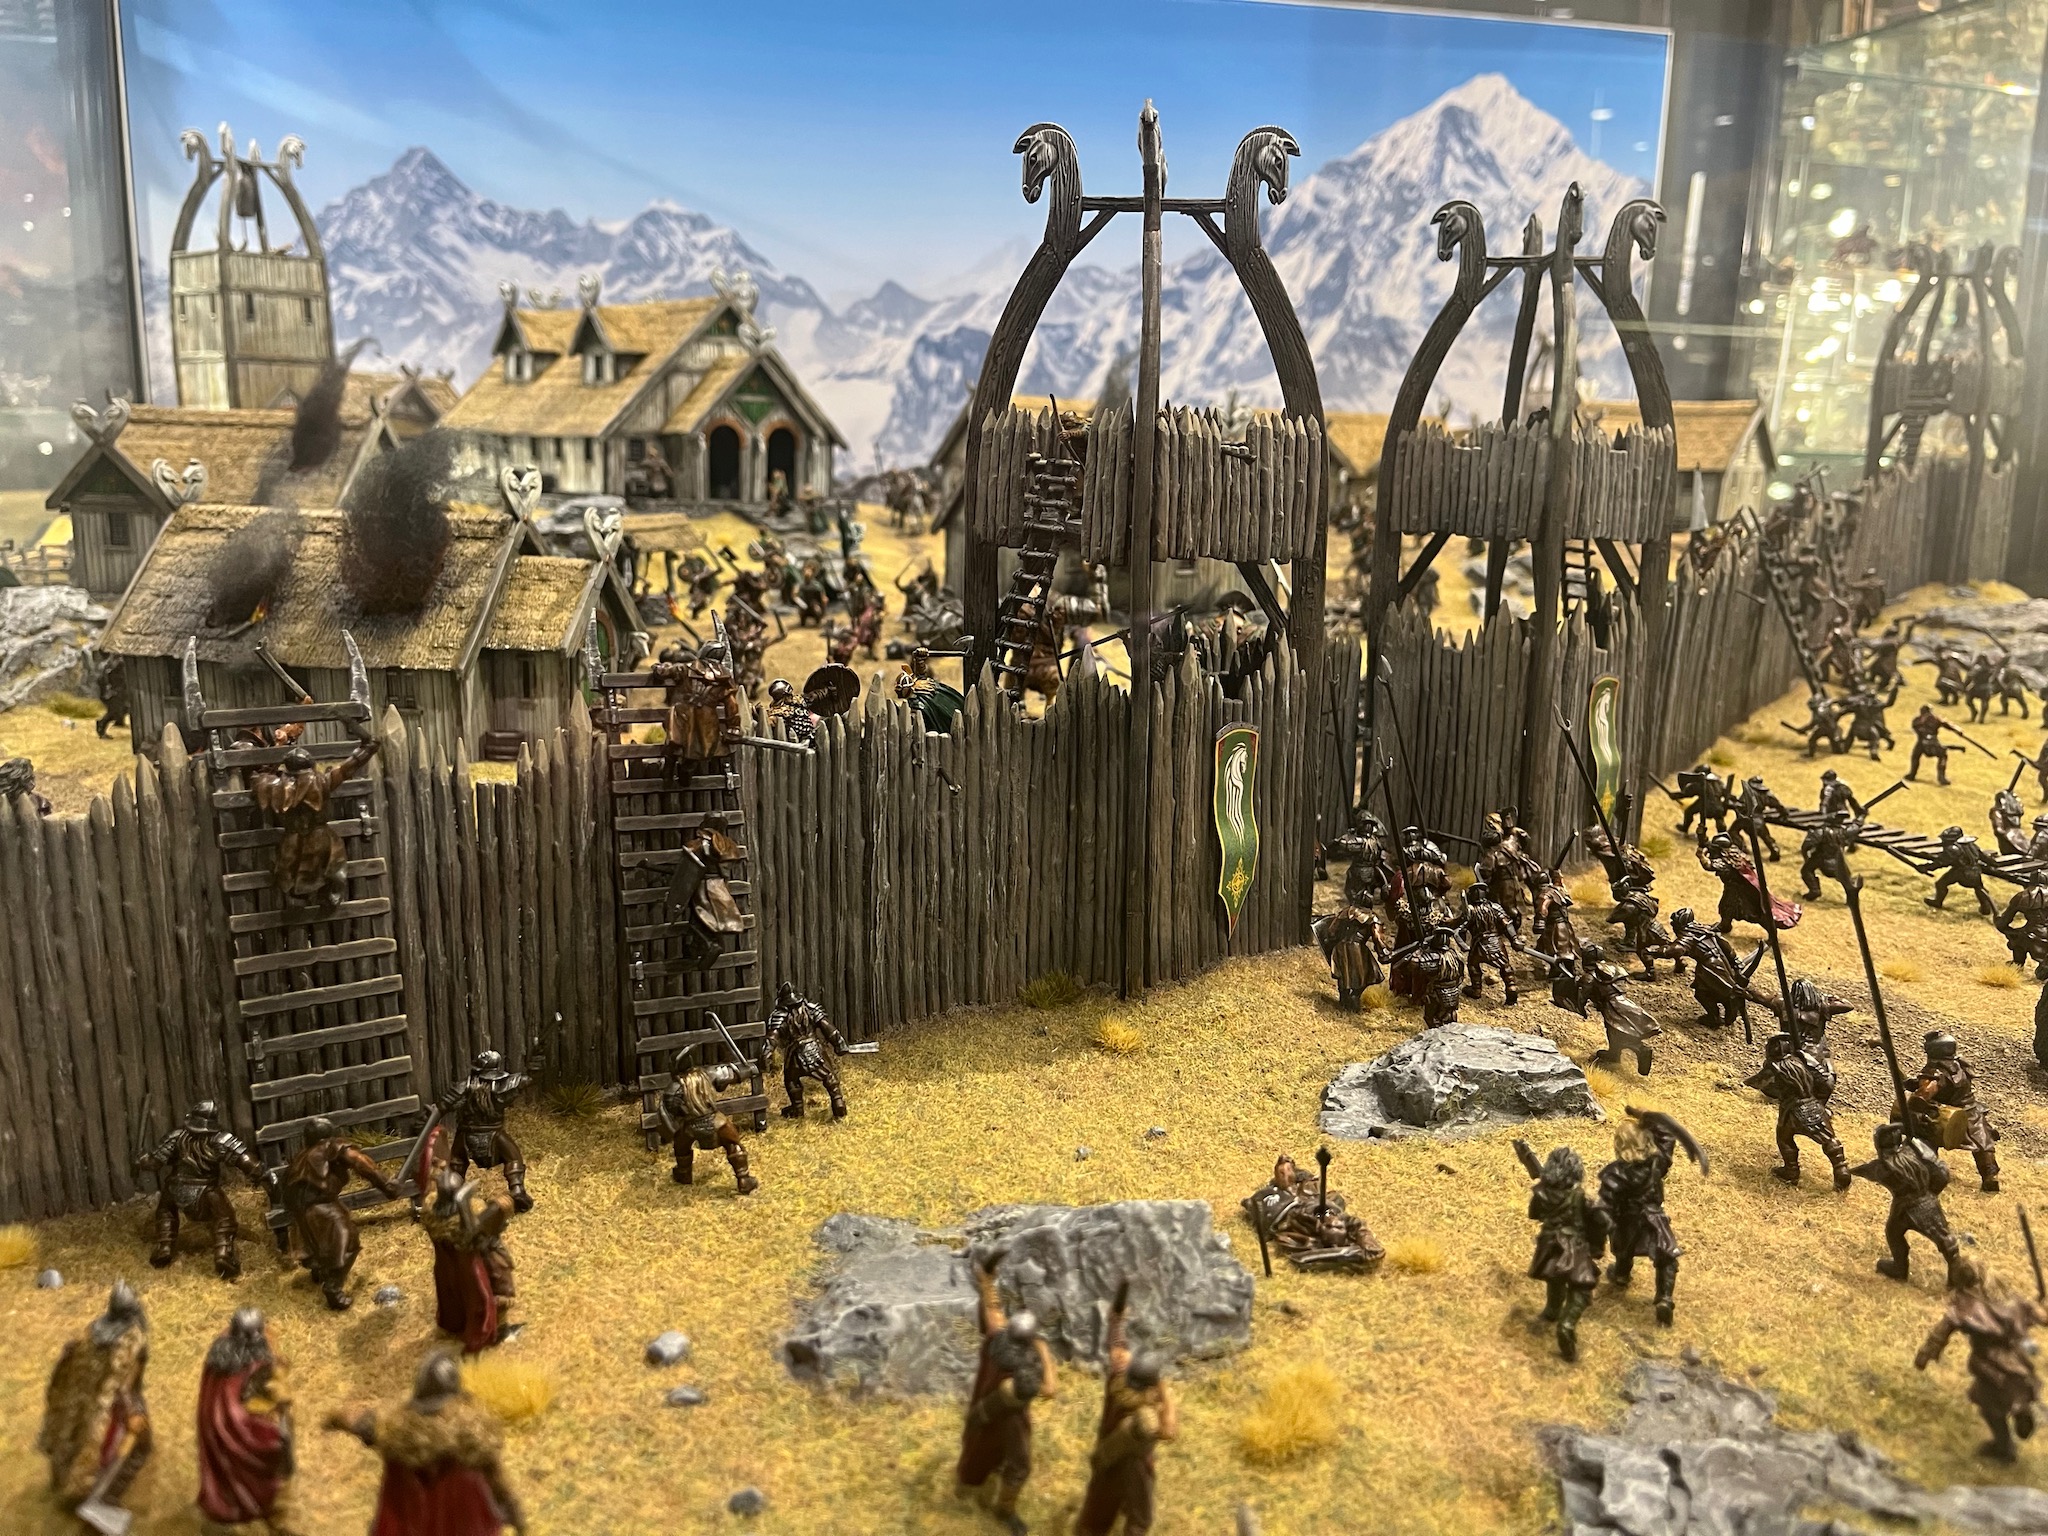
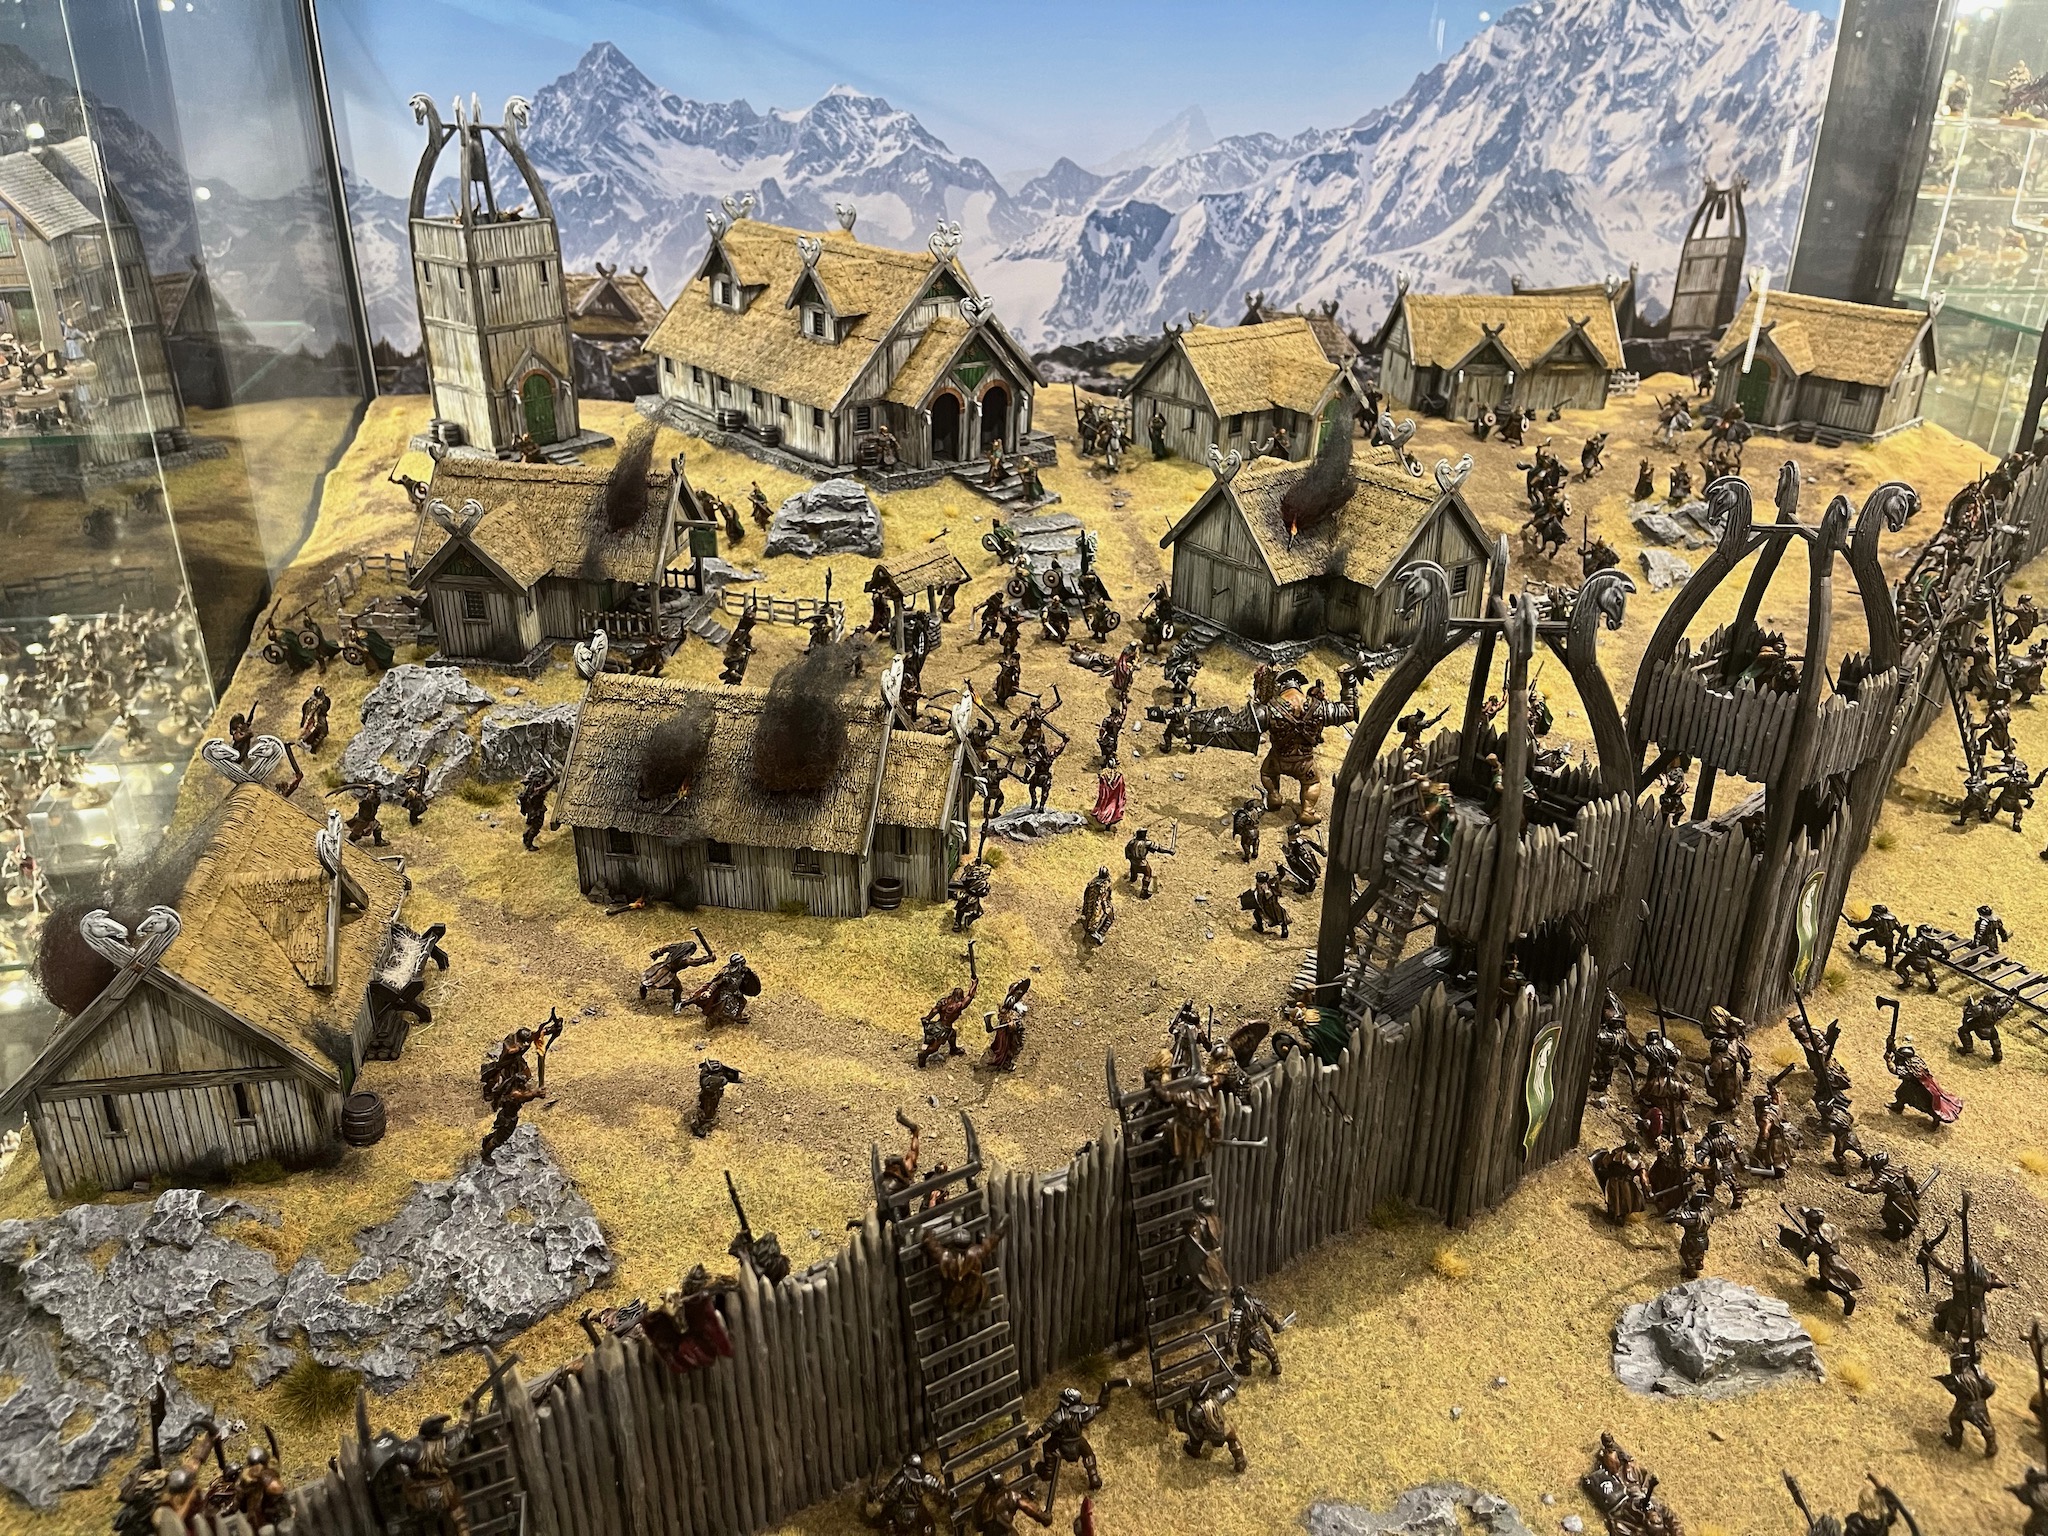
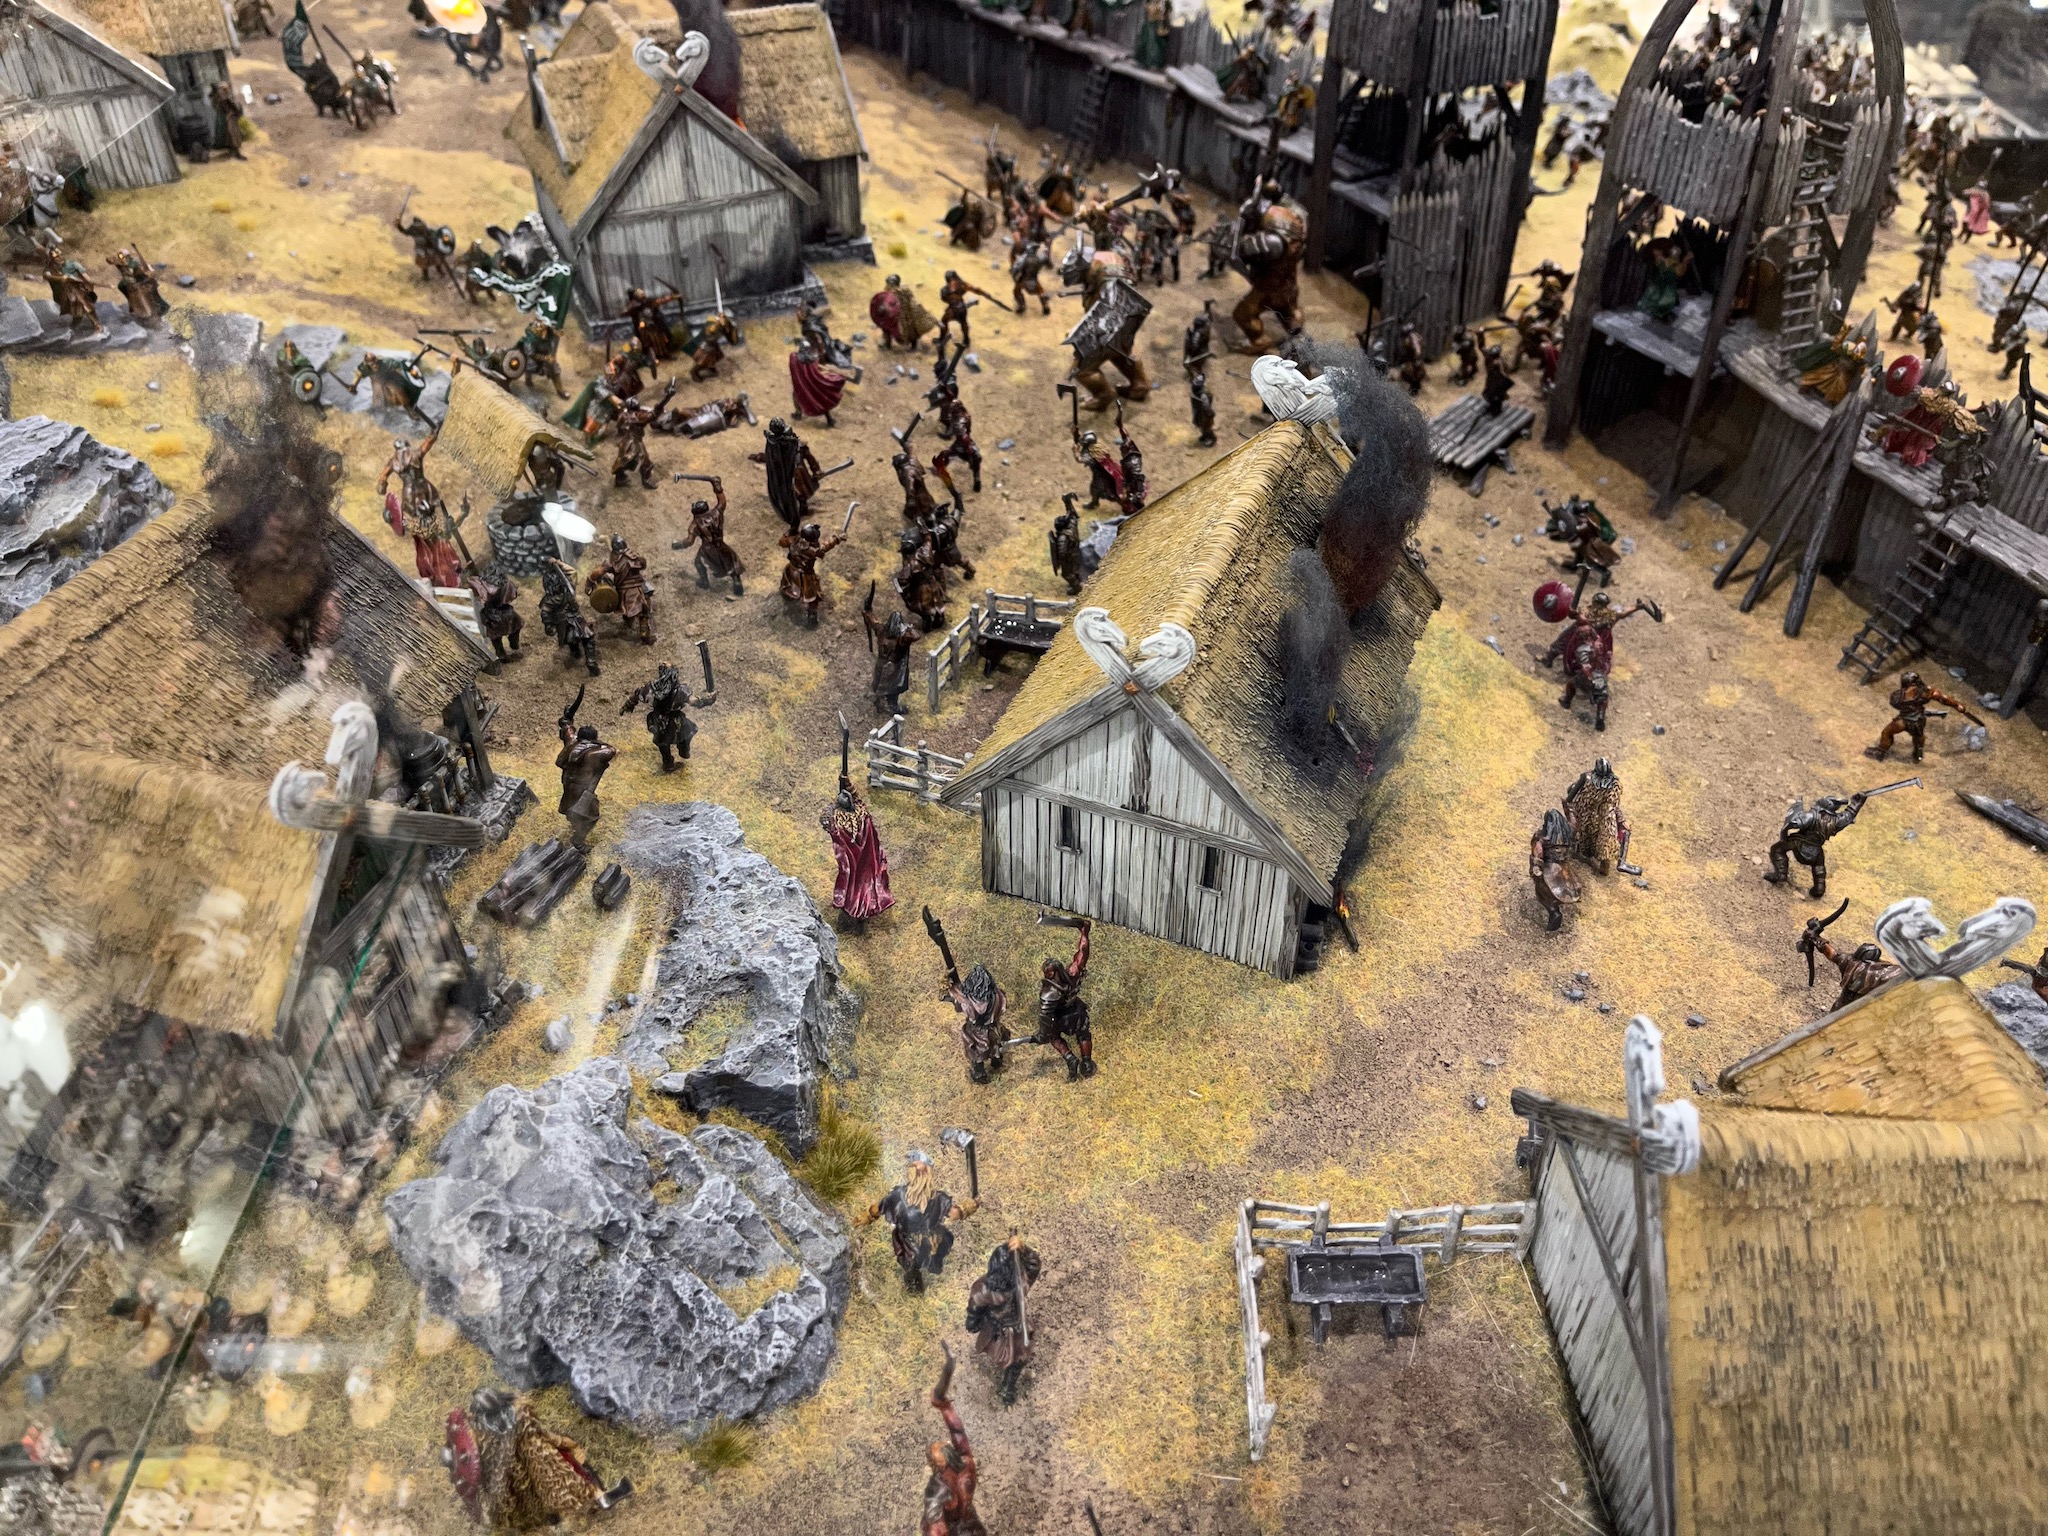
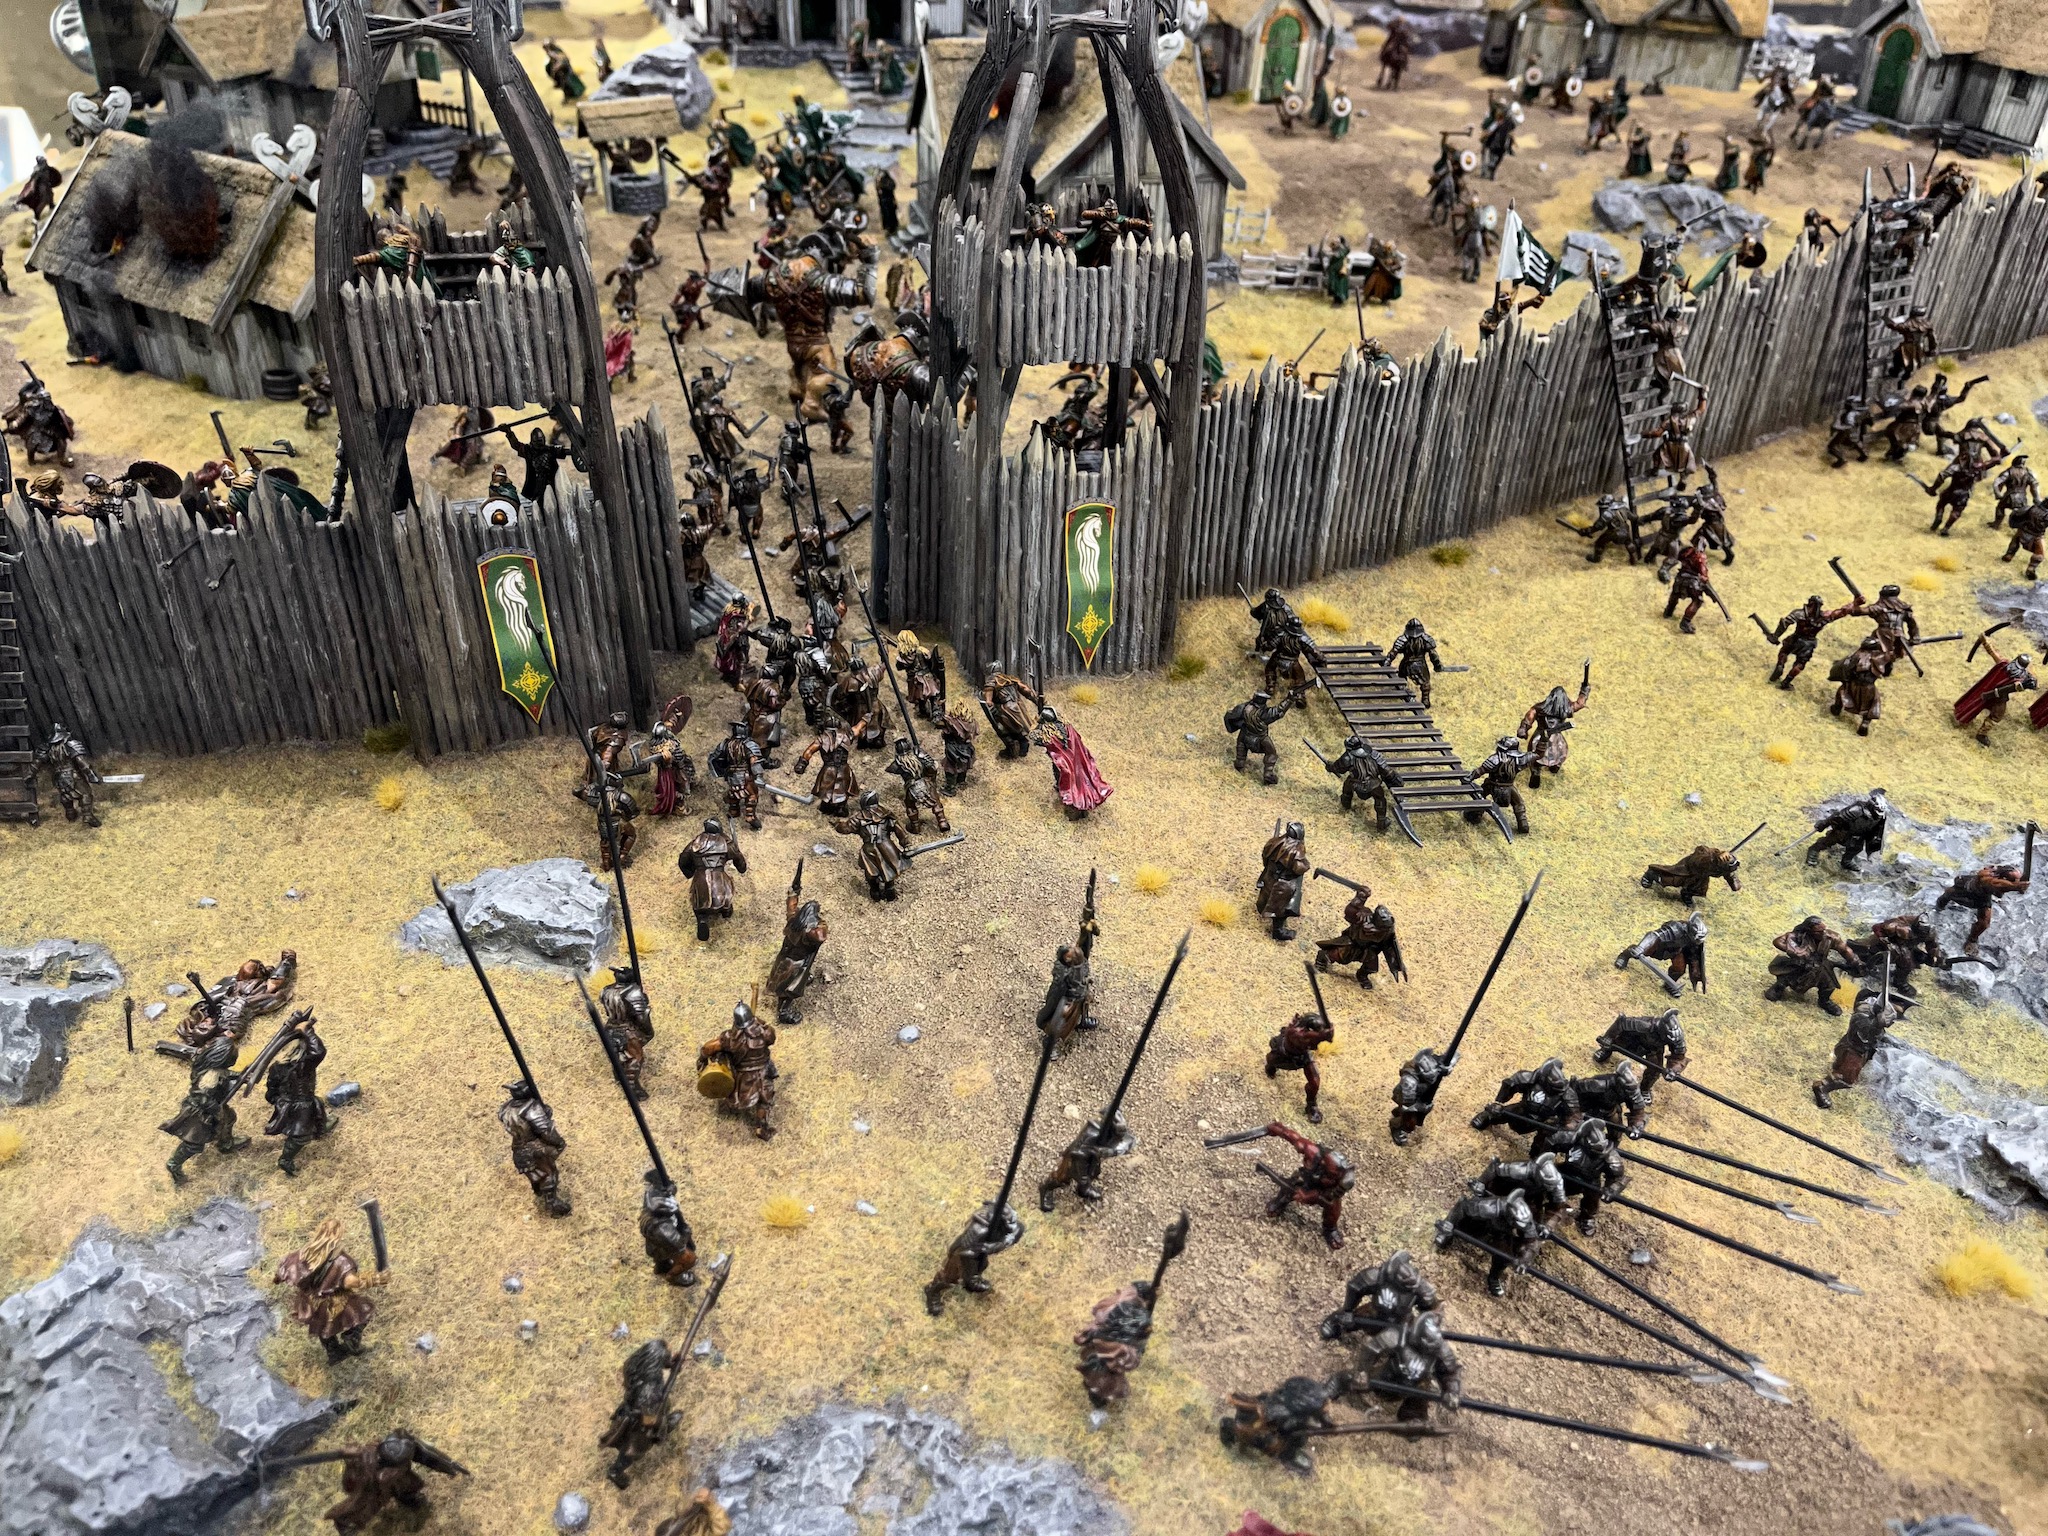
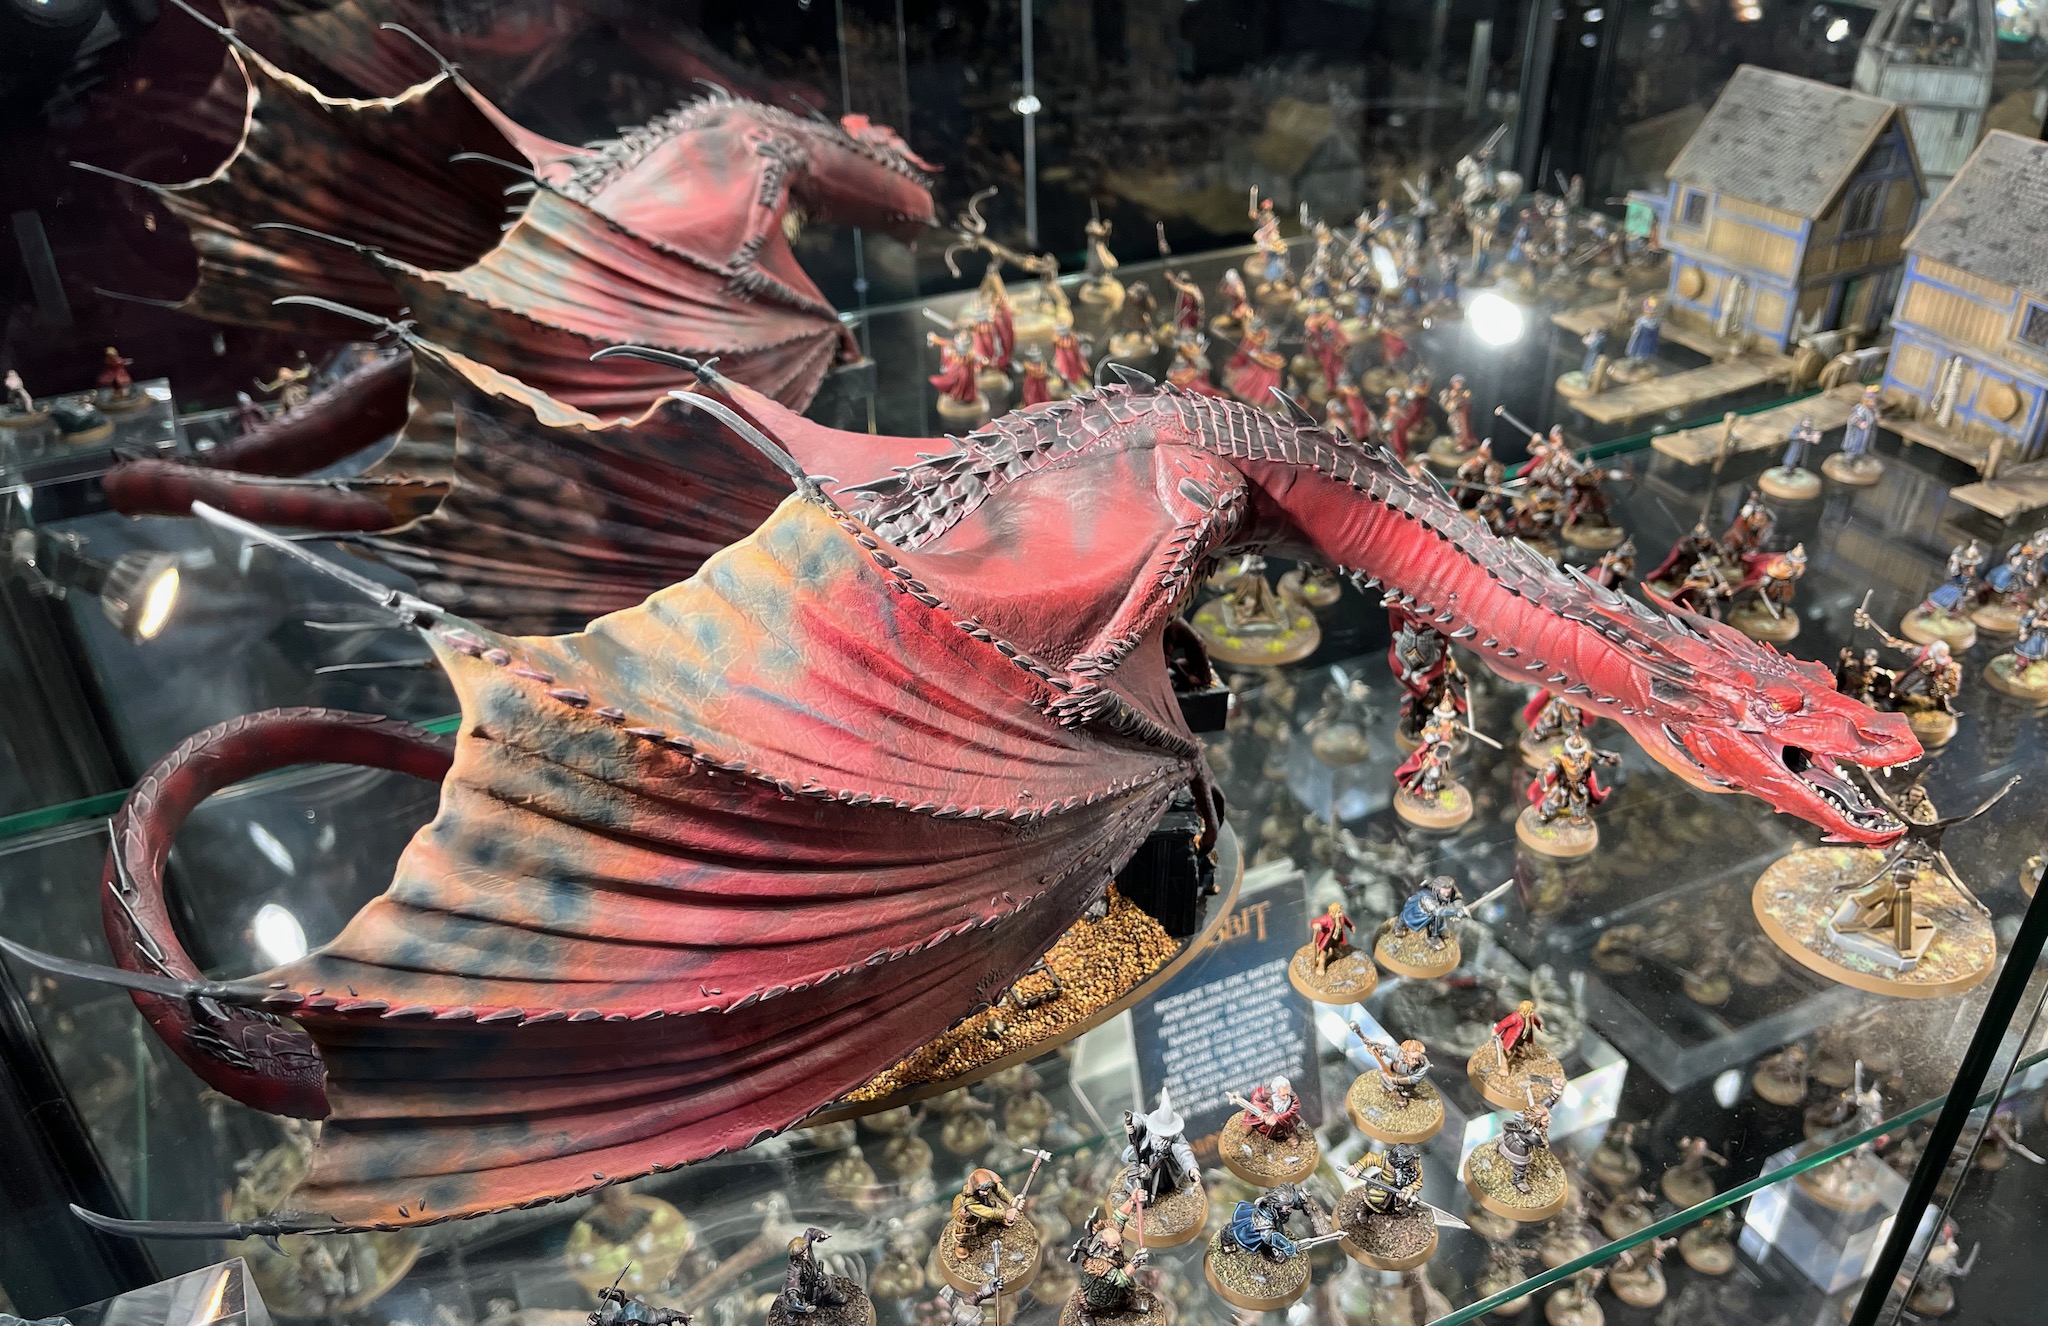
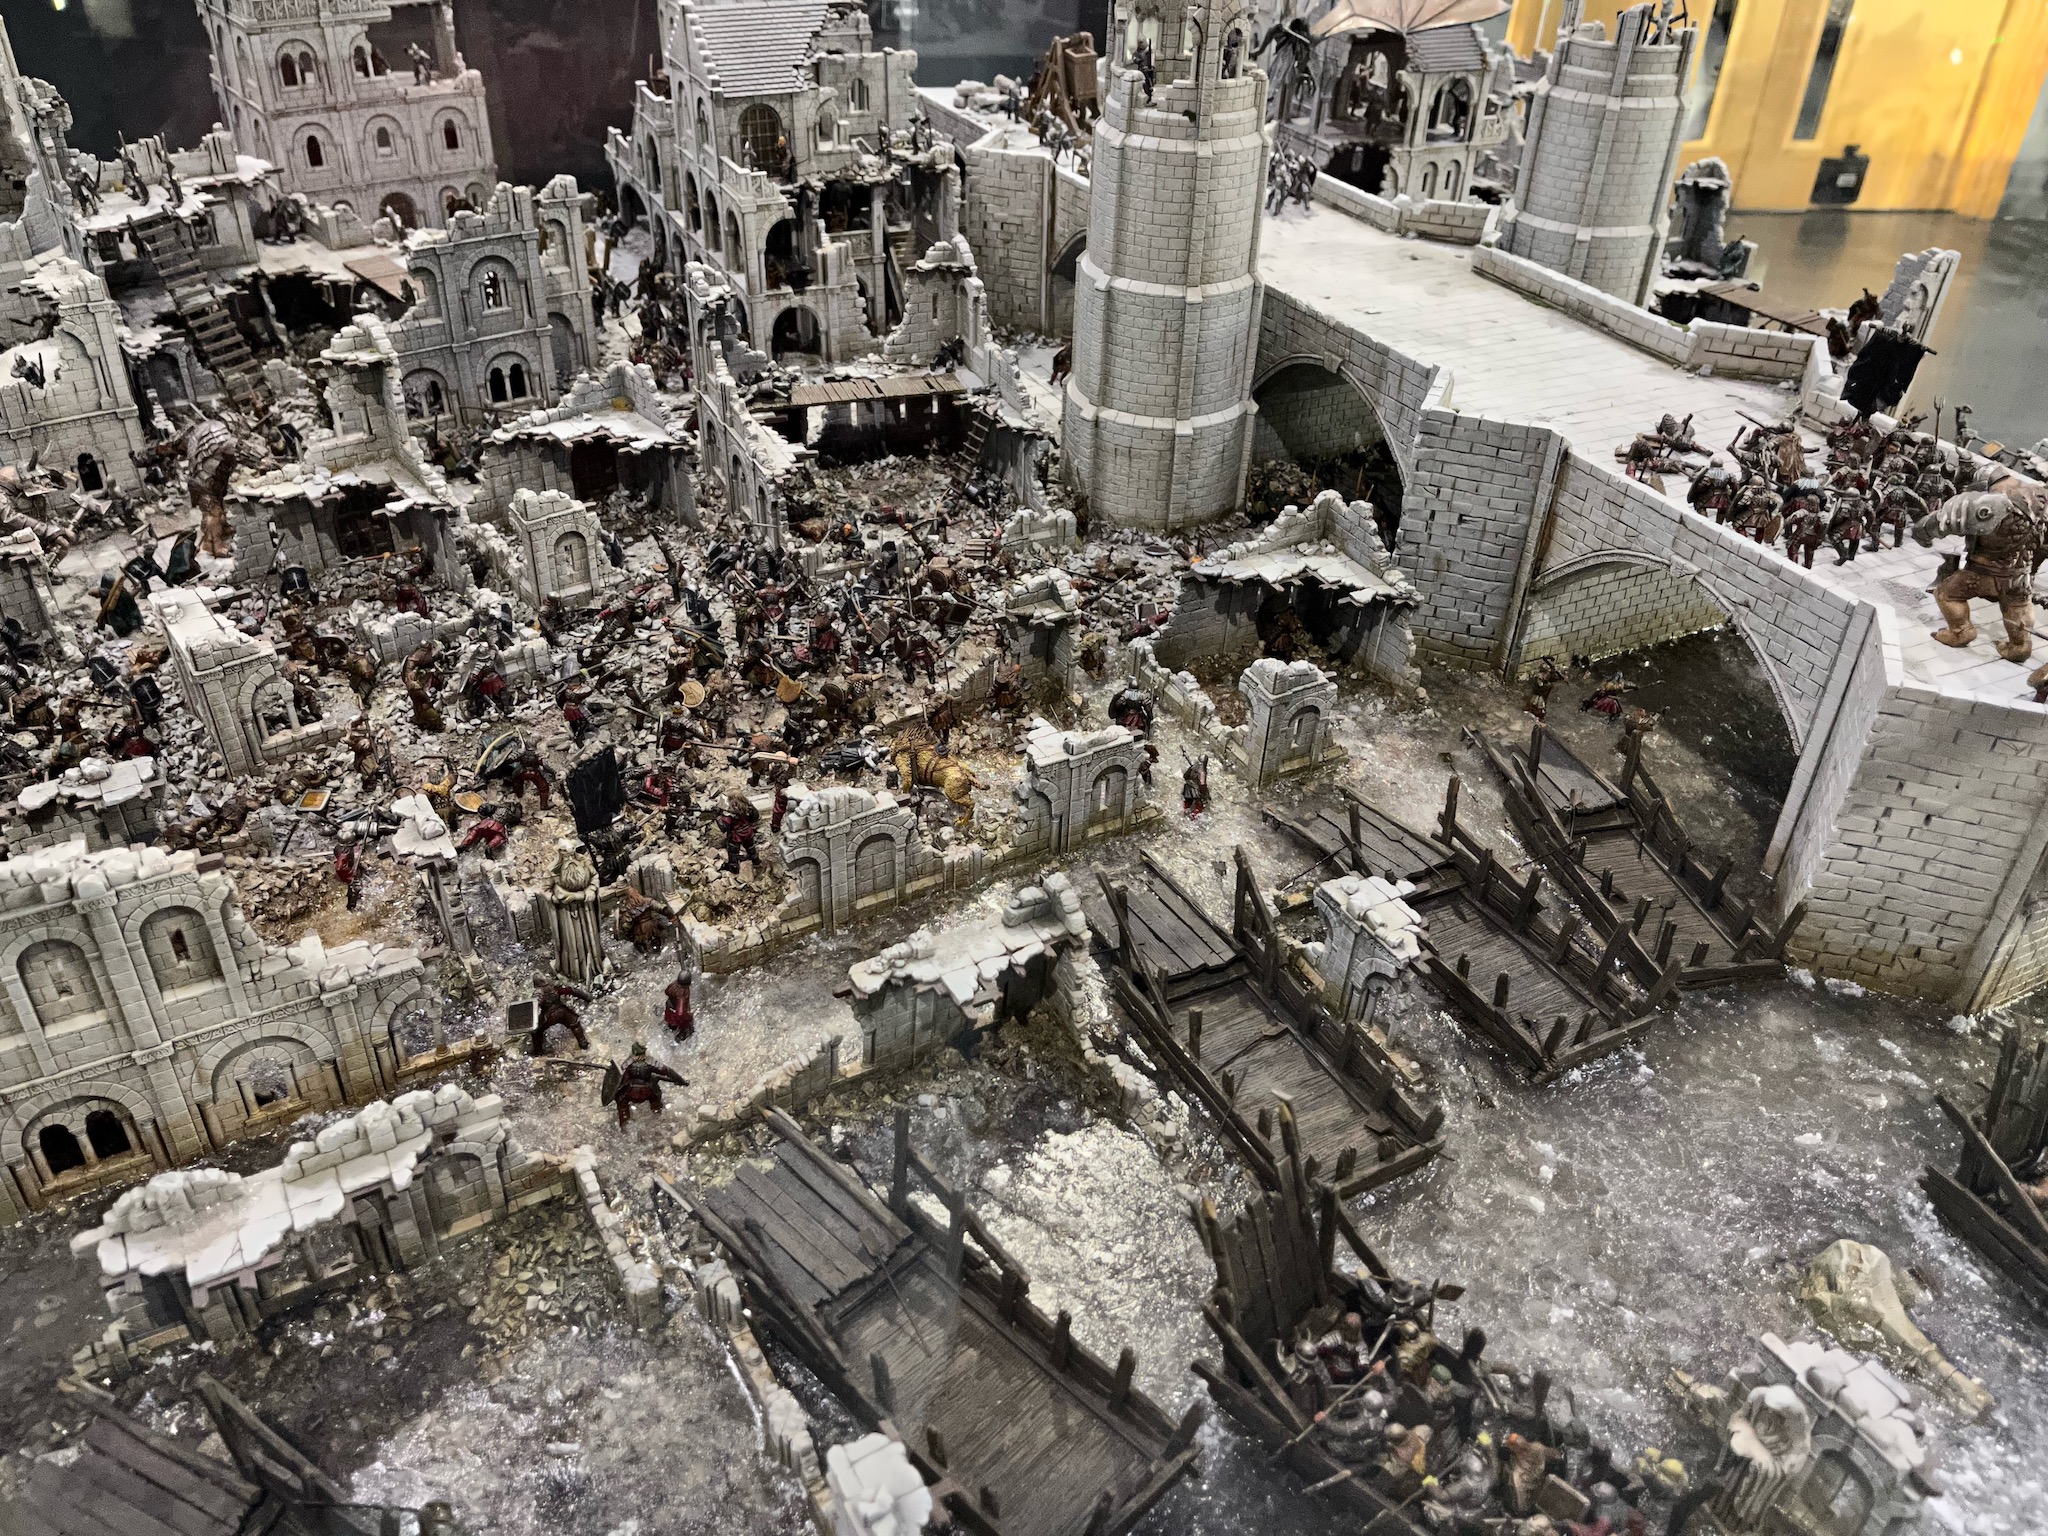
This Battle of Osgiliath diorama was on display at Warhammer World.

Shadows fell upon the ancient, ruined capital of Osgiliath, a city now a shell of its former glory, yet its strategic importance was greater than ever. It was the last river crossing before the gates of Minas Tirith, and the fate of Gondor hinged on its defense. Under the command of Faramir, a weary garrison of men fought desperately to hold the line, but they were no match for the cunning of Sauron. In a brutal, surprise attack under the cover of night, a vast horde of Orcs and men from the East and South crossed the Anduin on secret barges. The fight was a desperate and doomed struggle, and under the terrifying shadow of the Nazgûl, Faramir and his men were forced into a chaotic retreat. The fall of Osgiliath was a devastating defeat, opening the path for the full force of Mordor to lay siege to the White City.

The Battle of Osgiliath

The Battle of Osgiliath

The Battle of Osgiliath

The Battle of Osgiliath

More photographs of The Battle of Osgiliath.

Mûmak

The armies of Harad often employ Mûmakil, massive war-beasts trained by the Mahud, to trample their enemies under colossal hooves.

A Mûmak is nigh unstoppable once is begins its charge, tossing aside enemies like broken dolls.

A Mûmak can break through an enemy line while Haradrim warriors rain deadly arrows from atop the howdah on its mighty back.

More photographs of the Mûmak.

Rohan Stronghold

Under the orders of Saruman, the forces of Isengard have begun their assault on the Kingdom of Rohan. Bands of ruthless Uruk-hai and vengeful Dunlendings have not just come to raid villages and destroy farms, but also to eliminate the people of Rohan. With the Westfold in flames, the Legion of the White Hand turn their attentions to the strongholds of Rohan. Yet these strongholds are well defended and the Rohirrim inside are ready to face overwhelming odds and defend their walls against the onslaught of Uruk-hai and Evil Men that now bear down upon them.

War has come to Rohan…

From the display at Warhammer World.

The Battle of Osgiliath

This amazing diorama was on display at Warhammer World.

The Battle of Osgiliath in the War of the Ring occurred at the ruined city of Osgiliath, shortly before the Siege of Gondor. The Orcs in East Osgiliath had been secretly constructing massive numbers of boats and rafts, and swelled with reinforcements from Harad they swarmed across the River Anduin to Gondor’s positions on the other bank. After heavy fighting, the garrison under Faramir and his troops were forced to flee, first to the Rammas Echor, which held out for a day and then to Minas Tirith itself.

War Mûmak of Harad

The armies of Harad often employ Mumakil, massive war-beasts trained by the Mahud, to trample their enemies under colossal hooves. A Mumak is nigh unstoppable once is begins its charge, tossing aside enemies like broken dolls.

War Mûmak of Harad from the display cabinets at Warhammer World.

A Mumak can break through an enemy line while Haradrim warriors rain deadly arrows from atop the howdah on its mighty back.

War Mûmak of Harad from the display cabinets at Warhammer World.

The miniature is based on those seen in the film version of Lord of the Rings, and is seen in the climatic battles in Return of the King.

See the Mûmak Miniatures Gallery.

Lord of the Rings: Rohan Stronghold

Under the orders of Saruman, the forces of Isengard have begun their assault on the Kingdom of Rohan. Bands of ruthless Uruk-hai and vengeful Dunlendings have not just come to raid villages and destroy farms, but also to eliminate the people of Rohan. With the Westfold in flames, the Legion of the White Hand turn their attentions to the strongholds of Rohan. Yet these strongholds are well defended and the Rohirrim inside are ready to face overwhelming odds and defend their walls against the onslaught of Uruk-hai and Evil Men that now bear down upon them.

War has come to Rohan…

From the display at Warhammer World.

Created in 2019.

The Battle of Osgiliath

This amazing diorama was on display at Warhammer World.

The Battle of Osgiliath in the War of the Ring occurred at the ruined city of Osgiliath, shortly before the Siege of Gondor.

The Orcs in East Osgiliath had been secretly constructing massive numbers of boats and rafts, and swelled with reinforcements from Harad they swarmed across the River Anduin to Gondor’s positions on the other bank.

After heavy fighting, the garrison under Faramir and his troops were forced to flee, first to the Rammas Echor, which held out for a day and then to Minas Tirith itself.

Battle of the Pelennor Fields

Witch-king of Angmar

The Battle of the Pelennor Fields was a battle for the city of Minas Tirith, and ultimately for Gondor, immediately following a large-scale siege of Minas Tirith by Sauron’s army. It was the greatest battle of the War of the Ring, and indeed the largest of the entire Third Age. Major casualties resulted from the battle, including the deaths of King Théoden and the Witch-king of Angmar.

This Lord of the Rings Battle Game diorama was on display in the entrance hall at Warhammer World.

More photographs of the Battle of the Pelennor Fields diorama.