Having recently purchased the Wings of Vengeance boxed set I was expecting that it might take a little time for the models to be built and painted. I am a bit slow when it comes to modelling, mainly in finding the time. So finding some room and time I decided to build a couple of the models from the Aeronautica Imperialis boxed set. I had a choice of four different aircraft, and it was quite difficult to choose which to do, initially torn between the Fighta Bommer and the Thunderbolts, I decided, let’s for the Orks first.
There are two of these Fighta Bommers in the Wings of Vengeance boxed set. This is the painted version on the GW website.
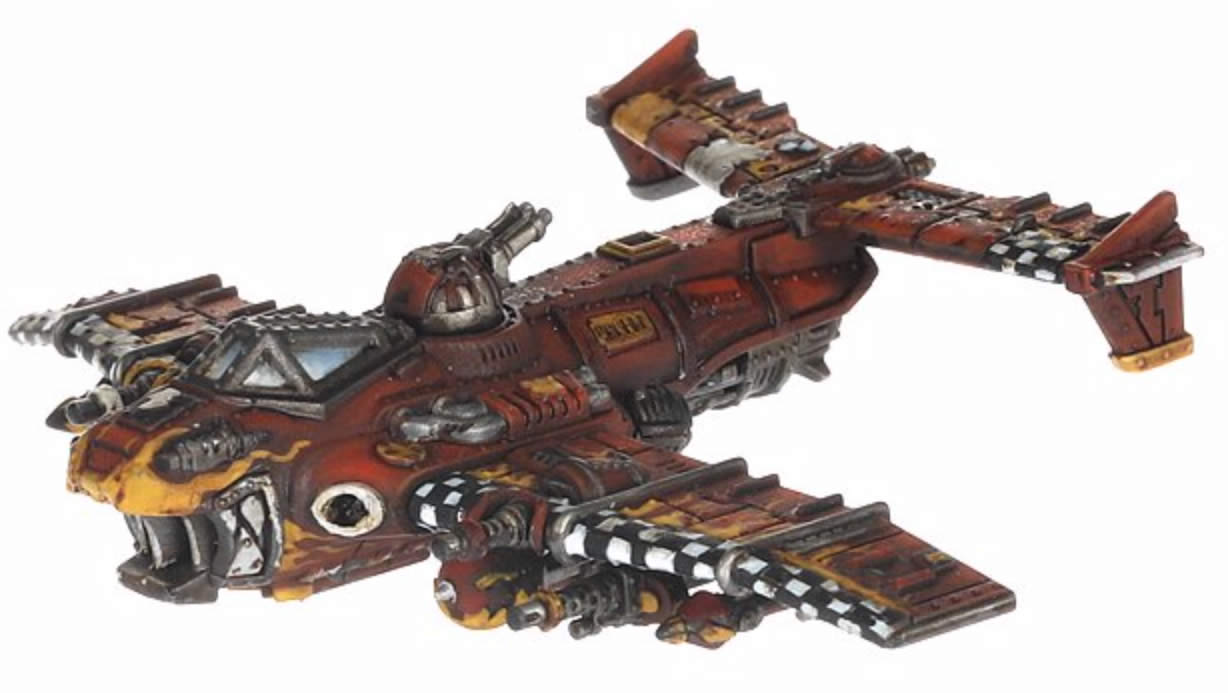
Laden with heavy armour and an even heavier payload of guns, rokkits and bombs, the Fighta Bommer is built with a single principle in mind – might makes right! This flexible aircraft does exactly what its name implies, serving as both an attack fighter and a bomber. It is equipped with quad big shootas, turret big shootas, and an ever-handy tail gun with which to defend itself against enemy fighters.
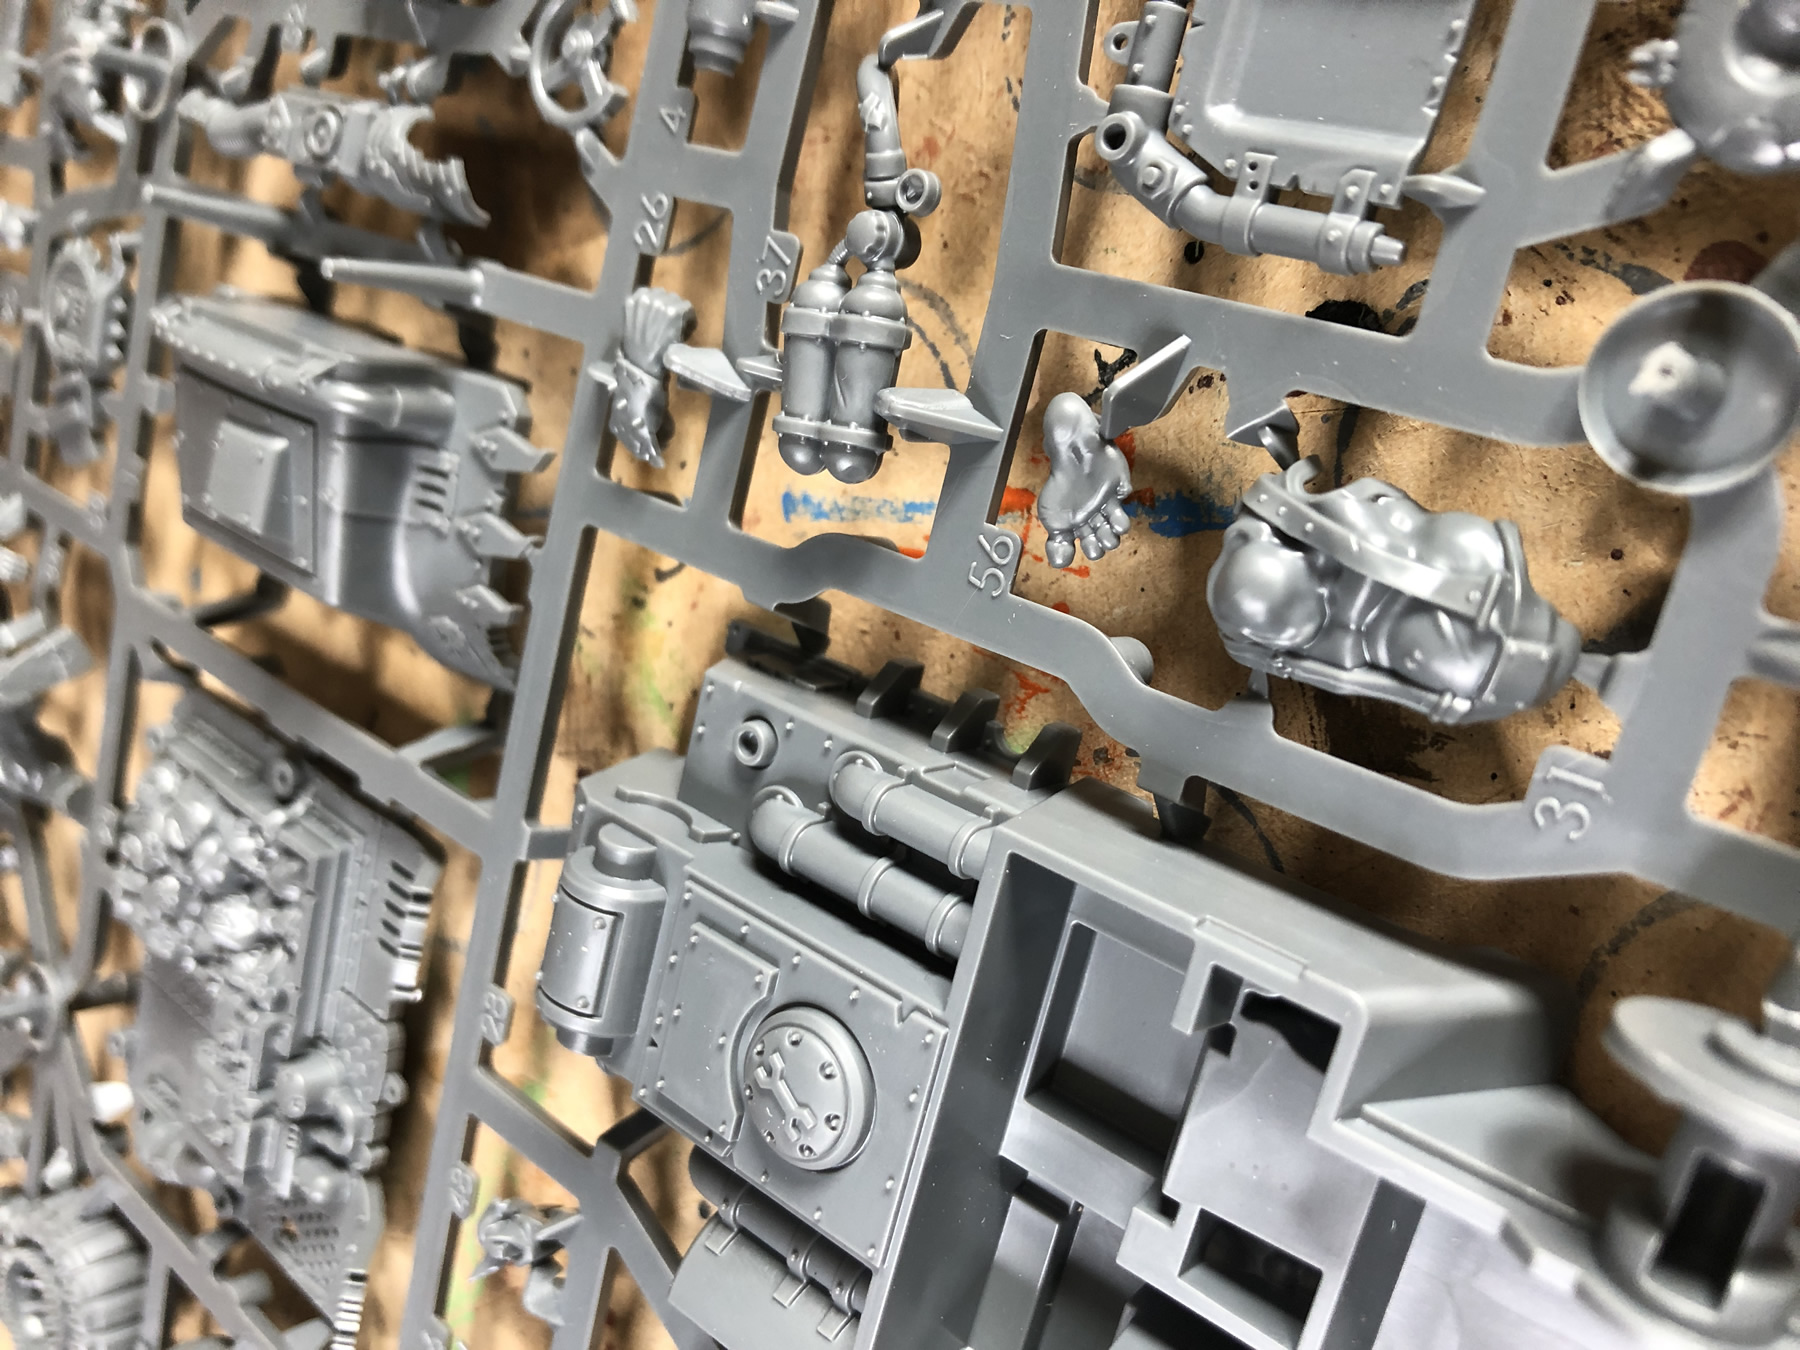
Here is the sprue for the two models.
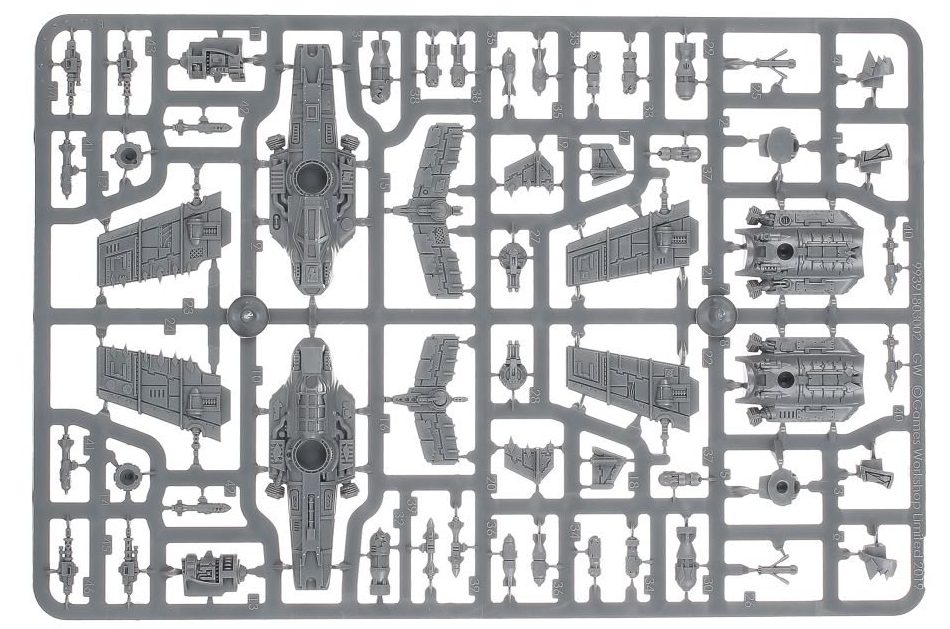
There are two different versions on the single sprue. The boxed set has instructions for all four aircraft (as might be expected) and though there looks like lots of parts, they are quite simple to put together. The number of parts is about the number of weapon choices you can have.
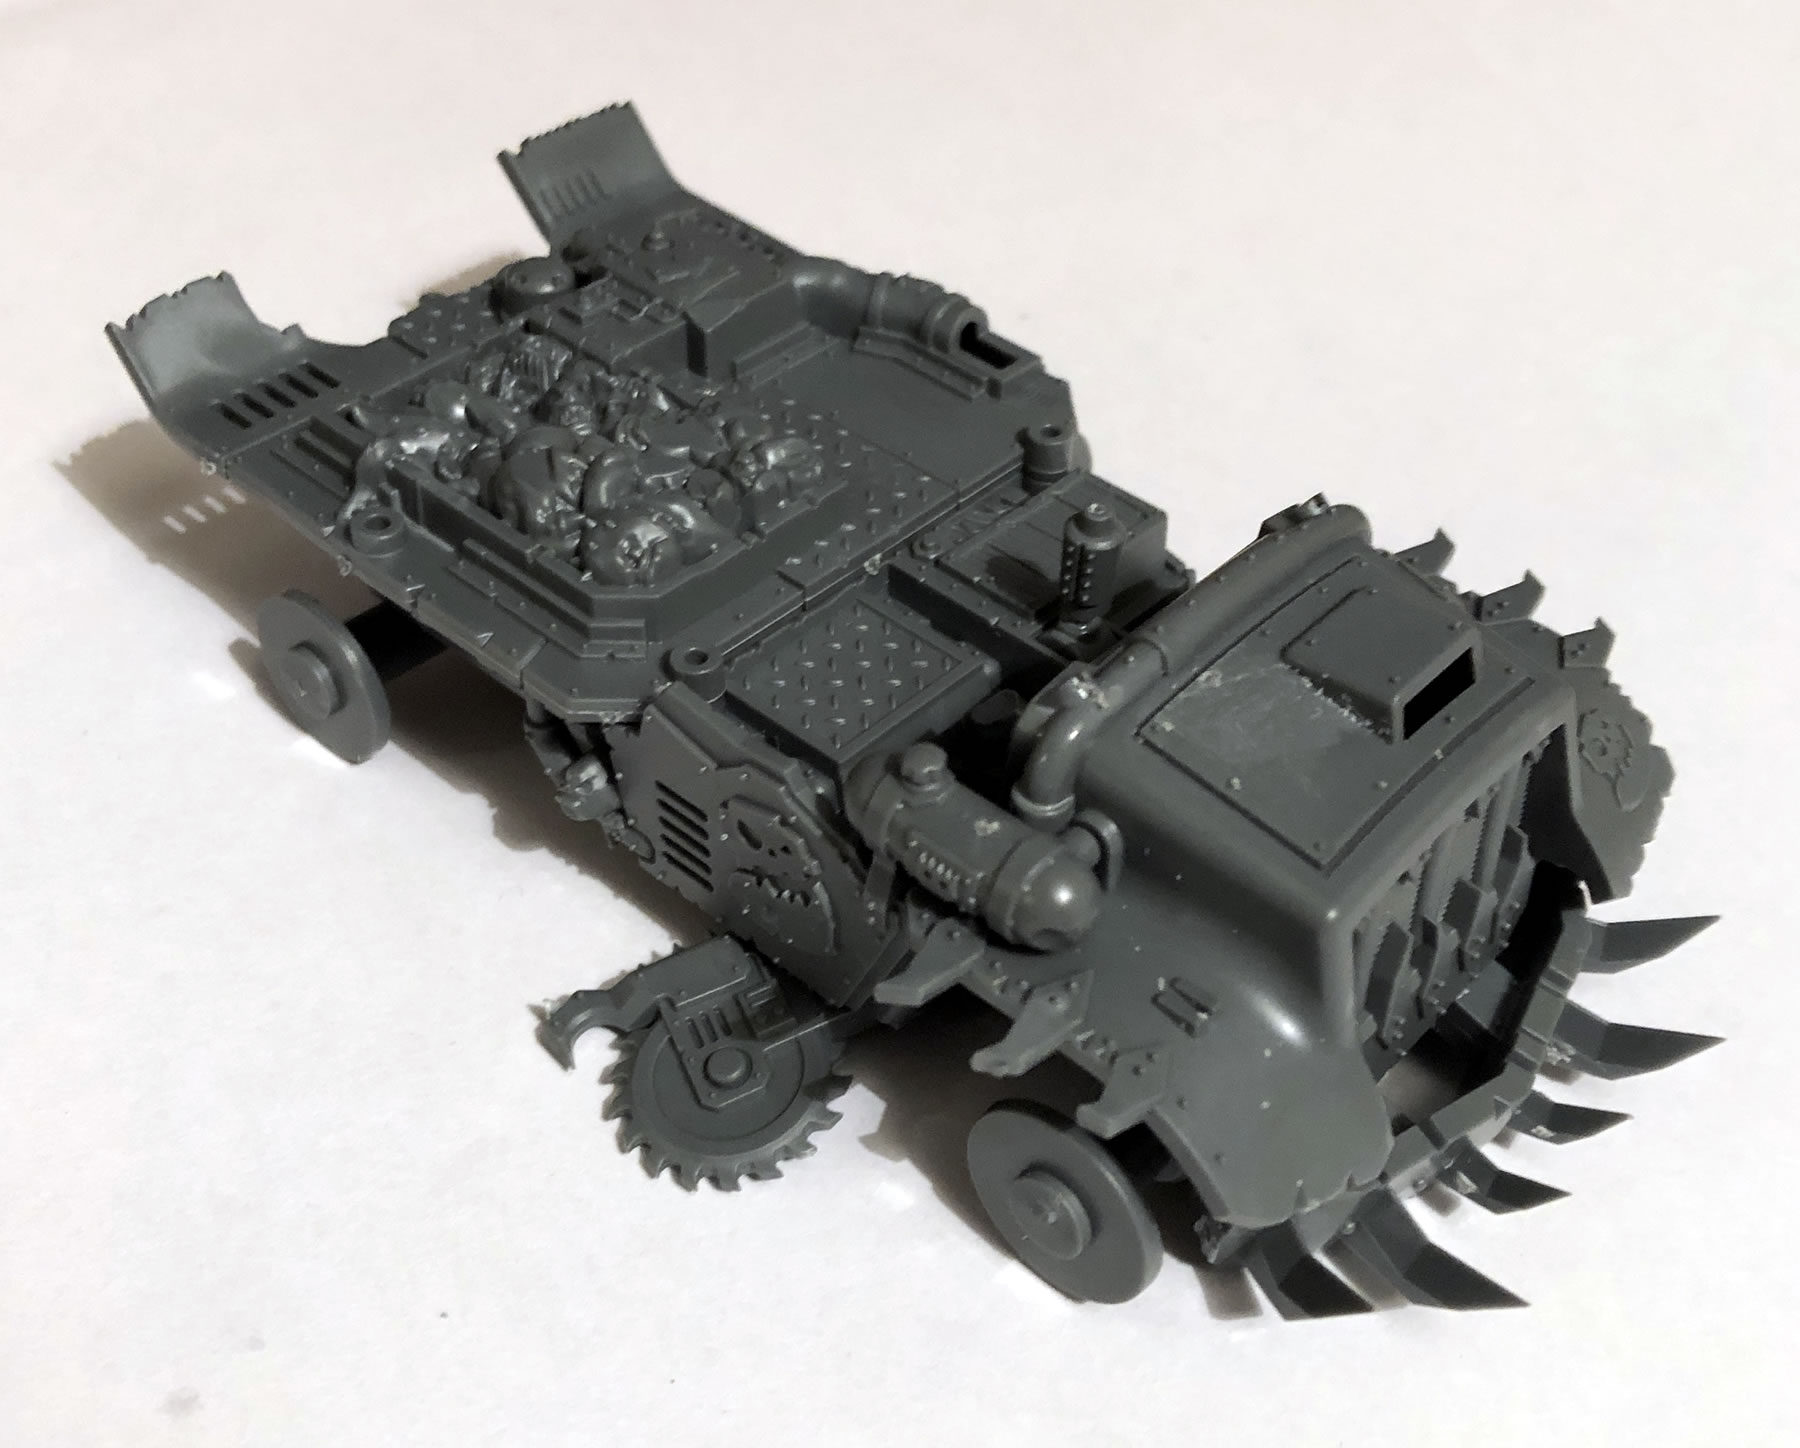
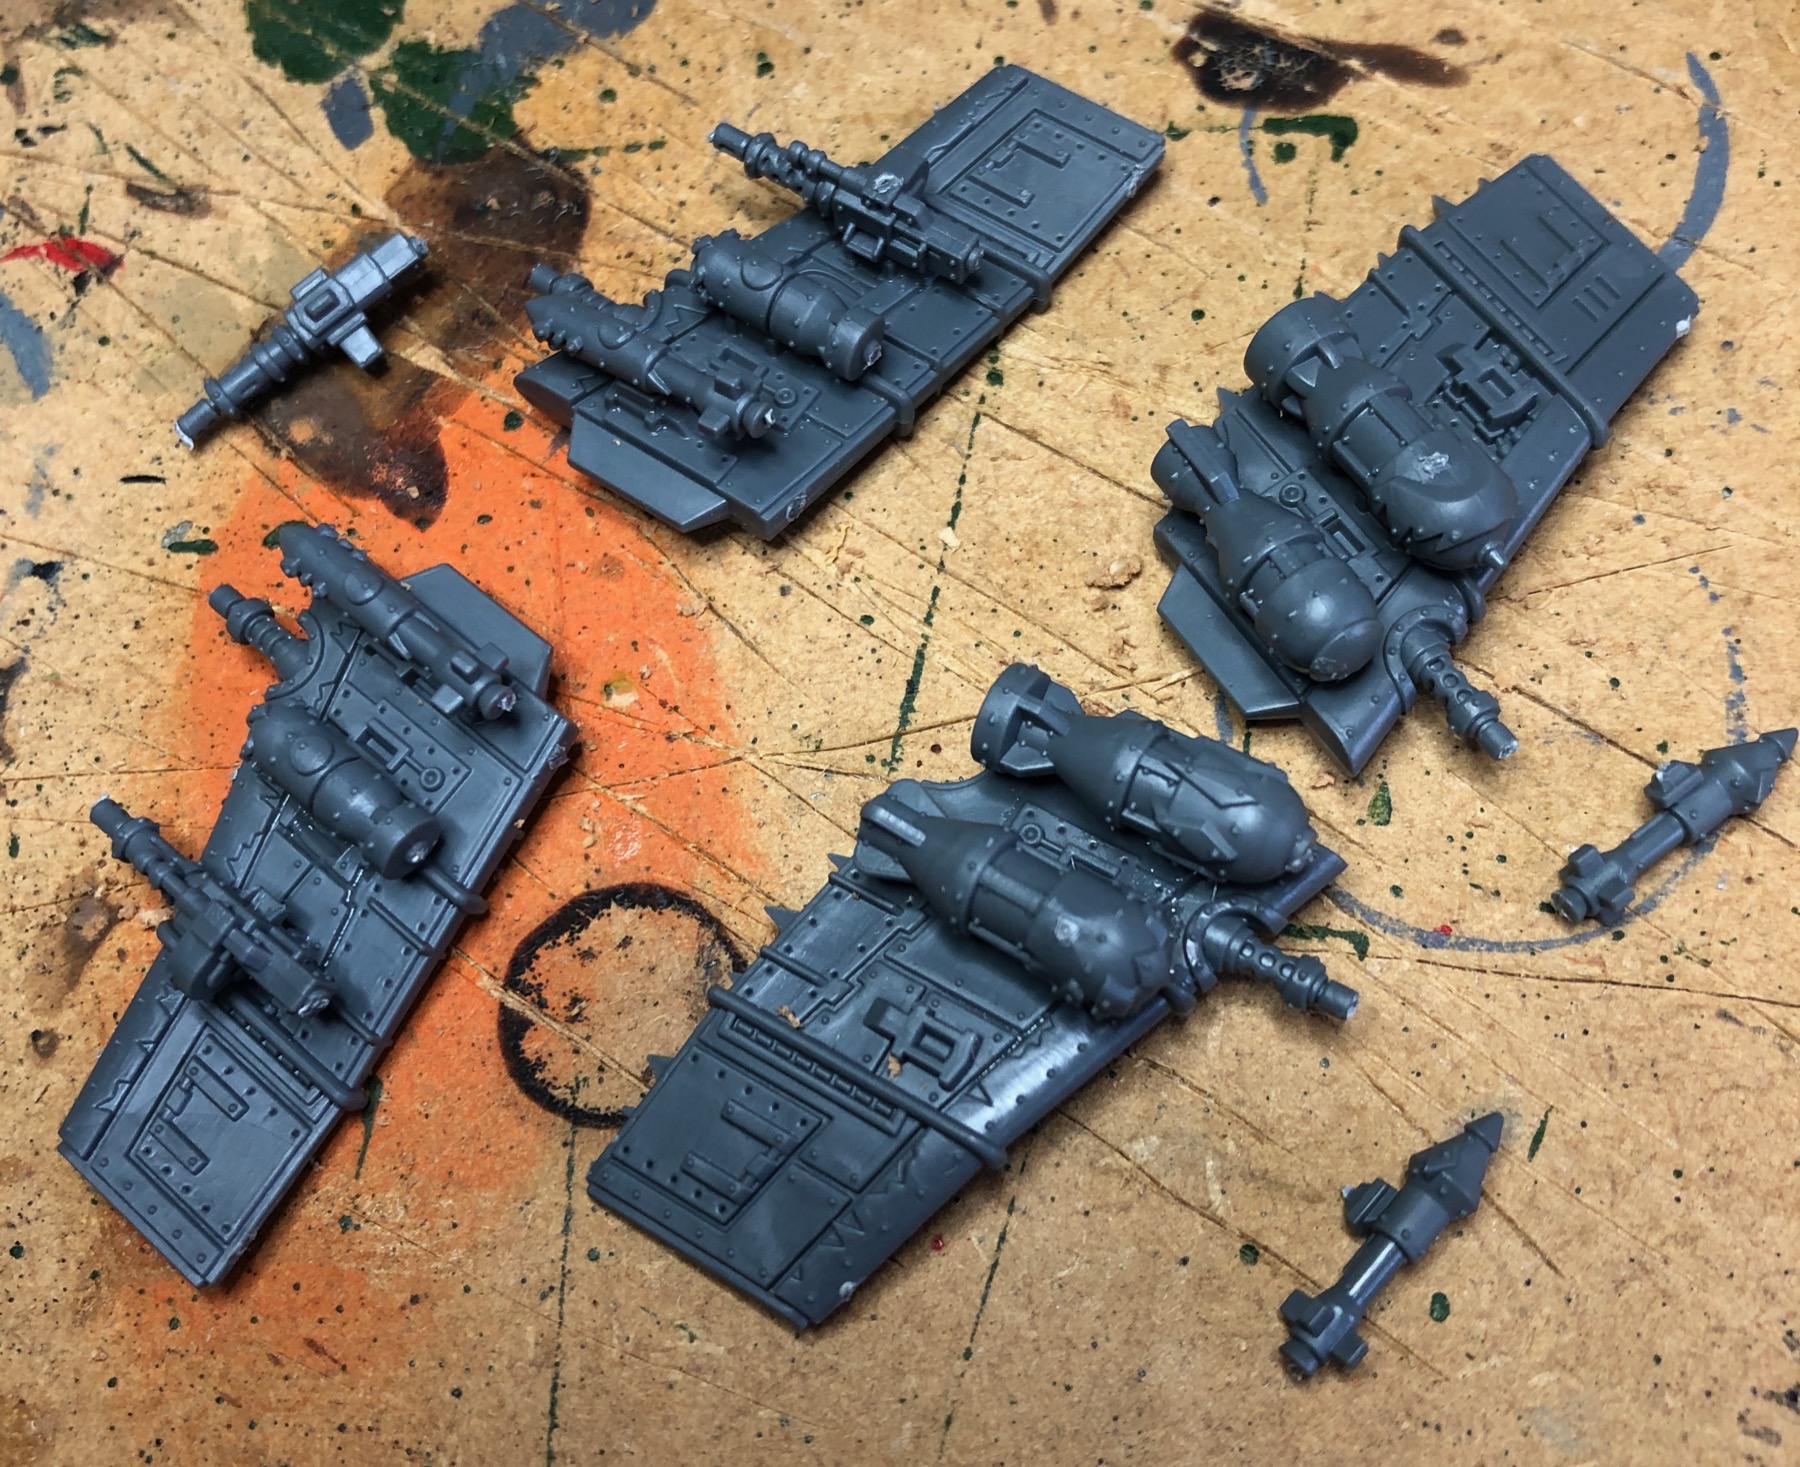
The initial stage is the nose and forward weapons. There are two versions included in the model. So in theory you can mix and match if you get more kits later. The nose is then added to the fuselage and the main engine added to the rear.

There are also two tail variants, adding the number of options you can have to create different versions of the same jet (very Orky). In theory I should have added the wings to the model before adding the armament, but in the end I decided to add the bombs, rockets and big shootaz to the wings before sticking them to the fuselage.
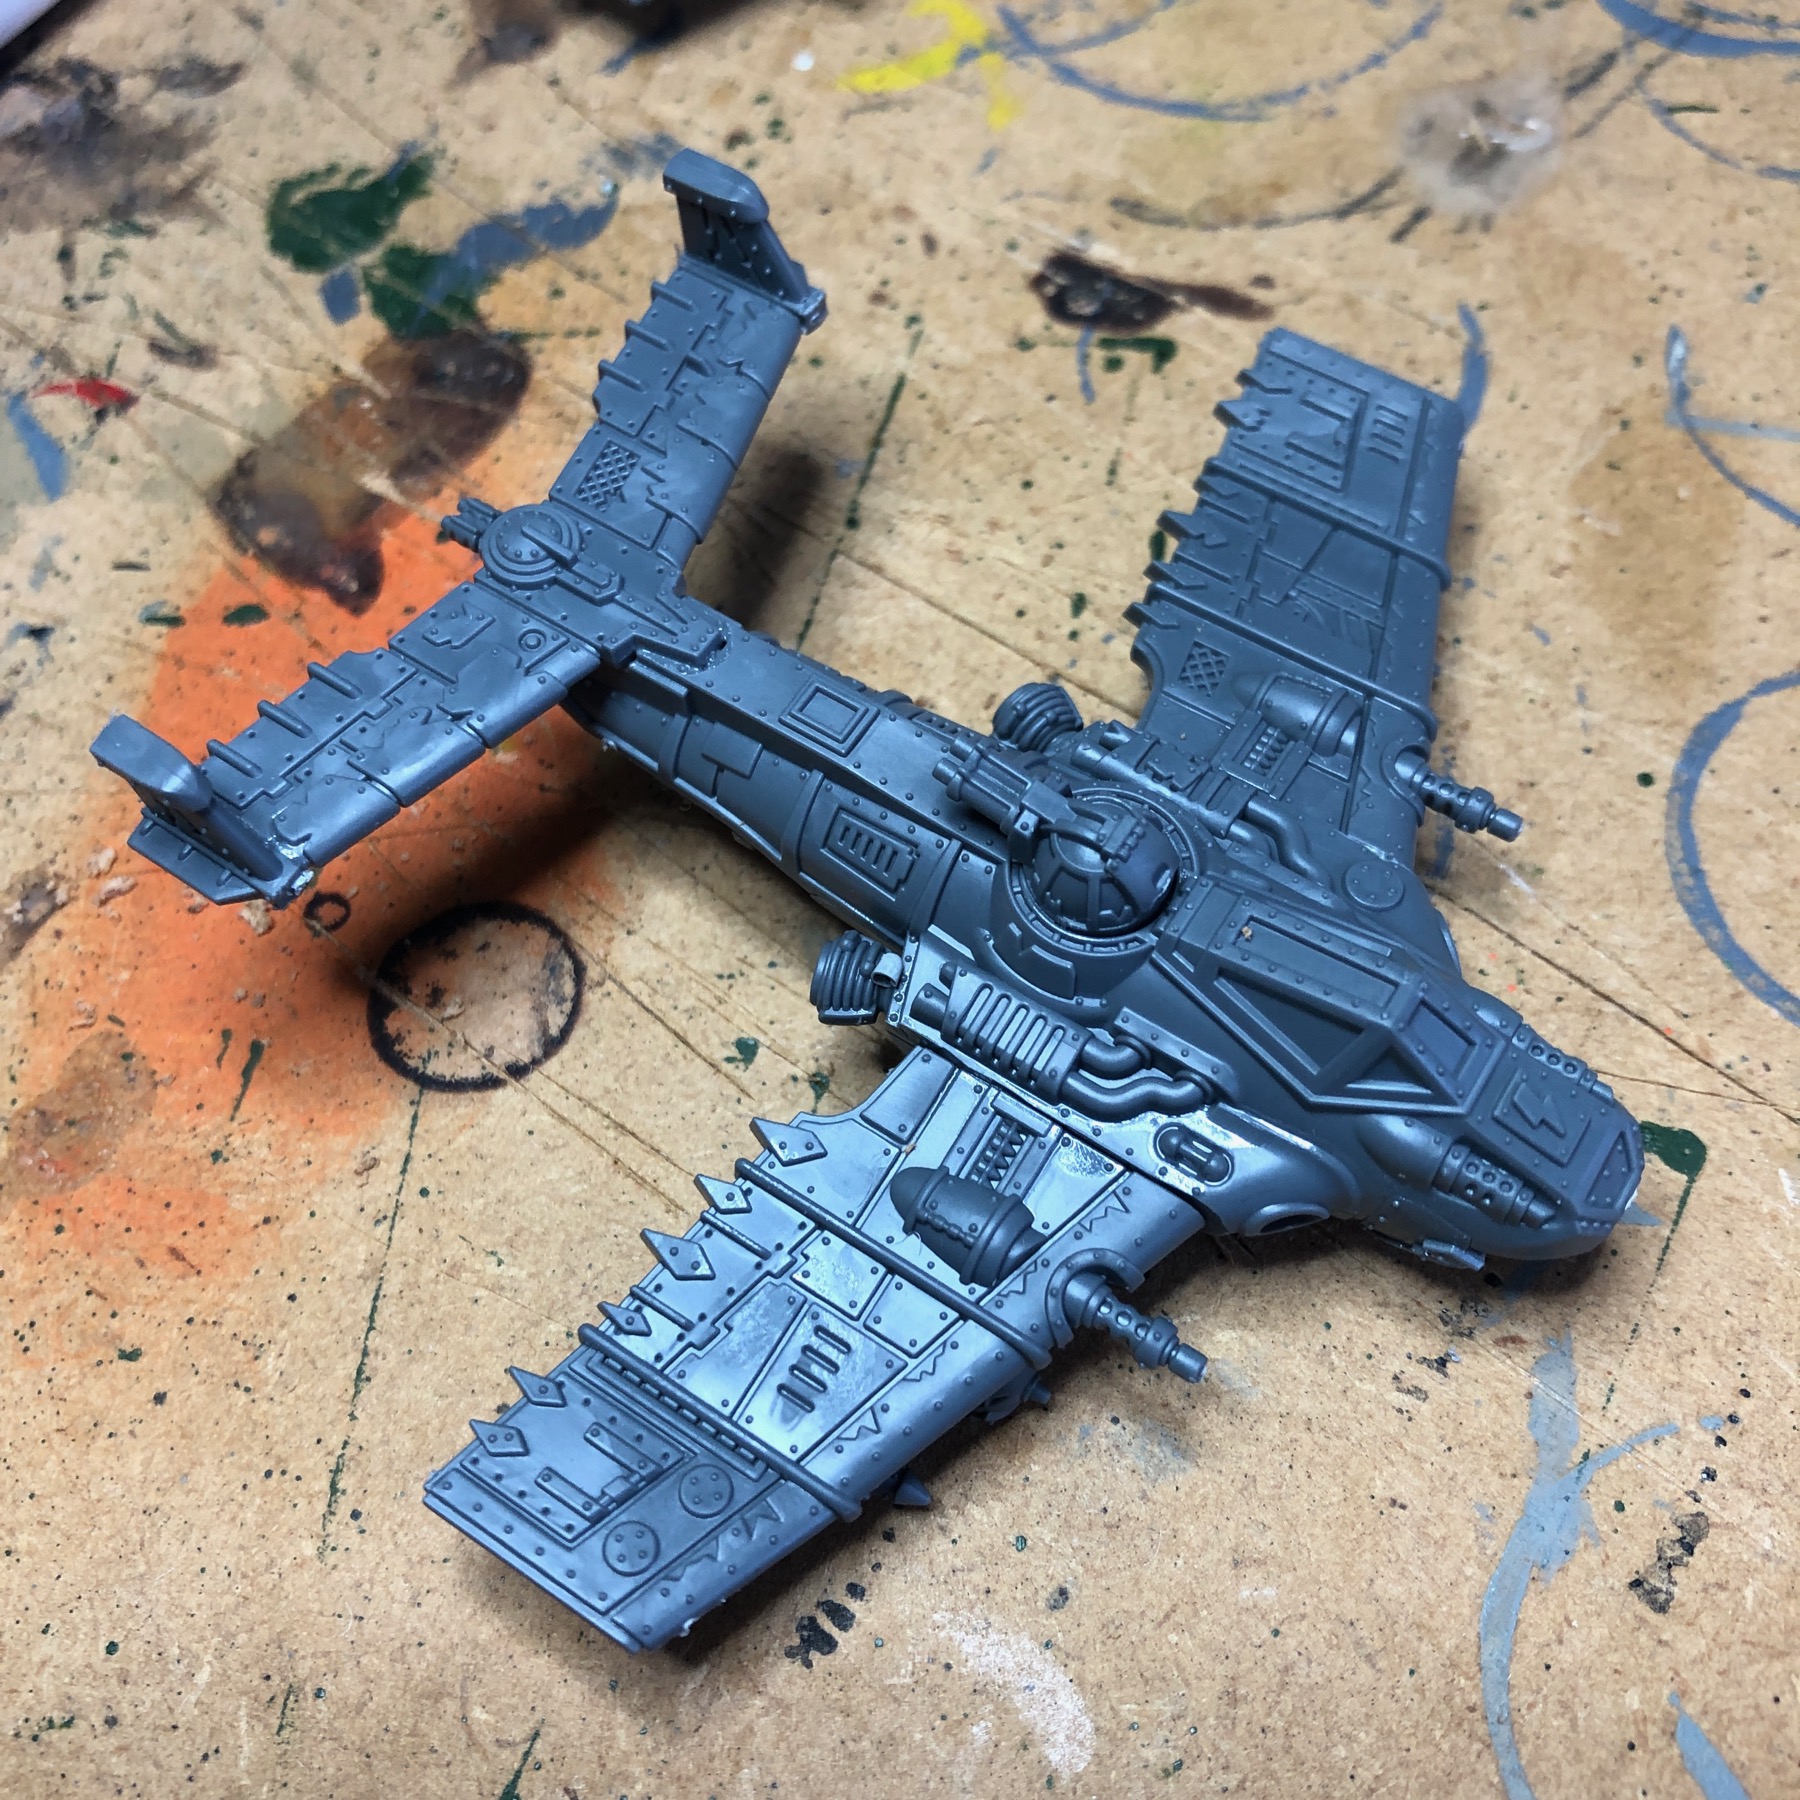
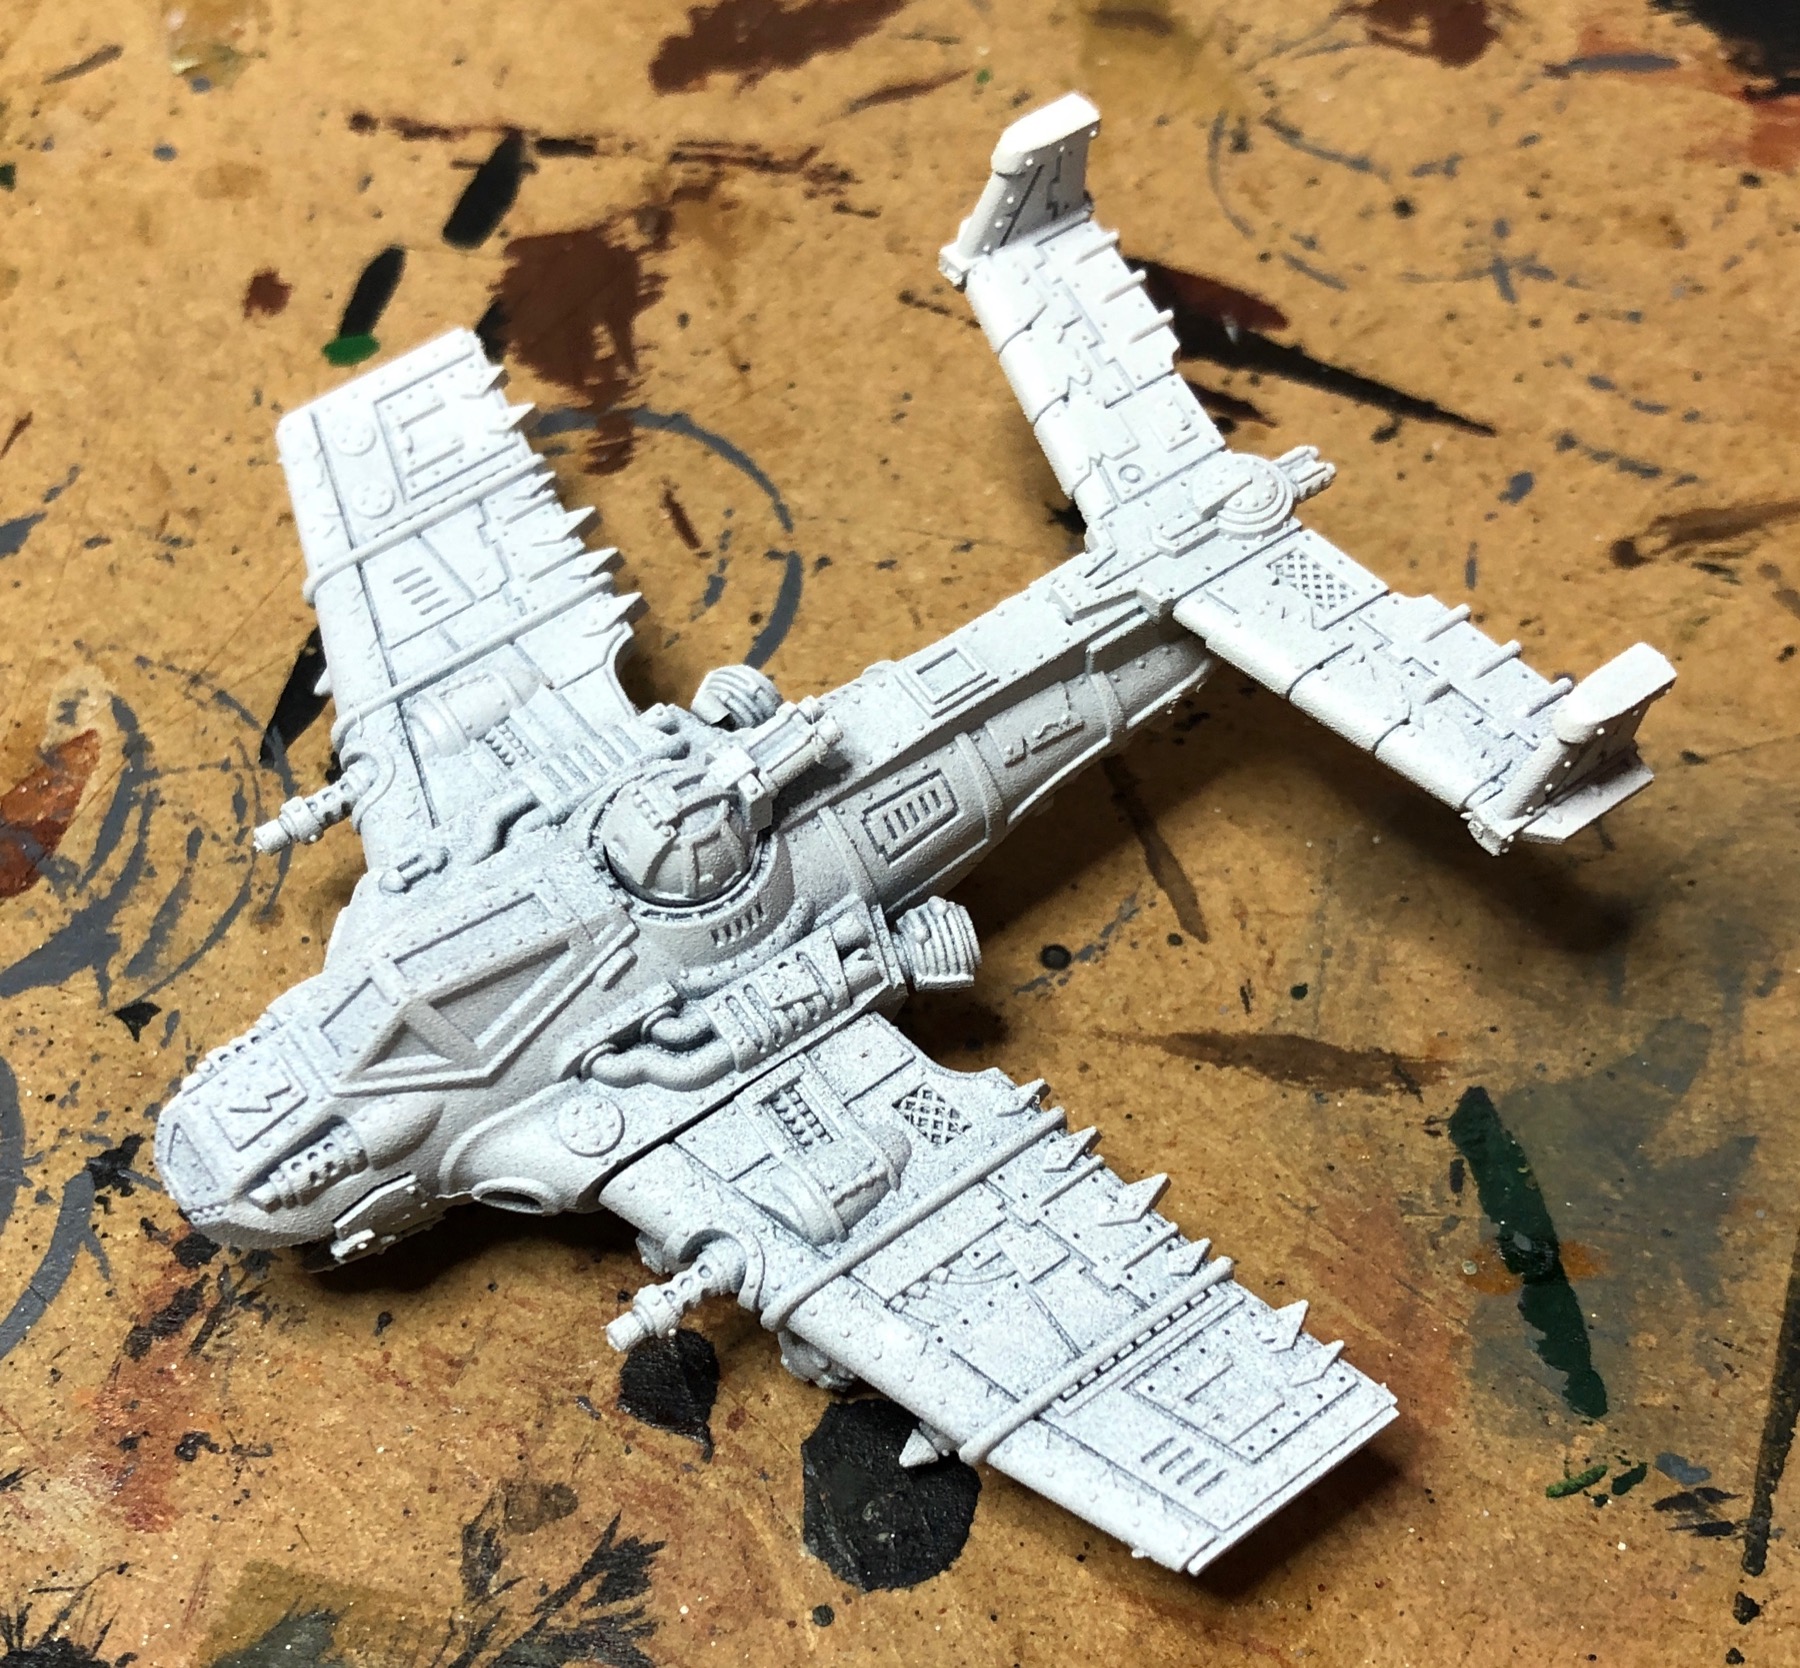
Here are the completed models prior to undercoating.
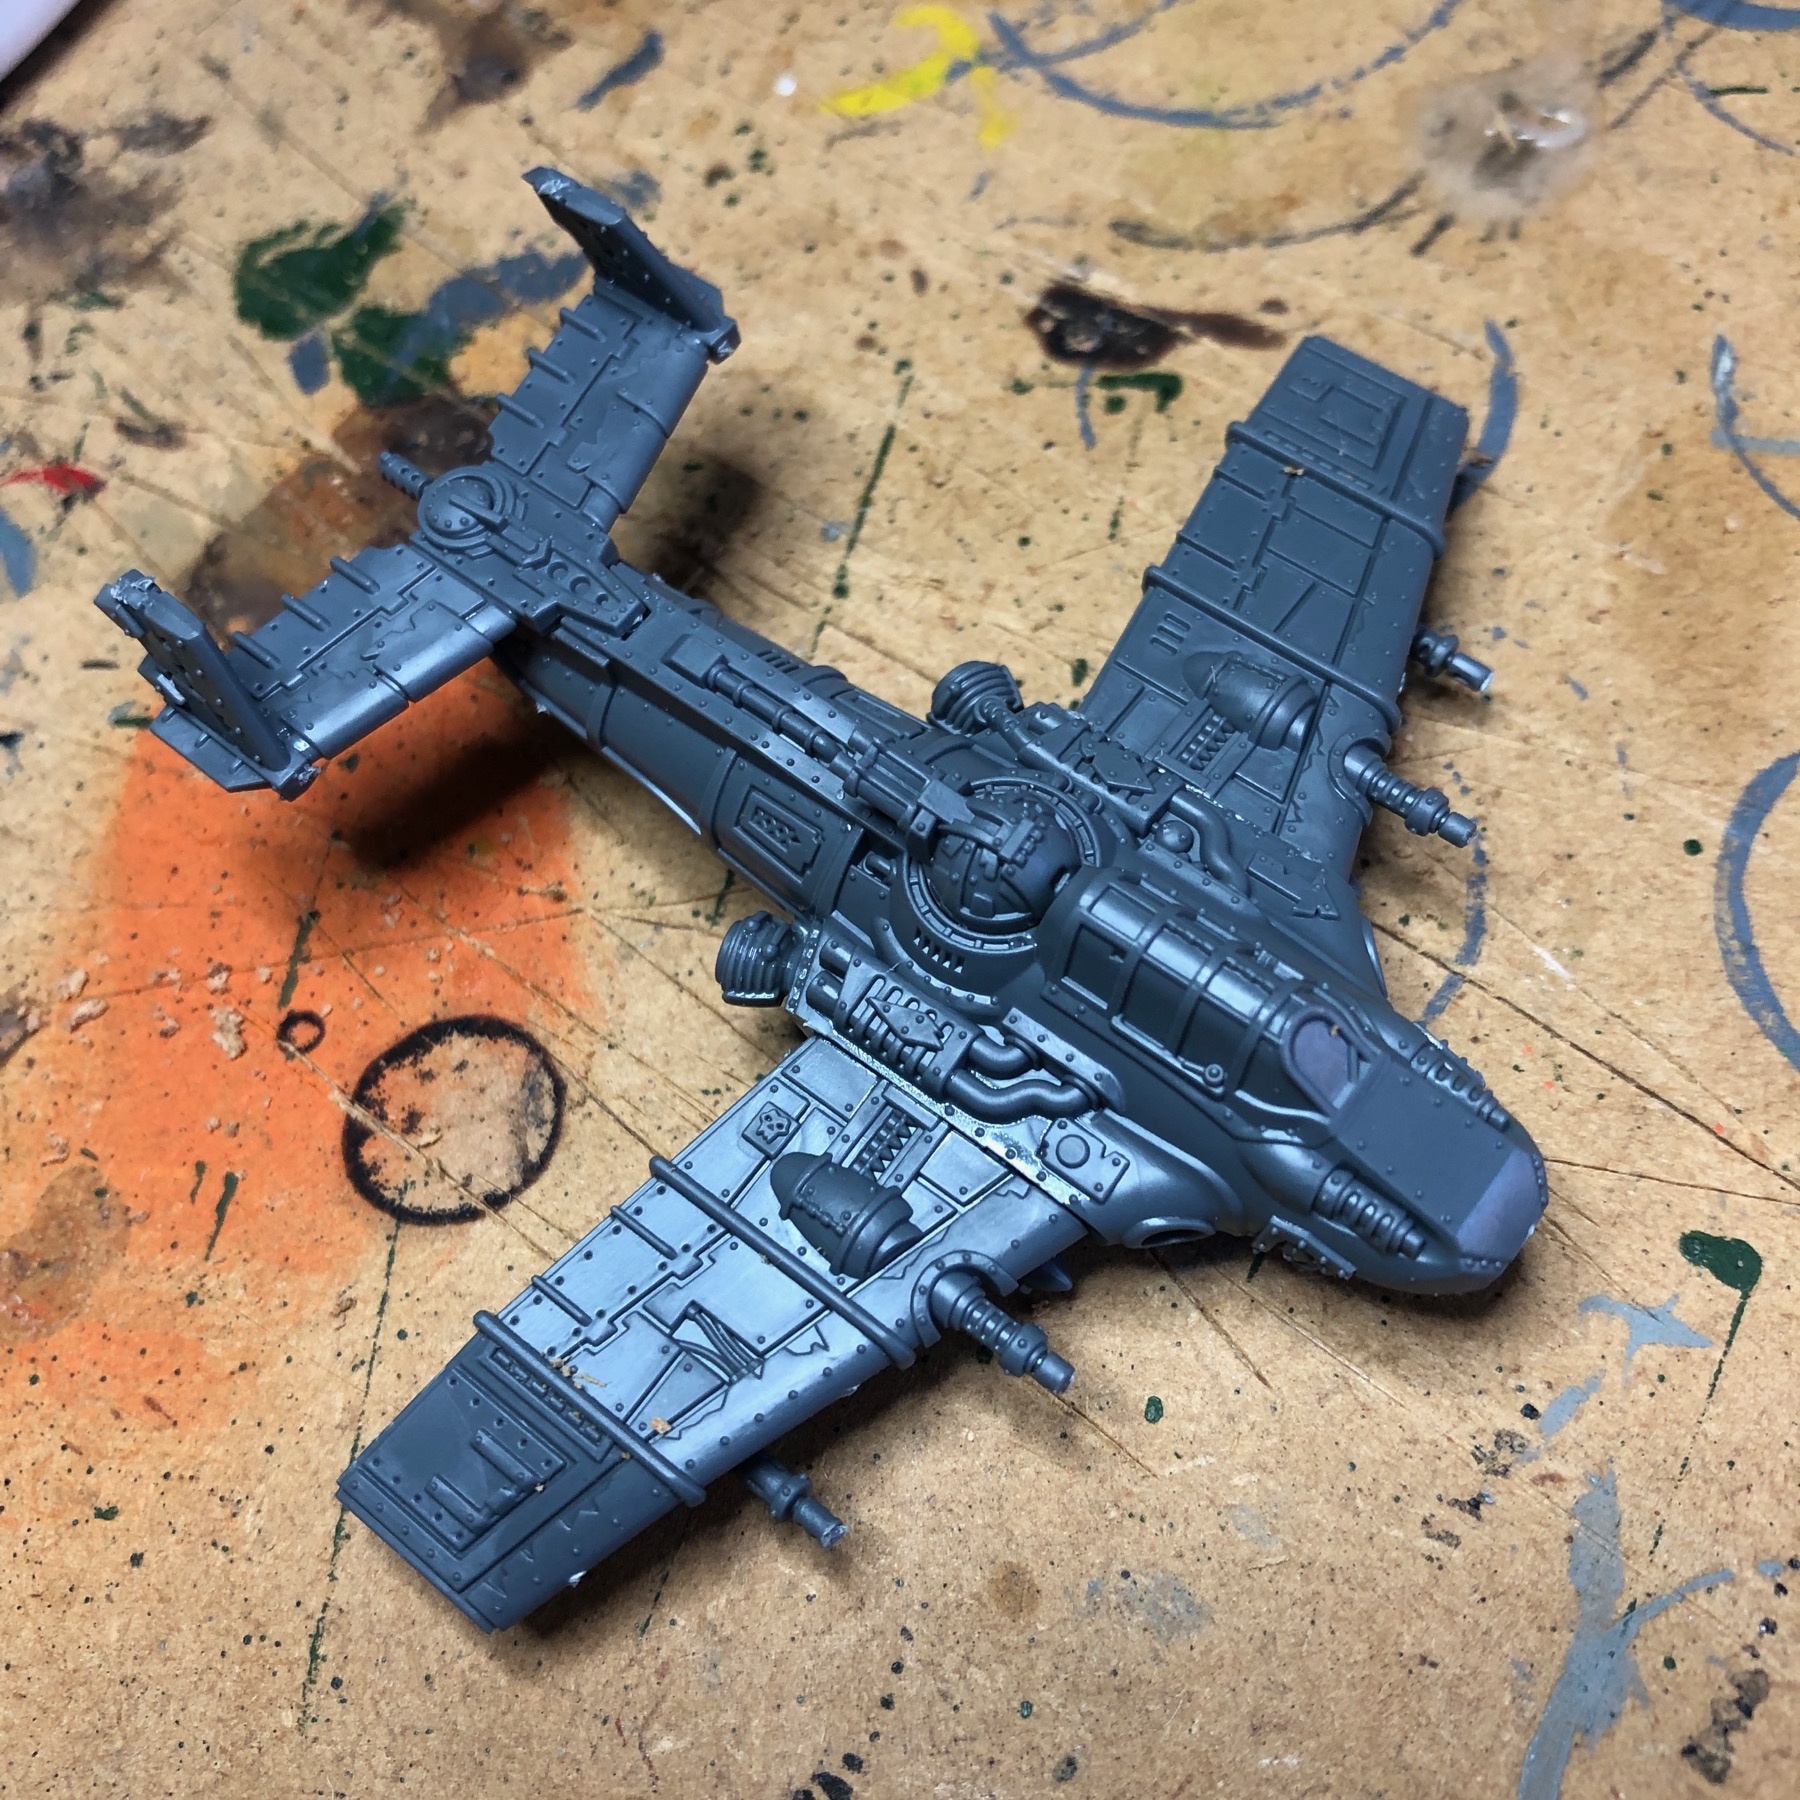
Considering their size, these are really detailed models and are reminiscent of their larger Forge World 40K cousins.
I gave the models a white undercoat, using a spray on both sides.

The next stage will be the base coat.
I am still decided which colour they should be, thinking orange!