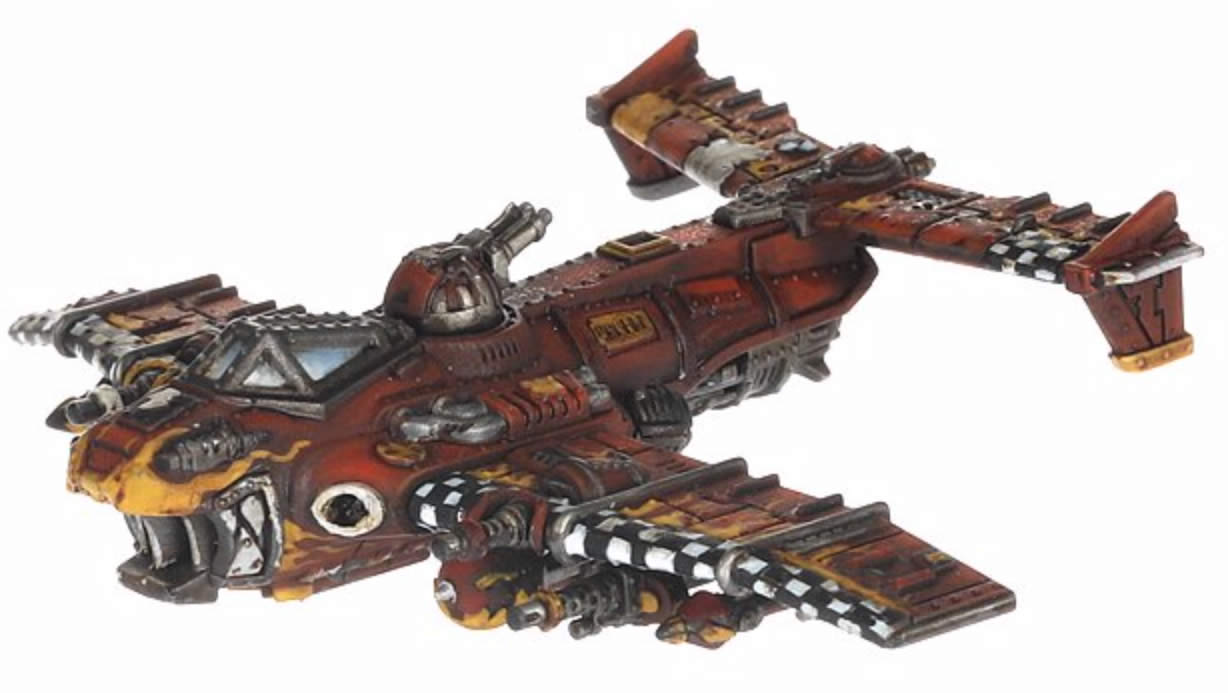
Laden with heavy armour and an even heavier payload of guns, rokkits and bombs, the Fighta Bommer is built with a single principle in mind – might makes right! This flexible aircraft does exactly what its name implies, serving as both an attack fighter and a bomber. It is equipped with quad big shootas, turret big shootas, and an ever-handy tail gun with which to defend itself against enemy fighters.
There are two of these in the Wings of Vengeance boxed set. This is the painted version on the GW website.
Here is the sprue for the two models.
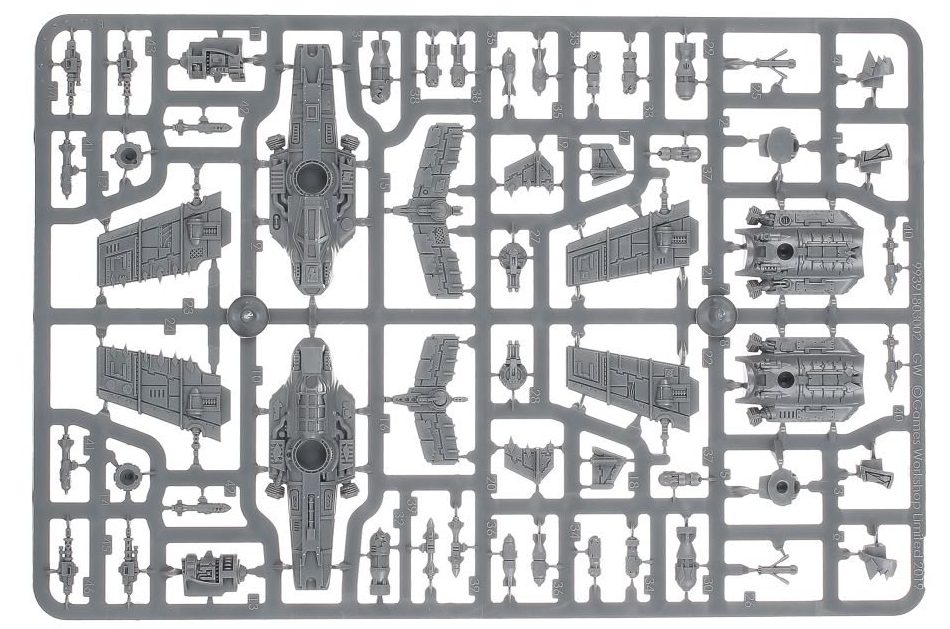
There are two different versions on the single sprue. The boxed set has instructions for all four types of aircraft (as might be expected) and though there looks like lots of parts, they are quite simple to put together. The number of parts is about the number of weapon choices you can have.
The initial stage is the nose and forward weapons. There are two versions included in the model. So in theory you can mix and match if you get more kits later. The nose is then added to the fuselage and the main engine added to the rear.

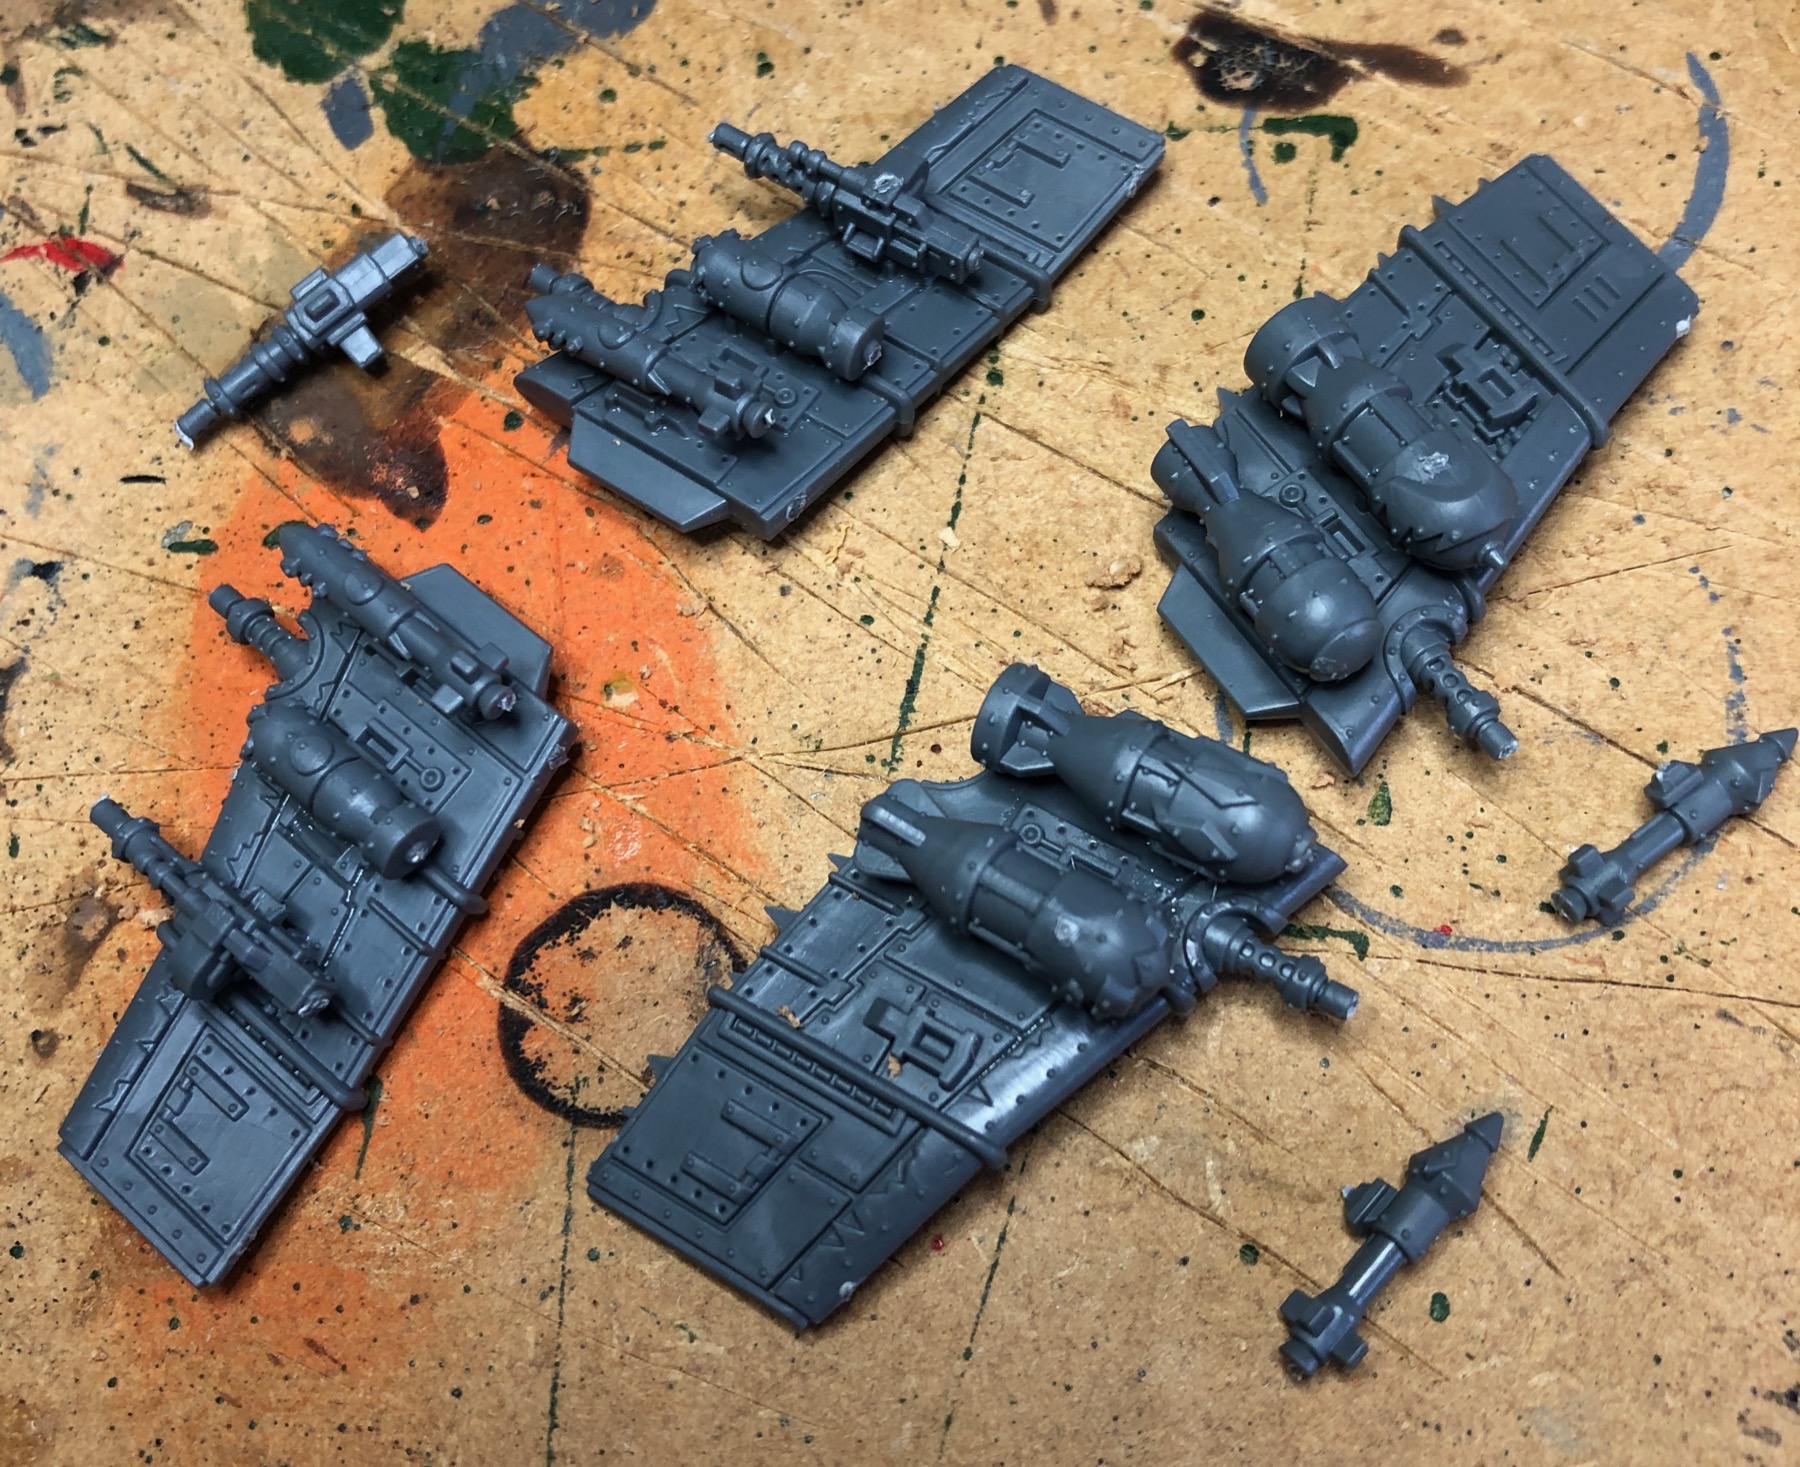
There are also two tail variants, adding the number of options you can have to create different versions of the same jet (very Orky). In theory I should have added the wings to the model before adding the armament, but in the end I decided to add the bombs, rockets and big shootaz to the wings before sticking them to the fuselage. I was going to put big shootaz on both models, but one of the guns broke when I was snipping it off the sprue. One one of the models I put both large bombs on the wing, you can imagine a Grot getting a little to enthusiastic about adding bigger and bigger bombs to their plane and then the Ork pilot wondering why his plane was handling like a dog!
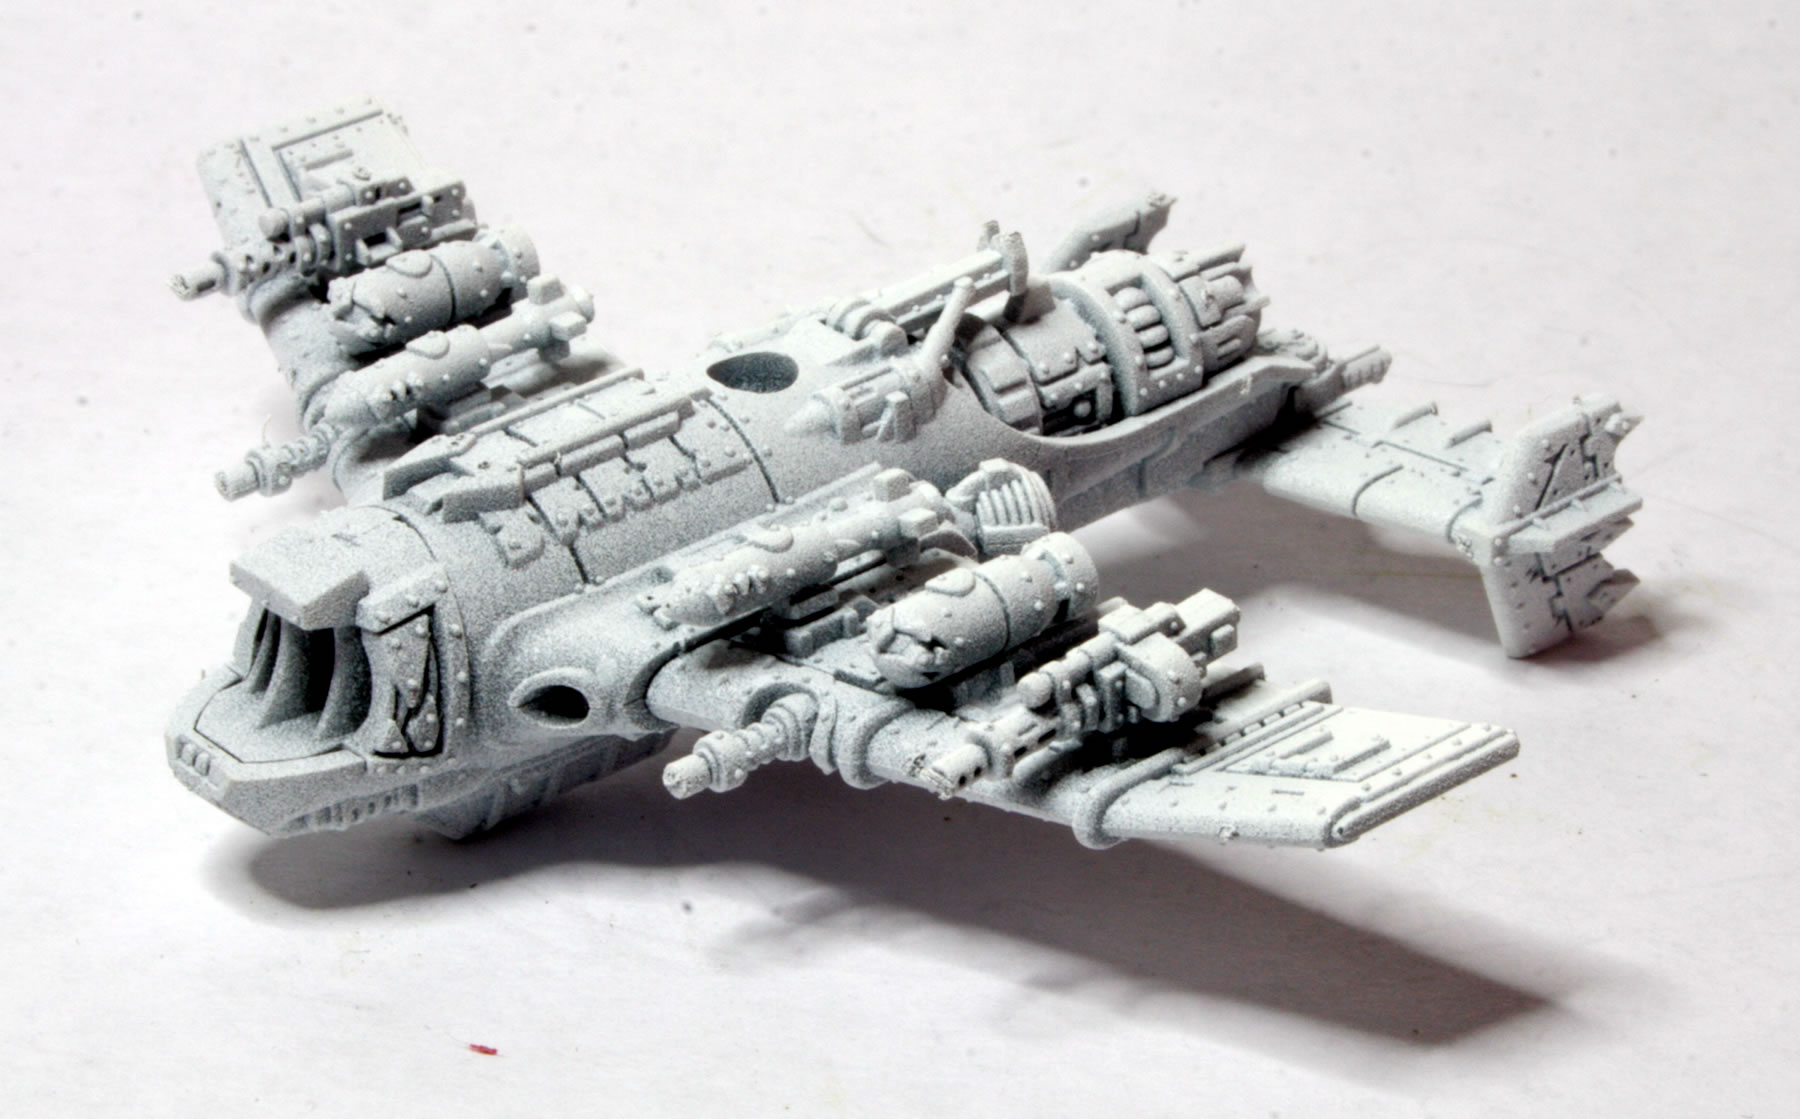
Here are the completed models prior to undercoating.
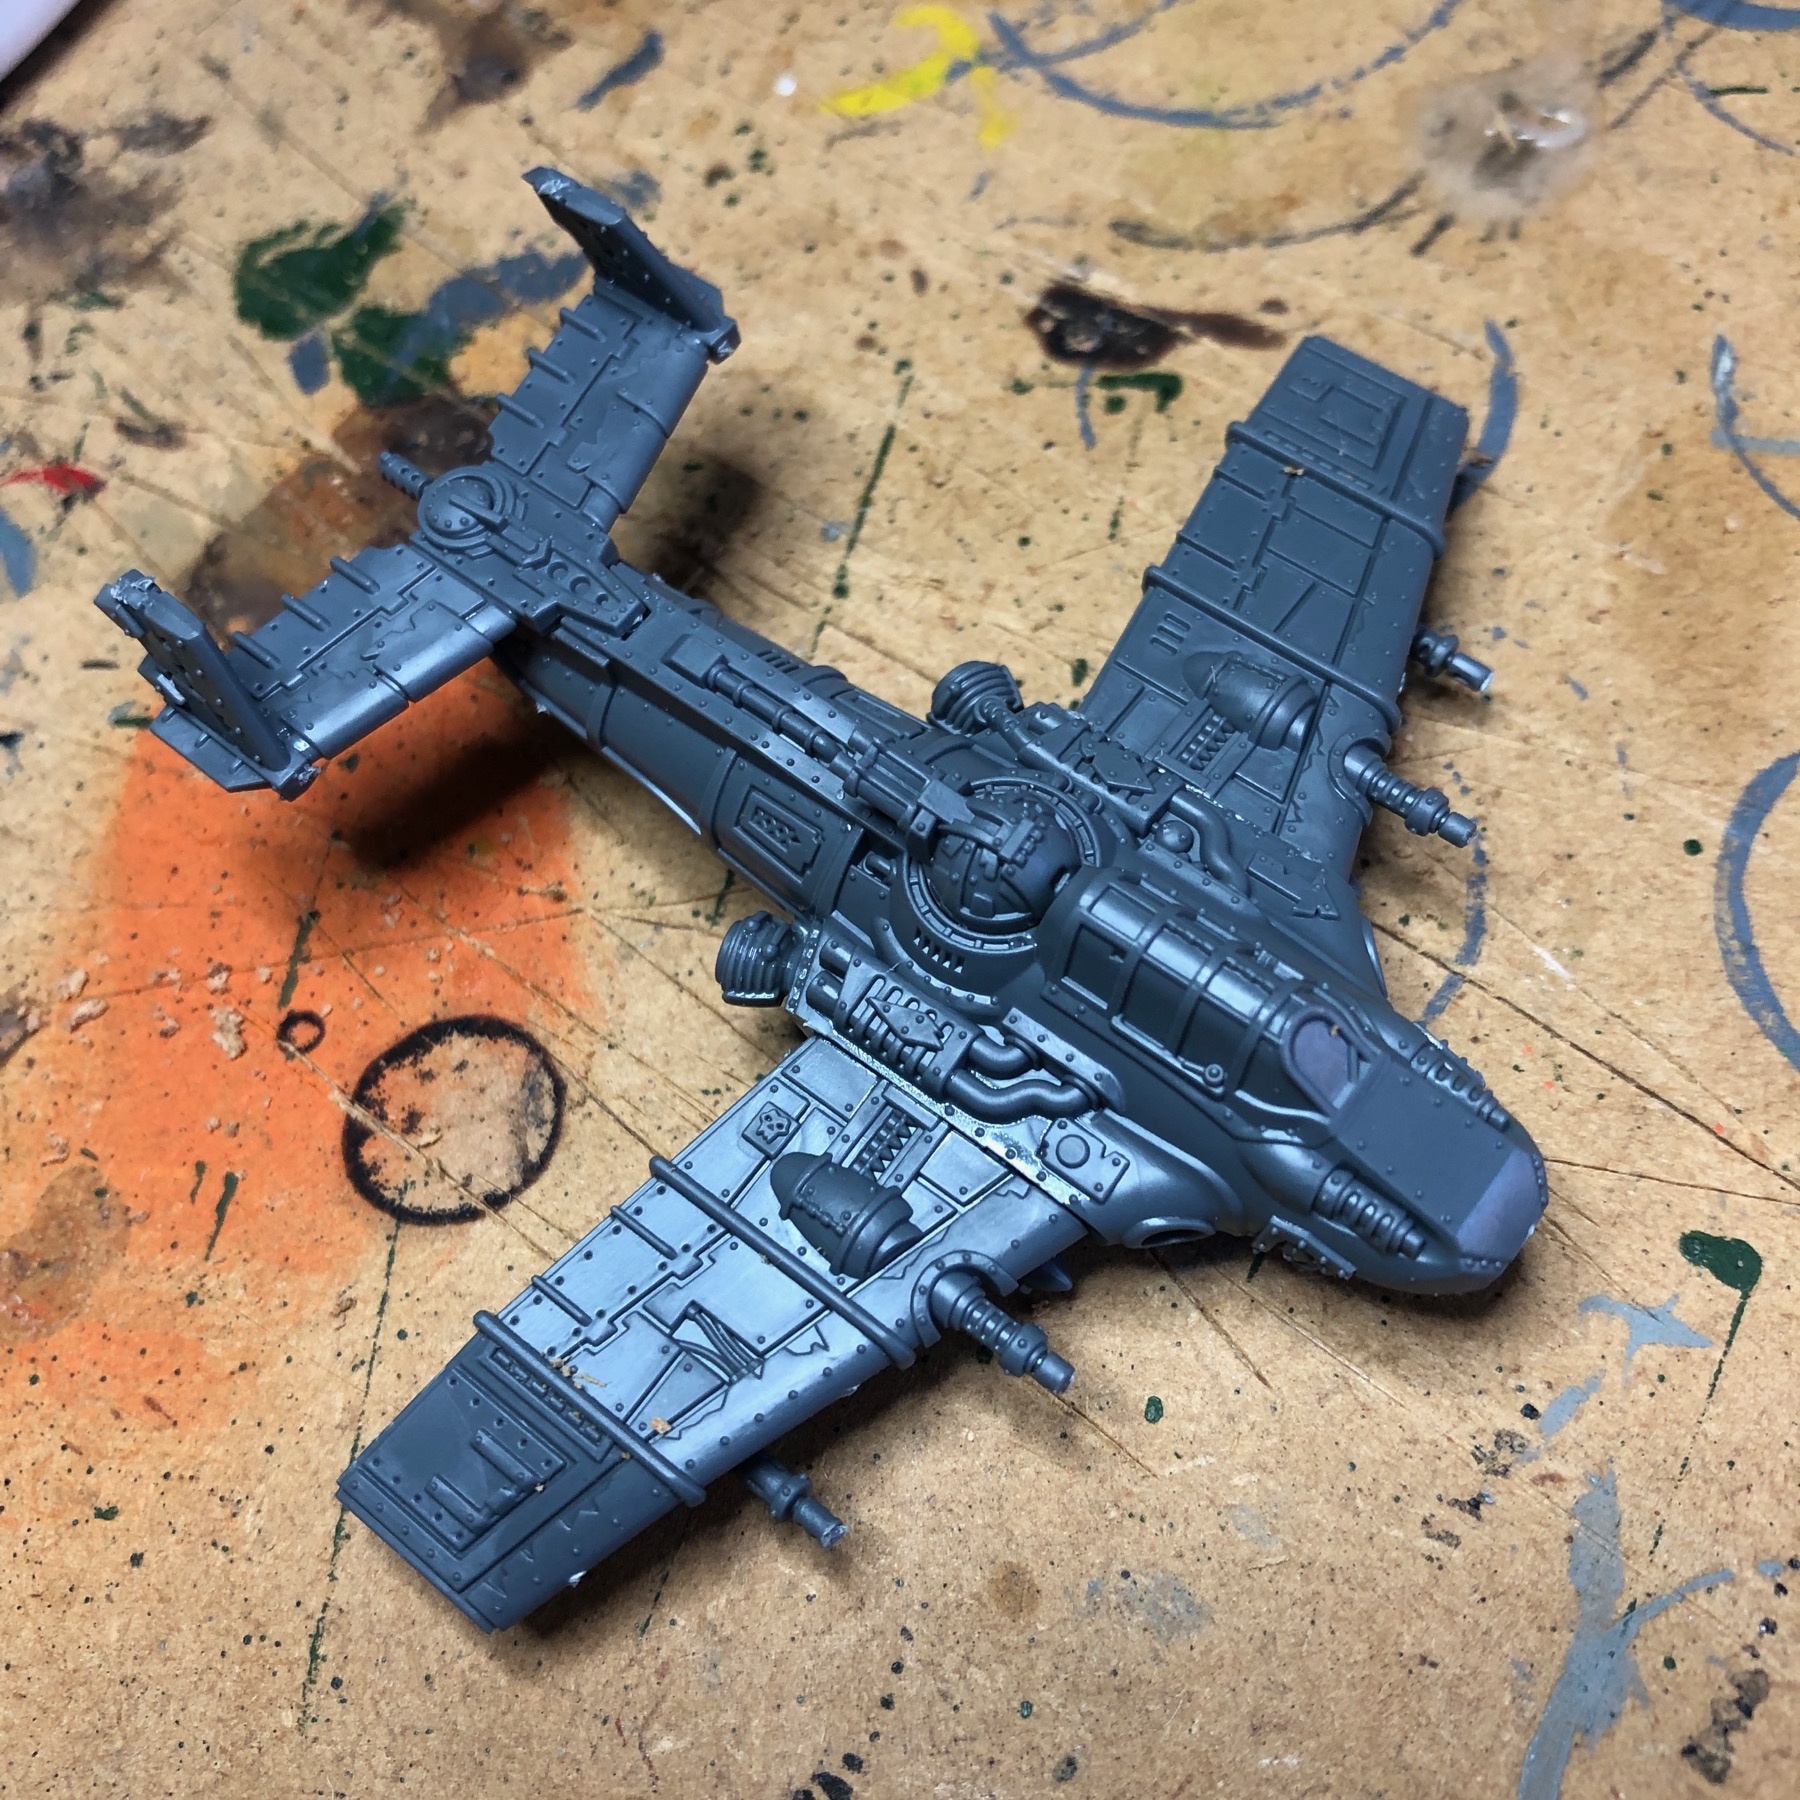
Considering their size, these are really detailed models and are reminiscent of their larger Forge World 40K cousins.
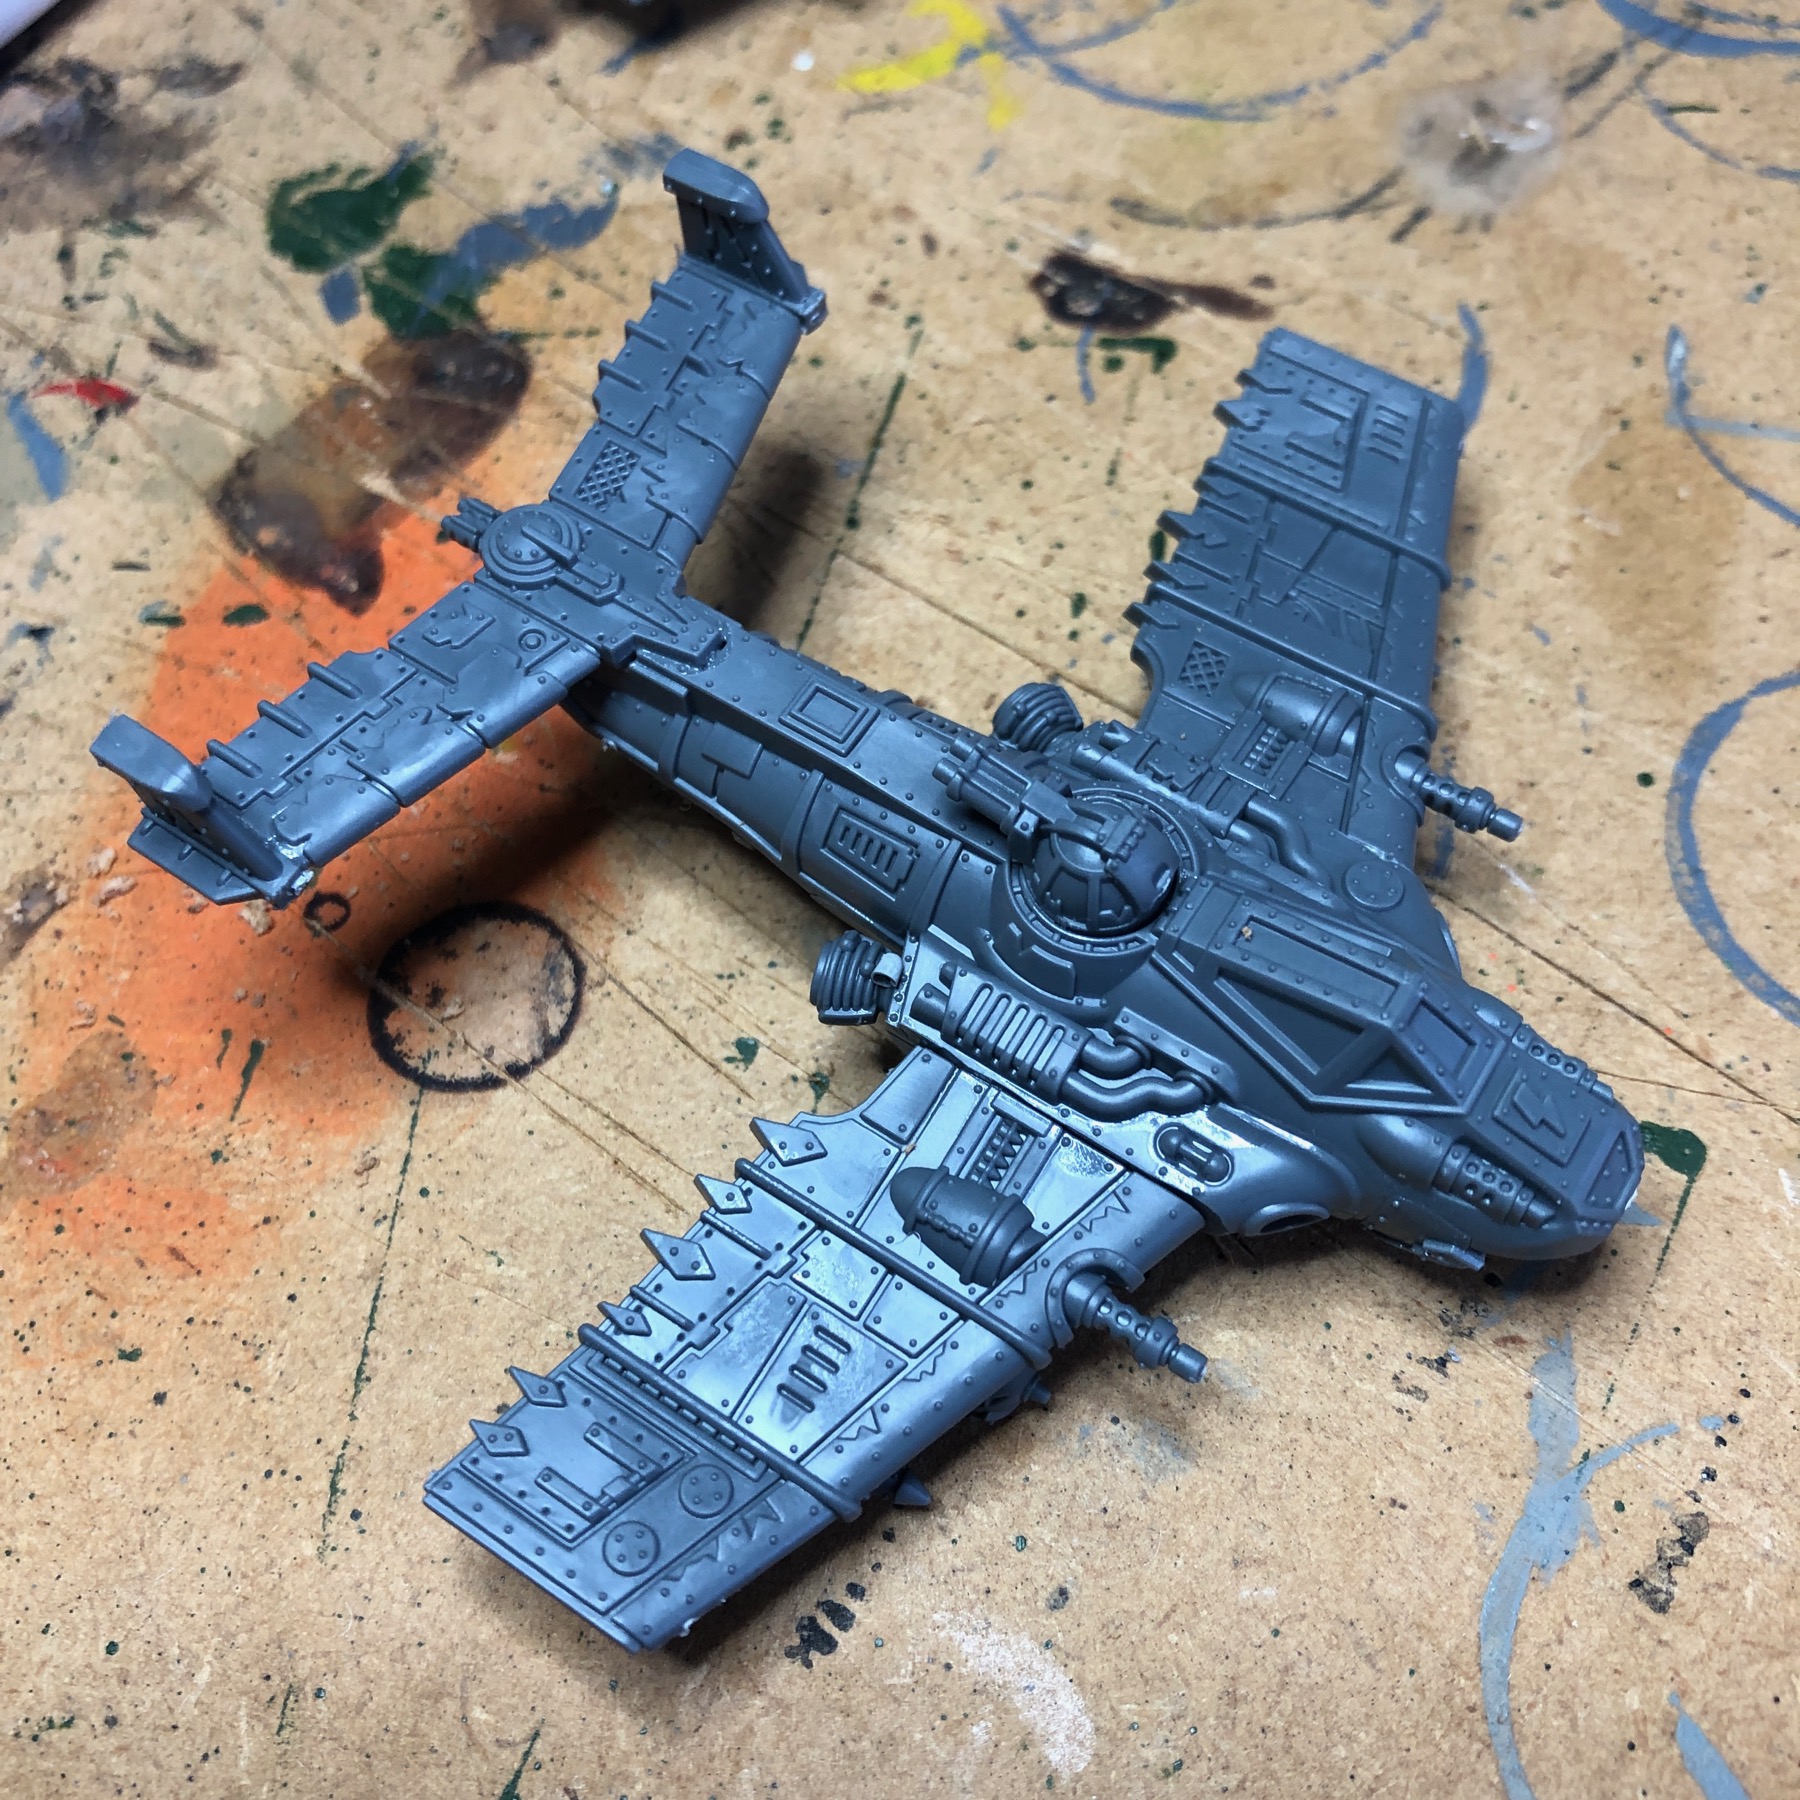
I really like the fact that these, though similar, are in fact very different. With different cockpits, different noses, wings and tails.

They look similar, but aren’t the same.

I think if I bought some more of these I would convert them even more to ensure a different look for the aircraft.
I gave the models a white undercoat, using a spray on both sides.
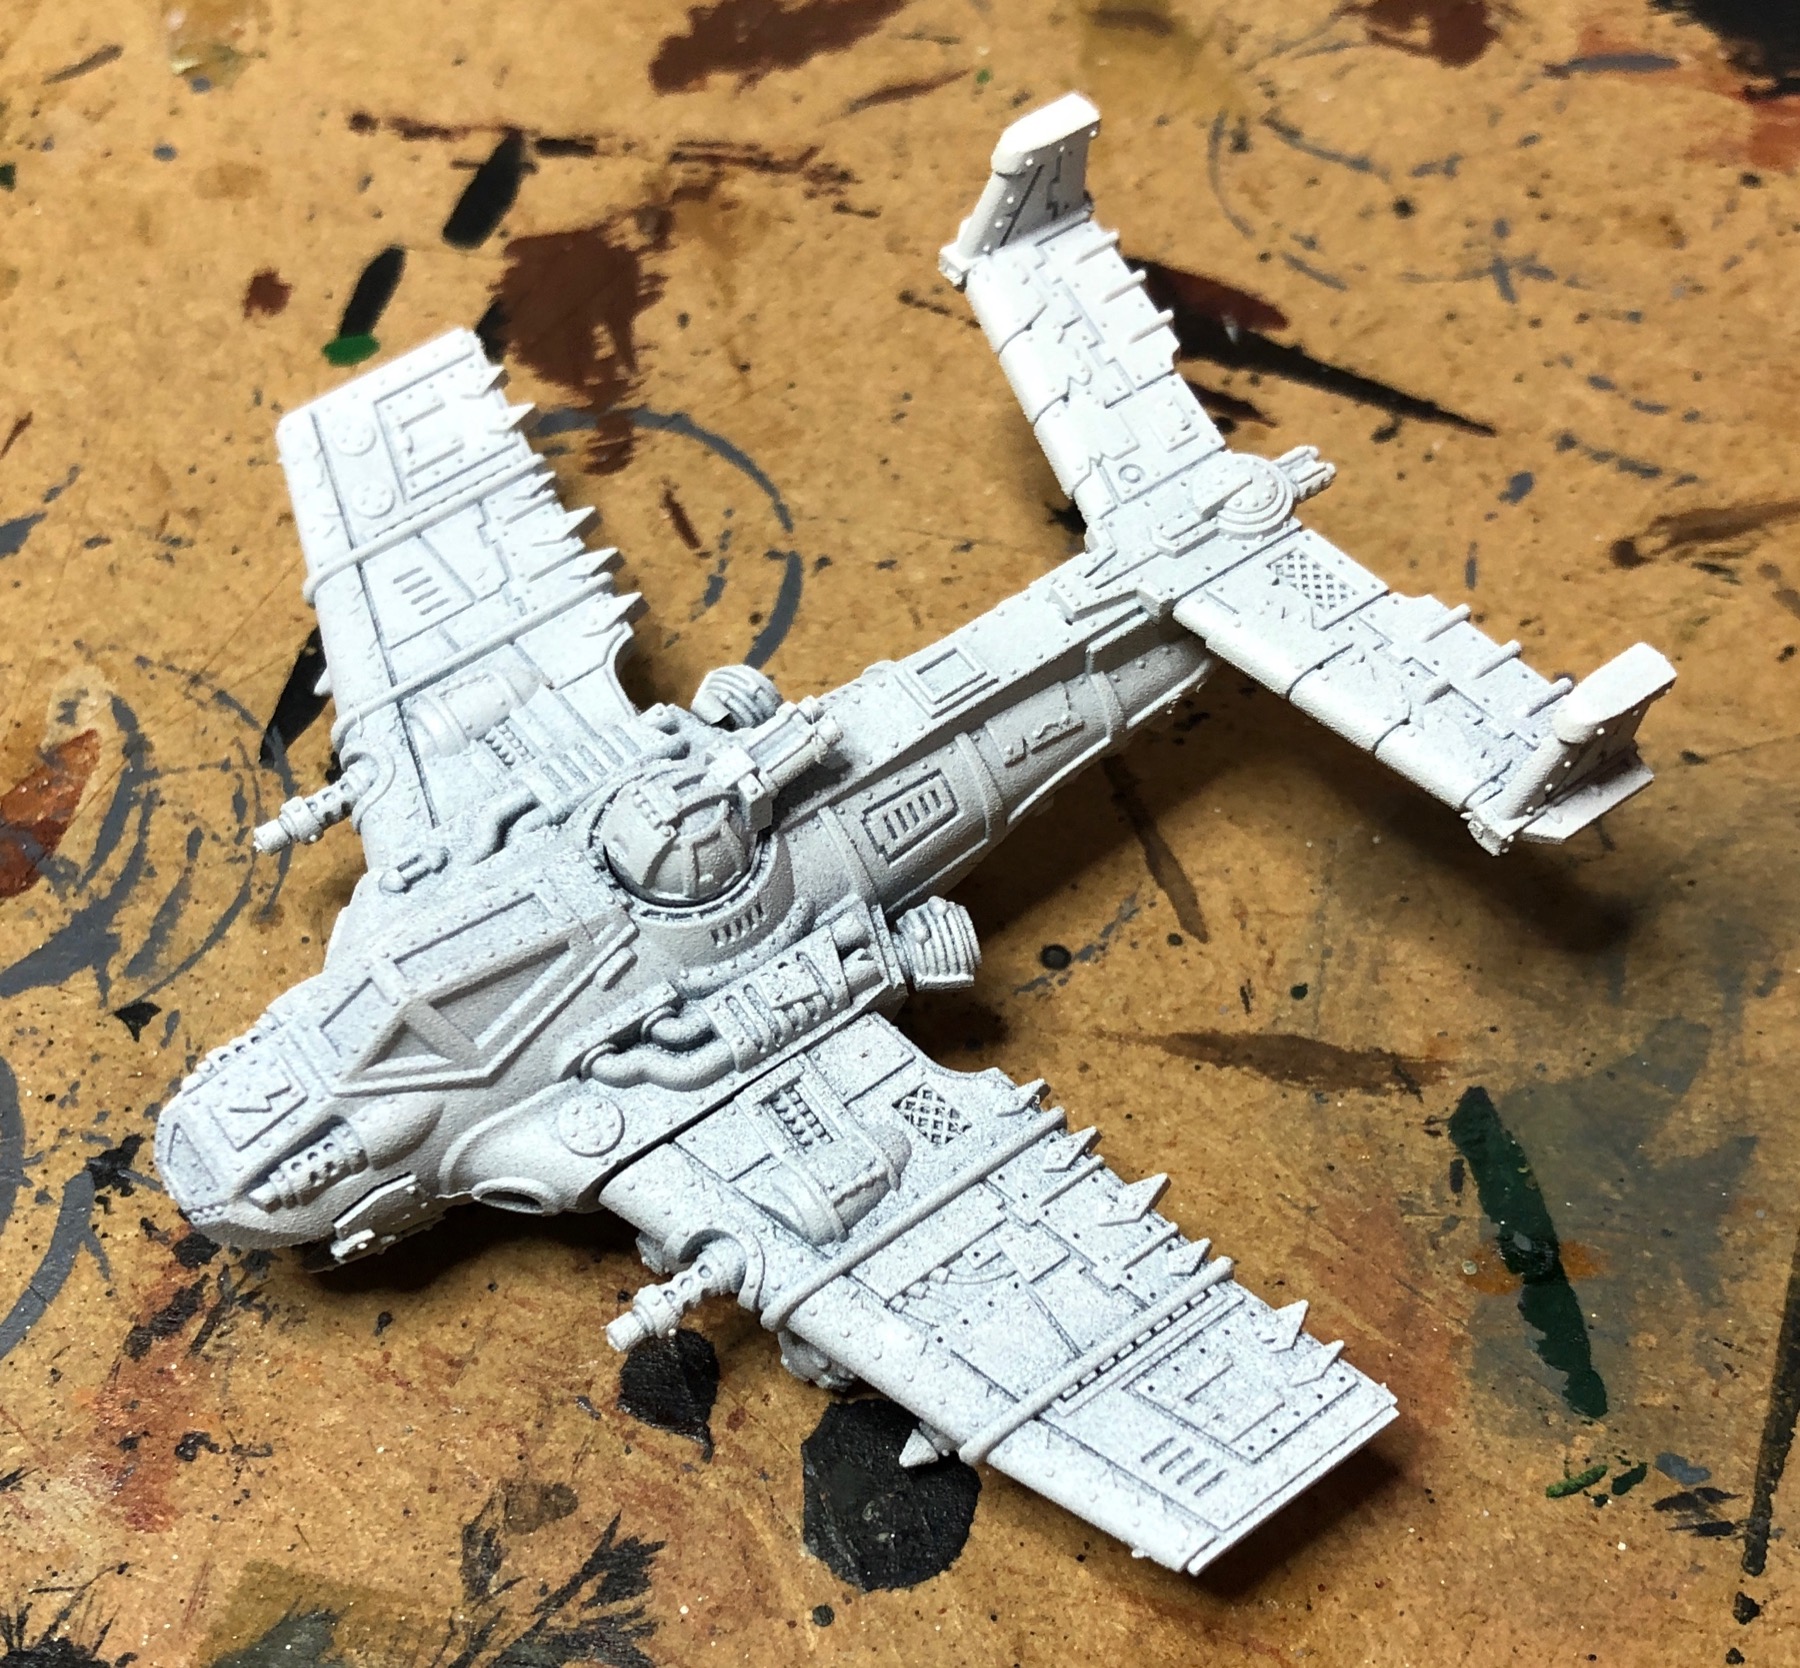

These are really nice models, lots of detail.
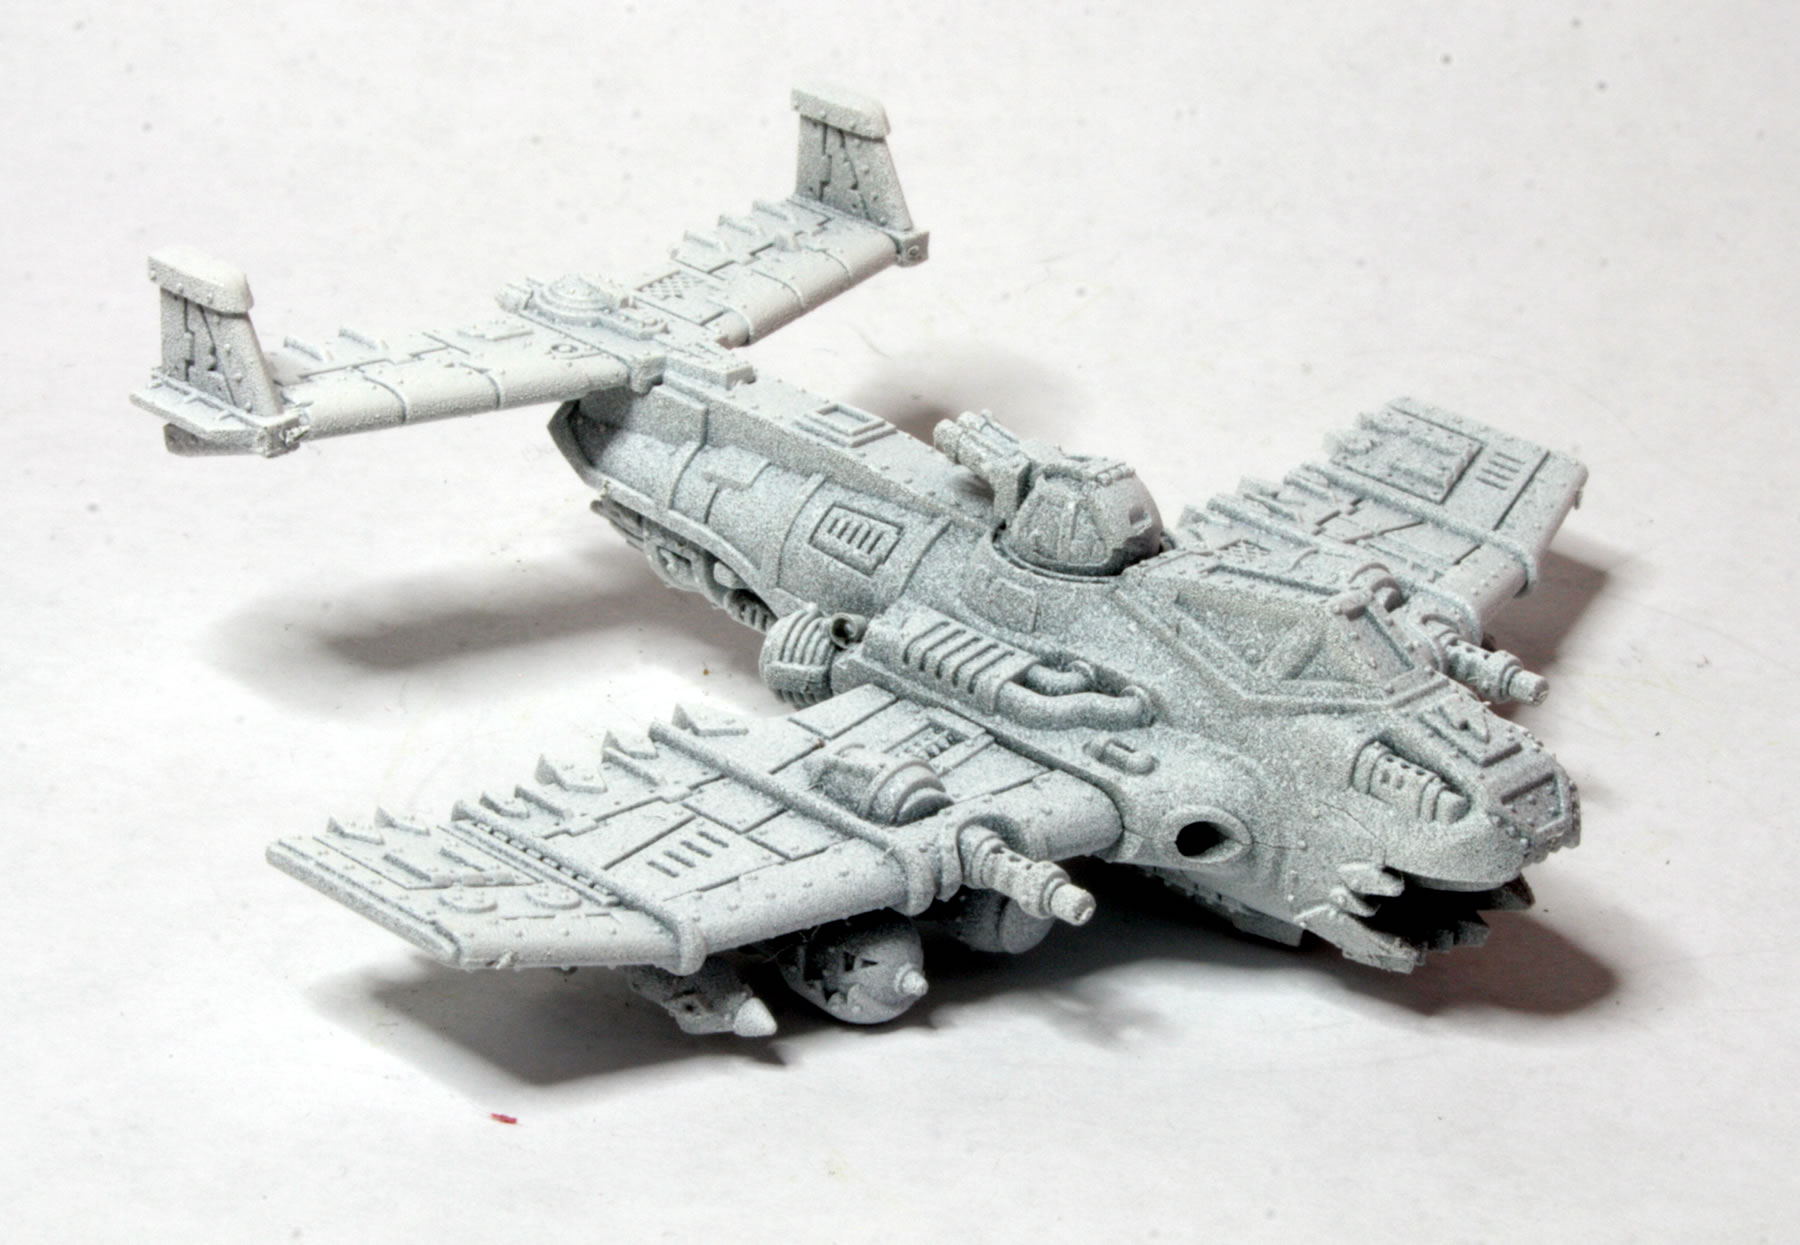
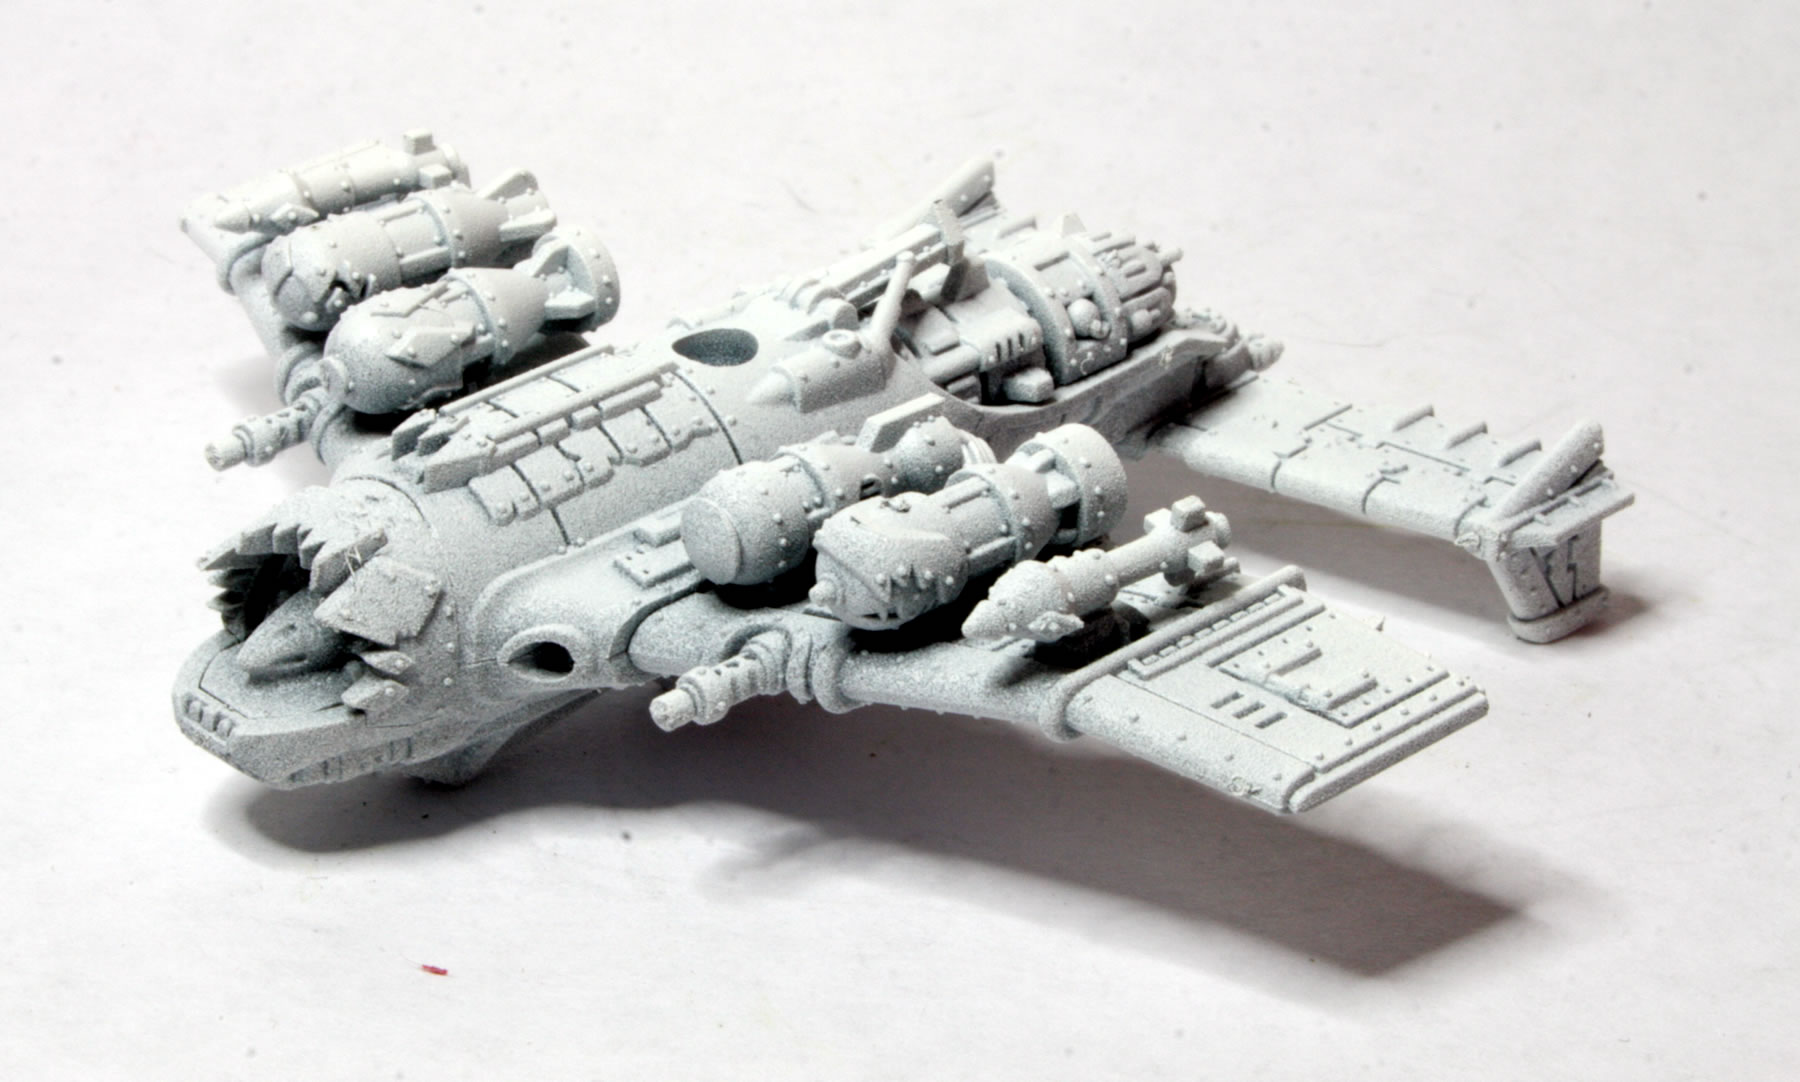
I armed this one with big bombs and some rokkits.
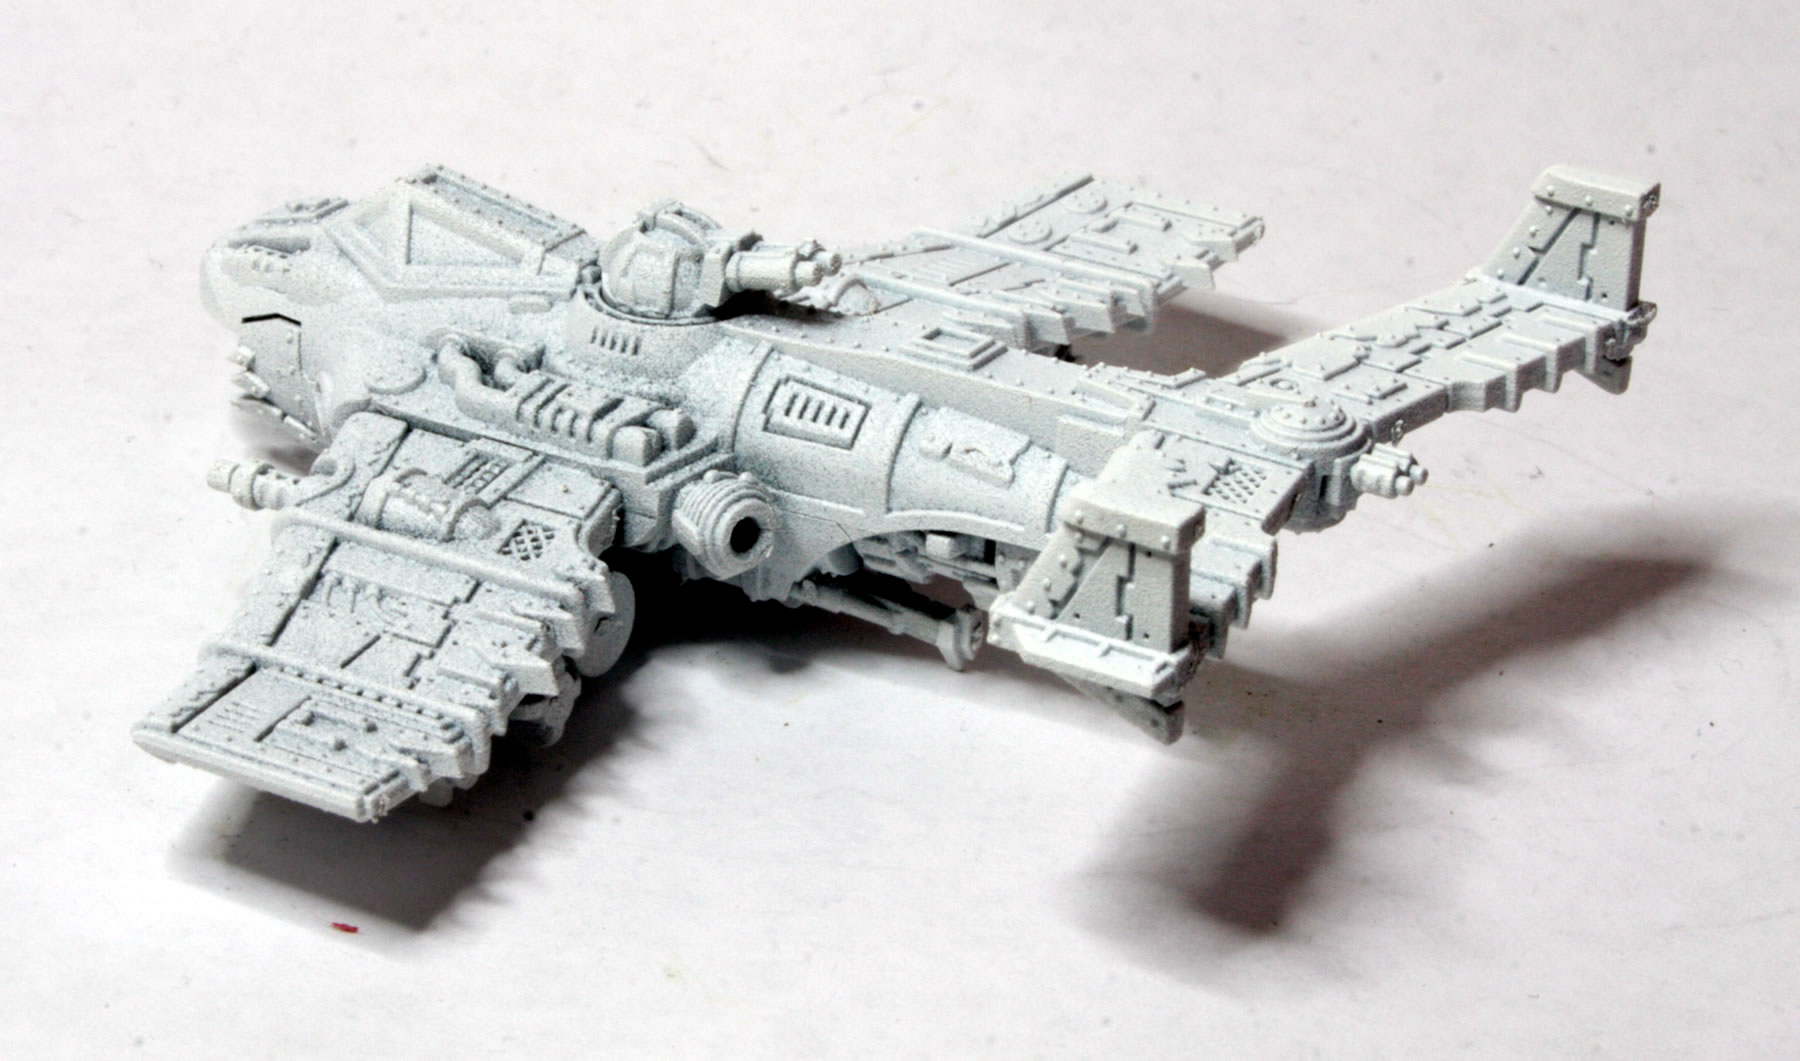
The other Fighta Bommer.

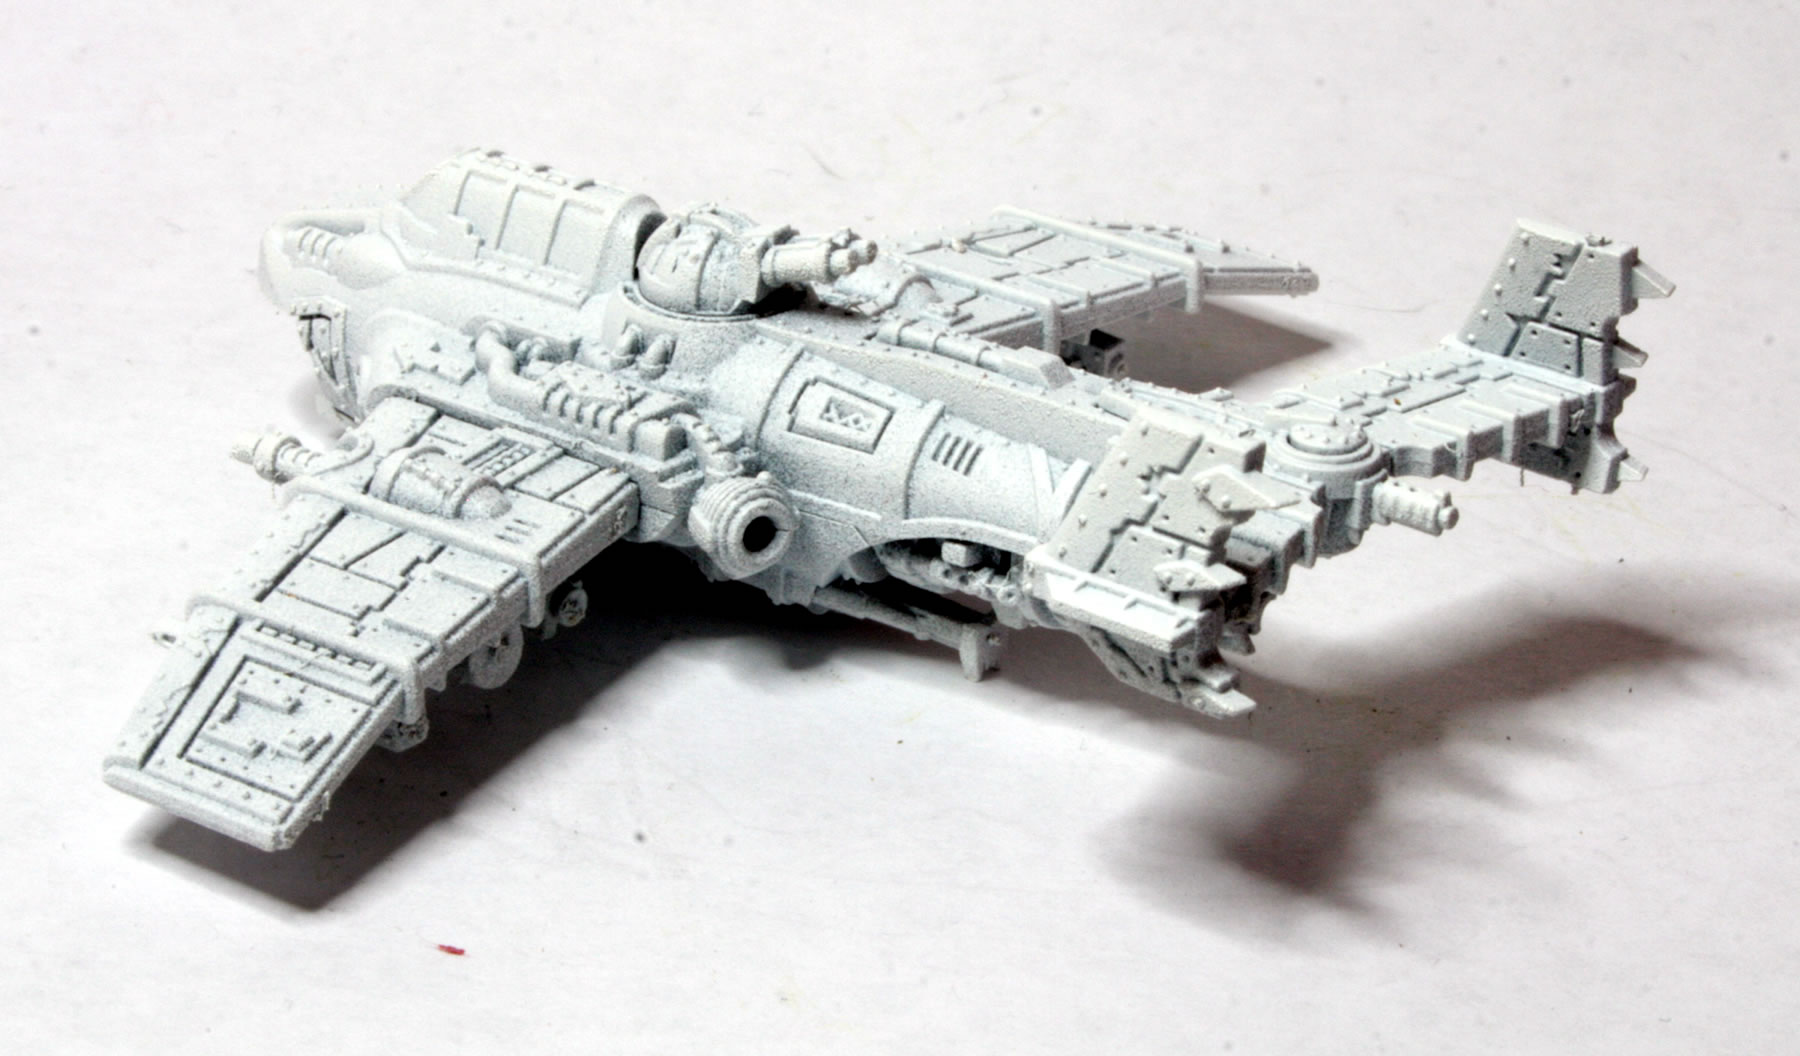
This one is armed with rokkits and big shootaz, as well as a couple of bombs.
Though I supposed I should have armed the planes according to a stats card, I decided early on that I wouldn’t use WYSIWYG on these models, so that you can use them as whichever Fighta Bommer variant you want to play with. I really like the fact that the kits come with a range of different ordnance, so no Ork plane has to have the same weapons load.
The next stage will be the base coat. I decided that I wanted an orange scheme for the planes so I went with a Citadel base paint, Averland Sunset.

This shows I painted the models, I held one wing painted the rest of the model. The let it dry and then finished off the basecoat.

I was (initially) pleased with the coverage of this base paint.

I left the engine as I am going to paint that with Leadbelcher.


Moving on the engines were painted with Leadbelcher.


I then used the same process with Leadbelcher to do more details on the model.

This included all the Shoota weapons.

As well as the smaller engines and some of the engine exhausts.

The models are similar, but there are differences in the guns and engines.


One thing I did note was that my “handling” of the models was rubbing the Averland Sunset off the model. Resulting in what looks like drybrushing of the highlights.

I don’t recall seeing this problem when painting models in the past. I am not sure if the issues is my hands, the Averland Sunset basecoat or even an issue with the white primer spray I used.
I then added a few extra coloured panels and glyphs. These were done with Flash Gitz Yellow, Mephiston Red and Ushabti Bone for the teeth on the front of the planes.

I didn’t want to go “overboard” on extra details, but also didn’t want them to be too uniform. Less is more in my opinion.

The weapon loads I painted using Ushabti Bone and Karak Stone.


When photographing the miniatures and then looking at the models in more detail, you can see where I have missed bits, as well as the chafing issues I mentioned earlier.
I then gave the model various washes of mainly Citadel Shades, Seraphim Sepia, though for some parts of the model I used Agrax Earthshade.
Initially I had a problem with not mixing the shade so it came out initially quite glossy! Also some areas pooled slightly.


I did a little bit of touching up and then having mixed the shade I re-applied it and got a much better result.

I did think that I might have used too much ink. However a think part of the issue with the photographs is am quite close up and zoomed into the models of the photography.

After this I did use Nuln Oil Gloss for the engines and then drybrushed with Leadbelcher as well.


I added somer more Seraphim Sepia shade. I also used some Nuln Oil Gloss shade on the engines, which once dry, then drybrushed all the metal parts with Leadbelcher.


I am really pleased with how these turned out (and how quickly I turned them around as well).