I have had my Kill Bursta hanging around on the workbench for a while now, so it’s nice to make some significant progress on the model.
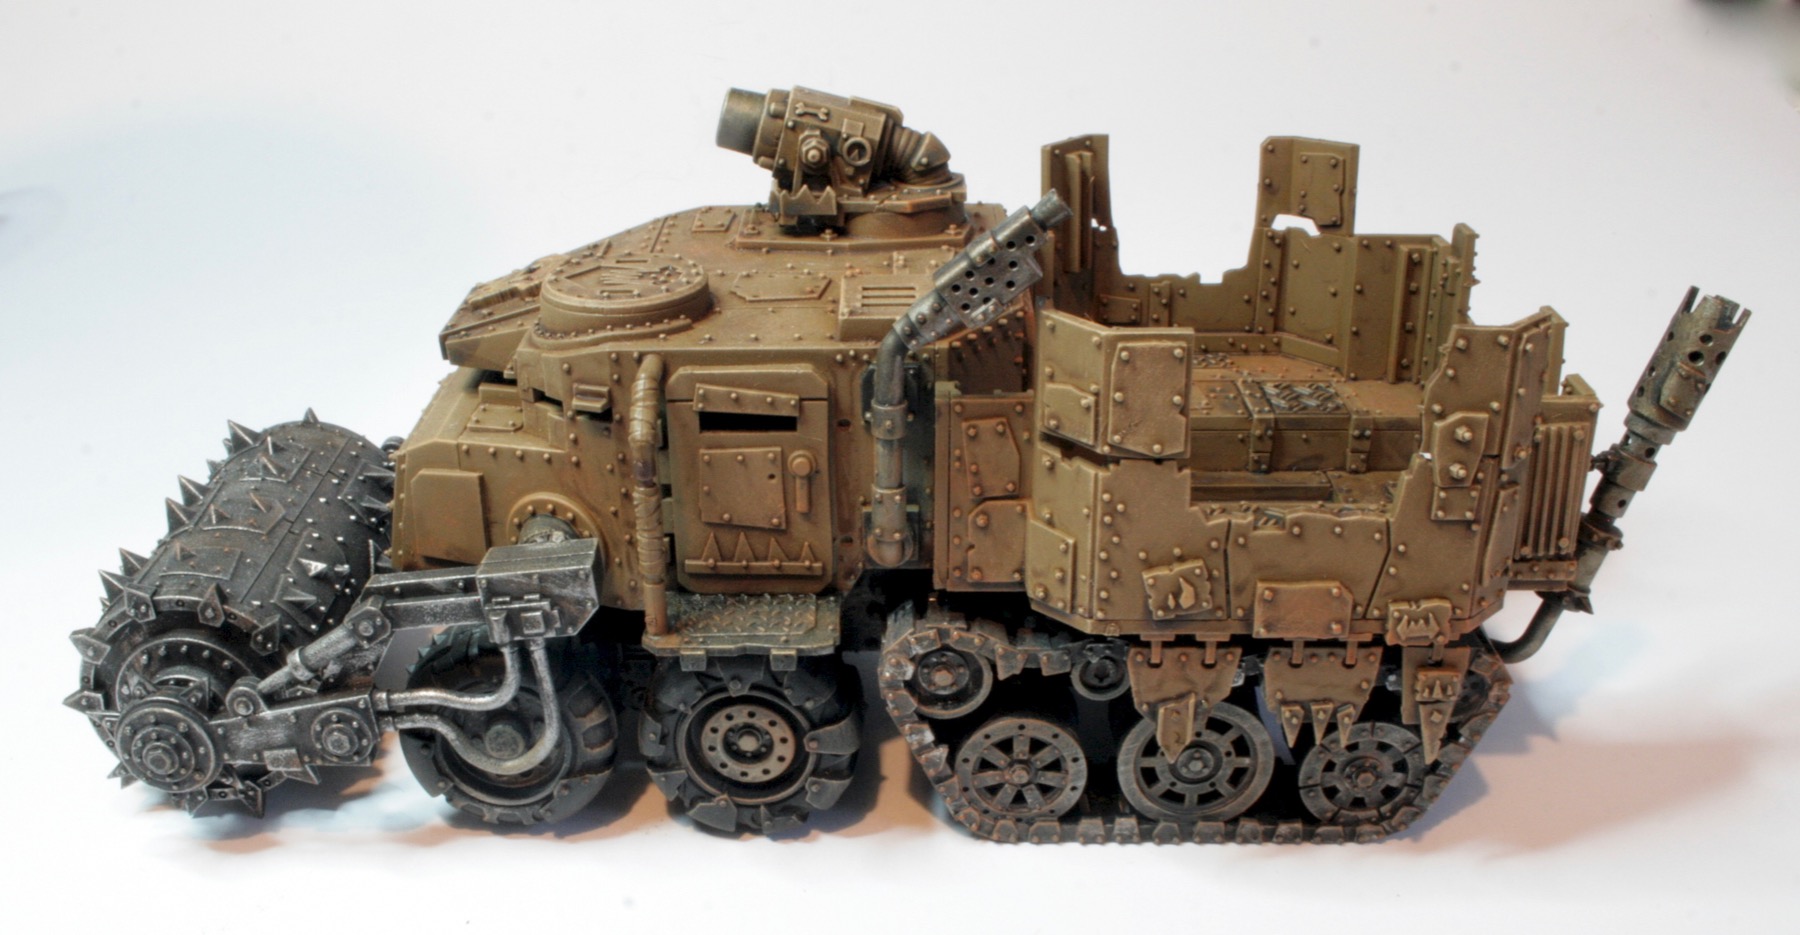
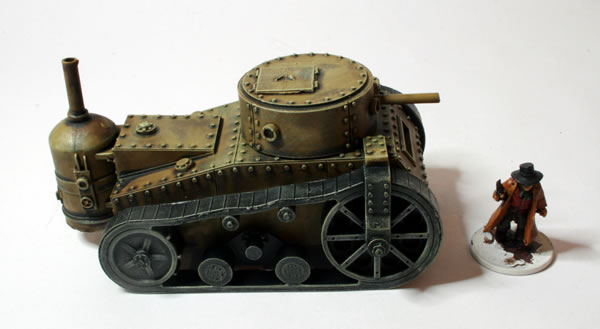
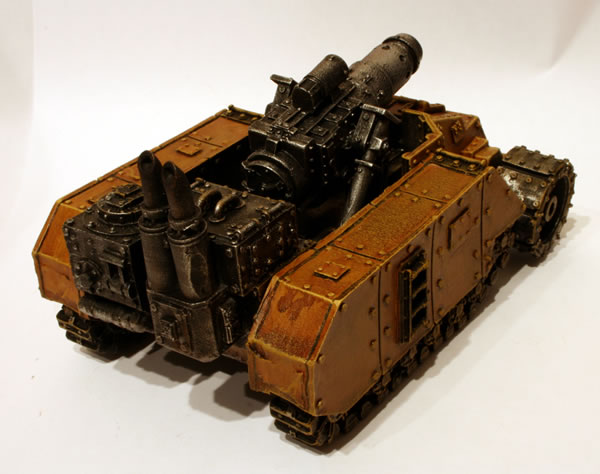
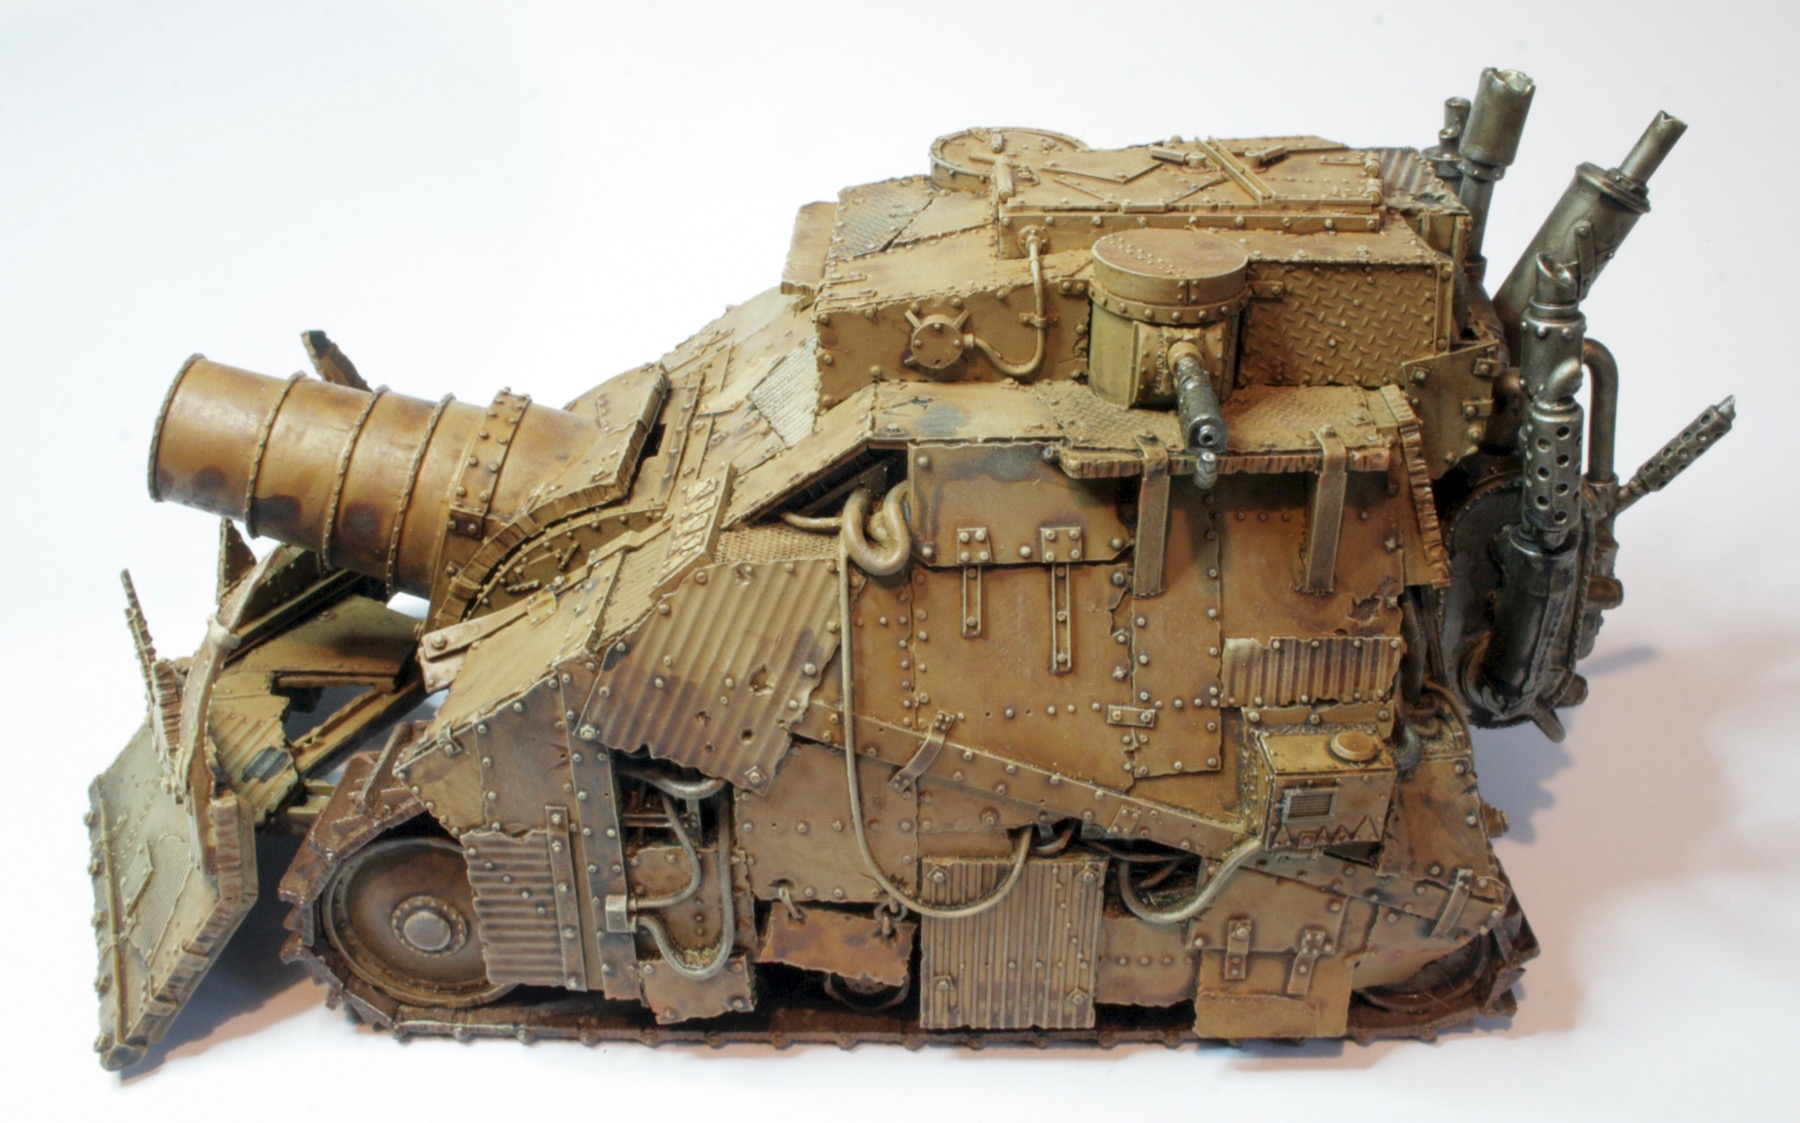
Forge World’s big Ork tank mounts a huge gun ready to take on any Imperial BaneBlade or even Titan. The Kill Bursta mounts a huge-bore Kannon capable of destroying bunkers and siegeworks with ease.
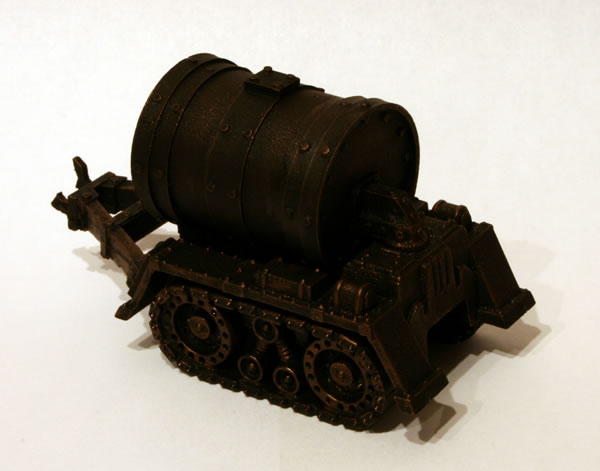
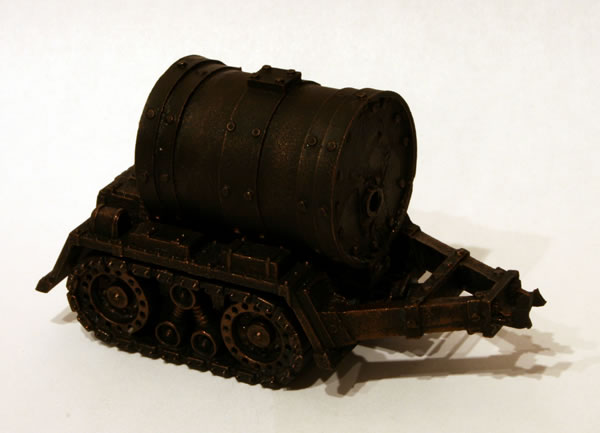
When I constructed and undercoated the model, I had given the model a double undercoat of white and black and then using a thinned Chaos Black I touched up the black basecoat. I also black undercoated certain parts of the engine.
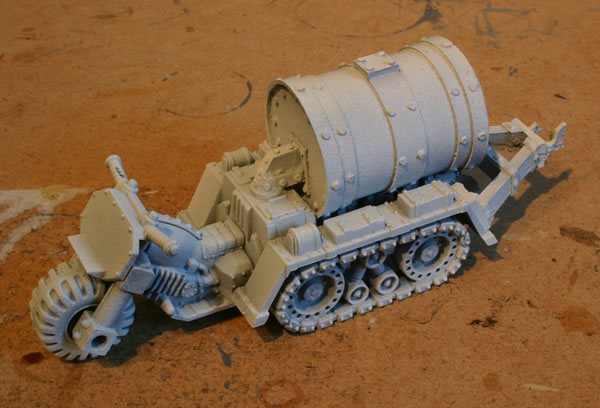
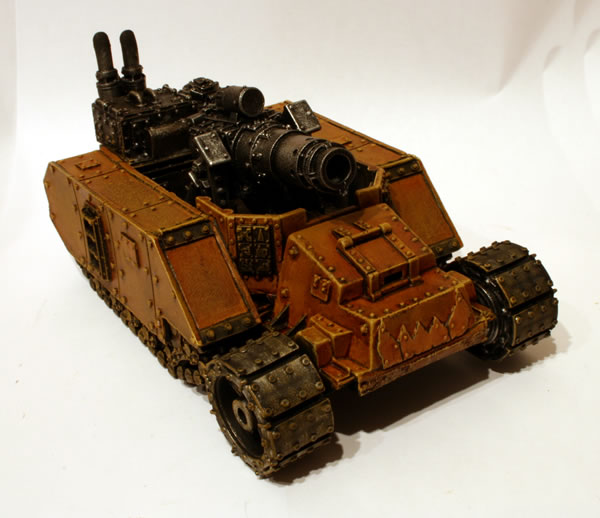
The first thing I did when I revisited the model was something different and sprayed the upper surfaces of the model with Citadel Spray Zandri Dust. Using a brush I painted the tracks with Gorthor Brown. I did the engine with Leadbelcher, rather than drybrushing with Tin Bitz over a black undercoat.
I started painting some of the panels with other colours and I shaded the model notably Balor Brown and Ushabti Bone. This is really to break up the predominant colour of the model.
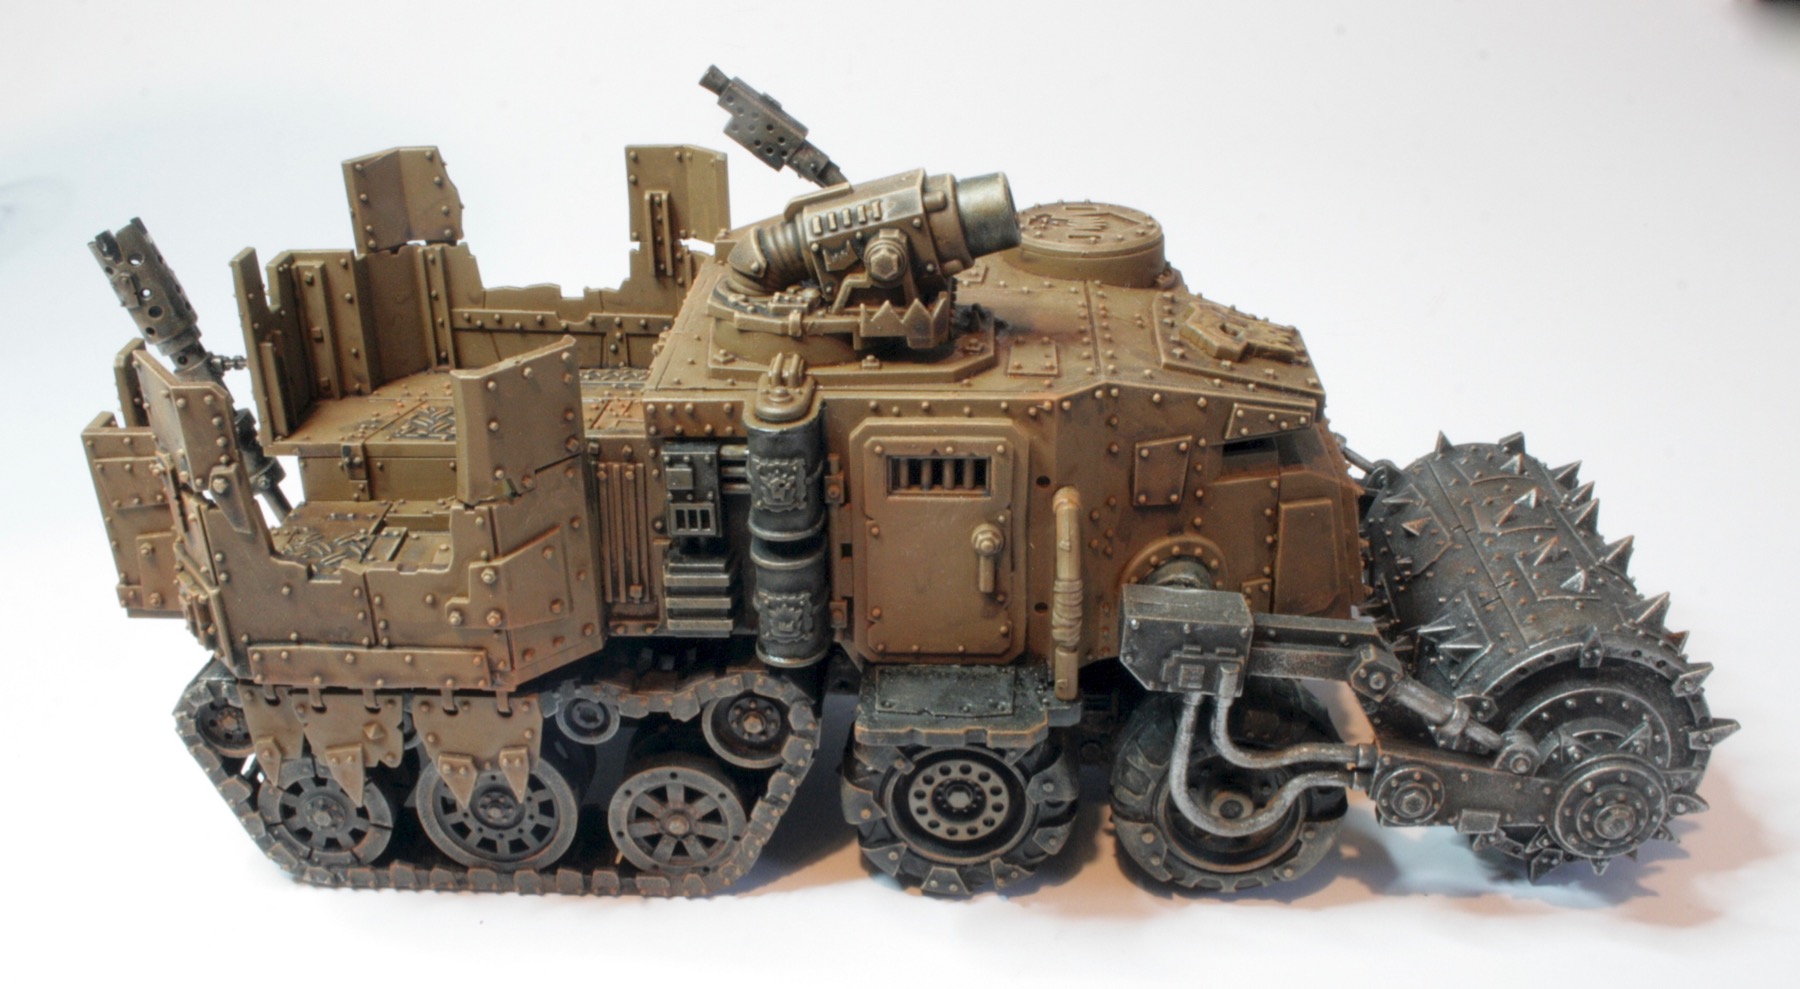
The next stage was a bit of a challenge, using various Citadel shades, though mainly Seraphim Sepia, to add shadow to the model.
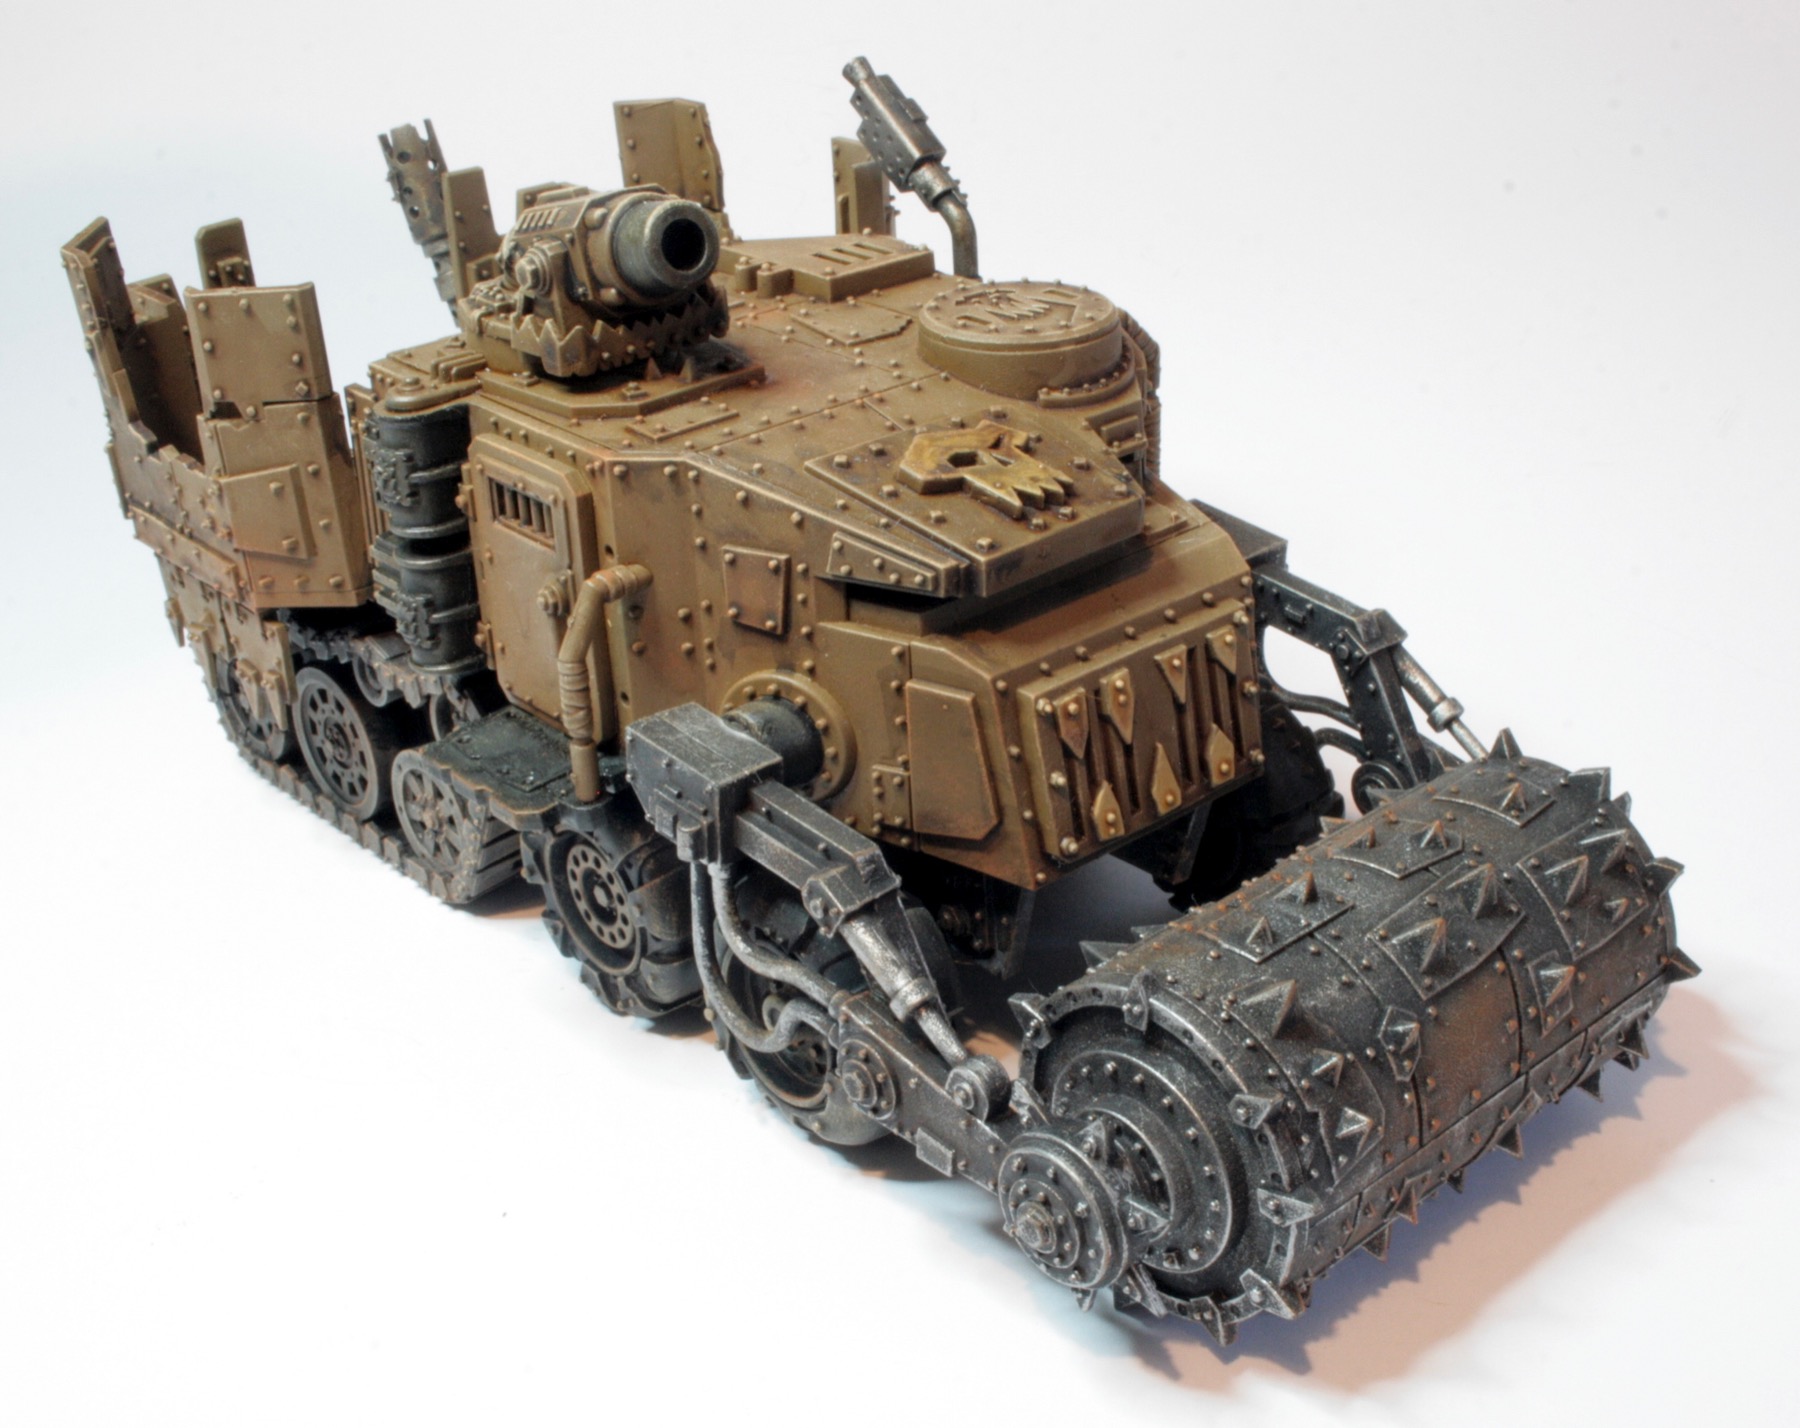
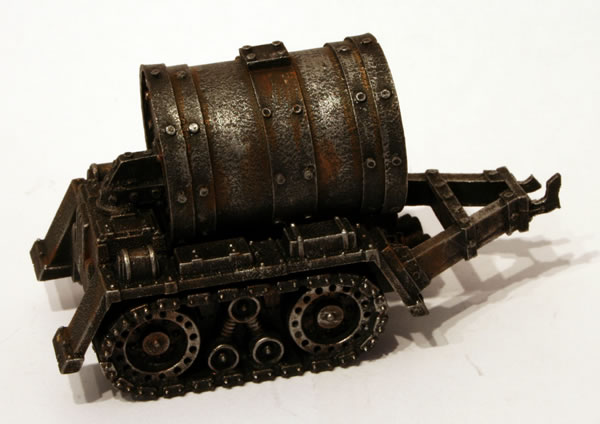
Once this was done and dry I started to rust and dust up the model.
What I wanted was to get both a dusty and rusty look to the model.
I drybrushed the model with a mix of XV-88 and Ushabti Bone, before finally using some Ushabti Bone.
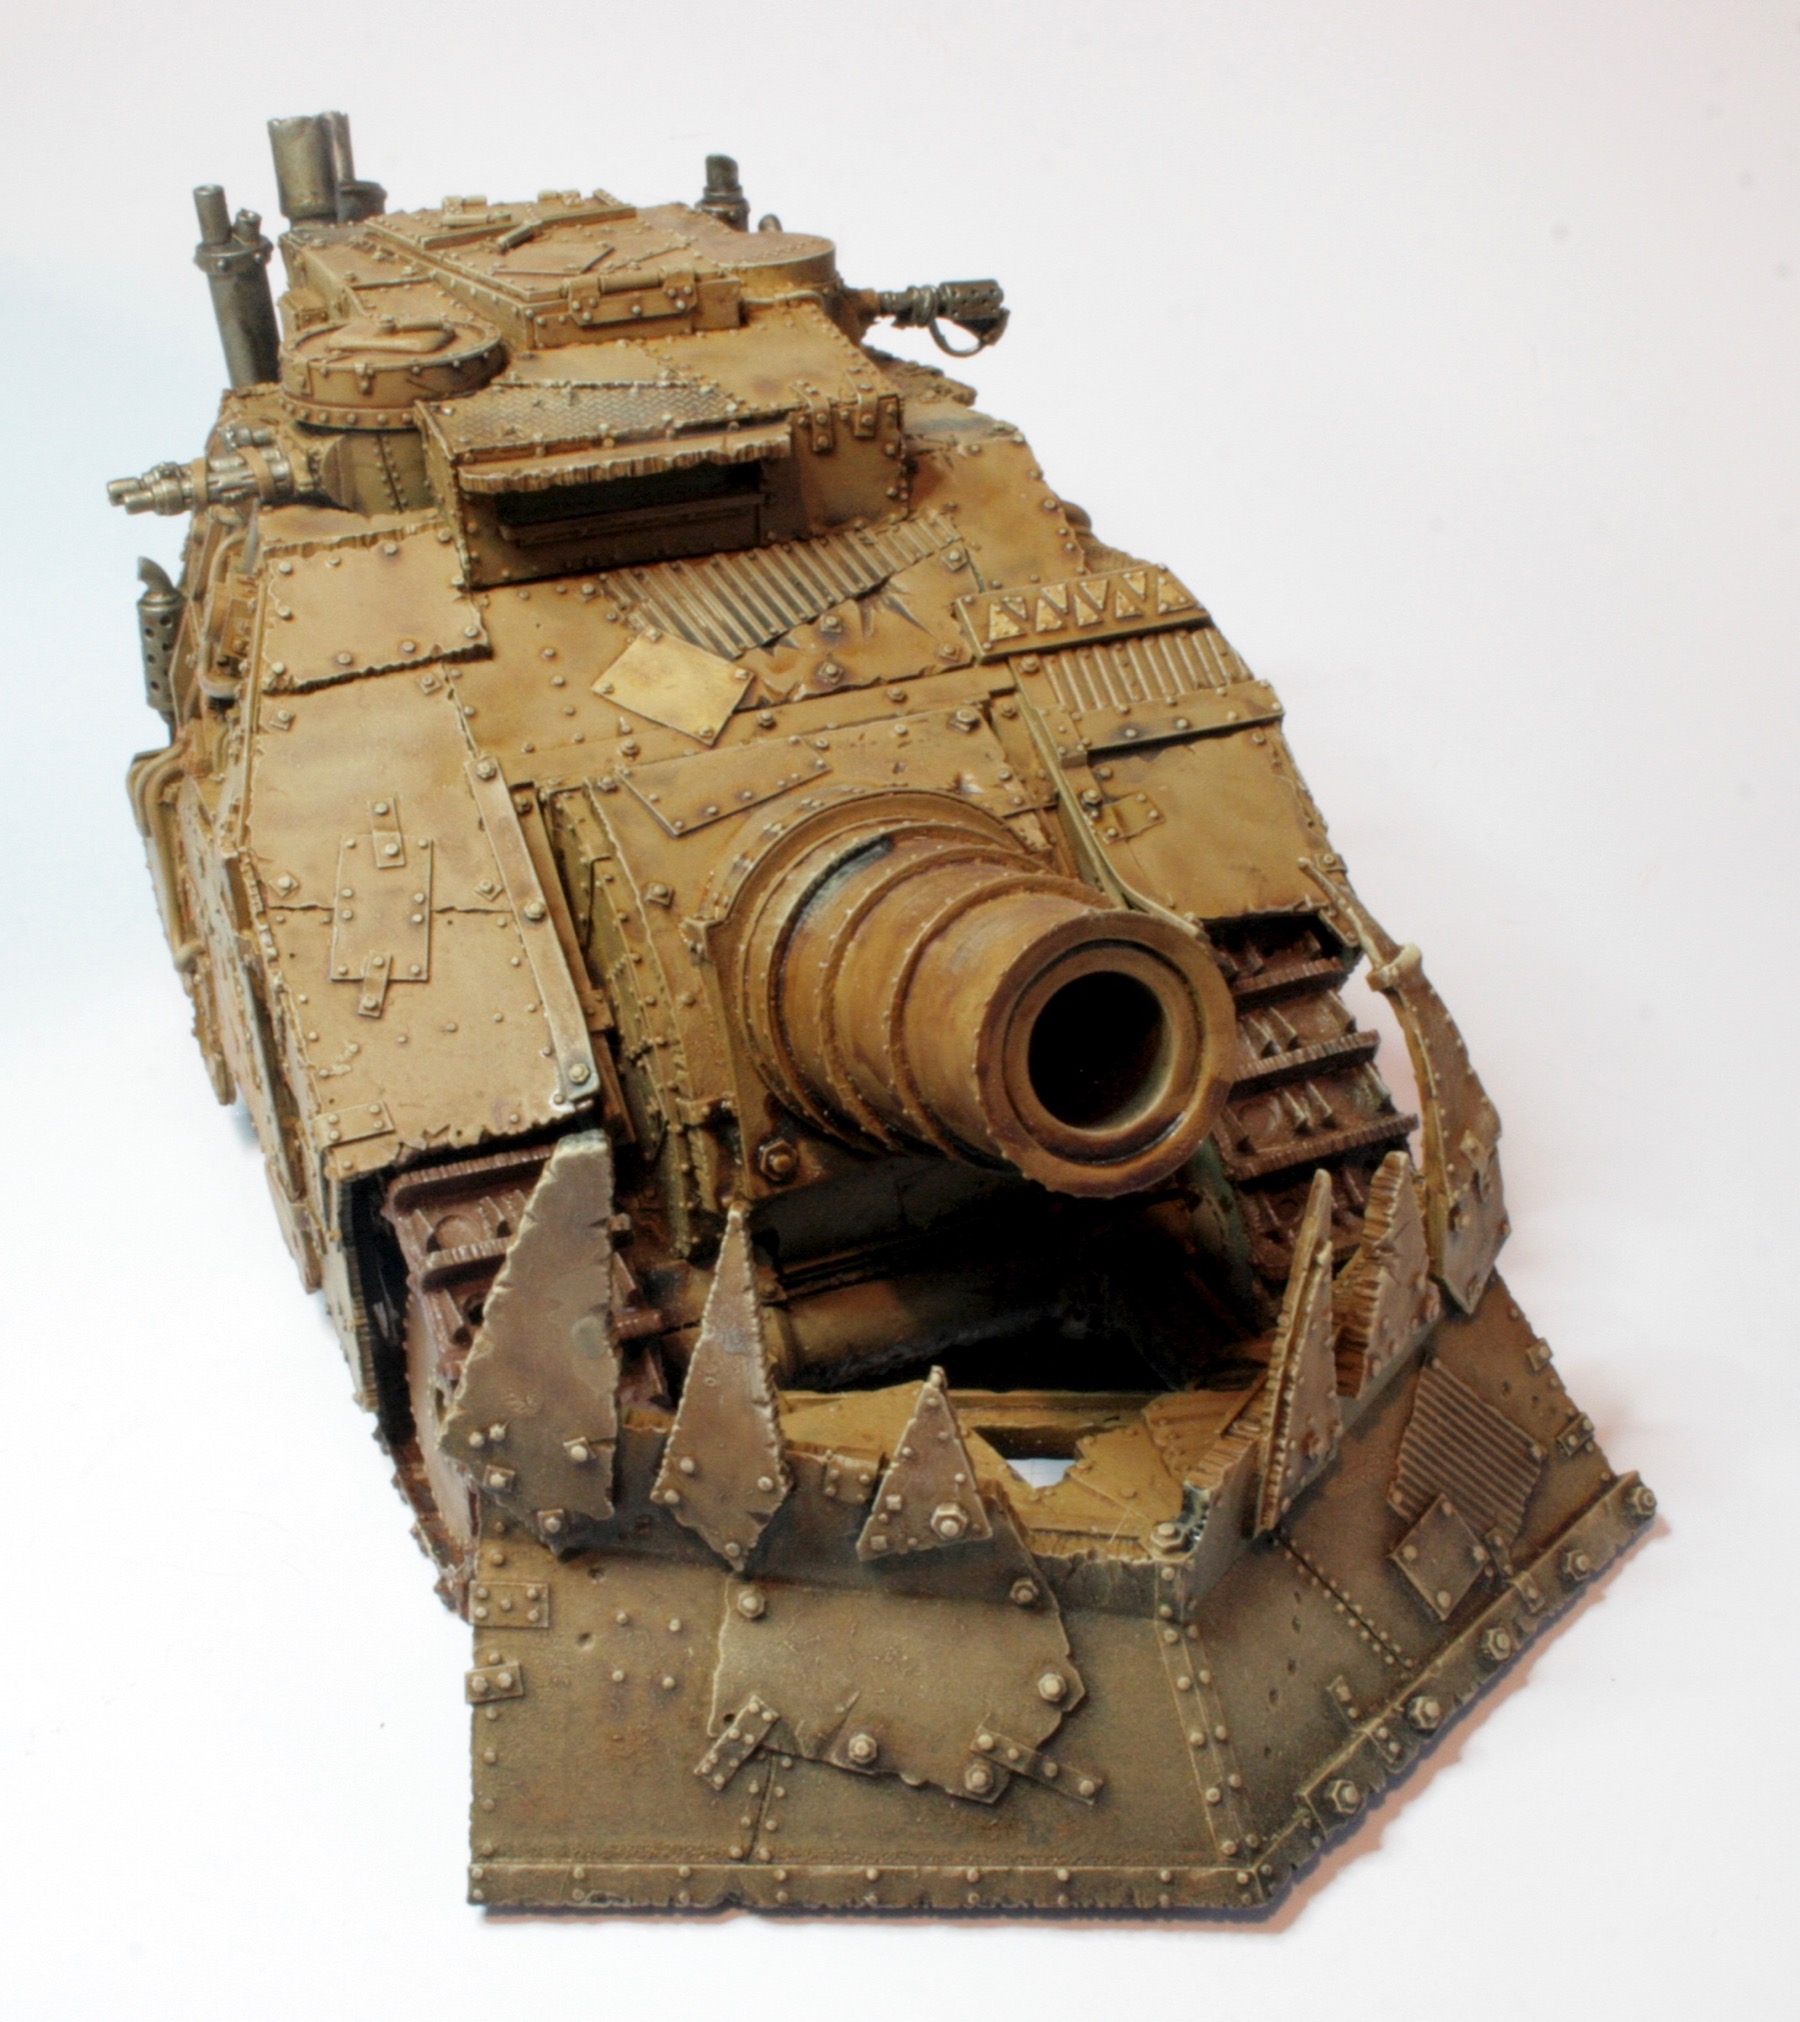
I then took some Citadel Dry paint, Golgfag Brown and using a smaller drybrush added patches here and then across the model to represent rusty or rusting patches on the Kill Bursta and used some on the tracks and wheels.

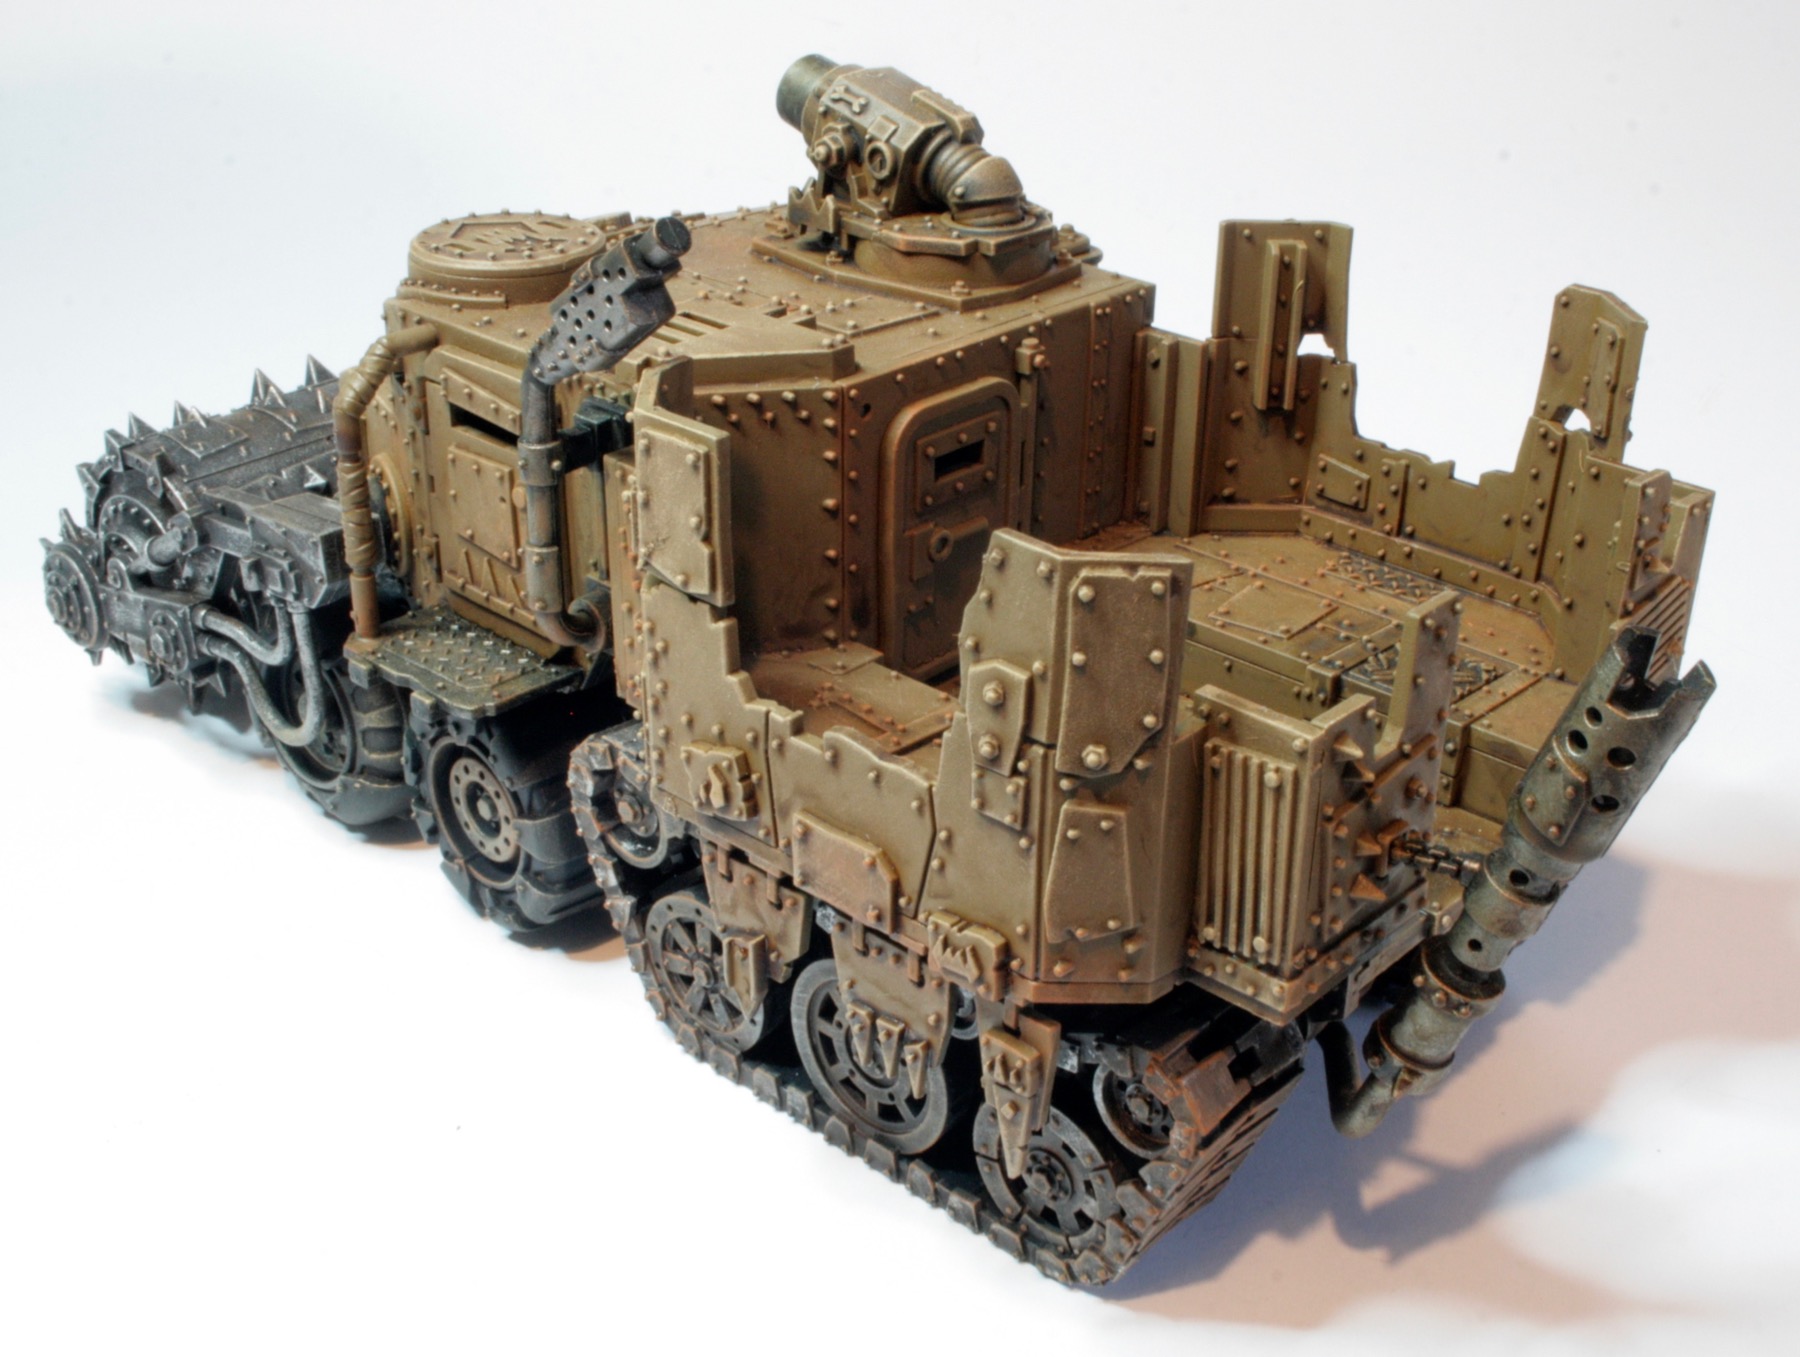
I also used Golgfag Brown and Leadbelcher on the engine.

There is still a fair bit of work to do on the model, but I am pleased with my progress so far.
See the workbench feature on the Ork Kill Bursta.