This plastic battlewagon kit was released by Games Workshop on the 3rd January 2009 and I picked mine up on the 4th January.

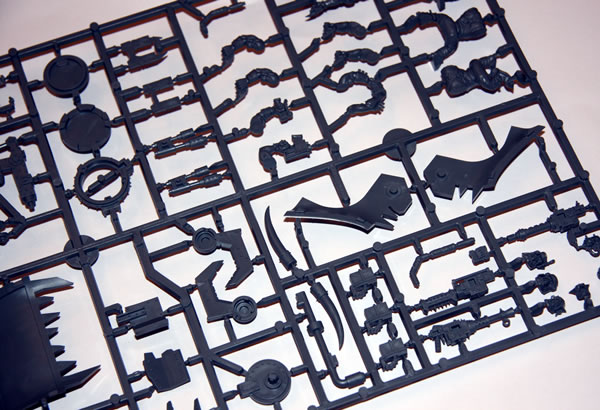
The model contains four large sprues.
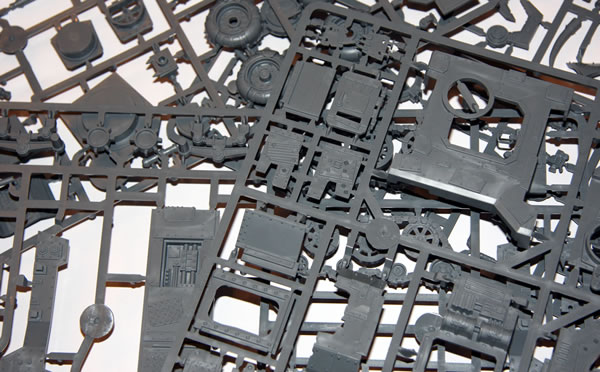
There are lots of parts and includes Ork krew.
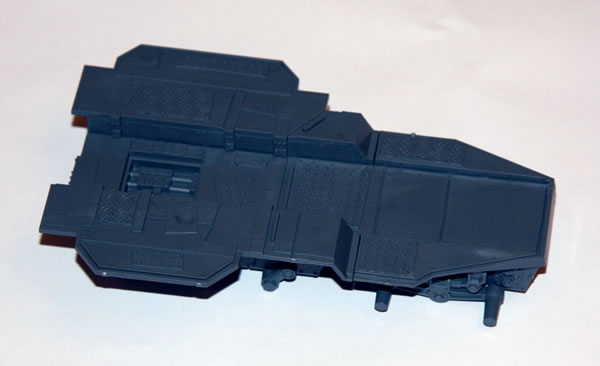
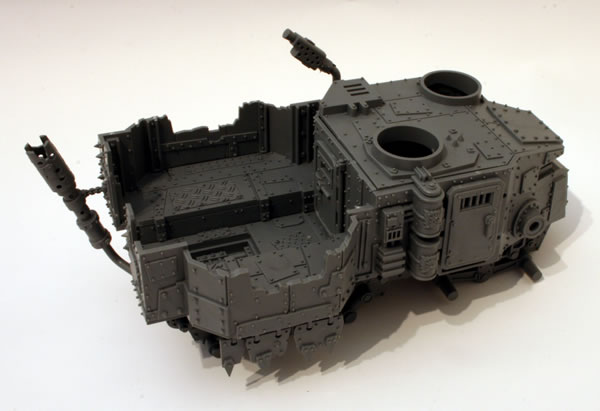
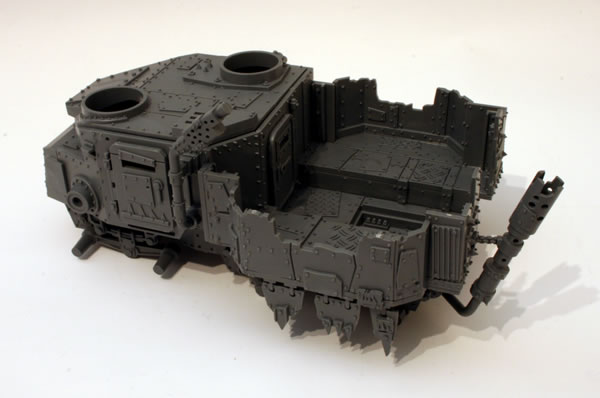
First stage was making the chassis.

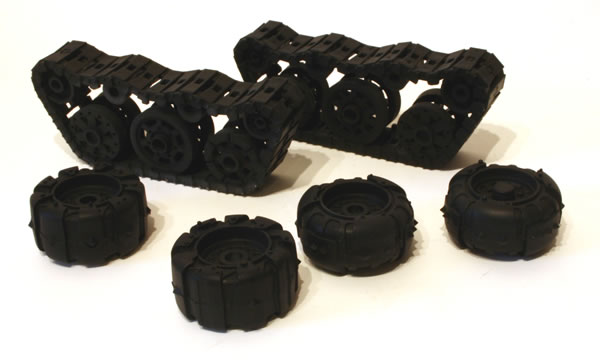
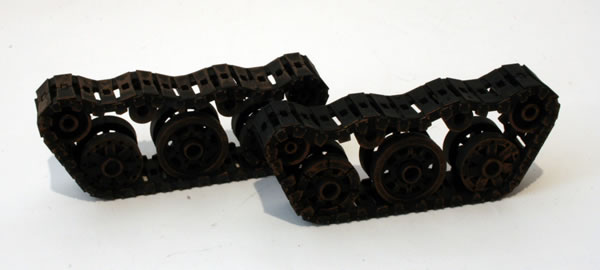
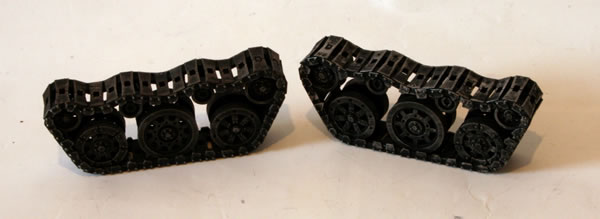
The tracks and wheels were simple to put together and though look glued to the chassis in later photographs, have been kept separate for painting, in the main so that painting the chassis is easier.

The kannon turret was a little more complex and it seems easier to glue the kannon into place first before gluing the turret together.

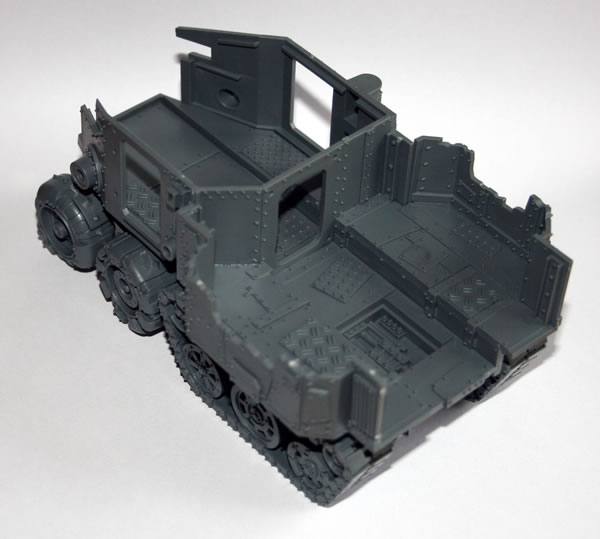
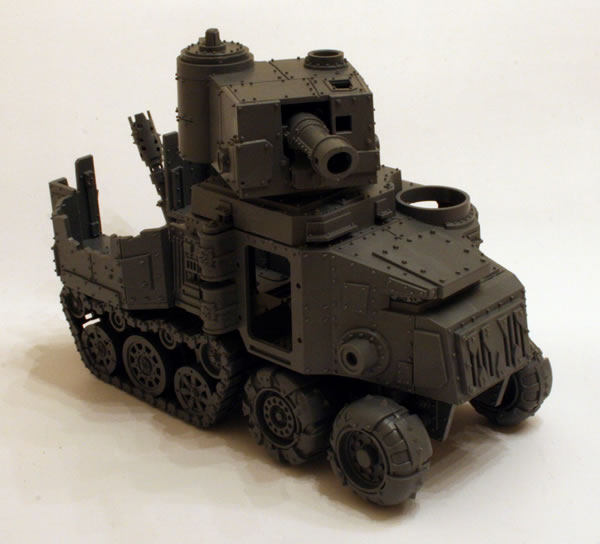
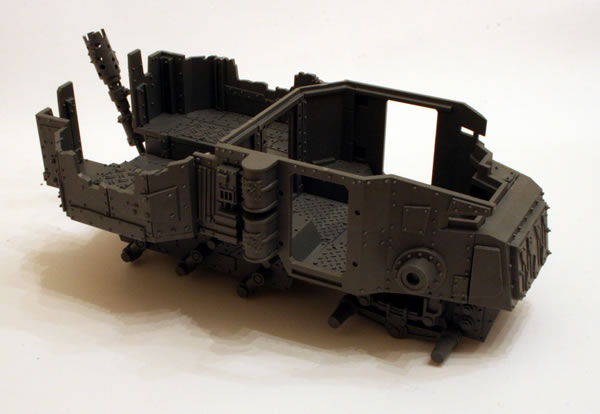
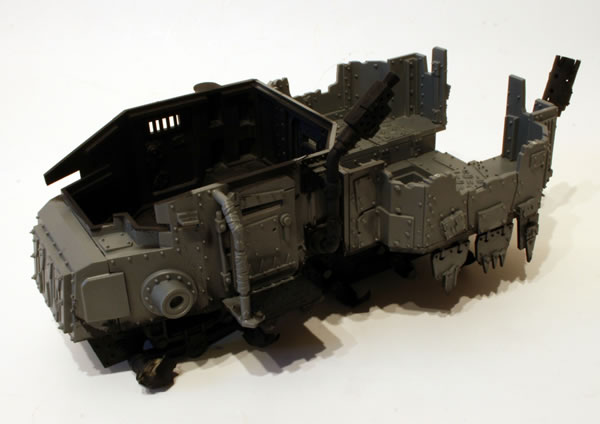
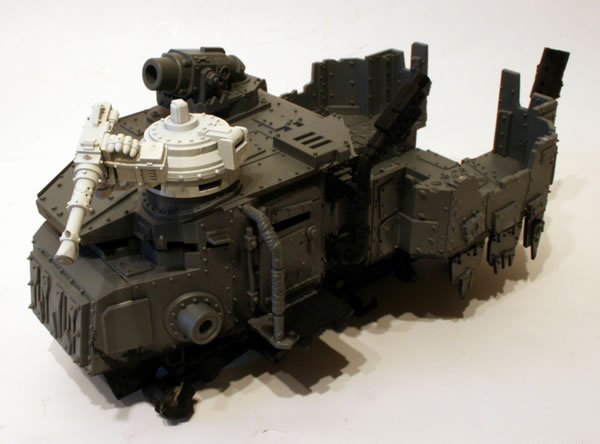
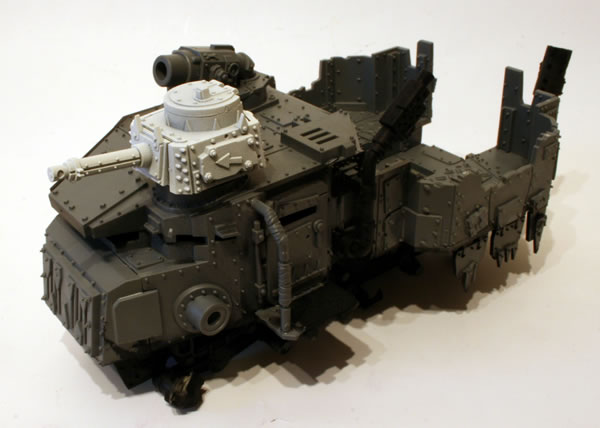
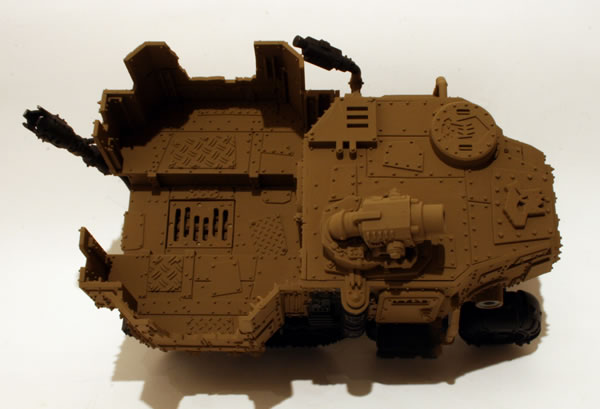
Adding the cab and rear bay.
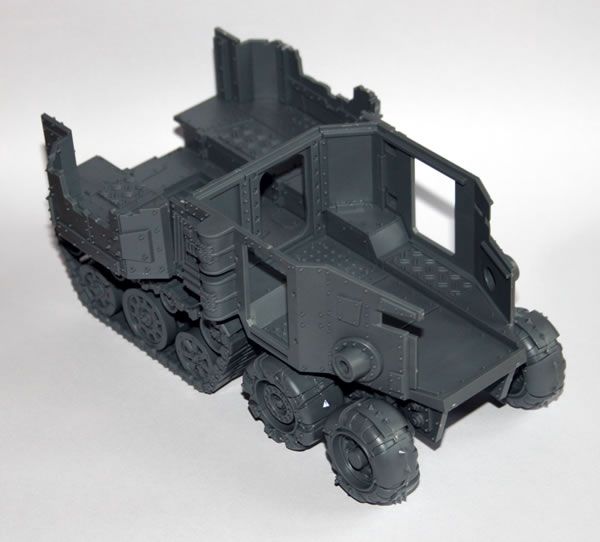
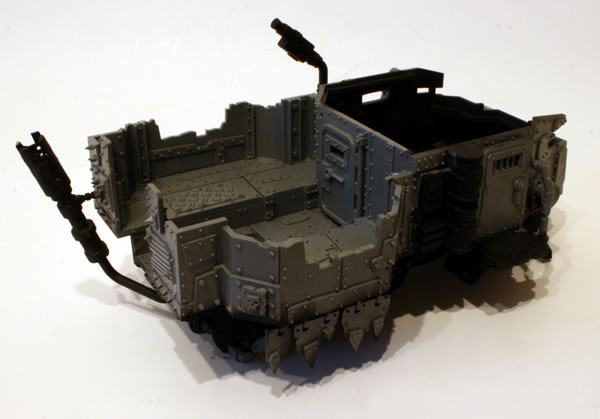
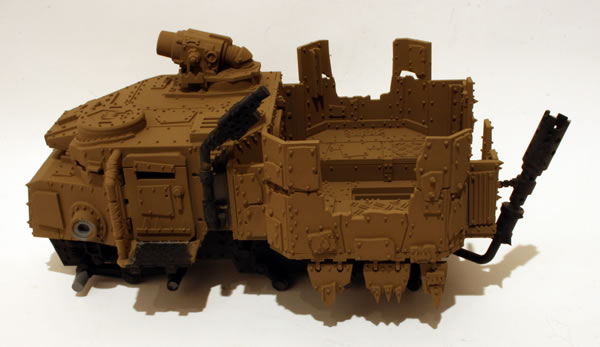
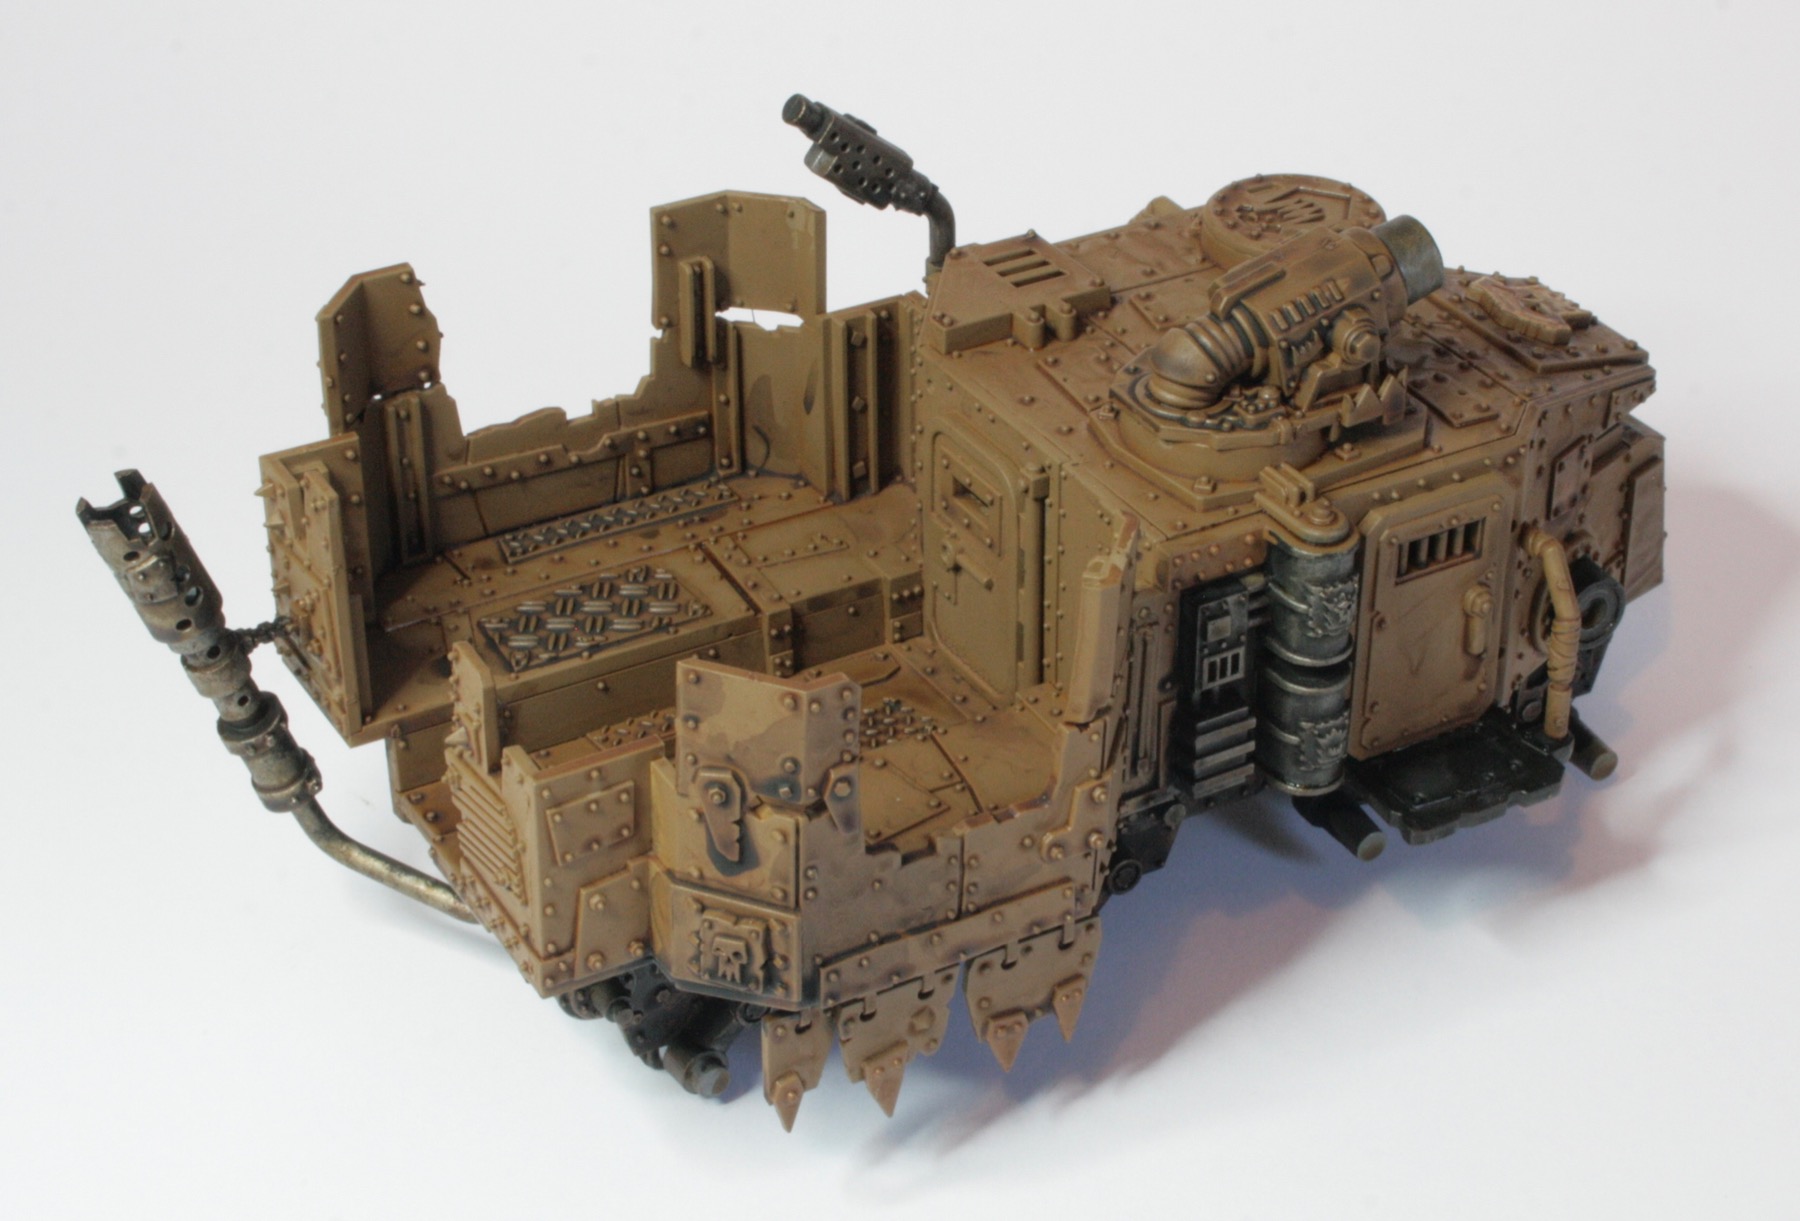
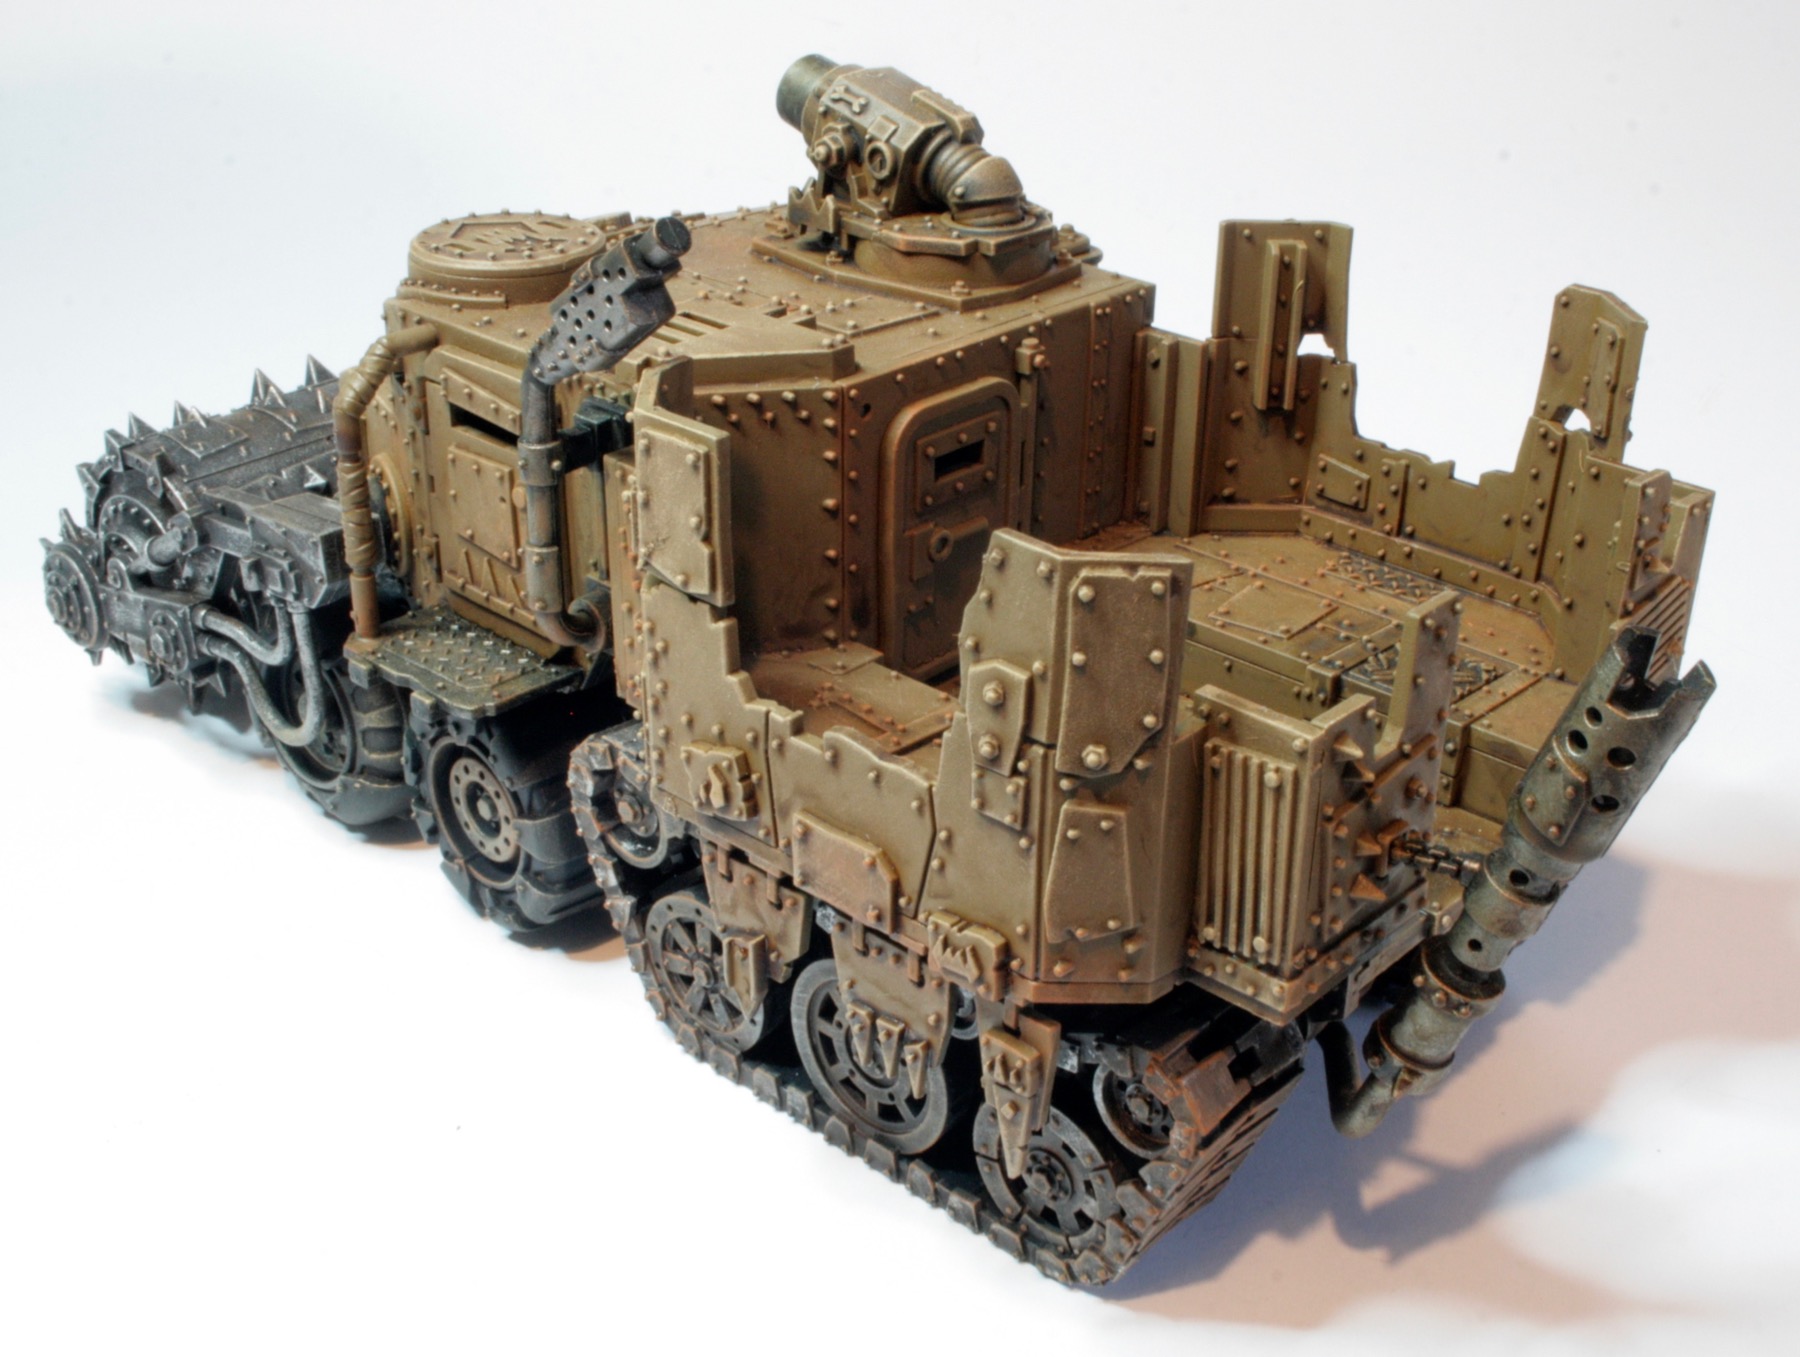
Rear view.
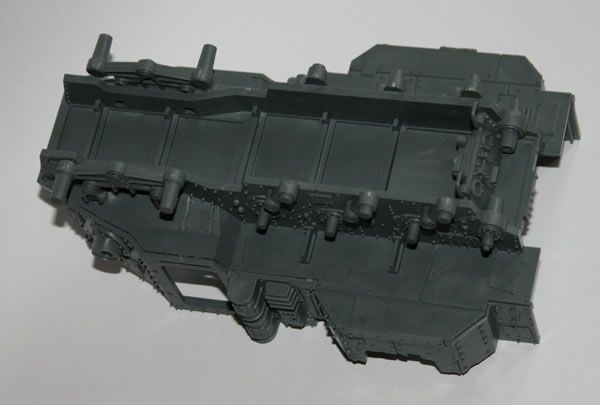
The chassis.
August 2009 saw the release of the Ork Battlewagon Upgrade Sprue from Games Workshop.

I decided I would use it with mine and ordered one; in the main to get the Deff Rolla.
The rest of the bodywork was glued together. The tracks and wheels were simple to put together and though look glued to the chassis in later photographs, have been kept separate for painting, in the main so that painting the chassis is easier.

This is how the Battlewagon looks with the included turret, though I have decided not to use it with the Battlewagon, makes it a little too tall for me.
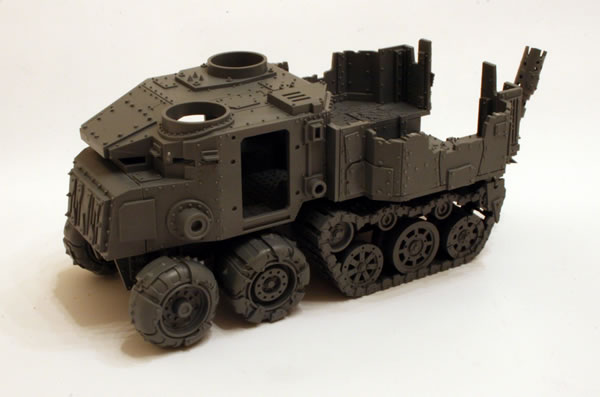
With the unglued tracks and wheel and the roof, this is how the model looks before undercoating.
Various details were added from the kit to the model. These included exhausts, doors, mudguards and other bitz
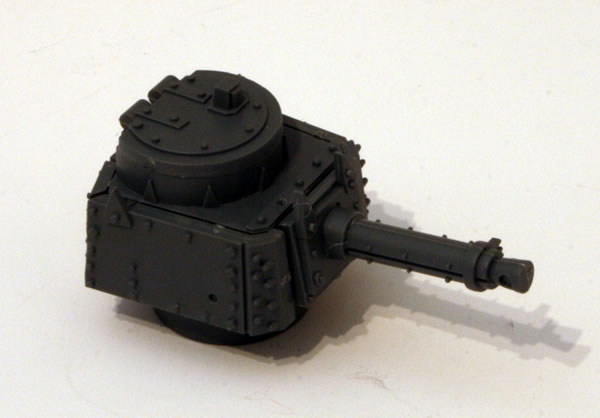
The model includes this small turret….
…and this larger turret.
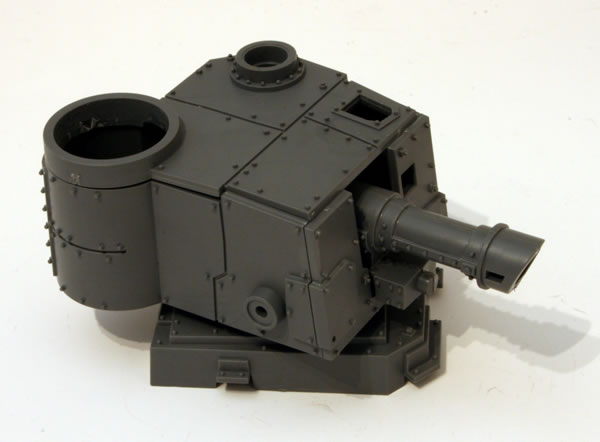
I have decided that I will use neither on my Battlewagon. Though I will probably use them on my Looted Rhino.
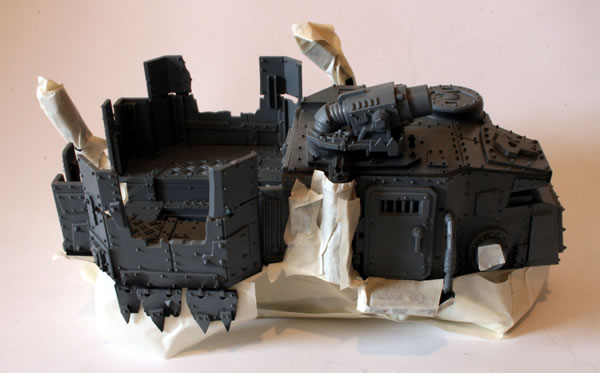
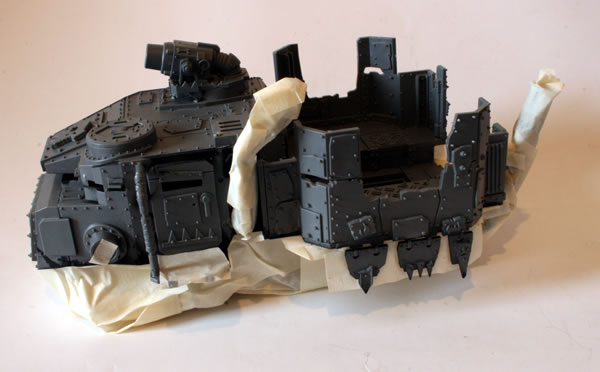
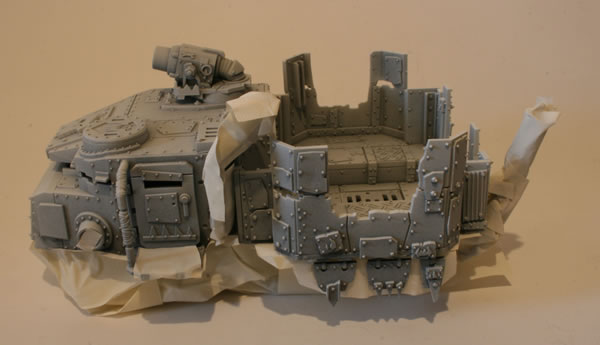
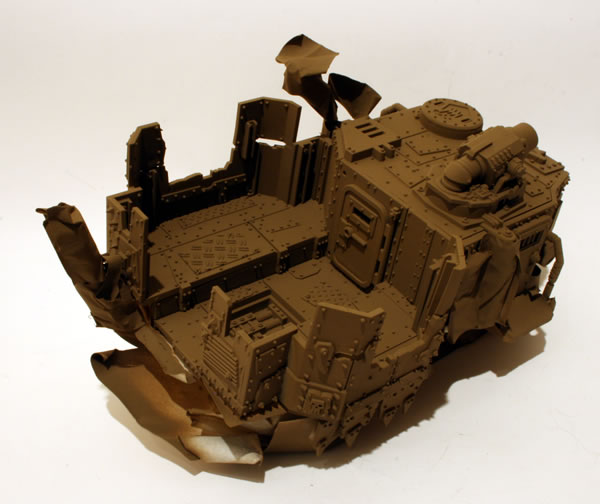
The next stage was to undercoat the model. I decided that I would use two undercoats, a black undercoat for some of the model and a brown undercoat (or basecoat) for the main bodywork. In order to achieve this I masked off the areas of the model that would be brown.

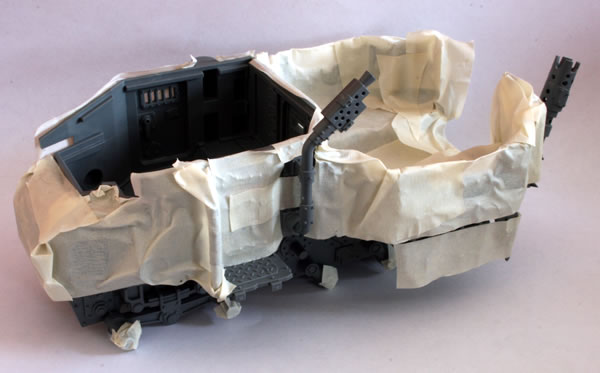
I also masked the areas that I would need to use glue on later.
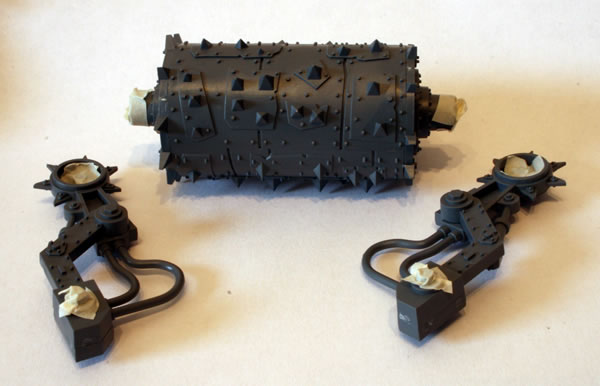
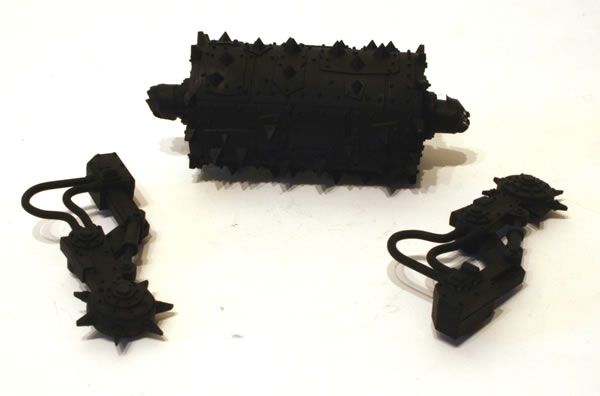
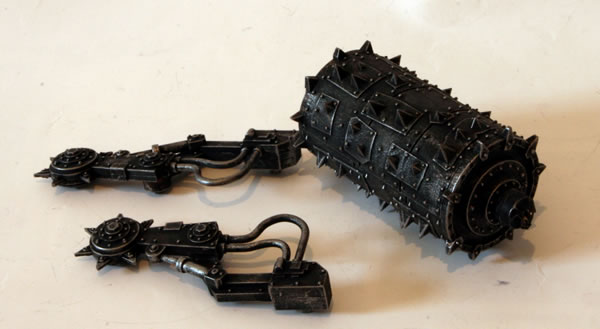
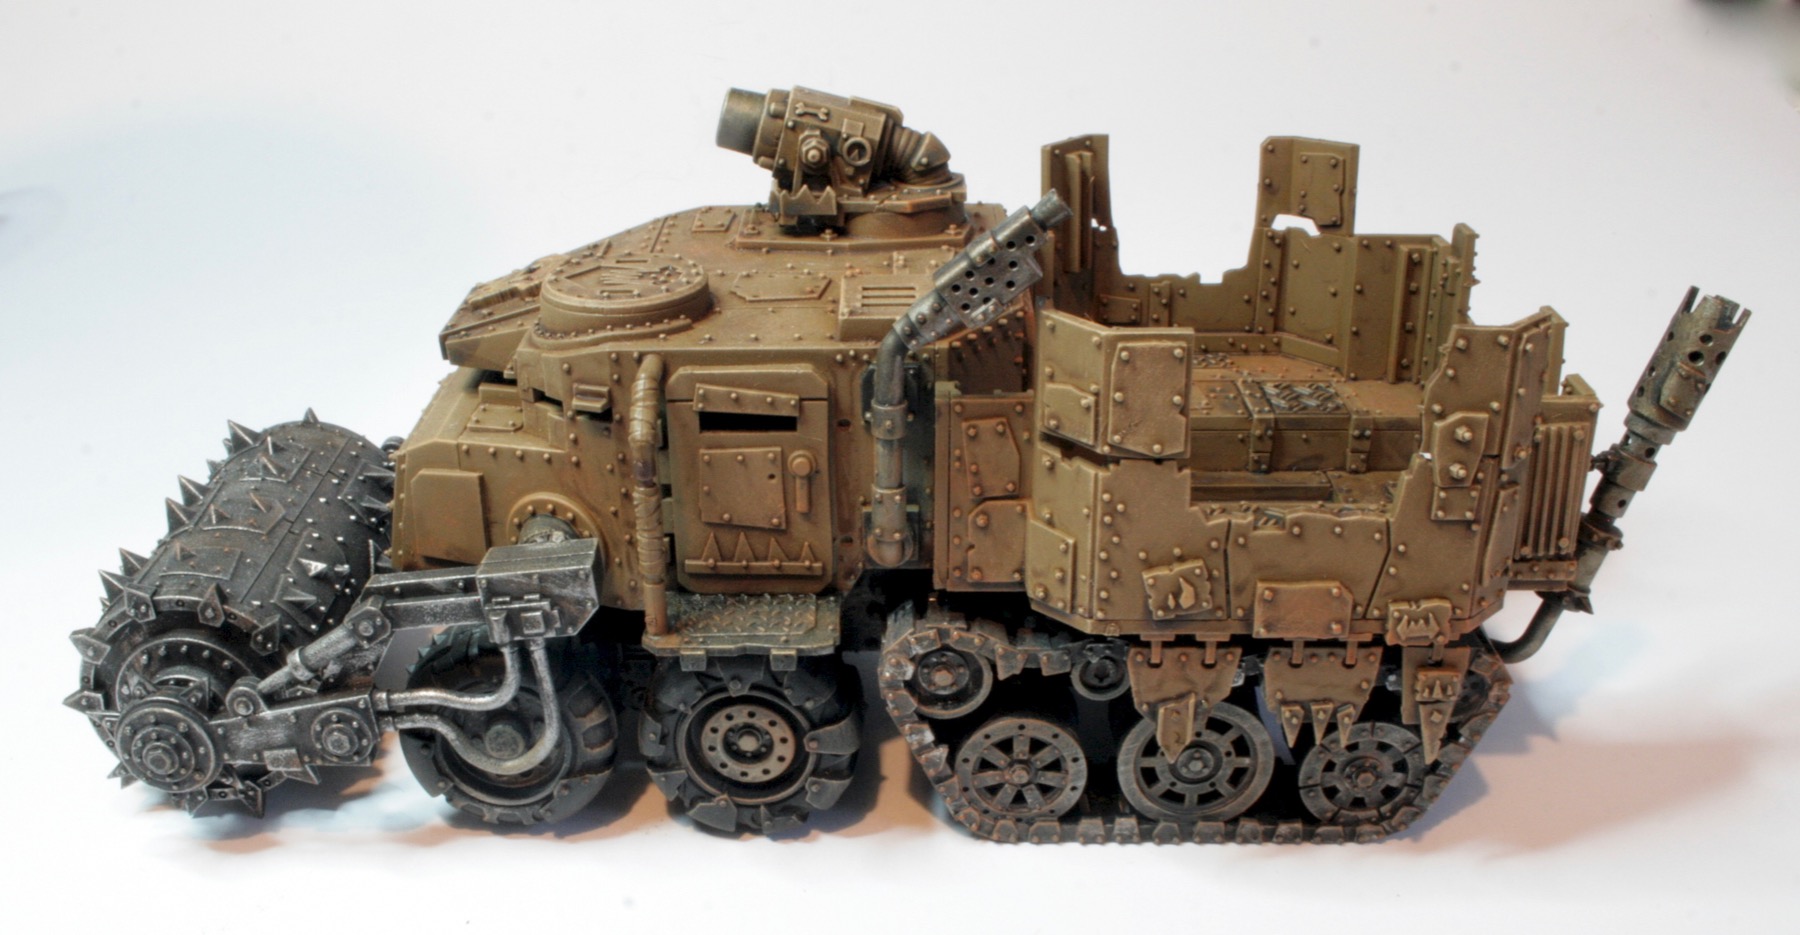
I had purchased the upgrade sprue in order to provide the Battlewagon with a Deff Rolla.

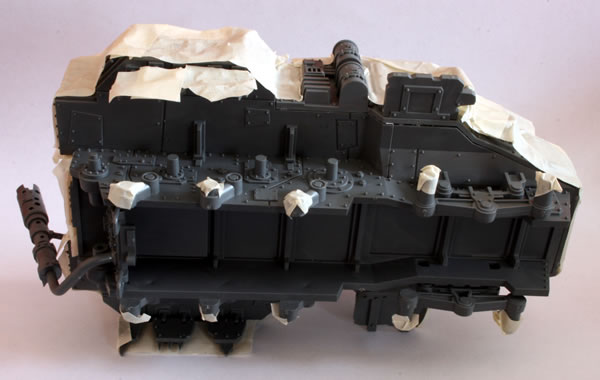
I then masked off the parts that would be glued together.
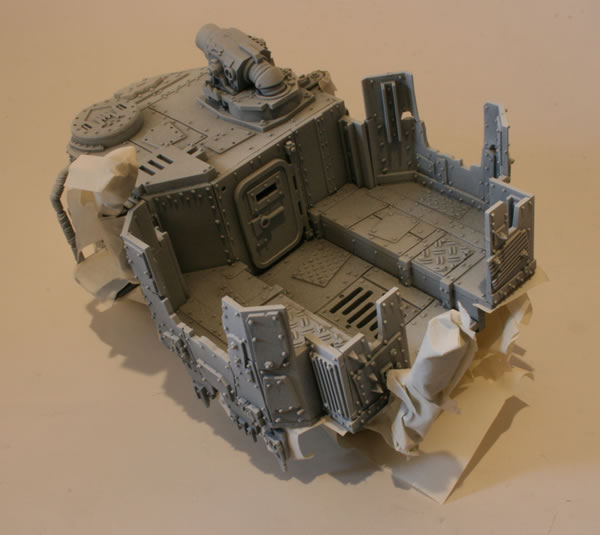
As you can see the black undercoated parts have been sprayed. Still need to do the bodywork.
I did consider detailing the interior, but decided it was a lot of extra work and it wouldn’t be seen by anyone.
Here are the wheels and tracks, these were also undercoated black.
Here is how the model looks at this stage, I have added a cap to one turret and added the lobba to the other.

Before gluing the cap in place, decided to see how other turrets and cupola looked like.
The Deff Rolla was also undercoated black.
Next stage was to mask the black undercoated parts of the model ready for the basecoat.
Before the basecoat the model was given a white spray undercoat.
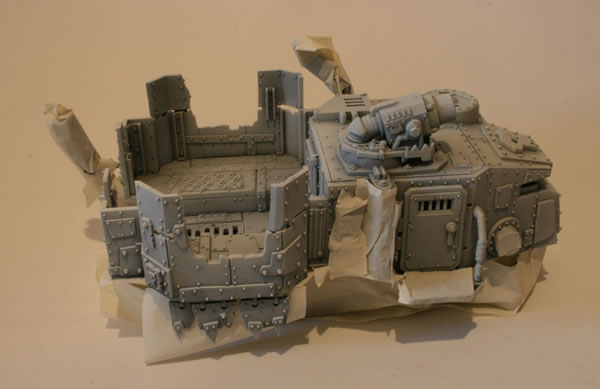
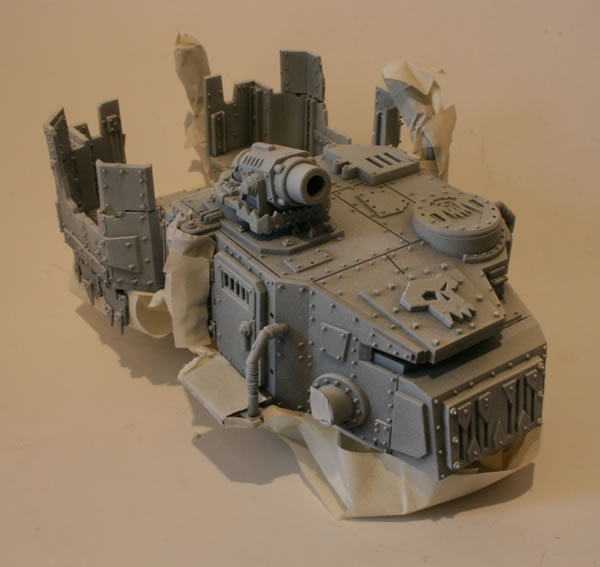
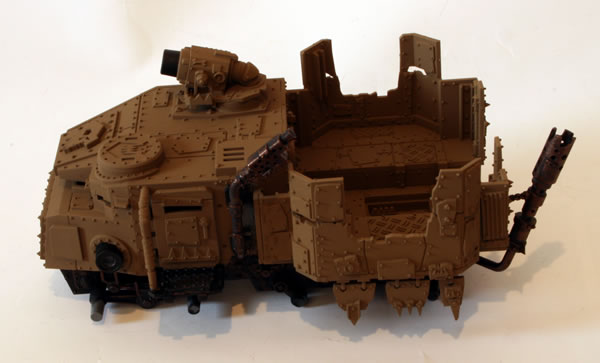
The model was given a basecoat of brown spray paint.
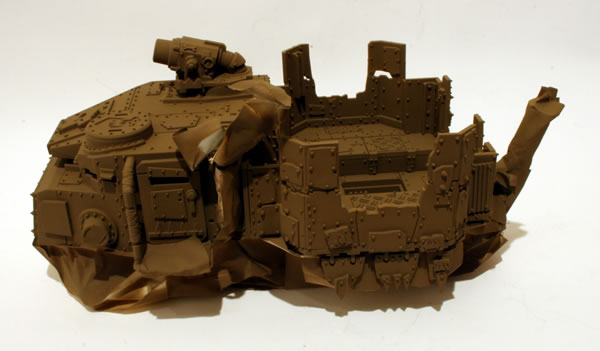

I removed the masking tape.
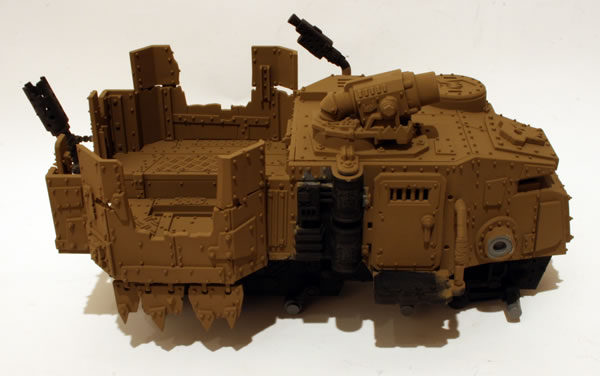
I then put the model together with the wheels and tracks to see how it would look.
I drybrushed the Deff Rolla and the tracks with Tin Bitz and then Boltgun Metal.

I drybrushed the under chassis with Tin Bitz and the exhausts.


The next stage will be a wash of some kind.
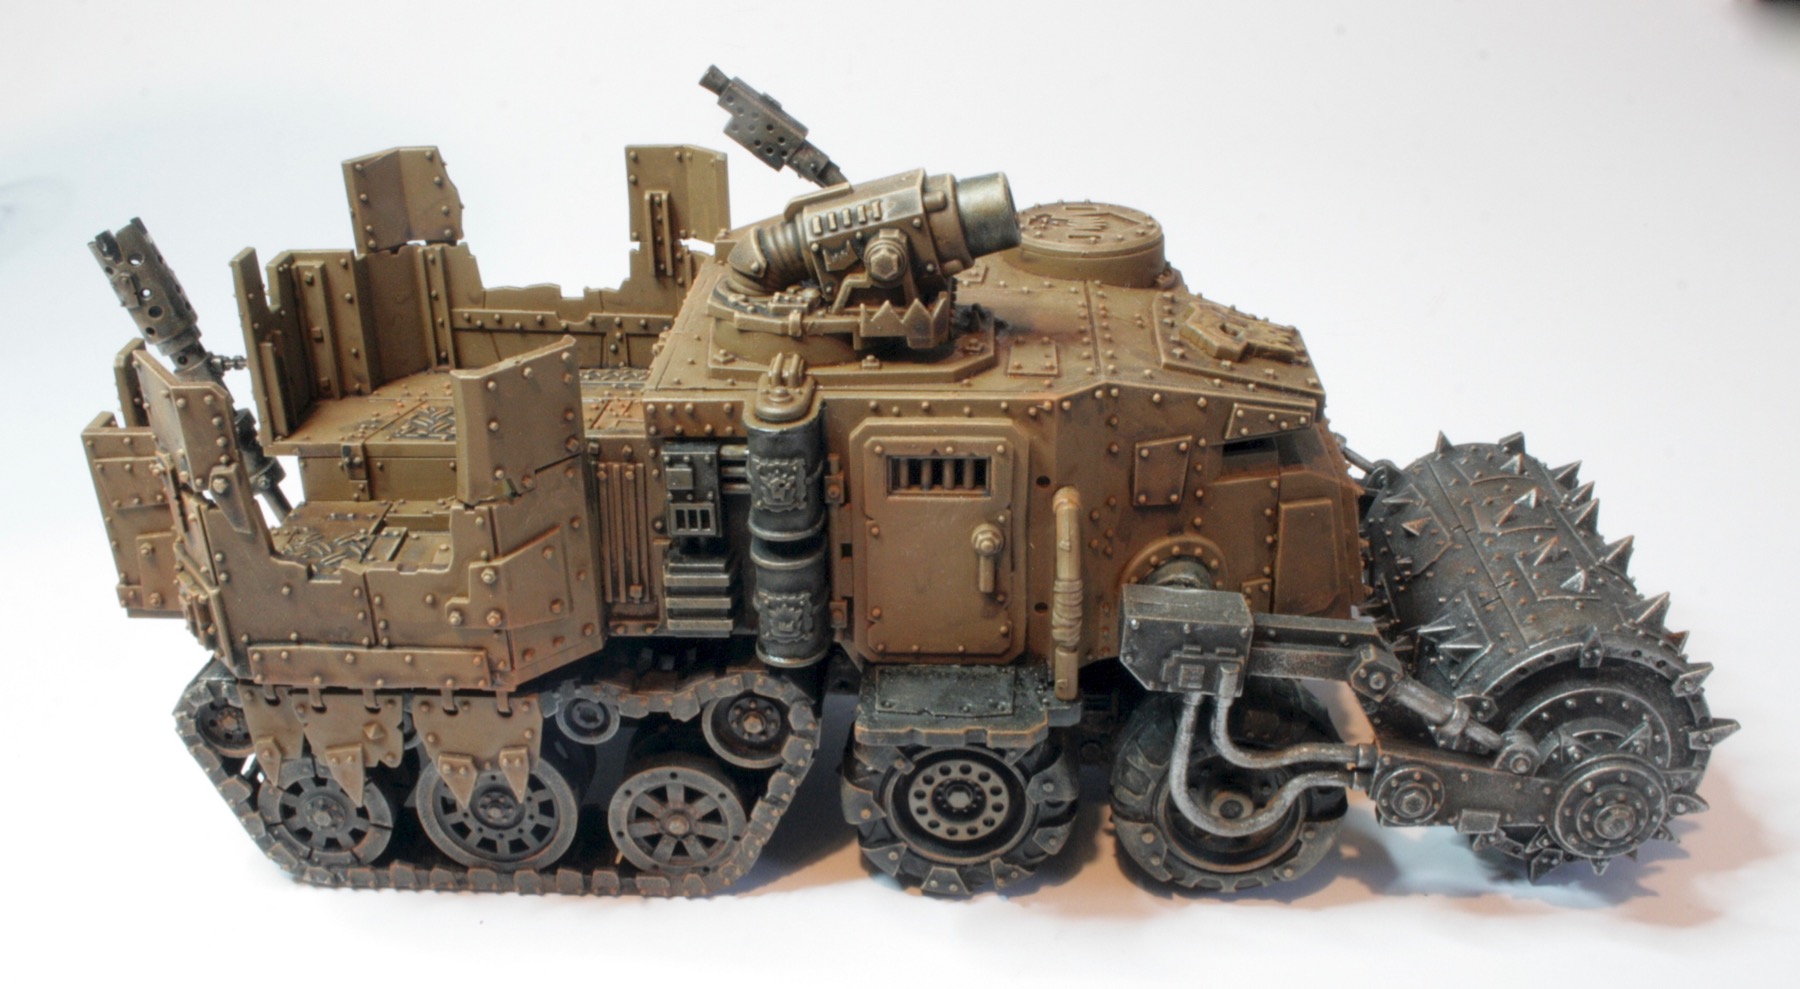
Having left the model for a few years I unearthed it from storage with the intention of finishing it off.
I had used my old method for painting vehicles, which was to paint the “metal” parts with Chaos Black and then use a different colour on the bodywork. I decided not to repaint the black parts and just use weathering techniques to lighten their dark colour.
I painted some details of the model with Ushabti Bone. I also used XV-88 and Balor Brown on some of the panels.
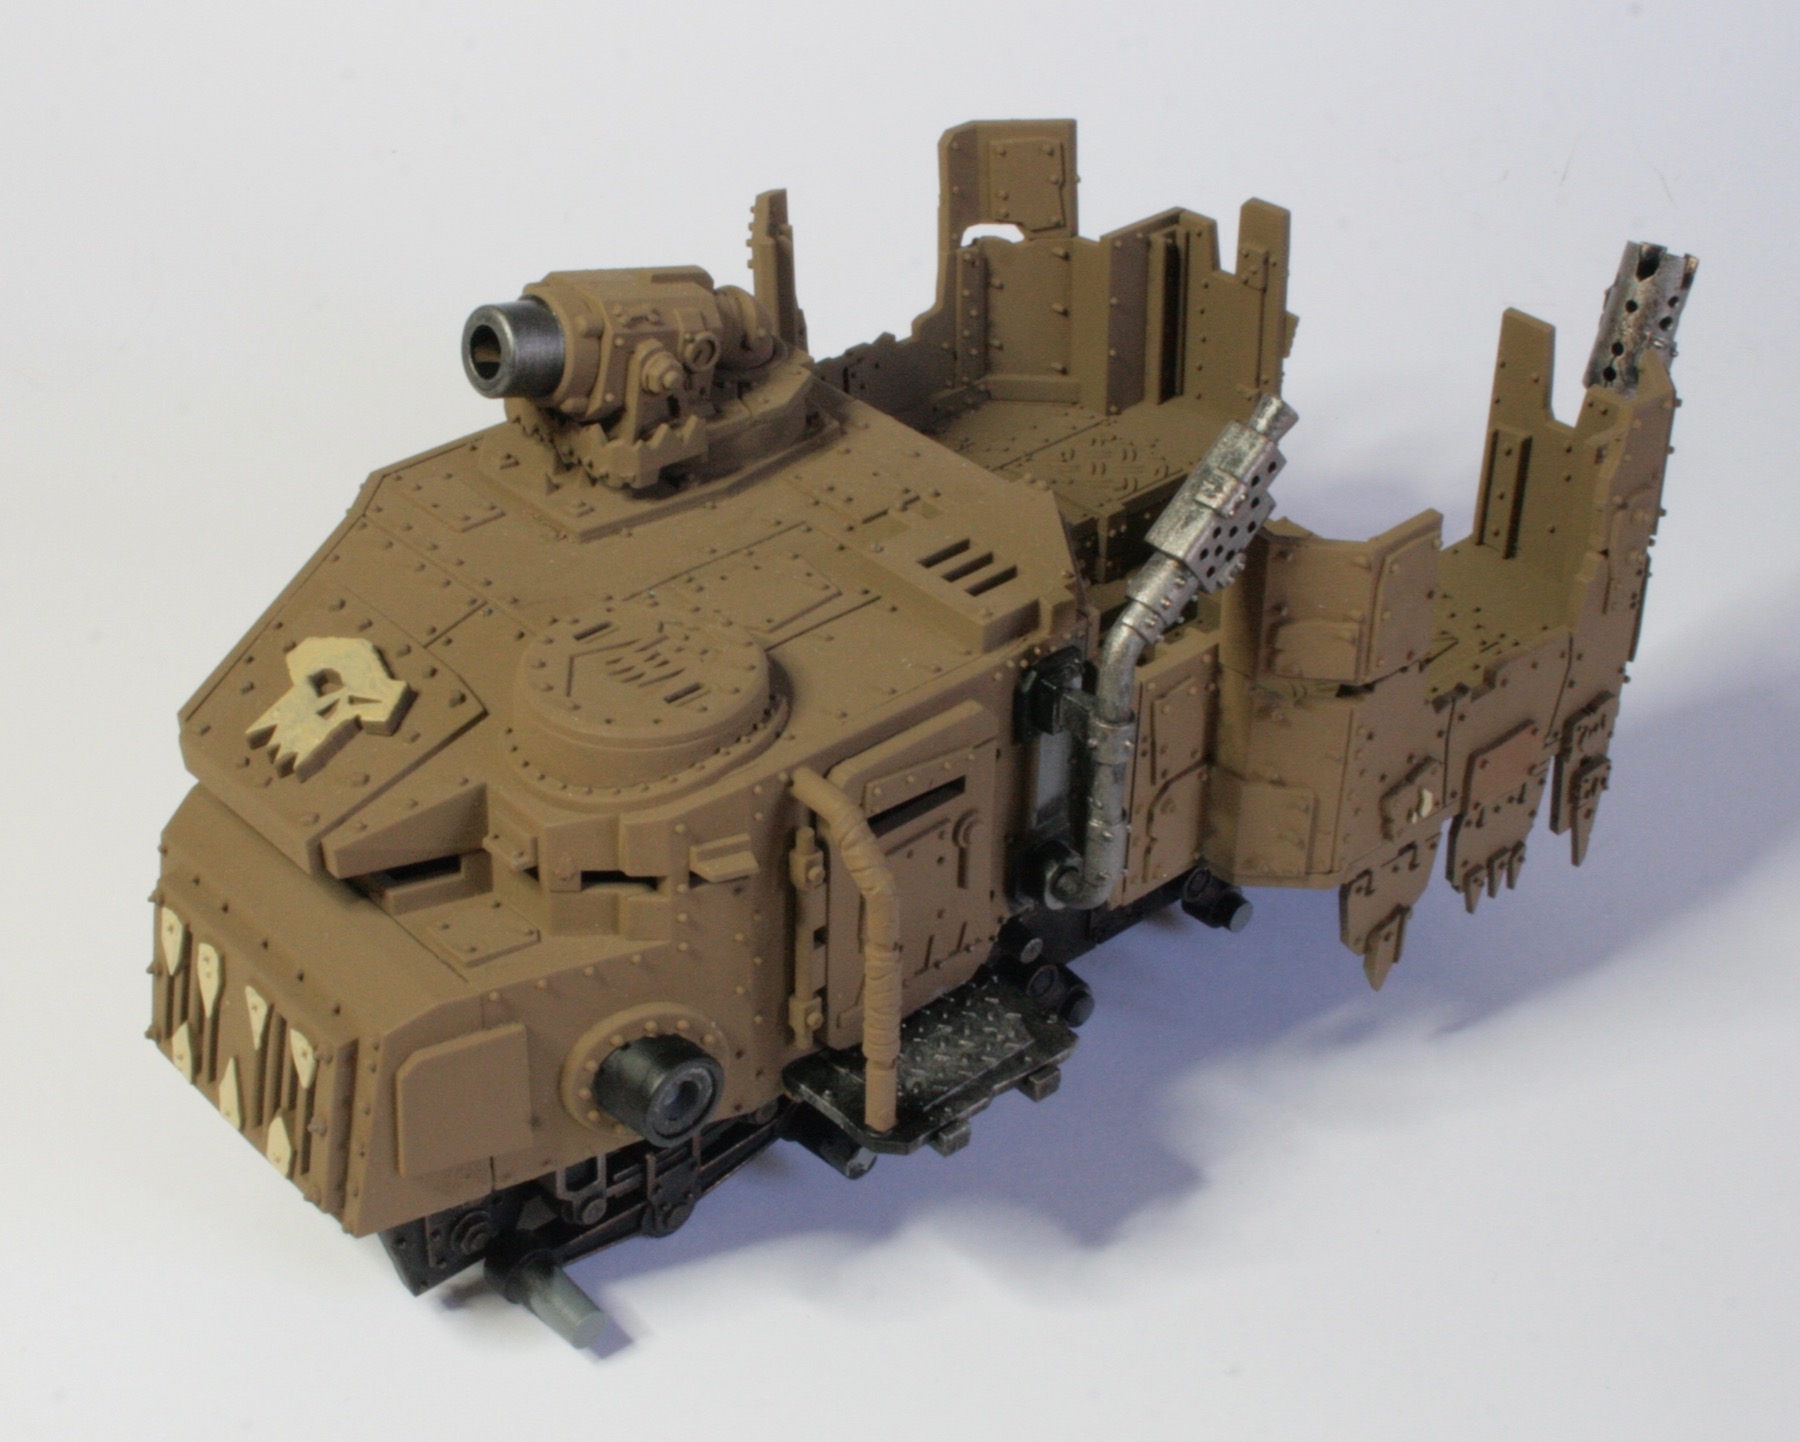
I washed the model with Seraphim Sepia Shade, before using some Nuln Oil and Agrax Earthshade shades on specific parts of the model.
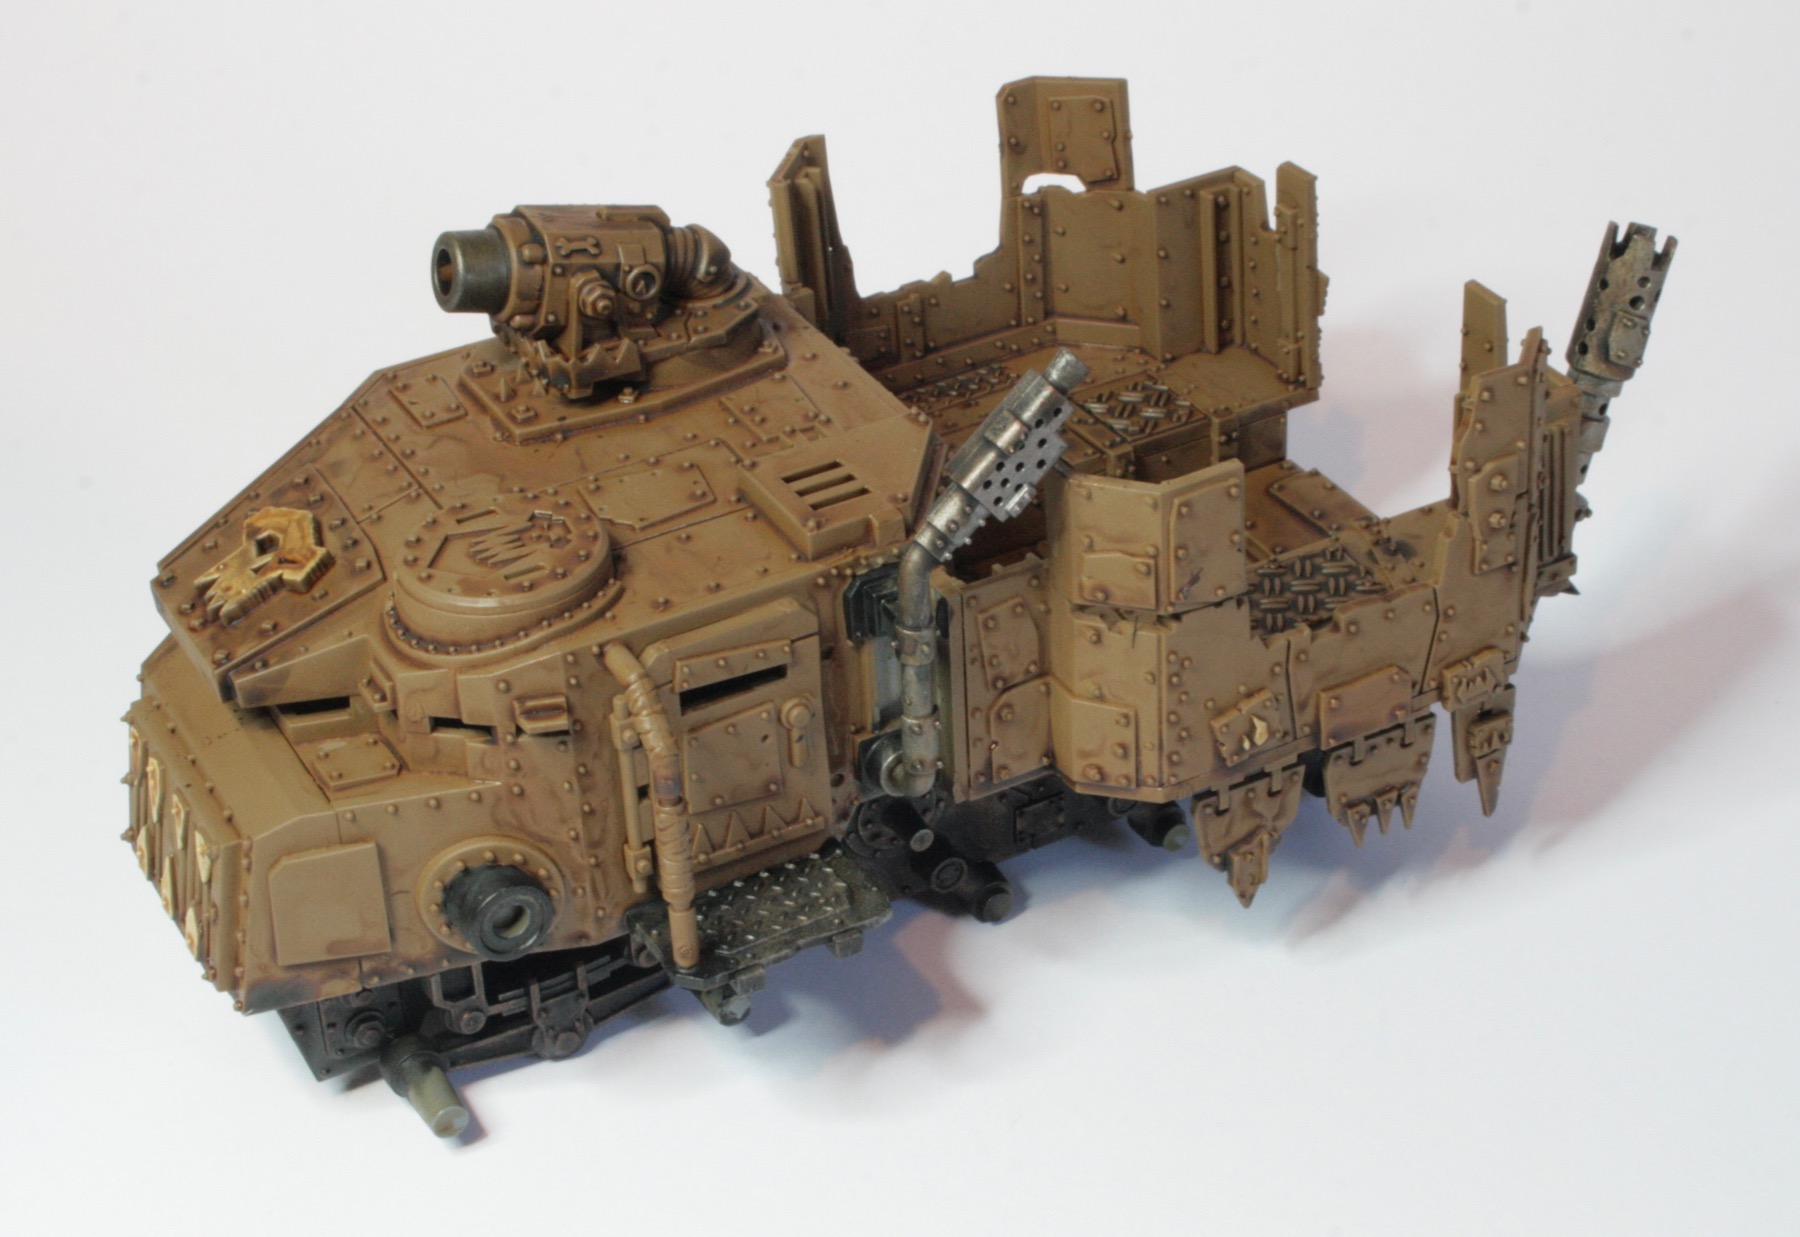
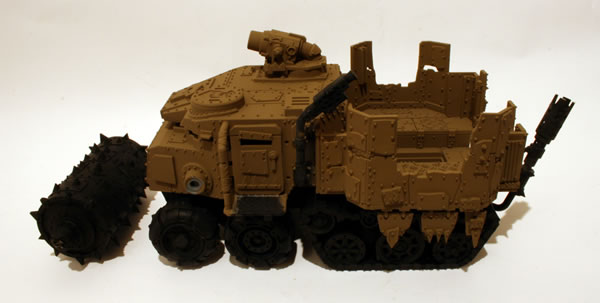
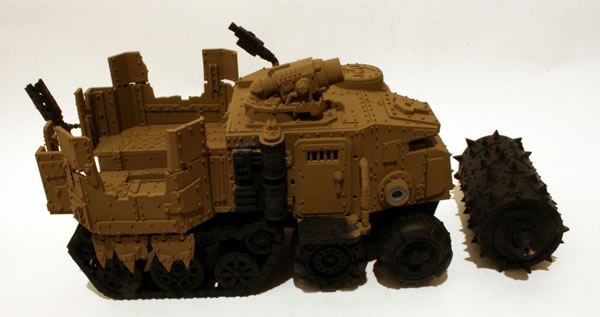
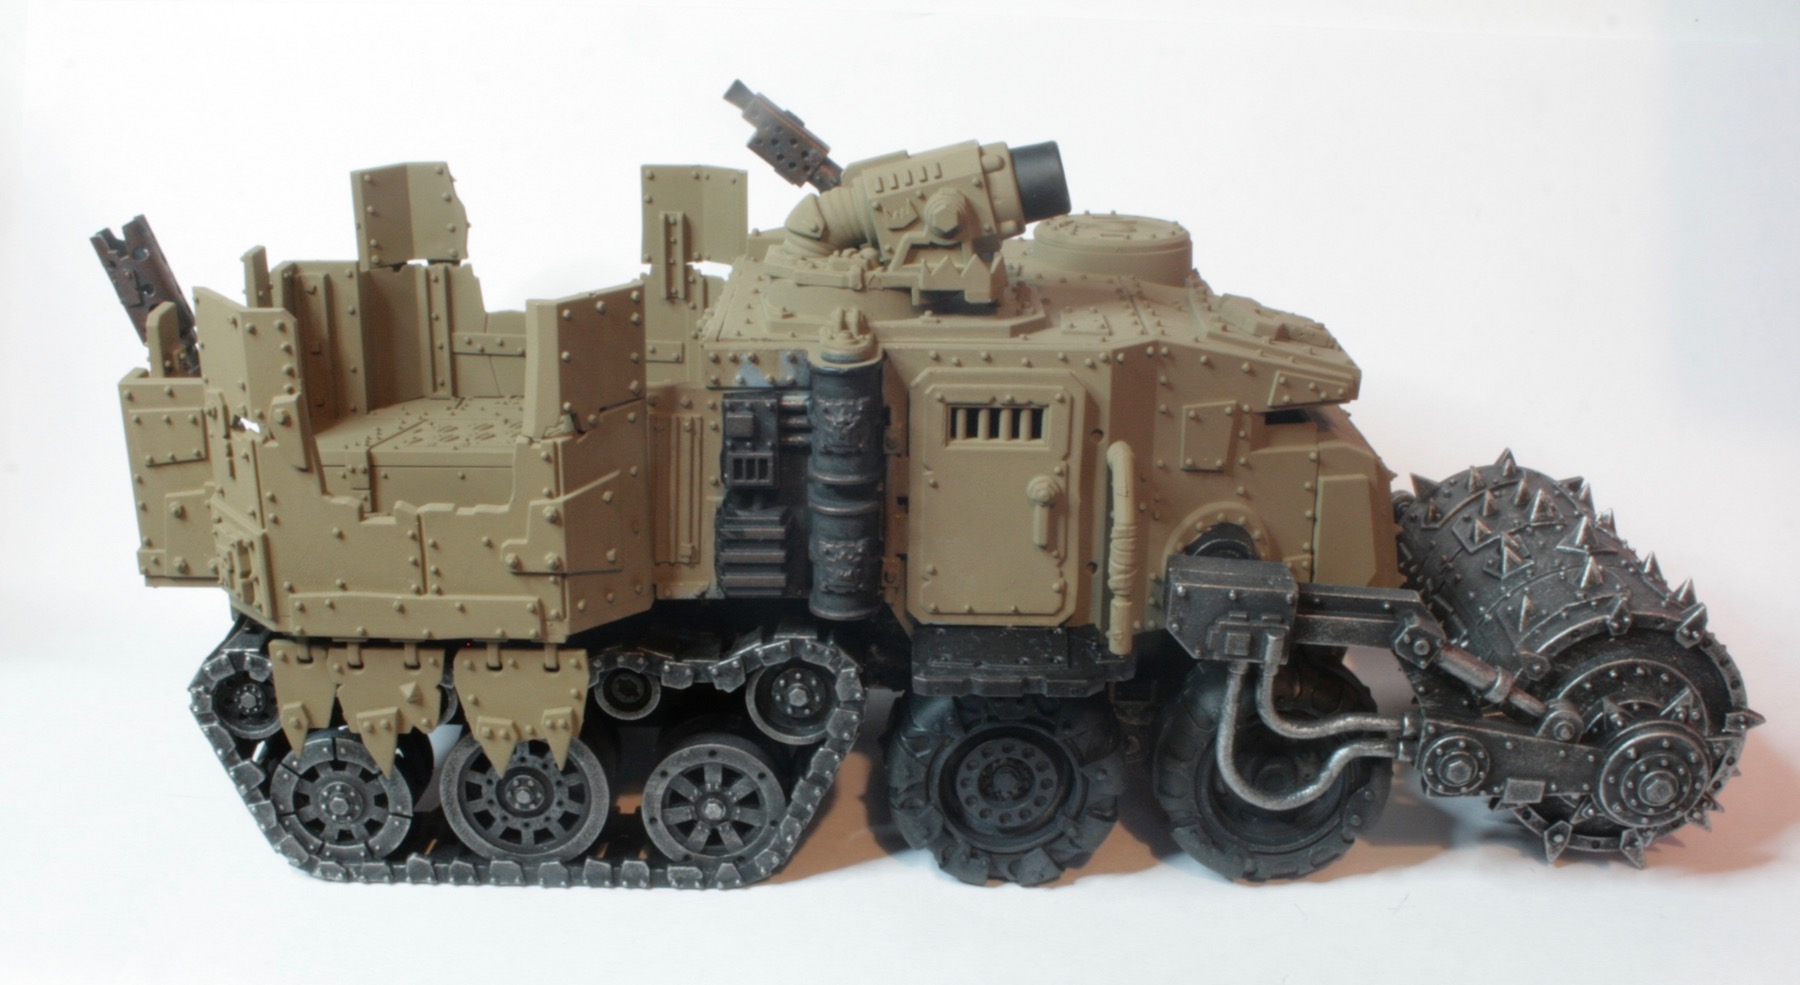
After washing the model I glued all the components together. The tracks, wheels and the front spikey roller thingy.


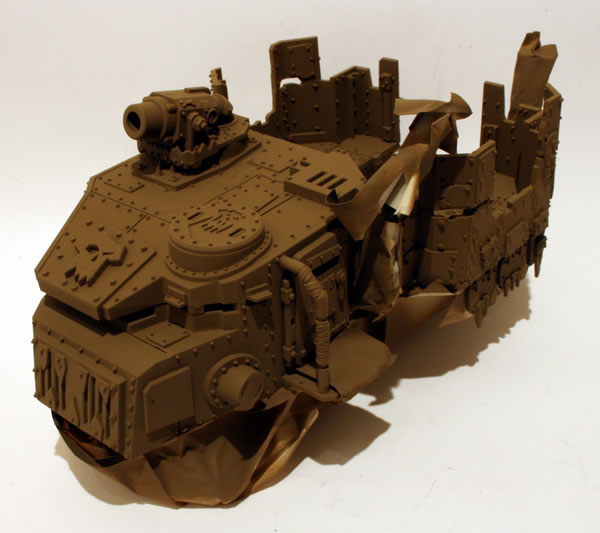
I drybrushed the model with XV-88. This was done all over the model before then doing a lighter drybrush with a mix of XV-88 and Ushabti Bone, before finally finishing off with some Ushabti Bone.
I then took some Citadel Dry paint, Golgfag Brown and using a smaller drybrush added patches here and then across the model to represent rusty or rusting patches on the wagon.

I also used Golgfag Brown on the tracks and spikey roller.


I wanted to add some more weathering.
What I wanted was to get both a dusty and rusty look to the model.
I drybrushed the model with more XV-88 then doing a lighter drybrush with a mix of XV-88 and Ushabti Bone, before finally using some Ushabti Bone.
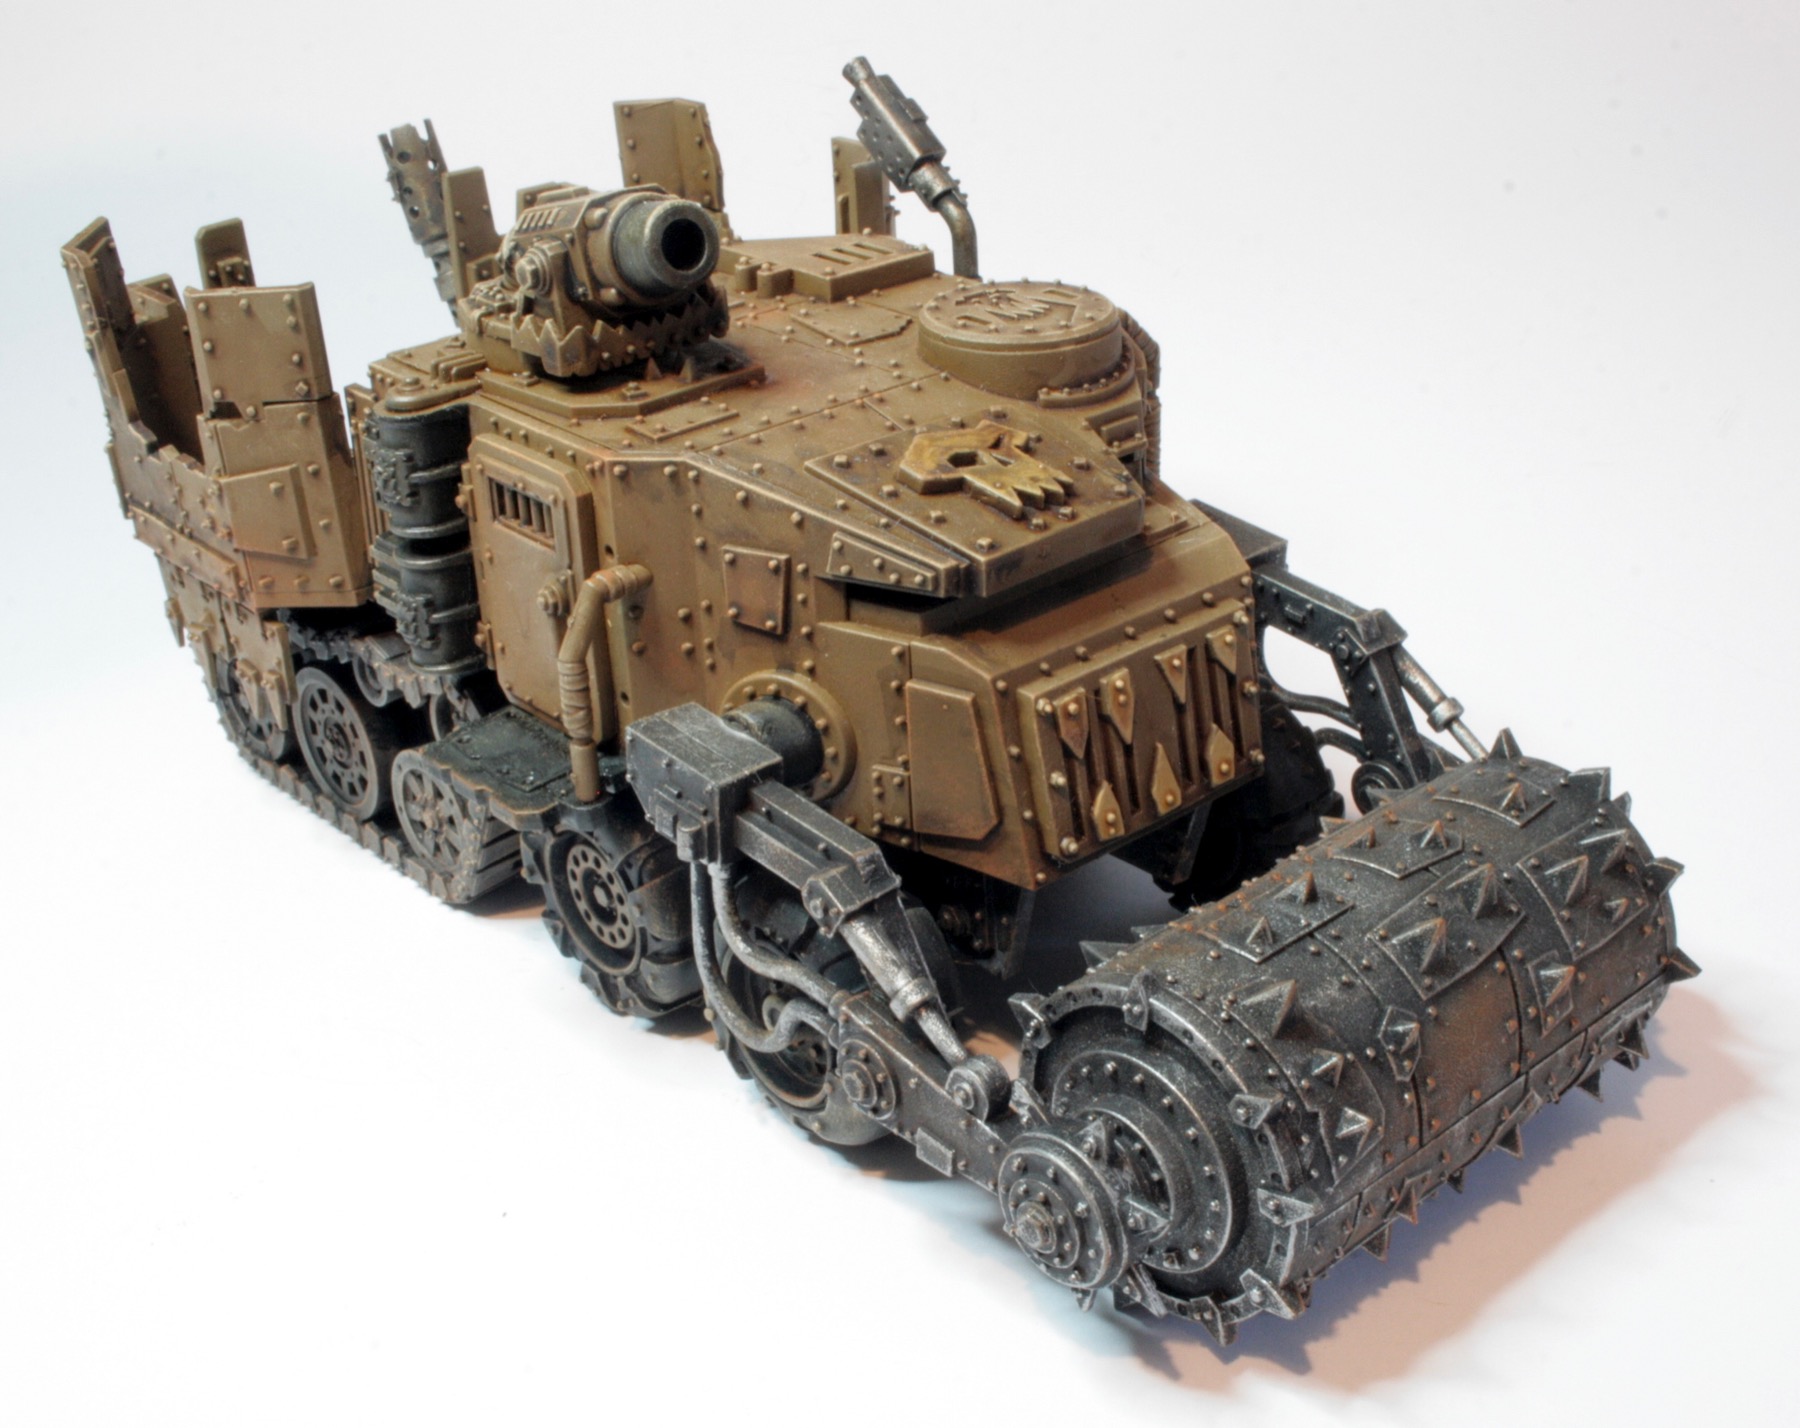
I then took some Citadel Dry paint, Golgfag Brown and using a smaller drybrush added patches here and then across the model to represent rusty or rusting patches on the wagon.
With this model, less is more, so I think I might go back to the model and use some weathering powders.
I still think I need to rust up the tracks more, as well as the death roller.