I had been thinking about getting this kit for a while now. So on a shopping trip to my local games shop I decided to make an impulse purchase and buy the box. As well as the named workshop you also get three barricades and three piles of scrap.
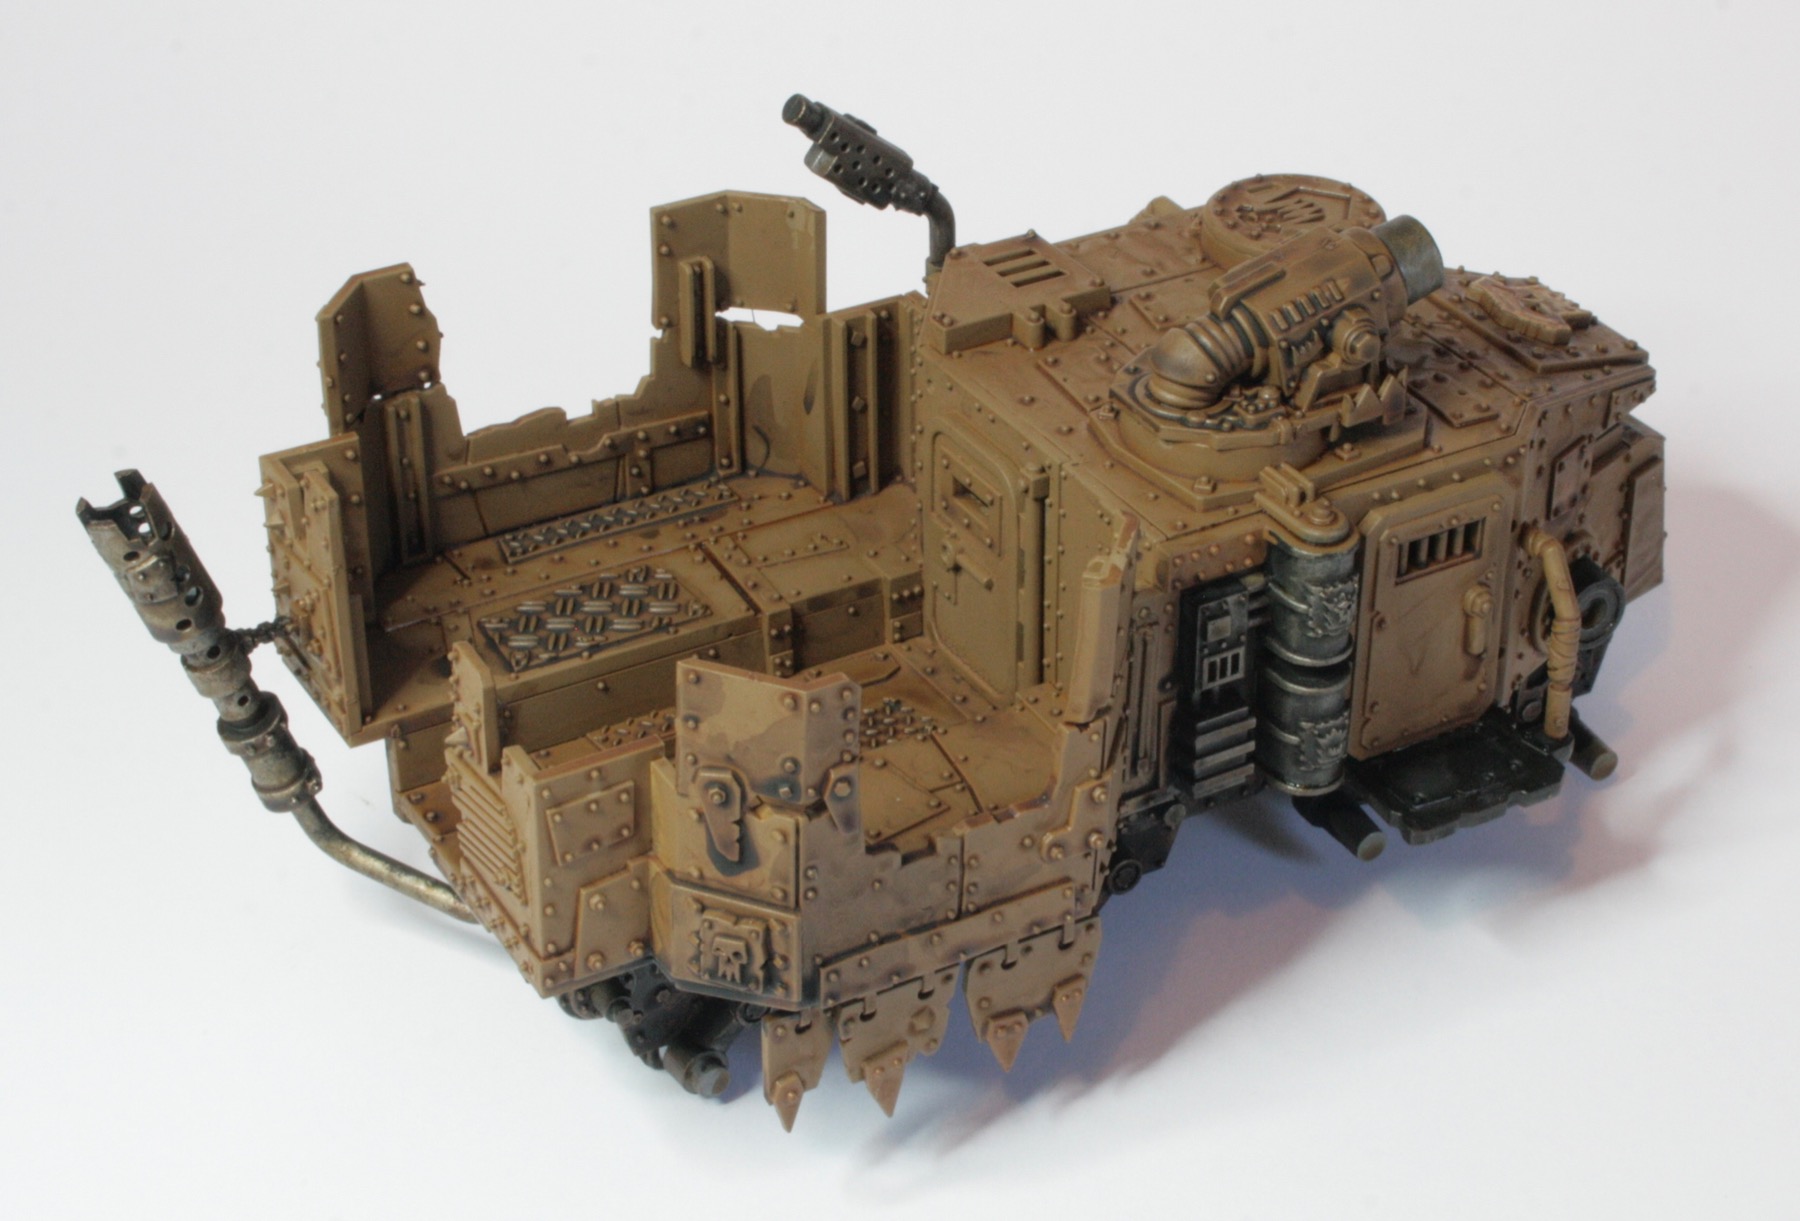
All Mekboyz can perform battlefield repairs using no more than a weighty wrench-hammer, a sack of nails and a healthy dose of gumption, but most do their best work in the comfortably anarchic surrounds of their own workshop. Meks are more than capable of cobbling together a workspace from whatever is lying about, with rudimentary workshops springing up from battlefield wreckage even while the bullets are still flying. Greenskin vehicles roar toward such teetering structures, their crews throwing sacks of teef at the resident Mek – he and his crew get to work immediately, sending the Ork customers on their way with snazzier guns, souped-up engines and extra armour plates.
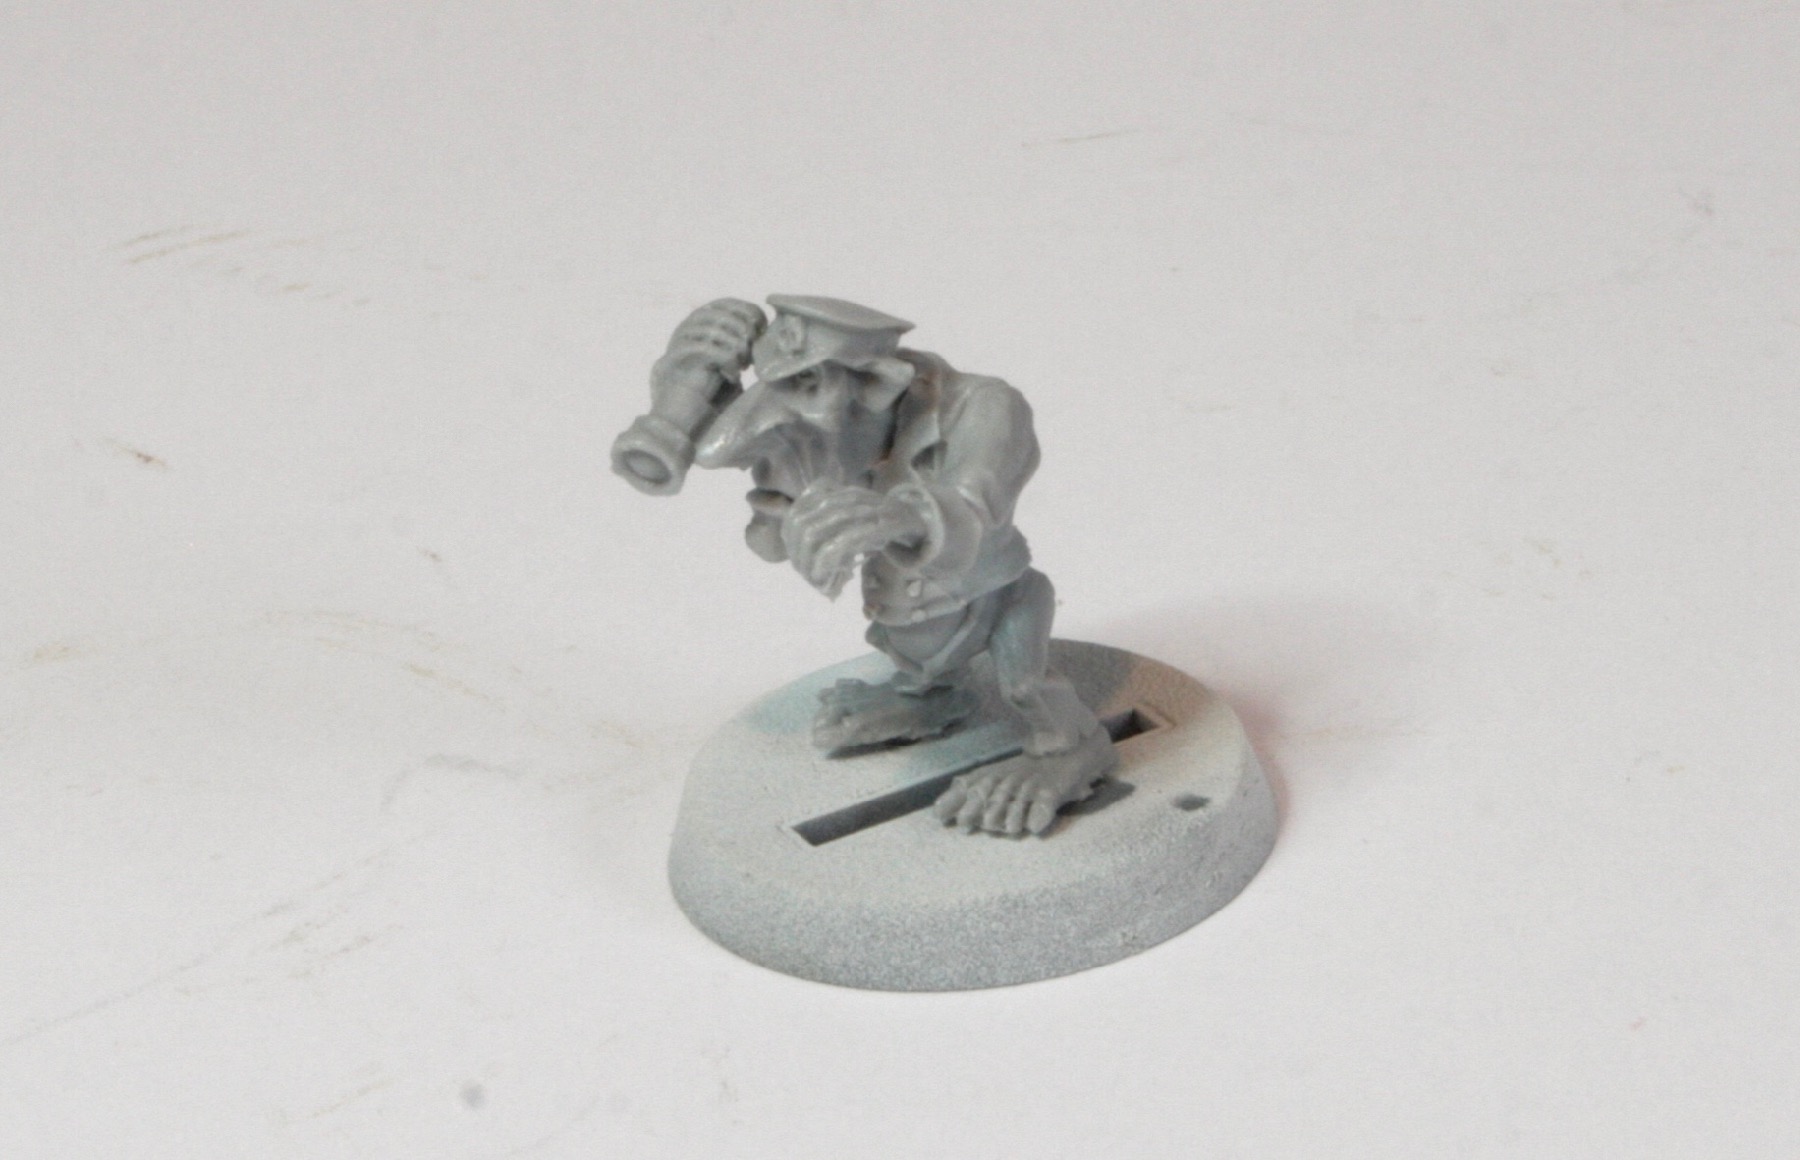
This workshop is the main model from the Ork Mekboy Workshop boxed set. It is the only part of the kit that actually needs to be constructed, the barricades and scrap piles are single piece models.
I really should read my own workbench feature as I didn’t undercoat the model in the way that I was planning to do. So the crane was going to have a white undercoat, whilst the workshop wall was going to have a Leadebelcher undercoat. In the end I did this the other way around.
So I gave the model an undercoat, some parts were done with Corax White and other parts with Leadbelcher.

My reasoning behind the undercoating was that the metal parts I would use Leadbelcher and then shade and wash the parts to give a dirty metal look to them. With the white undercoated pieces I will probably use a contrast paint as a basecoat, before then washing and highlighting.