It was rumoured for years, the original Apocalypse release saw pictures of what was at the time referred to as staff scratch-built models, but on the 7th March 2009 saw the release of the plastic Stompa.

That was the day I got one, an early birthday present.
When a mere dreadnought just isn’t stompy enough, a Mek feels the urge to build a stompa. As big as a Battle Fortress, a Stompa is a walking, shooting, roaring idol of Gork. It has a crew of several Orks aided by dozens of Grot riggers, runners and assistants. A Stompa usually mounts two or three enormous guns as well as some form of oversized claw or whirring blade for chewing up enemy tanks and titans in close combat.
The Games Workshop website had a great step by step guide to making up your model. They also had a nice gallery of Stompa models too, which is great, as I always like to see how others have painted theirs before I model and paint mine. Though the style and paint job of the GW Stompa above is very likely the way I am going to go.
You do get one BIG box with all the sprues in there.
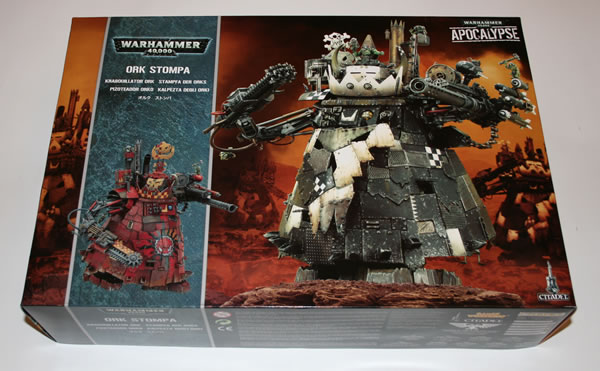
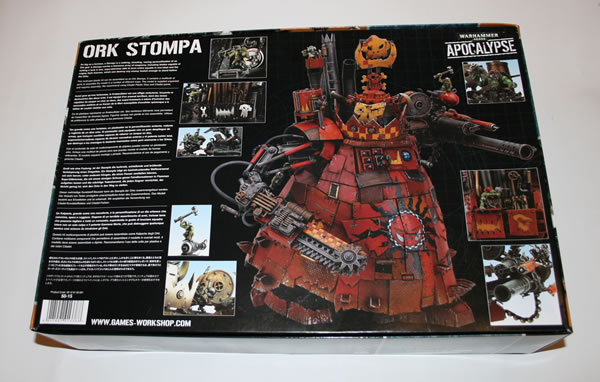
Lots of nice artwork on the box to inspire you.
Then you open the box and see all that plastic and think “oh that’s a lot of plastic”.
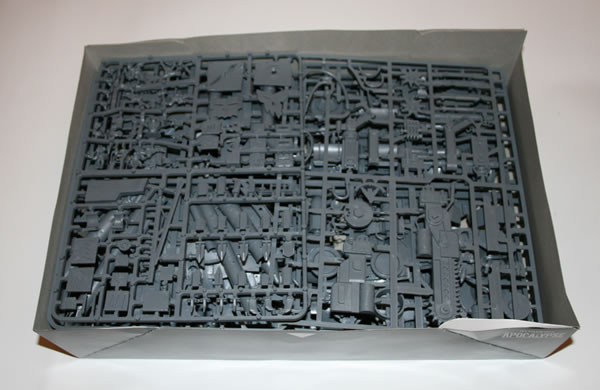
This is the gubbinz and crew sprue. Some of this of course could be used on other Ork vehicles.

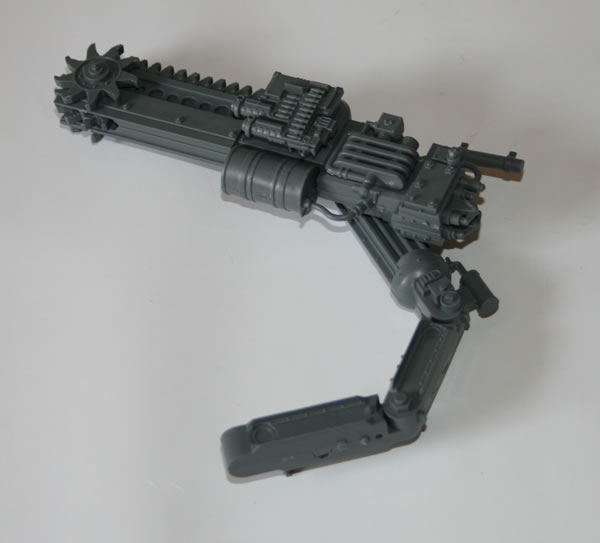
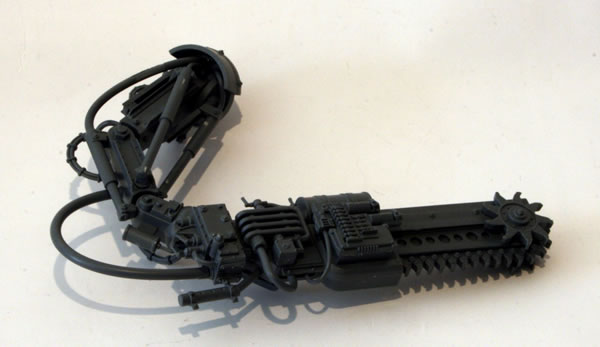
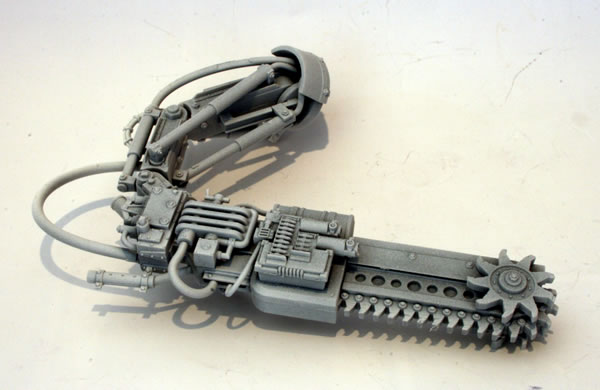
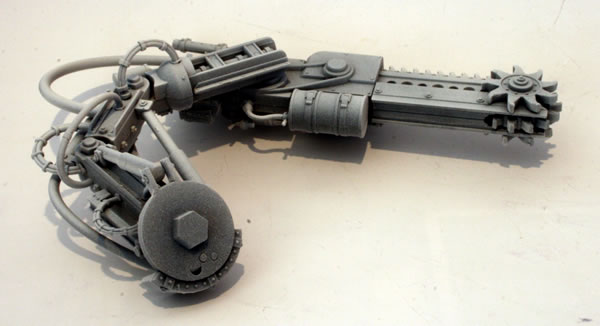
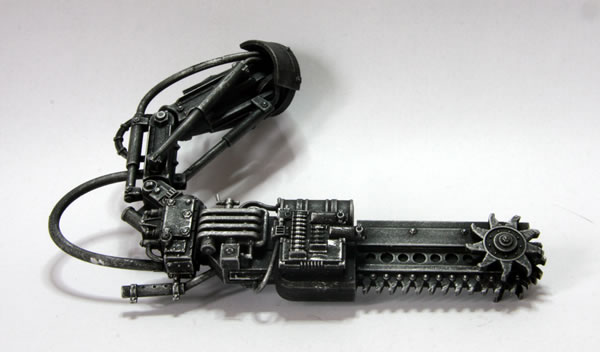
The chainsaw arm. Note all the pipes.

The rear chimmney stacks.

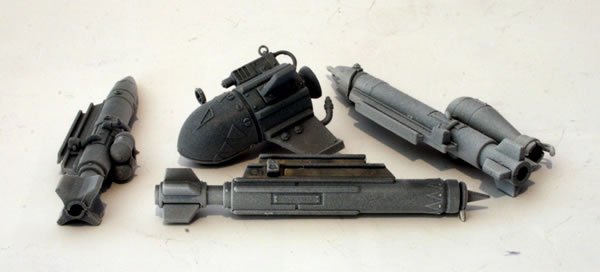
The many rokkits and turret.

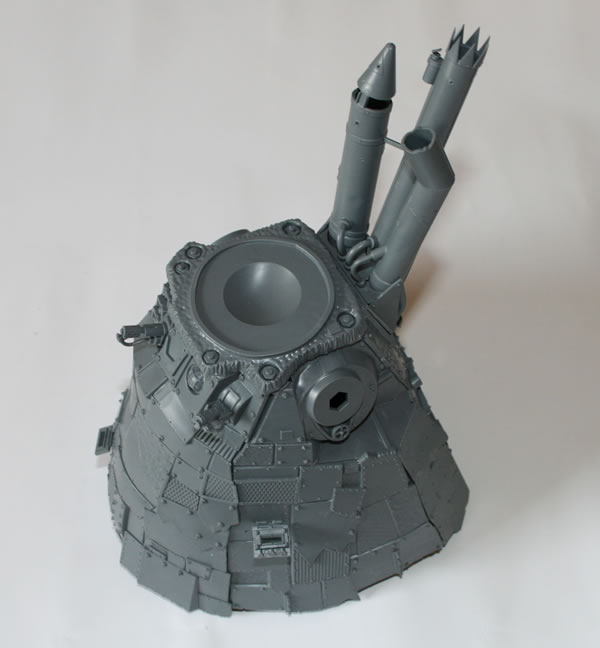
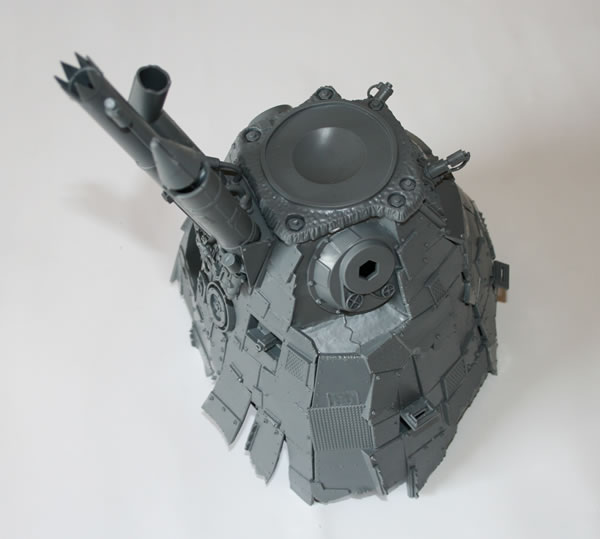
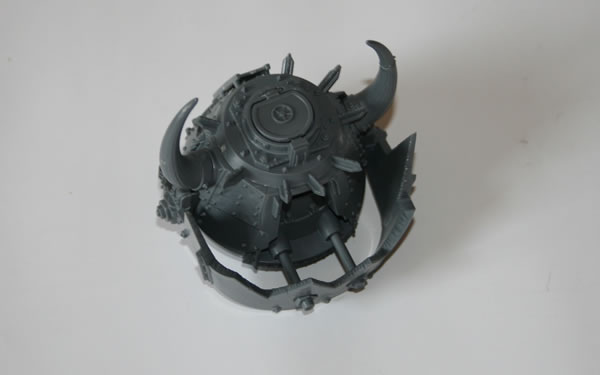
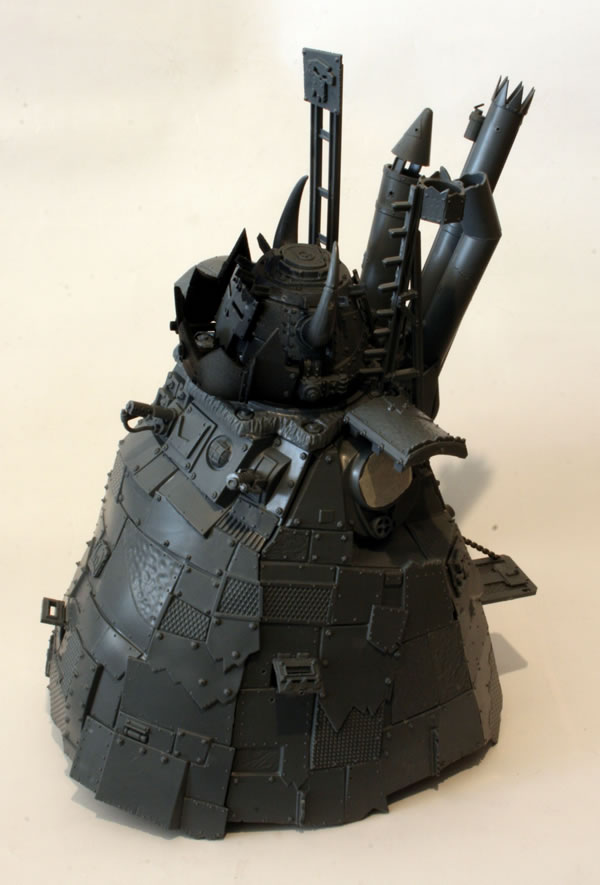
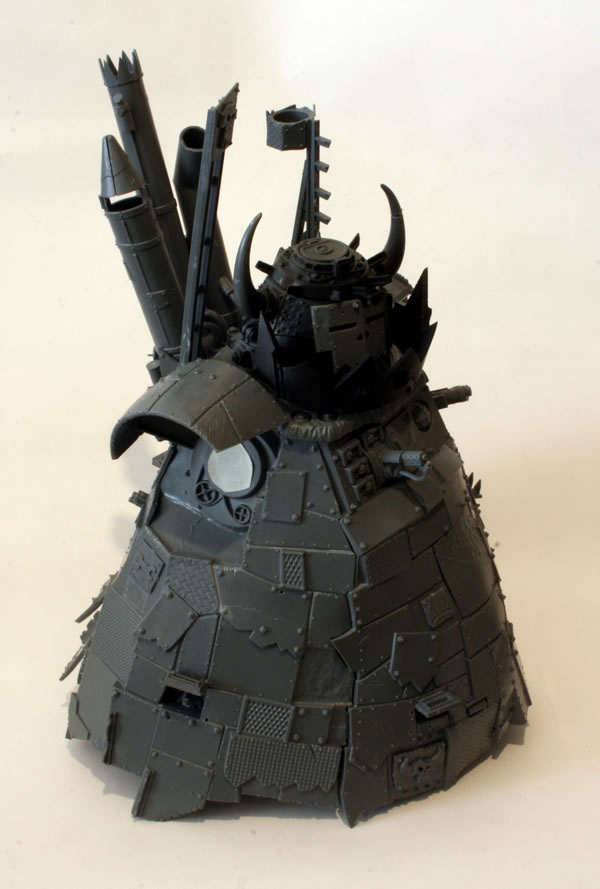
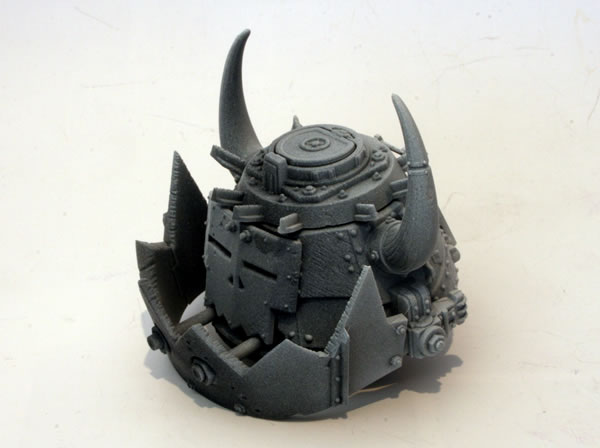
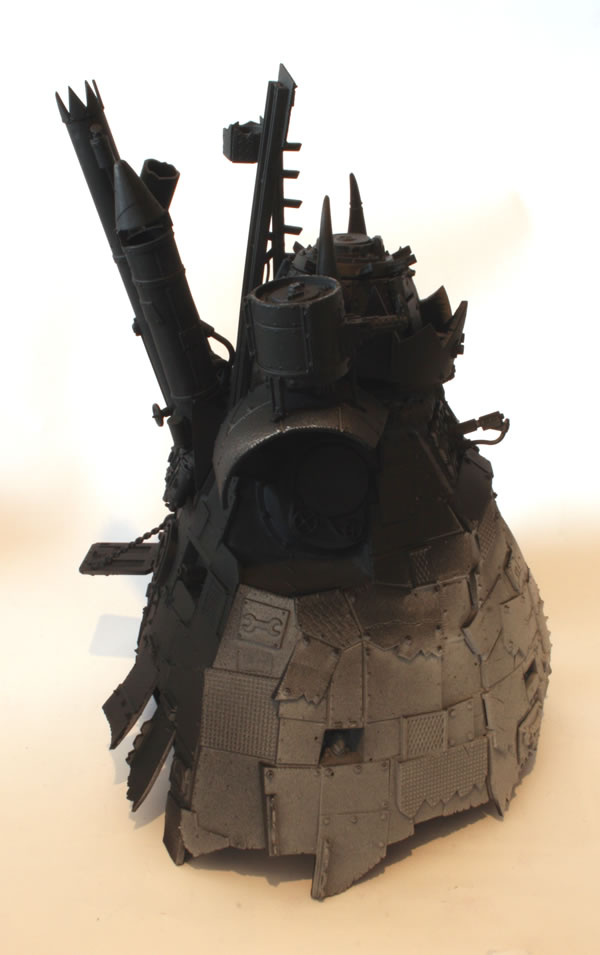
The main body and head.

More of the main body and the base.

The feet.

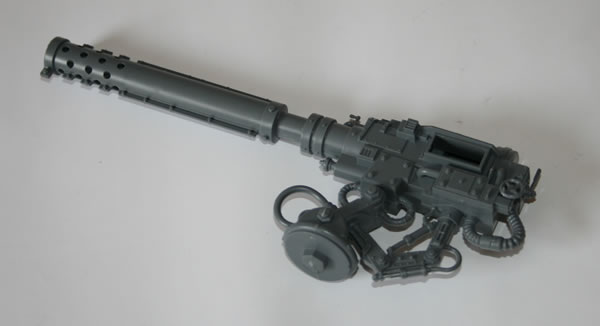
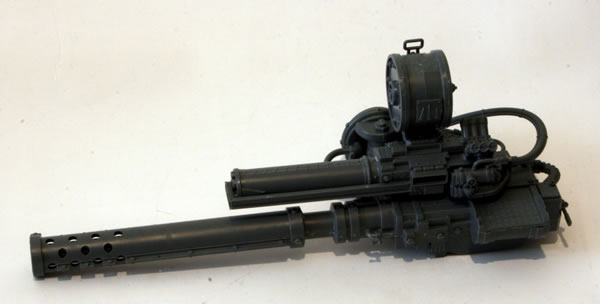
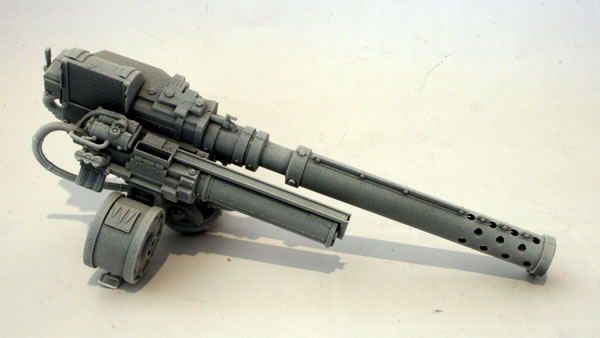
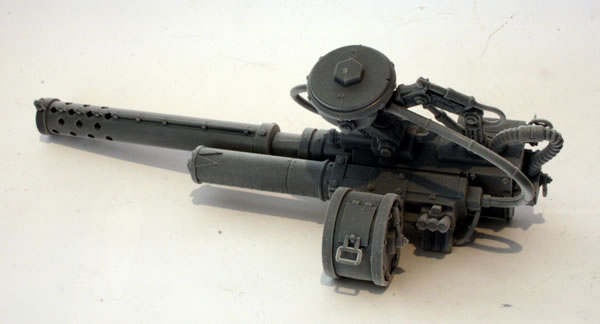
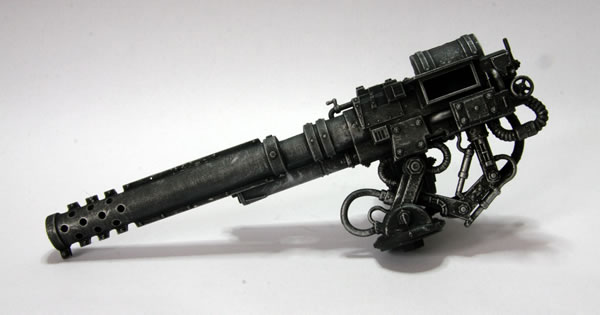
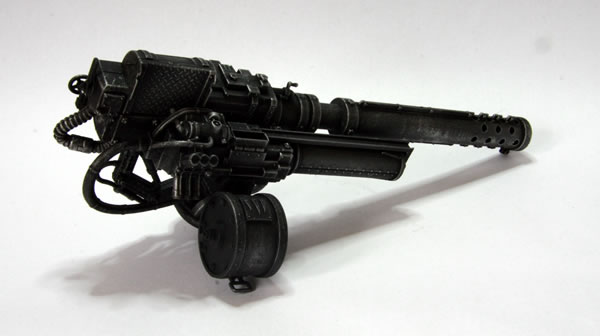
The main weapon.

The model does go together quite easily. However unless you let it dry properly, you can find that if the glue has not set then the model falls to bits in your hands. This has happened with previous plastic kits, so I was very careful with this one. However as there are so many parts, you can leave one bit to dry and start on the next sub-assembly. The left hand side of the body.
Right hand side of the body
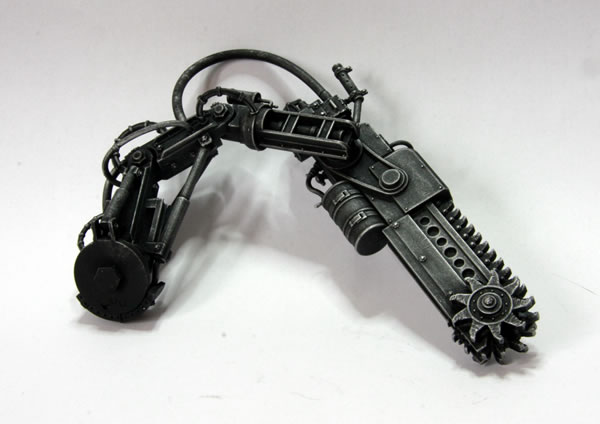
The main close combat weapon.
The main arm weapon.
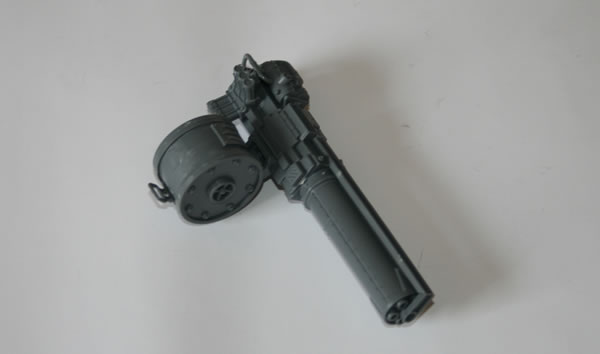
Secondary arm weapon, some kind of gatling blaster.
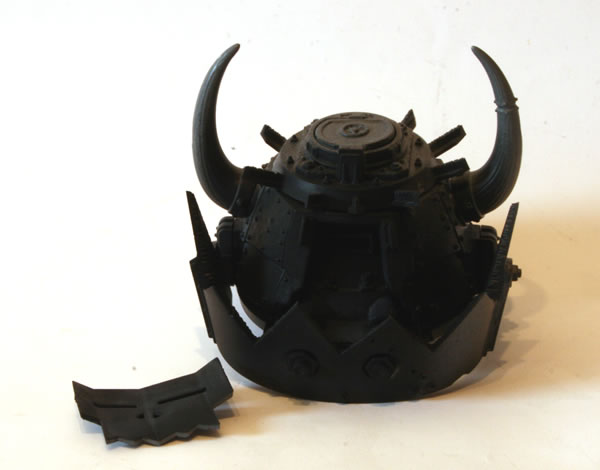
The head (cockpit).
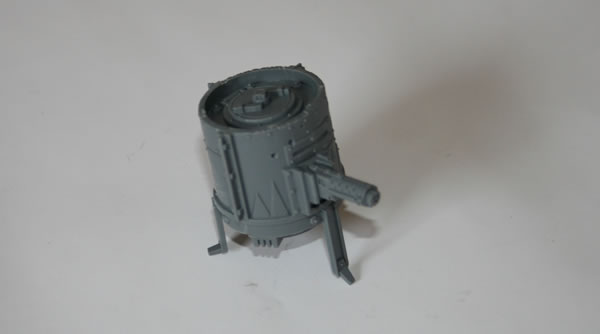
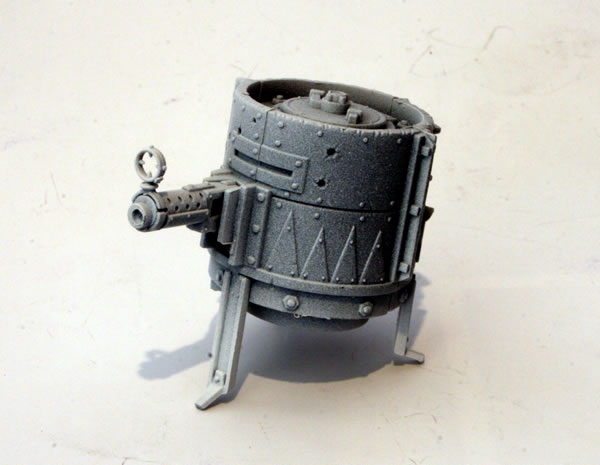
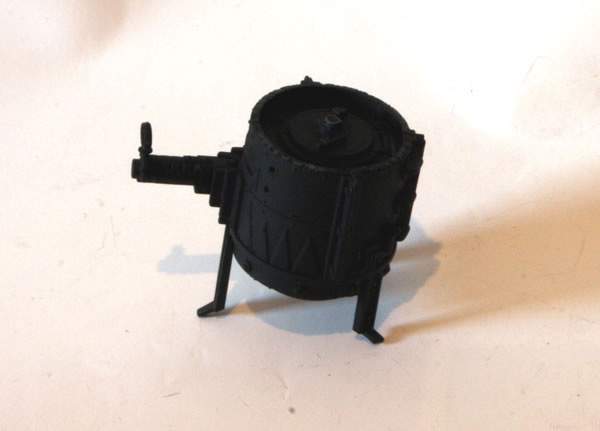
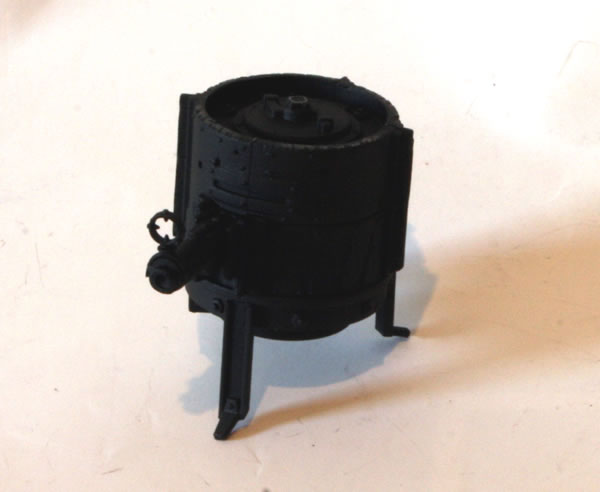
Gretchin controlled turret.
The feet.

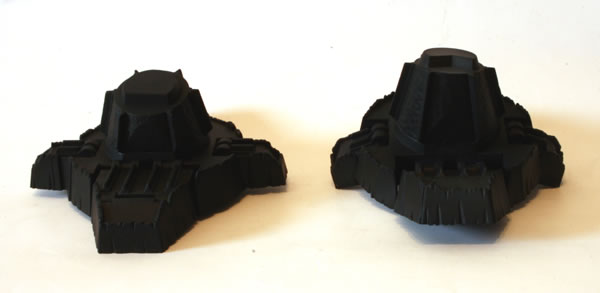
The next stage for some of the components is a black undercoat. Here are the feet.
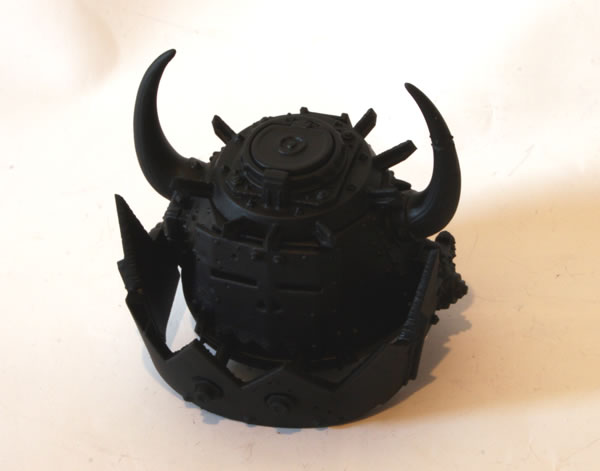
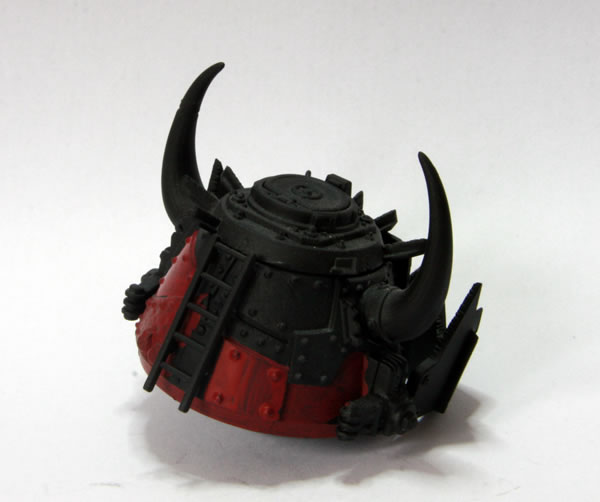
Here is the head.
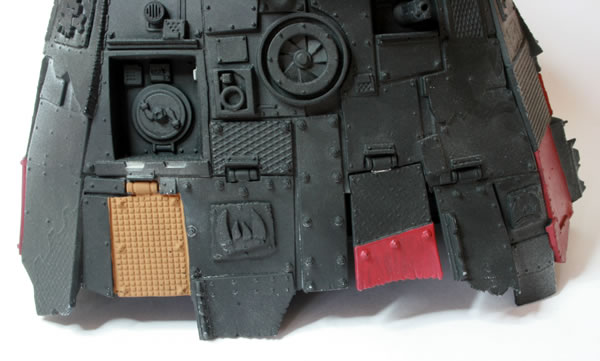
For the main body I masked off certain areas so that I can glue them together.

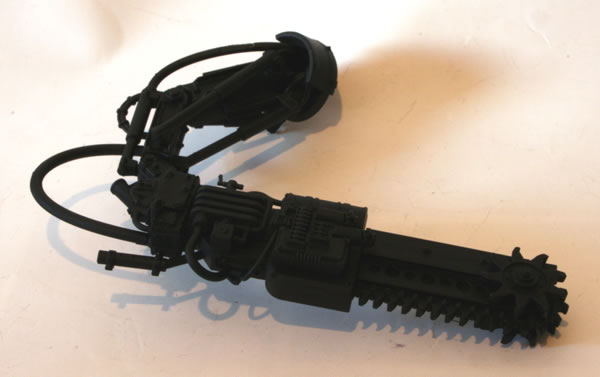
The next stage for some of the components is a black undercoat. Here is the close assault arm.
This is the main weapon arm.
Before the black undercoat I gave both arms a white undercoat.
The head was then given a light white undercoat.
The rokkits were also given a light white undercoat.
As was the Shoota Turret.
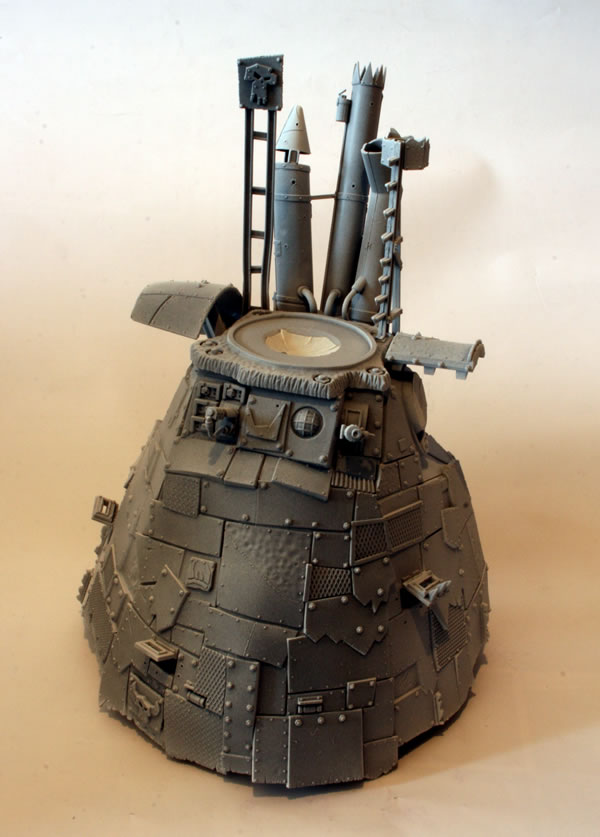
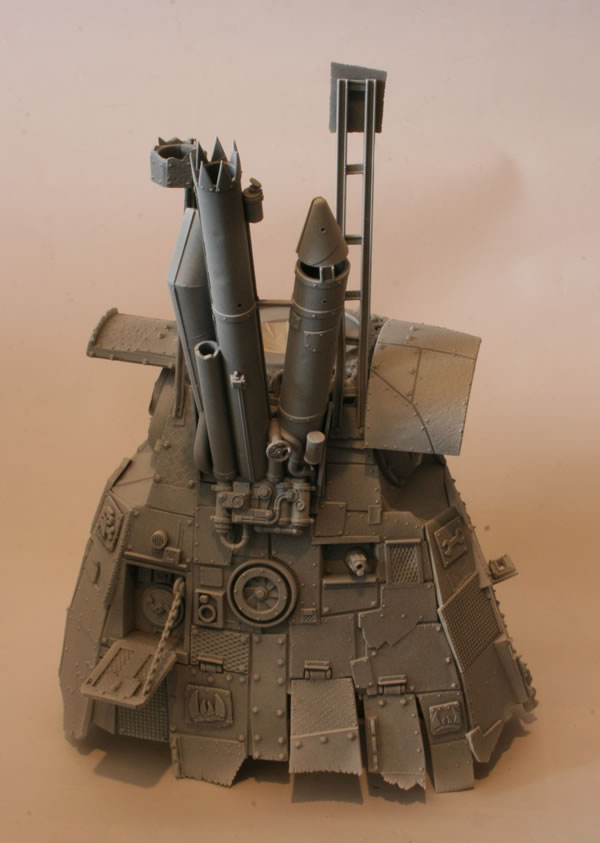
The main body was also given a light white undercoat.
The main weapon was then given a black undercoat.

So was the main close combat arm.
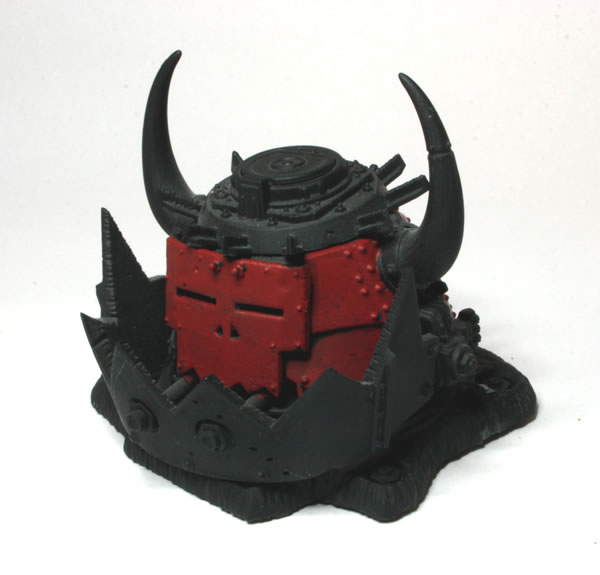
The head with the face mask attached was also undercoated black.
The Grot Turret also got a black undercoat.
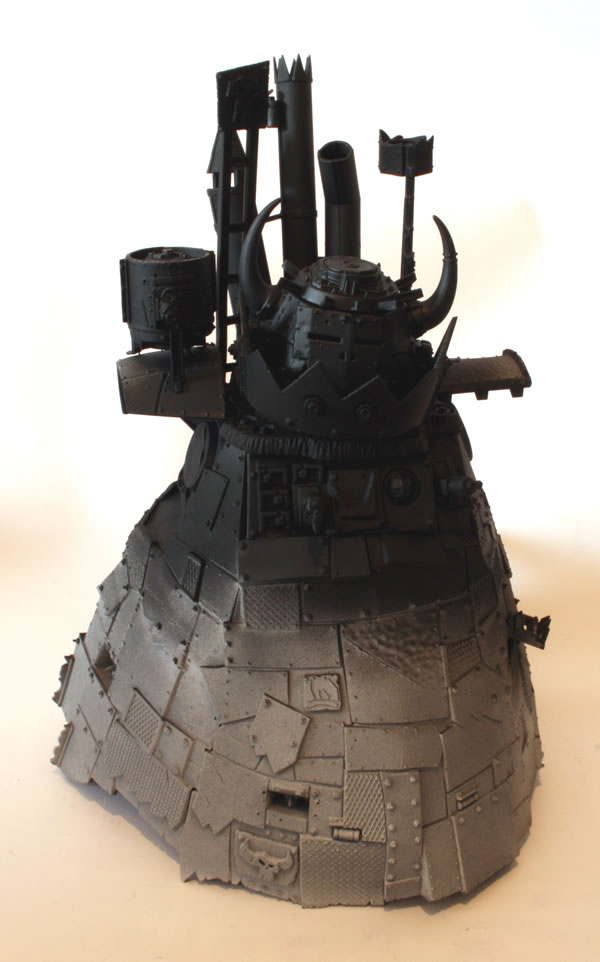
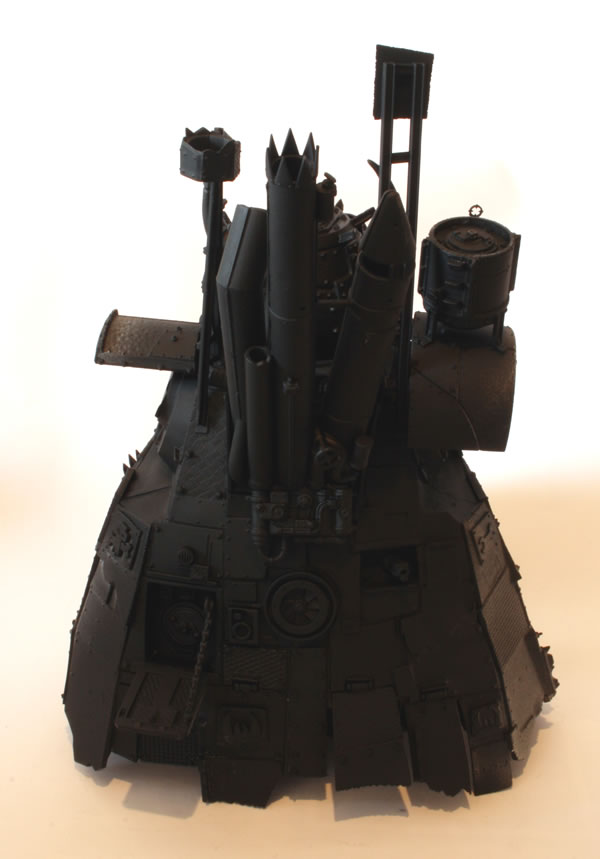
The top and engines of the Stompa were then given a black undercoat.
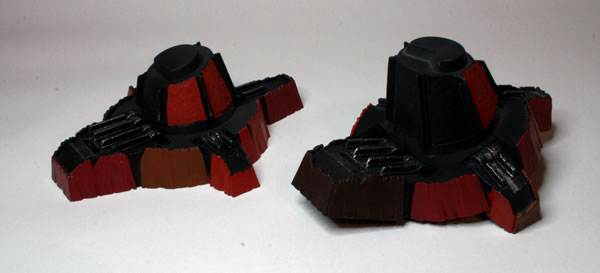
Here are the feet of the Stompa.
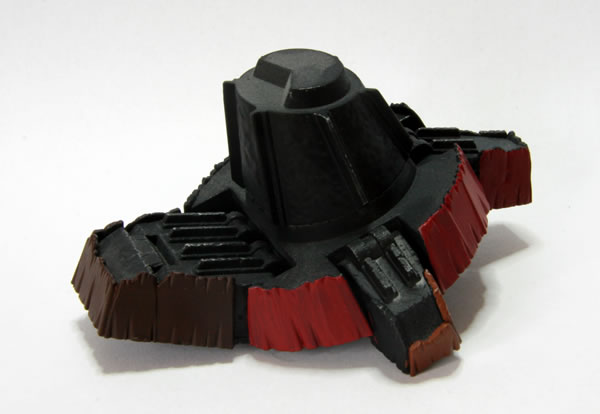
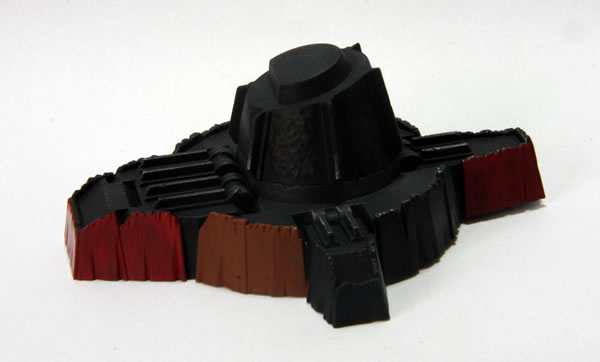
As they will be mainly hidden by the large body of the Stompa, I am going to leave them mainly black.
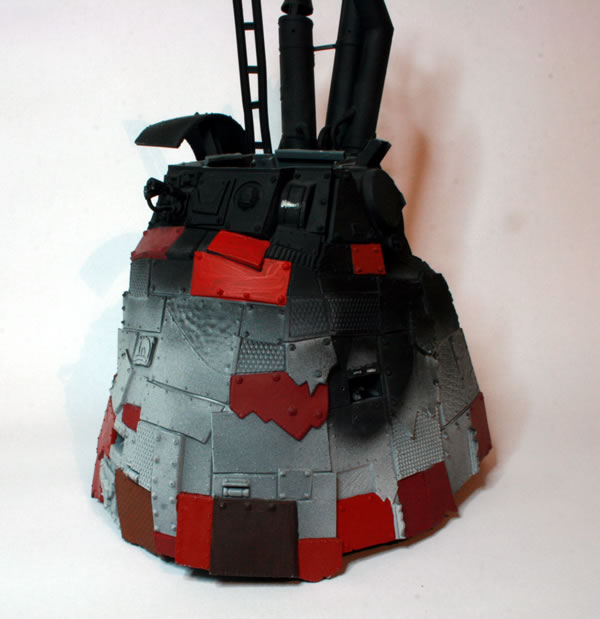
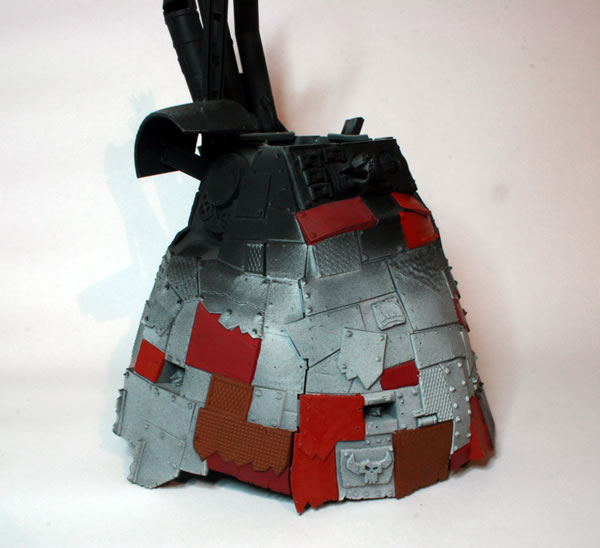
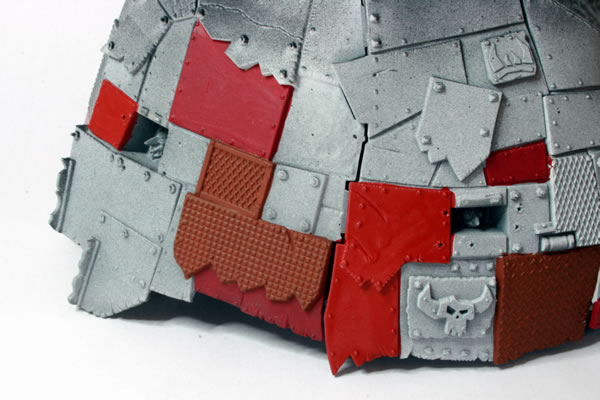
I am going for a predominantly red colour scheme, but I am using various shades of red and some brown for the effect. I am aiming to have something in the end which will be similar to the GW paintjob.
The main weapons were drybrushed with Boltgun Metal.
I started adding the red basecoat to the head.
I started to add the basecoat to the main Stompa body. I am going for a predominantly red colour scheme, but I am using various shades of red and some brown for the effect.
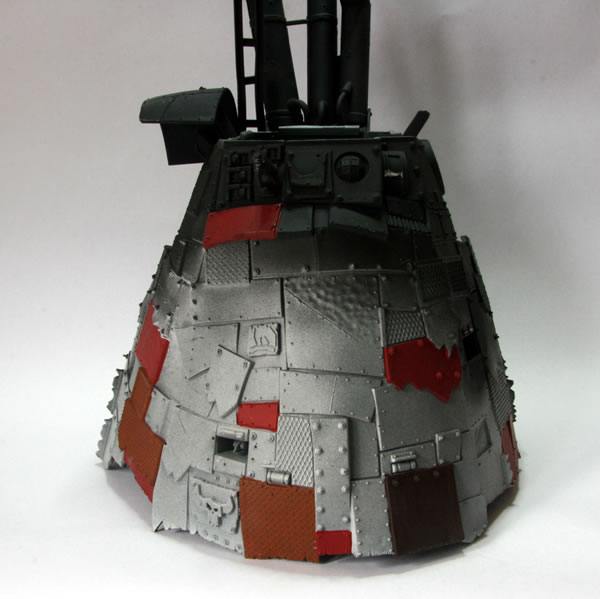
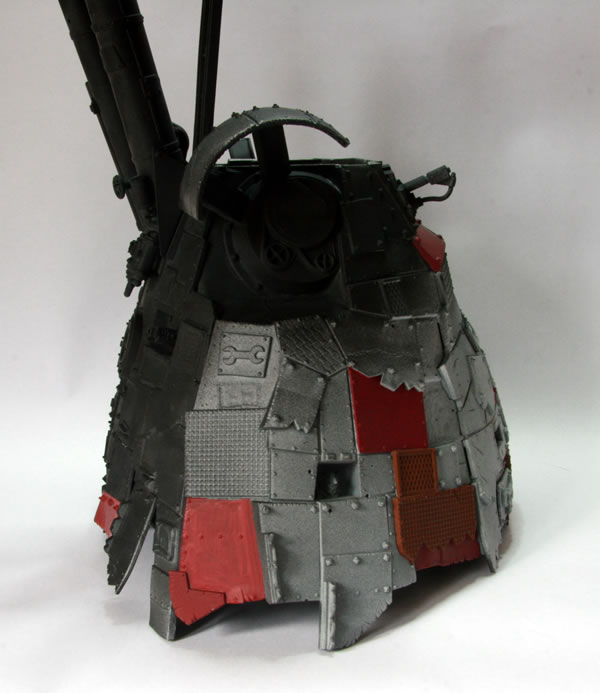
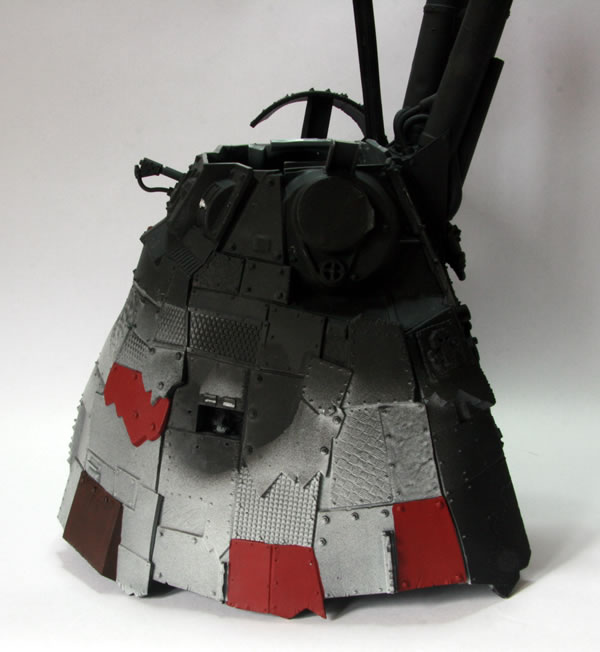

I started to add the basecoat to the main Stompa body. I am going for a predominantly red colour scheme, but I am using various shades of red and some brown for the effect.