Shading the Kill Bursta

I have had my Kill Bursta hanging around on the workbench for a while now, so it’s nice to make some significant progress on the model.

Forge World’s big Ork tank mounts a huge gun ready to take on any Imperial BaneBlade or even Titan. The Kill Bursta mounts a huge-bore Kannon capable of destroying bunkers and siegeworks with ease.

The last time I looked at the model I had given the model a double undercoat of white and black and then using a thinned Chaos Black I touched up the black basecoat. I also black undercoated certain parts of the engine.

The first thing I did was something different and sprayed the upper surfaces of the model with Citadel Spray Zandri Dust. Using a brush I painted the tracks with Gorthor Brown. I did the engine with Leadbelcher, rather than drybrushing with Tin Bitz over a black undercoat.

I started painting some of the panels with other colours, notably Balor Brown and Ushabti Bone. This is really to break up the predominant colour of the model. However I didn’t do too many, as I didn’t want a patchwork effect.

I retained the dark black undercoat on the front prow and didn’t spray that too much as I quite liked the idea that this was dirty and weathered compared to the rest of the tank.

I did consider painting the main weapon with Leadbelcher, which is something I had seen on other people’s Kill Bursta models, but in the end I went with the base colour instead.

I also did some of the chains and piping with Leadbelcher.

The next stage was a bit of a challenge, using various Citadel shades, though mainly Seraphim Sepia, to add shadow to the model.

I did use a large 1/2 Round Mop brush which helped.

I think I might need to revisit the shading and also look at overpainting those areas where the shade had pooled as well.

See the workbench feature on the Kill Bursta.

Adeptus Titanicus Imperial Knights

I hadn’t actually planned this purchase of some Imperial Knights for Adeptus Titanicus. As part of a prize draw I had to top up my purchases to get past £50, so rather than buy more paint, I looked to see what models I could buy.

I have had the Adeptus Titanicus rules for a while now but I’ve not actually got any models to have a game with! I have been meaning to get some Titans, but apart from really wanting to wait for the Ork Gargants (which I guess will never appear) it was more of a yearning to get some. I knew how much I had to paint of other stuff, so purchasing more models to sit on the shelf for a years wasn’t in my mind a good plan. However having bought, built and painted a fair few Aeronautica Imperialis planes rather more quickly than I would normally take I have been thinking about getting some tiny Titans.

So when browsing what to get, I thought, why not get some tiny Titans, well the big titans for Adeptus Titanicus aren’t exactly cheap, so I decided that I would go for a box of knights. This box was just £17 (after discount) so I thought, yes, that takes me over £50 and I get some tiny knights as well.

Acting as scouts for the Titans of the Adeptus Titanicus, Imperial Knights support their titan legions with speed and agility granted to them by their small stature.

This multi-part plastic kit contains the components necessary to assemble 3 Imperial Knights for use in games of Adeptus Titanicus. Each of these machines is armed with a reaper chainsword, with a thermal cannon, rapid fire battlecannon, avenger gatling cannon and 3 heavy stubbers available (1 of which can be optionally replaced with a meltagun.) These are highly detailed miniatures which, though at the scale used to play Adeptus Titanicus, are as impressive to behold as their larger brethren – thick armour plating, a curved carapace, exposed hydraulics and visible engine blocks/exhausts are hallmarks of the kit, with each also featuring its own tilting plate.

Within the box is a single sprue with the parts for the three Imperial Knights.

You also get three 40mm bases, transfers and instructions.

What I didn’t realise was that this particular boxed set is now out of print. You can still get the knights, but they come now with a sprue of extra weapons.

I am quite looking forward to building and painting these models.

Sorting my paints out!

Having some time over the weekend I decided it was time to sort out my collection of paints, washes and inks.

Painting more models now, meant that I have been going out to my local games shop to buy new paints. I realise that I must check what I have before buying paints, I now have three full pots of Ushabti Bone as well as two pots of Death World Forest. I wanted these colours, but didn’t realise I already had some in my collection.

I knew I had a few boxes of paints on my workbench, sorted a little by age, but there were various other paints across the workbench and a few hanging around with some sprue and stuff. I also had some paints that I had picked up from copies of Warhammer Conquest as well. I went through them and sorted them by make and colour. Sadly there were way too many I had to throw out due to age and being completely dried out. My painting history in many ways is defined by my paint purchasing history.

Like many (older) gamers I started painting my early Warhammer models with small tins of Humbrol enamel. My painting was very much followed my painting of Airfix and Matchbox model kits. Single colours, no shading or highlighting.

I do remember on a visit to the first Games Workshop shop in Hammersmith and looking at the models there on display marvelling at the amazing paintwork the painter had achieved, also having no real idea about how to even some close to that.

The Citadel released their acrylic Citadel Colour paints back in 1985. There were two set and individual colours. I remember buying Set 1 which included classic colour such as Skull White, Chaos Black as well as the never covered anything Sunburst Yellow. I do remember really liking the Enchanted Blue and using that a lot on some models. The boxed set cost £4.95 with individual paints at 60p each!

I used these paints a lot over that time to paint models. Some were difficult to use over black undercoats, so much so that often I would paint over the undercoat with white paint to ensure the colour would cover the part of the model I was painting.

My painting technique also started to evolve as well, though I did enter the first Golden Demon Award, I never stood a chance of winning!

I started initially using a black undercoat, and in some cases then just drybrushing the models. No basecoats, no layers, just drybrushing! This really didn’t work very well and so moved onto base coat and highlighting with some dry brushing on those kinds of things that work well with drybrushing, such as fur and wood.

Though I did start to use some blended and highlighting techniques and some of my models I was quite pleased with from that time.

I did start to use a fair few Tamiya Acrylic paints, in the main for bases. Their more naturalistic subdued and military colours made for better colours for bases I thought. Their Flat Green was so much nicer I thought than the Goblin Green that you would see on GW models.

Another paint I used a bit at this time was the Humbrol Acrylic range. Very small pots in comparison to Citadel and Tamiya, but they did have one drawback, the lids soon became very ill-fitting due to dried paint, so they would dry out so much faster than other paints in my collection.

One dramatic change to my painting technique was the release of the Citadel Inks. The Chestnut ink was a staple of my workbench for many years, though I didn’t like the glossy effect you got with the inks. 

It was a revelation when I realised, that by adding some ordinary paint to my ink wash, it would remove most if not all of the glossiness. That  changed how I would paint my models.

So when the inks were places with washes, Devlan Mud and Gryphonne Sepia were used extensively.

Another Citadel paint I liked a lot were the Foundation paints. Tausept Ochre became my most popular colour and too many of my models were painted this light sandy brown. I loved how they easily covered a black undercoat. The new Base paints are not as good.

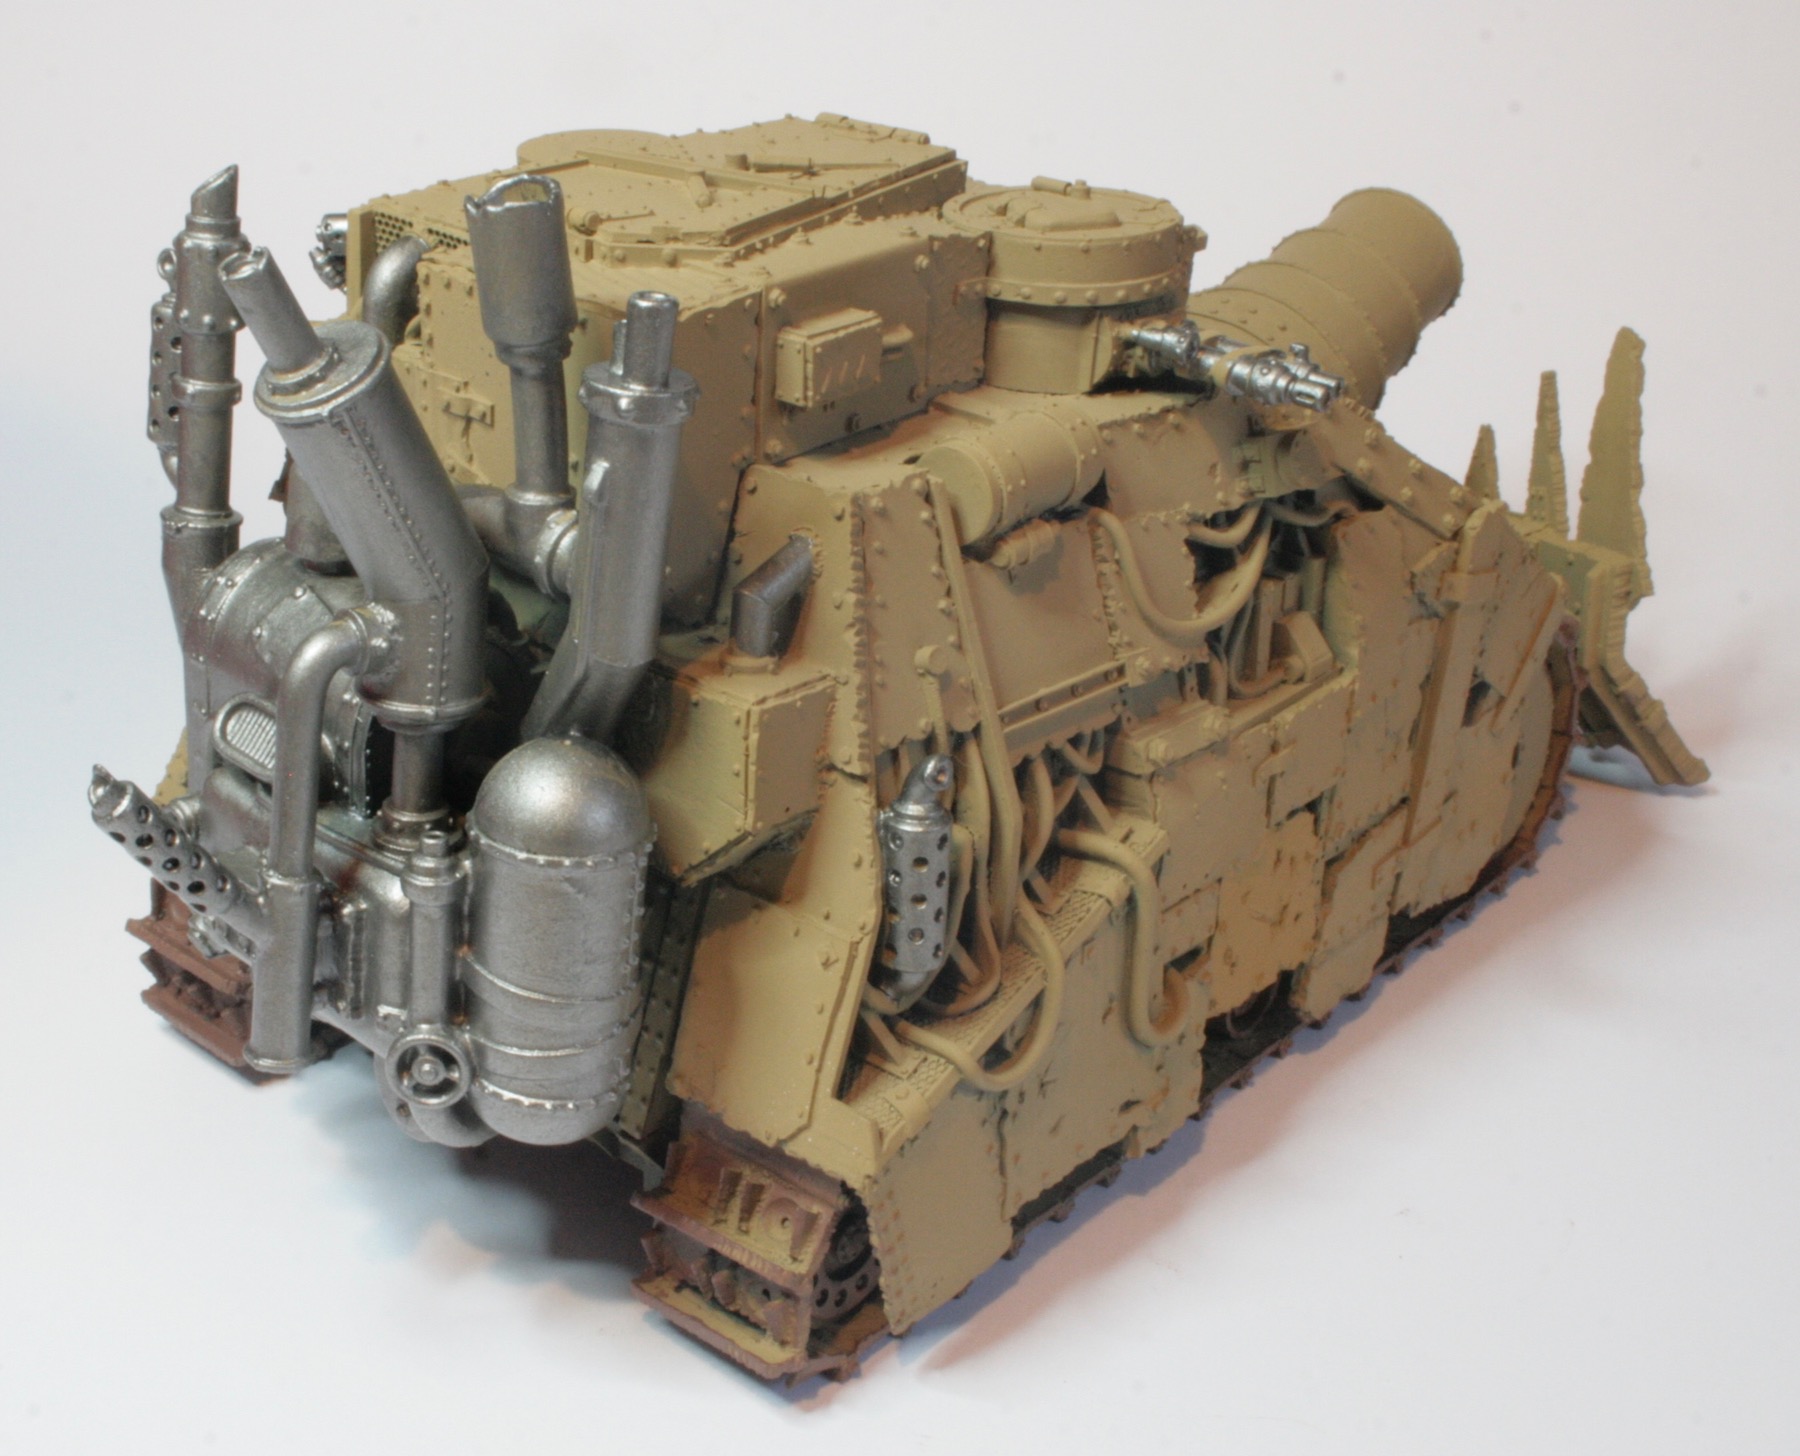
When I got into Flames of War I knew I would need some other kinds of paint to paint the tanks and infantry, so I made quite a substantial purchase of their paints to paint my tanks.

This introduced me to the Vallejo range of paints. Being able to buy these from  a local model shop, made painting much easier, though I was finding it difficult to find the time to paint.

Having made the decision to paint some of my old 40K models, I checked over my blog how I had painted some of the models. The big challenge was that much of the Citadel paint range that I had used back then was now no longer available after Games Workshop changed the complete paint range.

Luckily there was a few places on the web to find out which old paints were replaced by which new ones.

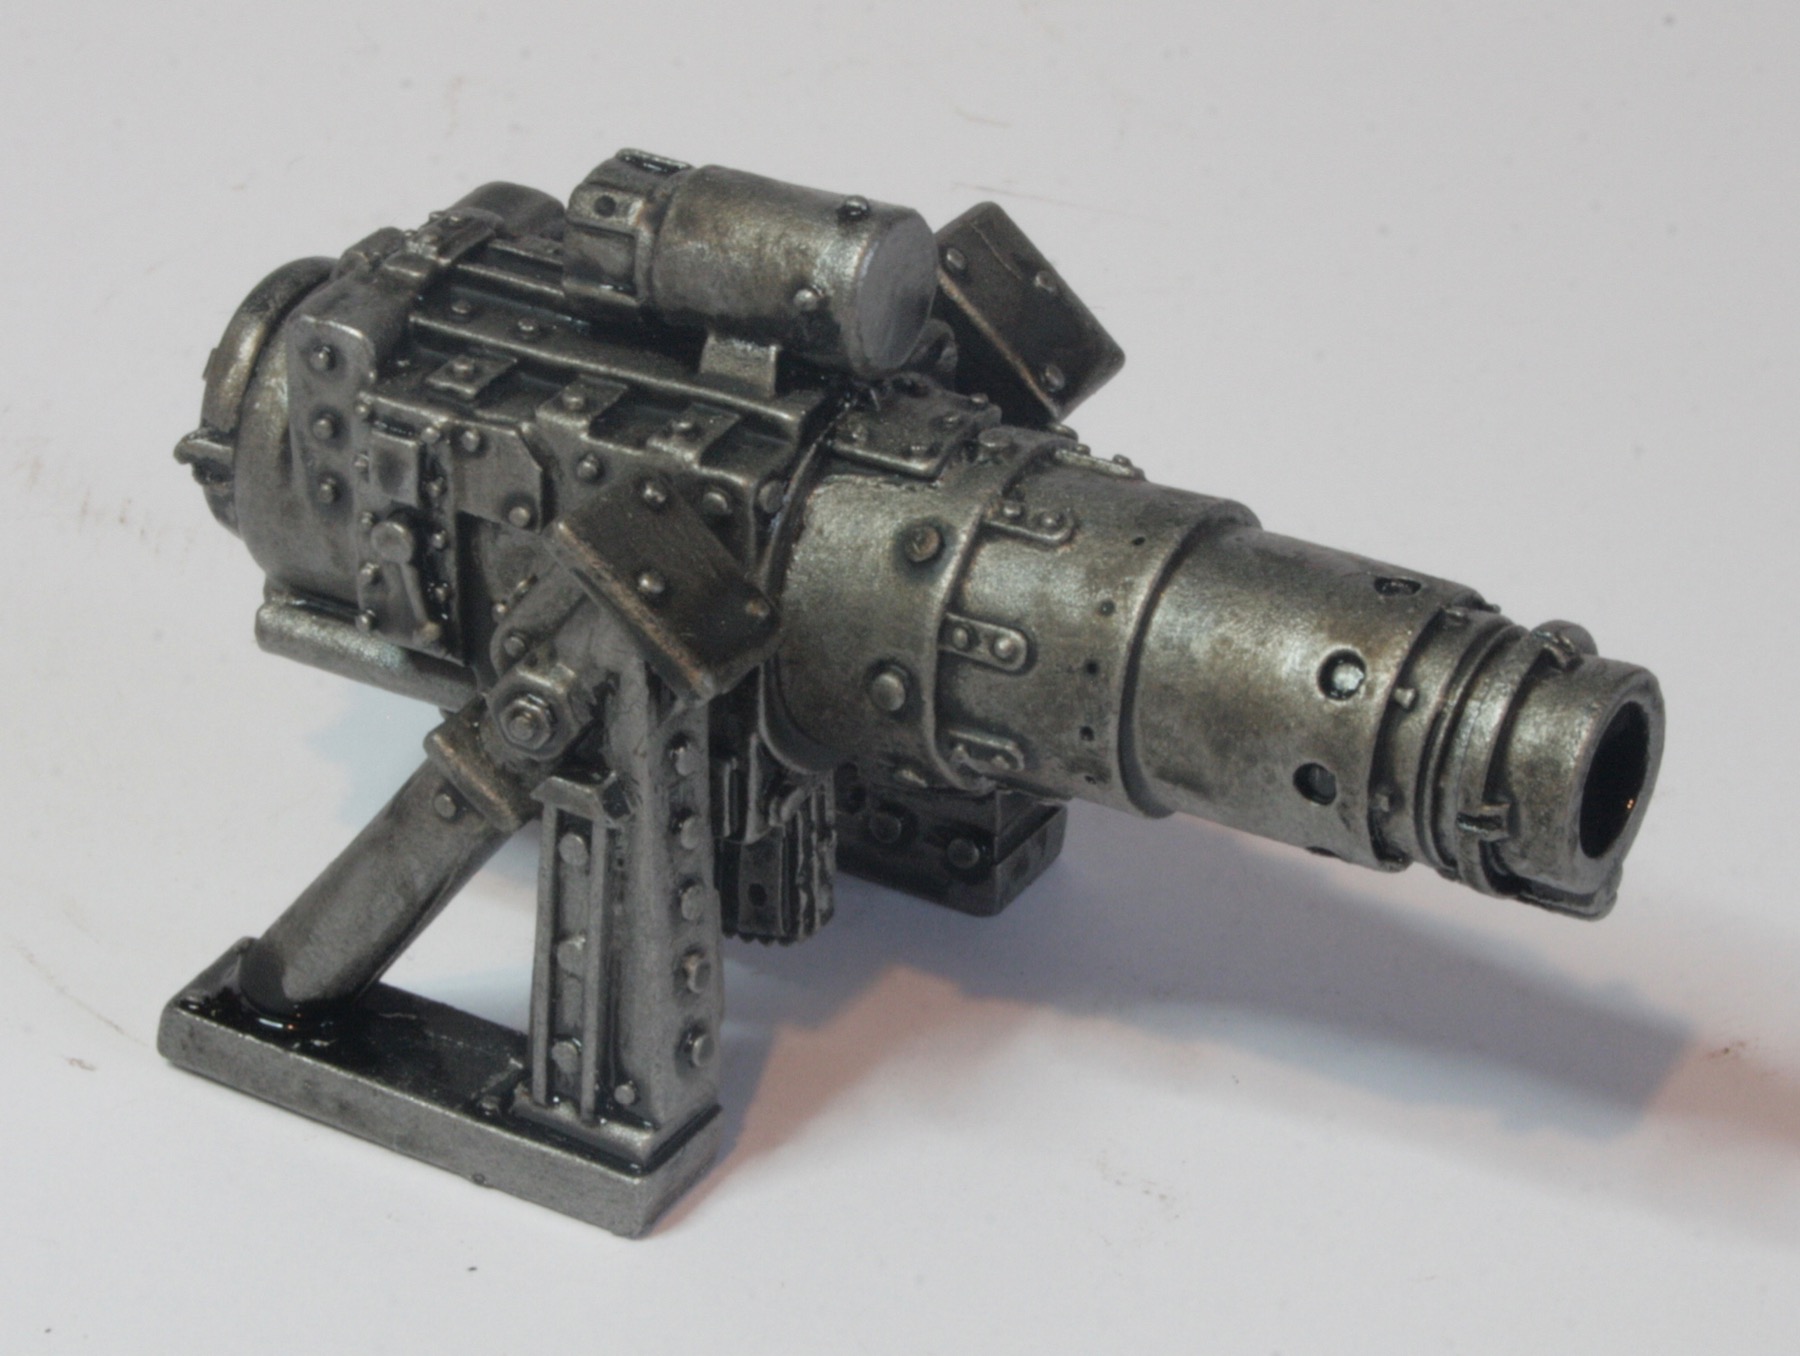
Deciding to paint some models with BoltGun Metal and discovering that wasn’t available, and my last pot had dried up I placed an online order for its replacement, Leadbelcher.

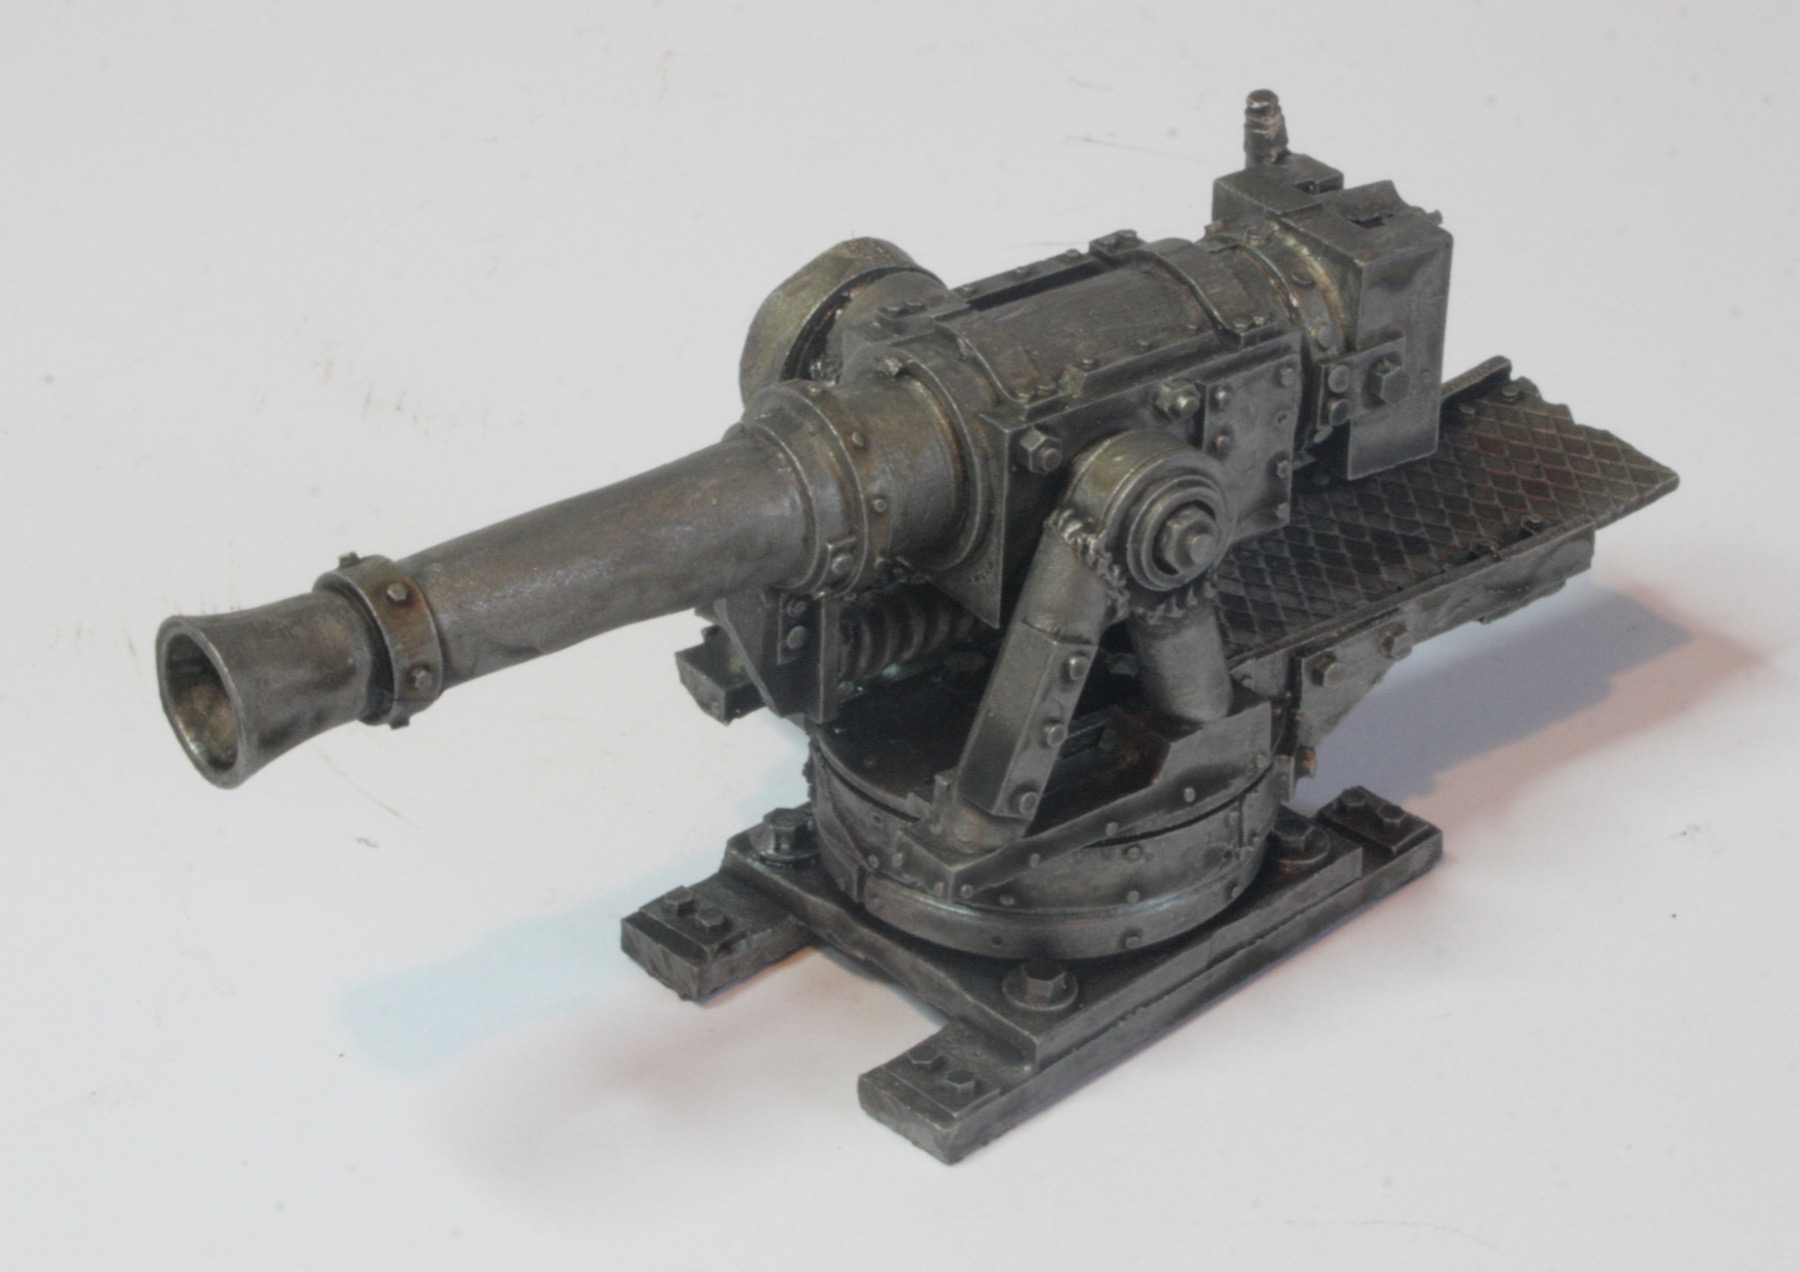
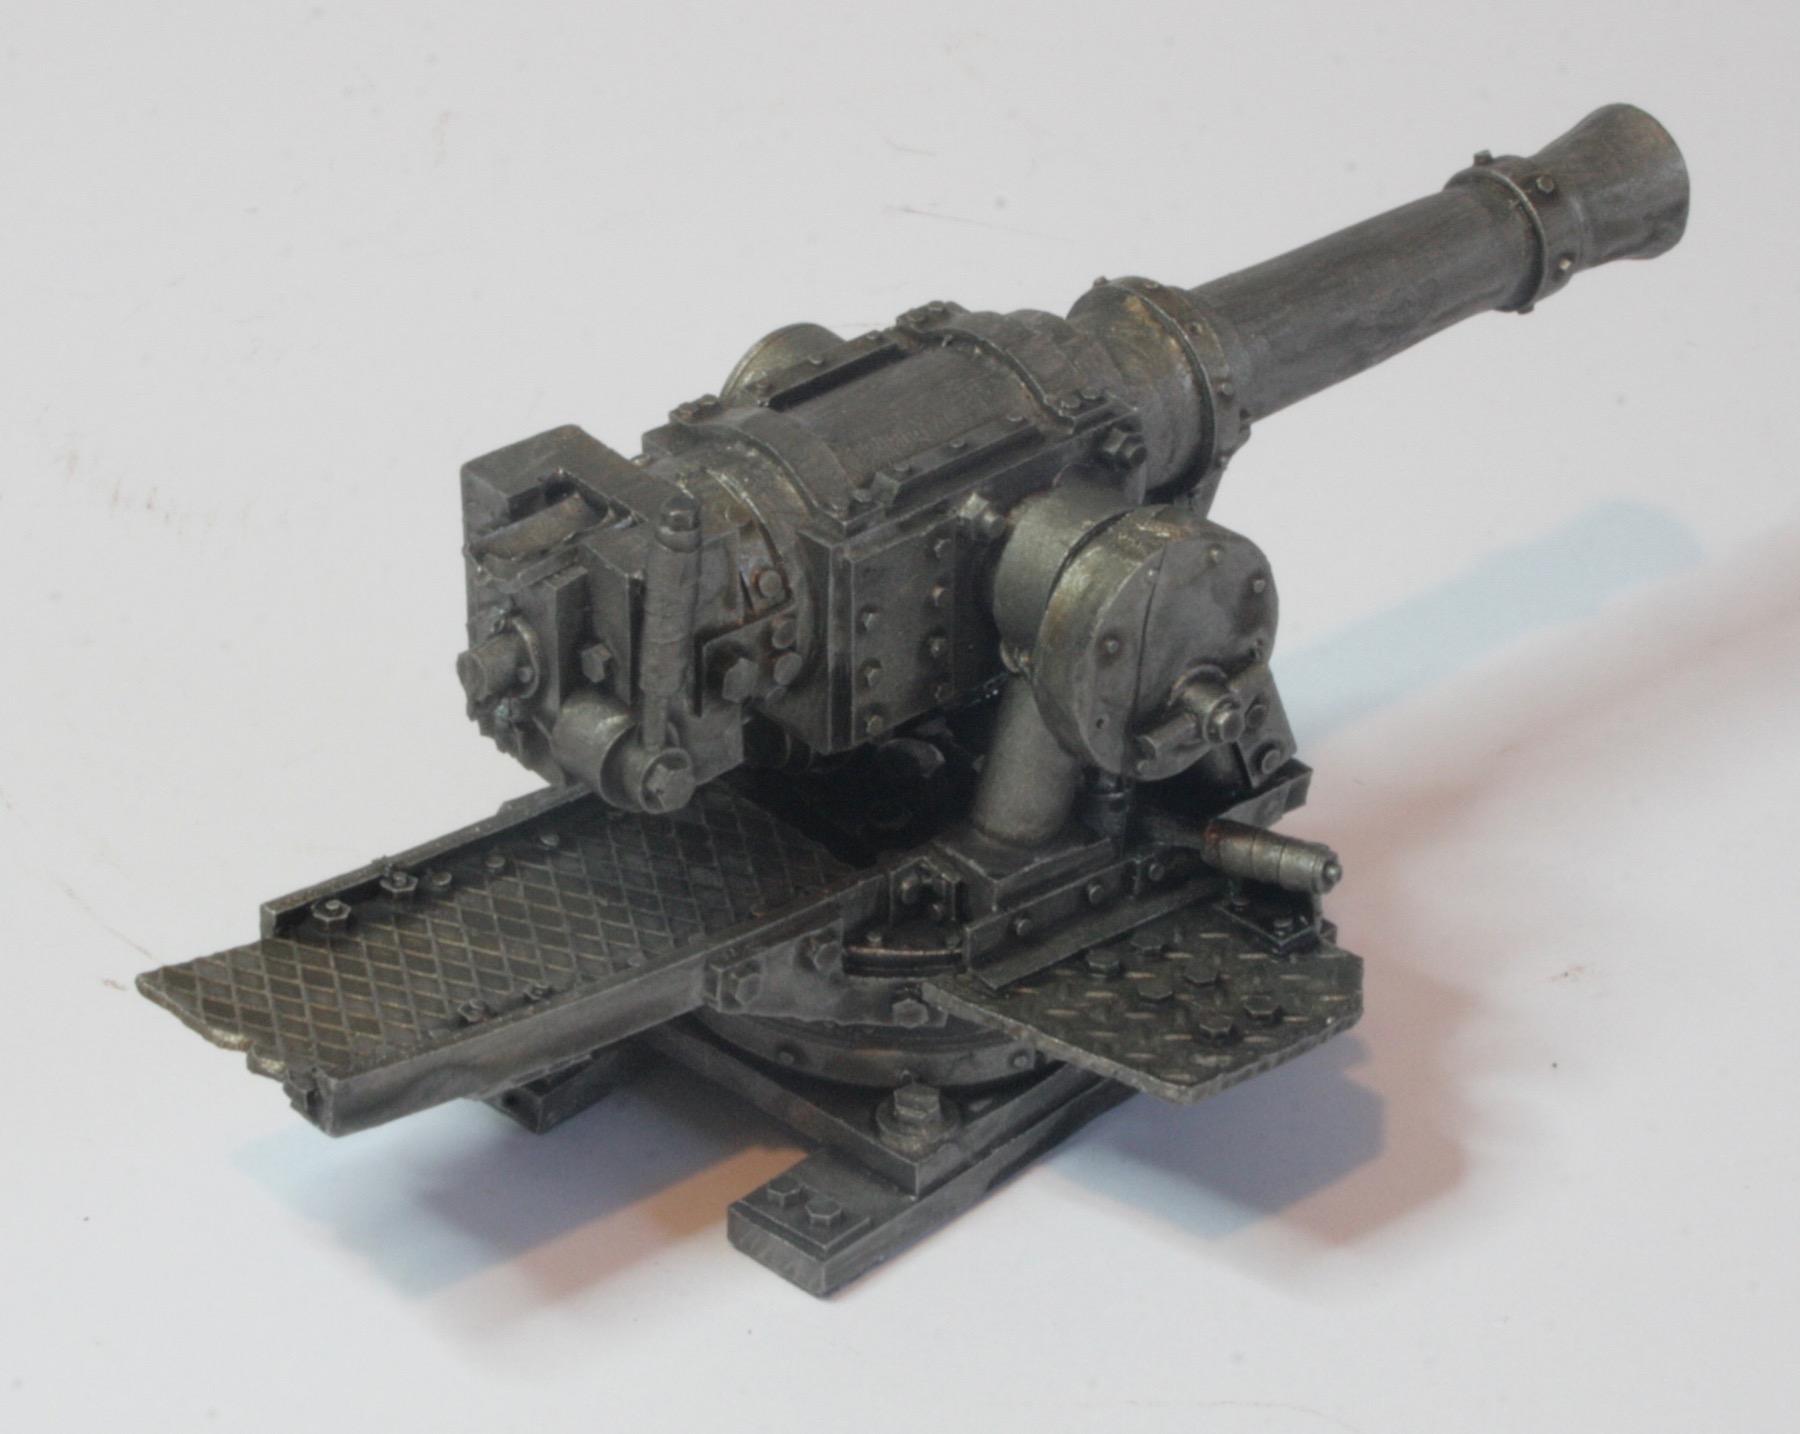
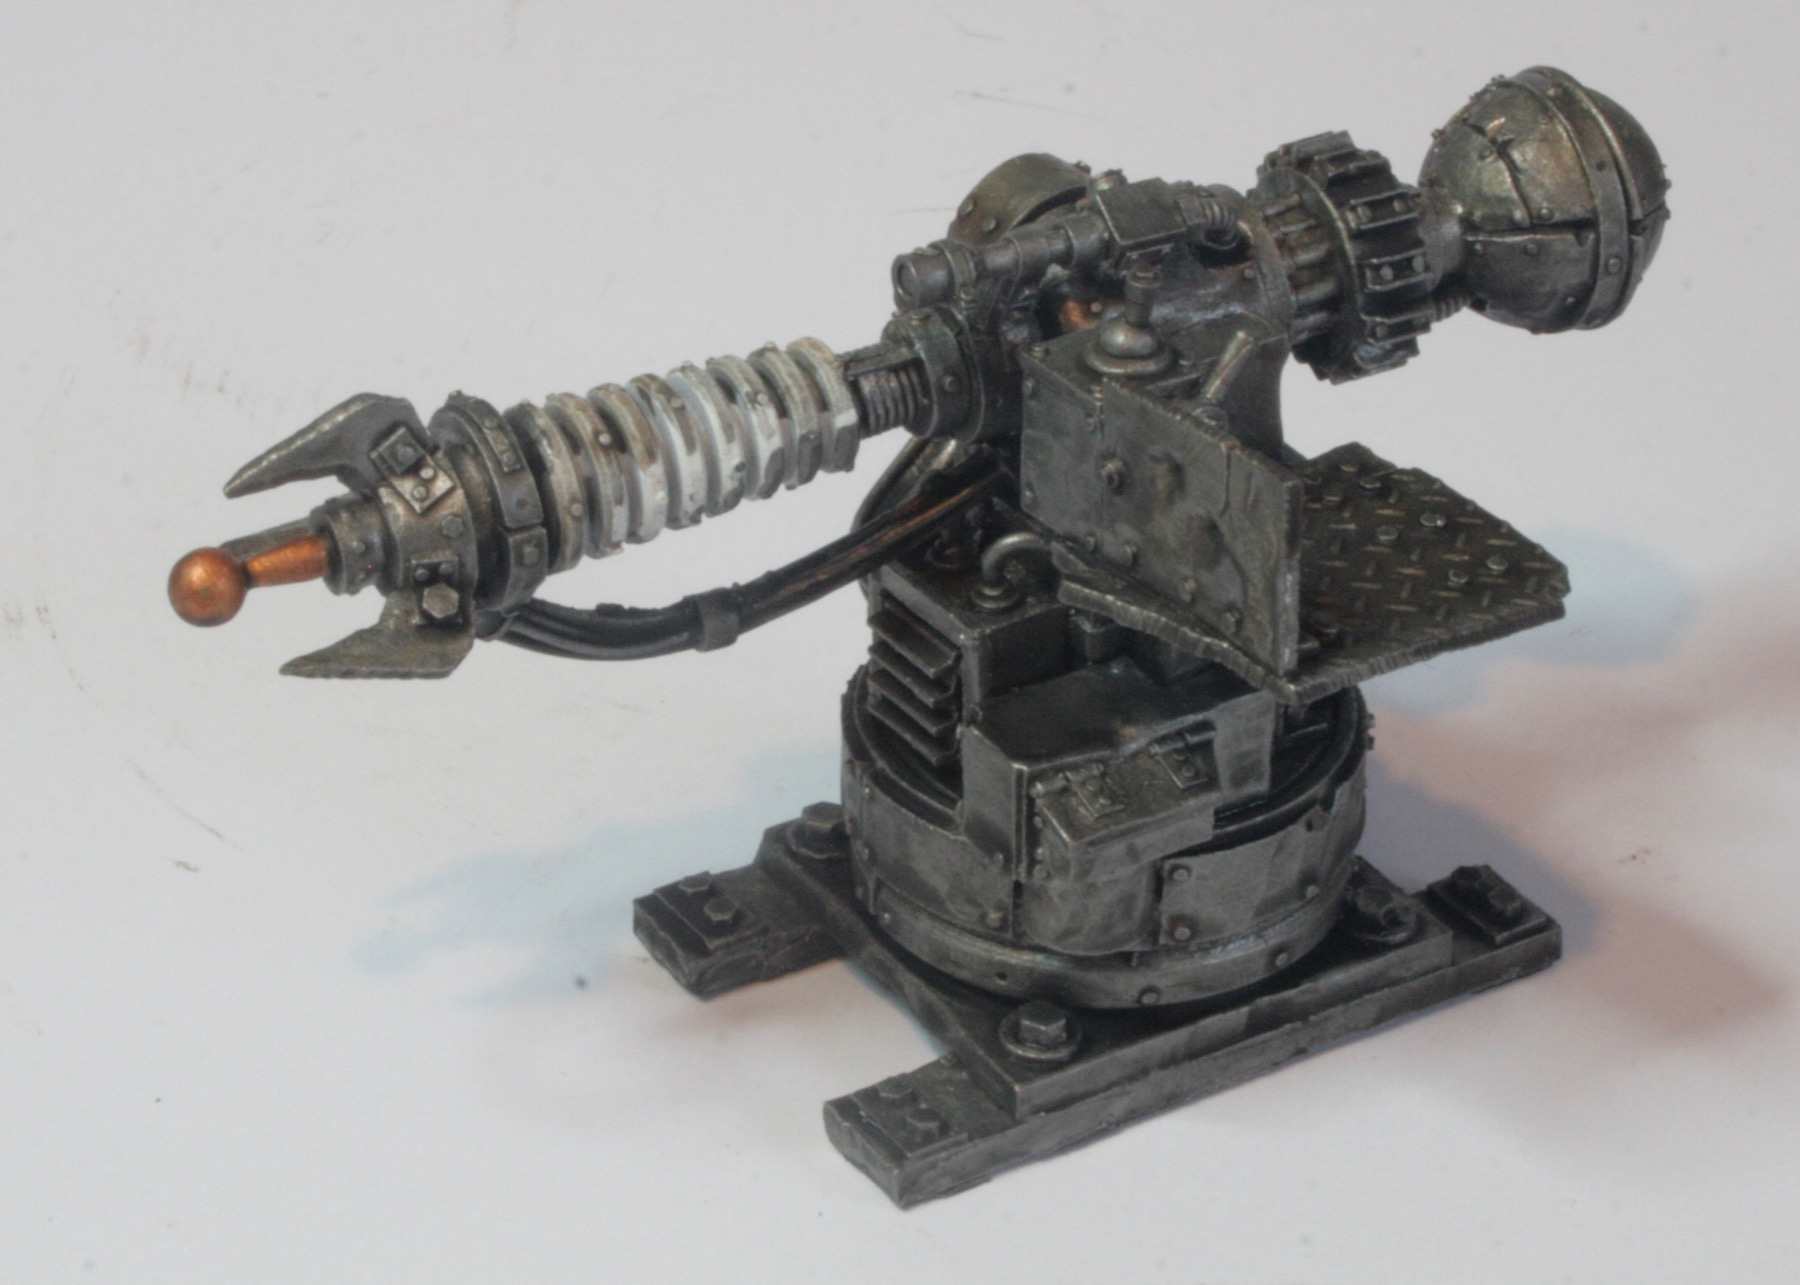
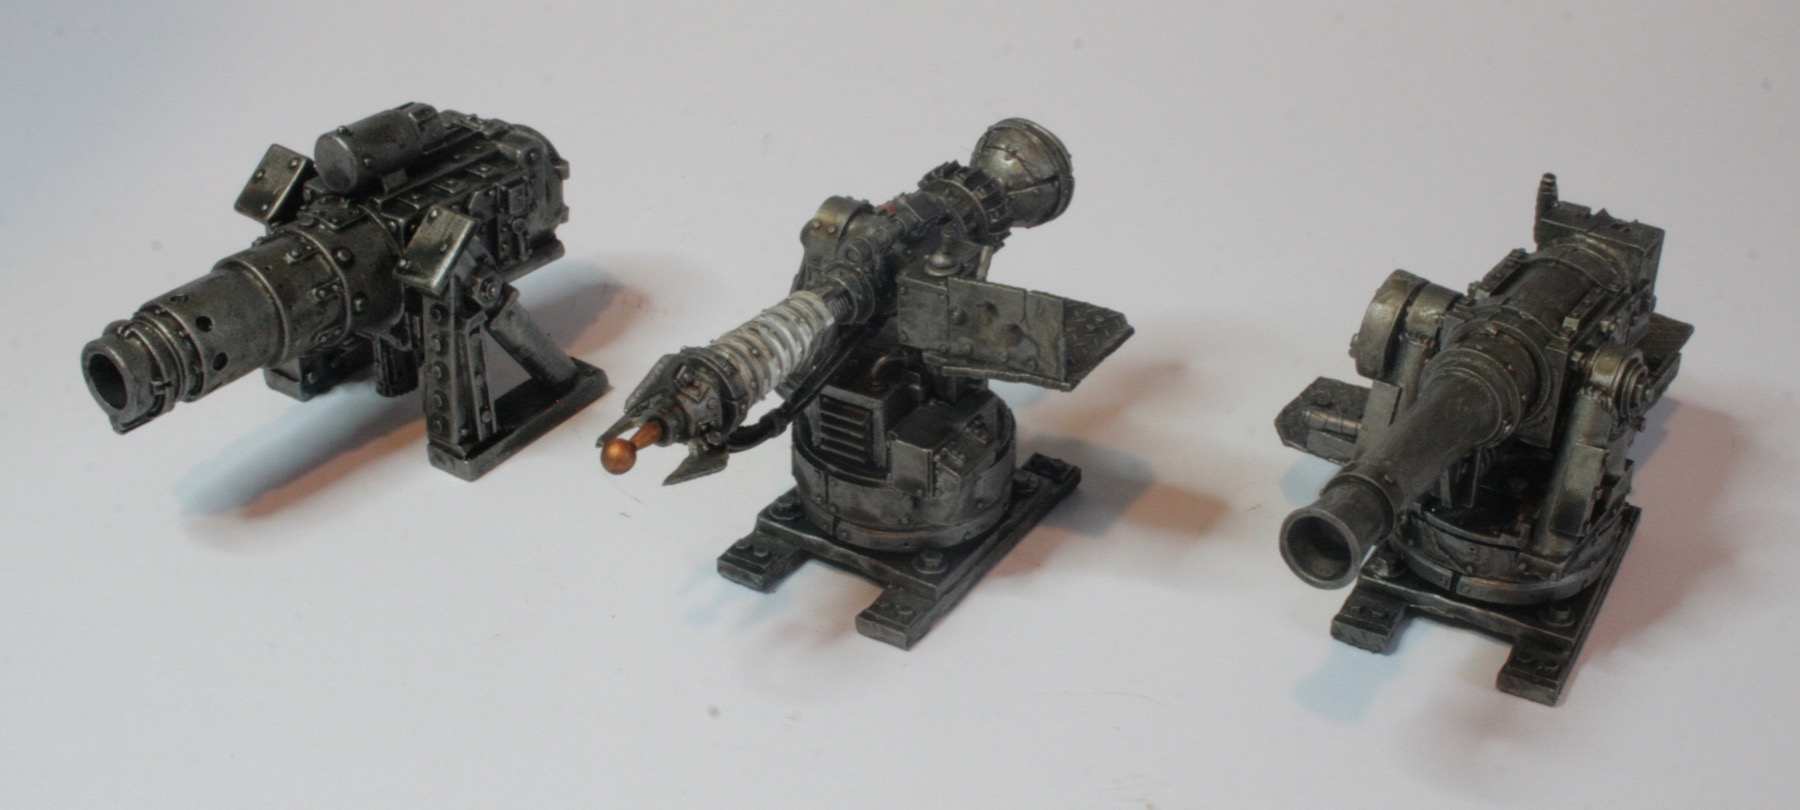
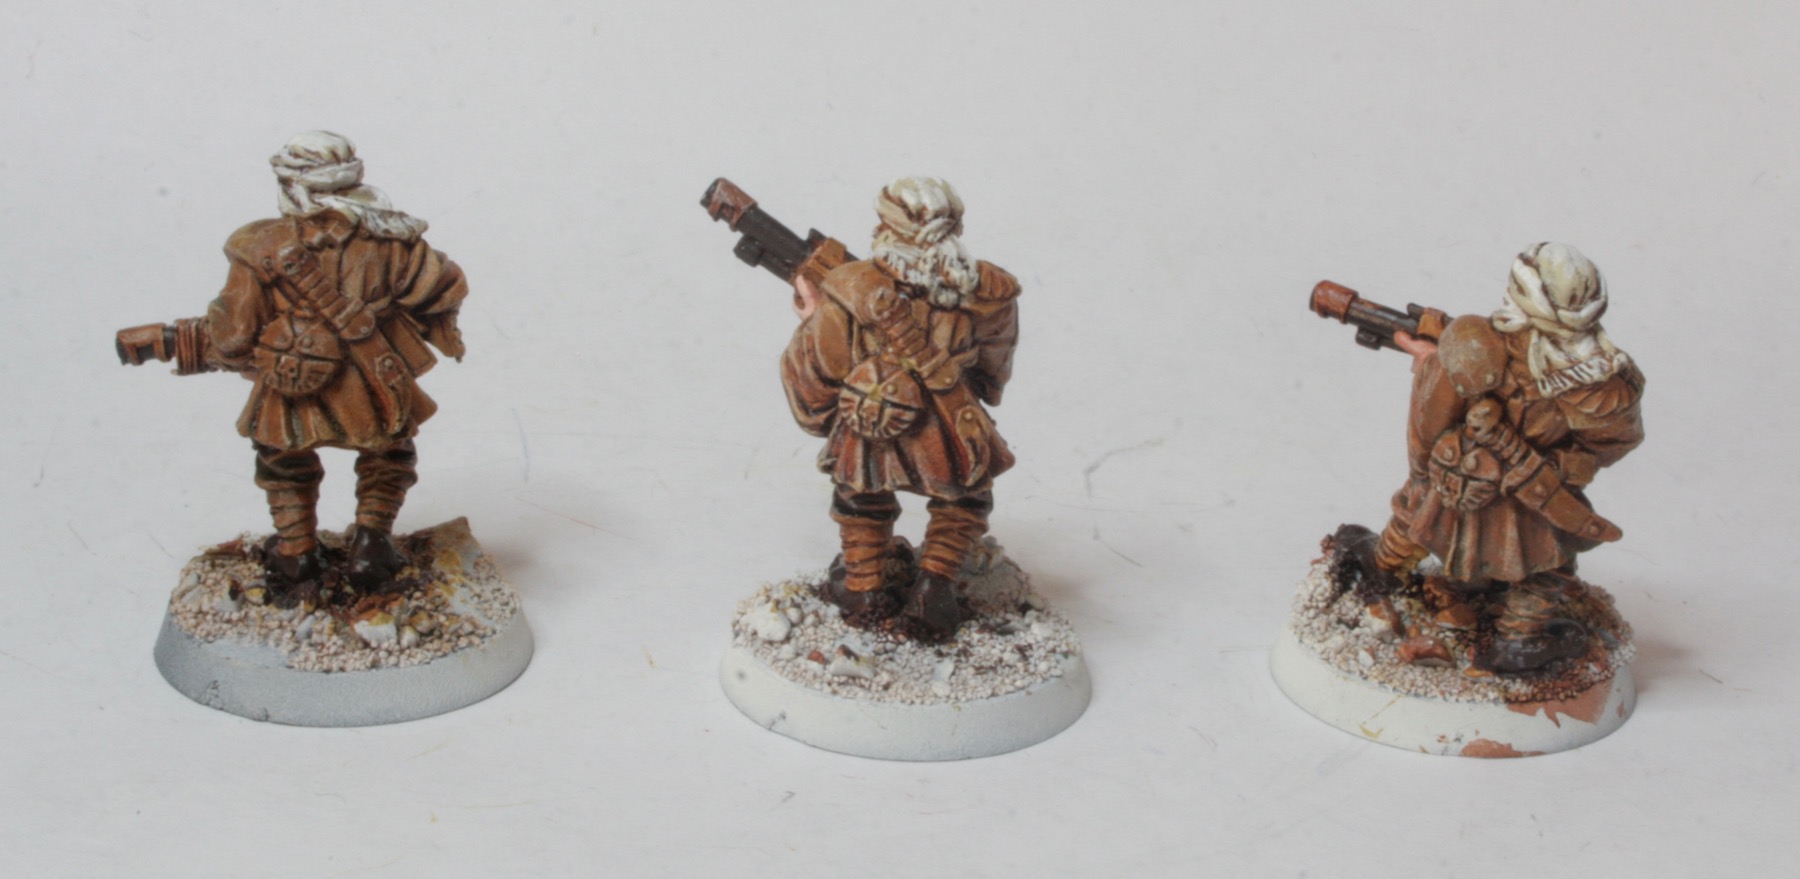
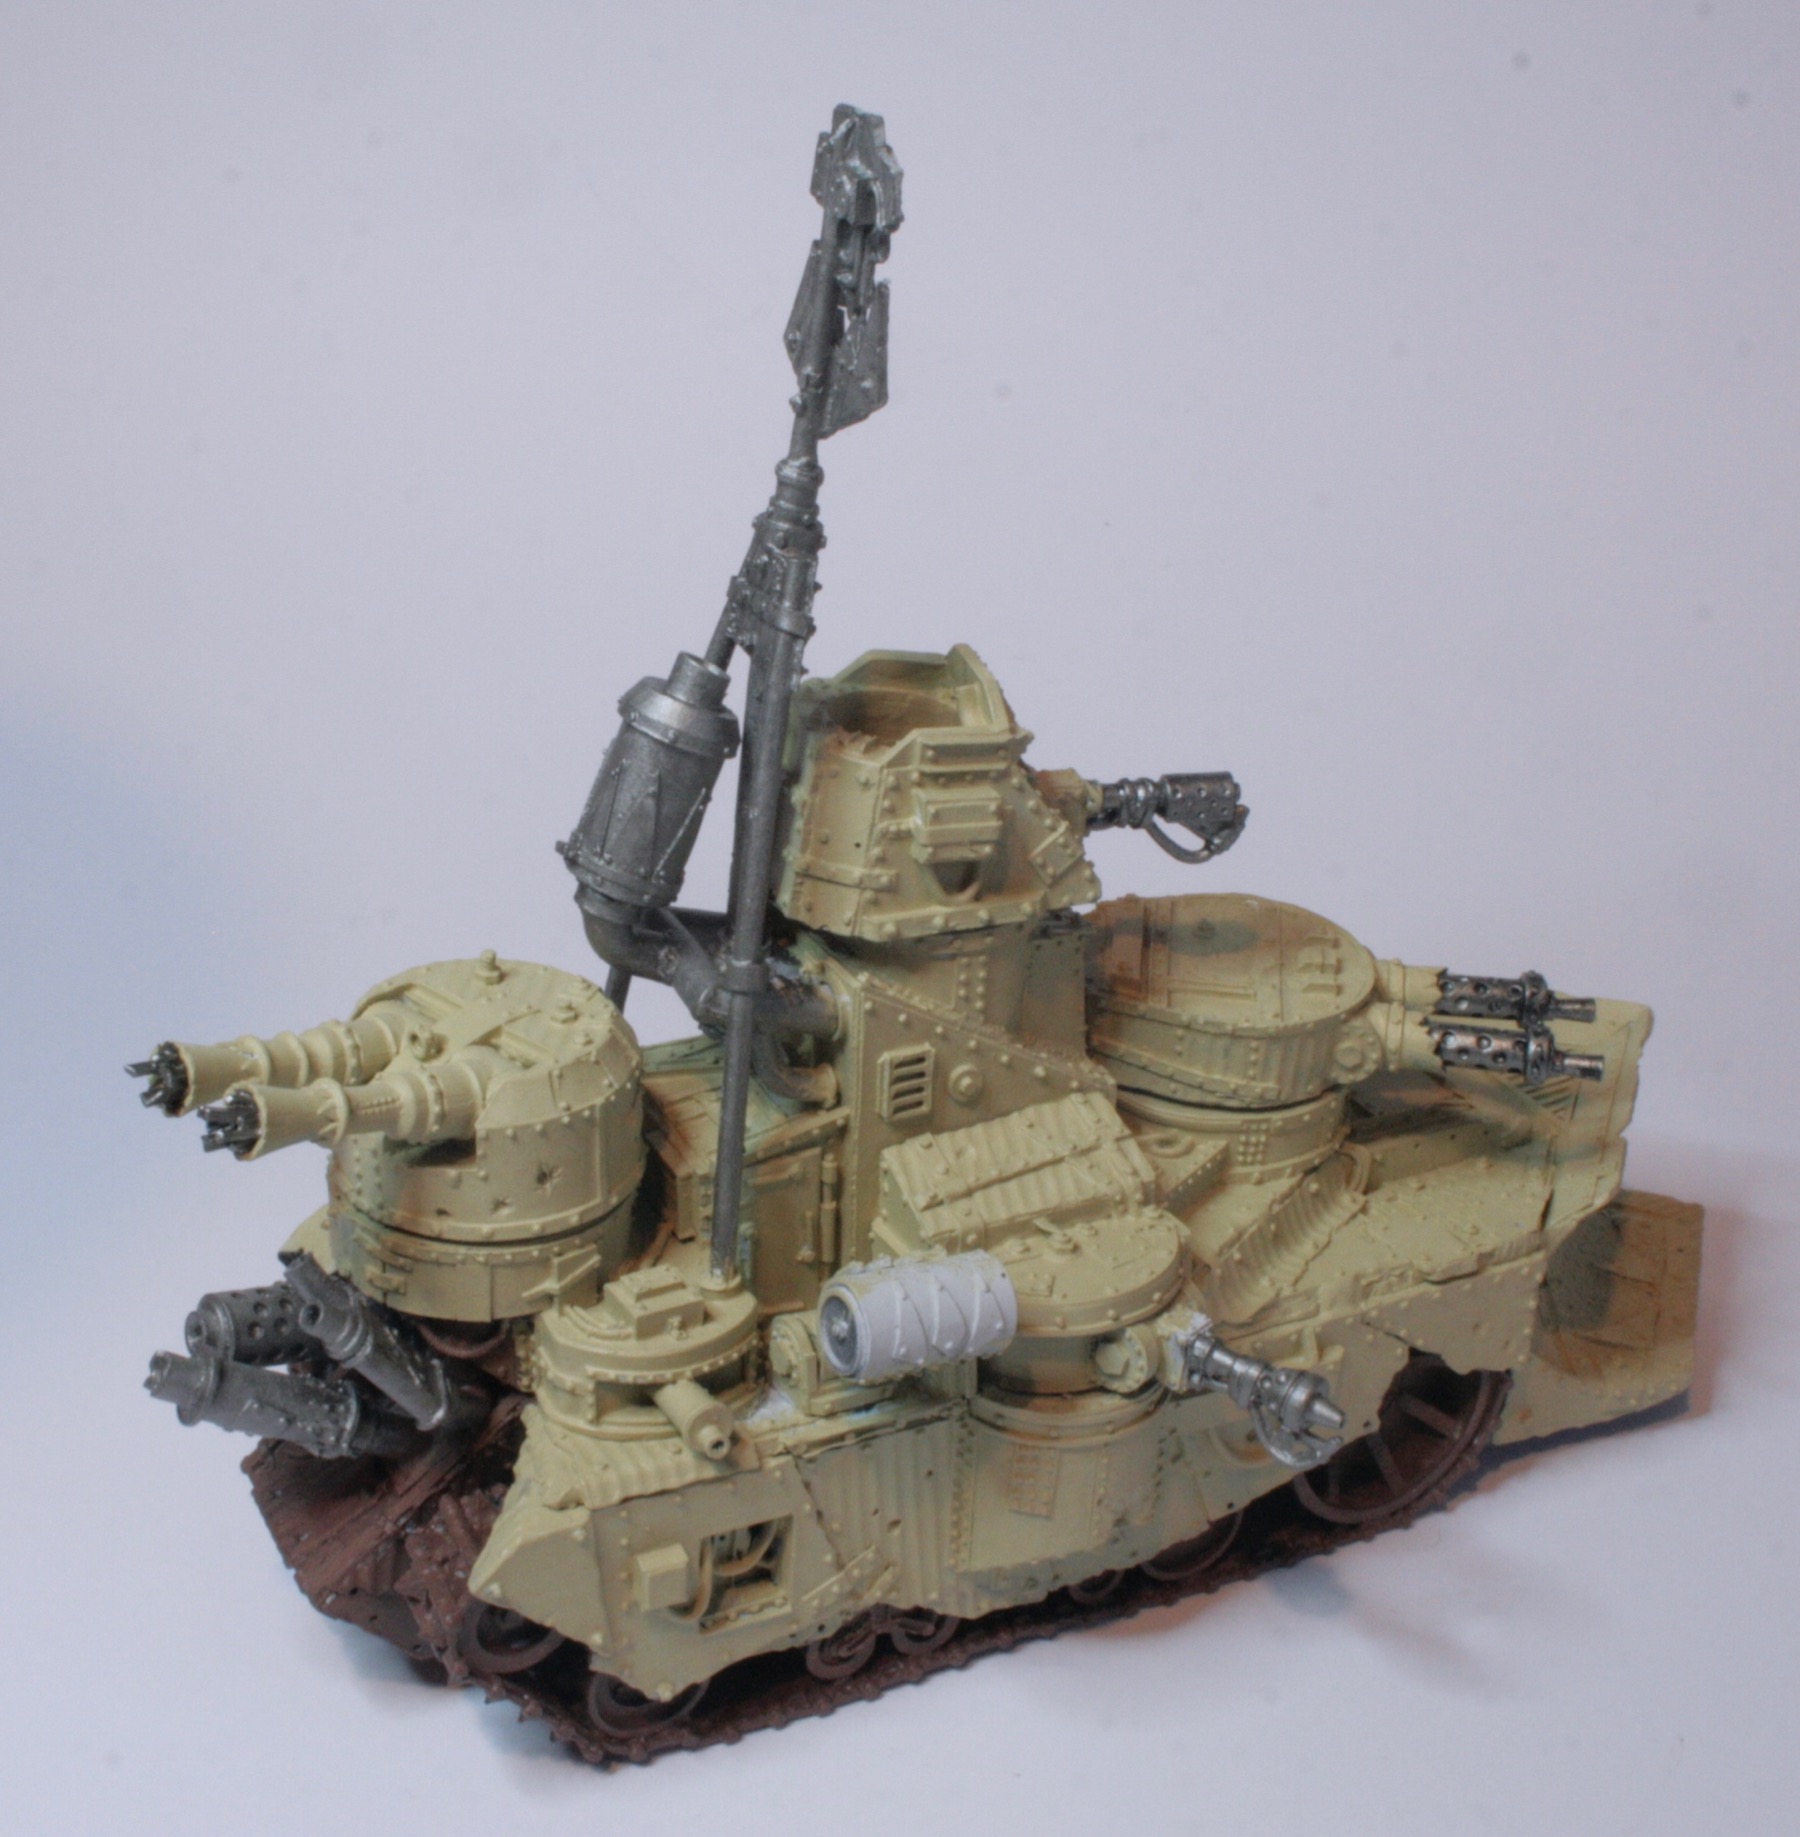
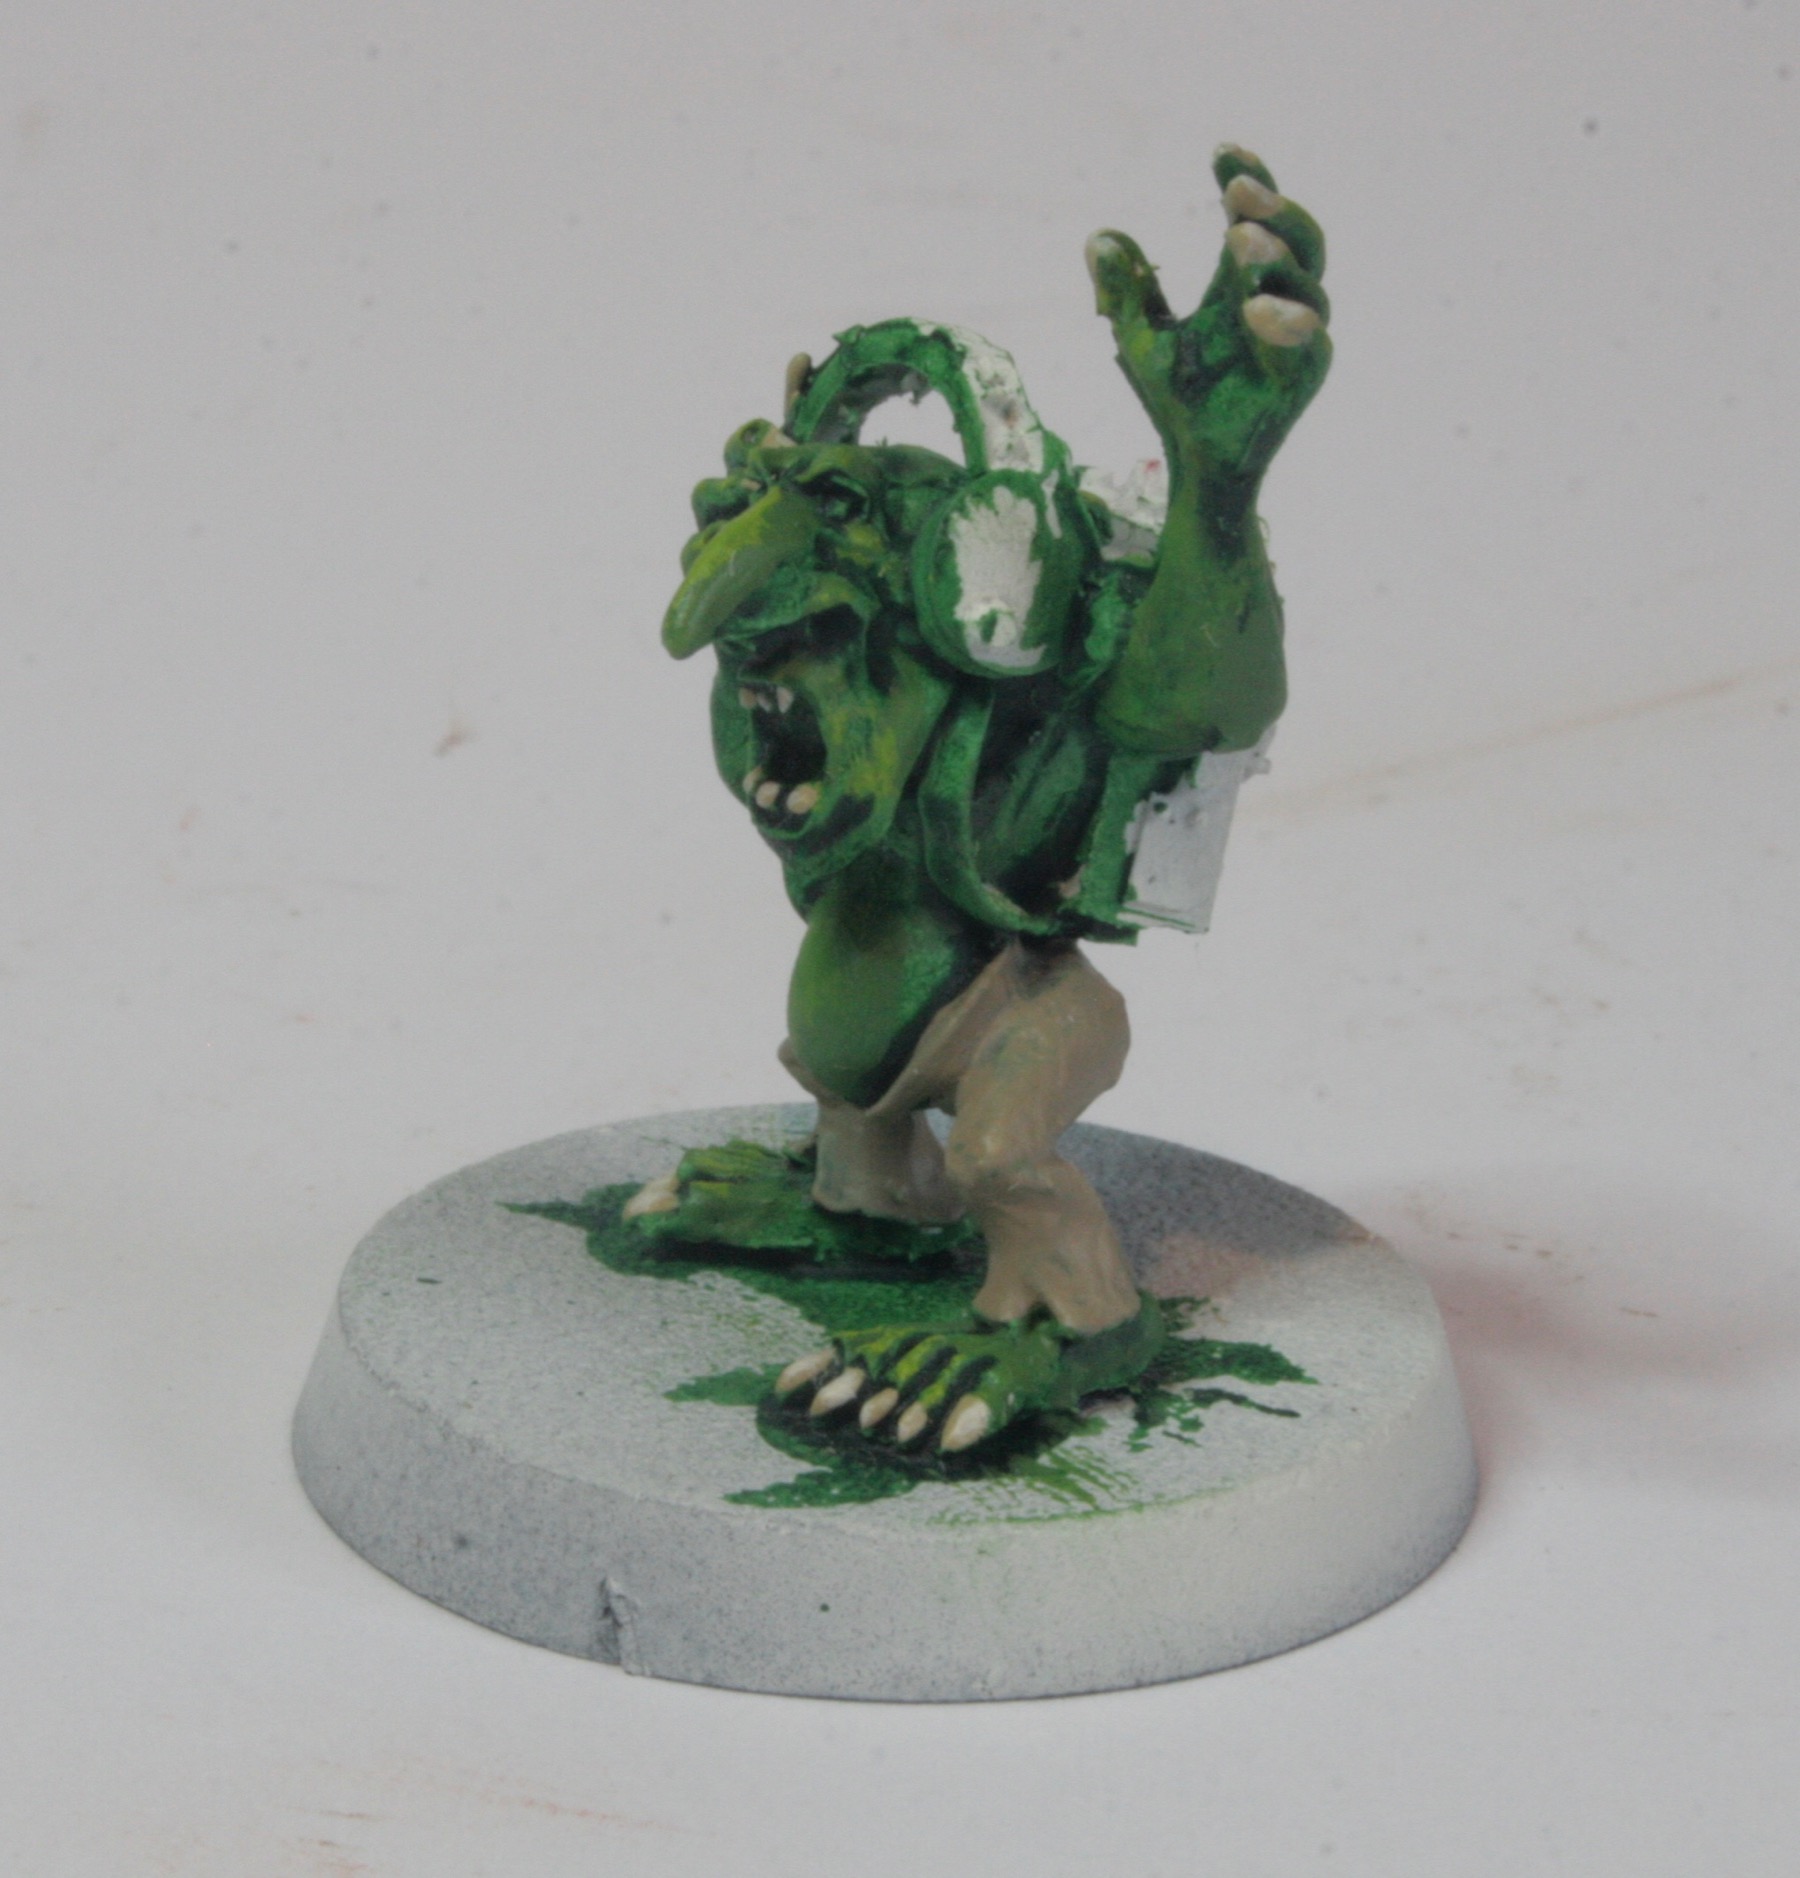
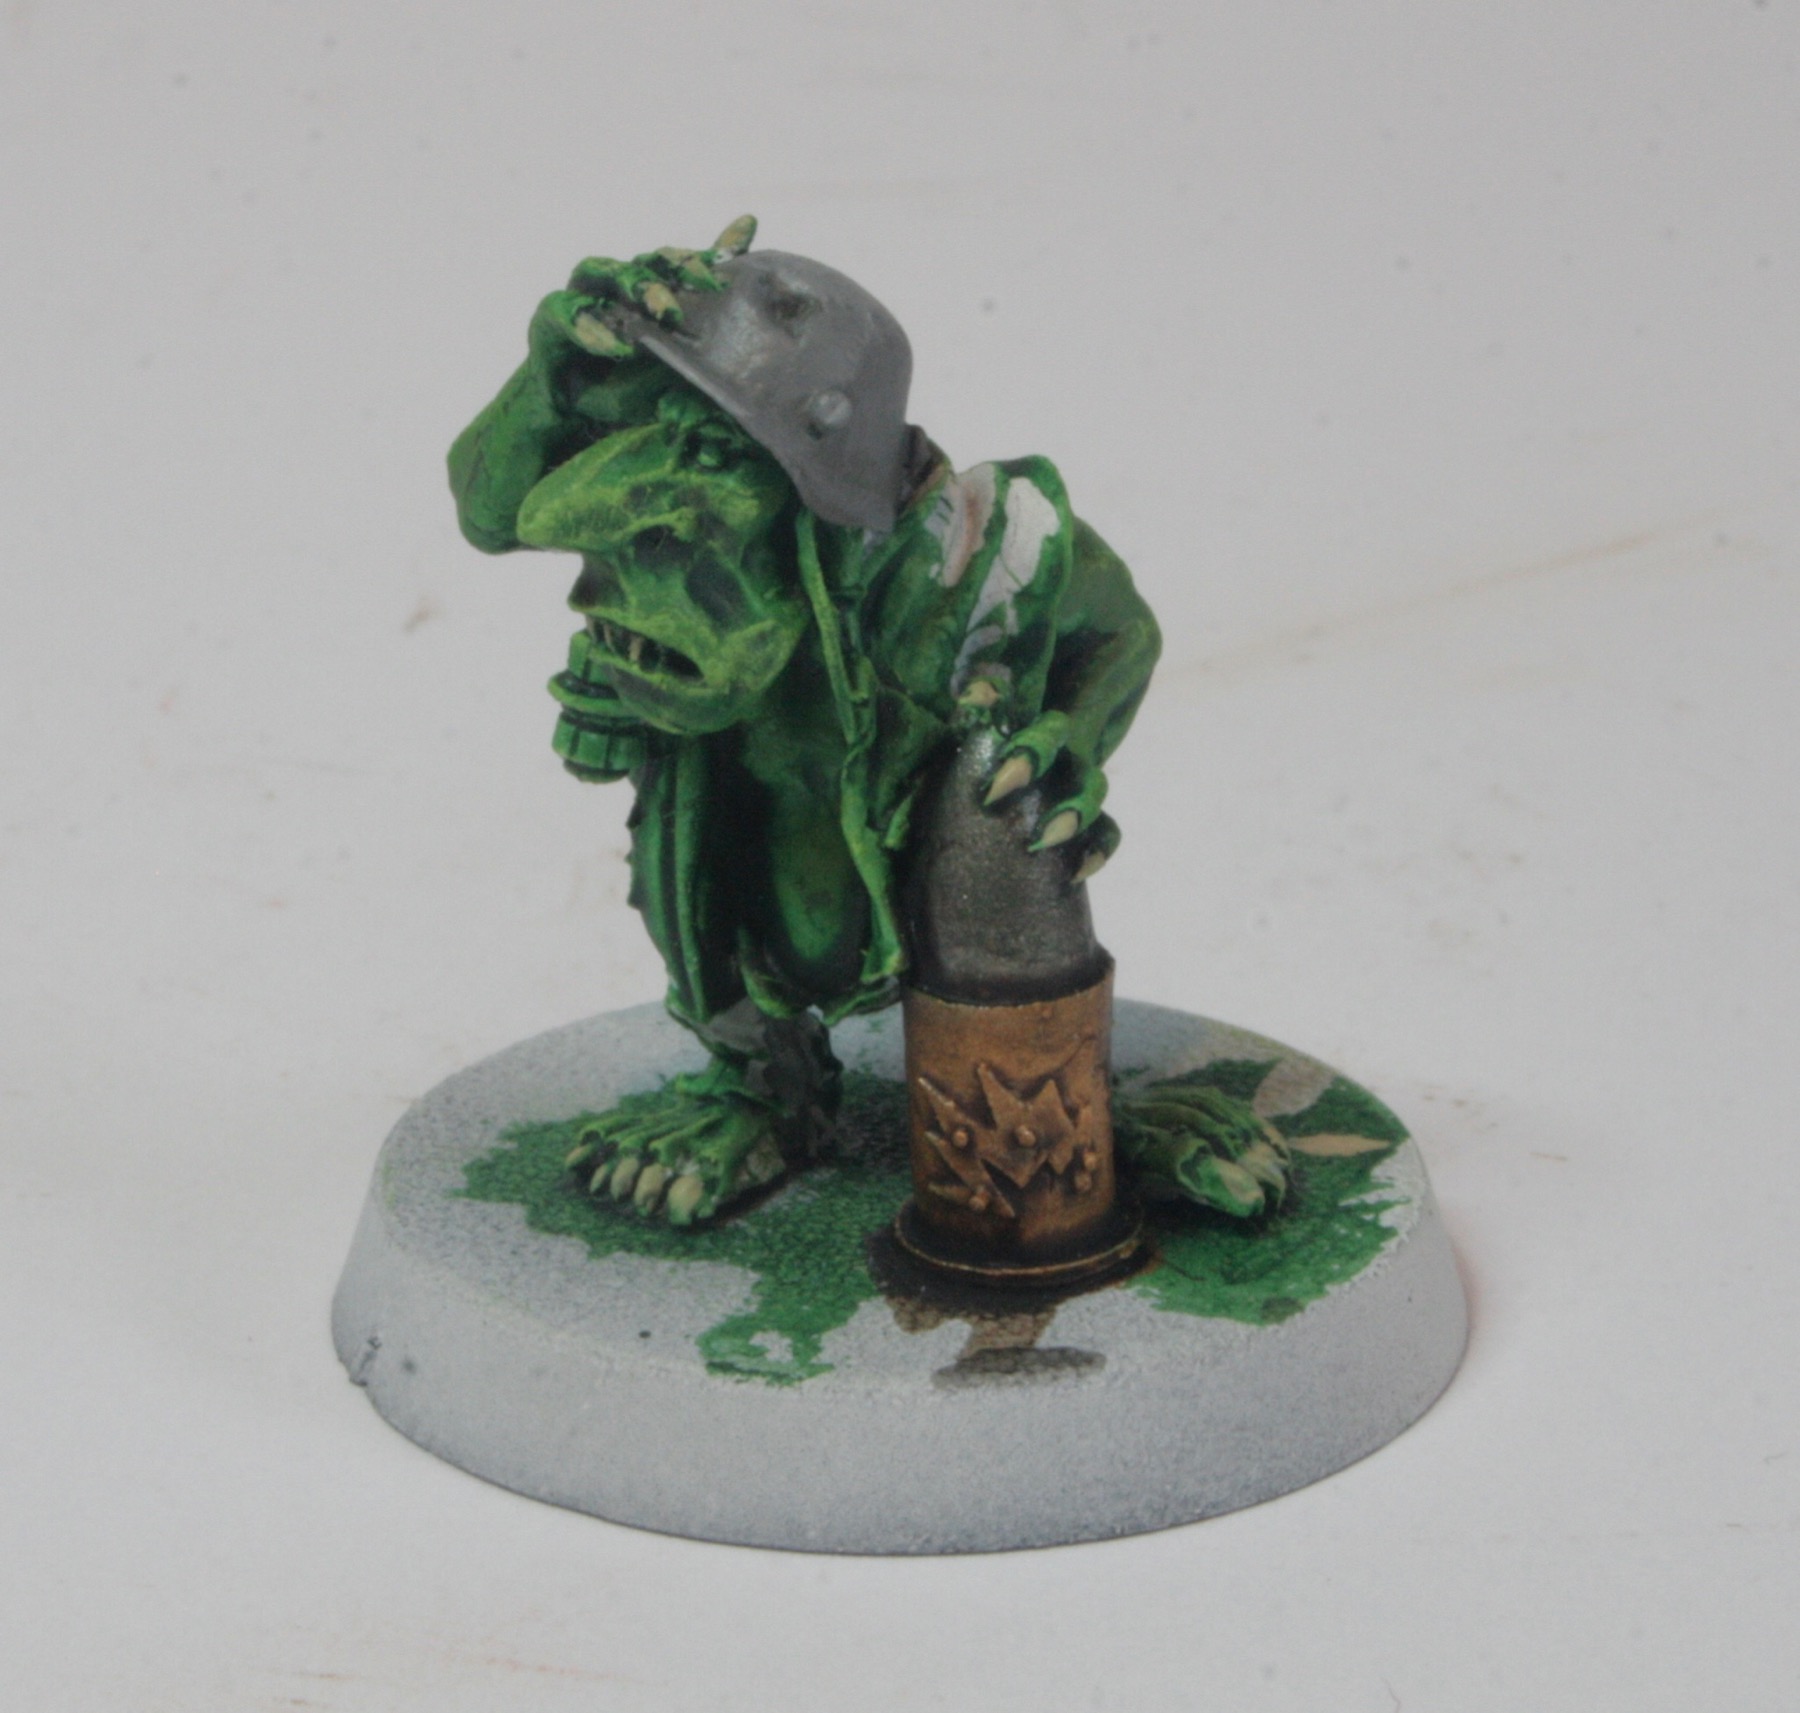
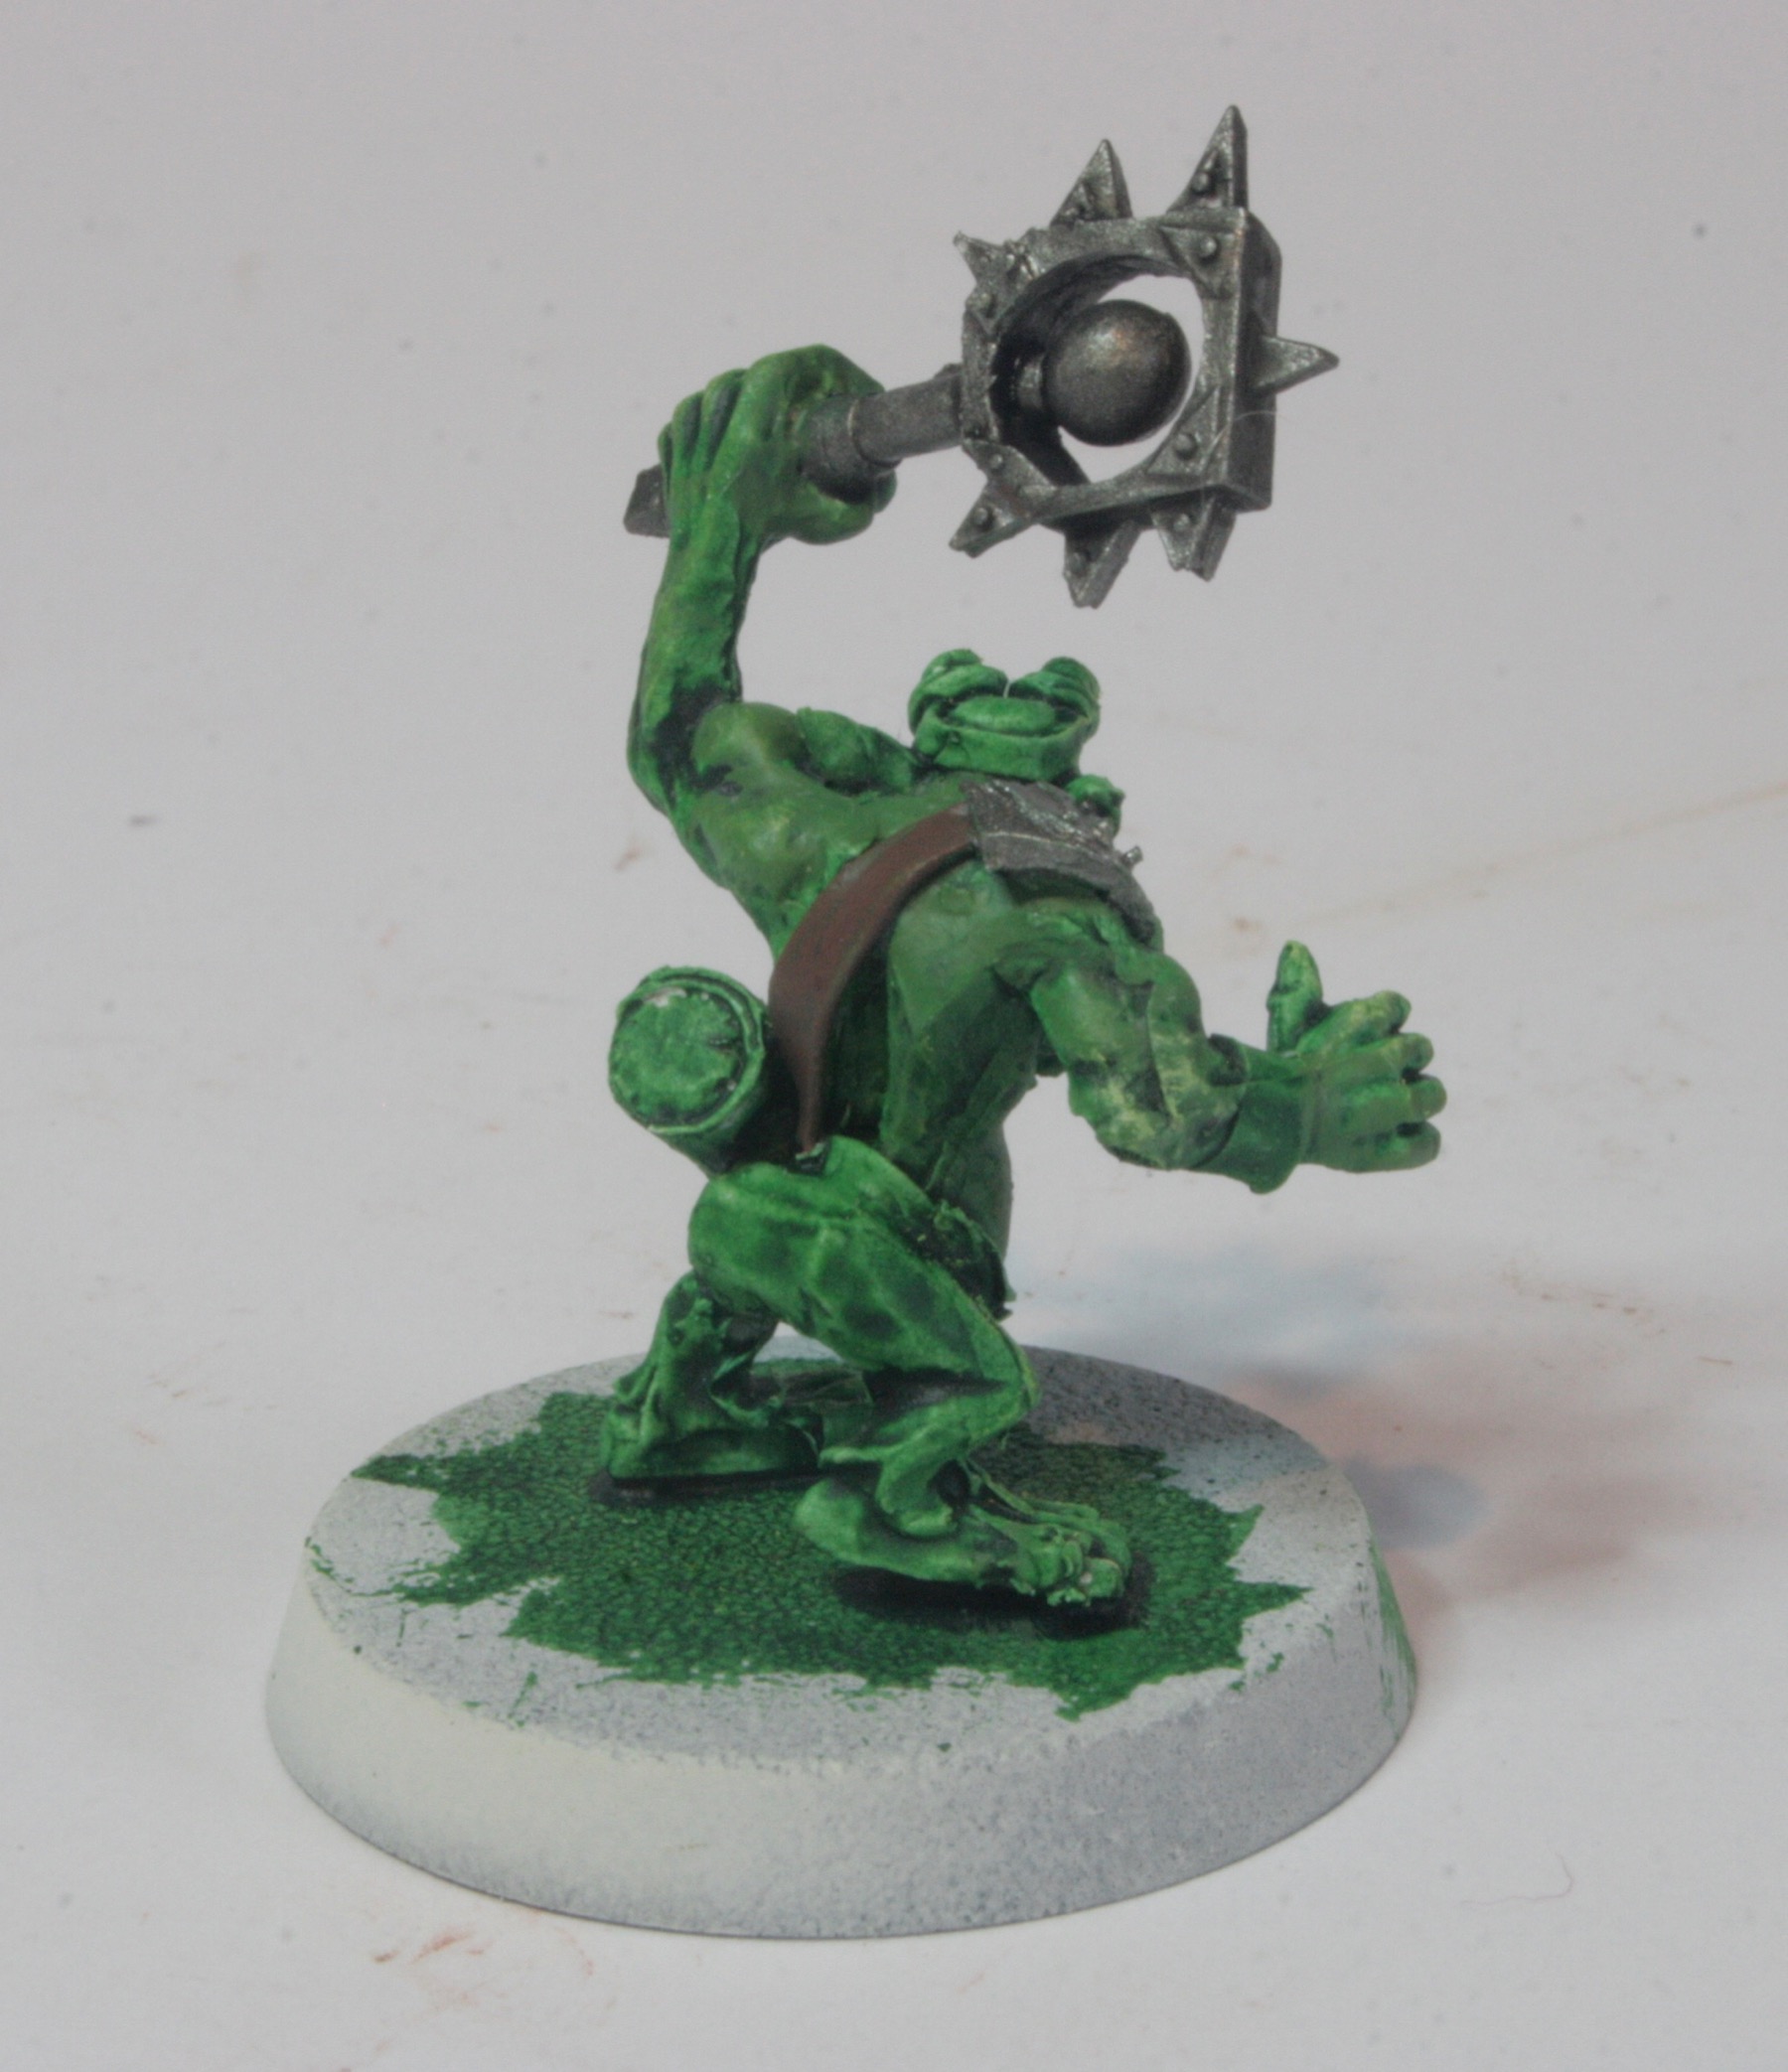
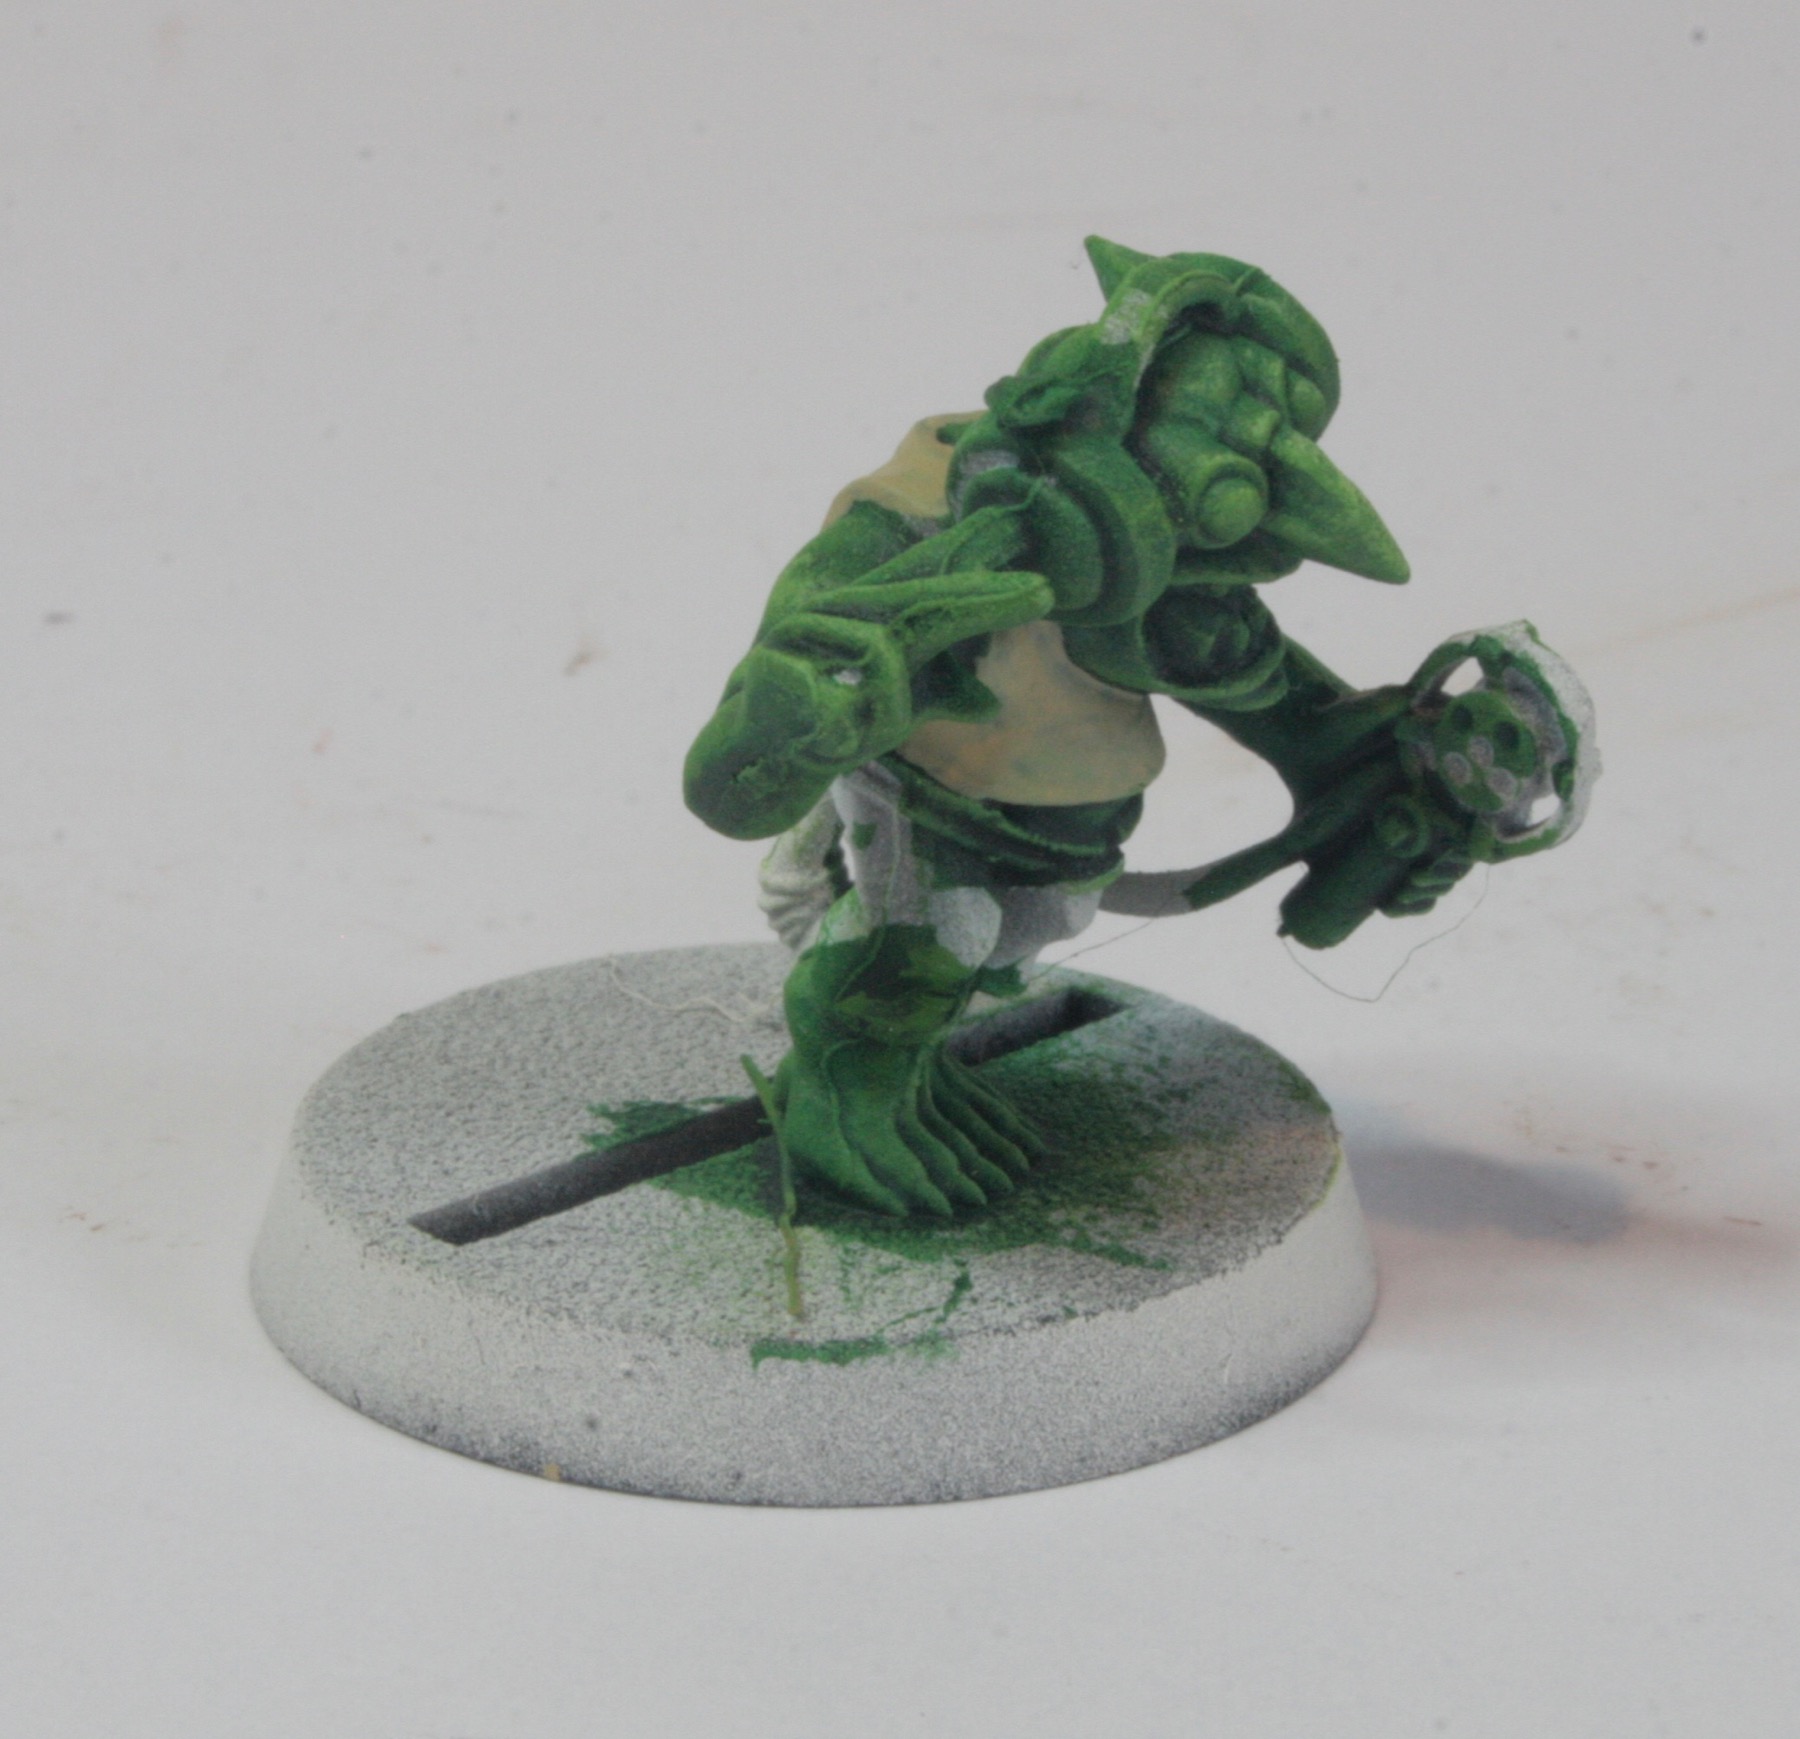
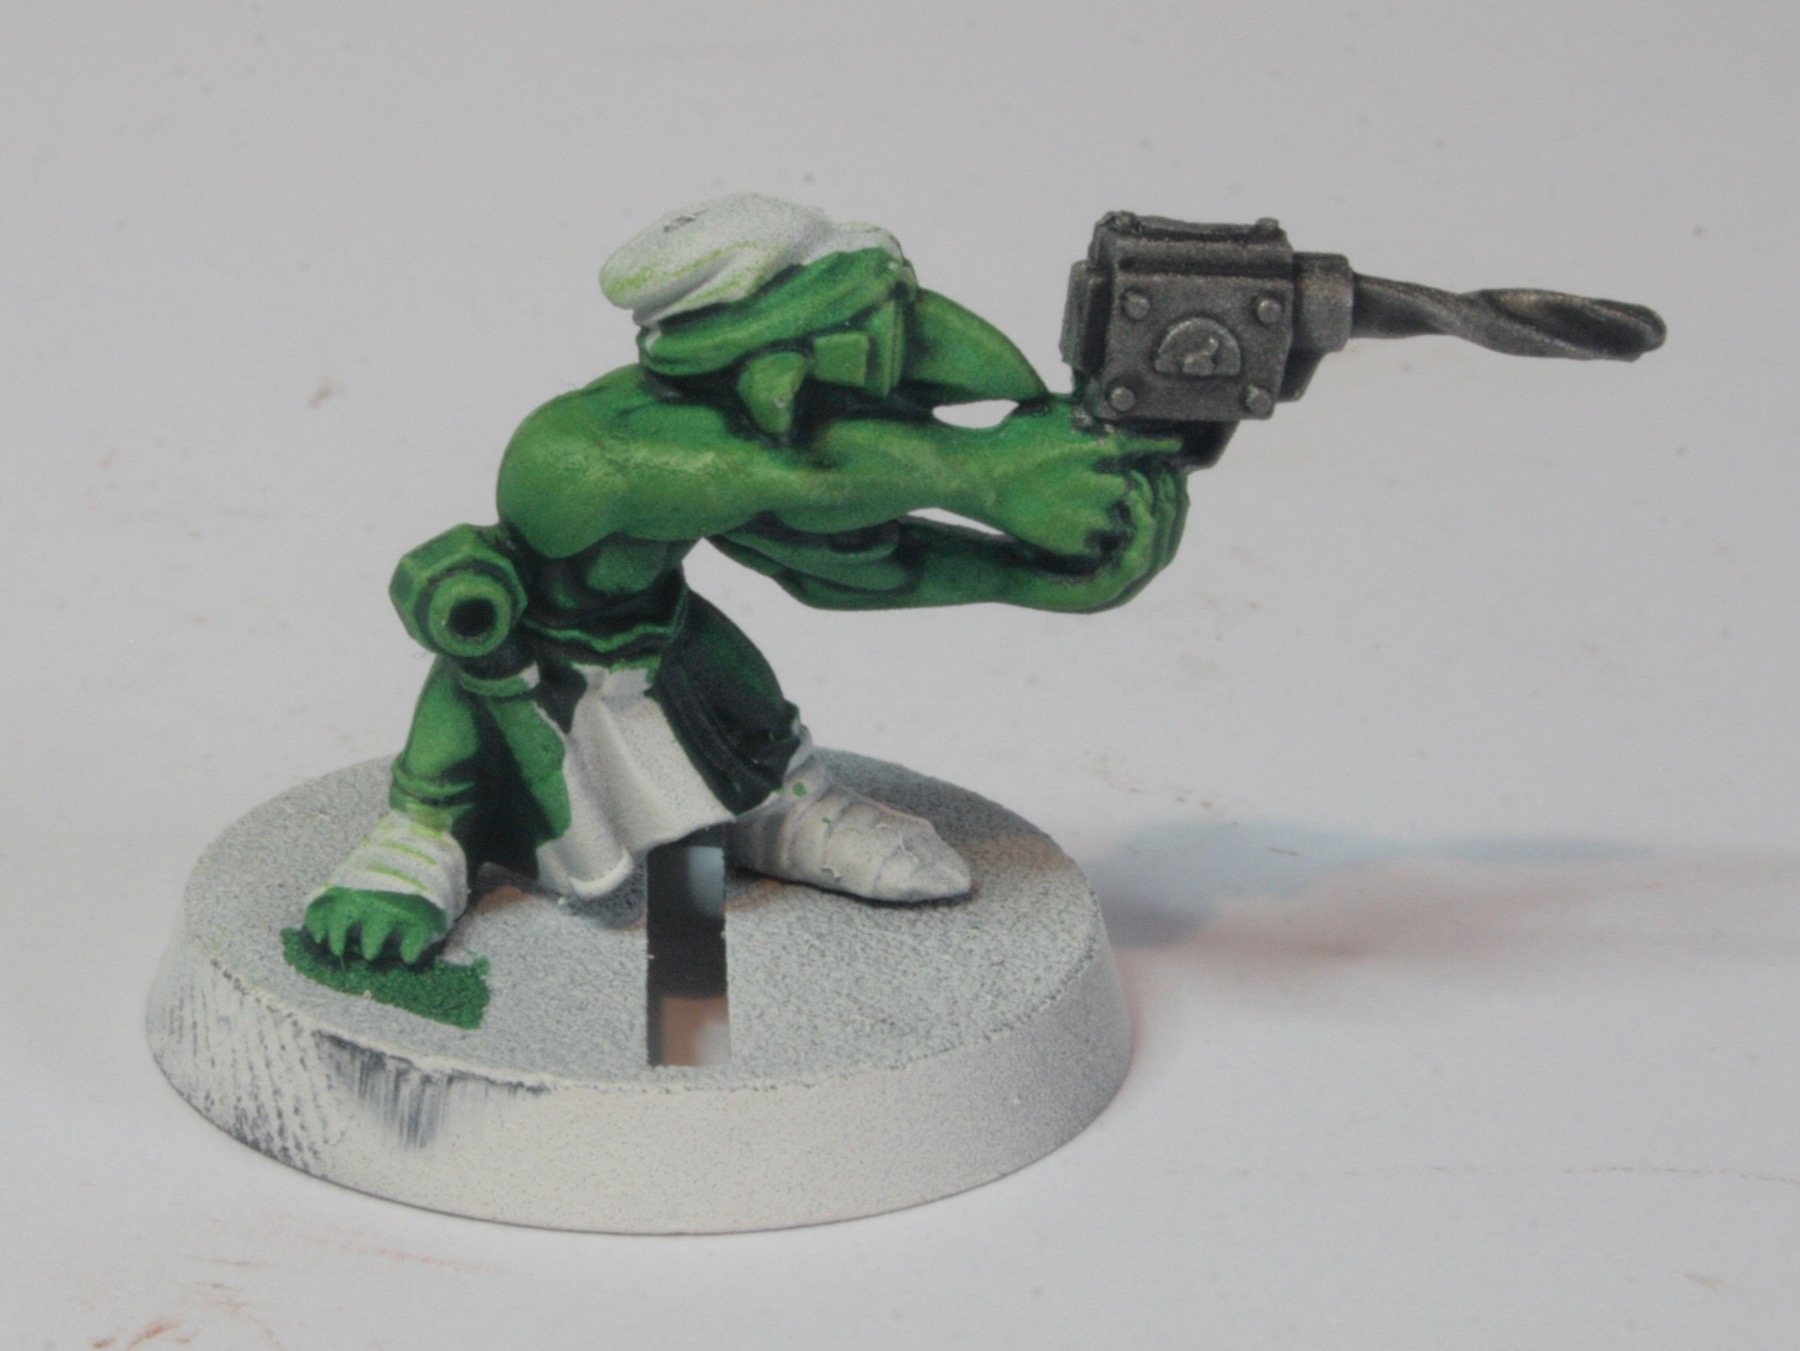
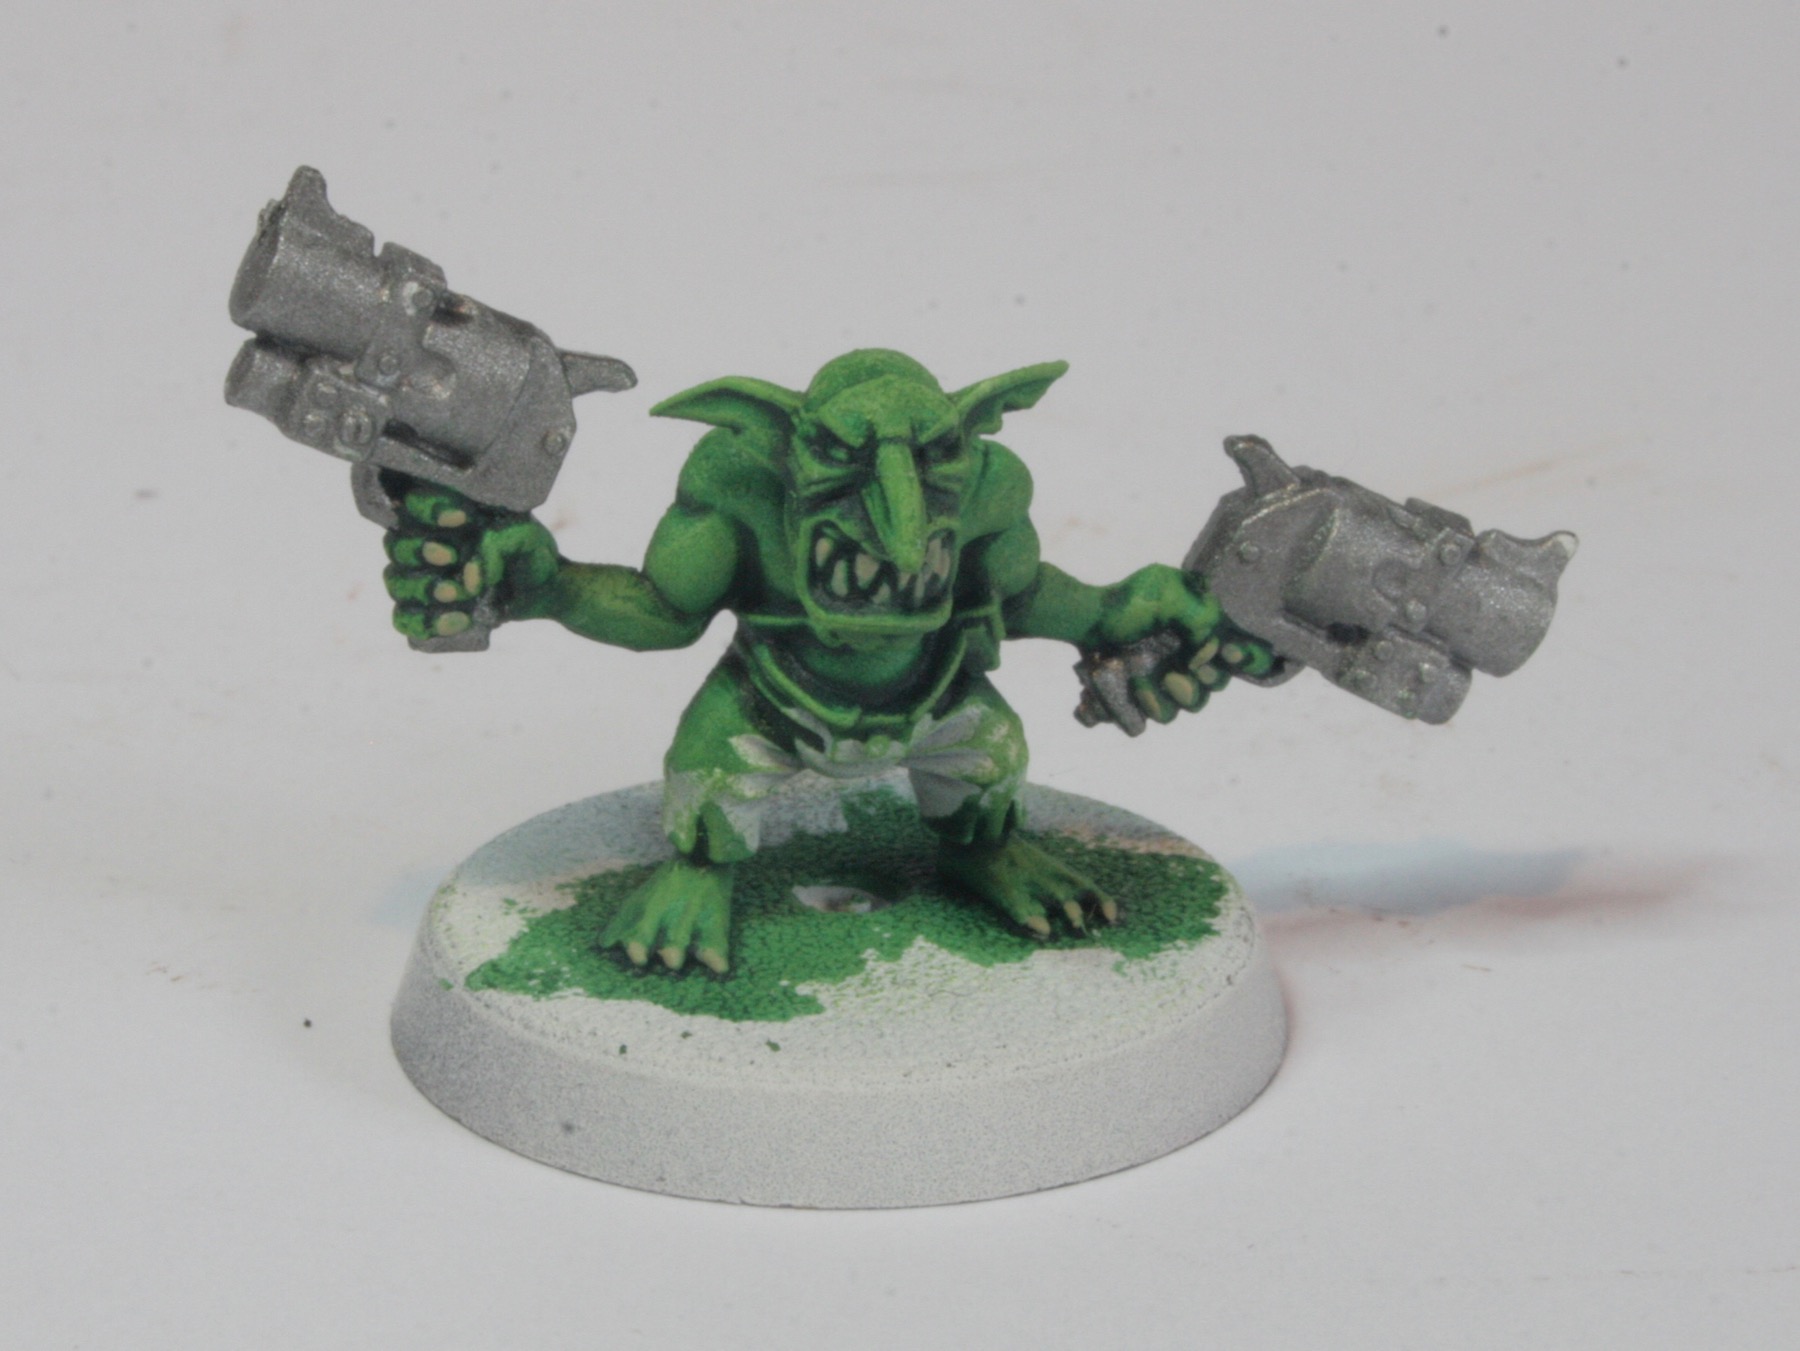
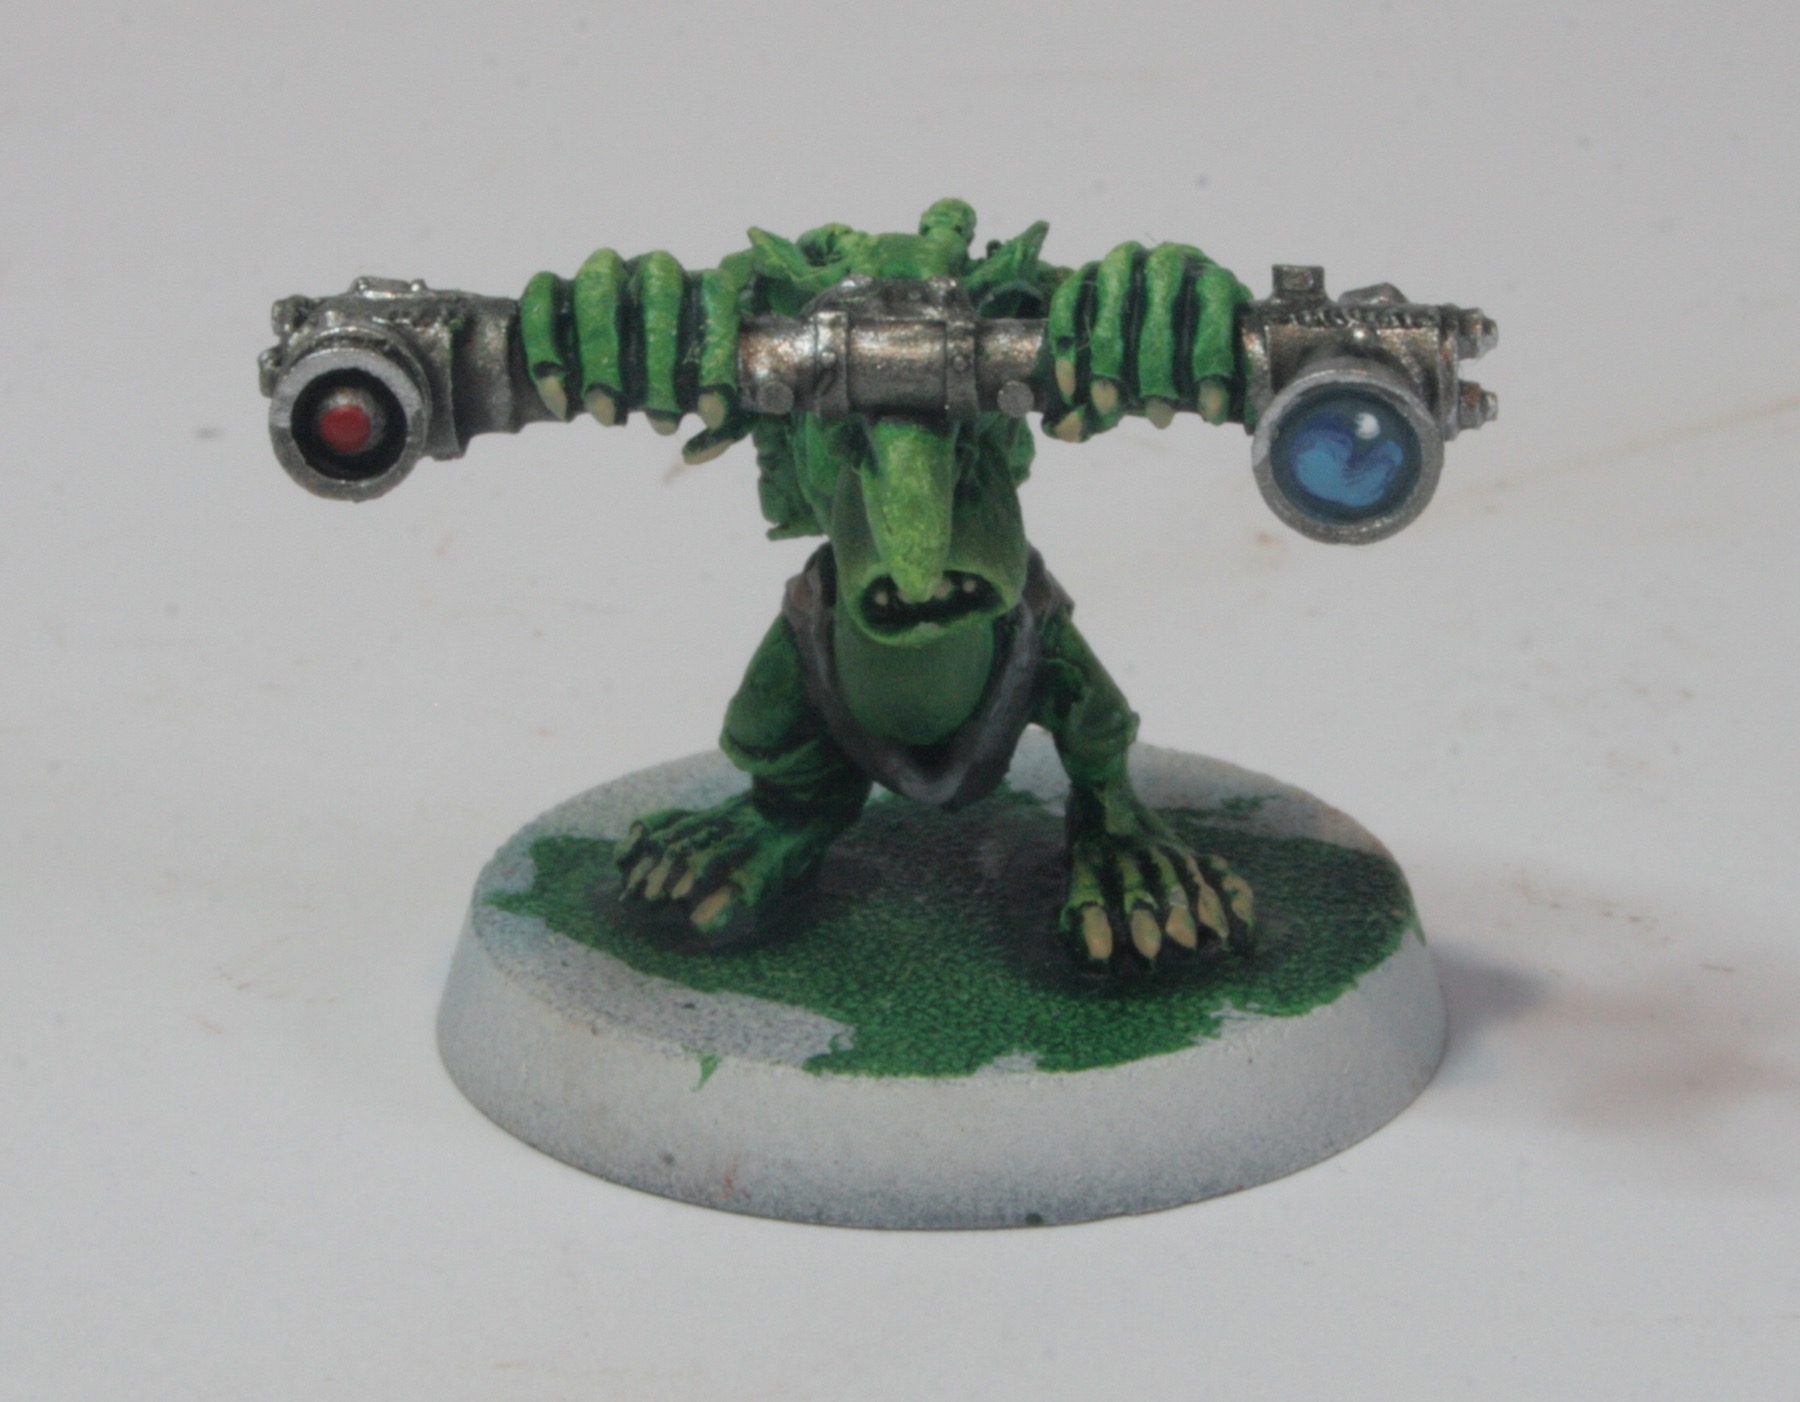
Having sent off for some of this paint, I also included the Ork Flesh Contrast Paint in my order, as I was interested to see how these would work for my Orks. In a test I decided to paint the Krew of my Forge World Ork heavy weapons with the contrast paint.

I have to say I was quite impressed with the results on only a single coat. So much so I bought some of the others in the range to use on different models.

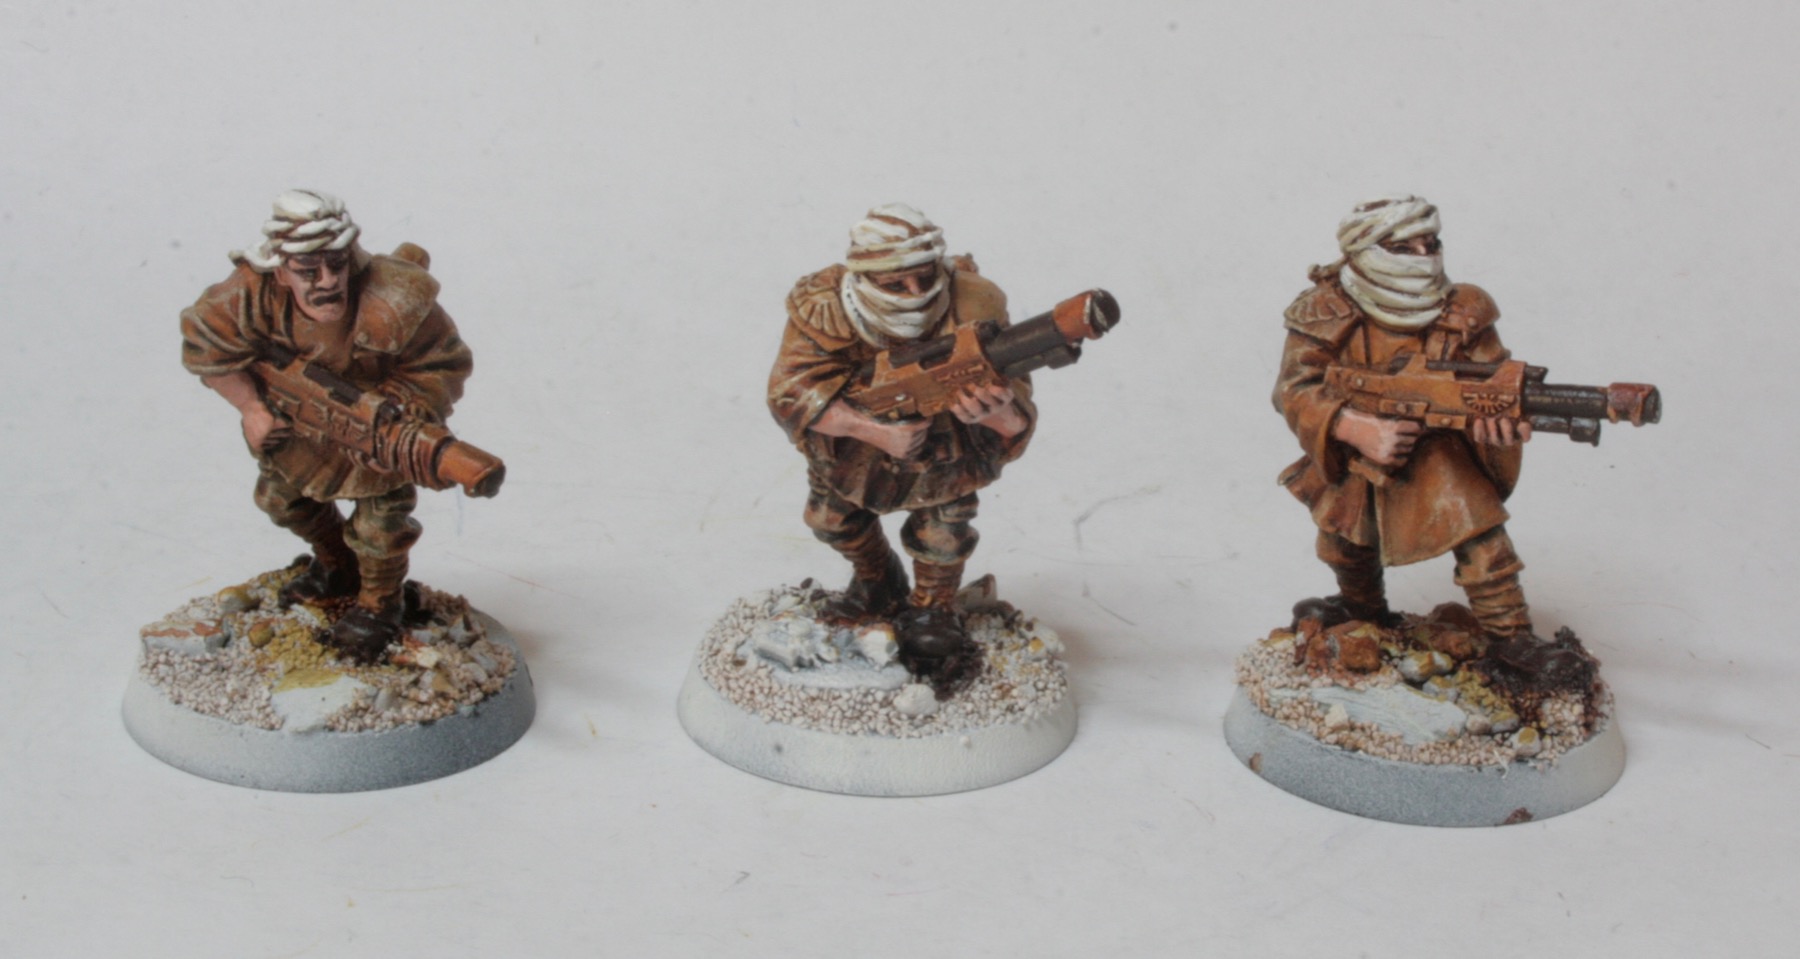
I know I have been painting quite a big as I am now on my third pot of Seraphim Sepia since the beginning of June! I am a fan of the shades, as they allow me to create effective paint schemes without too much effort!

I am never going to be a Golden Demon painter, I don’t have the patience, nor the eyesight, let alone the time to paint something to that standard. What I am trying to do now is paint the models so they are completed to a good level (for me) and they look good on the table.

Ork Mekboy Workshop

All Mekboyz can perform battlefield repairs using no more than a weighty wrench-hammer, a sack of nails and a healthy dose of gumption, but most do their best work in the comfortably anarchic surrounds of their own workshop. Meks are more than capable of cobbling together a workspace from whatever is lying about, with rudimentary workshops springing up from battlefield wreckage even while the bullets are still flying. Greenskin vehicles roar toward such teetering structures, their crews throwing sacks of teef at the resident Mek – he and his crew get to work immediately, sending the Ork customers on their way with snazzier guns, souped-up engines and extra armour plates.

I have been thinking about getting this kit for a while now. So on a recent shopping trip to my local games shop I decided to make an impulse purchase and buy the box. Well it was nearly 30% cheaper than on the GW site (and it’s out of stock on their website).

As well as the named workshop you also get three barricades and three piles of scrap.

The parts on the plastic sprues within the box are quite thick and chunky.

The model looks like it should be quite good fun to paint.Ork Mekboy Workshop

I think these will go with the Cities of Death resin Ork Barricades I have had for a while now.

Forge World Ork Heavy Weapons

I have been painting my Ork Kill Kannon and Big Zzappa. With these models I gave them a white undercoat and then gave them a basecoat of Leadbelcher.

I washed the Kill Kannon model with Nuln Oil Shade first and then used some Agrax Earthshade to add some colour to the weapon, to show weathering as well as wear and tear.

I did a similar process with the Big Zzappa. I also washed that model with Nuln Oil Shade first and then used some Agrax Earthshade to add some colour to the weapon, to show weathering as well as wear and tear.

Here are those two weapons alongside the Ork Kannon.

That model has a black undercoat and was painted with Leadbelcher before washing with Shades.

The Grot Krew are coming along nicely as well.

Engines on the Kill Bursta

Forge World’s big Ork tank mounts a huge gun ready to take on any Imperial BaneBlade or even Titan. The Kill Bursta mounts a huge-bore Kannon capable of destroying bunkers and siegeworks with ease.

The last time I looked at the model I had given the model a double undercoat of white and black and then using a thinned Chaos Black I touched up the black basecoat. I also black undercoated certain parts of the engine.

The first thing I did was something different and sprayed the upper surfaces of the model with Citadel Spray Zandri Dust. Using a brush I painted the tracks with Gorthor Brown.

I painted the rear engine with Leadbelcher. I also painted the small turret weapons with Leadbelcher as well.

This covered the basecoat rather well, and the black undercut added shadow.

I also started painting some of the panels with other colours, notably Balor Brown and Ushabti Bone.

See how I constructed and undercoated the beast on the workbench feature on the Kill Bursta.

Inquisitorial Stormtroopers – Tallarn

I have some Daemonhunters Inquisitorial Stormtroopers which are based on the Cadian Kasrkin I decided many years ago to add a unit based on the Tallarn or I may just use them as inducted Imperial Guard.

Having found some Tallarn Heavy Weapons blisters in a box, I dug around to see if I could find my other Tallarn models to finish them off. I did manged to find the boxed set, from which I had based and undercoated the models. I then later found the three models from the blister pack.

What did surprise me slightly was I had done some more work on them, but never got around to photographing them for the blog or website. As a result I had forgotten how much progress I had made with them.

I had done the flesh and drybrushed them. I had drybrushed the three models with Snakebite Leather and Bleached Bone. Unlike highlighting and glazes and the suchlike, drybrushing does not give as neat as a finish as those methods. However I quite like the dusty look for these desert based models and these are going to be gaming models, not Golden Demon entries!

I quite like them, but they could do with a little more work to finish them off. They are quite dusty looking, so I might give them a light wash of Serpahim Sepia to tone down that look and add a little more shadow. Back in the day when I painted these I had used an ink wash mix (as Citadel Shades weren’t around).

Certainly means I can look at the boxed set and get them finished, I am thinking I might use a Contrast paint on them to get them done faster…

Check out the workbench feature on the Inquisitorial Stormtroopers (Tallarn Blister).

Basecoating the Grot Mega Tank

I picked up the Grot Mega Tank at GamesDay 2010. It was available in limited numbers, but I was lucky enough to pick one up, before they sold out. I really do like this model alongside the Grot Tanks.

Hammered together out of junk, spare Mekboy know-wotz and unbridled Grot enthusiasm, the Grot Mega Tank adds even more firepower to the battlefield madness that has come to be known as a Grotzkrieg, terrifying Imperial Tacticians, Eldar Farseers and Chaos Warlords alike.

The model is very ship like with battleship style turrets and a prow shaped bow. It is a very ramshackle vehicle and looks like (as it should) if the grots have just thrown it together from parts lying around the battlefield and stuff stolen from a Mek workshop.

So after letting this model languish too long in a box, I got it out again to see if I could finish painting it. Having re-undercoated the model and starting the basecoat I finished off the hull with Ushabti Bone.

I painted the turret weapons with Leadbelcher. I also painted the main mast and funnel with Leadbelcher as well.


I had painted the tracks and the rear engine deck with Gorthor Brown. I painted the rear exhausts with Leadbelcher.

I still have some work to do on tidying up the basecoat, the depth charge and other gaps on the model.

I also need to find the deck Krew and get them undercoated and painted.

See the Grot Mega Tank Workbench.

Grot Krew

Across my Ork Big Gunz, heavy vehicles, even my Stompa, I have a variety of Grot Krew that need painting.

This is a Grot Gunner from the Forge World Kill Kannon.

This is another Grot Gunner from the Forge World Kill Kannon. I gave the shell casings on the model a base coat of Skullcrusher Brass, before giving them a wash of Agrax Earthshade. The shells themselves were painted with Leadbelcher.

I used a variety of greys to paint the Grot’s helmet.

On this Grot from the Big Zzappa, I painted this shoulder belt and this should armour.

This Grot is from the Stompa plastic kit. Another one with a radio and a microphone.

This plastic Grot with a screwdriver is from the Sompa as well. I used Nuln Oil Shade on the drill. Just realised that’s a socket wrench in his belt, will need to paint that using Leadbelcher again.

I added some highlights to the Grots using Warboss Green. I then used Citadel Dry paint, Niblet Green to add highlights. I then did further highlights using Hexos Palesun. I painted his nails and teeth with Ushabti Bone. I painted his two pistols with Leadbelcher.

For the Kill Kannon observer, I painted a lens effect on the observing tool. I painted the entire lens with Thunderhawk Blue and then used Lothern Blue for the reflection before finally adding a drop of white at the top. On the other side of the device I used a drop of Mephiston Red.

I also used a range of greys to paint his trousers.

Still some work to do on these.

Painting, weathering and transfers

I wanted to try out some painting techniques, weathering powders and transfers, before I started painting not only my other Gaslands cars, but also my Forge World Ork models.

So I started off with an old Hot Wheels New Beetle that I “found” in a box in the garage…

I gave the model a spray of Zandri Dust.

Once this was dry, I gave the model a wash of first Agrax Earthshade in some areas, but mainly Seraphim Sepia across the whole car.

I the drybushed the car with some Golgfag Brown.

One of the things I wanted to try out, was trying out some transfers. I have avoided using transfers for years, but with my Aeronautica Imperialis I have been thinking I should provide the models, especially the Imperial Navy flyers with appropriate markings. I think the last time I did transfers was twenty odd years ago…

So, using some free Warlord Games Judge Dredd transfers that came free with Wargames Illustrated, I took a couple of the transfers and applied them to the Beetle. I used Vallejo Decal Softener to aid their adhesion to the model.

The result was slightly glossy, which was to be expected. However I didn’t have any matt varnish.

In the end I decided to try out some of the Forge World weathering powders I have on my workbench, which I had never used.

I tried out Light Earth and Orange Rust, and was quite pleased with how they worked and the effect I got.

This is a testbed, so the next thing to work out, is how should I paint the windscreen?