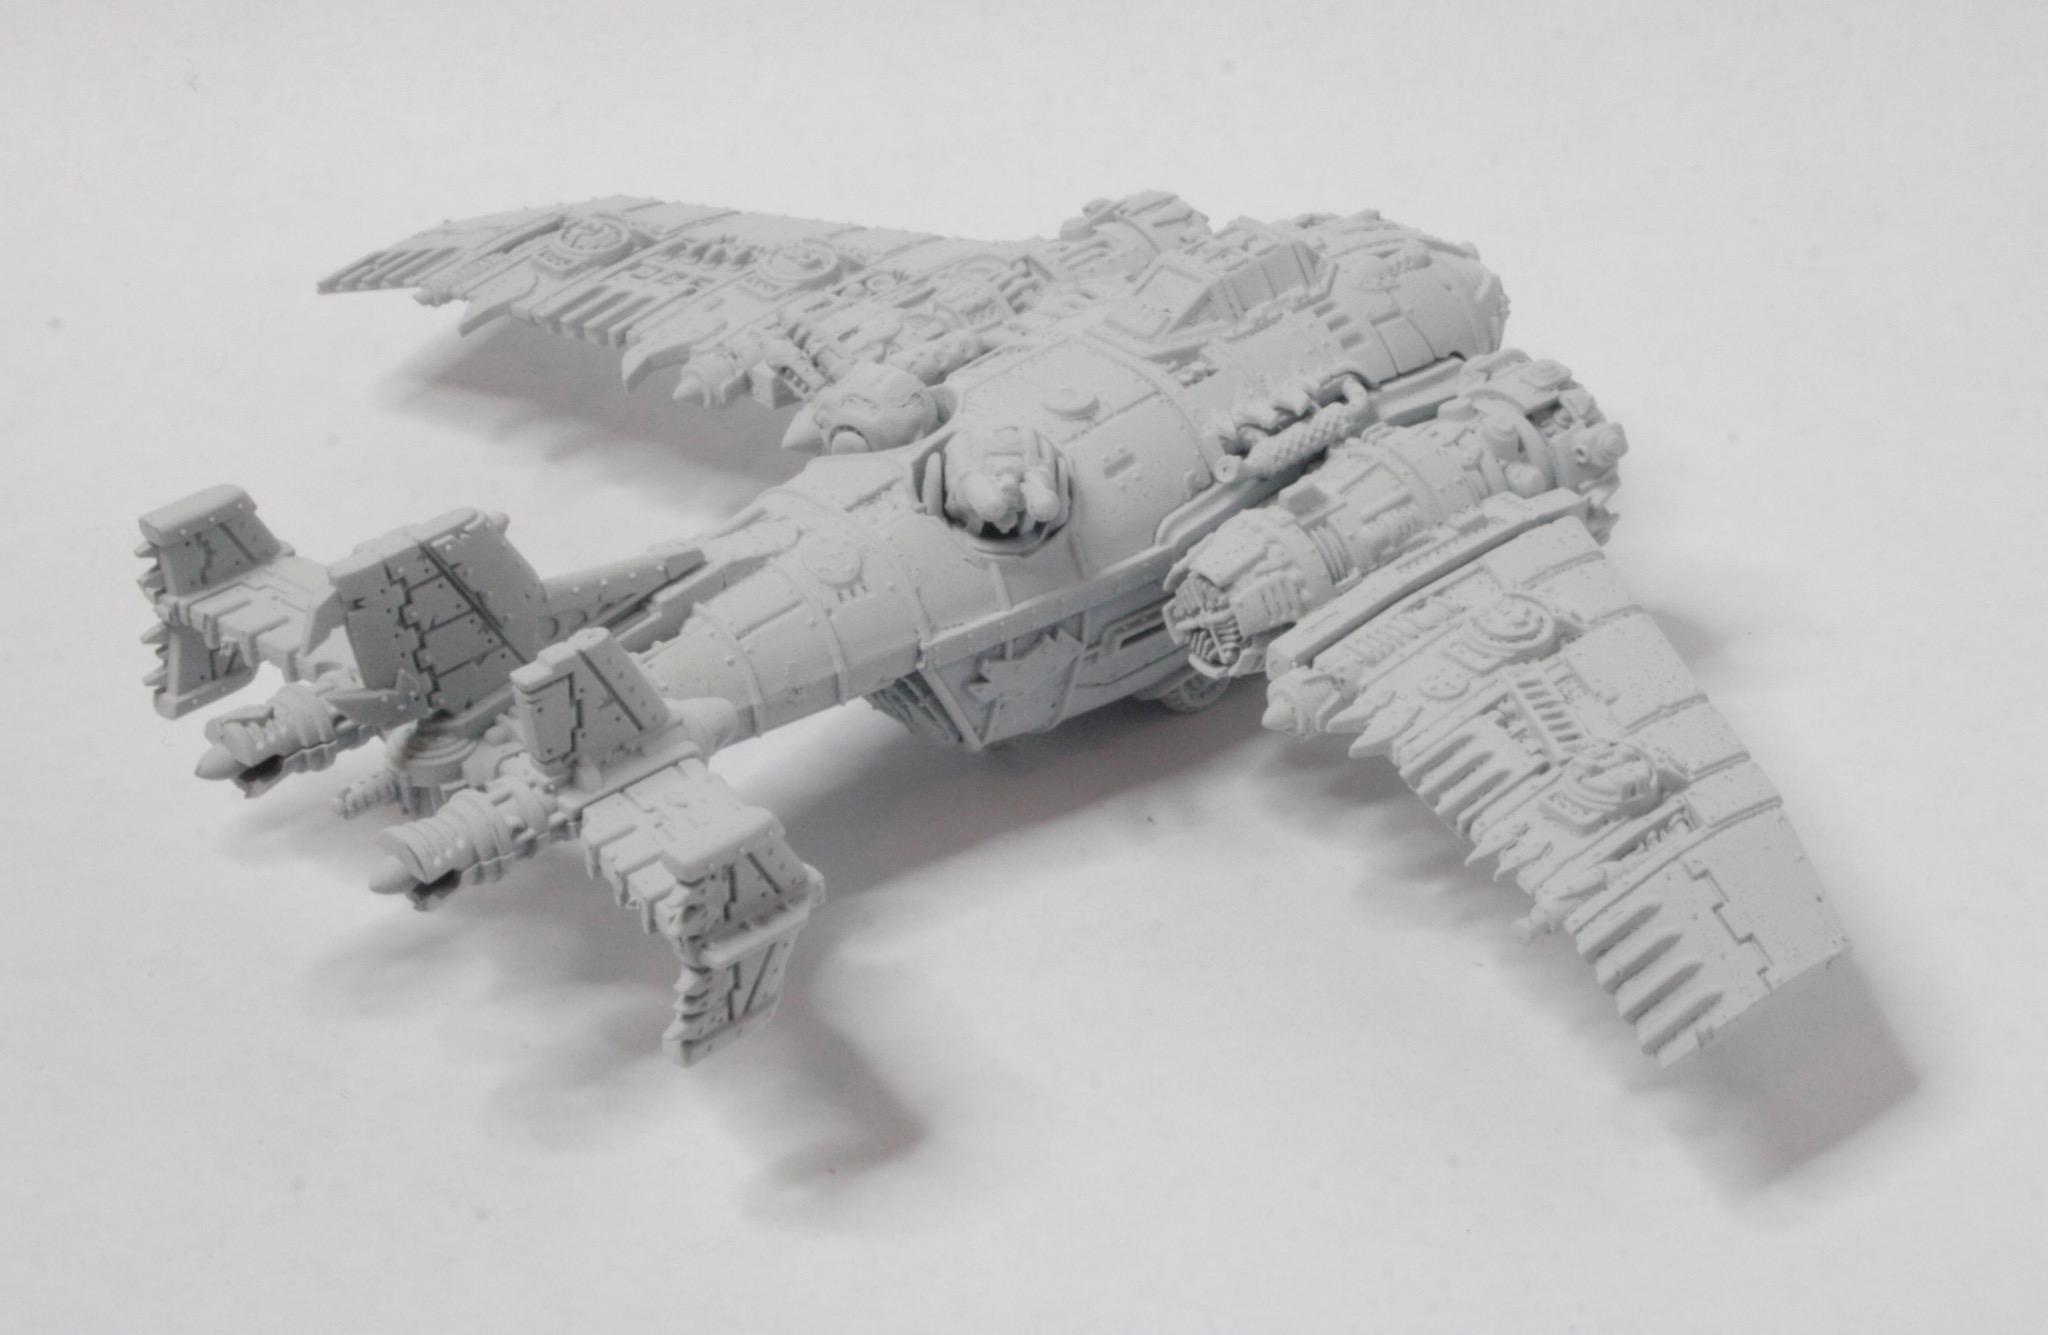
These are the Asuryani Flyers (though I think of them as Eldar Flyers) that came with the Wrath of Angels boxed game.
You get three Nightwing fighters.
The primary aircraft employed by the enigmatic xenos known as Craftworld Aeldari, Nightwing fighters possesses a level of speed and manoeuvrability that appears preternatural. In battle, squadrons of Nightwings weave around enemy aircraft, tearing their foe apart with bursts of fire from shuriken cannons and bright lances. The Asuryani air fleet is full of intensely fast, hard-hitting yet fragile aircraft. Nightwings are all of these, with the speed and maneuverability to stay out of the line of fire and set up an ideal tailing position before unleashing devastating firepower.
There are three of these in the Wrath of Angels boxed set. These are the painted versions on the GW website.
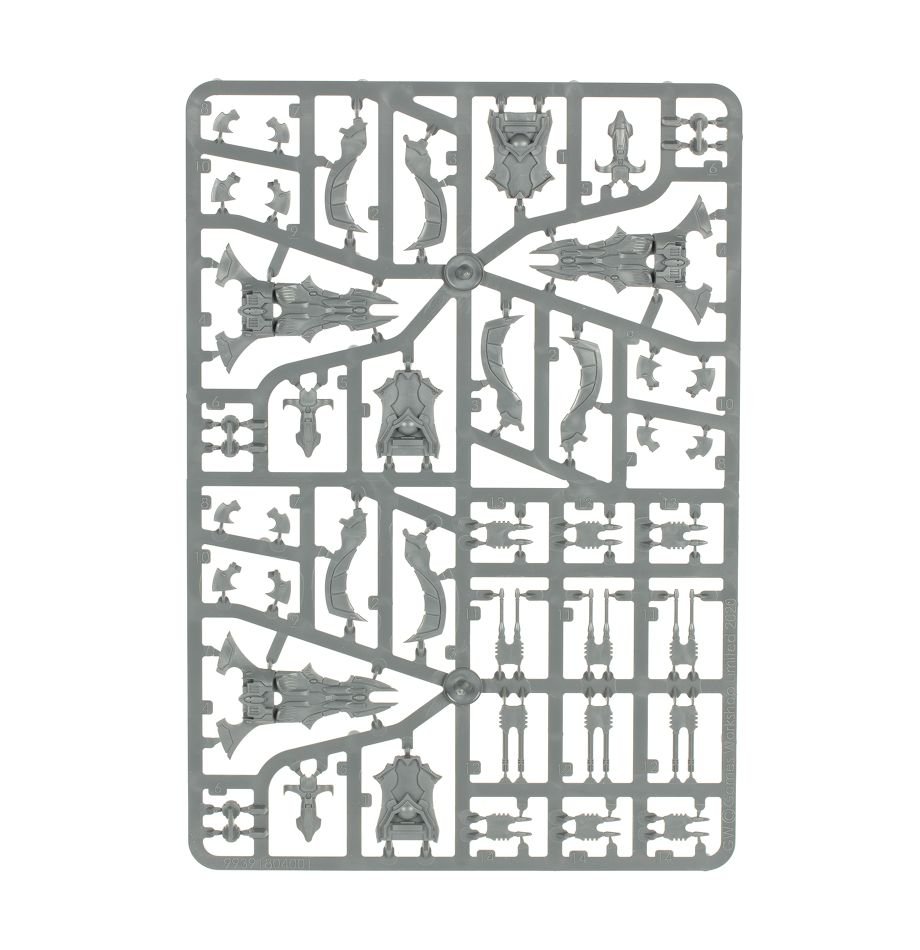
There are three models on the single sprue you get in the Wrath of Angels boxed set.
These were simple models to construct, though the swing wings were a little fiddly.
They do move, but I kind of expect them get “stuck” once undercoated and painting.
I have a 15mm Home Guard Mark IV Male, but as I am in the process of building a Bolt Action 28mm Home Guard force, I did want to add some armour to them with a Mark IV Male World War One tank put into service, even if it was merely as a mobile pillbox.
I mentioned this idea in an article I wrote on a French themed Operation Sealion, Otaire de Vigneur.
To add a bit of diversity to my games, I also have one of Minifigs’ World War One British tanks, for use by a Home Guard unit (stolen from a local museum no doubt).
Now when I wrote that article and bought the miniature it was only an assumption and what I thought would be a nice idea, and probably had no basis in truth….
Well just shows a little historical research never hurt anyone, as the Bovington Tank Museum has on display a Mark IV Male tank that was used just in this way. It was used in World War One and then presented to the Navy. When war broke out in September 1939, the Tank Mark IV (Male) number 2324 was refurbished for Home Guard duties; according to the Bovington Tank Museum website.
Our exhibit, a male tank, was presented to the Royal Navy’s Gunnery School, HMS Excellent after the war to commemorate their help training Tank Corps gunners and it was temporarily refurbished for Home Guard duties in 1940. (Believed to have been achieved by removed parts from another tank possibly on Southsea Common.)
This photograph is from HMS Excellent in 1940.
Mark IV at HMS Excellent
One thing clear from this photograph is the disruptive camouflage they have used on the tank.
So though I thought my idea was probably if Operation Sealion had happened, I didn’t think and didn’t realise that it had in fact happened despite the fact that the Germans hadn’t invaded.
So as I also have the Royal Navy Section this gives me an excuse to use this model.
The tracks fitted really easily to the hull of the tank.
The sponson were simple to fit with the metal castings of the main weapons.
I added the exhaust, but decided against adding the “unditching beam” rails that are included with the kit.
Mark IVs were also the first tanks fitted with “unditching beams” by field workshops. A large wooden beam, reinforced with sheet metal, was stored across the top of the tank on a set of parallel rails. If the tank became stuck, the beam was attached to the tracks (often under fire) and then the tracks would drag it beneath the vehicle, providing grip.
The period photographs of the Home Guard Mark IV show the tank without these rails.
The next stage was to give the model a white undercoat.
Then it is on to the basecoat, where I did have some problems…
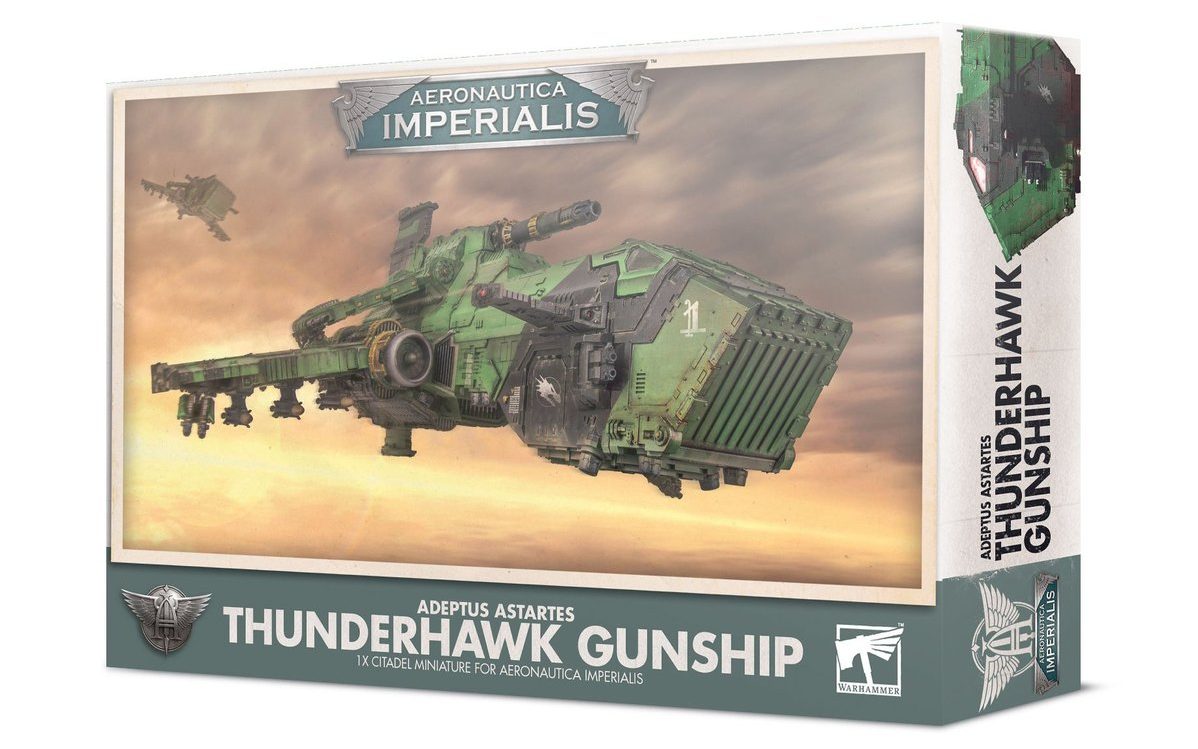
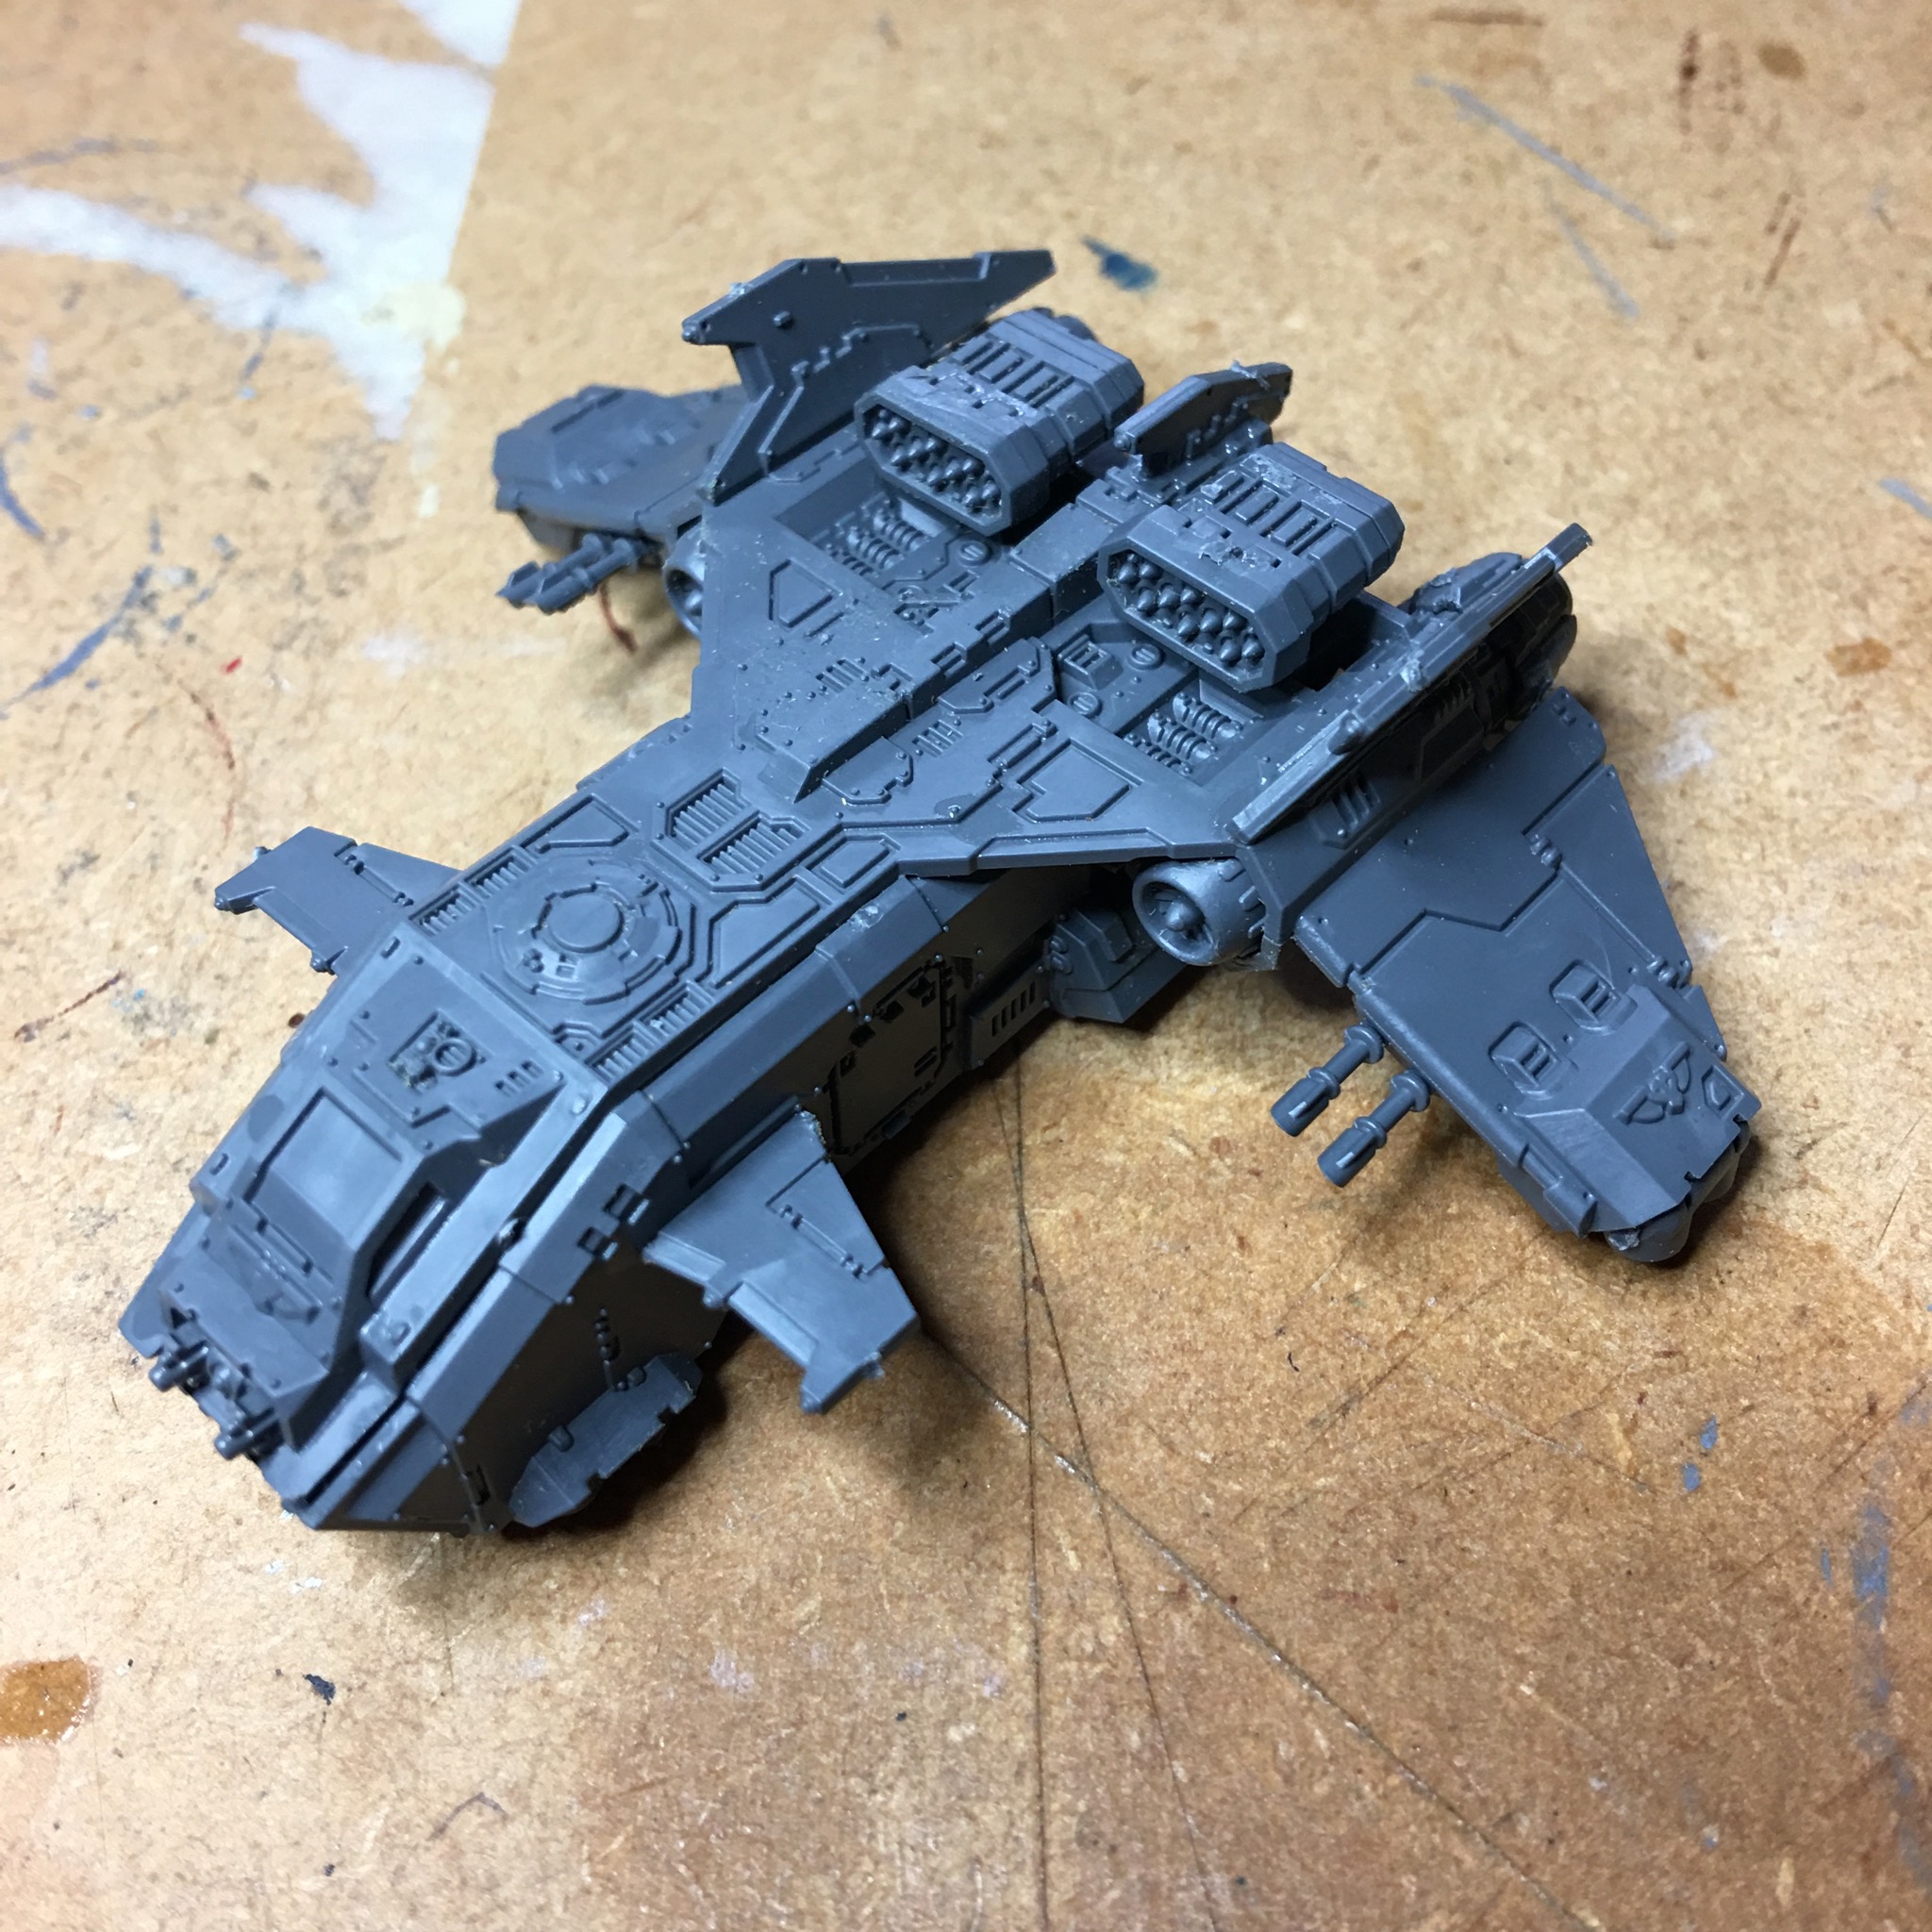
Well of course I am talking about the new Adeptus Astartes Thunderhawk Gunship for Aeronautica Imperialis. Of course one day we may see a 40K scale version, but not today. I did manage to get a box of the Aeronautica Imperialis Thunderhawk when it was released.
The box comes with two sprues with the parts divided between them.
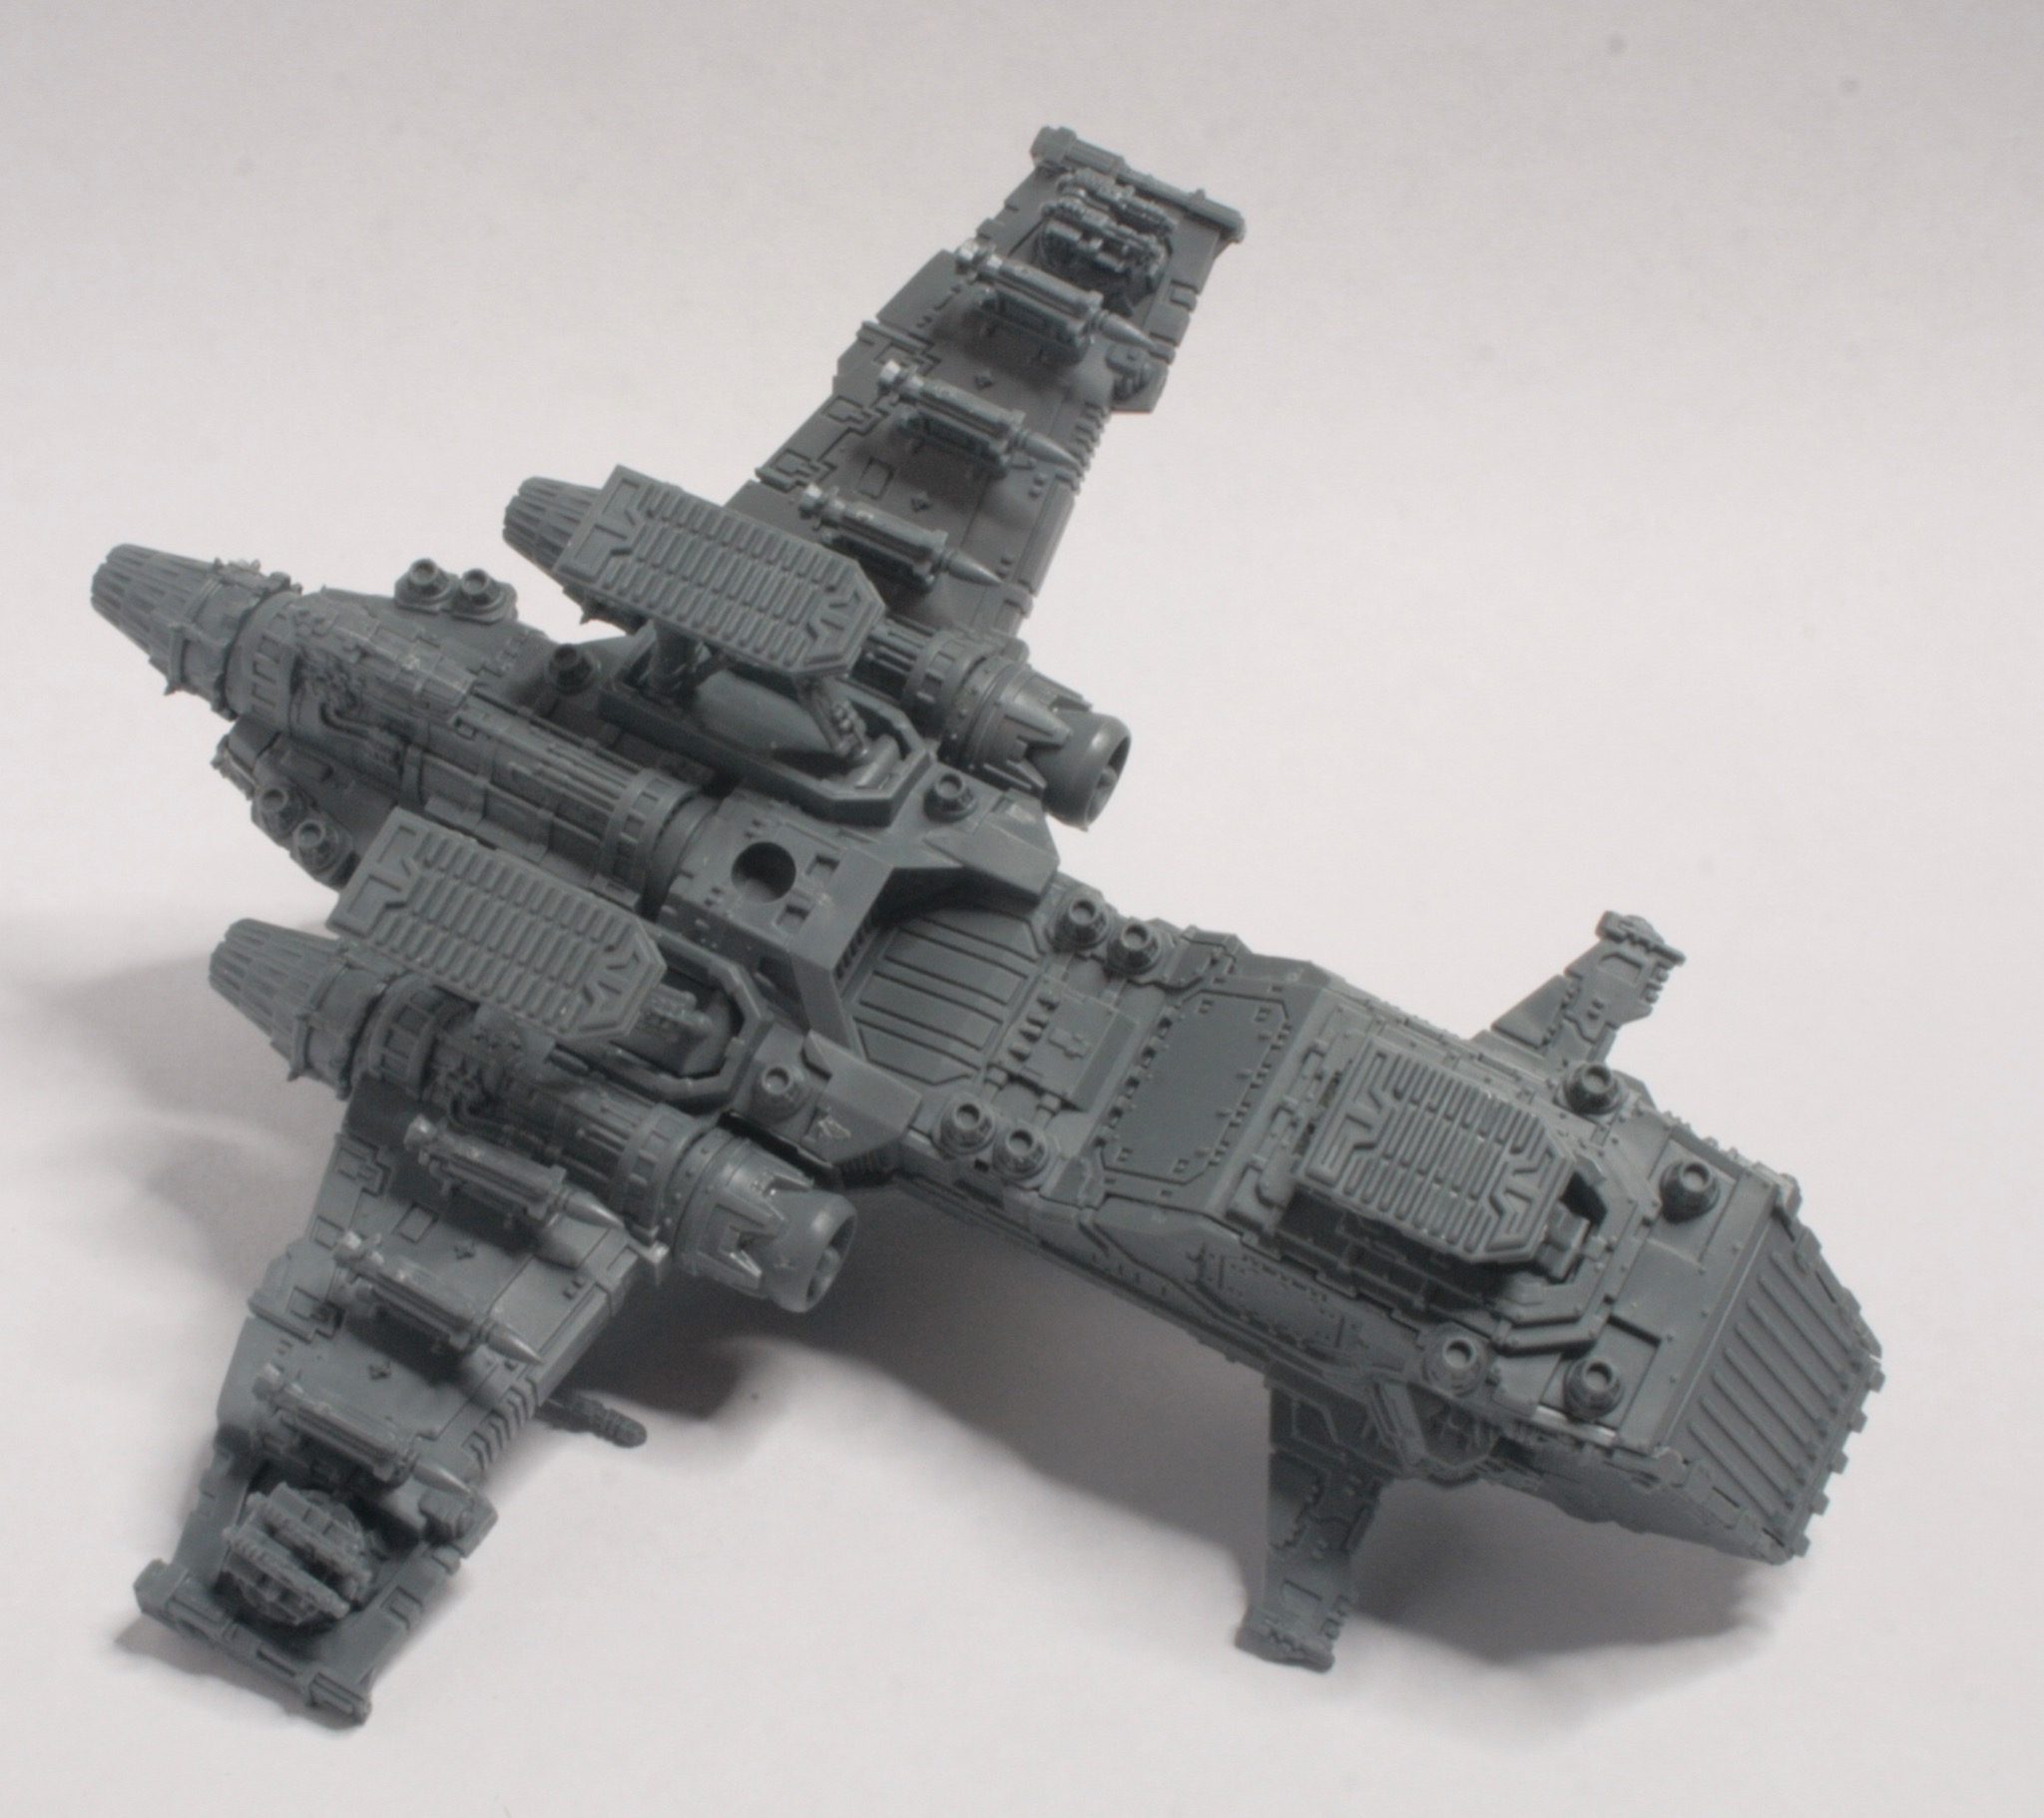
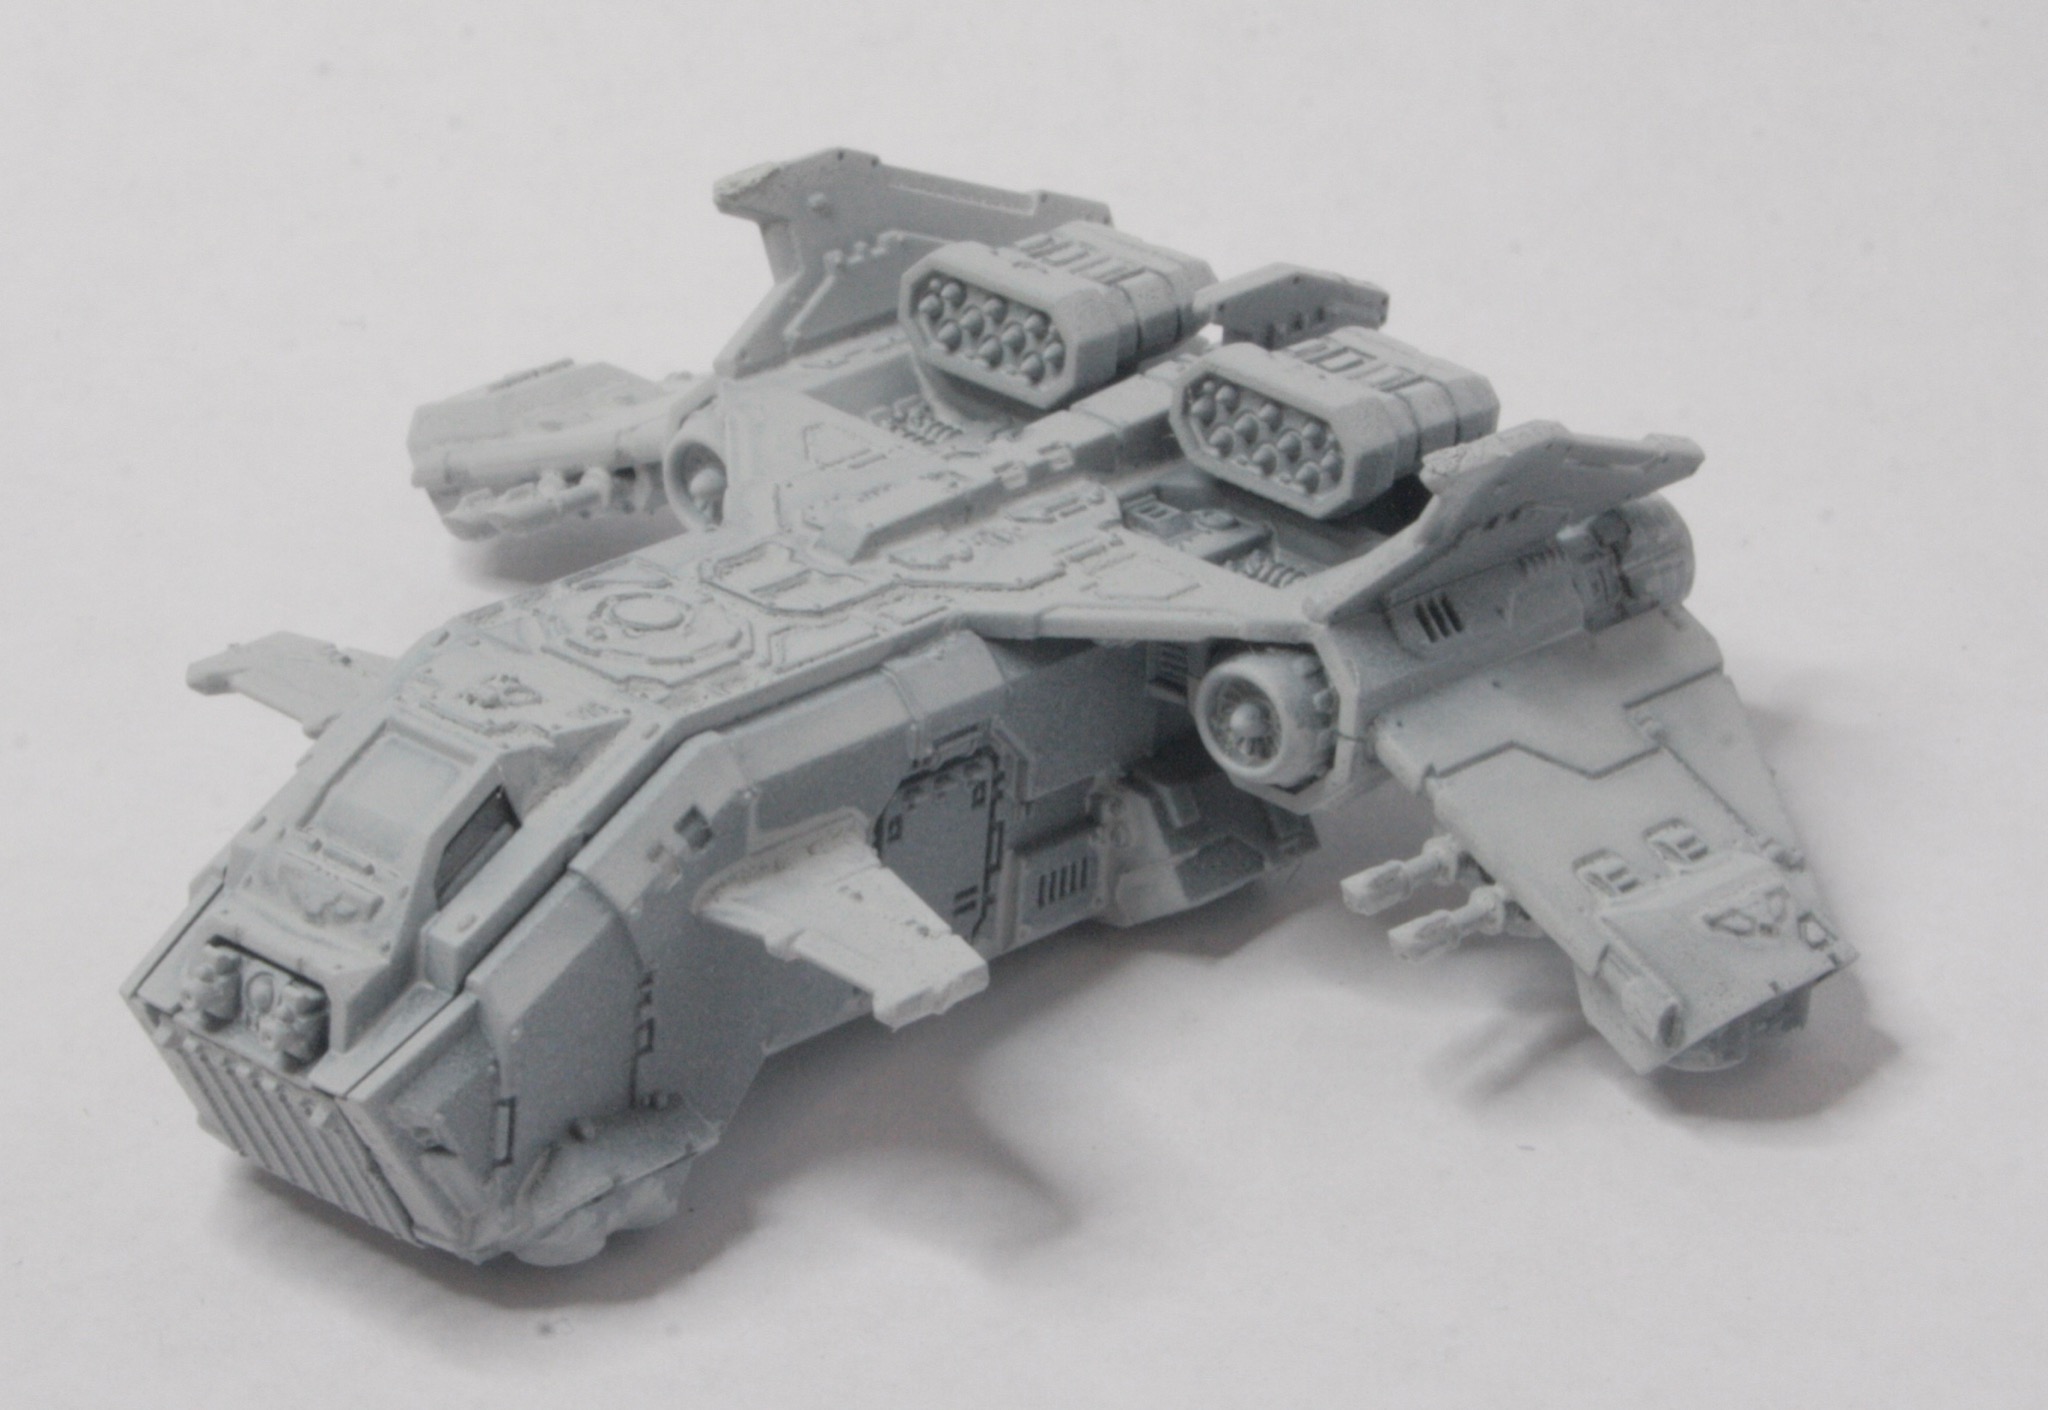
Construction was actually quite simple and I found the model came together quite easily. It was an interesting build and it wasn’t quite what I was expecting.
You can model the landing gear deployed or stowed. I decided that I would have it deployed, maybe I could use the model as scenery (or an objective) in future games of Adeptus Titanicus.
What I was less sure about was the “attack wings” that can be constructed in a manner so they can move, but mine don’t stay in place and just flop down. I think I might keep them loose (for painting) and then take a view.
The model is very large compared to the other Aeronautica Imperialis models I have, the kit comes with an extra part to extend the flying base, so the Thunderhawk can fly higher than the other models.
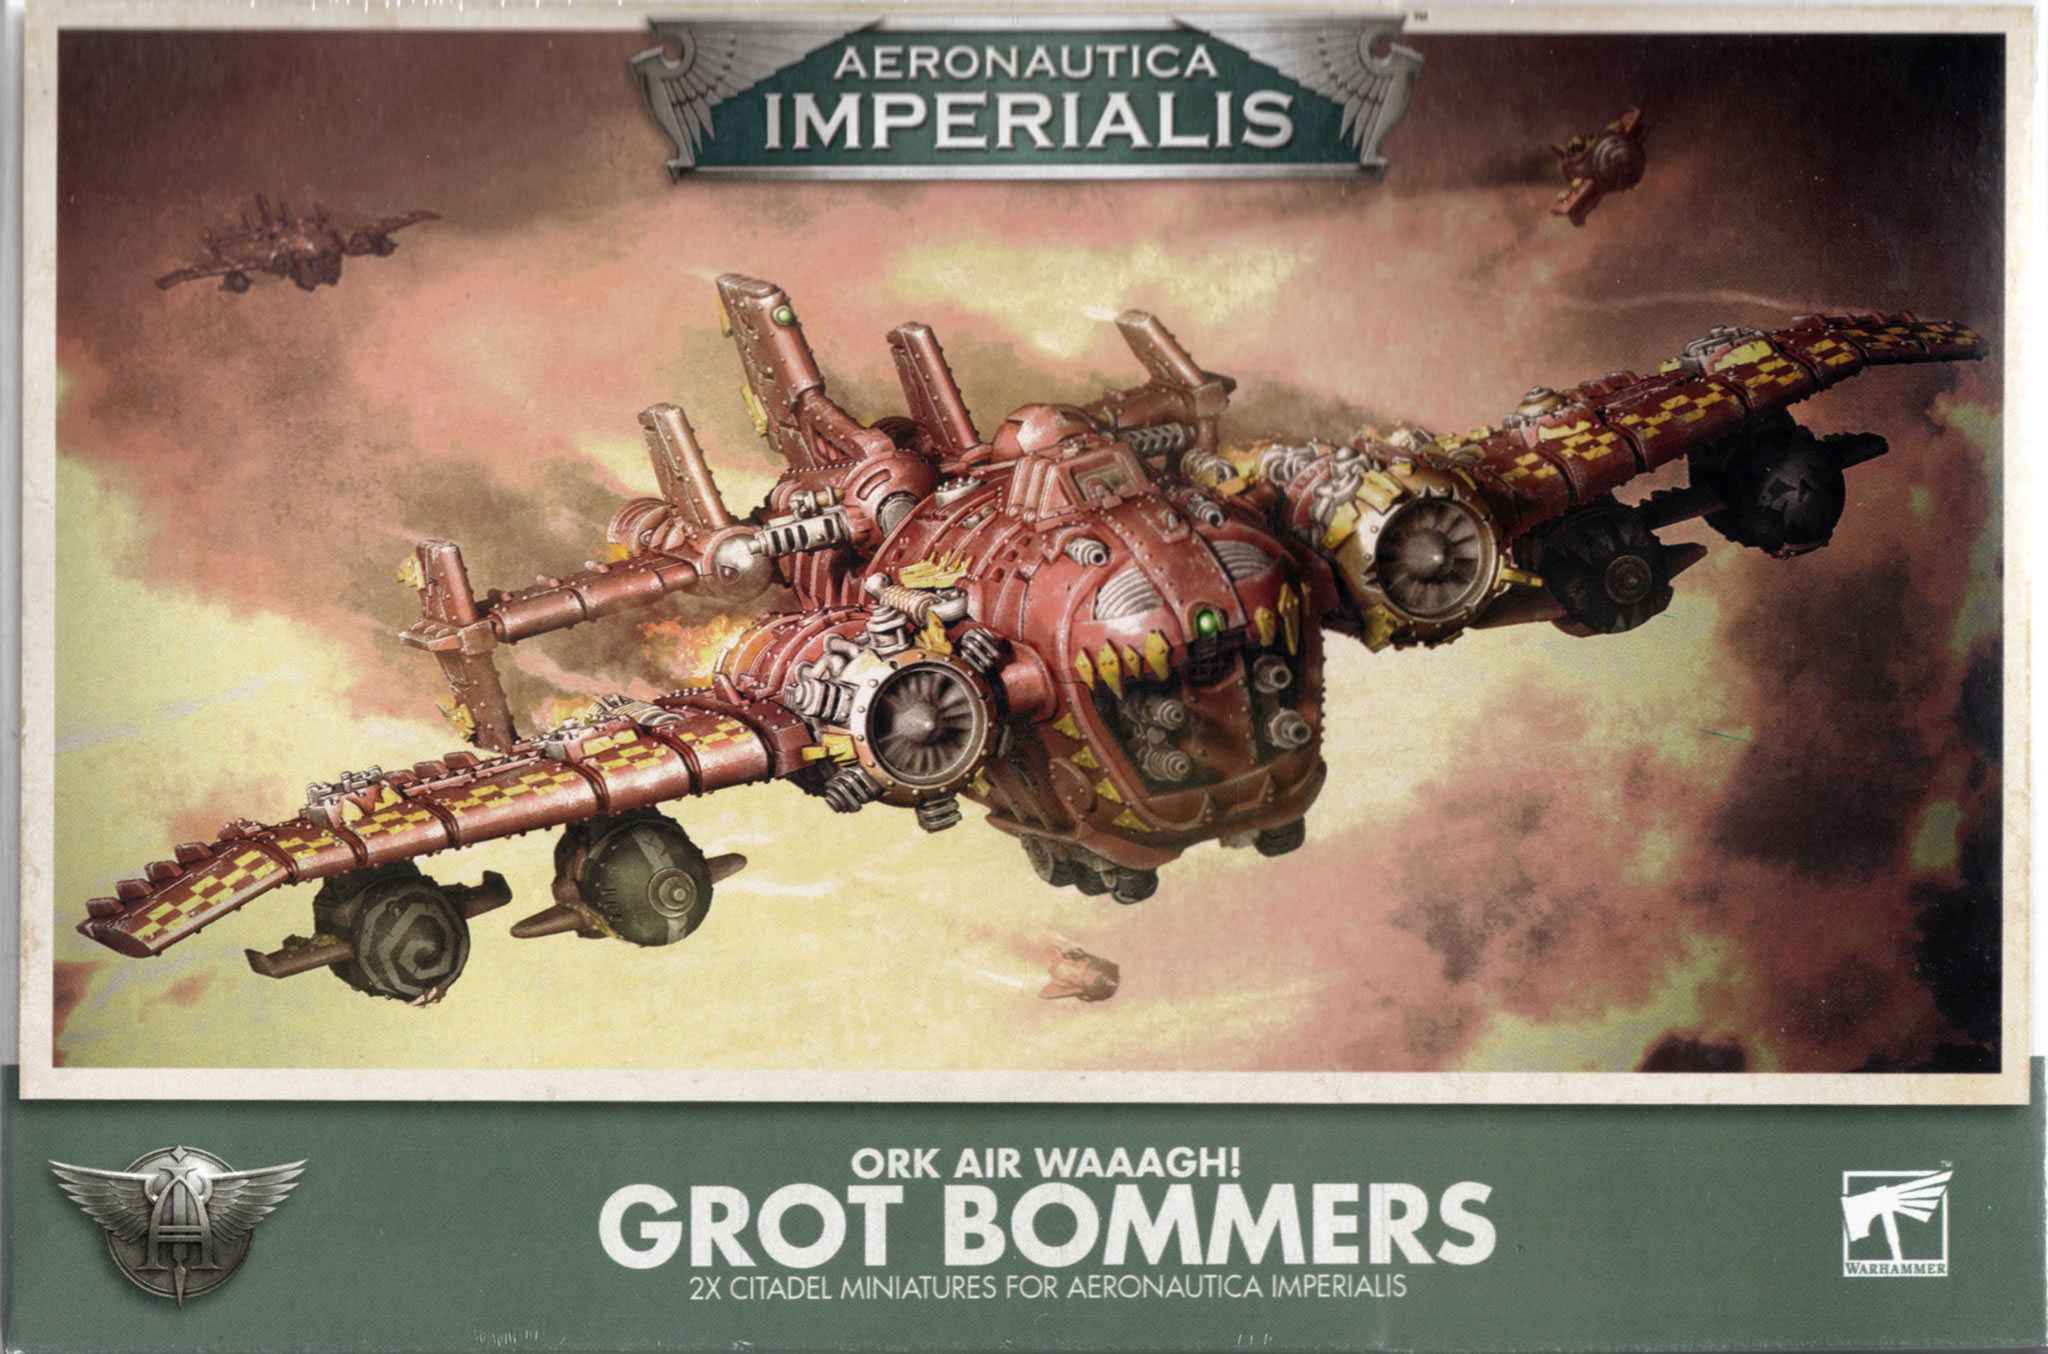
I did say in a post last year that these would be my next purchase for Aeronautica Imperialis would be some Grot Bommerz.
The obvious answer for me is a pair of Grot Bommerz. I do like the concept of these, though I am not a big fan of the actual models, but Orks is Orks, so they are next on my shopping list.
Well in the end I got a box as a present, so the decision was made for me.
The diminutive Gretchin have long been enthusiastic supporters of Ork aviation, whether gleefully pushing bombs out of open bays, crawling into tight spots to fix engines, or acting as spotters and even gunners on ork planes. It doesn’t take long before they become obsessed with flying just like their bigger kin, begging for their own turn on the control stick. Some enterprising Ork meks decided this arrangement could be mutually beneficial, and created guided missiles that could be flown like a tiny, gretchin-sized airplane. Fitted with a short-burn rocket engine and stuffed with unstable explosives, some rabid grots are happy to climb aboard just for the (short-lived) thrill of speed and freedom. They’re loaded into the wings of specially-fitted Grot Bommers, and launched in support of the Air Waaagh!
Having built and painted the models I have actually grown to like them. I like the amount of detail and they certainly are big models compared to the other (tiny) planes I have now in my collection.
This is one of the models.
Here is the other one.
The next stage was a basecoat.
I used the Blood Angels Red contrast paint.
As is usual with my painting there are still some white patches…
Next stage will be adding the detailing before washing the model.
The Reaver Titan forms the mainstay of most Titan Legions, and is a key component of many Adeptus Titanicus maniples. Swifter than its Warlord cousins and more durable than the smaller Warhounds, with a wide range of devastating weaponry, the Reaver Titan is the perfect addition to any battlegroup.
The kit comes with three sprues for the Reaver.
I started construction and have finished the core legs.
I will paint these before adding the shields on the legs.
I will add the legs to a base before undercoating and painting
I have the models from the Wrath of Angels and have been spending some time putting the models together.
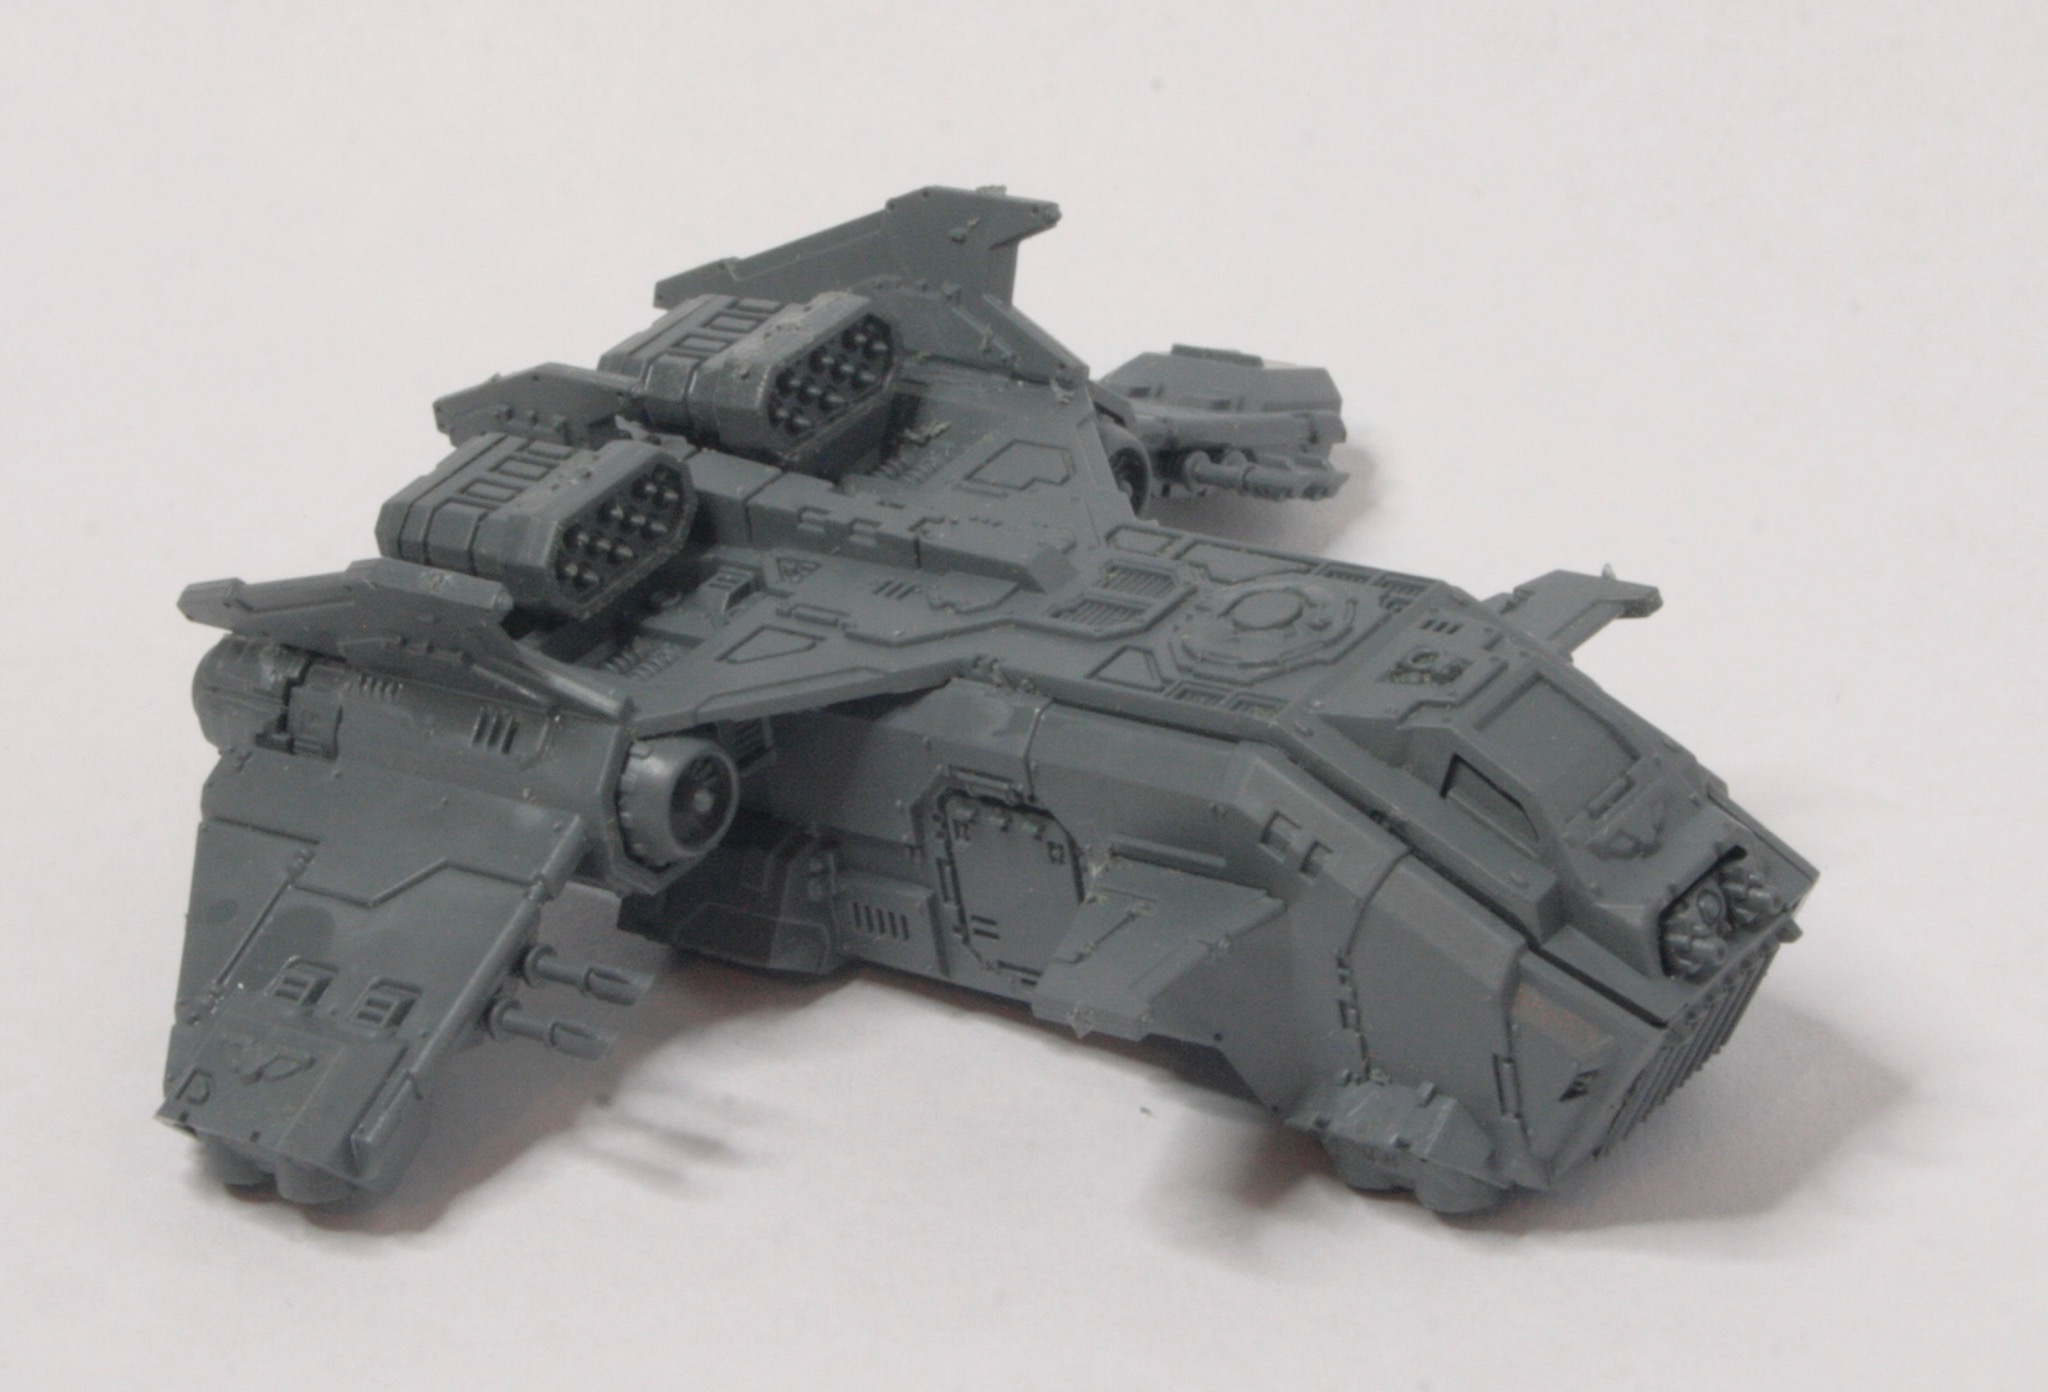
So having constructed the Storm Eagles, I then put the Xiphon Interceptors together. There are three of these in the Wrath of Angels boxed set.
These were simple and very easy to put together.
I am thinking about getting some more. Though from a value perspective I am tempted to just get another Wrath of Angles boxed set rather than buy an individual box of models. I don’t think I need more than six.
Here is another view of the model.
The next stage will be a white undercoat.
I did think about Ultramarines blue, then Salamanders green, but now thinking about painting them up as Grey Knights.
One of the first models I have been building is the Warlord Battle Titan.
Warlord Battle Titans bestride the battlefields of the Imperium, their thunderous tread heralding the destruction of the enemies of Mankind. A mainstay of the Collegia Titanica, Warlord Battle Titans are among the largest and most powerful war machines ever devised by the Mechanicum.
The kit comes with three sprues. One is the weapons, another are the (external) shields, whilst the third is the core body structure and the legs.
The first stage of construction is the build the legs. These go together quite easily and you can model the Titan in different stances, even striding forward.
The instructions recommend to paint the legs before attaching the shields.
The main body is quite easy to put together, and like the legs it is recommended that you paint the core body before attaching the shields.
Here is the model so far.
The next stage will be to put the base together and the painting what I have constructed so far.

 These were simple models to construct, though the swing wings were a little fiddly.