Luke Skywalker was a Tatooine farmboy who rose from humble beginnings to become one of the greatest Jedi the galaxy has ever known. Along with his friends Princess Leia and Han Solo, Luke battled the evil Empire, discovered the truth of his parentage, and ended the tyranny of the Sith.
I have been browsing the web, Instagram and Twitter looking at how people have been basing their Adeptus Titanicus titans. I was a little surprised by how many people were using Epic models and scenery.
The new Adeptus Titanicus is a different scale to the original Adeptus Titanicus (and Epic) with a figure scale of roughly 8mm compared to the 6mm of Epic. In other words a third larger!
However I knew I had a box of old Epic 40000 ruins sprues somewhere in the garage and went to hunt them down. I was a little surprised by how many of them I had in the box.
So I took some of the ruins and affixed them to the bases that came with the titans, focusing initially on the Warlord Titan and the Reaver Titan (as I had constructed their legs so had an idea of where I could put the scenic items.
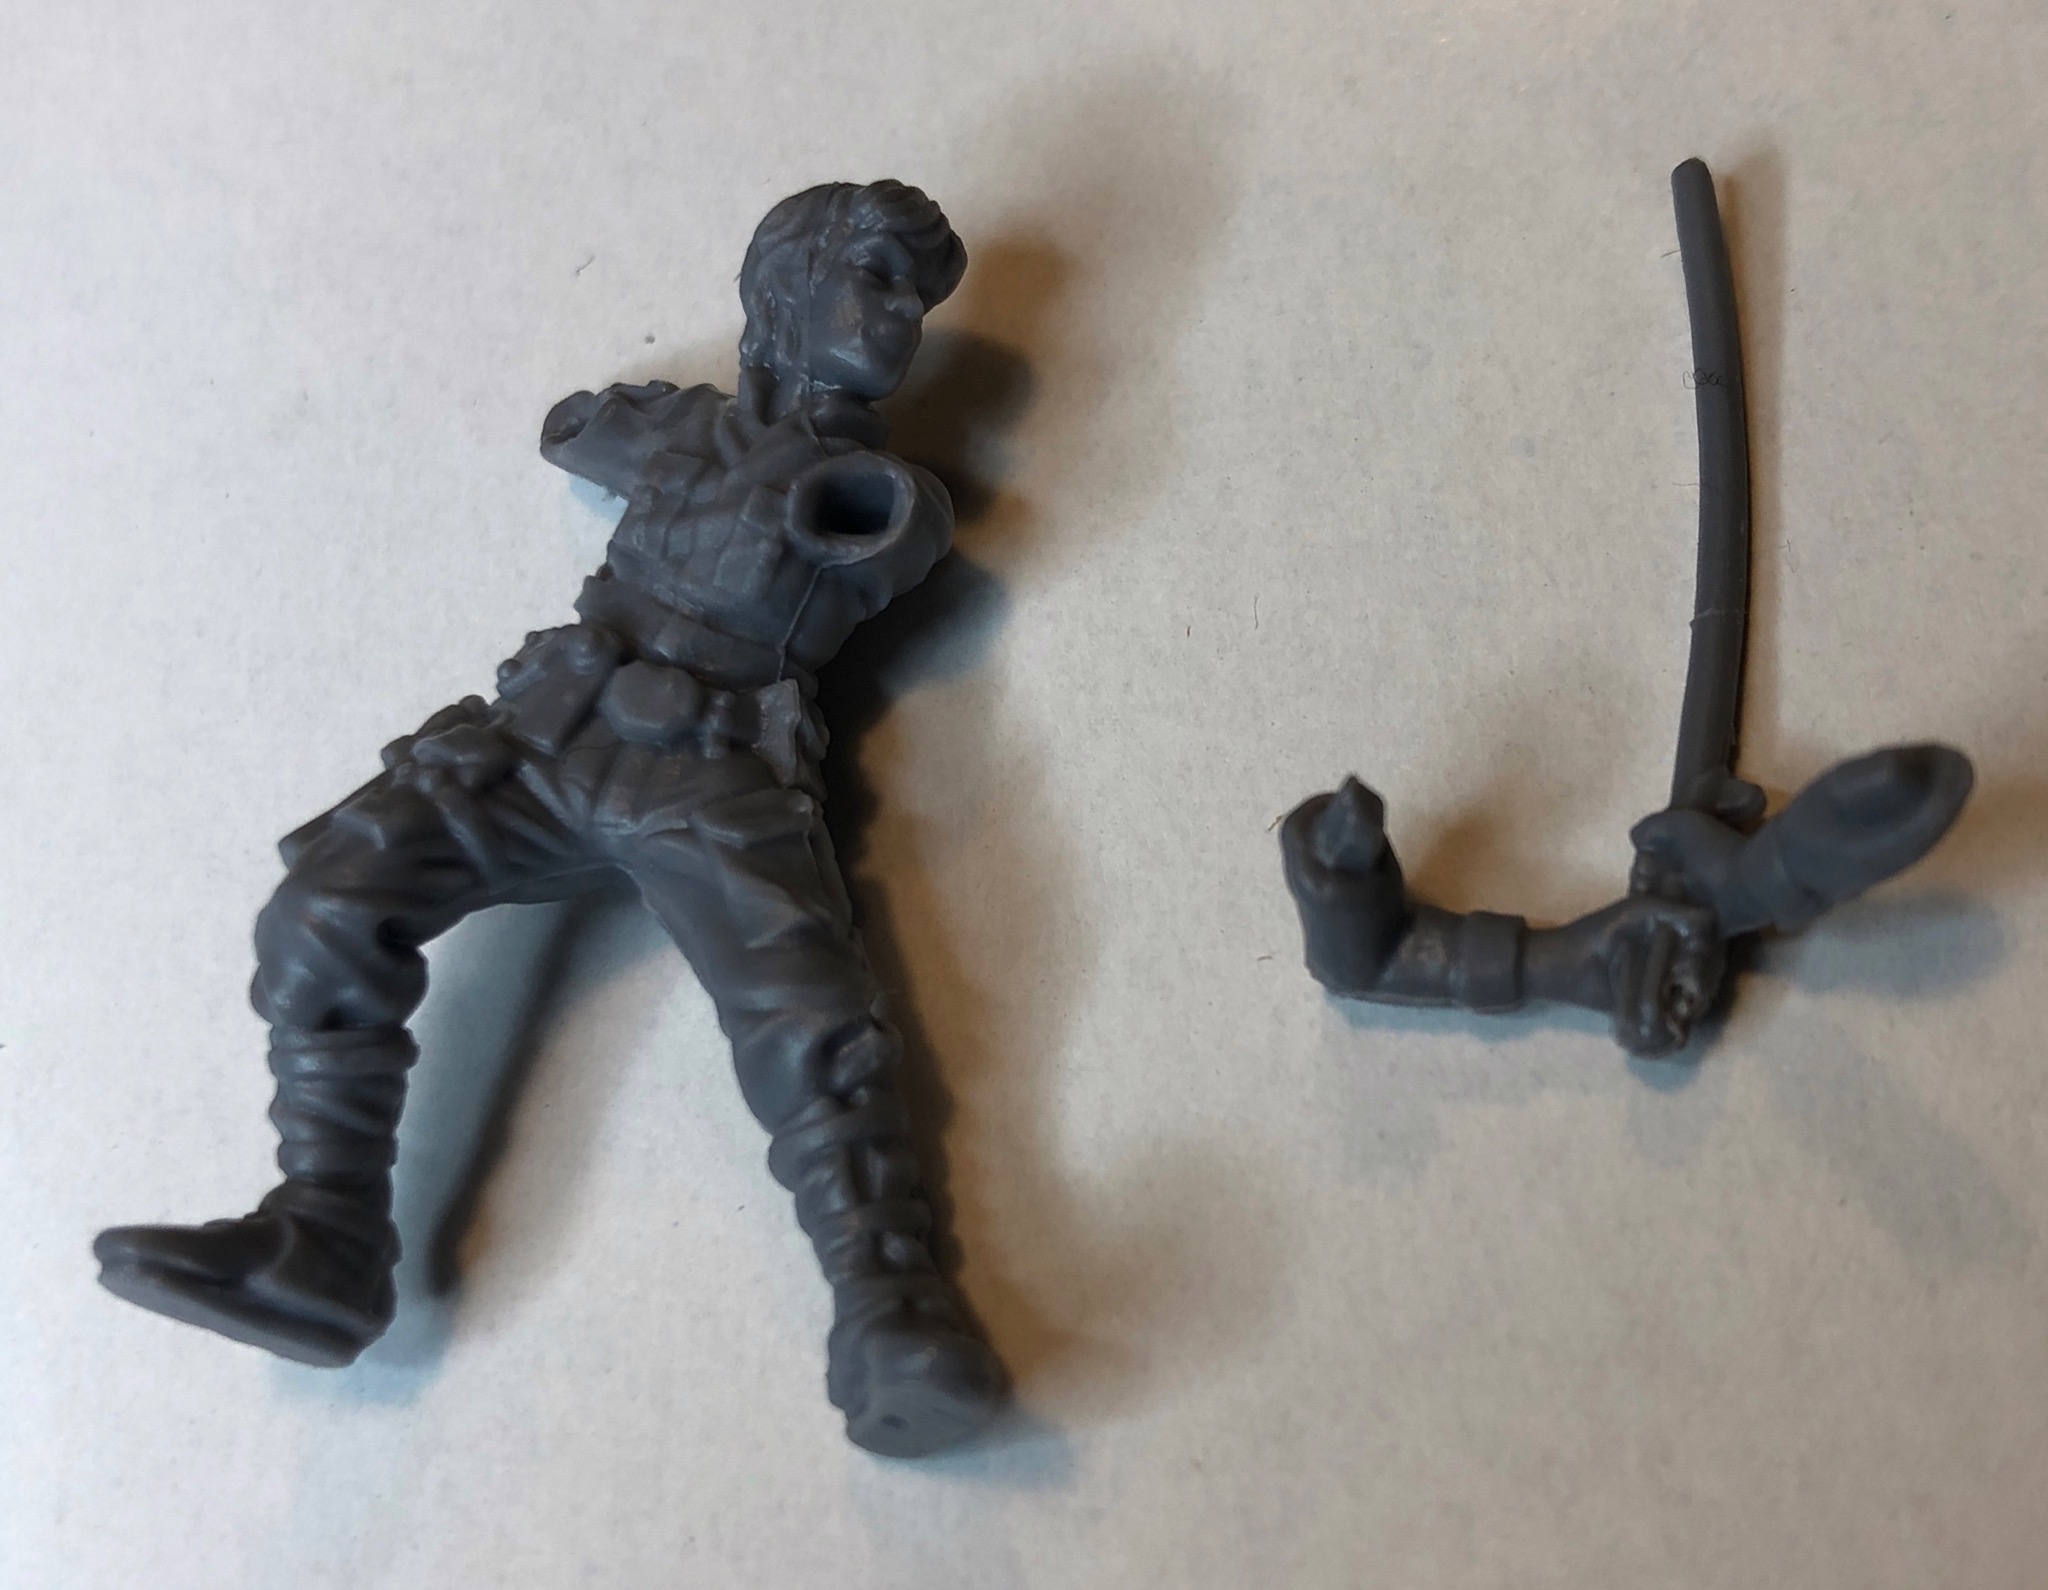
I also used some plasticard strip, as well as a few spare parts I had from one of my Ork Aeronautica Imperialis model kits.
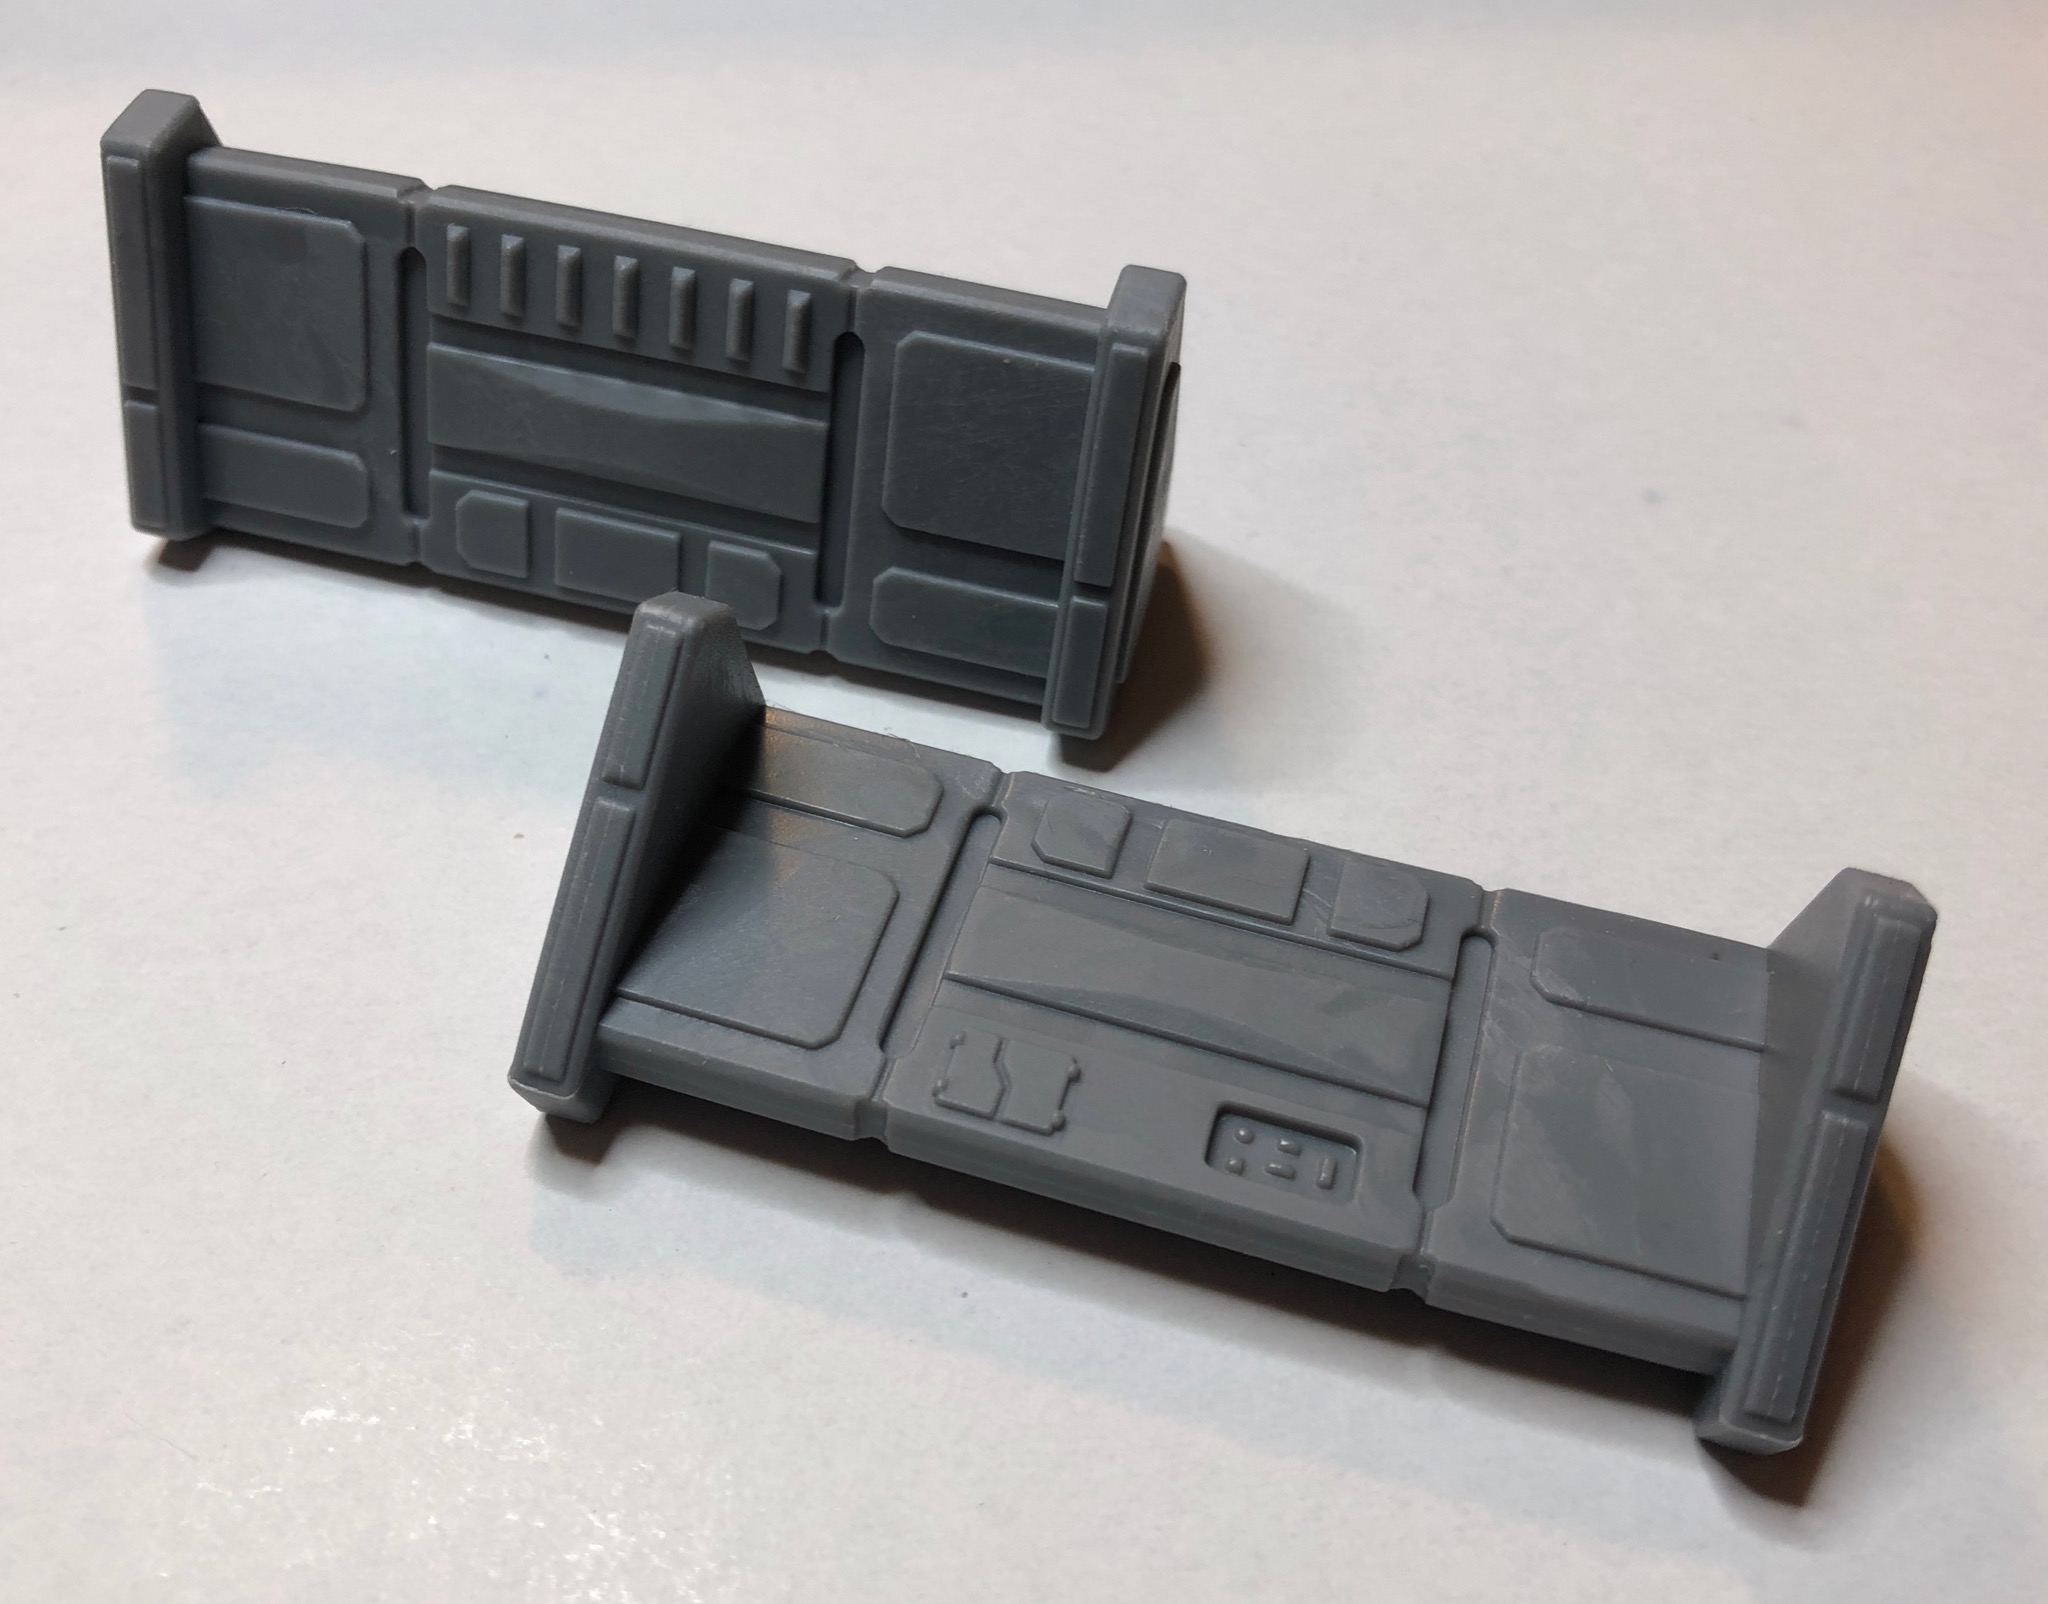
This is the Warlord Titan base.
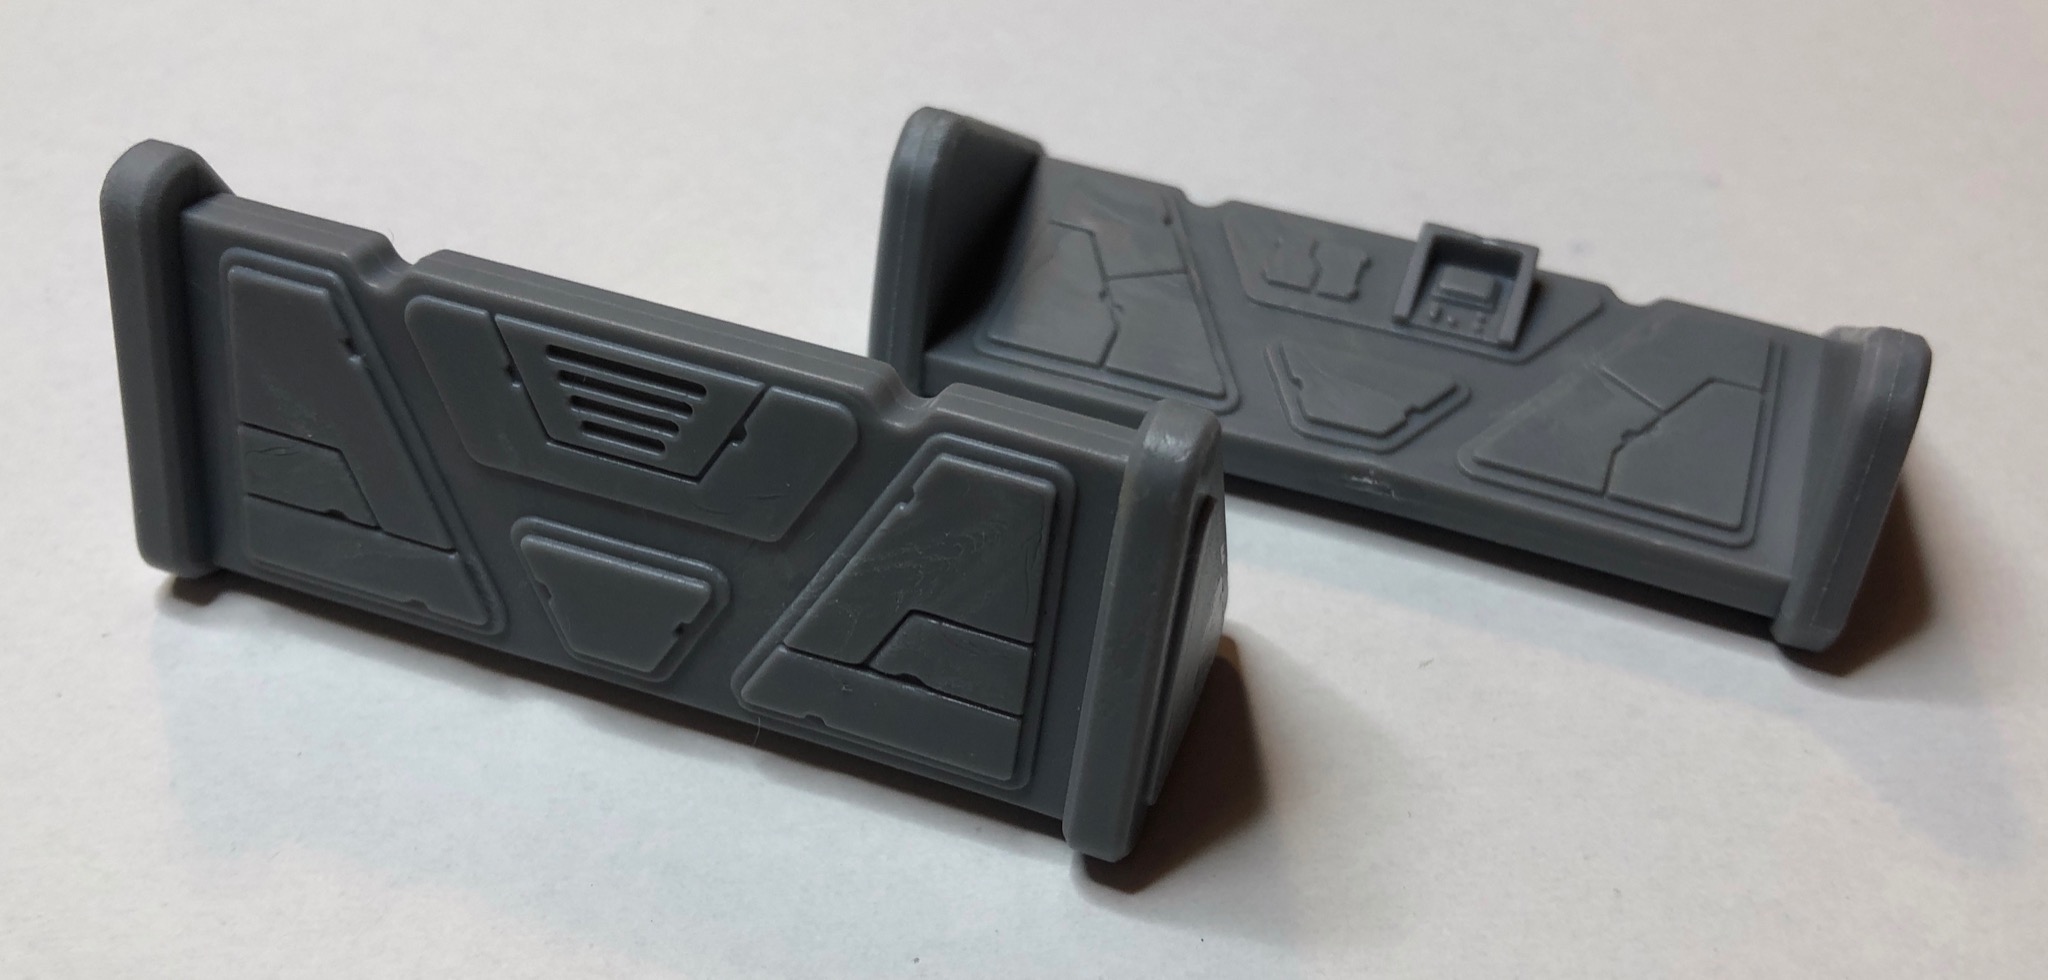
This is the Reaver Titan base.
Overall I quite like the bases. The next step will be adding rubble and sand.
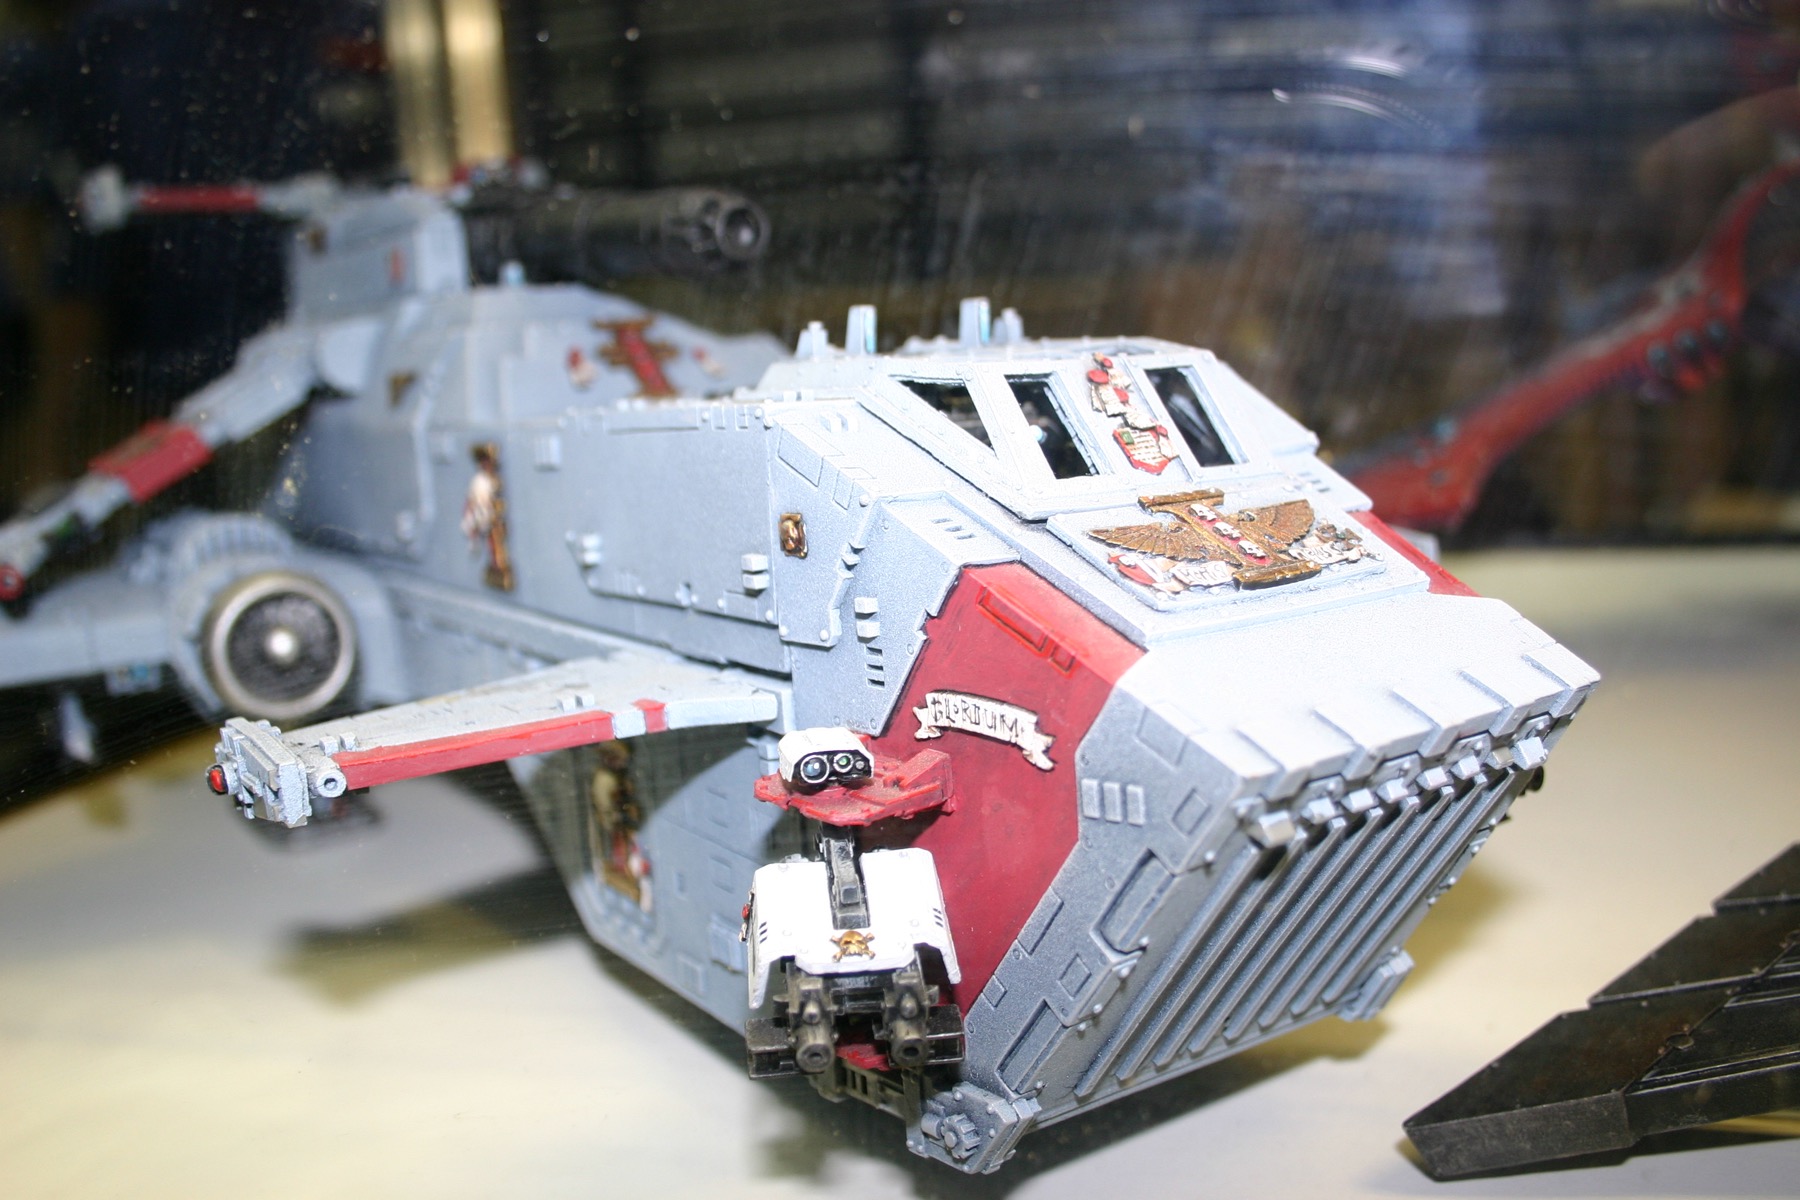
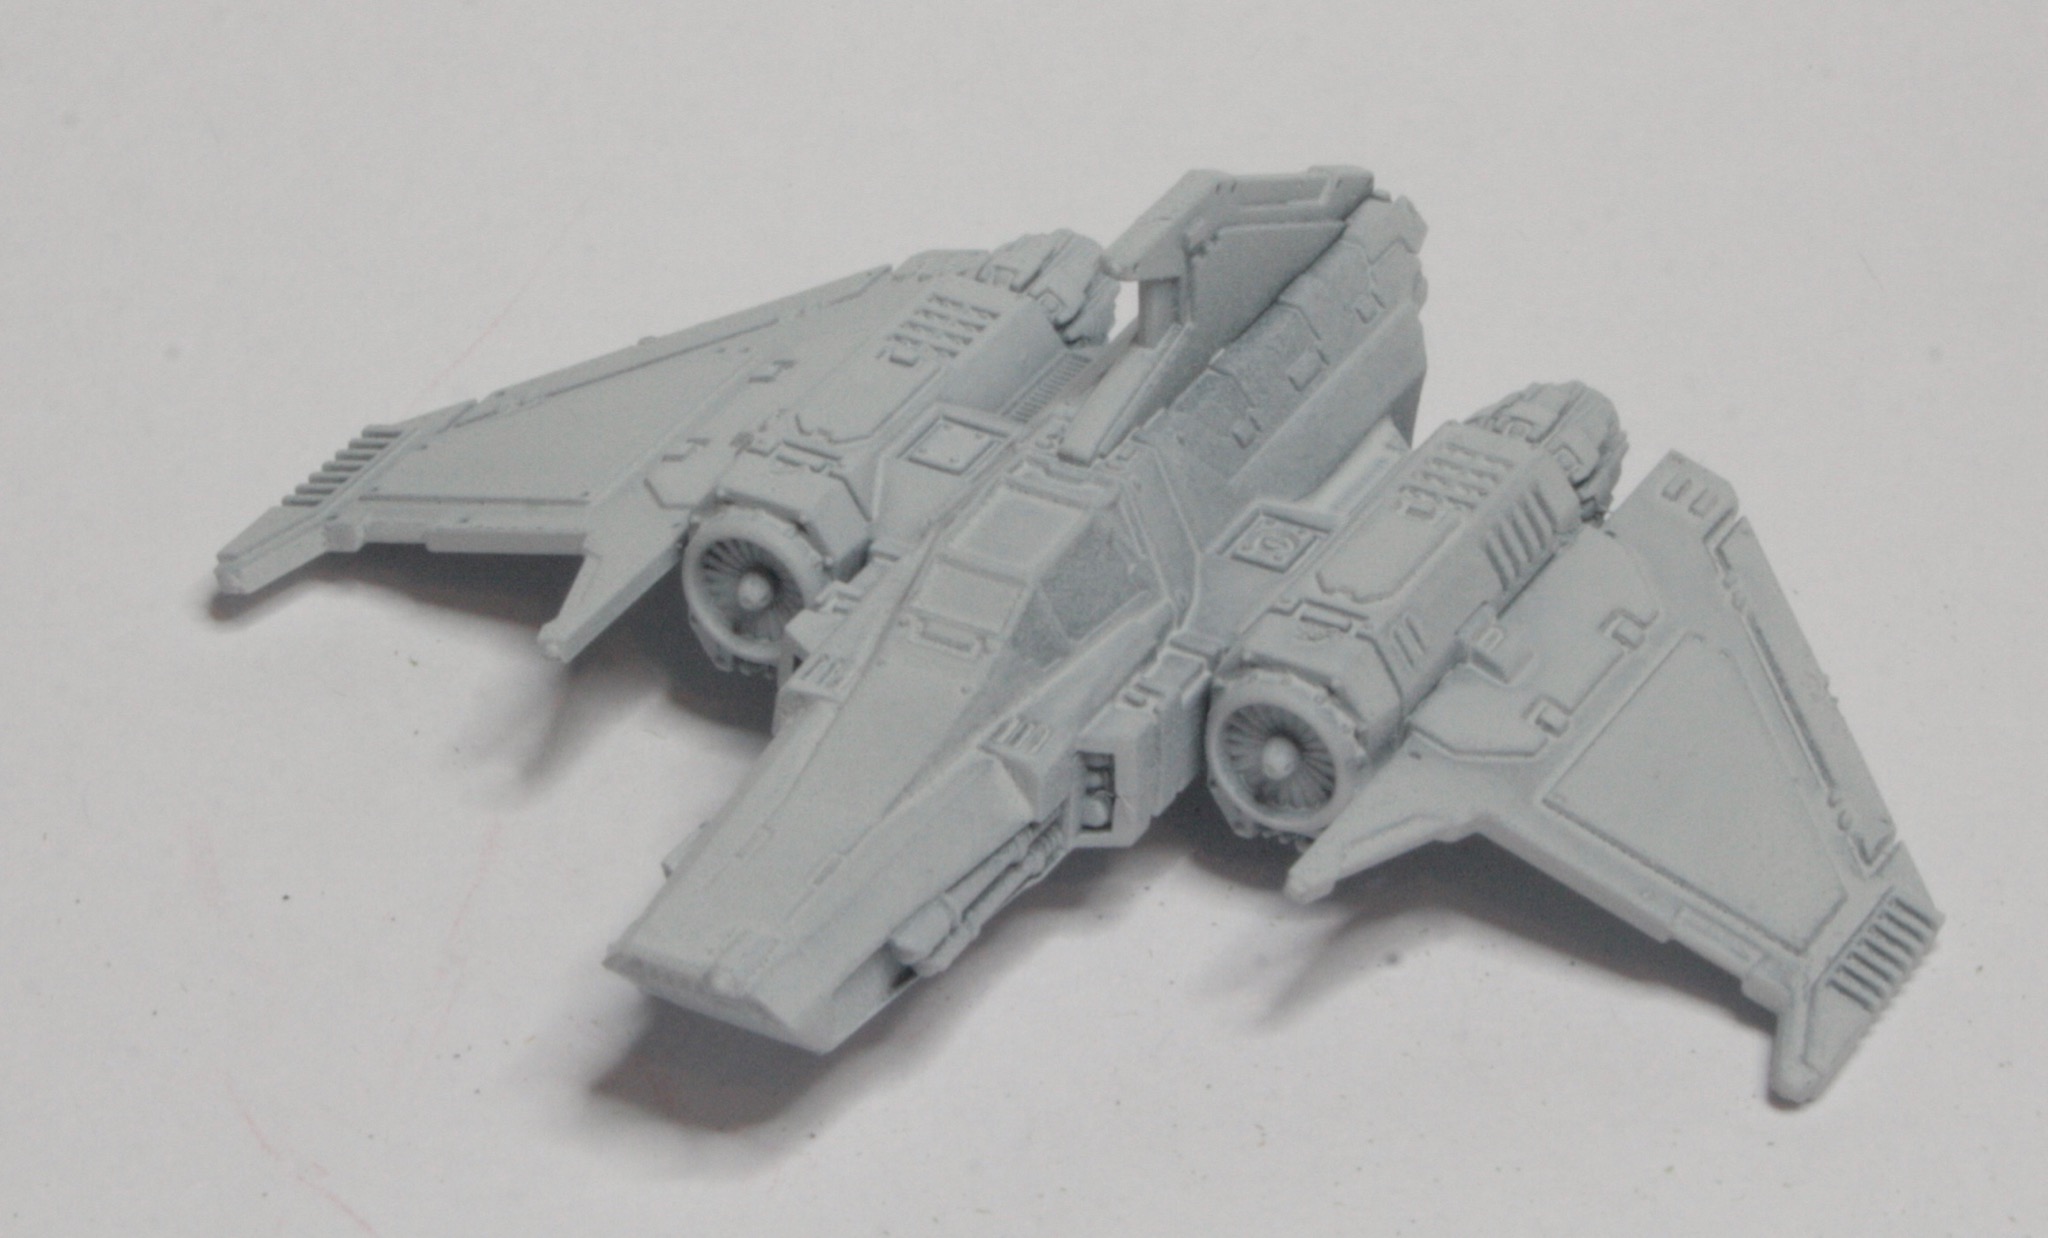
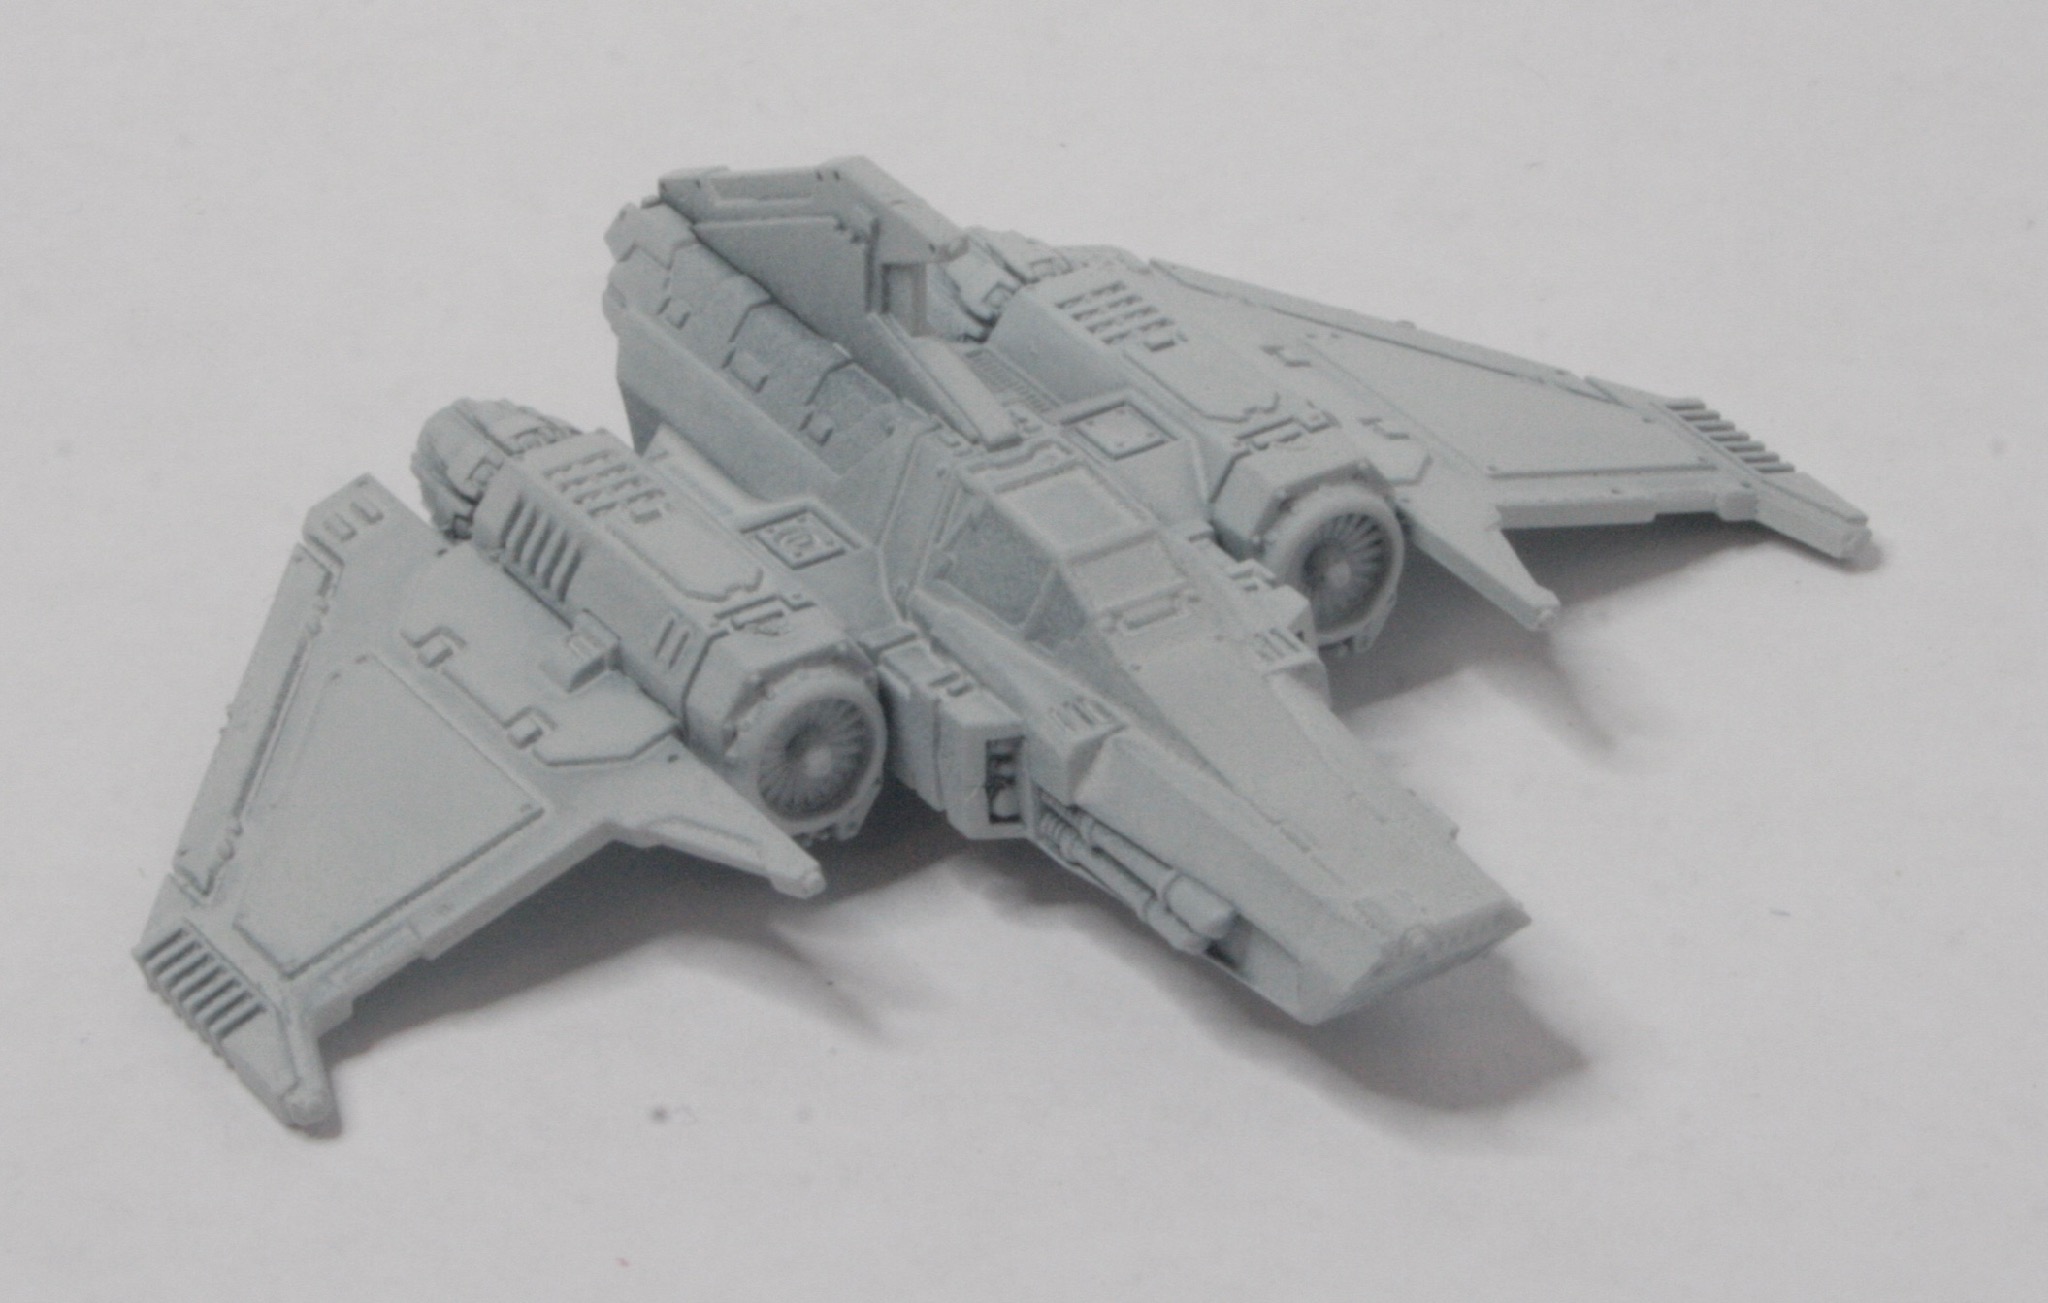
As with my Asuryani Flyers the next stage after giving the Adeptus Astartes models for Aeronautica Imperialis a white undercoat was to think about the colour scheme. I have the models from the Wrath of Angels and I now have a Thunderhawk as well. I did think about Ultramarines blue, then Salamanders green, but in the end decided on painting them up as Grey Knights. Forge World had a display of a Grey Knights Thunderhawk at a GamesDay event which is what inspired me.
Grey Knights Thunderhawk
I think this could work, however they used a grey colour scheme rather than the metallic finish of the Grey Knights themselves.
So I gave the Storm Eagles a basecoat of Basilicanum Grey contrast paint.
I did the same with the Xiphon Interceptors.
The next stage will be that heavy dry brush and then a lighter dry brush to draw out the highlights and make the models look more like the Forge World Grey Knights.
After that it will be detailing the hull (with red), the engines and weapons.
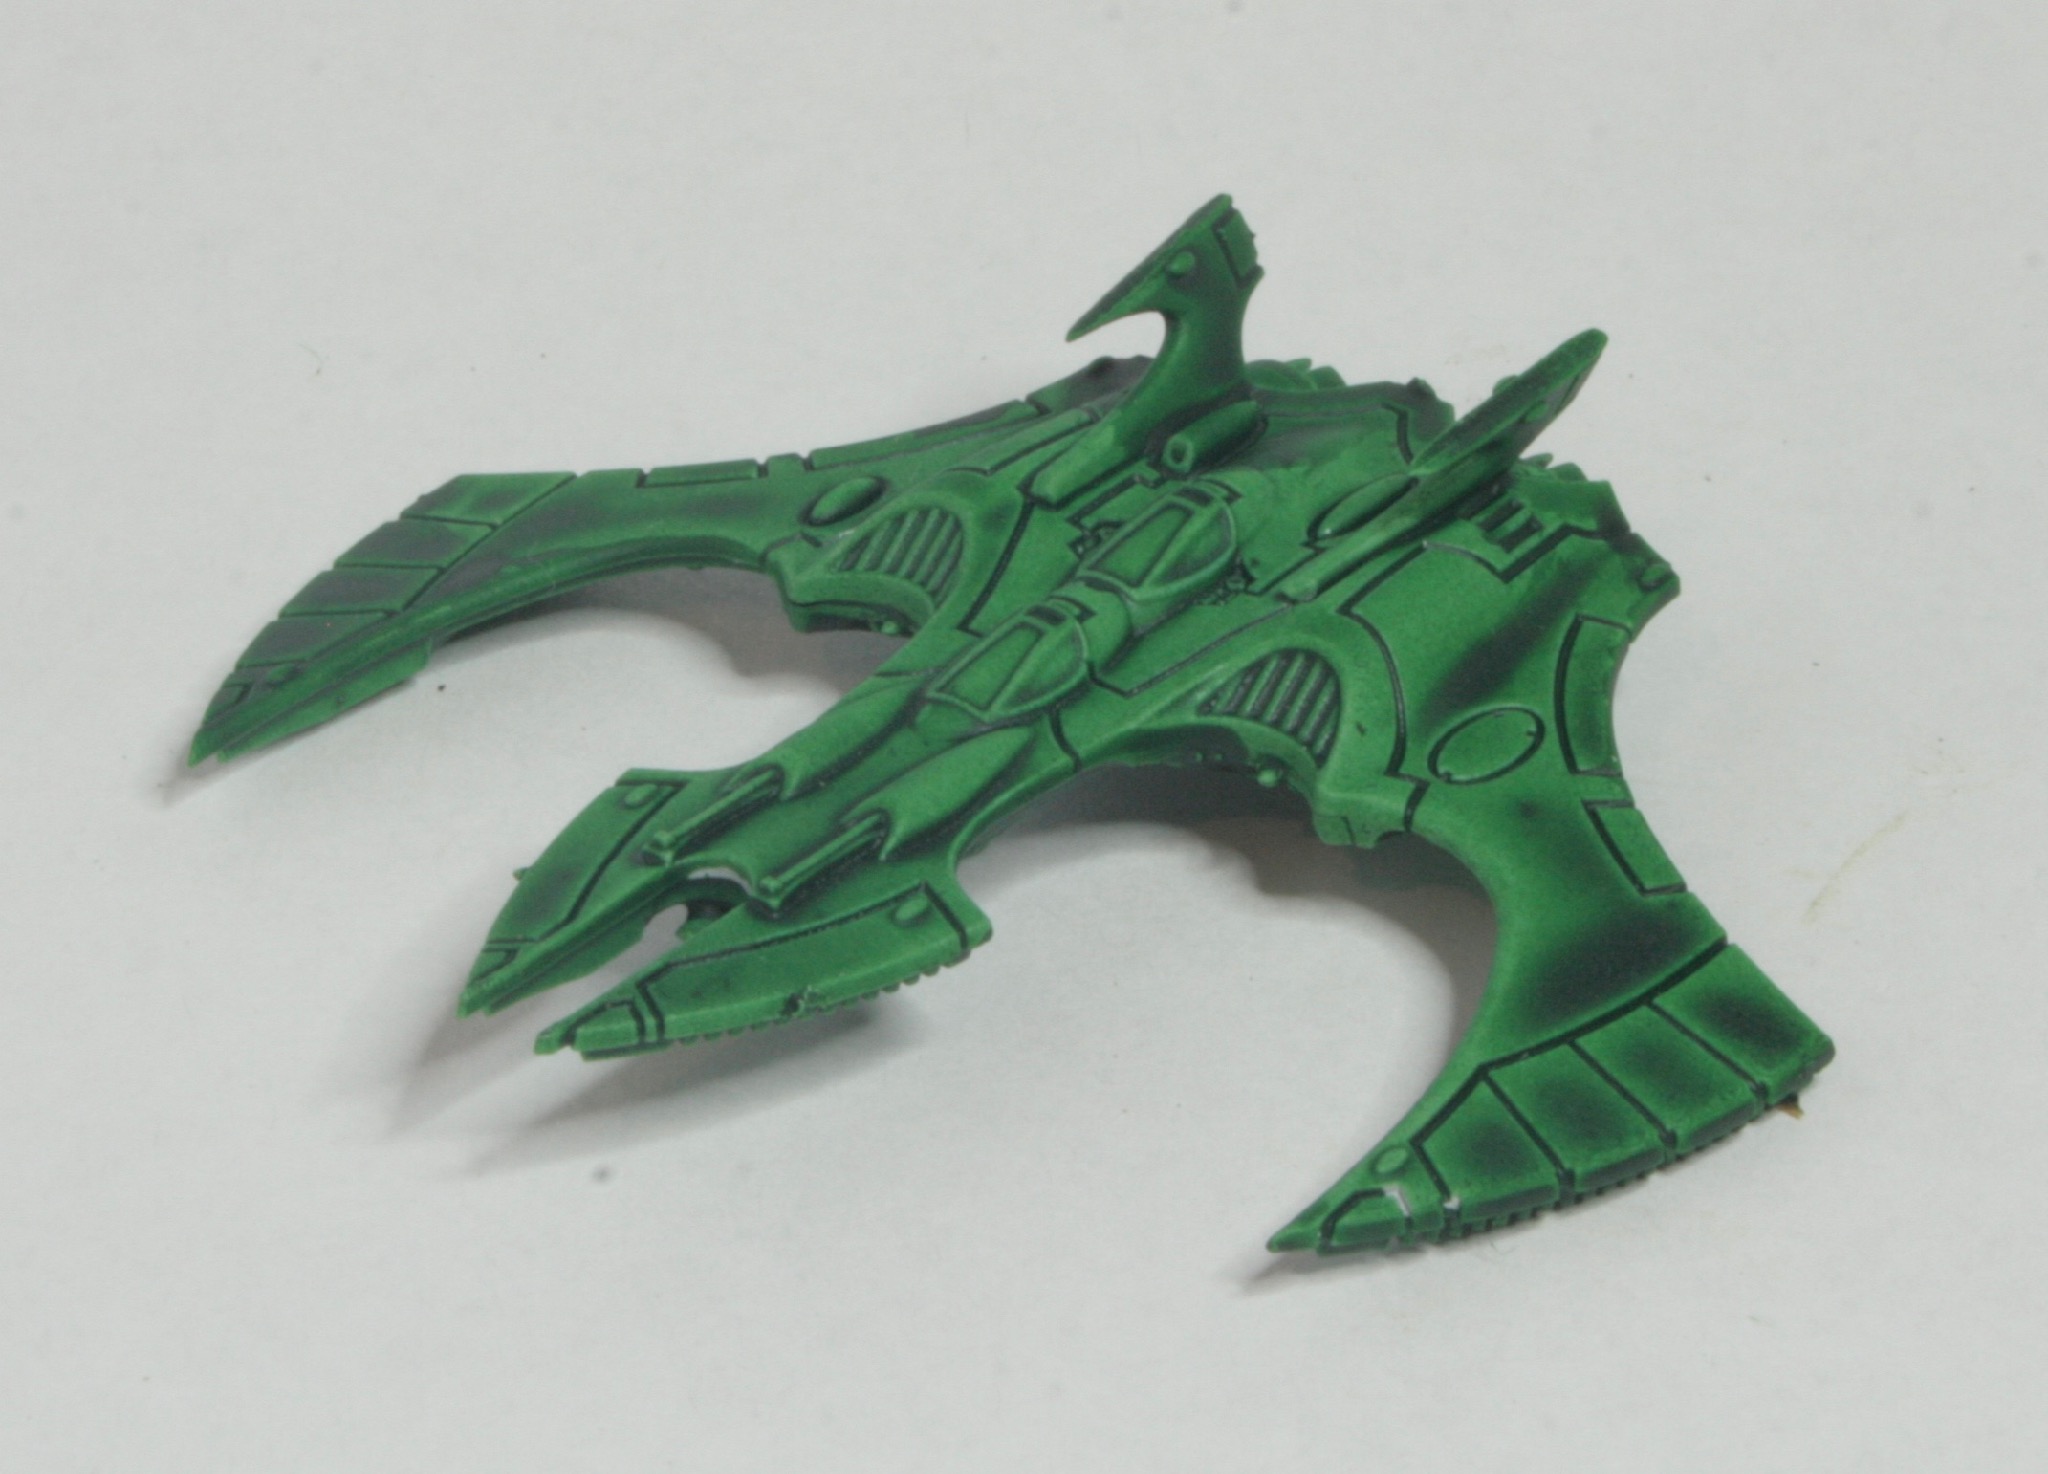
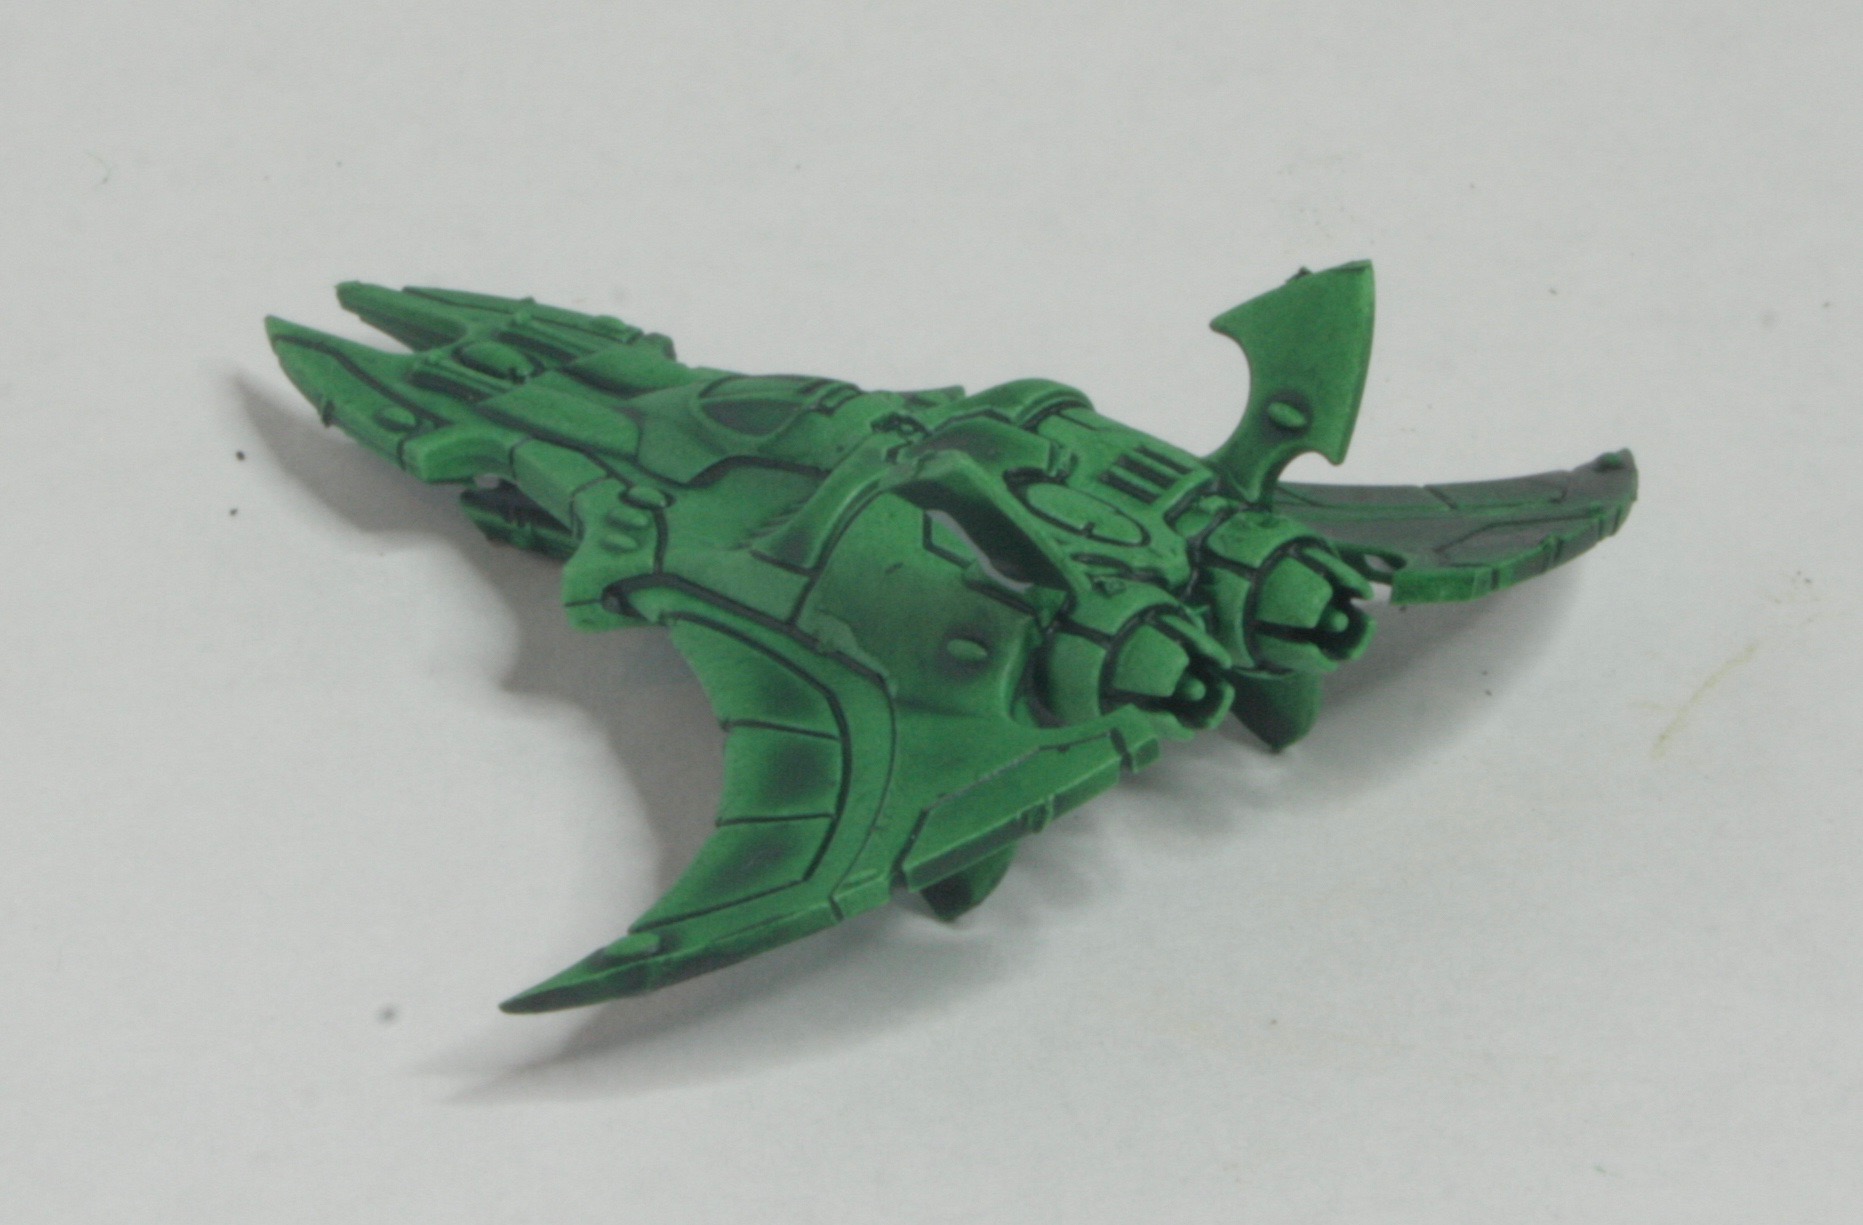
These are the Asuryani Flyers (though I think of them as Eldar Flyers) that came with the Wrath of Angels boxed game.
You get three Nightwing fighters, in the Wrath of Angels boxed game, you also get three Phoenix Bombers.
So the next stage after giving the Asuryani Flyers for Aeronautica Imperialis a white undercoat was to think about the colour scheme.
My Ork flyers are red and yellow, so decided I wanted something different to that. My Imperial Navy flyers are dark blue, and again I wanted to avoid duplication. So what was left on the colour wheel was potentially green.
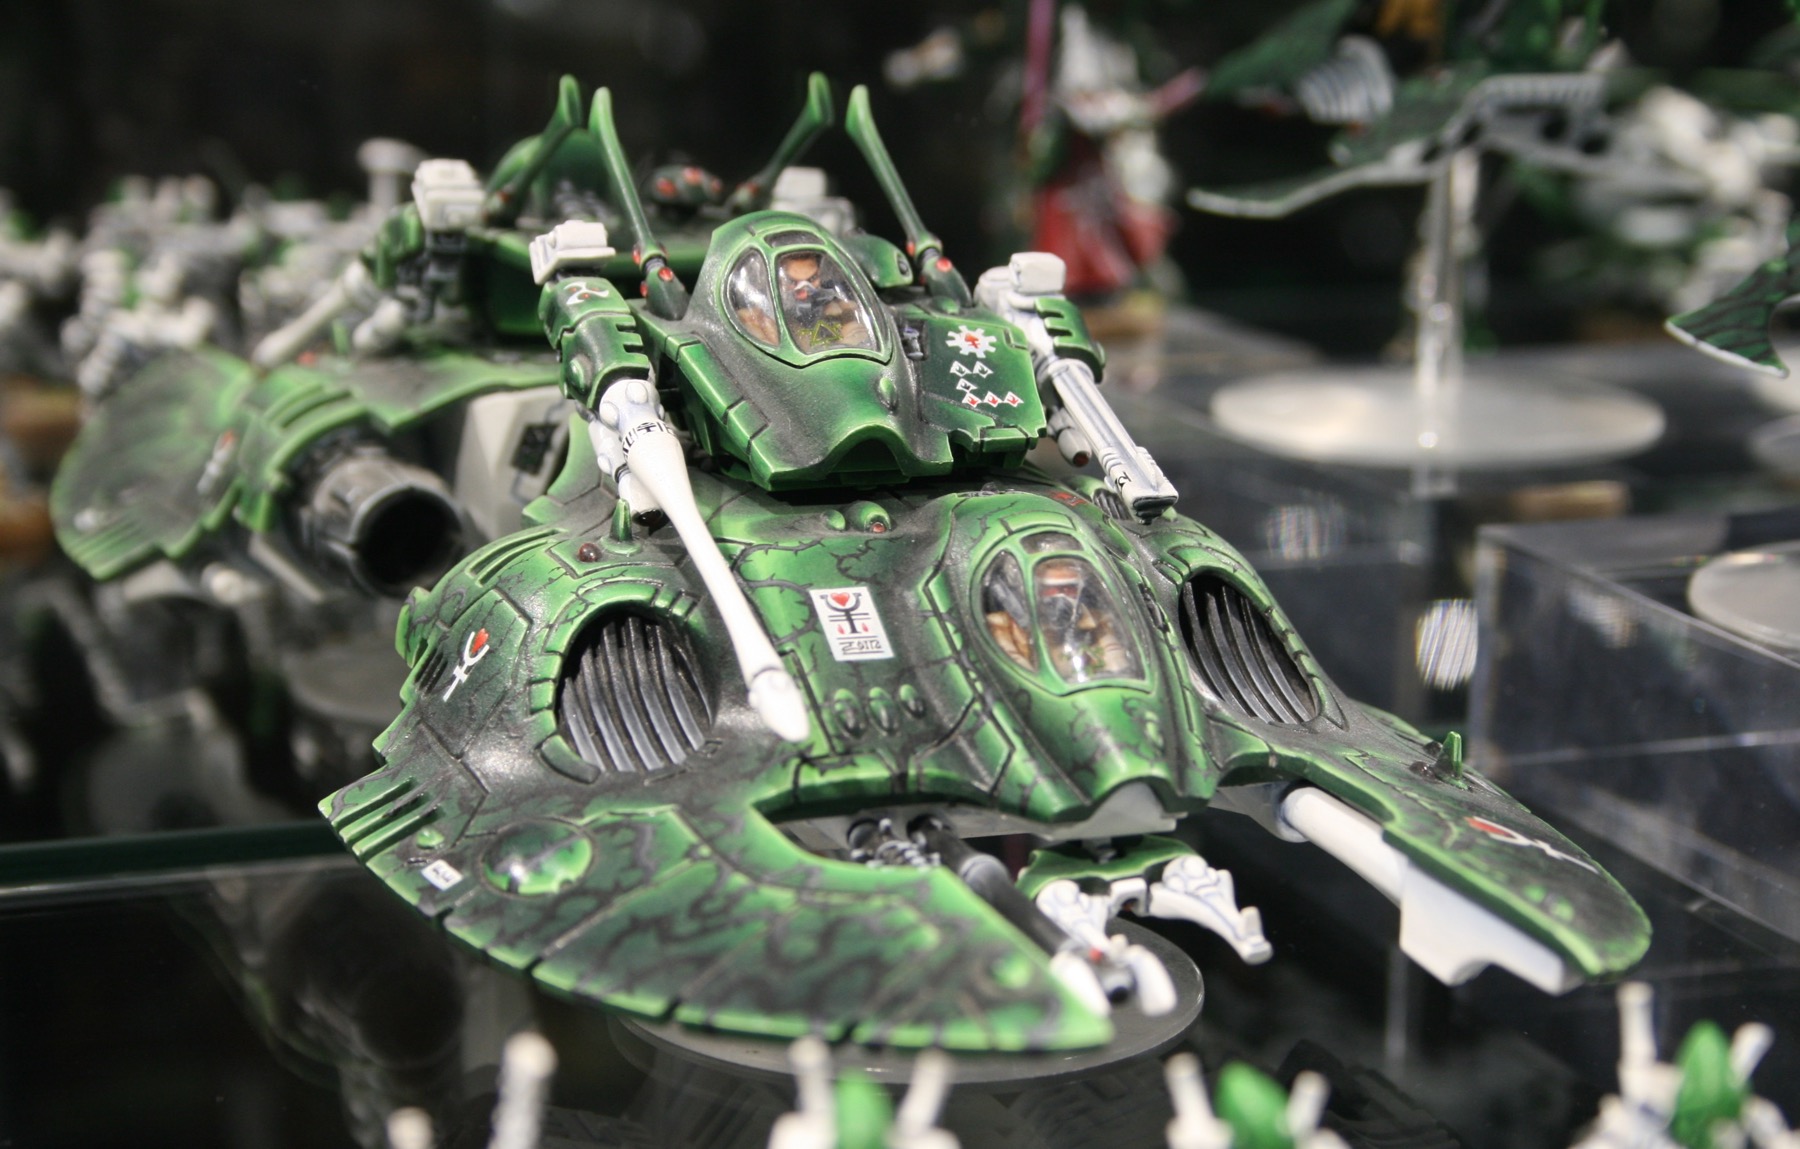
I did quite like this Eldar colour scheme from the GW displays at Warhammer World and Games Day.
Falcon Grav Tank
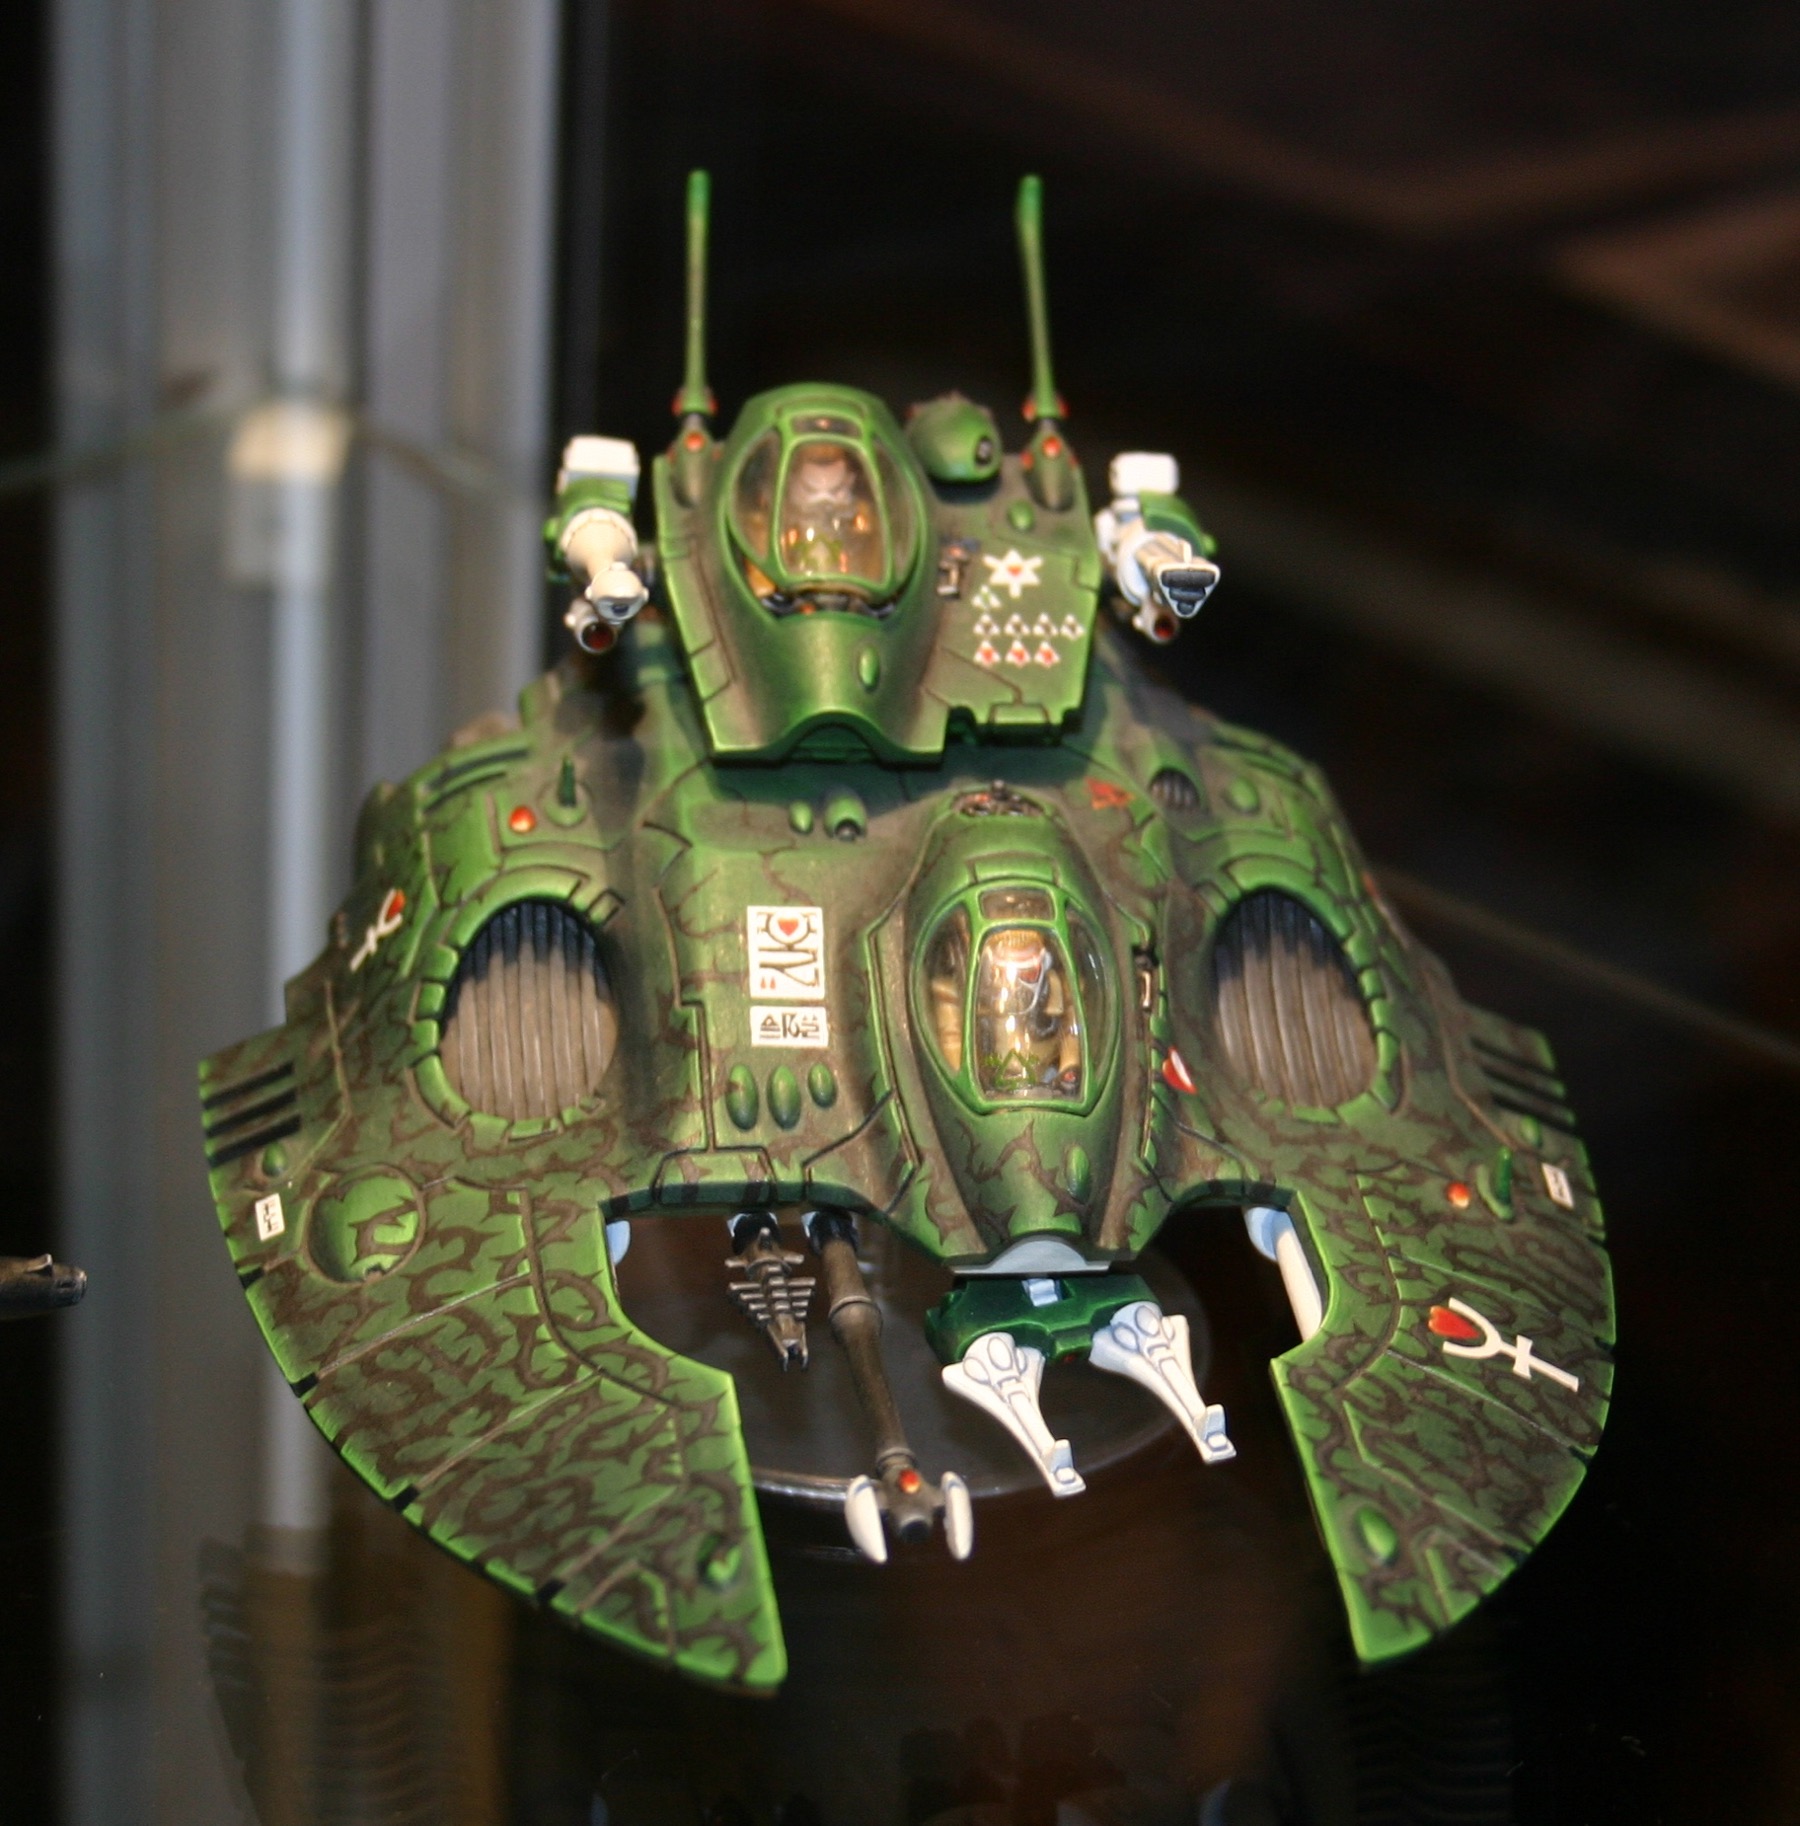
And this one.
Falcon Grav Tank
So that was that really, I was going green.
It did what I wanted on the model in the sense of adding shadow to the panel lines.
This wasn’t as effective has I hoped with some pooling in places on the flat wings.
I think with a heavy dry brush I can retain the shadows and remove some of the effects of the pooling.
The next stage will be that heavy dry brush and then a lighter dry brush to draw out the highlights.
After that it will be detailing the engines and weapons.
I am in the process of building a Bolt Action 28mm Home Guard force, I did want to add some armour to them with a Mark IV Male World War One tank put into service, even if it was merely as a mobile pillbox.
The Bovington Tank Museum has on display a Mark IV Male tank that was used just in this way. It was used in World War One and then presented to the Navy. When war broke out in September 1939, the Tank Mark IV (Male) number 2324 was refurbished for Home Guard duties.
However going to the cupboard I saw that it had leaked some yellow sticky stuff, which I am thinking might be the propellant. However despite that I decided I would paint the tank with the spray. However after going for it, I realised that I wasn’t going to be able to finish the tank, as the propellant ran out.
Hmmm.
I did look at possible alternatives, attempting to find a new paint which matched the colour of Team Yankee Chieftain Green.
There are various conversion charts available online and it was clear from a couple that Vallejo Model Color 894 Russian Uniform was a match.
My local FLGS however doesn’t sell Vallejo paints, it stocks Citadel and The Army Painter range. Finding a match with those was more challenging.
In the end I decided I really didn’t need to worry. The Home Guard Mark IV (male) World War One Tank could probably be any shade of (army) green.
So I bought a can of Army Green Spray from the Army Painter range.
Back home I gave the Mark IV a base coat and I am quite pleased with the final shade.
These are the Asuryani Flyers (though I think of them as Eldar Flyers) that came with the Wrath of Angels boxed game.
You get three Nightwing fighters.
The primary aircraft employed by the enigmatic xenos known as Craftworld Aeldari, Nightwing fighters possesses a level of speed and manoeuvrability that appears preternatural. In battle, squadrons of Nightwings weave around enemy aircraft, tearing their foe apart with bursts of fire from shuriken cannons and bright lances. The Asuryani air fleet is full of intensely fast, hard-hitting yet fragile aircraft. Nightwings are all of these, with the speed and maneuverability to stay out of the line of fire and set up an ideal tailing position before unleashing devastating firepower.
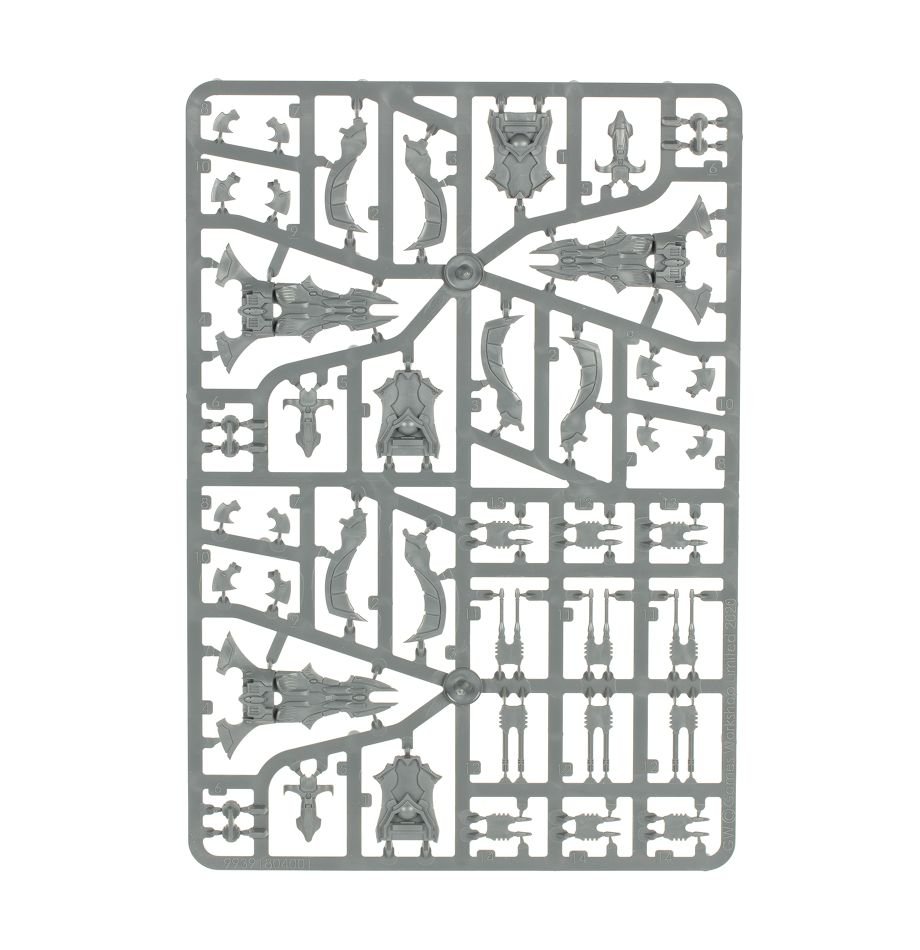
There are three of these in the Wrath of Angels boxed set. These are the painted versions on the GW website.
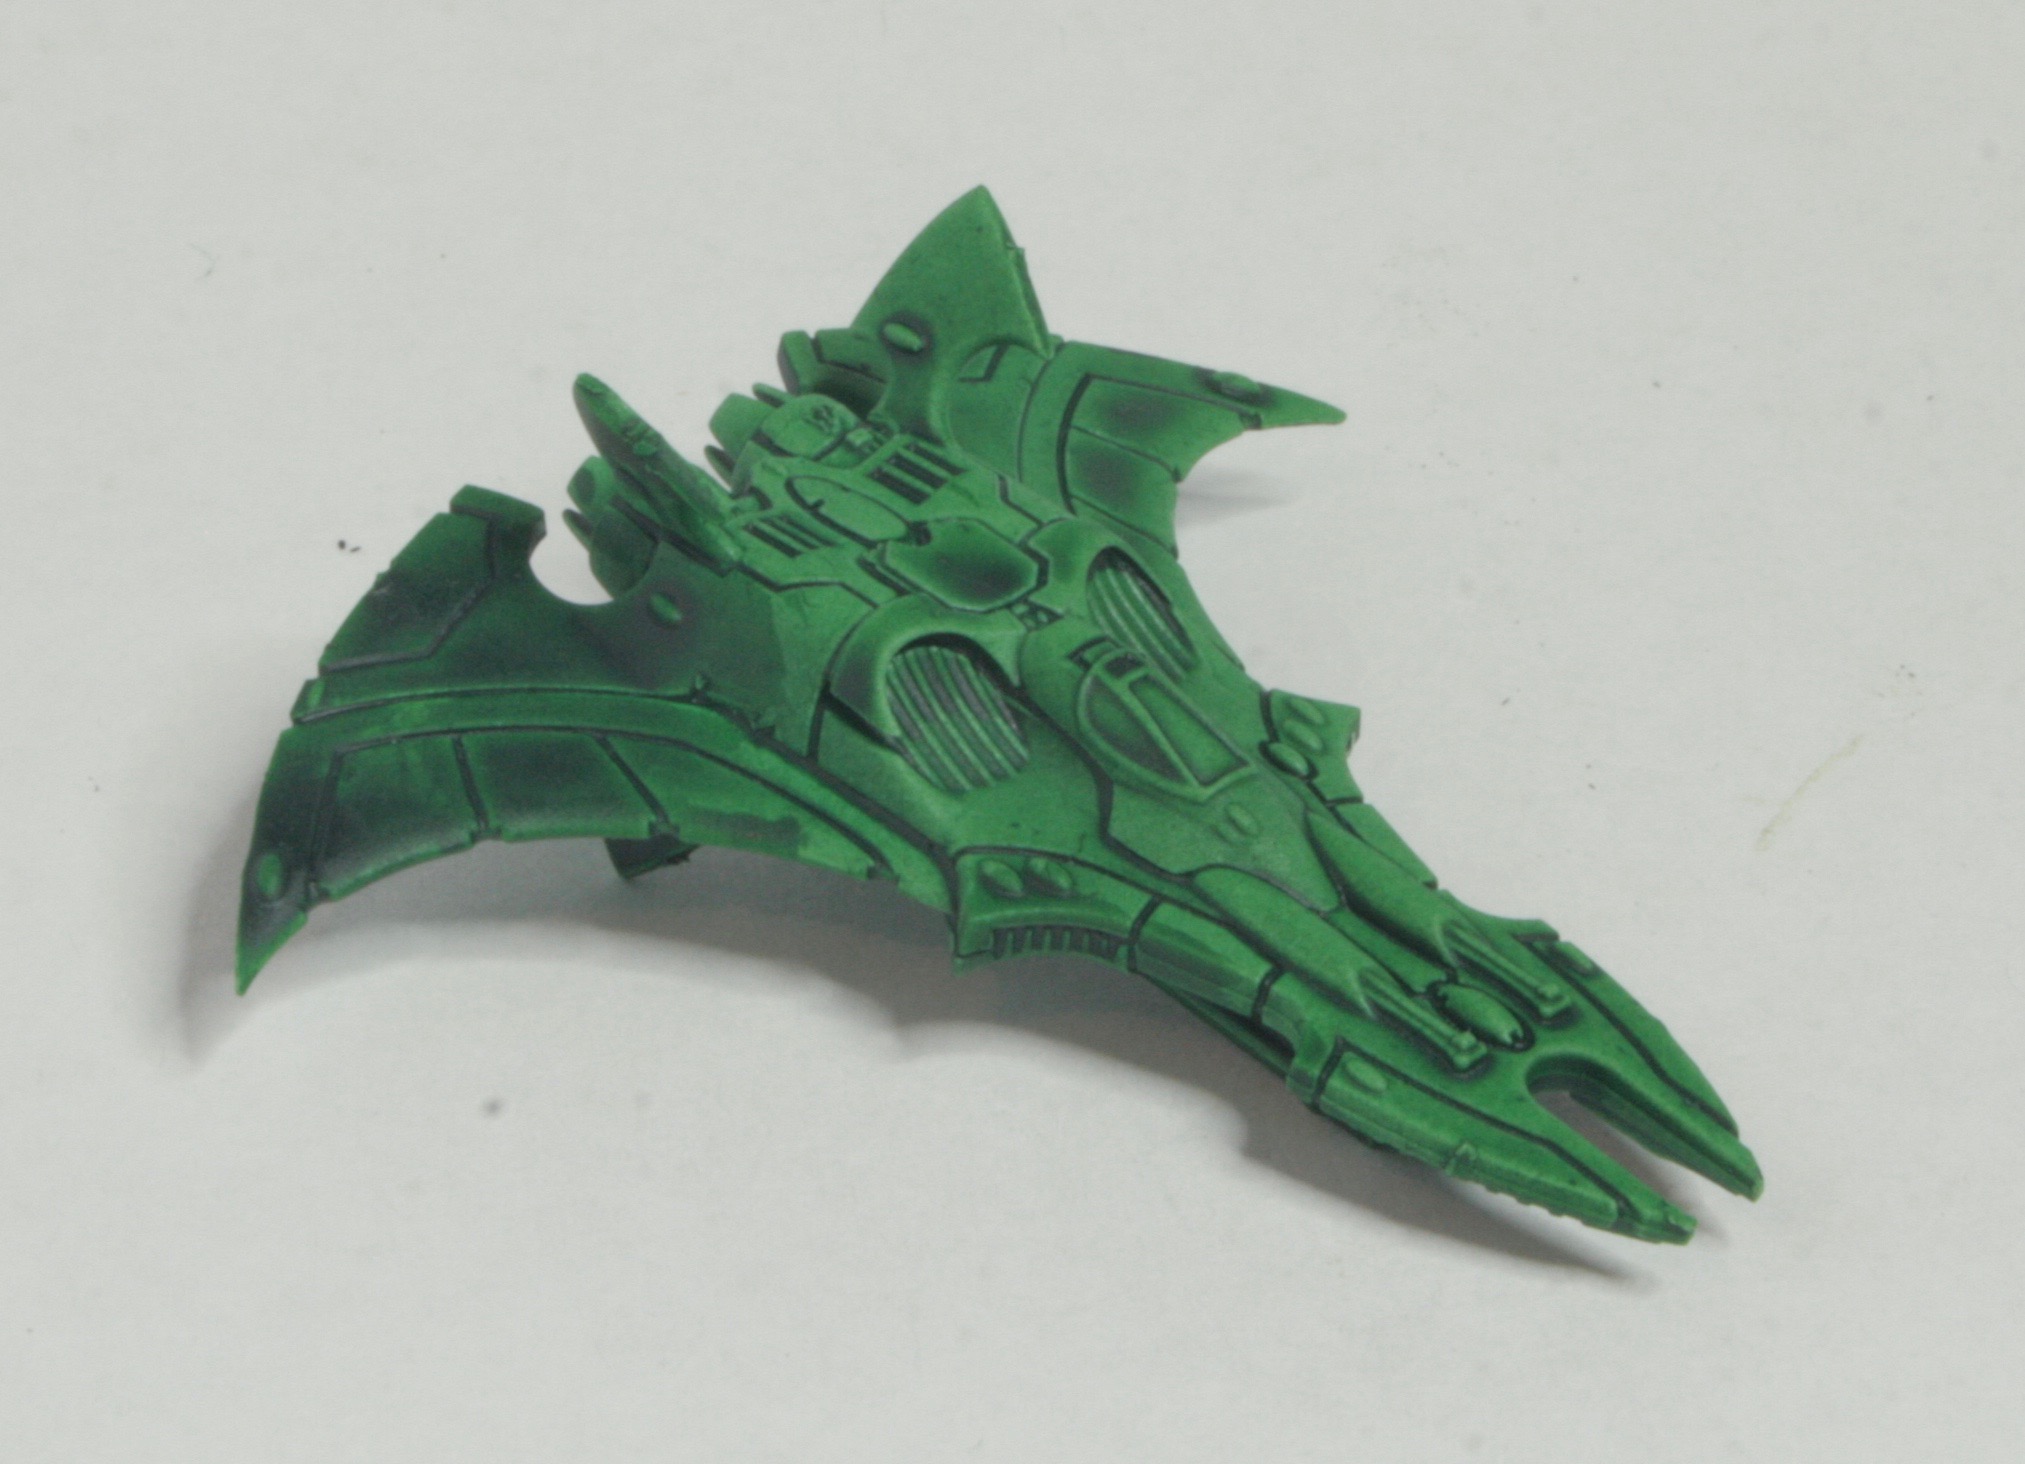
There are three models on the single sprue you get in the Wrath of Angels boxed set.
These were simple models to construct, though the swing wings were a little fiddly.
They do move, but I kind of expect them get “stuck” once undercoated and painting.
I have a 15mm Home Guard Mark IV Male, but as I am in the process of building a Bolt Action 28mm Home Guard force, I did want to add some armour to them with a Mark IV Male World War One tank put into service, even if it was merely as a mobile pillbox.
I mentioned this idea in an article I wrote on a French themed Operation Sealion, Otaire de Vigneur.
To add a bit of diversity to my games, I also have one of Minifigs’ World War One British tanks, for use by a Home Guard unit (stolen from a local museum no doubt).
Now when I wrote that article and bought the miniature it was only an assumption and what I thought would be a nice idea, and probably had no basis in truth….
Well just shows a little historical research never hurt anyone, as the Bovington Tank Museum has on display a Mark IV Male tank that was used just in this way. It was used in World War One and then presented to the Navy. When war broke out in September 1939, the Tank Mark IV (Male) number 2324 was refurbished for Home Guard duties; according to the Bovington Tank Museum website.
Our exhibit, a male tank, was presented to the Royal Navy’s Gunnery School, HMS Excellent after the war to commemorate their help training Tank Corps gunners and it was temporarily refurbished for Home Guard duties in 1940. (Believed to have been achieved by removed parts from another tank possibly on Southsea Common.)
This photograph is from HMS Excellent in 1940.
Mark IV at HMS Excellent
One thing clear from this photograph is the disruptive camouflage they have used on the tank.
So though I thought my idea was probably if Operation Sealion had happened, I didn’t think and didn’t realise that it had in fact happened despite the fact that the Germans hadn’t invaded.
So as I also have the Royal Navy Section this gives me an excuse to use this model.
The tracks fitted really easily to the hull of the tank.
The sponson were simple to fit with the metal castings of the main weapons.
I added the exhaust, but decided against adding the “unditching beam” rails that are included with the kit.
Mark IVs were also the first tanks fitted with “unditching beams” by field workshops. A large wooden beam, reinforced with sheet metal, was stored across the top of the tank on a set of parallel rails. If the tank became stuck, the beam was attached to the tracks (often under fire) and then the tracks would drag it beneath the vehicle, providing grip.
The period photographs of the Home Guard Mark IV show the tank without these rails.
The next stage was to give the model a white undercoat.
Then it is on to the basecoat, where I did have some problems…