I have undercoated my Ork Killa Kan.
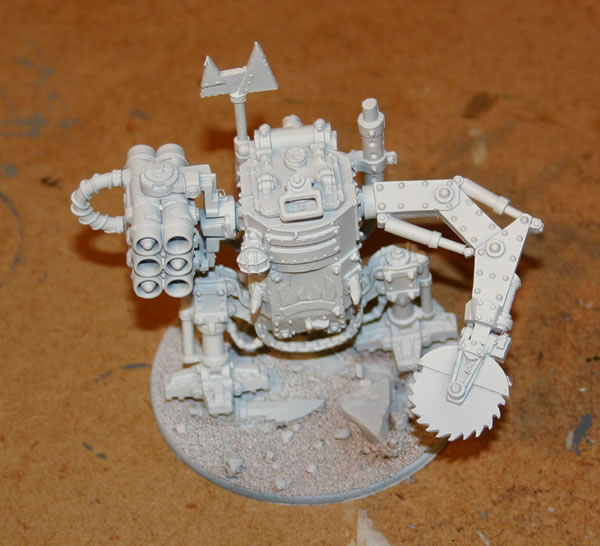
You will notice how light the undercoat is, and that unlike previous versions this has a white undercoat. Partly to try out something new and partly as I had run out of black spray paint.
warhammer, wh40k, flames of war, bolt action, aeronautica imperialis, star wars, models, news, views and stuff
I have undercoated my Ork Killa Kan.
You will notice how light the undercoat is, and that unlike previous versions this has a white undercoat. Partly to try out something new and partly as I had run out of black spray paint.
I have undercoated the Ork Looted Rhino, white not black.
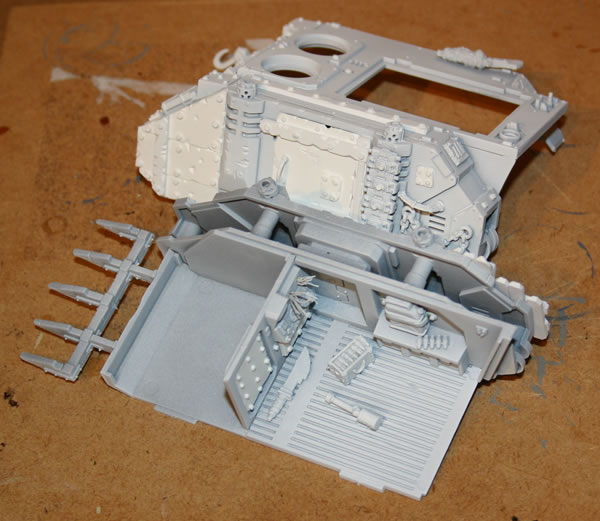
It is has been stuck together into two separate halves.
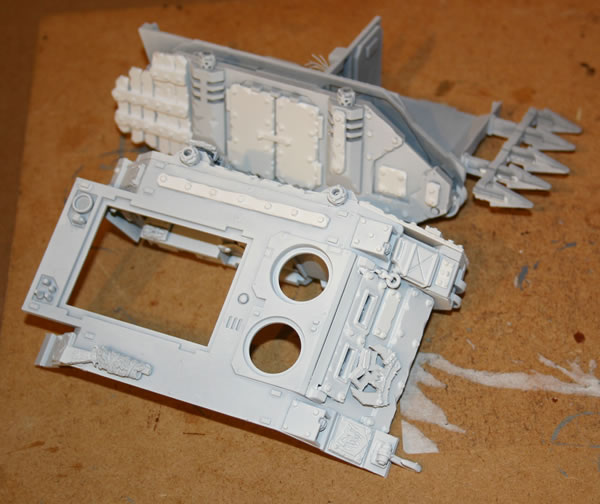
I have left off the tracks and you will notice how light the undercoat is.
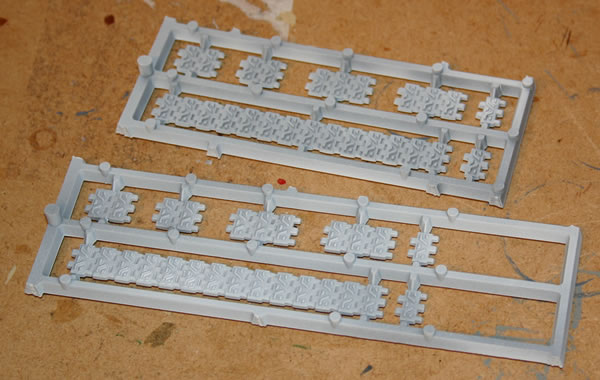
I still have to do the front top hatches, one of which will contain an Ork with a heavy weapon aka the Forgeworld model.
Preparation…
I have prepared the Ork Looted Rhino for undercoating.
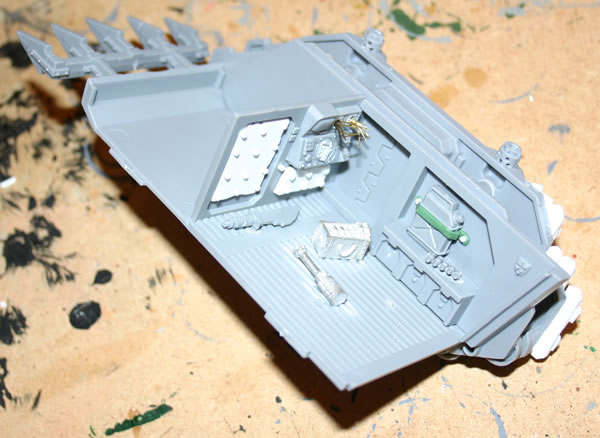
It is has been stuck together into two separate halves.
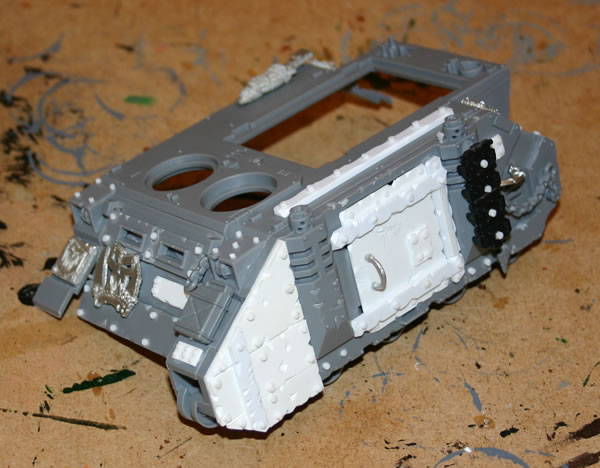
I have left off the tracks and I still have to do the front top hatches, one of which will contain an Ork with a heavy weapon aka the Forgeworld model.
I have added a glyph and some rivets to the front armour plate of the bike section of the Wartrakk.

I have also added a searchlight (taken from the Chaos Vehicle sprue).

Ready for the paintshop.
I wanted to add some extra armour plates to the Wartrakk.
The first stage was adding some cut our pieces of plasticard.

I also used some spare Imperial tracks.

The armour plates were suitably weathered and rivets were added.

This should make it look different to my usual Wartrakk.

I am quite pleased with the simple addition.
Though I might use it with my Grot Bomb Launcha…
Following the concept picture I posted earlier, I have now in fact built the Wartrakk tracks.

They are Imperial Tank tracks which I was originally using (many moons ago) for a Gorkamorka project which, well, just work. Therefore rather than using new sprues these have been broken apart which I think makes them a little more Orky.
I added some plastic strip on the back.

This is so there is something to stick to the hull of the Wartrakk.

This is how it looks with the motorbike on the front.

I might use this as a Wartrakk or for a Grot Bomb Launcha.
Having given some grots a basecoat of Goblin Green, I have painted their weapons and equipment with Chaos Black.

The next stage is to drybrush with Tin Bitz and Boltgun Metal.
Having finished the left side, I started on the right side. Aiming for a similar but different effect.
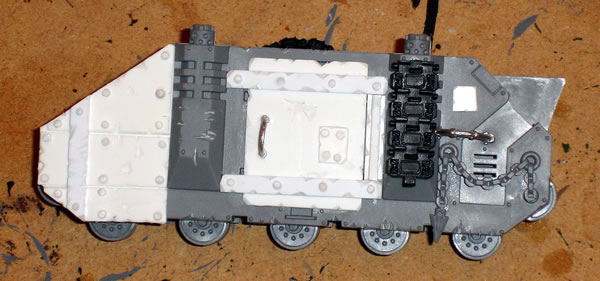
I stuck the real door in and then added two “added” doors made from plasticard. These were suitably weathered.
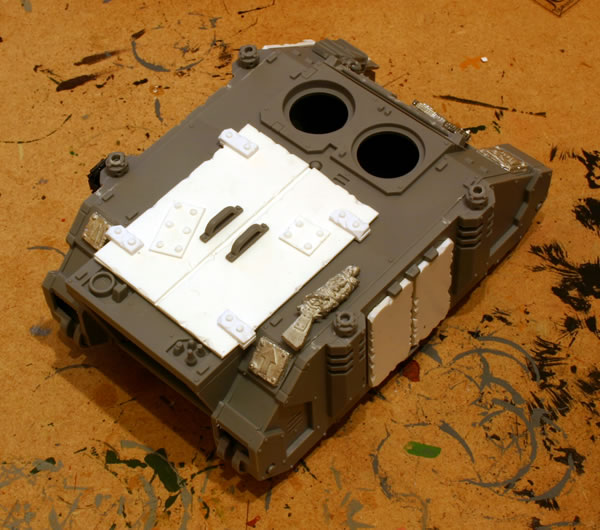
I then added rivets from sliced plastic rod and hinges from the same rod.
Rather than use armour plate, I used strips of plasticard (weathered) vertically to create some additional armour which were then held in place by strips placed horizontally and then “riveted” into place.
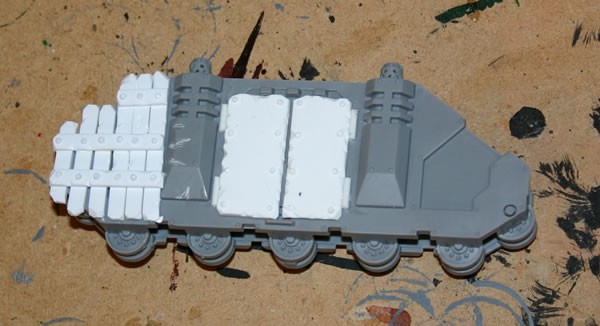
I also added some further weathering to the actual hull and exhausts of the model as well.
Further rivets were added as well as some additional armour plate.
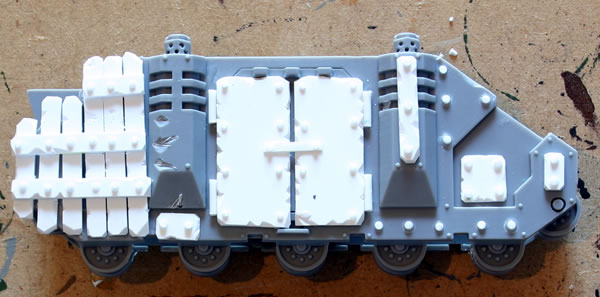
This picture shows how the right side looks on the *whole* Rhino.
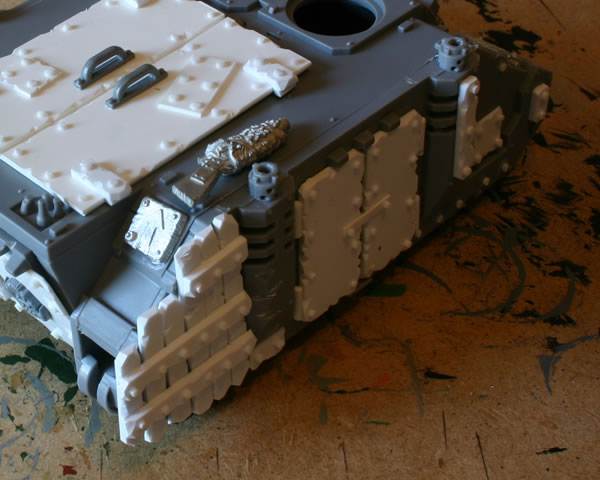
One thing I will need to do after I have stuck it together is to add additional armour plate in these areas.
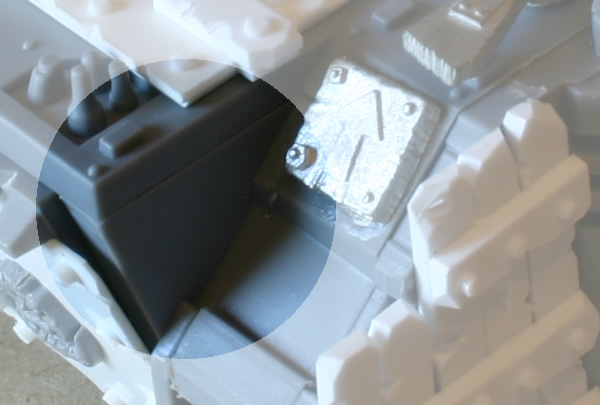
The problem with doing it now is that then I can’t fit it together!
Next stage is undercoating.
Having now painted the Rebel Grot Leader’s jacket to be like a old battered leather coat.

I am starting to like my paint job a little more.

The model does look better in reality than these pictures.
I painted a little more of my Rebel Grot Leader. I painted his coat Snakebite Brown.

The flash has emphasised how unhappy I am with the paint job on this model. I am certainly not happy with the flesh tones compared to other Grots I have painted.
I might just abandon him and start over.