Having had the polystyrene sheets for some time hanging around in the garage.
I have decided to take the time to build the scenery I always meant to.
I have eight of these sheets (four to a pack) the first four were covered in a GW grass mat and pictures can be seen on the battle reports on the website.
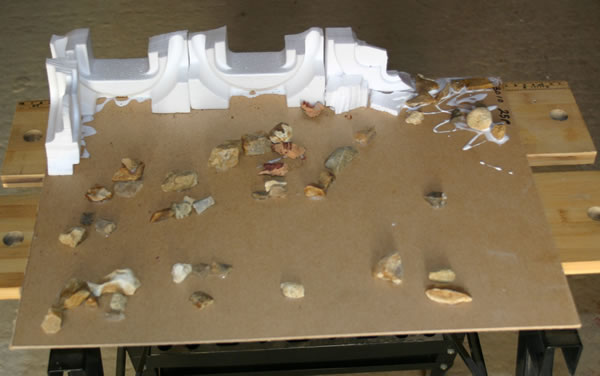
With the remaining four, two will be a desert terrain usable with both Epic and 28mm and the other will be an Epic half-destroyed Imperial City.
The first thing I did was seal the sides using gaffer tape (sometimes known as duct tape).

Each sheet got two strips of black tape, this has two jobs, one to protect the scenery from everyday knocks and two to have the *gap* between the sheets to be black and not glaring white.
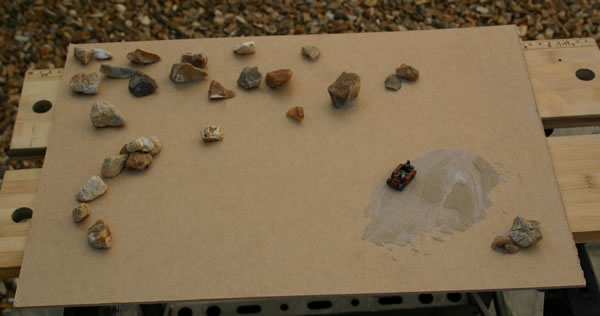
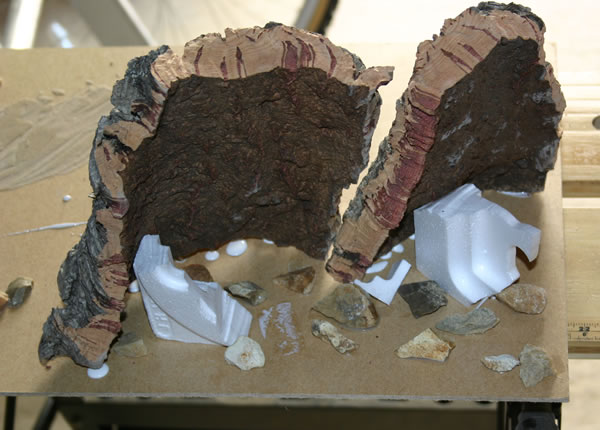
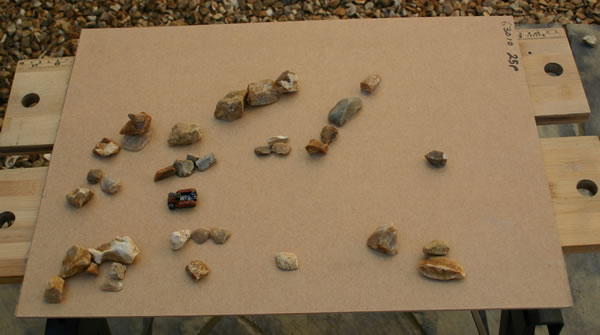
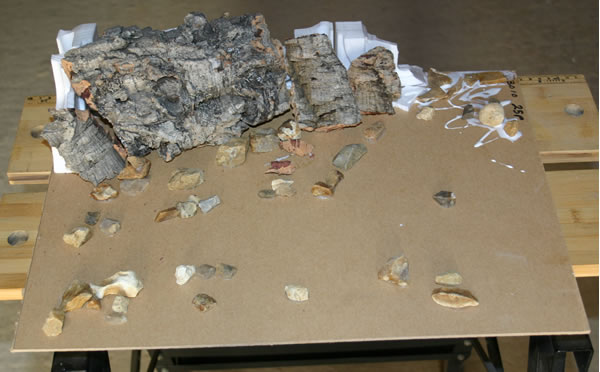
The next stage is to put on the basic scenery, ruins, rocks etc…