The Land Raider is an Imperial main battle tank and troop transport which serves as the “armoured fist of the Space Marines.”The Land Raider’s heritage predates even the founding of the Imperium of Man, yet it remains the single most destructive weapon in the Adeptus Astartes’ arsenal. The Mark IIb Land Raider Phobos is one of the earliest marks of the standard pattern of Land Raider. The Mark IIb Land Raider Phobos is the only pattern of the standard Land Raider Phobos that uses the older armoured sponsons, as they do not allow the weapons they hold to fully rotate.
I got a Forge World MkIIB Land Raider and was originally painting it up as a Grey Knights Land Raider in desert camouflage.
I wrote up some reflections recently on my MkIIB Land Raider, on the current state of the painting and what I needed to do next.
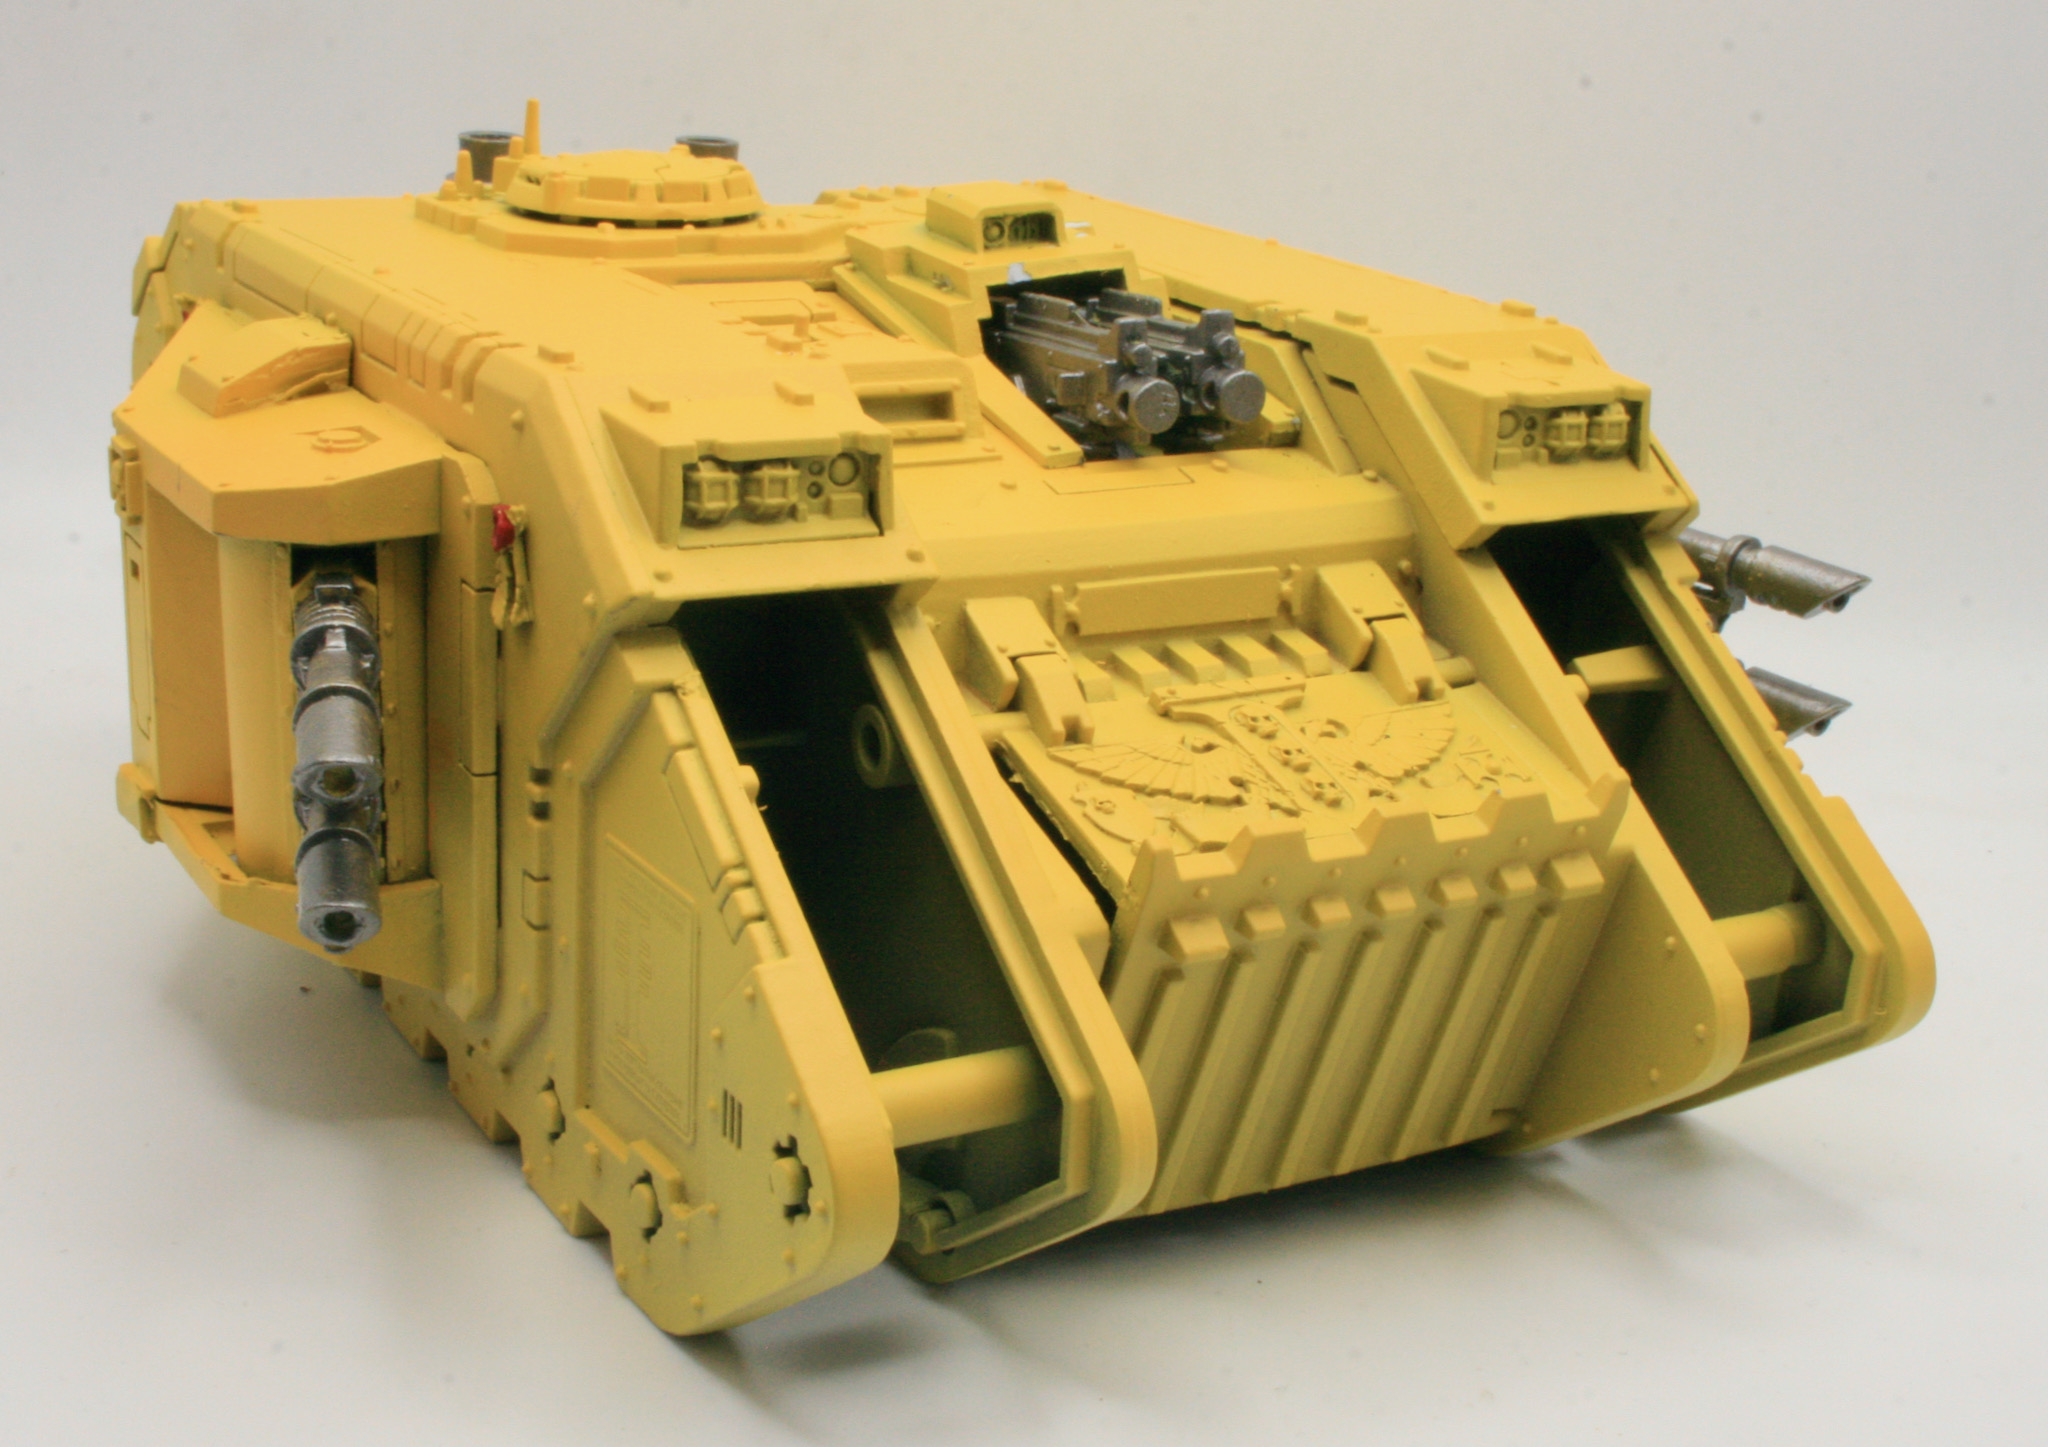
I also noticed that there is a part missing the, the hull top front bolters. I will have to find where I put that piece. Well I was pleased to find the missing parts and these have now been reunited with the Land Raider. They were a set of twin bolters and a armoured shell for the bolters.
At the point though of repainting I didn’t glue in the armoured shell, as I knew I would need to paint the bolters first before affixing the shell.
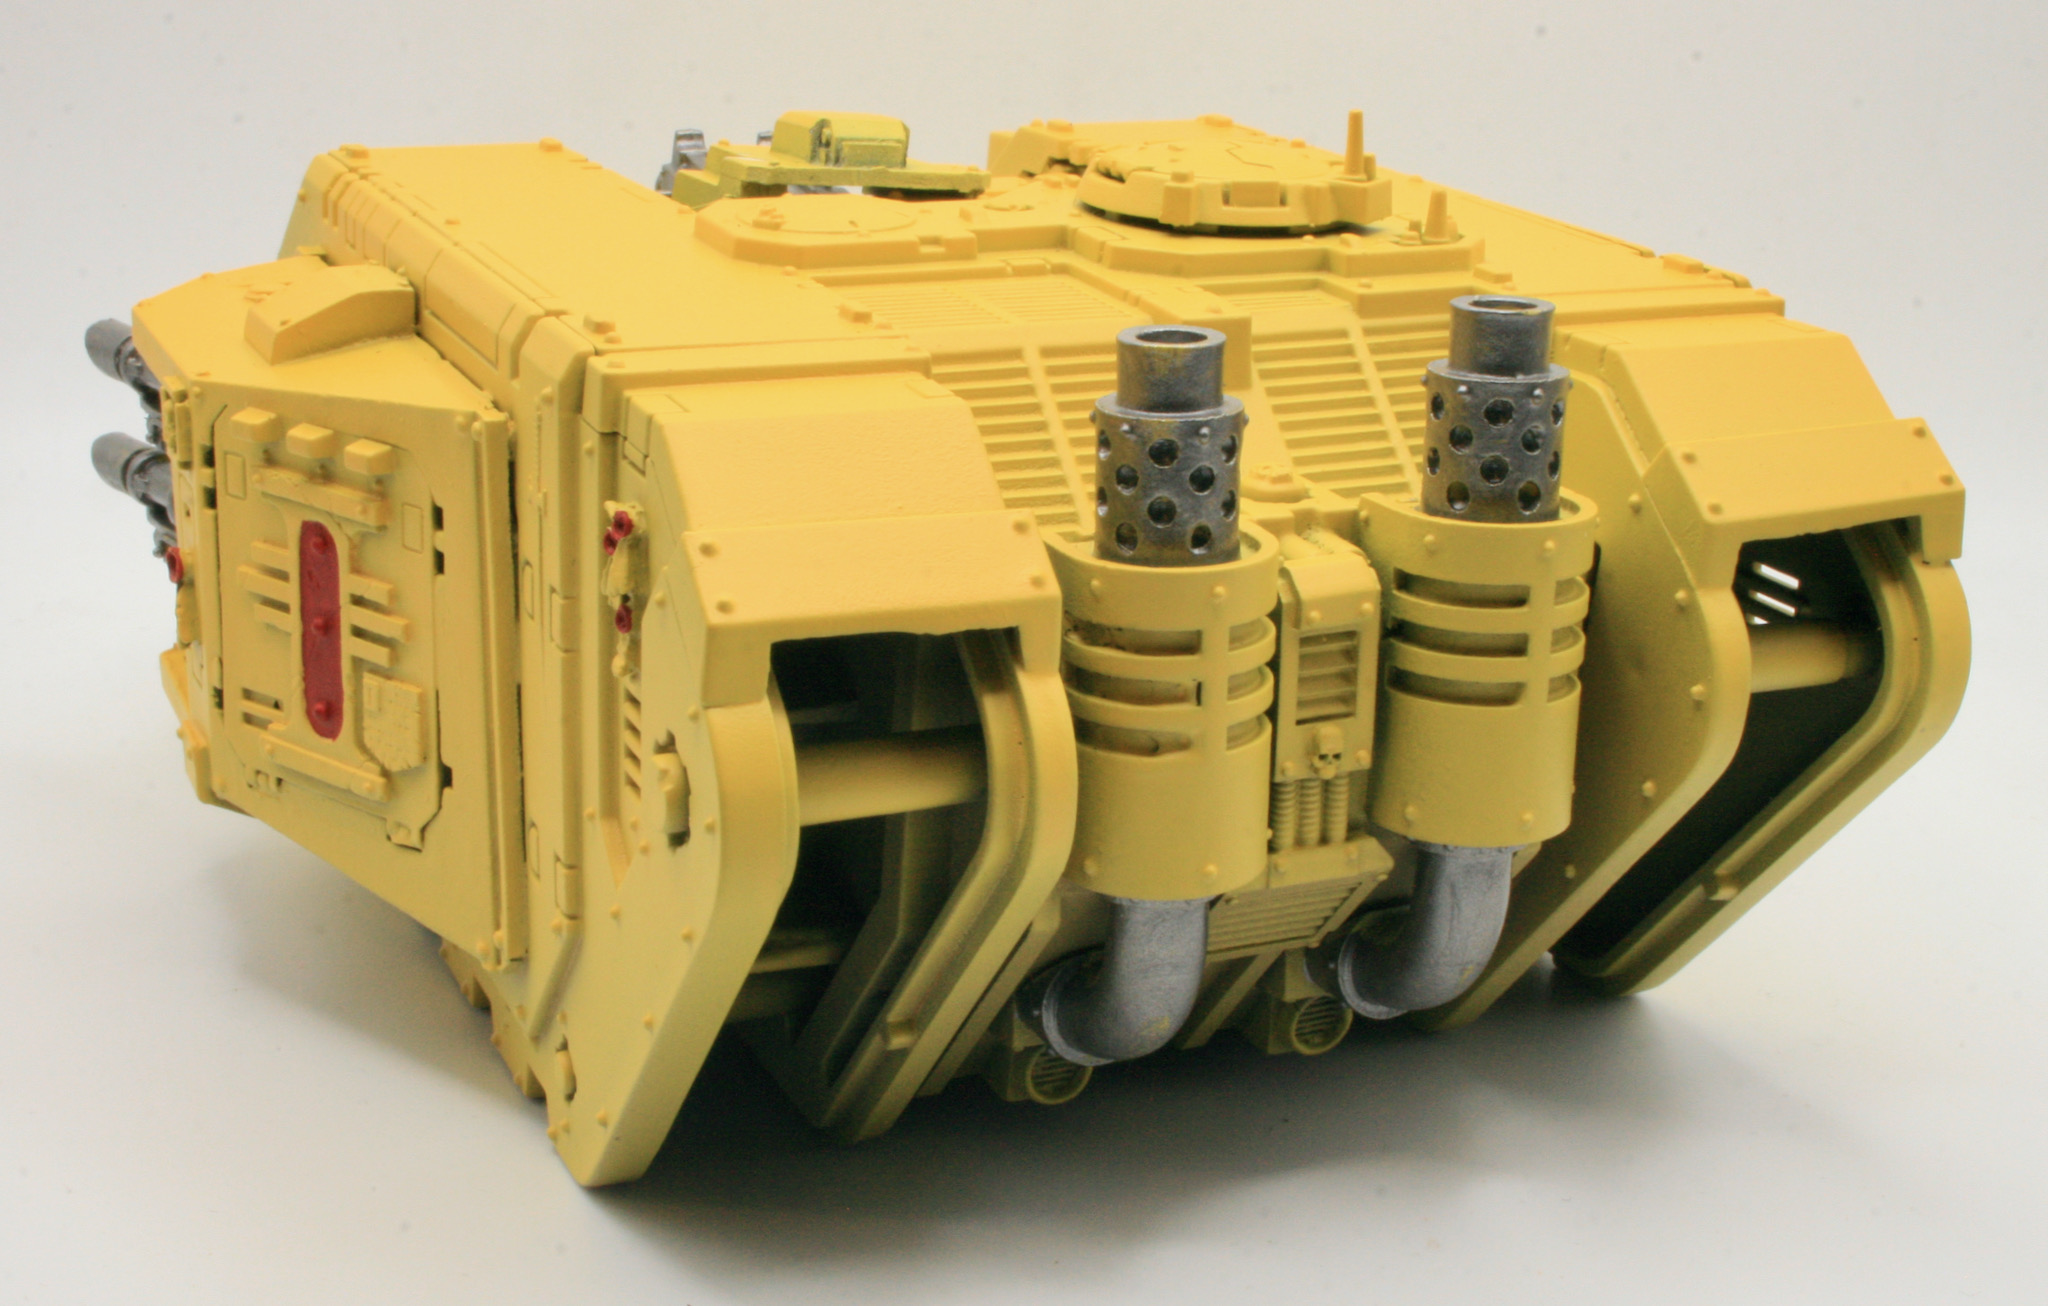
The model was given a white undercoat and then a new basecoat of Daemonic Yellow spray from Army Painter.
I then painted the twin bolters with Leadbelcher.
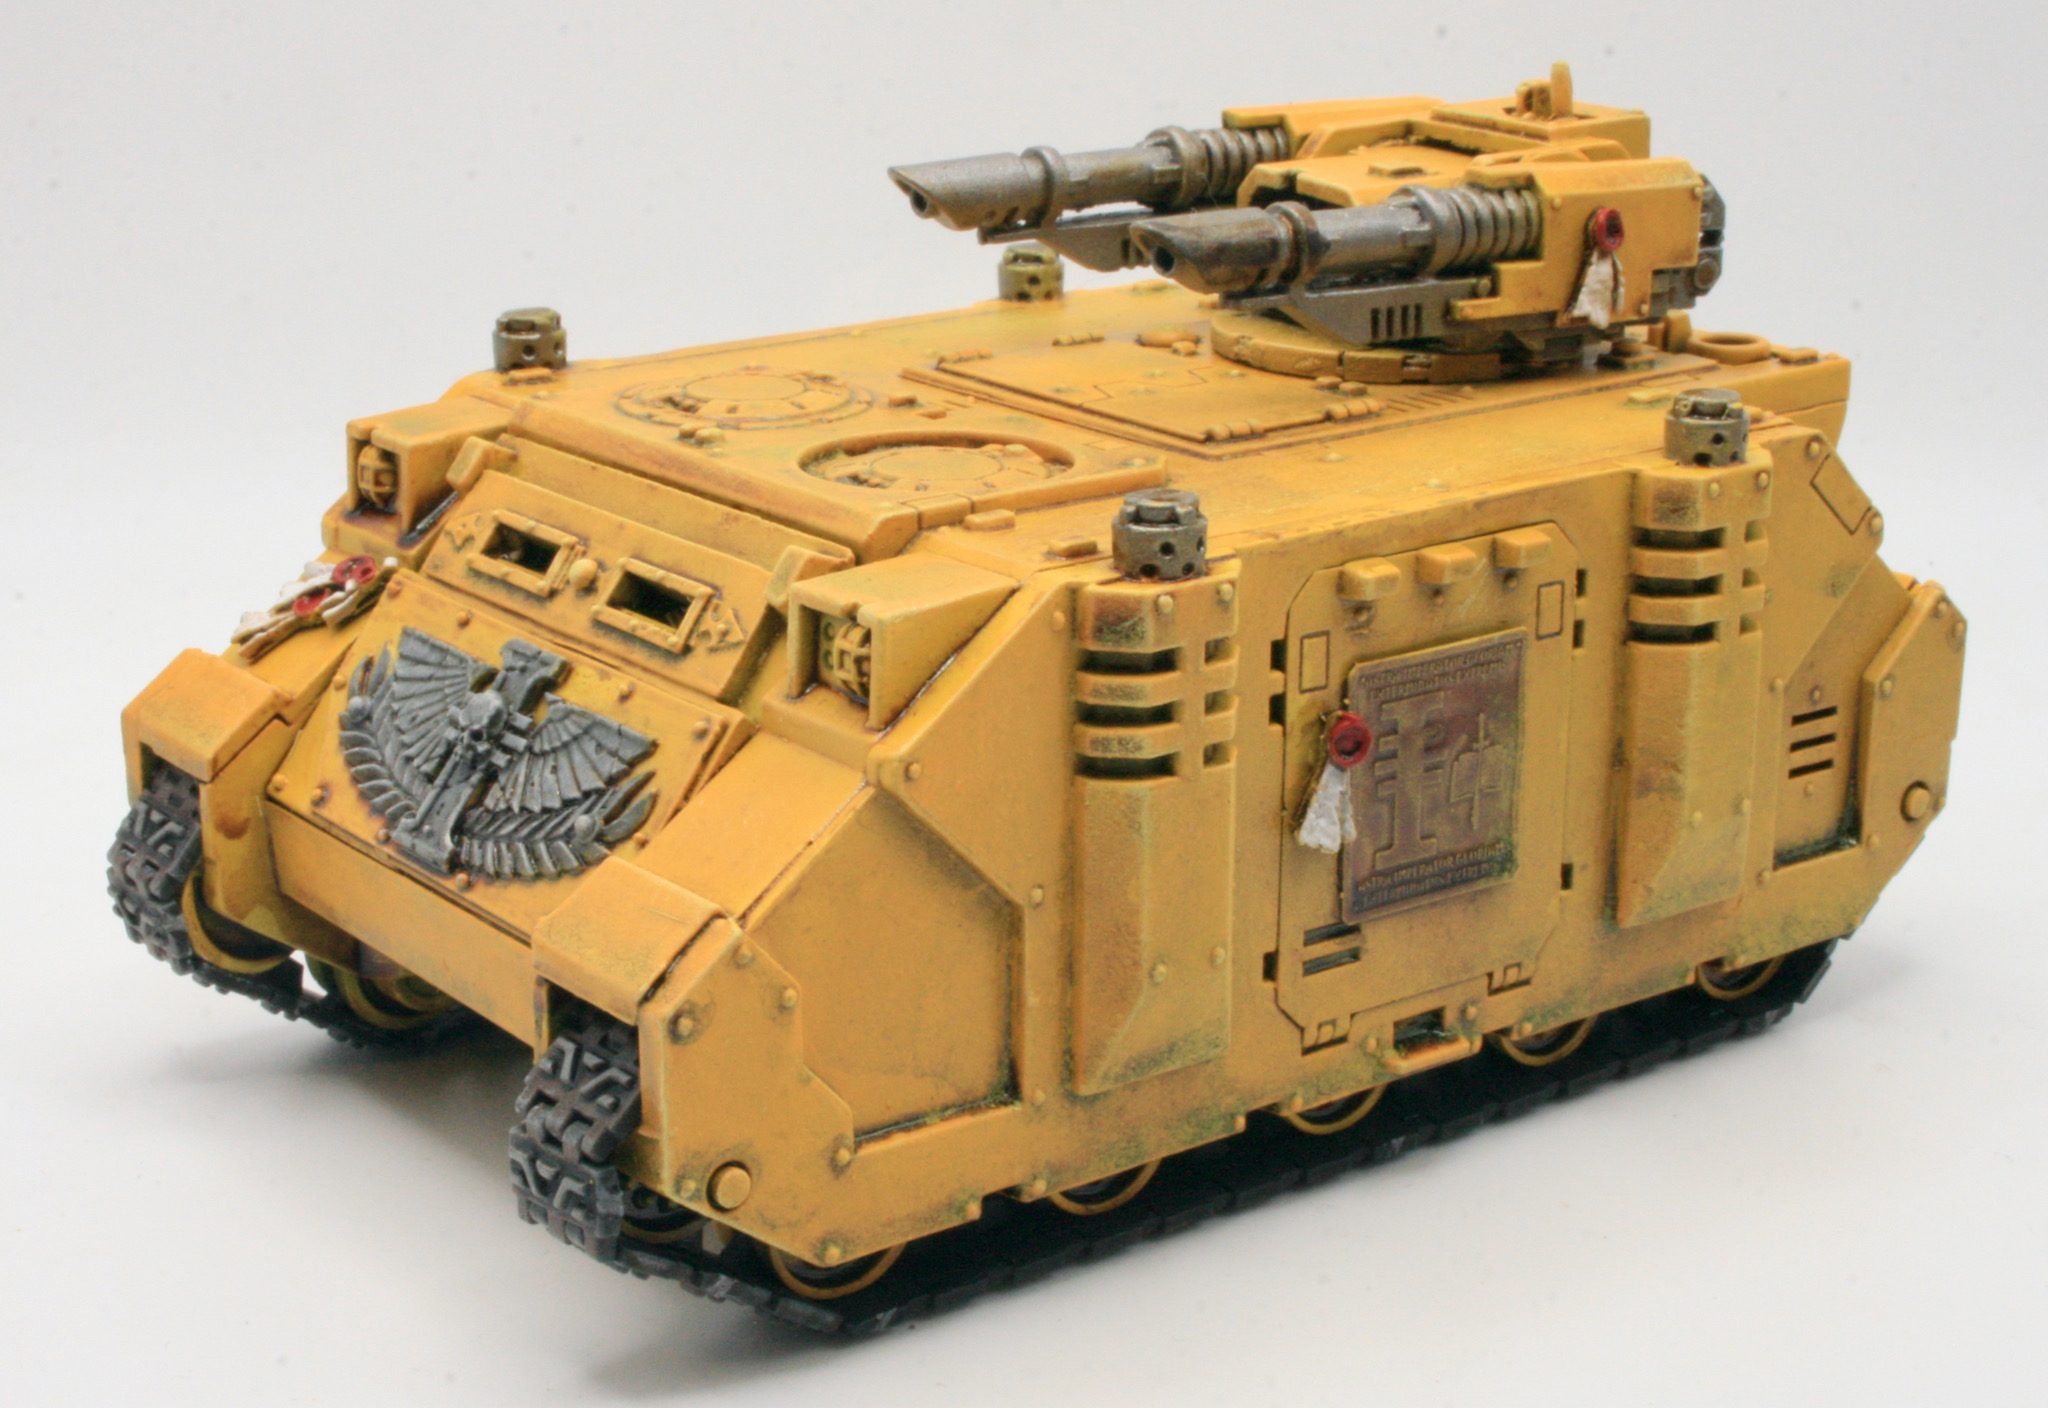
When it came to fixing the shell in, I had a bit of trouble fitting it into place. It was a bit of a tight fit.
So much so trying to fit the piece I damaged the paintwork on the armoured shell.

I eventually managed to glue in the armoured shell. I then touched up the damaged areas with a brush and some fresh paint.