There is still some work to do with this model, but I am pleased I have made progress and nearly finished it.

One model I got for one Christmas was a Forgeworld Razorback the one with the much bigger turret, which I much prefer over the plastic kit version that you get in the shops. As it is only £2 more now, I think the Forgeworld version is much better value for money. Though you would get some spare weapon parts with the plastic version…
This is the story (or is the saga) of how it got painted…
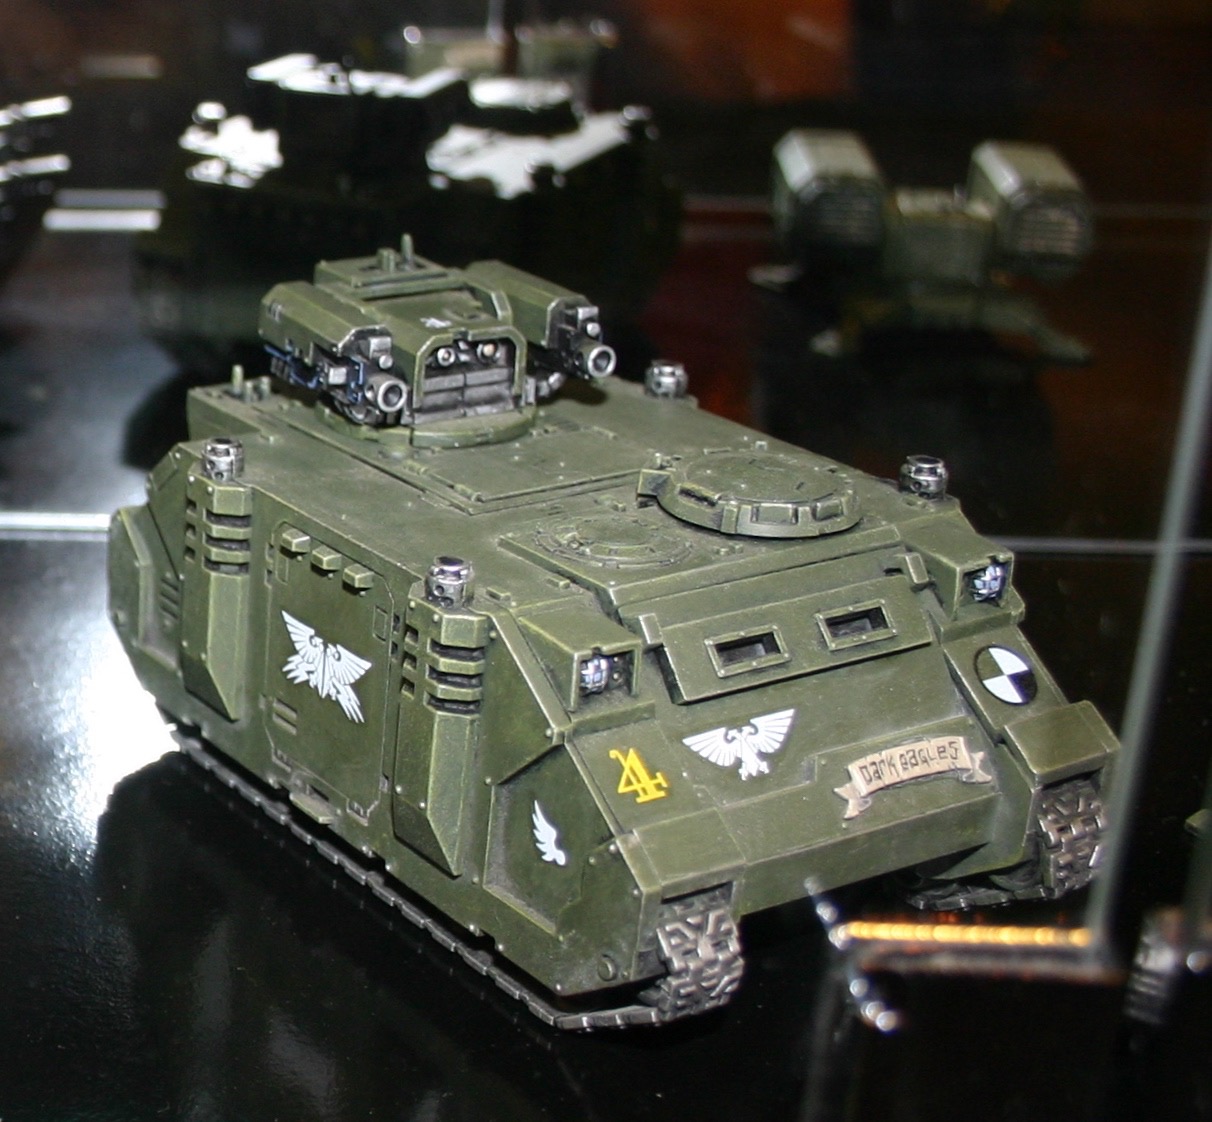
This is an Inquisition Razorback at Warhammer World.

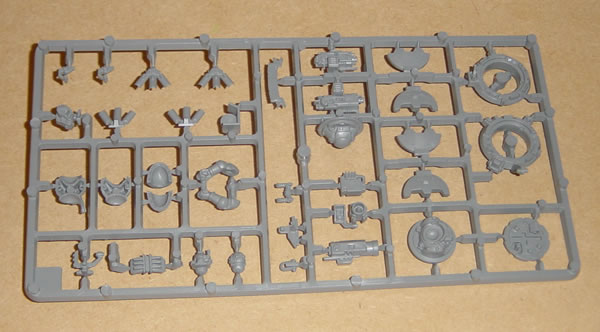
These are the extra resin pieces you get with the basic plastic Rhino kit.
This Razorback is going to be part of my Daemonhunters army.
However I hear you cry, that’s not in the Codex!
I am attempting to paint a Grey Knights force which goes beyond the listings in the DaemonHunters Codex. What I am trying to do is to create a Grey Knights force (using the Space Marine Codex) and then using a DaemonHunters force as allies.
The standard Rhino kit includes three sprues.
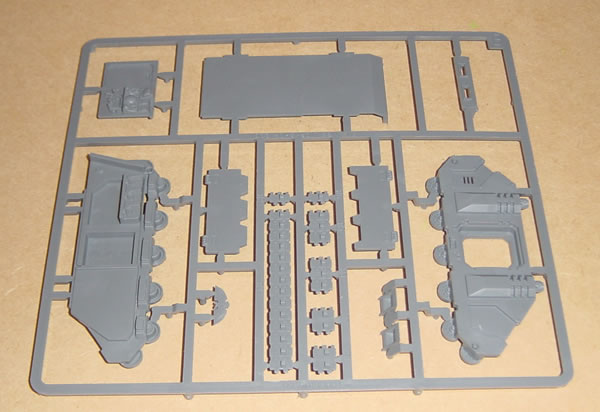
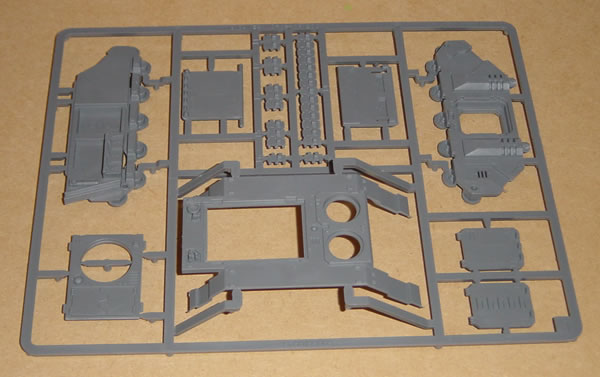
The Imperial extras sprue.
As a result I will have some spare parts which will be probably used by my Orky boyz on a few conversions.
This is a completed Forgeworld kit, though this one had Heavy Bolters, whilst I got the Lascannon version.
To enhance my Razorback model, I purchased some Inquisitor Rhino doors from Forgeworld.

Another thing I bought was the Inquisitor and Grey Knights brass etched sheet also from Forgeworld. I am going to use components from this to enhance the model.

I also have some purity seals hanging about, which I also intend to use.

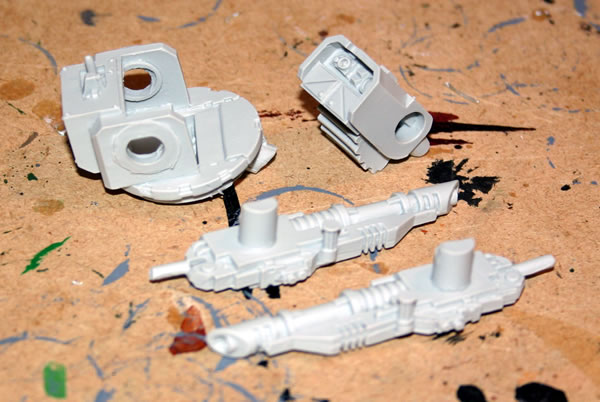
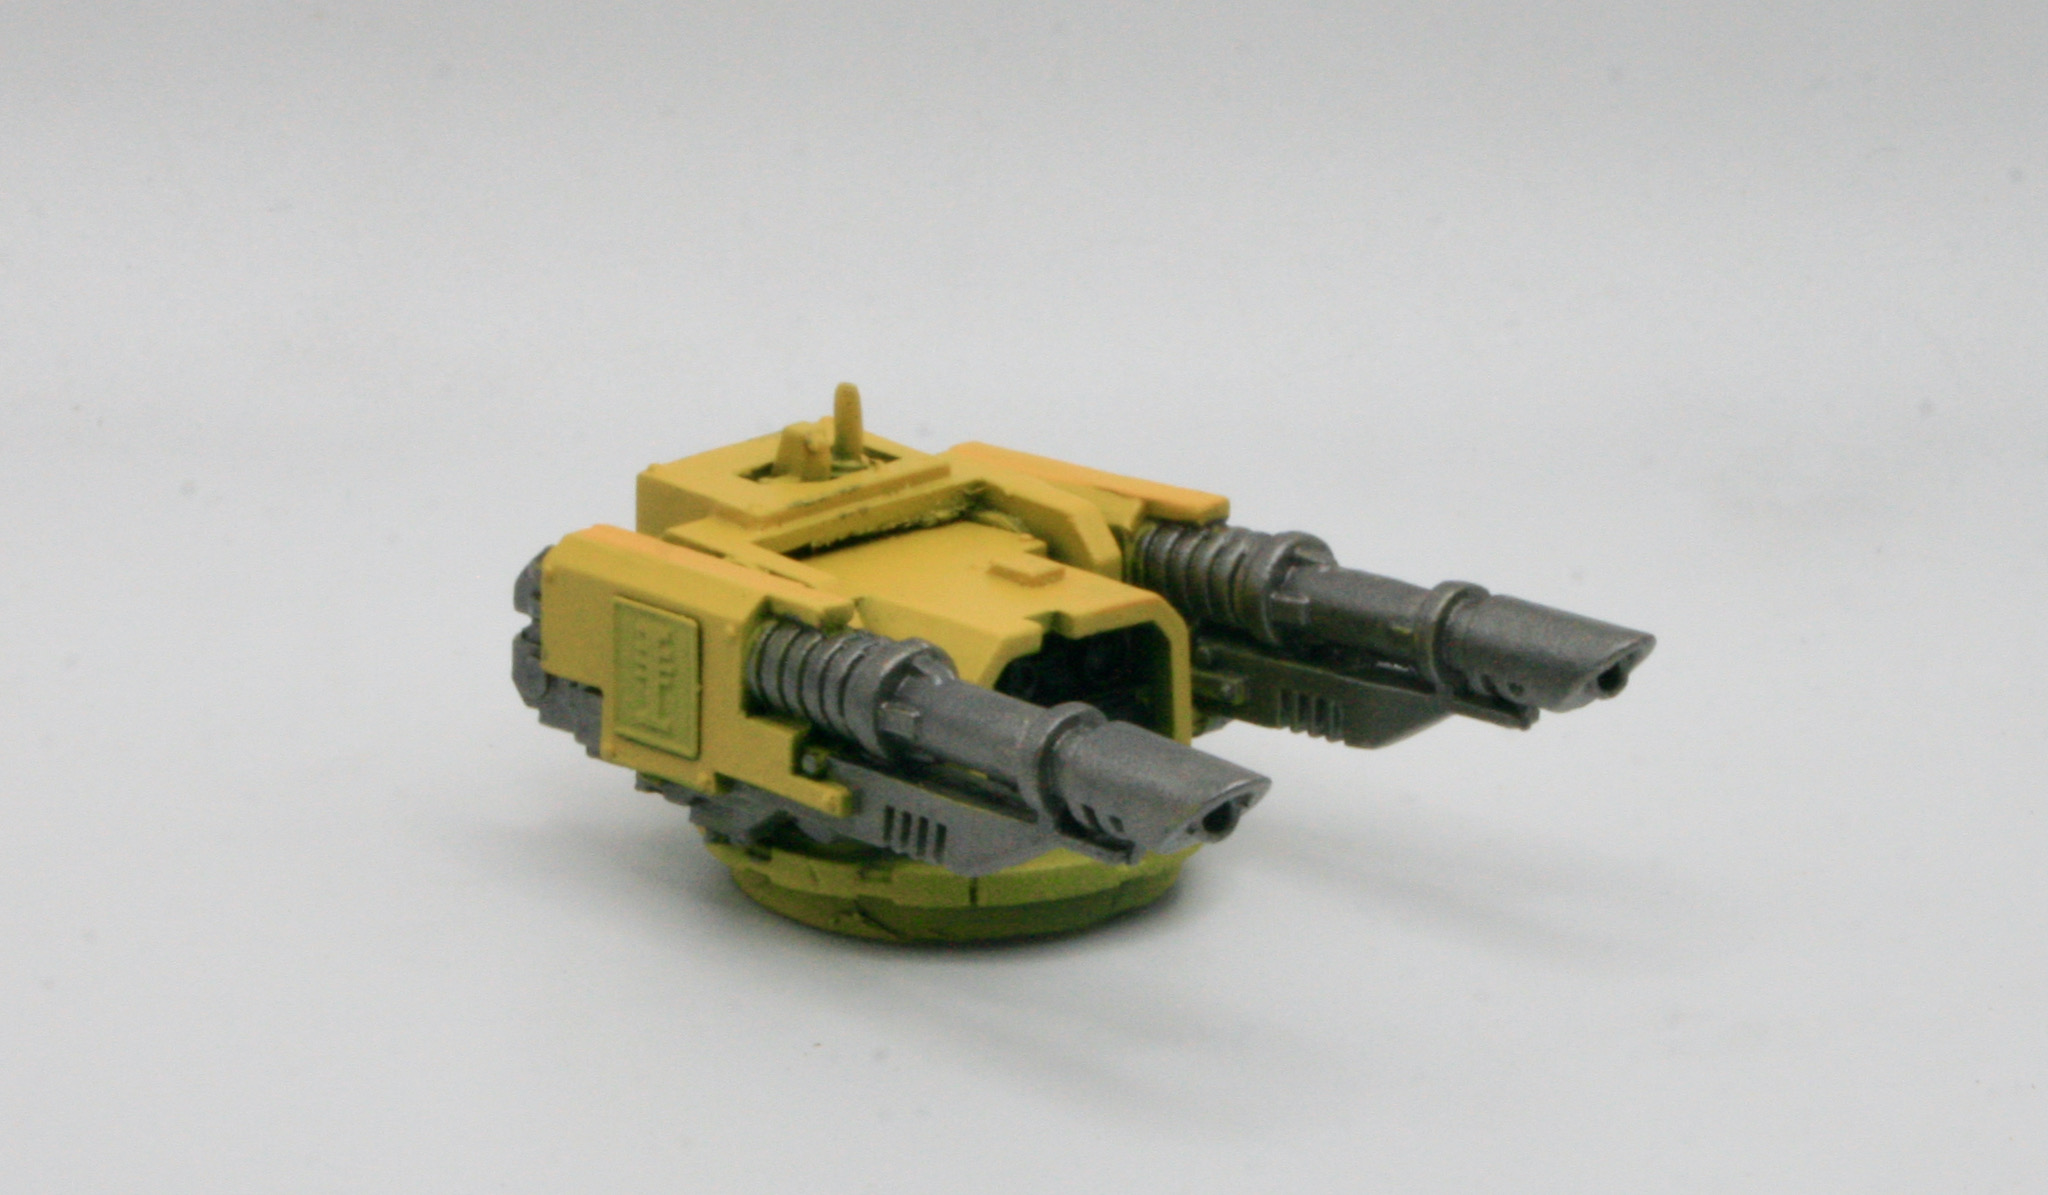
I constructed the main weaponry of the Razorback, the twin-linked Lascannons. This went together fine once I had enlarged the holes in the weapon mount turret.

I checked that it fitted the Rhino hull top.

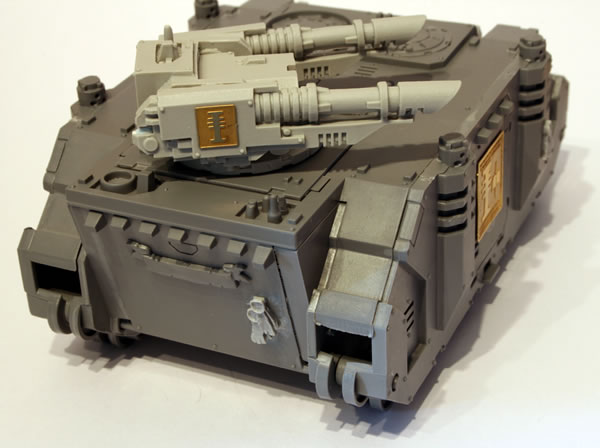
I constructed the Rhino, I wasn’t going to detail or paint the inside, so I left that as was. I also left off the frontal plate and the doors.

The basic Rhino kit comes with two different doors, one relatively blank and the other with steps (or ladder) on. I decided to use a spare blank door from my Repressor to use two blank doors.

I added a brass Grey Knights symbol from the Forgeworld Grey Knights brass etching and a resin purity seal. When I was editing the pictures for this article, I noticed that I had inadvertently glued one of the symbols upside down! I therefore had to remove it from the door, turn it round and stick it down. It did not come off too easily, but I am glad I spotted it now rather than when I was painting (or worse when I had finished) the model.

I added a resin frontal armour plate from the Forge World Inquisitor Rhino Doors (having used the other side doors on my Repressor.

You can see on this shot the upside down brass symbol.

I added a few more purity seals.

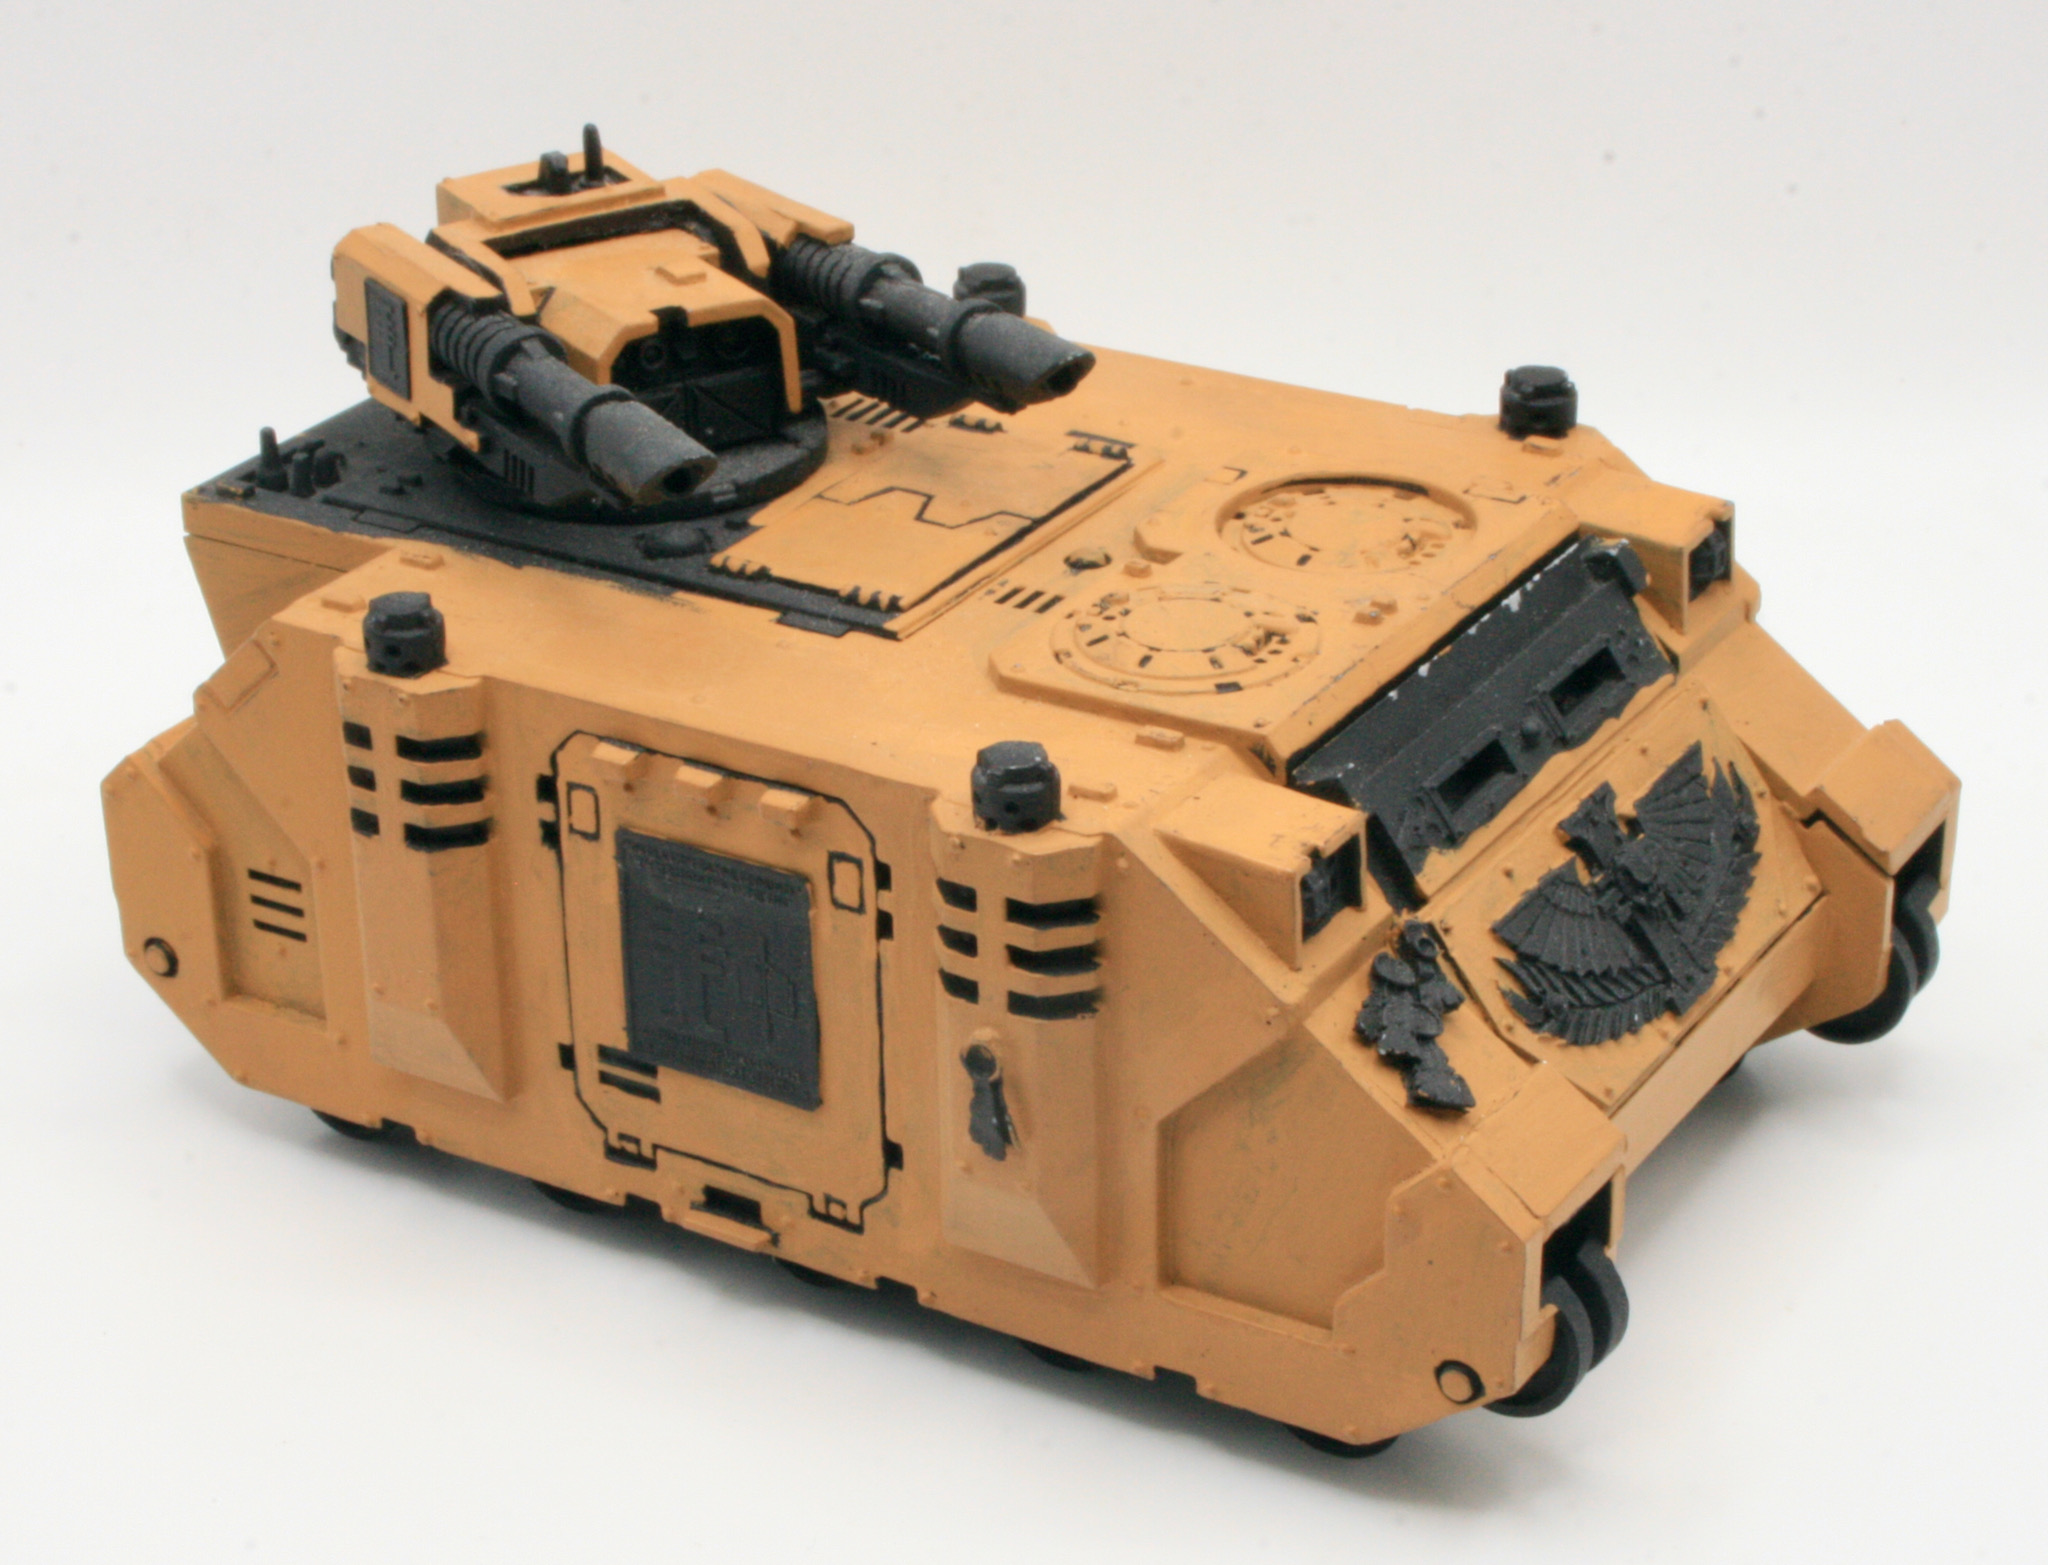
I then decided I wanted to add some more Grey Knights symbols, so I added more icons and purity seals. Some to the main weaponry and some to the back door.
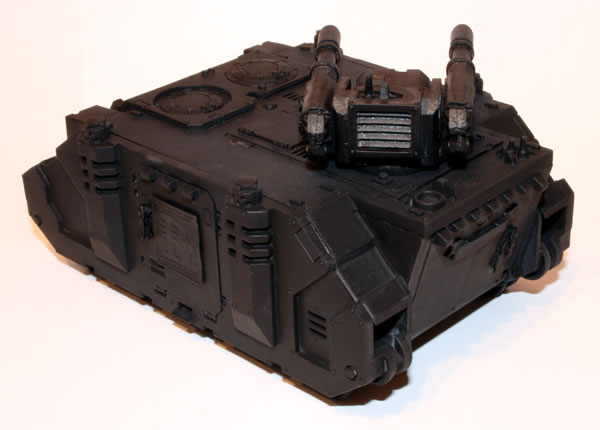
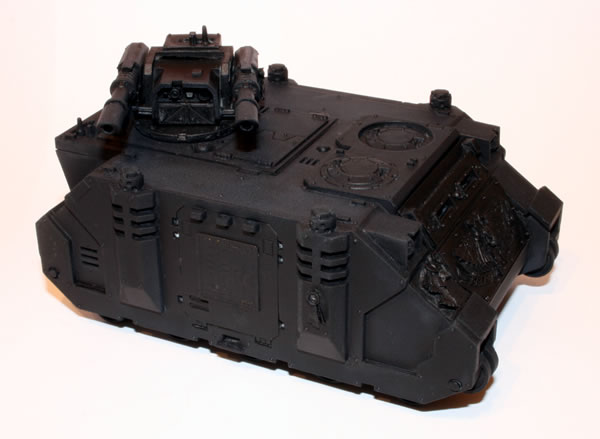
Next stage was a black undercoat.
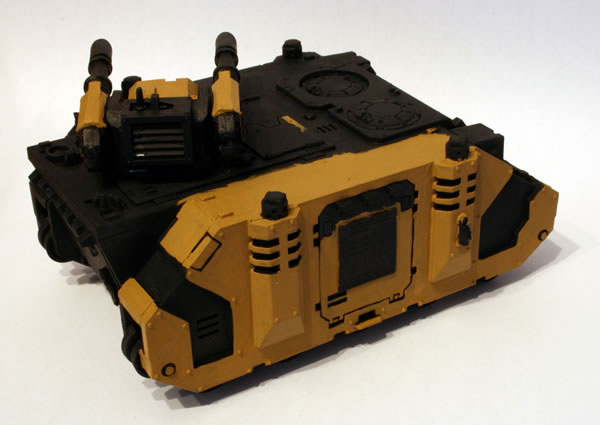
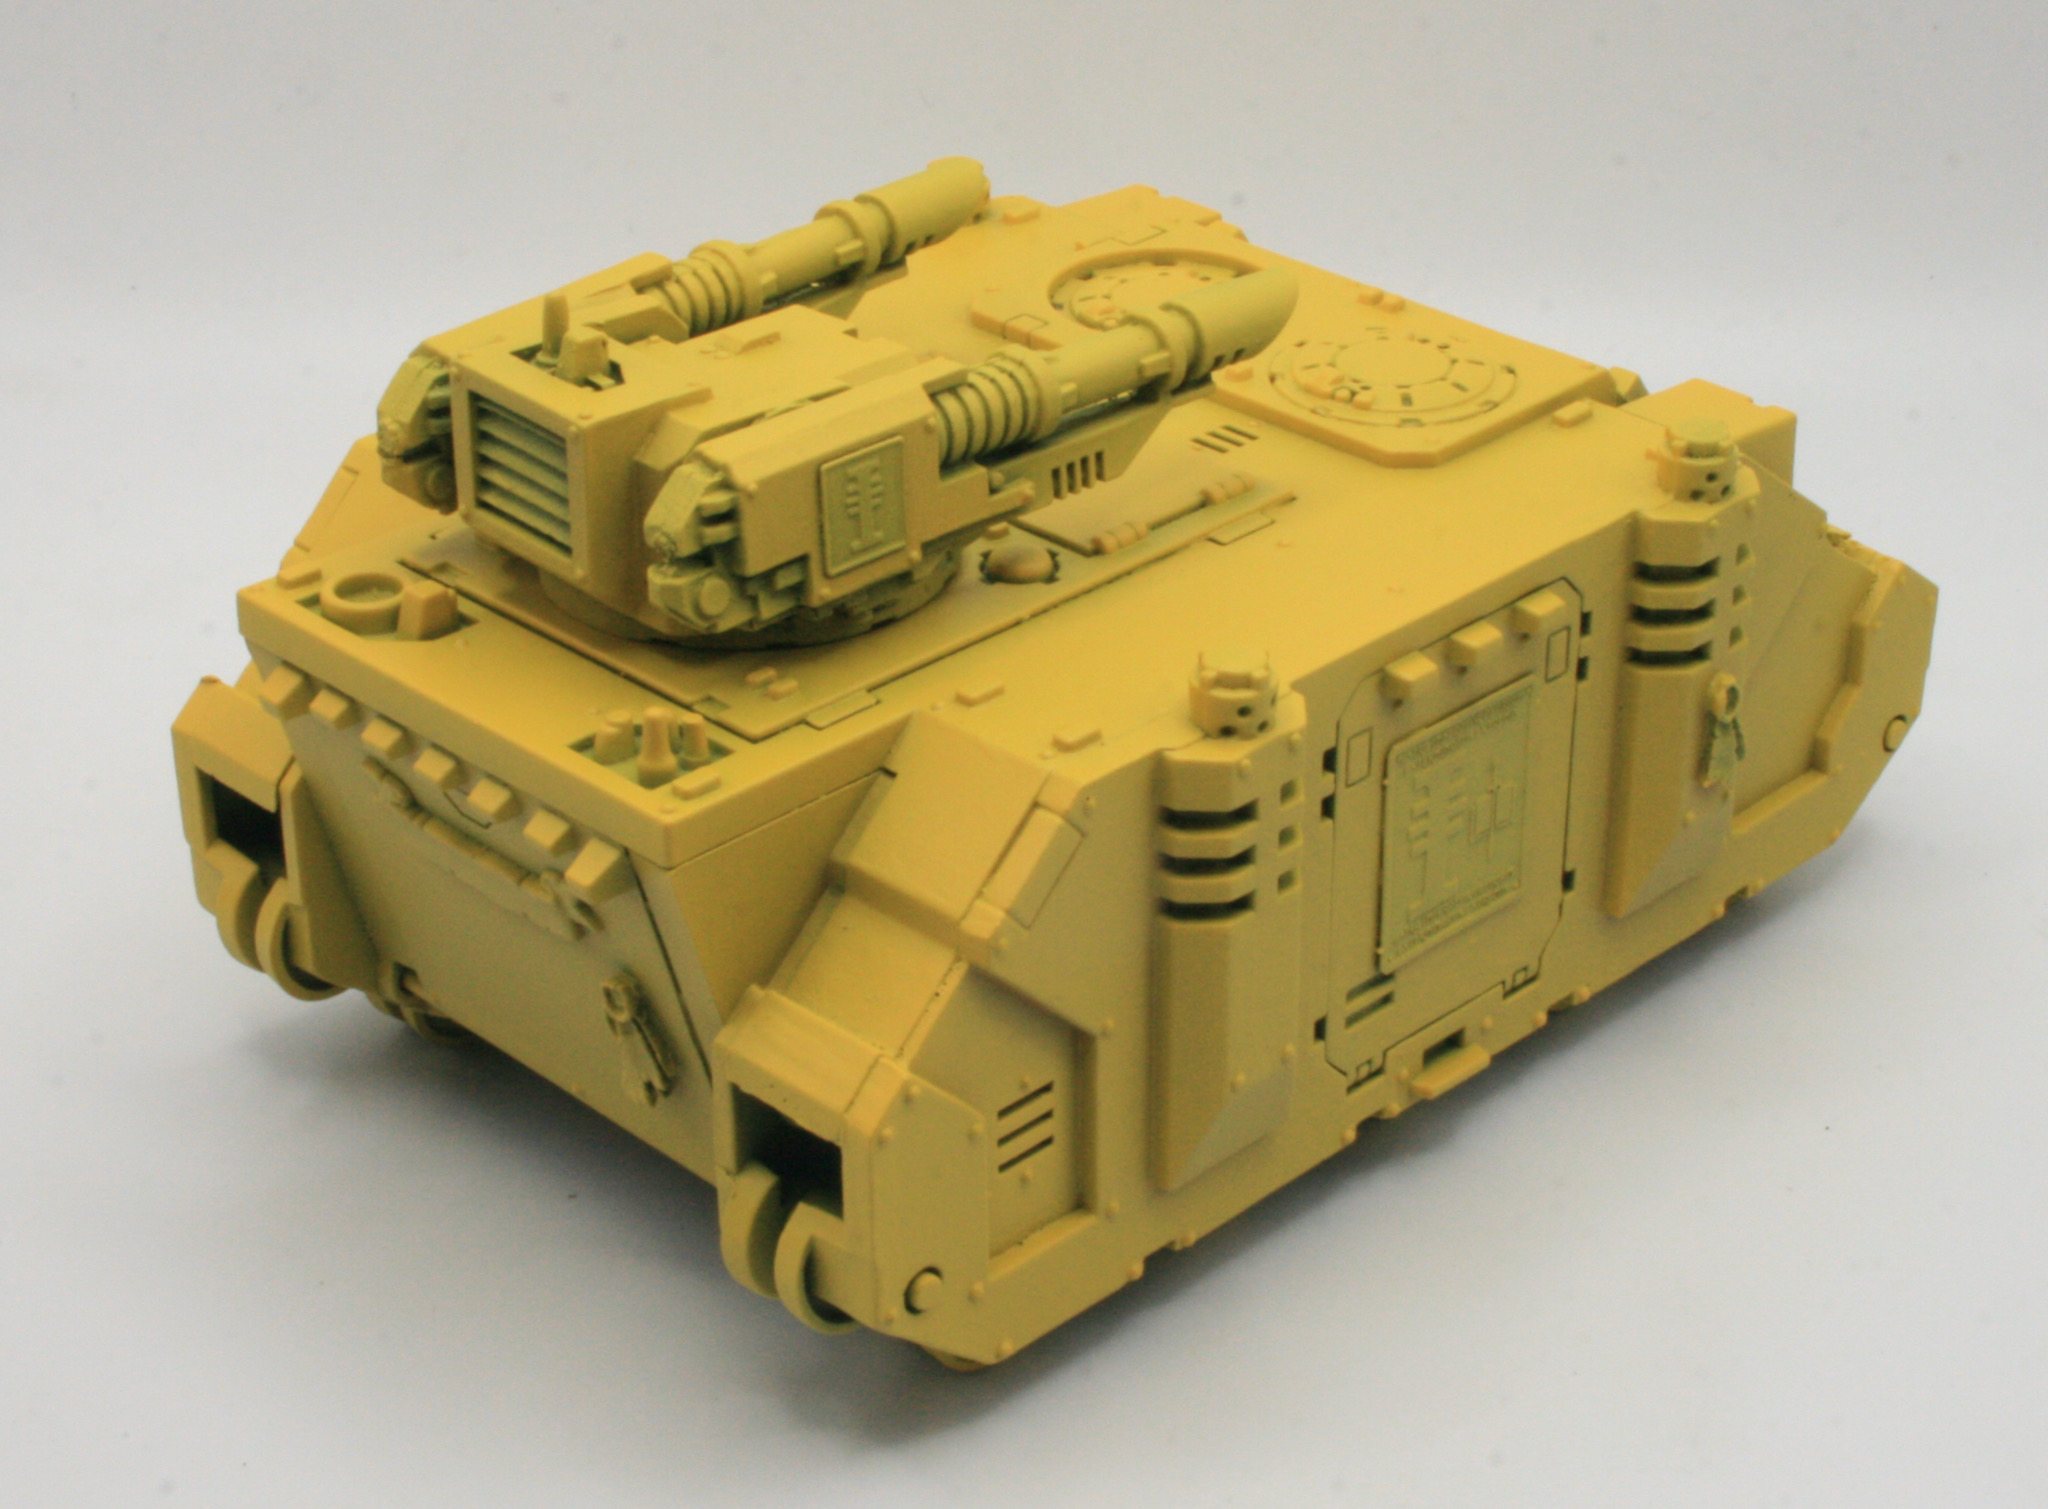
The next stage was to paint on the basecoat. For this I used the Foundation Paints from Games Workshop, specifically Tausept Ochre.
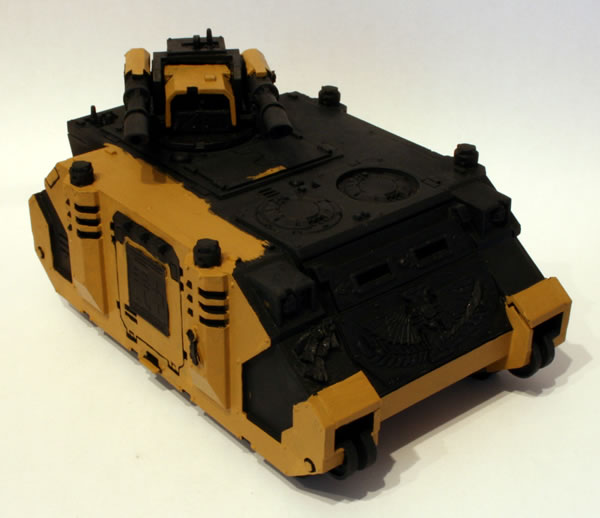


More basecoat painted, as you can see this is getting nearly done now.


I actually started this model back in 2006, I recently retrieved it from storage and decided that I would try and finish painting it. I realised I had made quite significant progress.
Though as you can see the basecoat wasn’t covering the black undercoat very well.
I was using Tausept Ochre as the base coat, however having liked the paint scheme I was using on my Deimos-pattern Rhino, I decided that I would paint the Razorback in the same scheme.
It does have a fair amount of Inquisitorial and Grey Knights iconography on the model, but I have decided to leave it on.
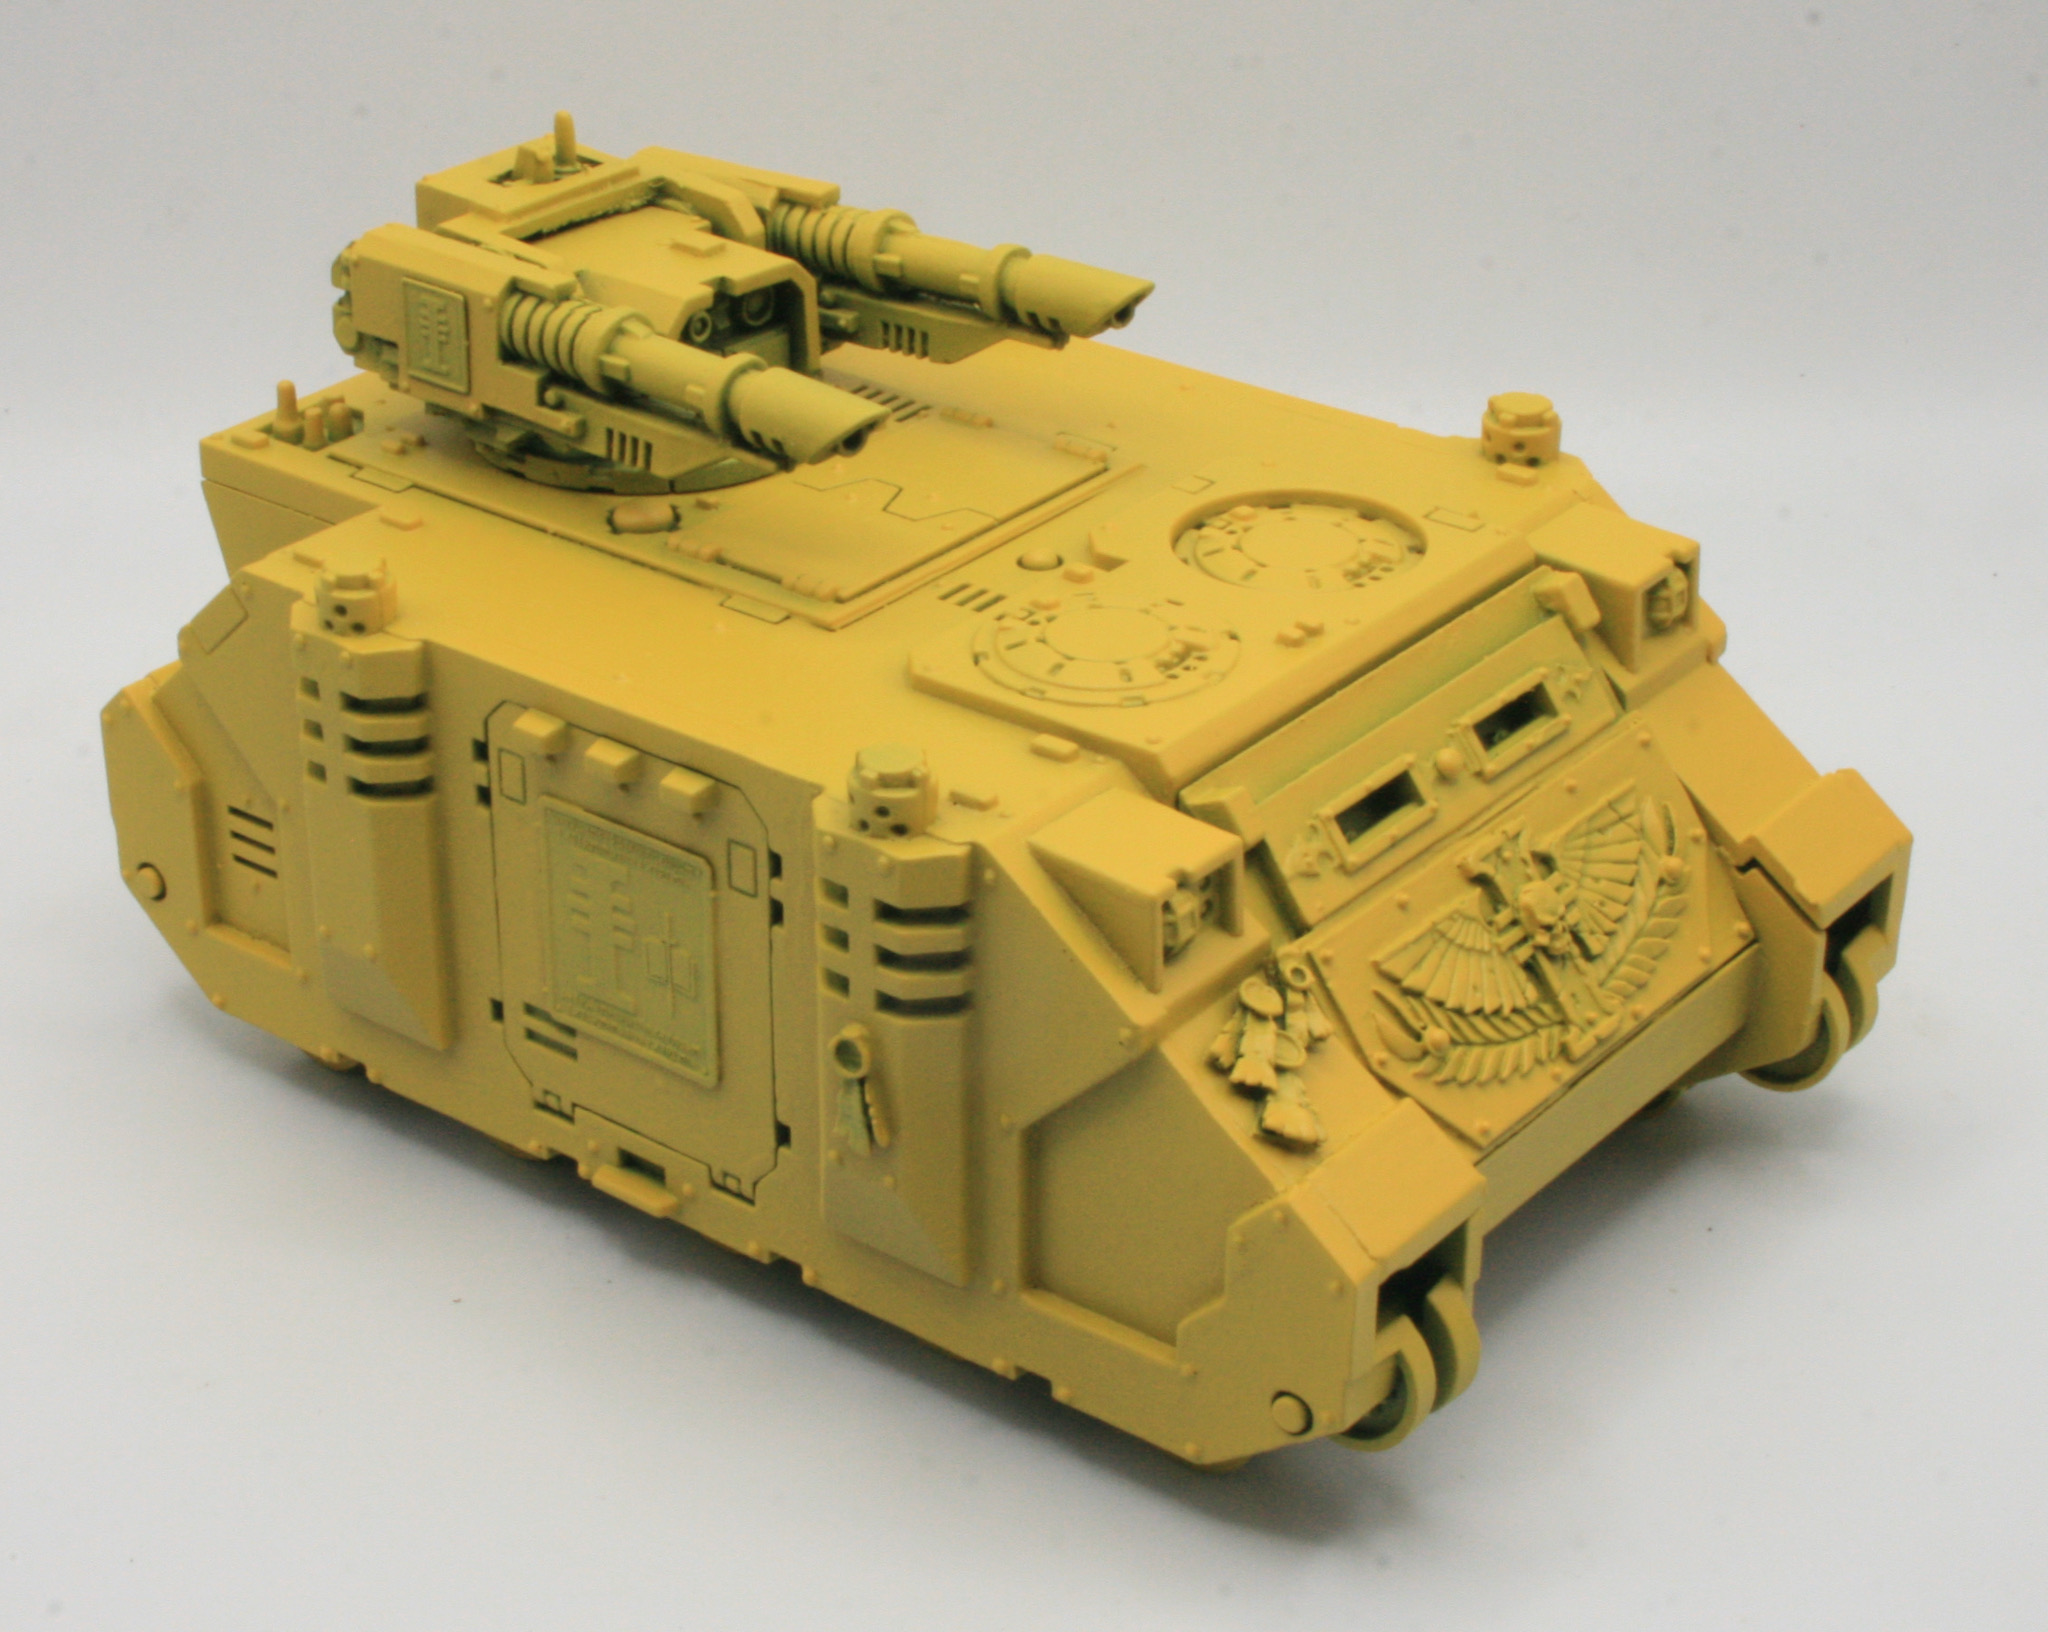
The first thing I did was spray the underneath of the model with Citadel Zandri Dust.
Games Workshop don’t do a yellow spray and I don’t have an airbrush. I did use a paint comparison site to find a close alternative to Yriel Yellow. The Daemonic Yellow spray from Army Painter seemed like a good choice, and my local FLGS had one in stock, which I bought for the Deimos-pattern Rhino.
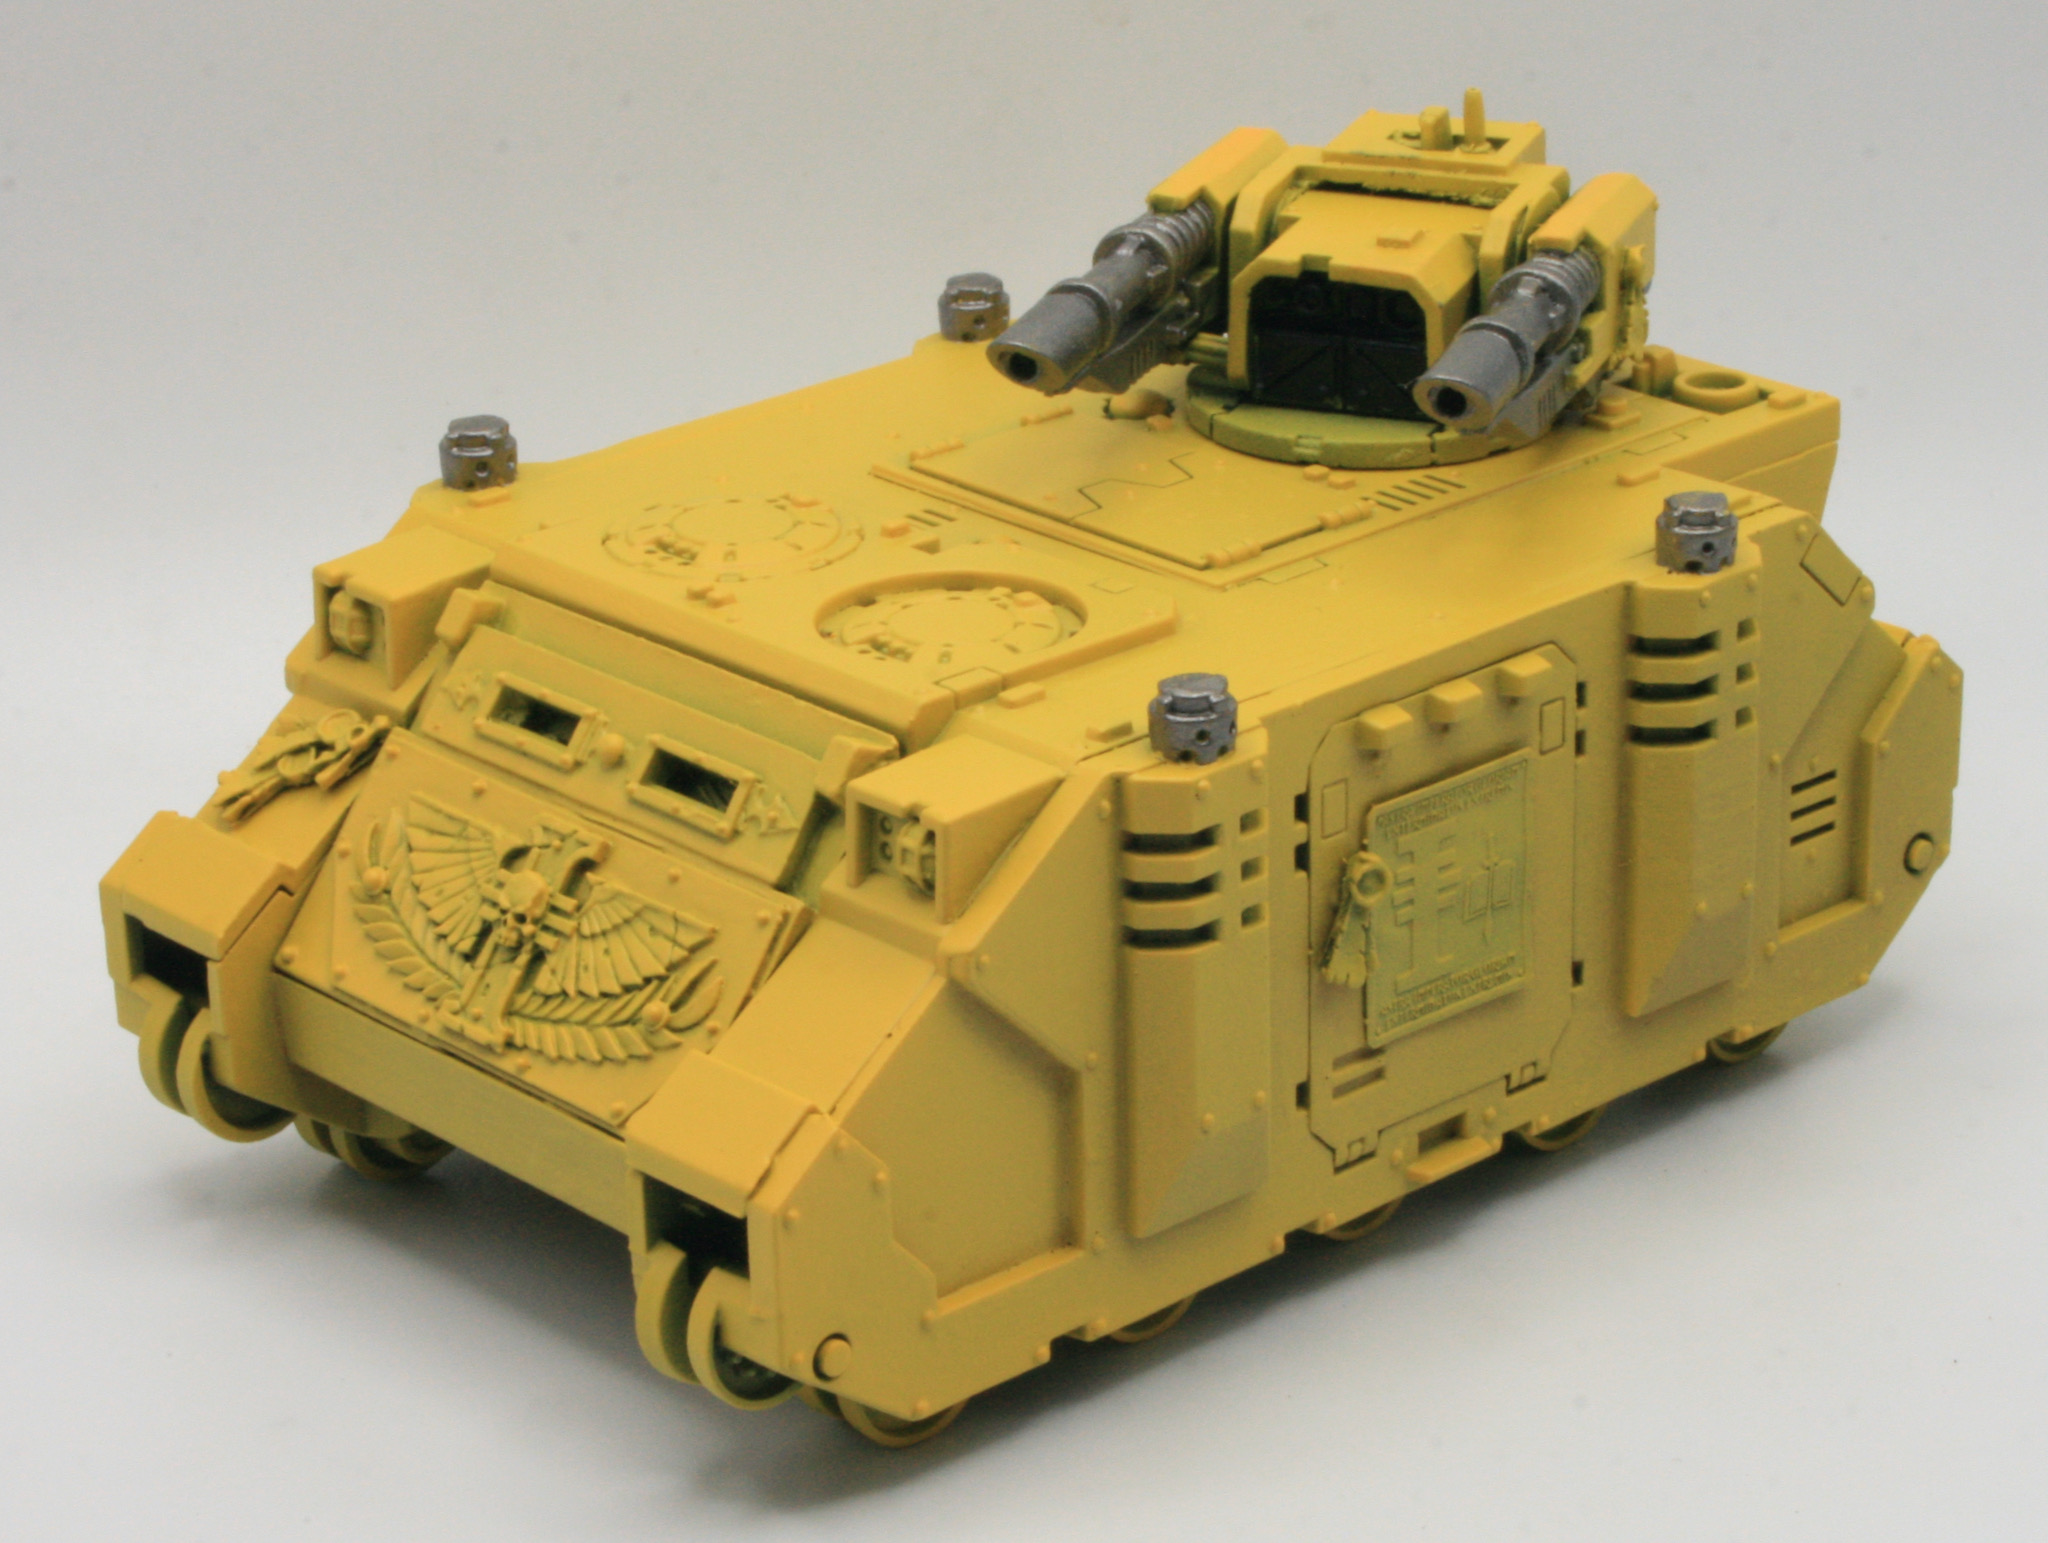
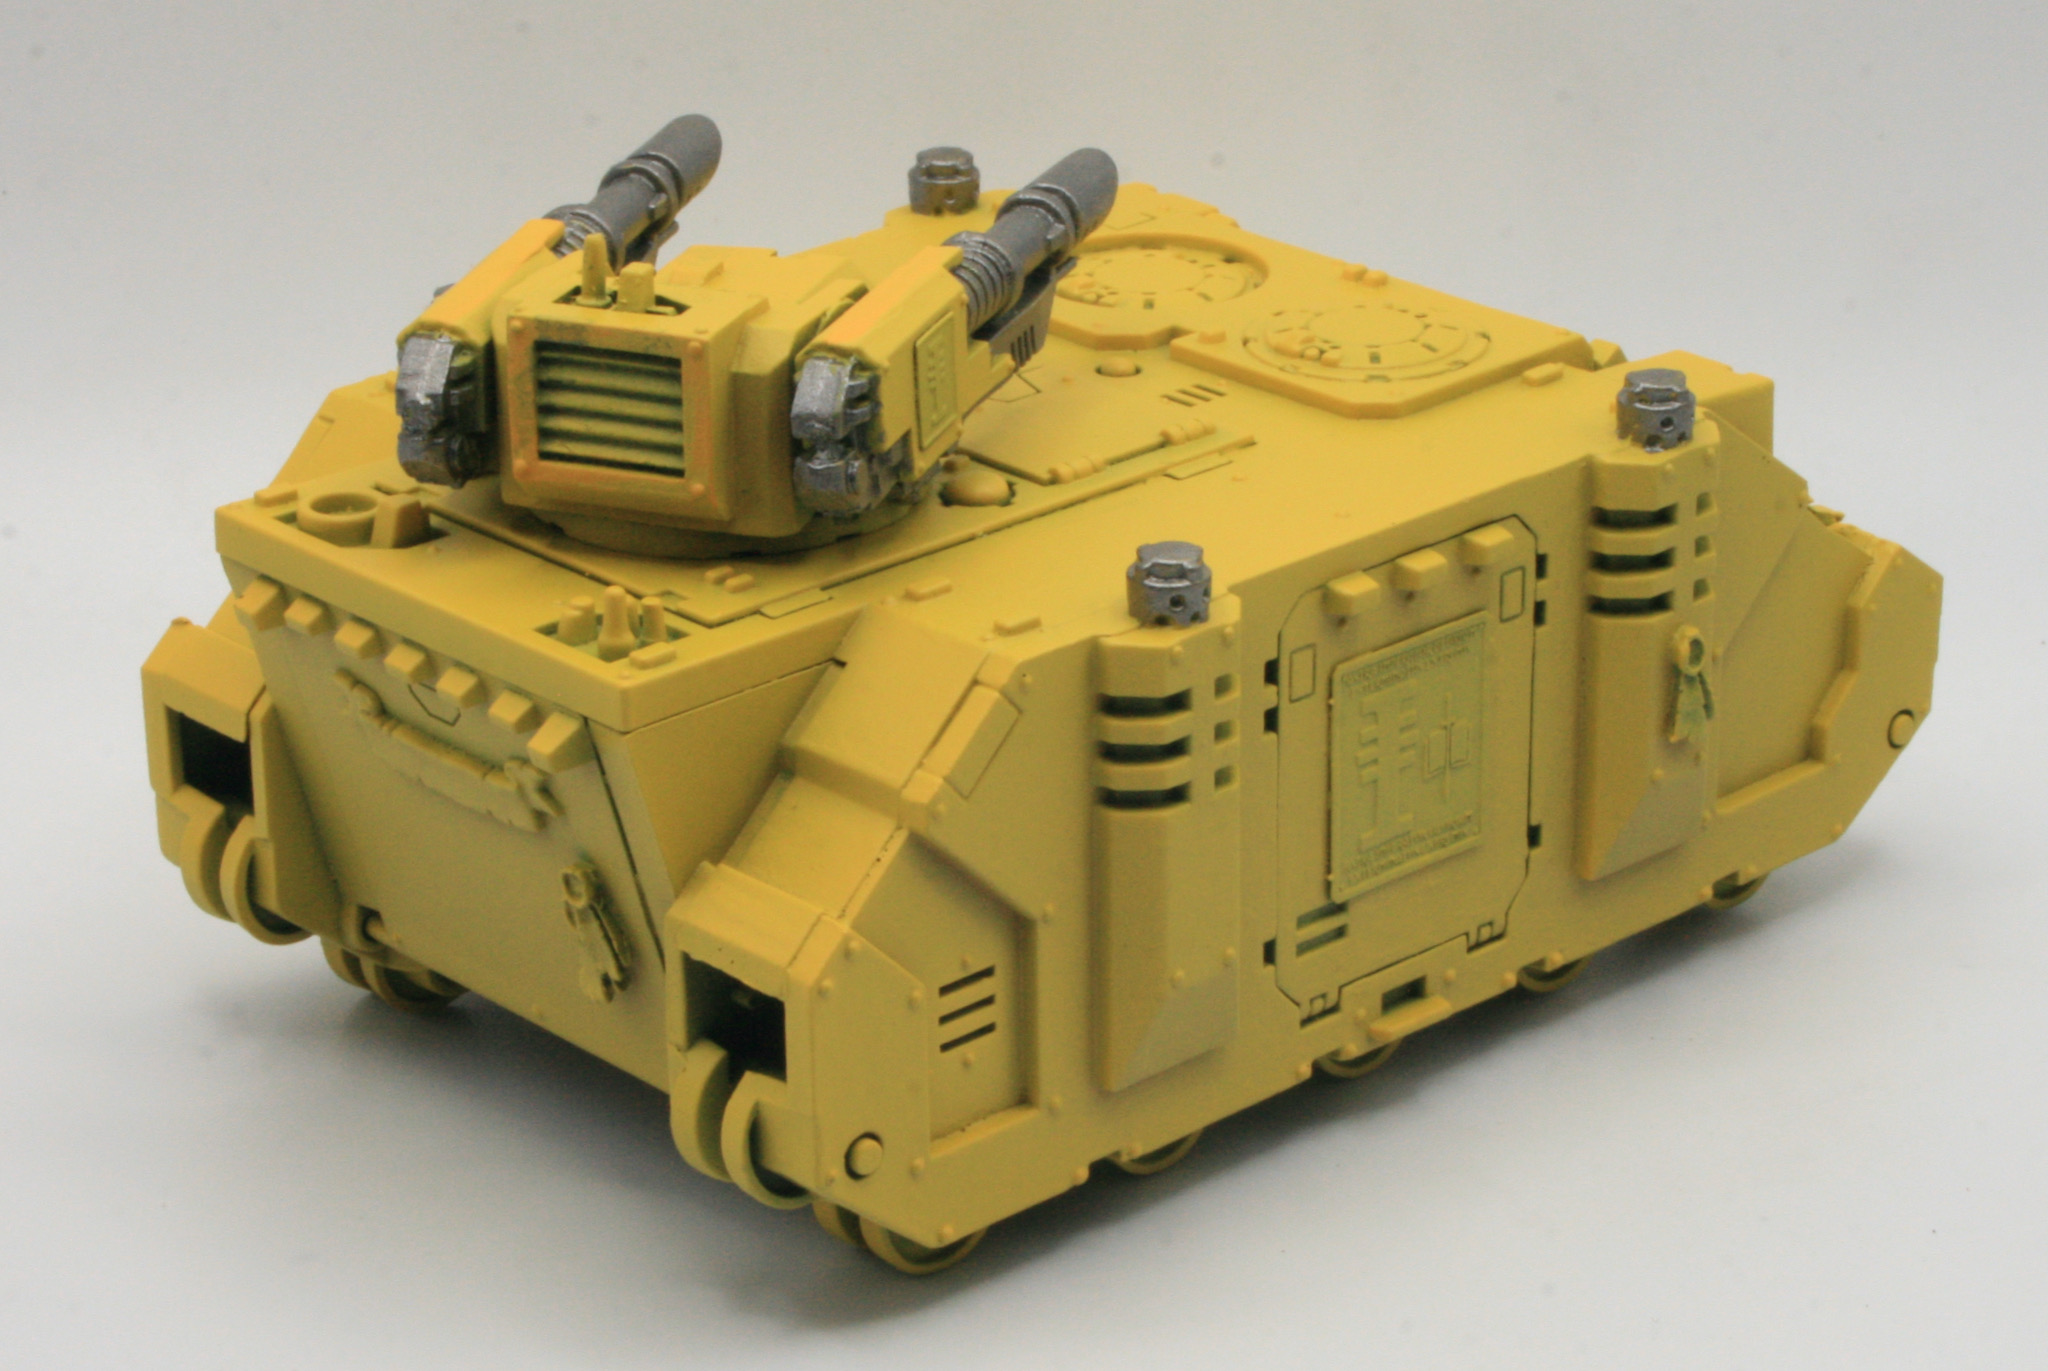
I gave the model a couple of light coats of the Daemonic Yellow.
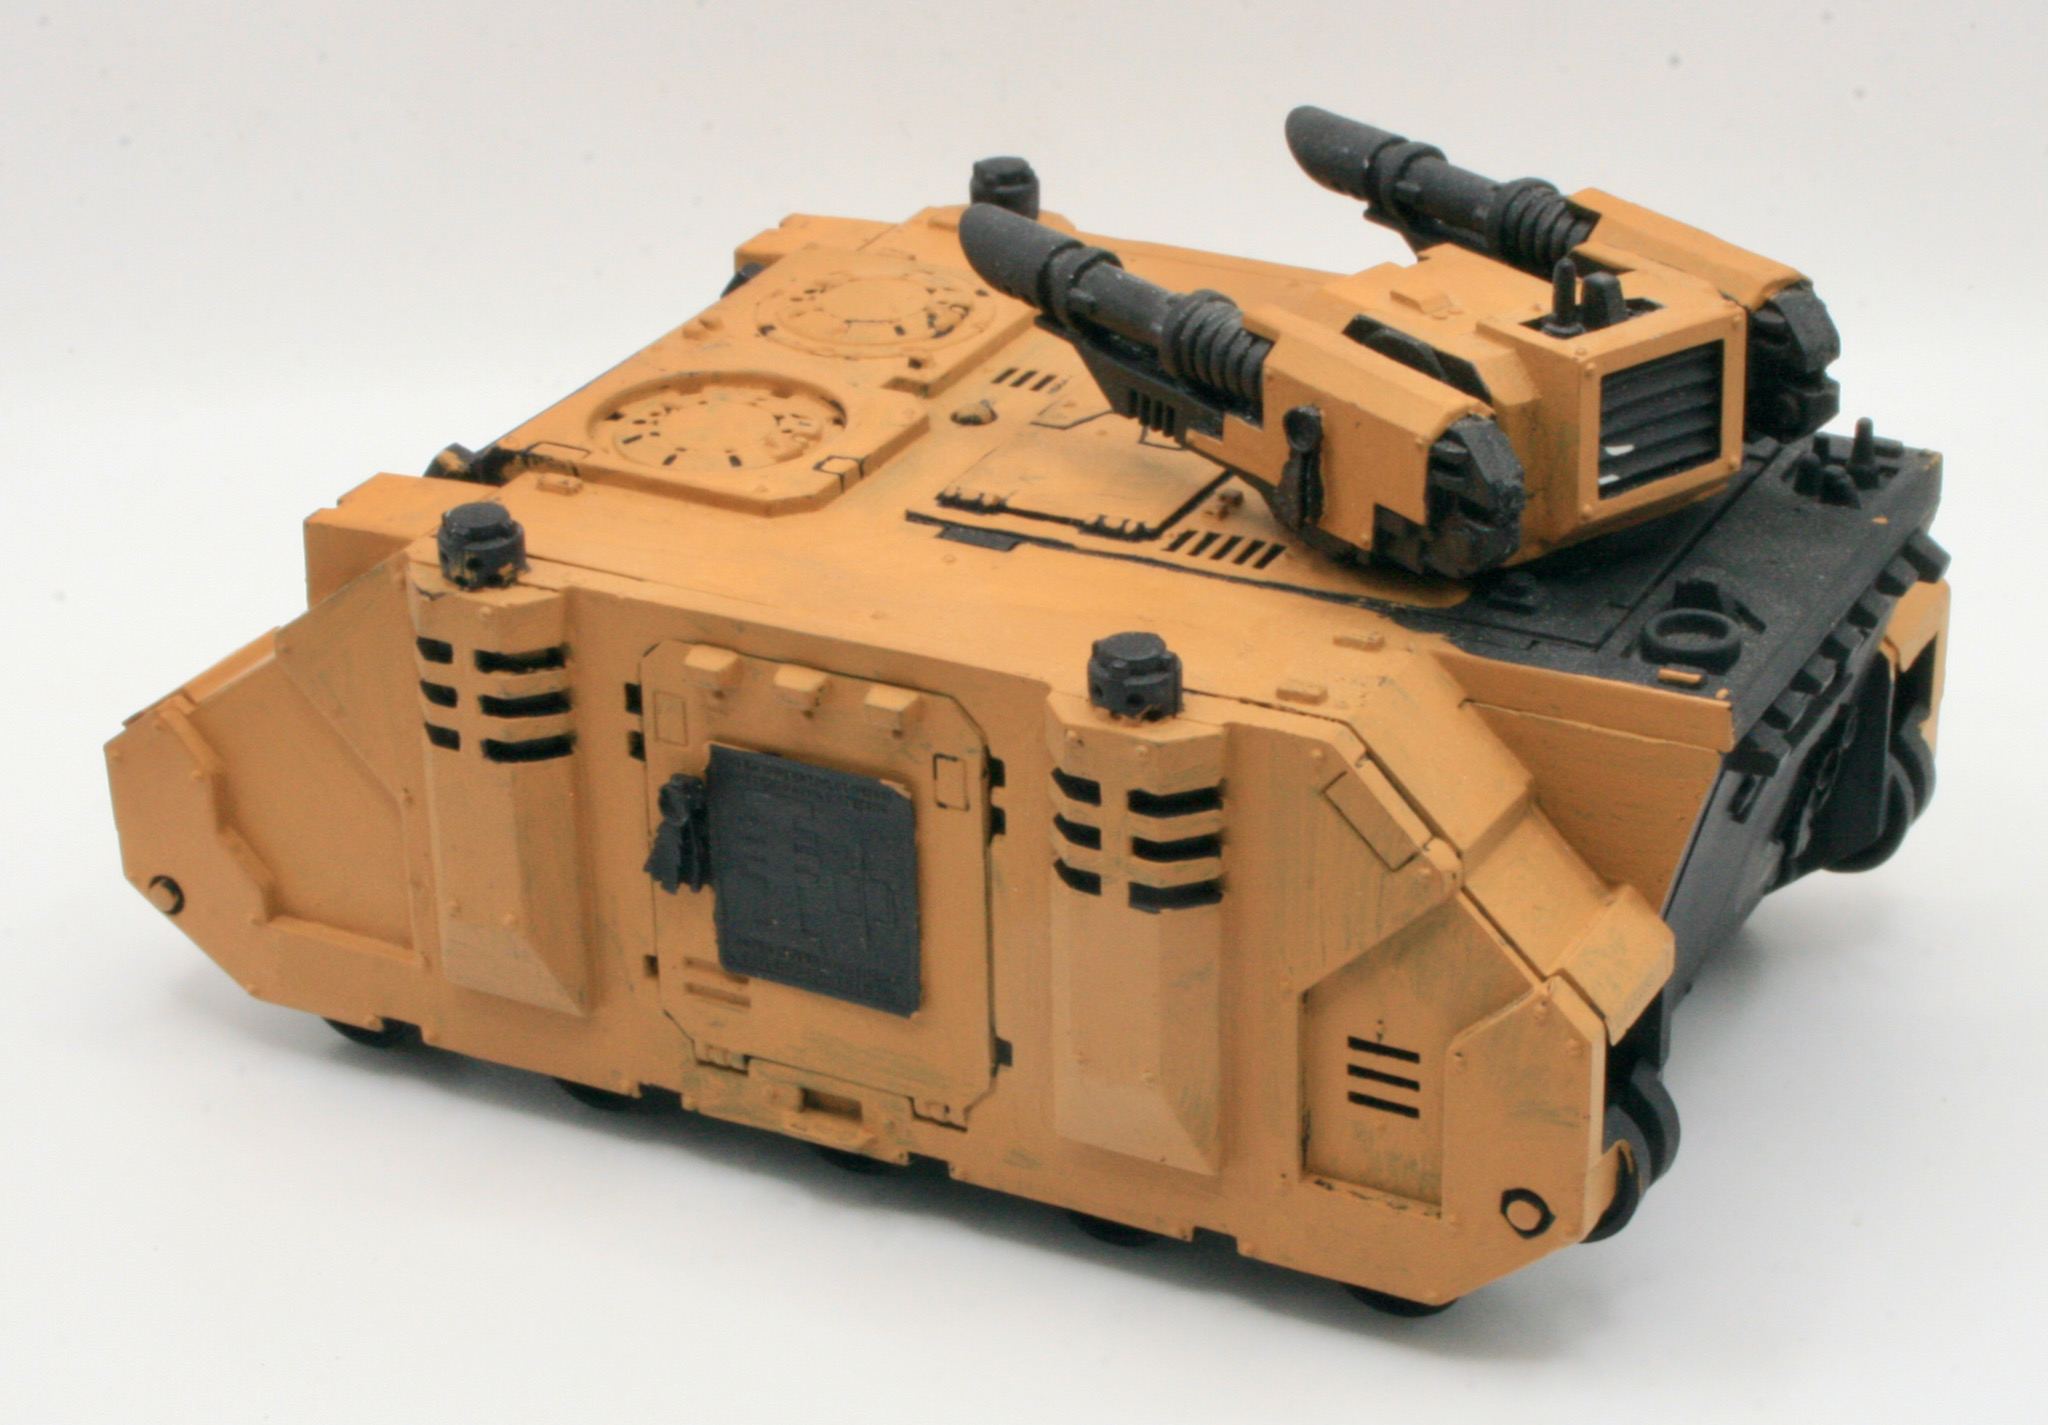
The next stage was to paint the exhausts and weaponry.
The lascannons on the top turret were painted with Citadel Leadbelcher.
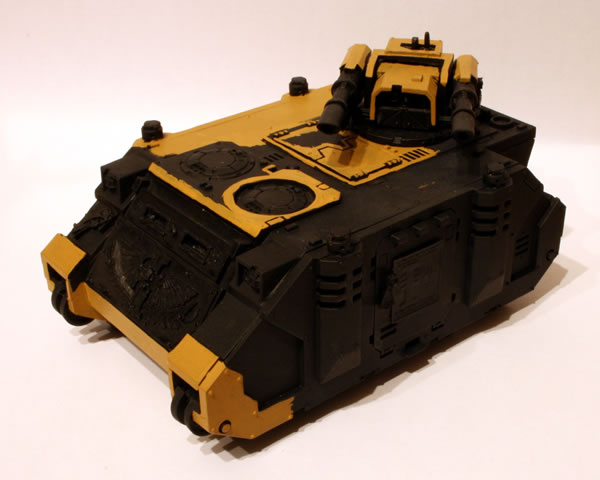
Another view.
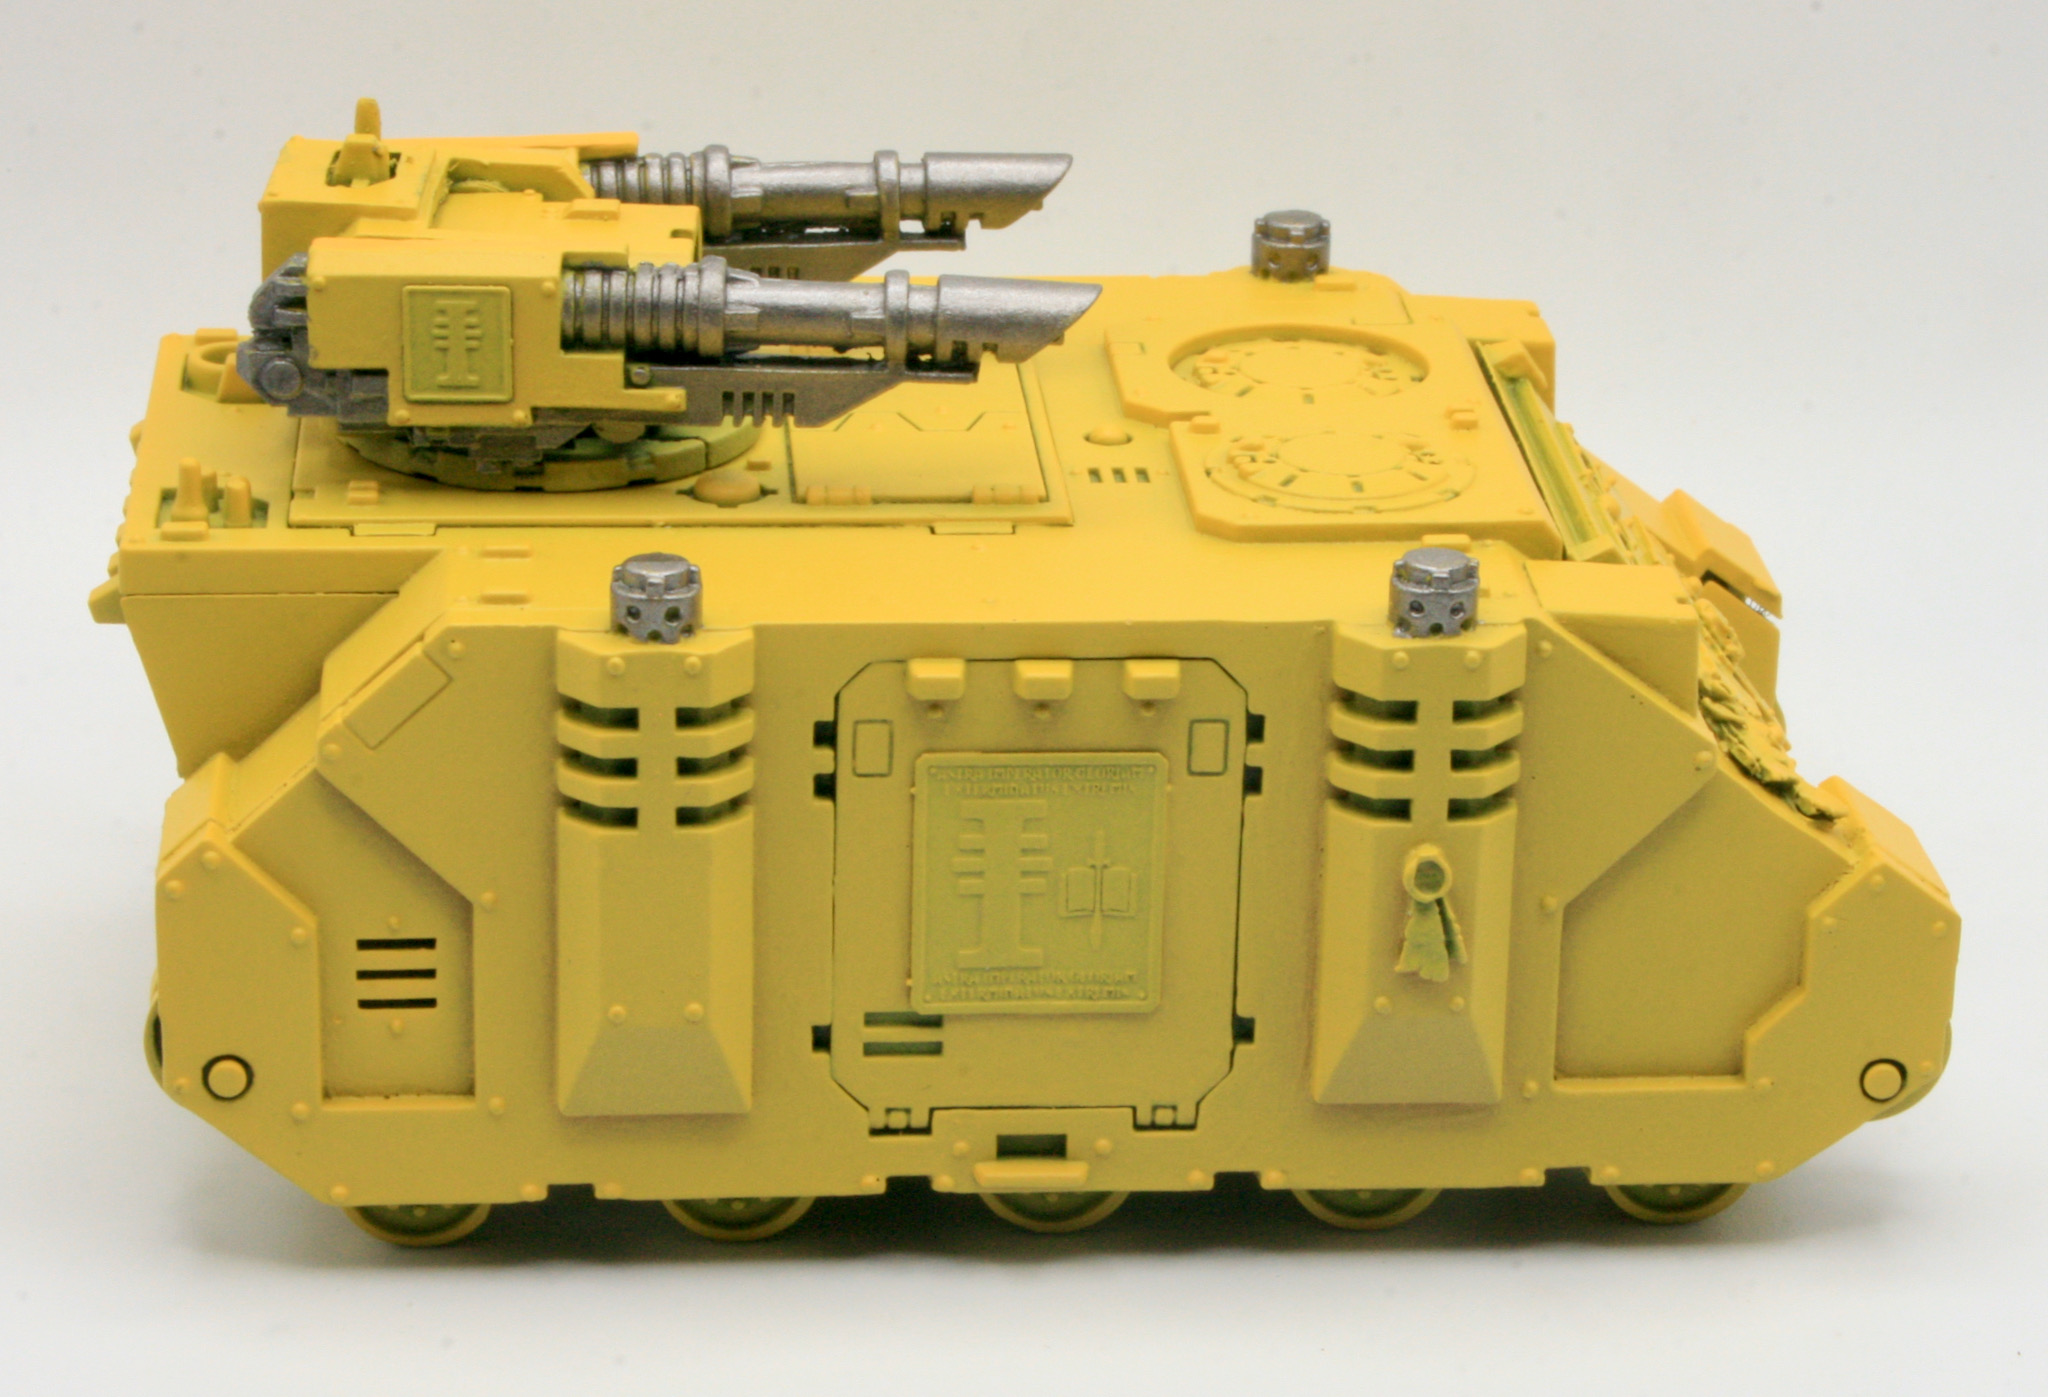
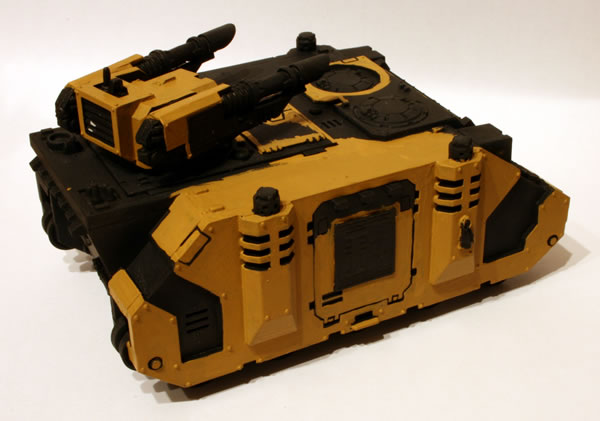
The rear view.
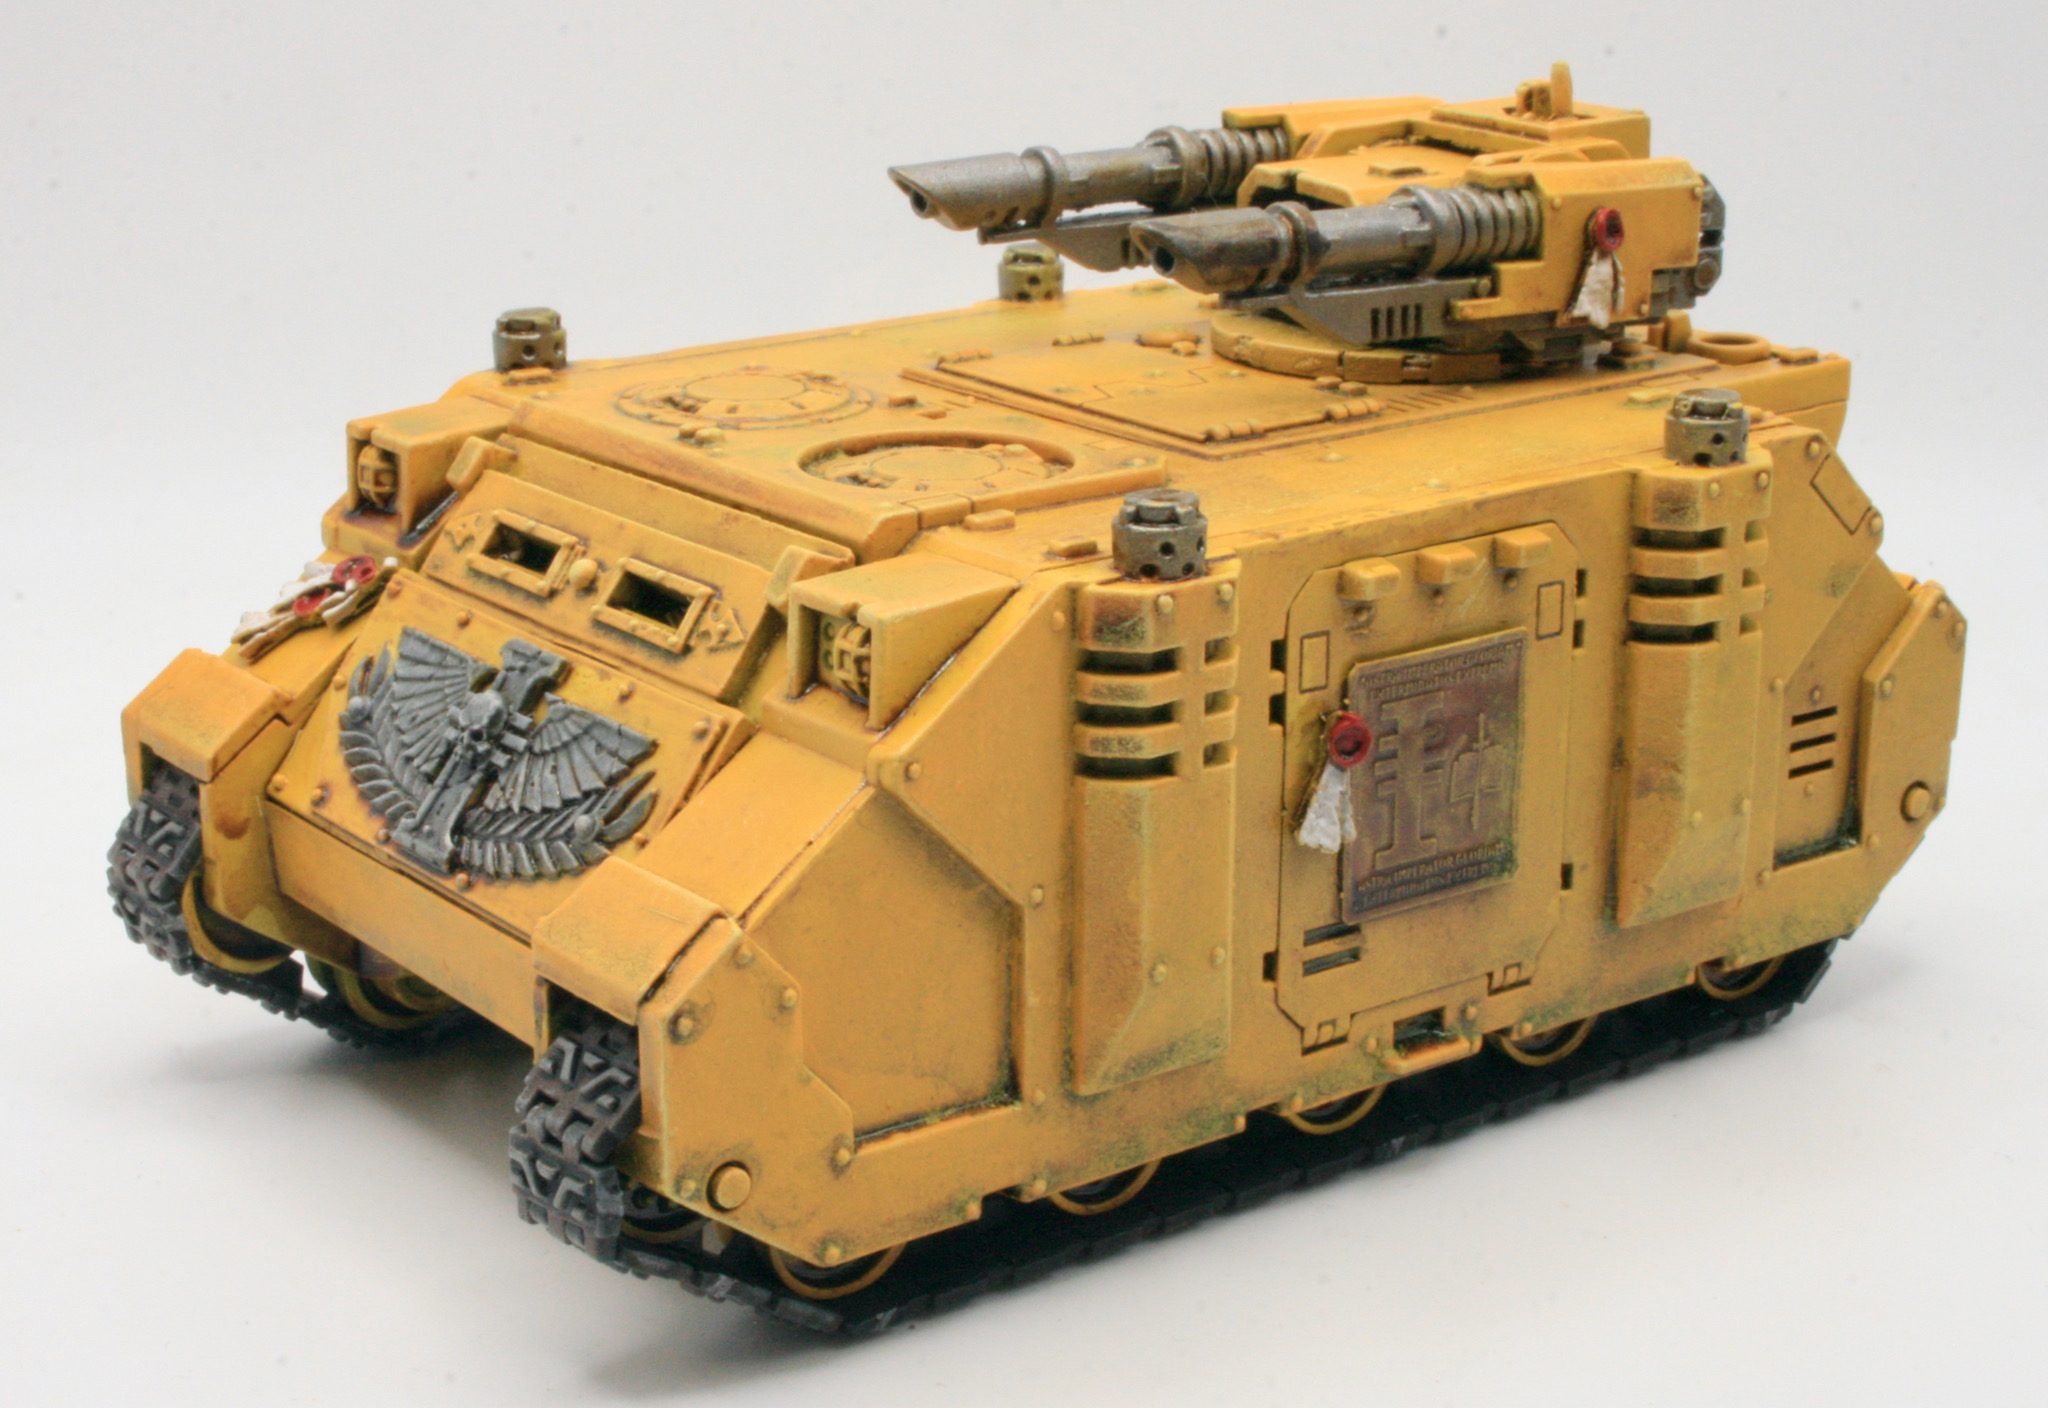
The next step was painting the iconography and purity seals. Purity seals were Ushabti Bone for the paper and Mephiston Red for the red wax.

For the brass etchings, I did consider painting these up, but in the end I painted them with a base coat of Warplock Bronze.

I had intended to use Sycorax Bronze, however my post of this was a little dried up… so I had to throw it away. I did try out a wash on the main weaponry to see the effect it would have on the bronze painted iconography.

I also painted the door panels with Warplock Bronze.


This is the front of the Razorback.

I painted the front icon with Mechanicus Standard Grey aiming for a stone effect, after shading and drybrushing.

So, there I was ready to shade my Razorback in the same way as my Deimos-pattern Rhino. I did bring up my painting guide on the website. Even so I completely misread what I had done! Instead of using Citadel Reikland Fleshshade Shade I used Seraphim Sepia Shade.
Thought I had used Seraphim Sepia Shade on the Rhino, the primary and first shade was in fact Reikland Fleshshade.
It seemed to be okay.


However it wasn’t quite the same look as the Rhino. So I got out the Reikland Fleshshade.


This again wasn’t quite right, so I did some more shading.


For the next stage I used some Citadel Layer Yriel Yellow. I took a large brush and gave the model, what I would call, a heavy drybrush. I put paint on the brush, and then used some kitchen towel to remove most of the paint, and then using a stippling process added paint to the model.

The plan was that this would take the flat surfaces of the model back to the base colour.

I then gave the model a light drybrush of Citadel Layer Dorn Yellow.


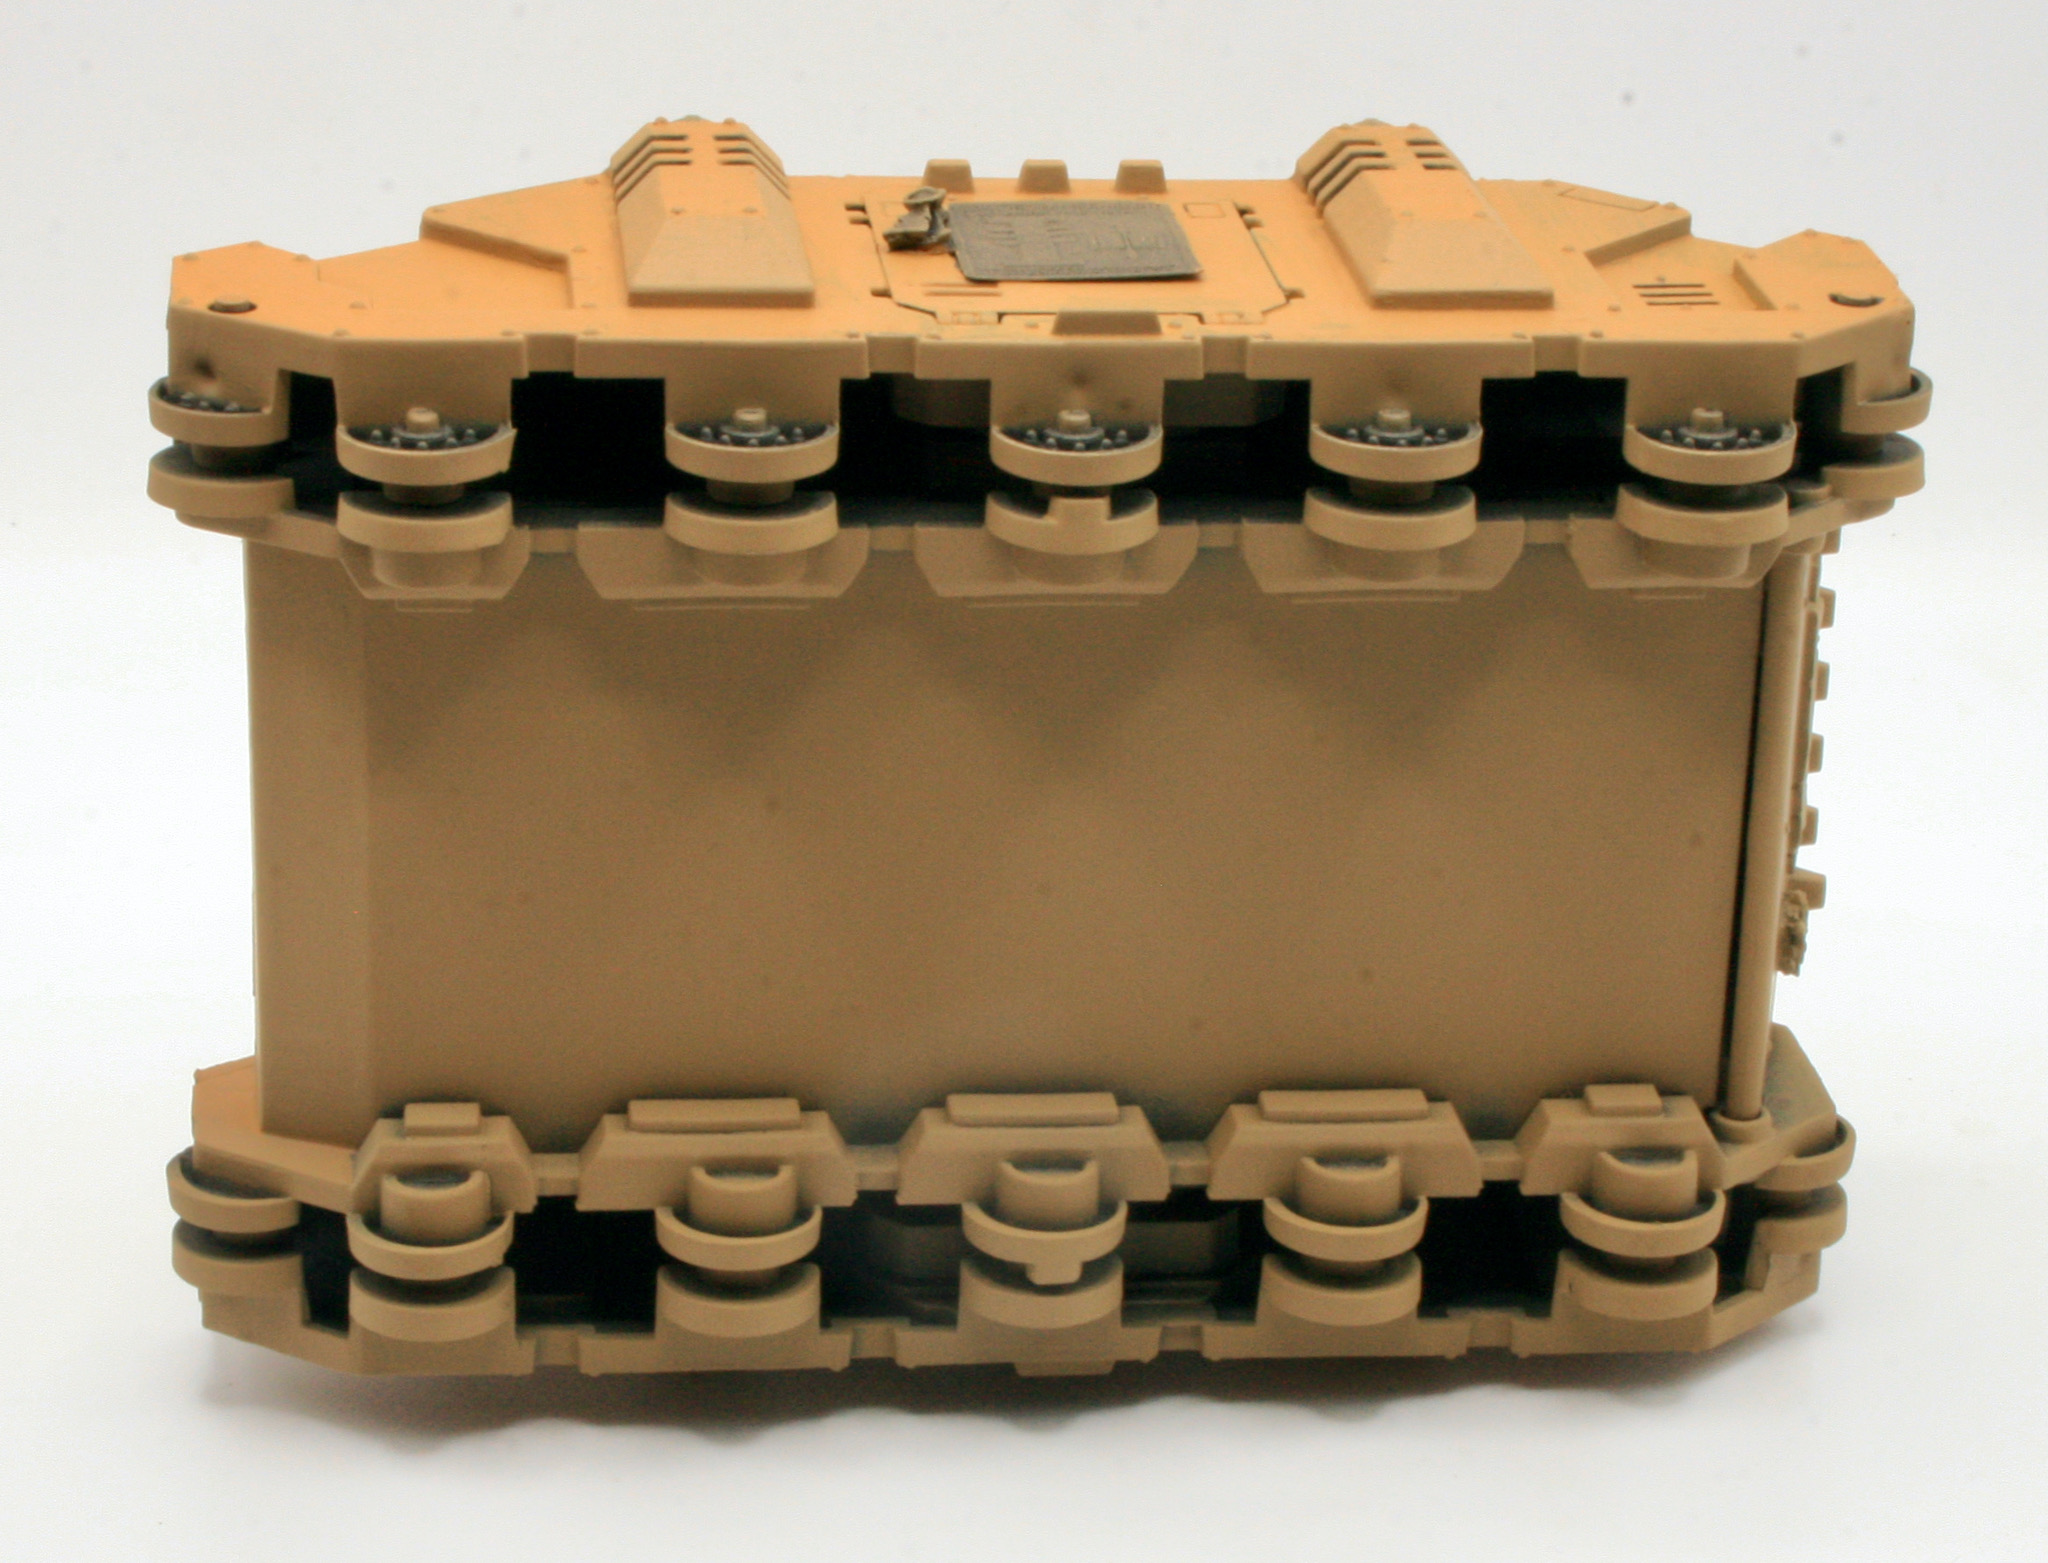
The tracks for the Razorback were given a spray of Mechanicus Standard Grey.

I then did a heavy drybrush of Gorthor Brown. The tracks, once dry, I then gave them a wash of Agrax Earthshade Shade. I then did a heavy drybrush of Gorthor Brown. The tracks, once dry, I then gave them a wash of Agrax Earthshade Shade. After painting and shading them, I drybrushed them lightly, first with Leadbelcher. I then did a very light drybrush with Terminatus Stone.

The next step was to paint and highlight the iconography.

This is to brighten up the purity seals and other iconography after it was dulled down by the shades and washes.

I then glued the tracks to the Razorback using superglue.

There is still some work to do with this model, but I am pleased I have made progress and nearly finished it.

