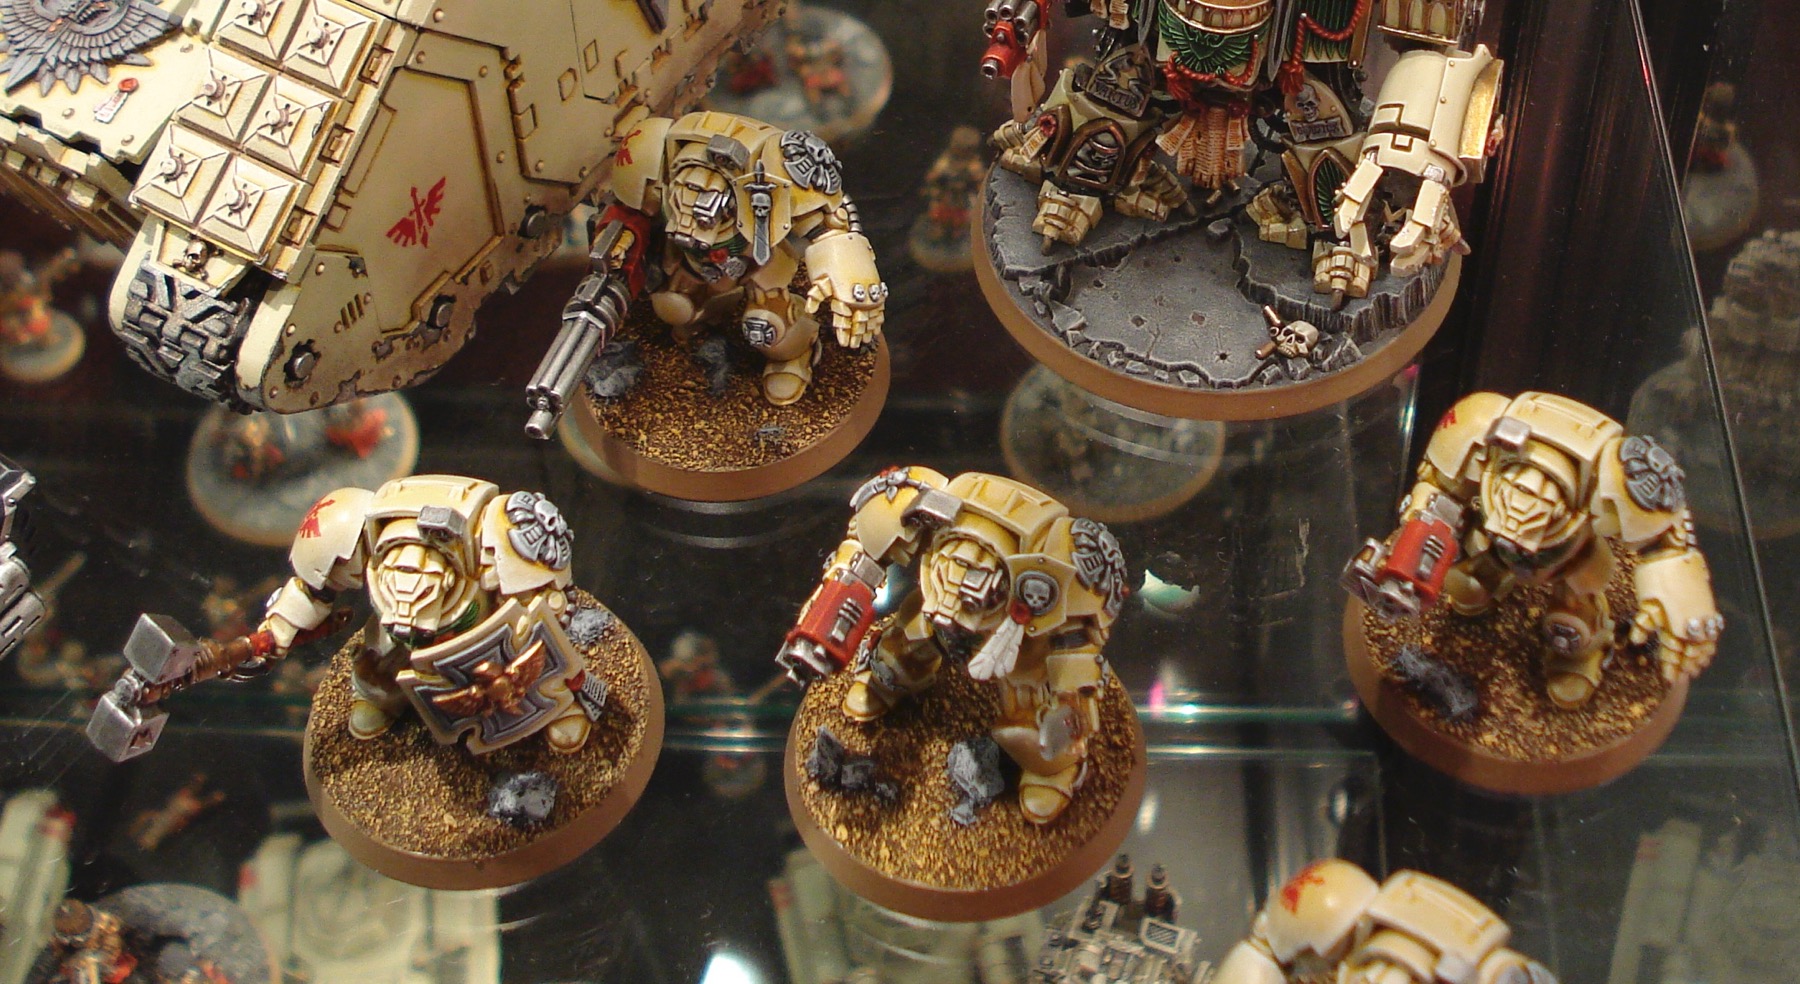
Grey Knights can use Land Raiders, when I first started putting this force together I knew that if I was going to get a Land Raider it would have to be the Forgeworld MkIIB Land Raider.
However I was also lucky enough to receive a second Land Raider as a present. It was the Terminus model, however I decided to build it as a standard Land Raider.
There is still some work to do with this model, but I am pleased I have made progress and nearly finished it.

Here is the stages I did and how the Land Raider changed on the workbench.
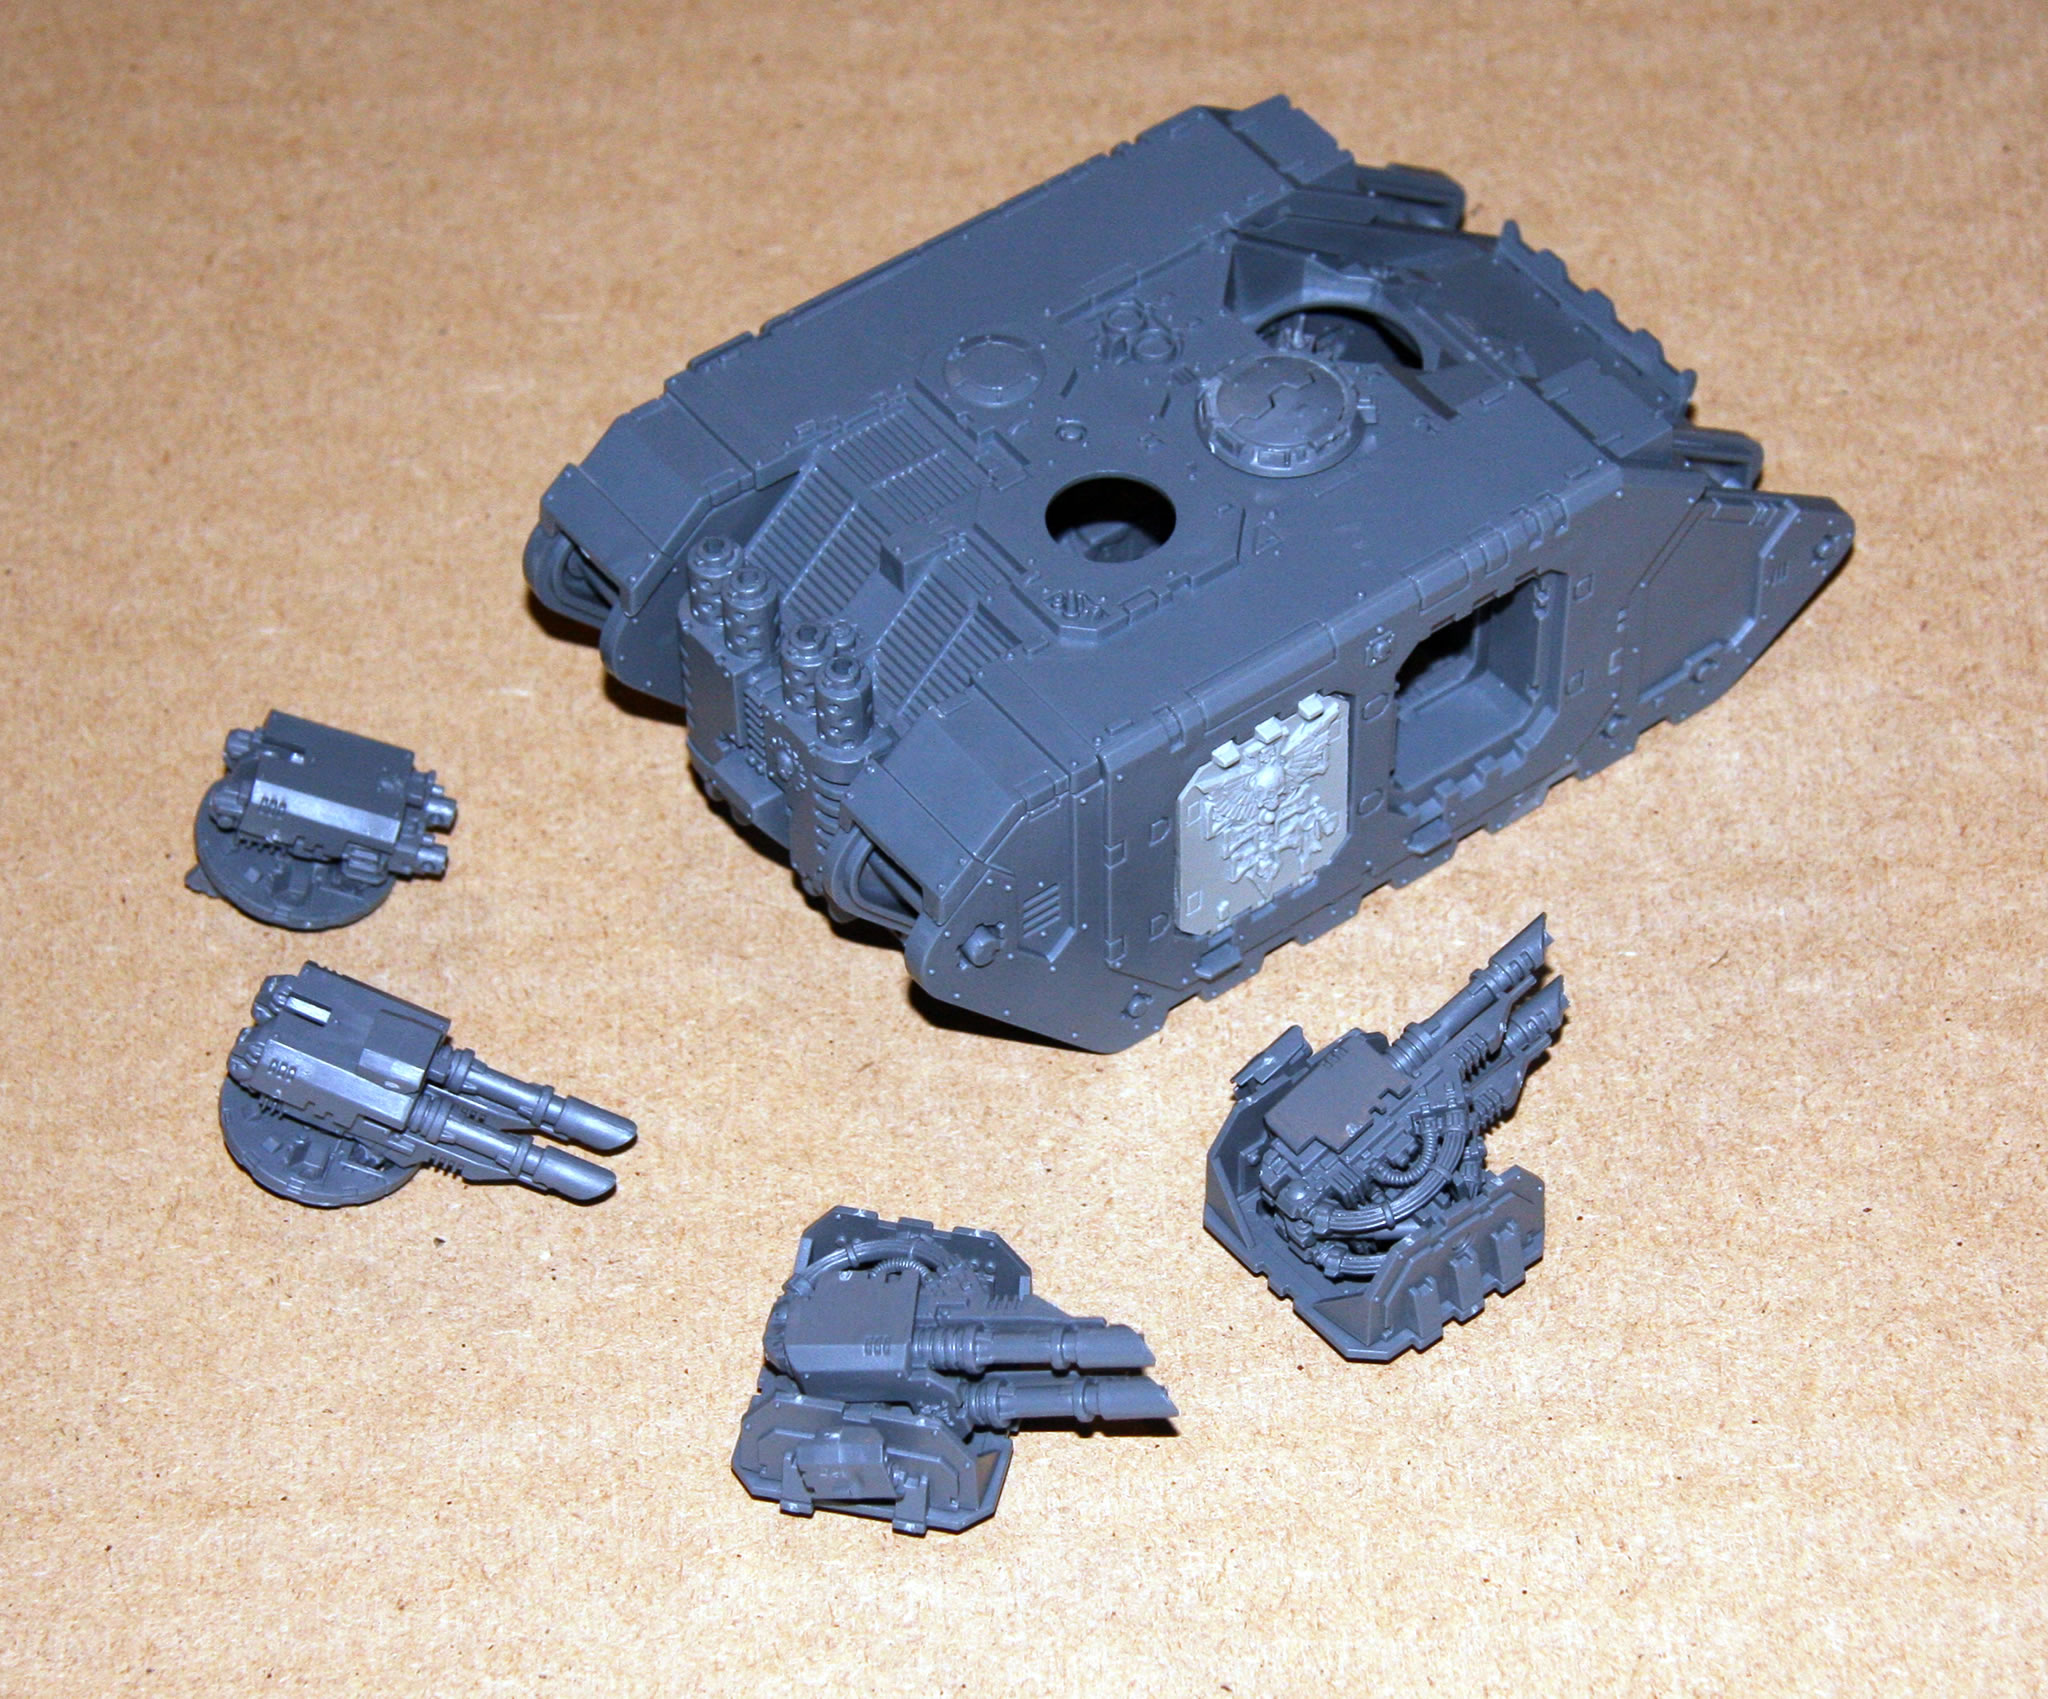
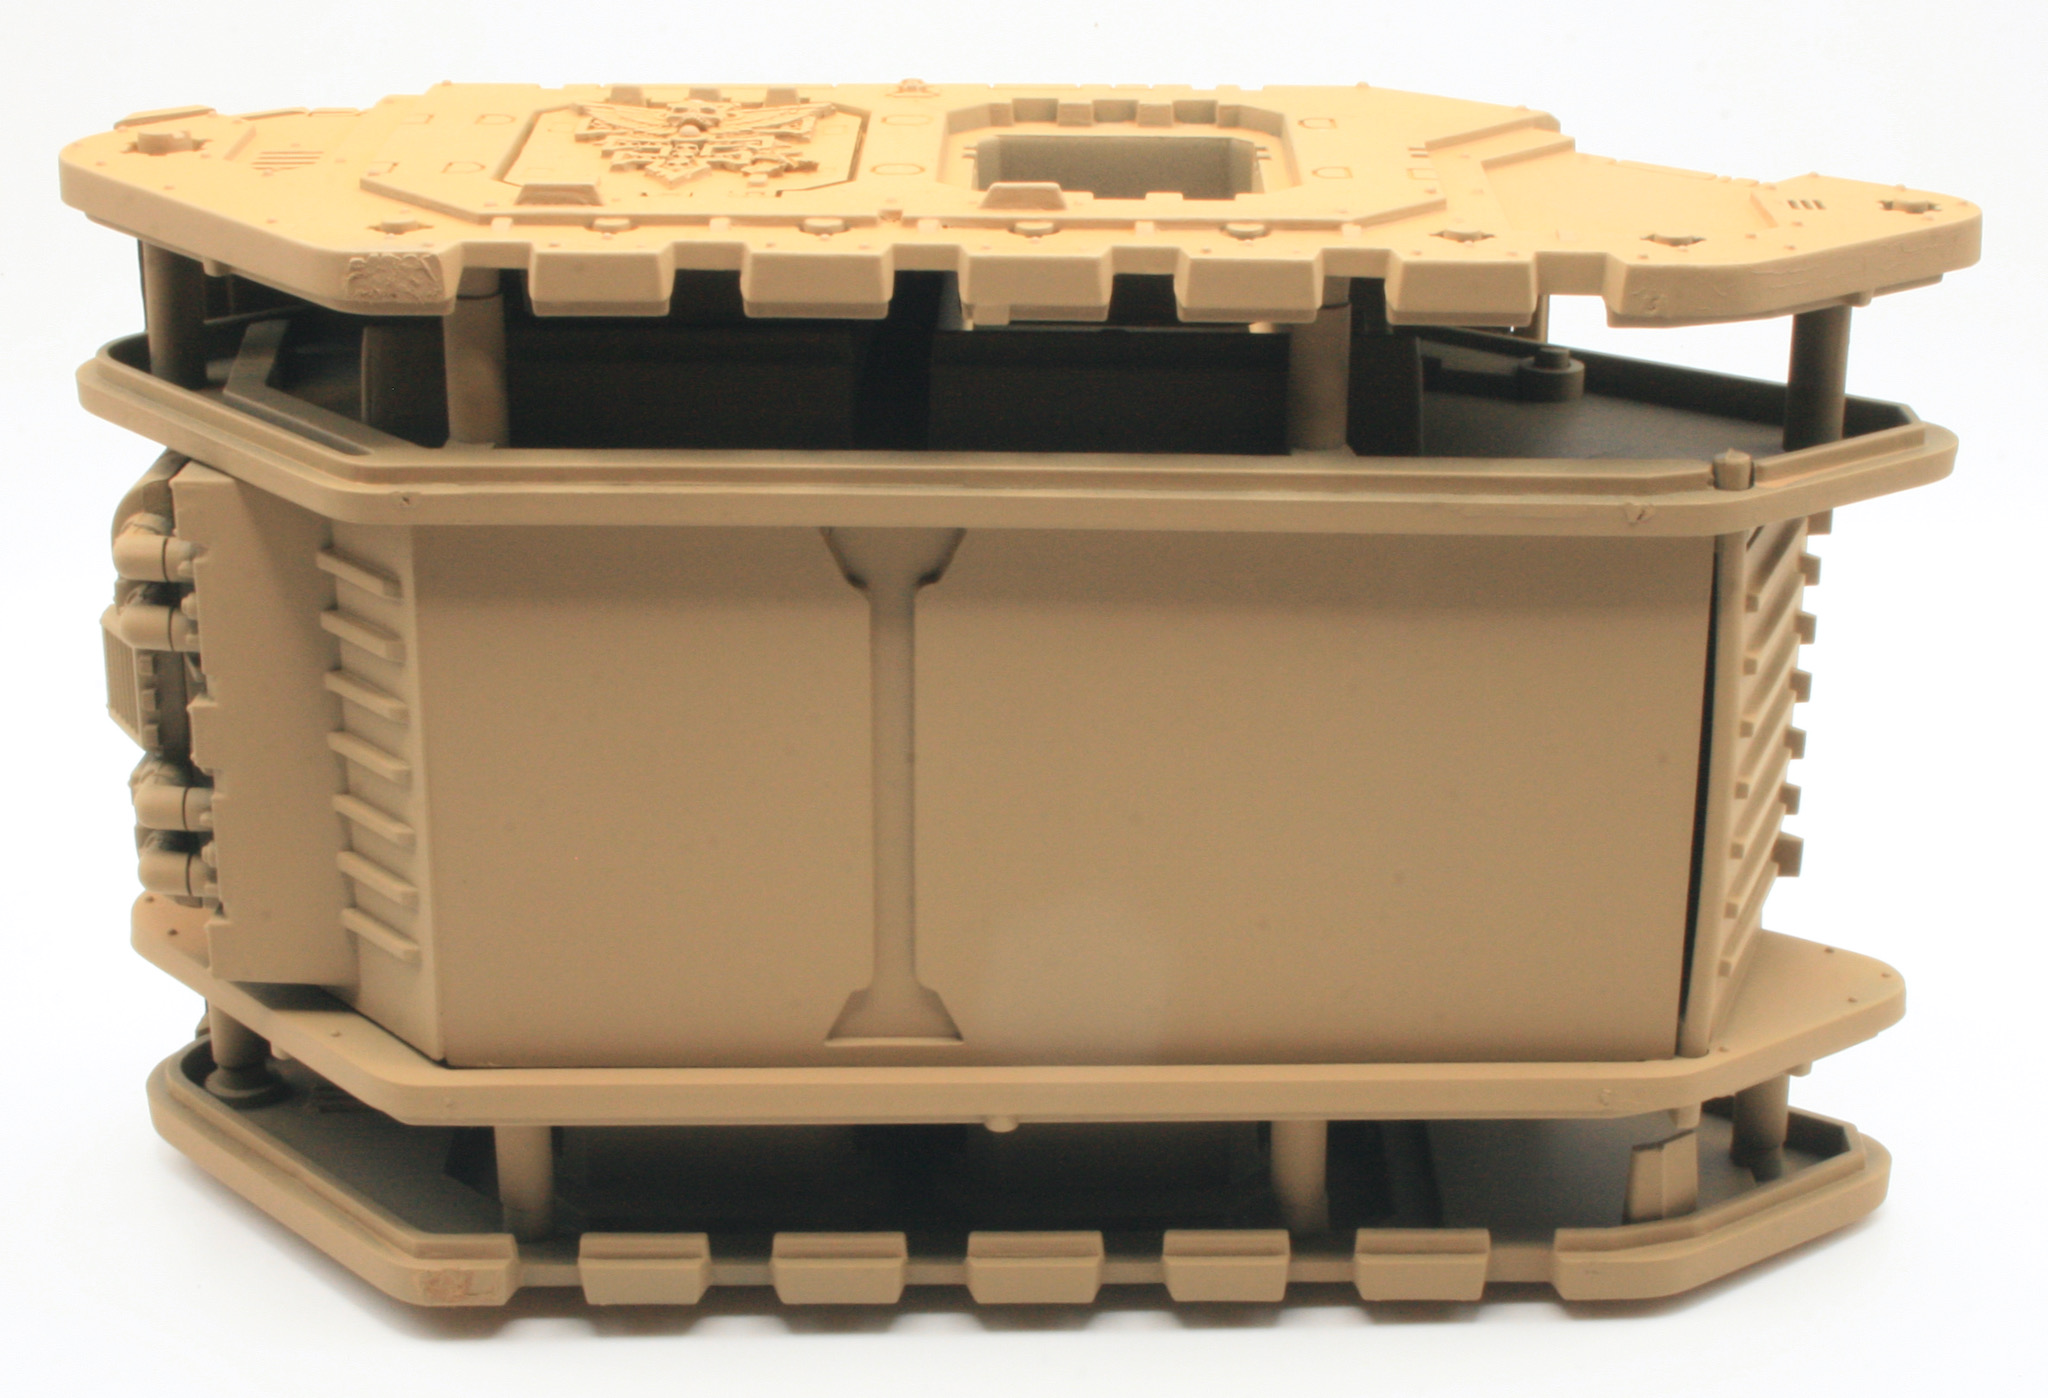
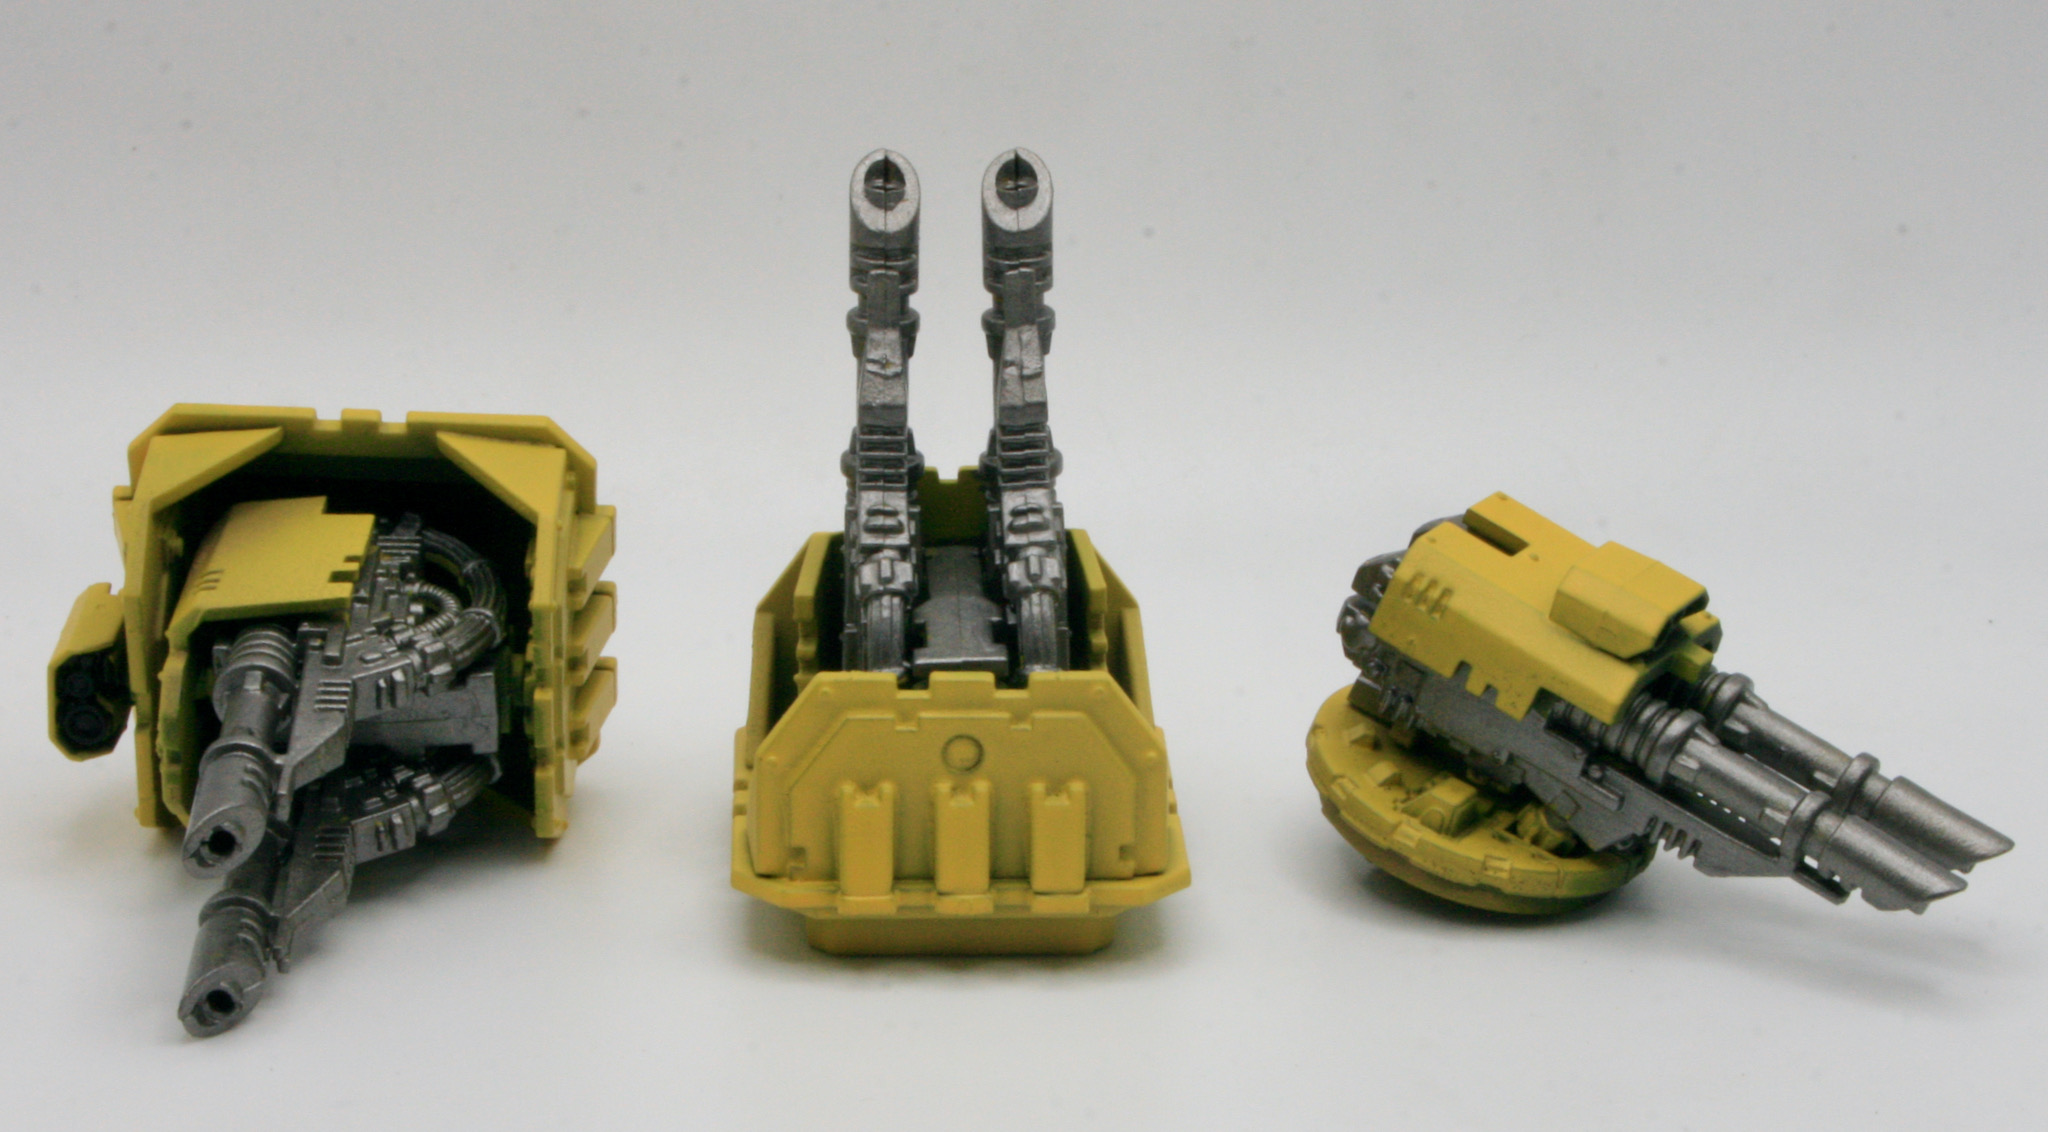
Having made the hull I kept the weapons as separate assemblies, I would also be adding the tracks later too.
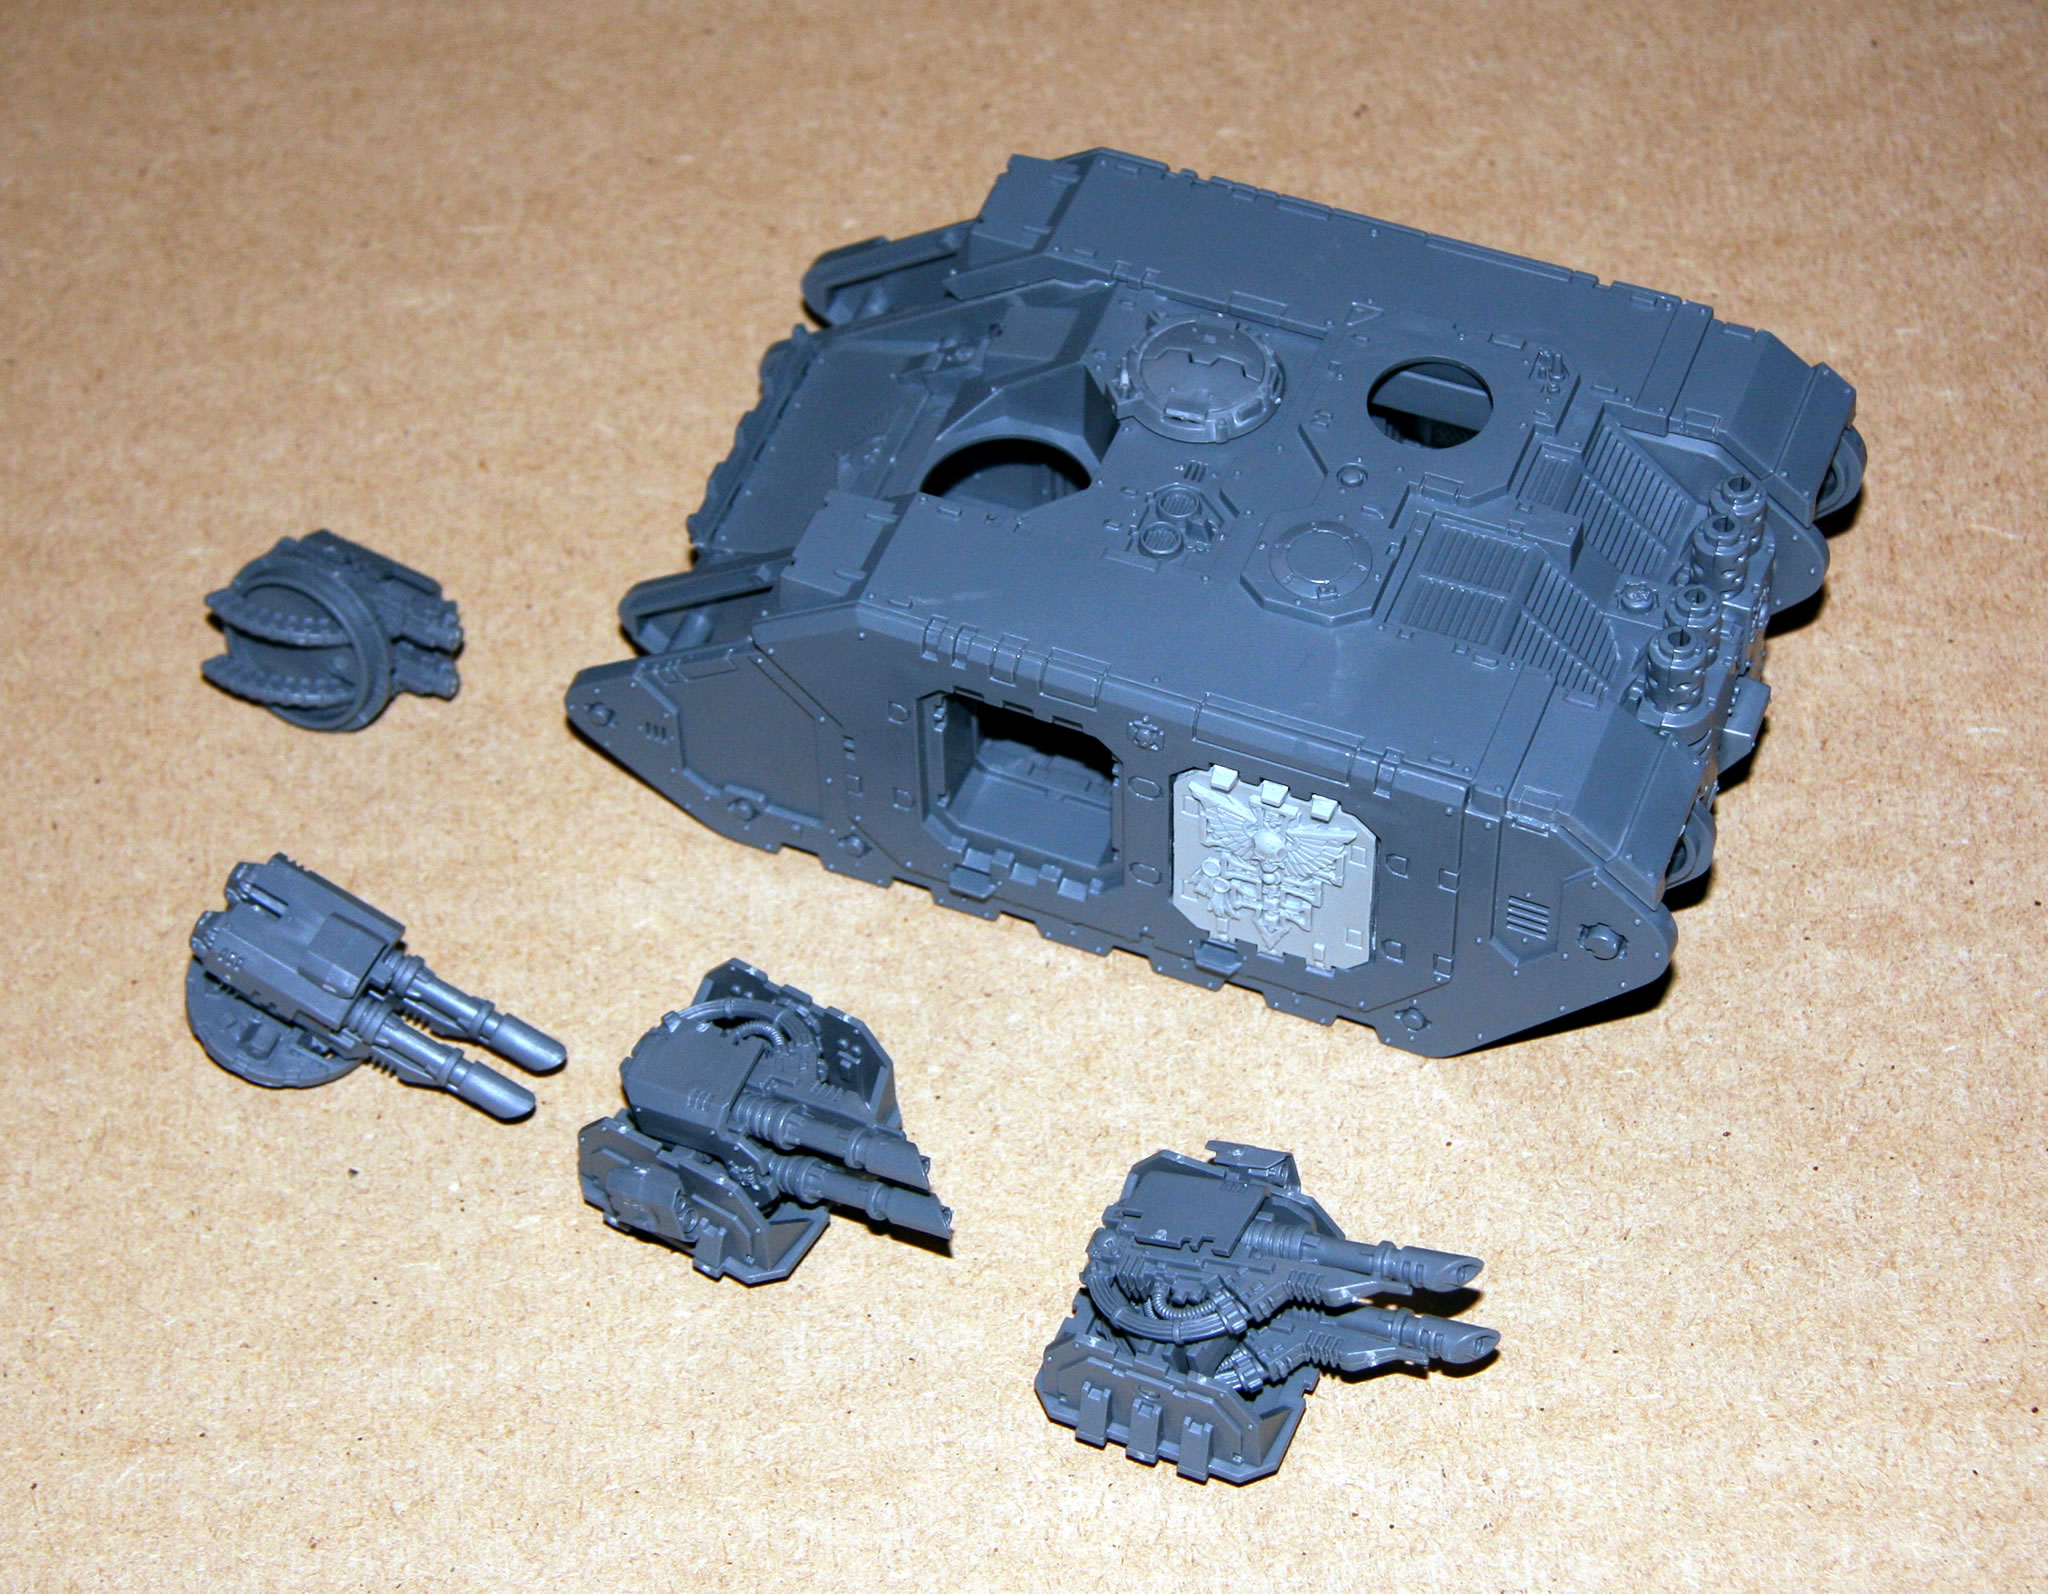
I made up two possible variantions on frontal weaponry including Heavy Bolters and Lascannons.
Now I made a mistake when I ordered my Mark IIb Land Raider, you get a set of doors and I (foolishly) asked them to replace the supplied eagle doors with Grey Knights Land Raider doors. Now what I didn’t realise was that the side doors on the sponson are not the same size as the Land Raider doors, but are in fact the same size as Rhino side doors. So the Grey Knight doors are too big! However this meant I could use them on this new Land Raider.

I gave the model a black undercoat using Chaos Black spray can.


There was an issue with the rear mudguard, which I will need to fix.

The next stage is to paint on the basecoat. For this I used the Foundation Paints from Games Workshop, specifically Tausept Ochre.


I decided that I would try using Citadel’s spray gun to base coat the rest of the Land Raider. However due to thinning the paint too much I didn’t get the result I hoped for.


So I tried to use the spray gun again, this time with a little more success.


I did give it a second coat, and then lost interest in finishing the model.

So, it got put into storage.
However having liked the paint scheme I was using on my Deimos-pattern Rhino, I decided that I would find the model and paint this Land Raider in the same scheme.
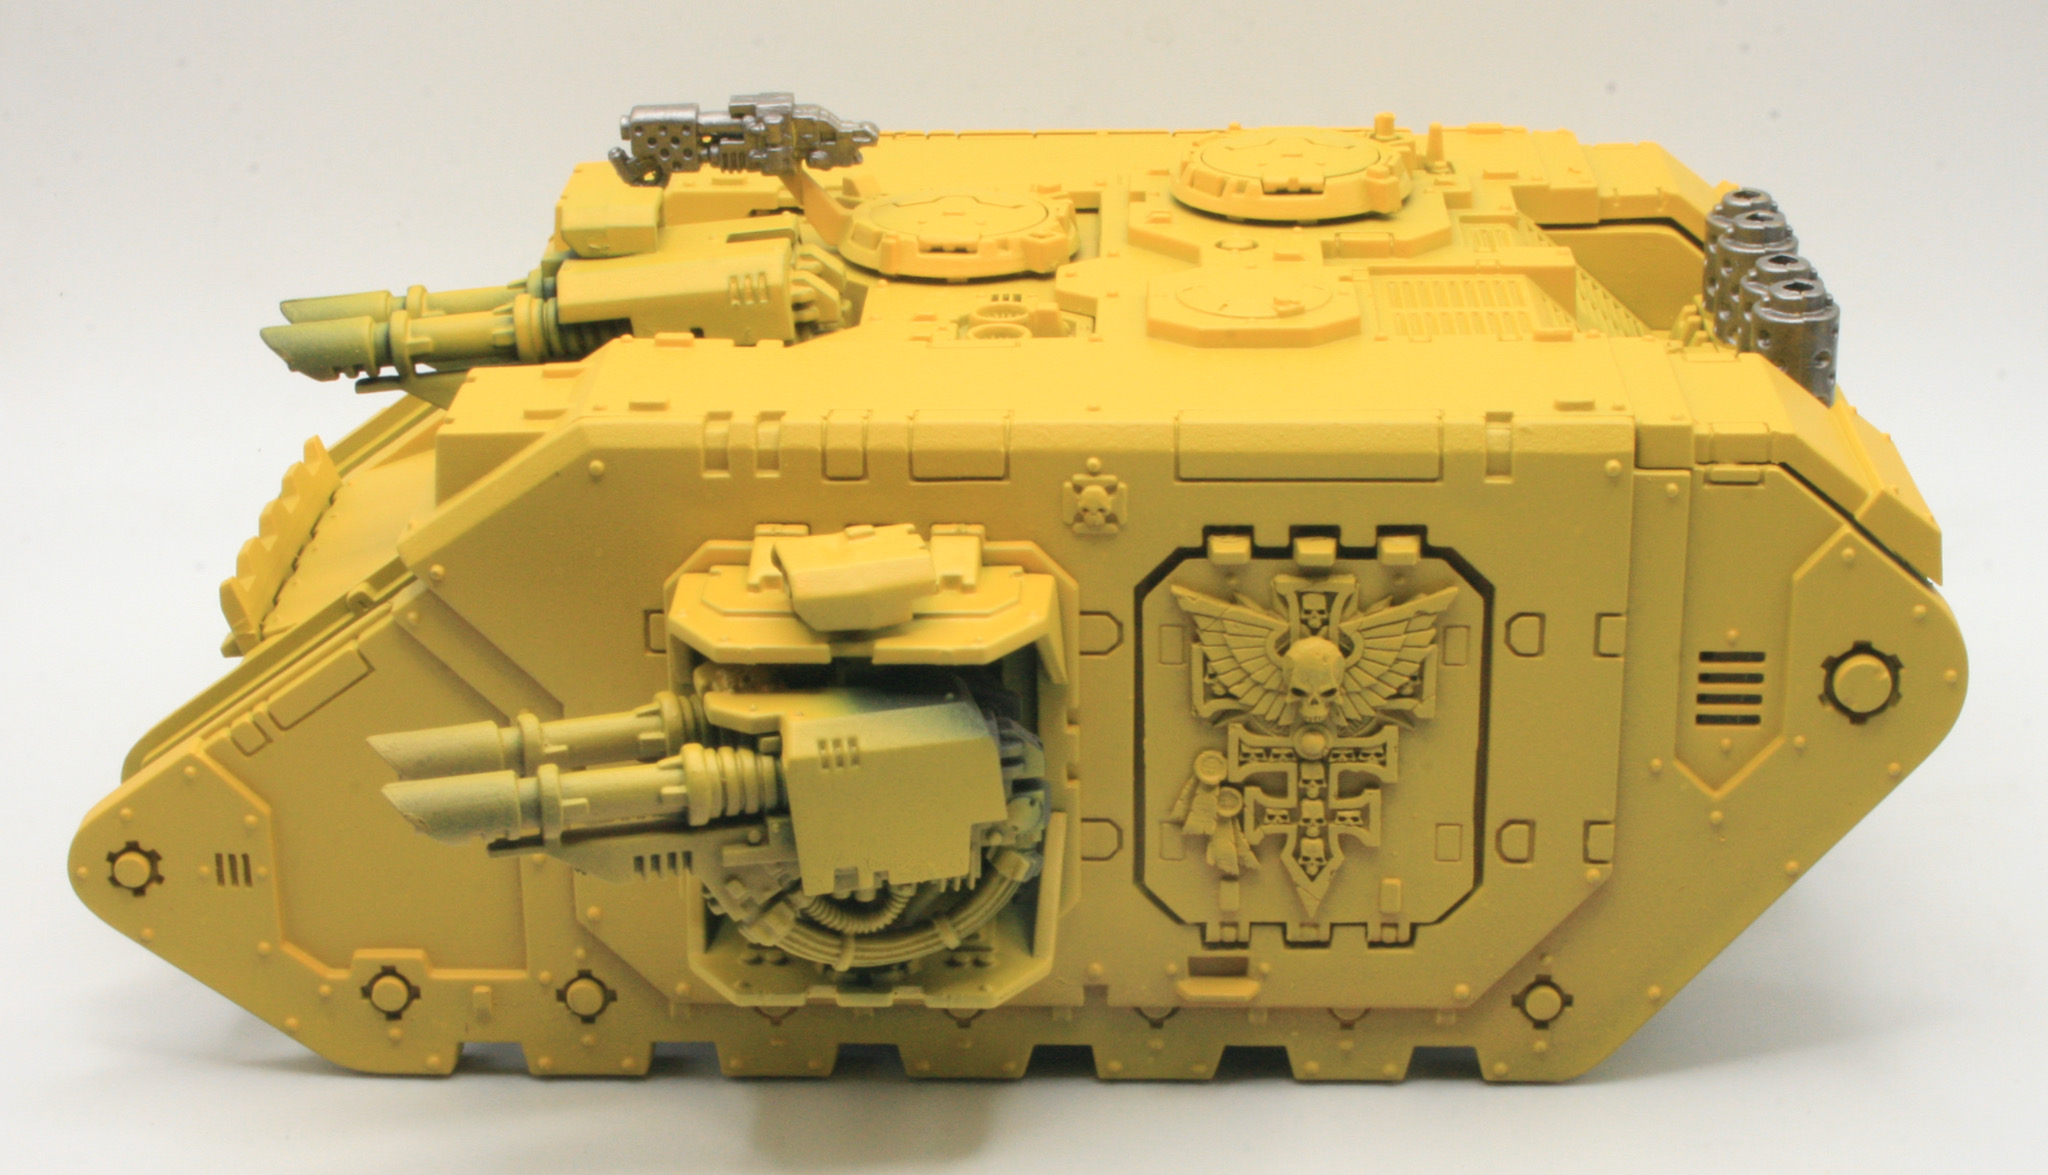
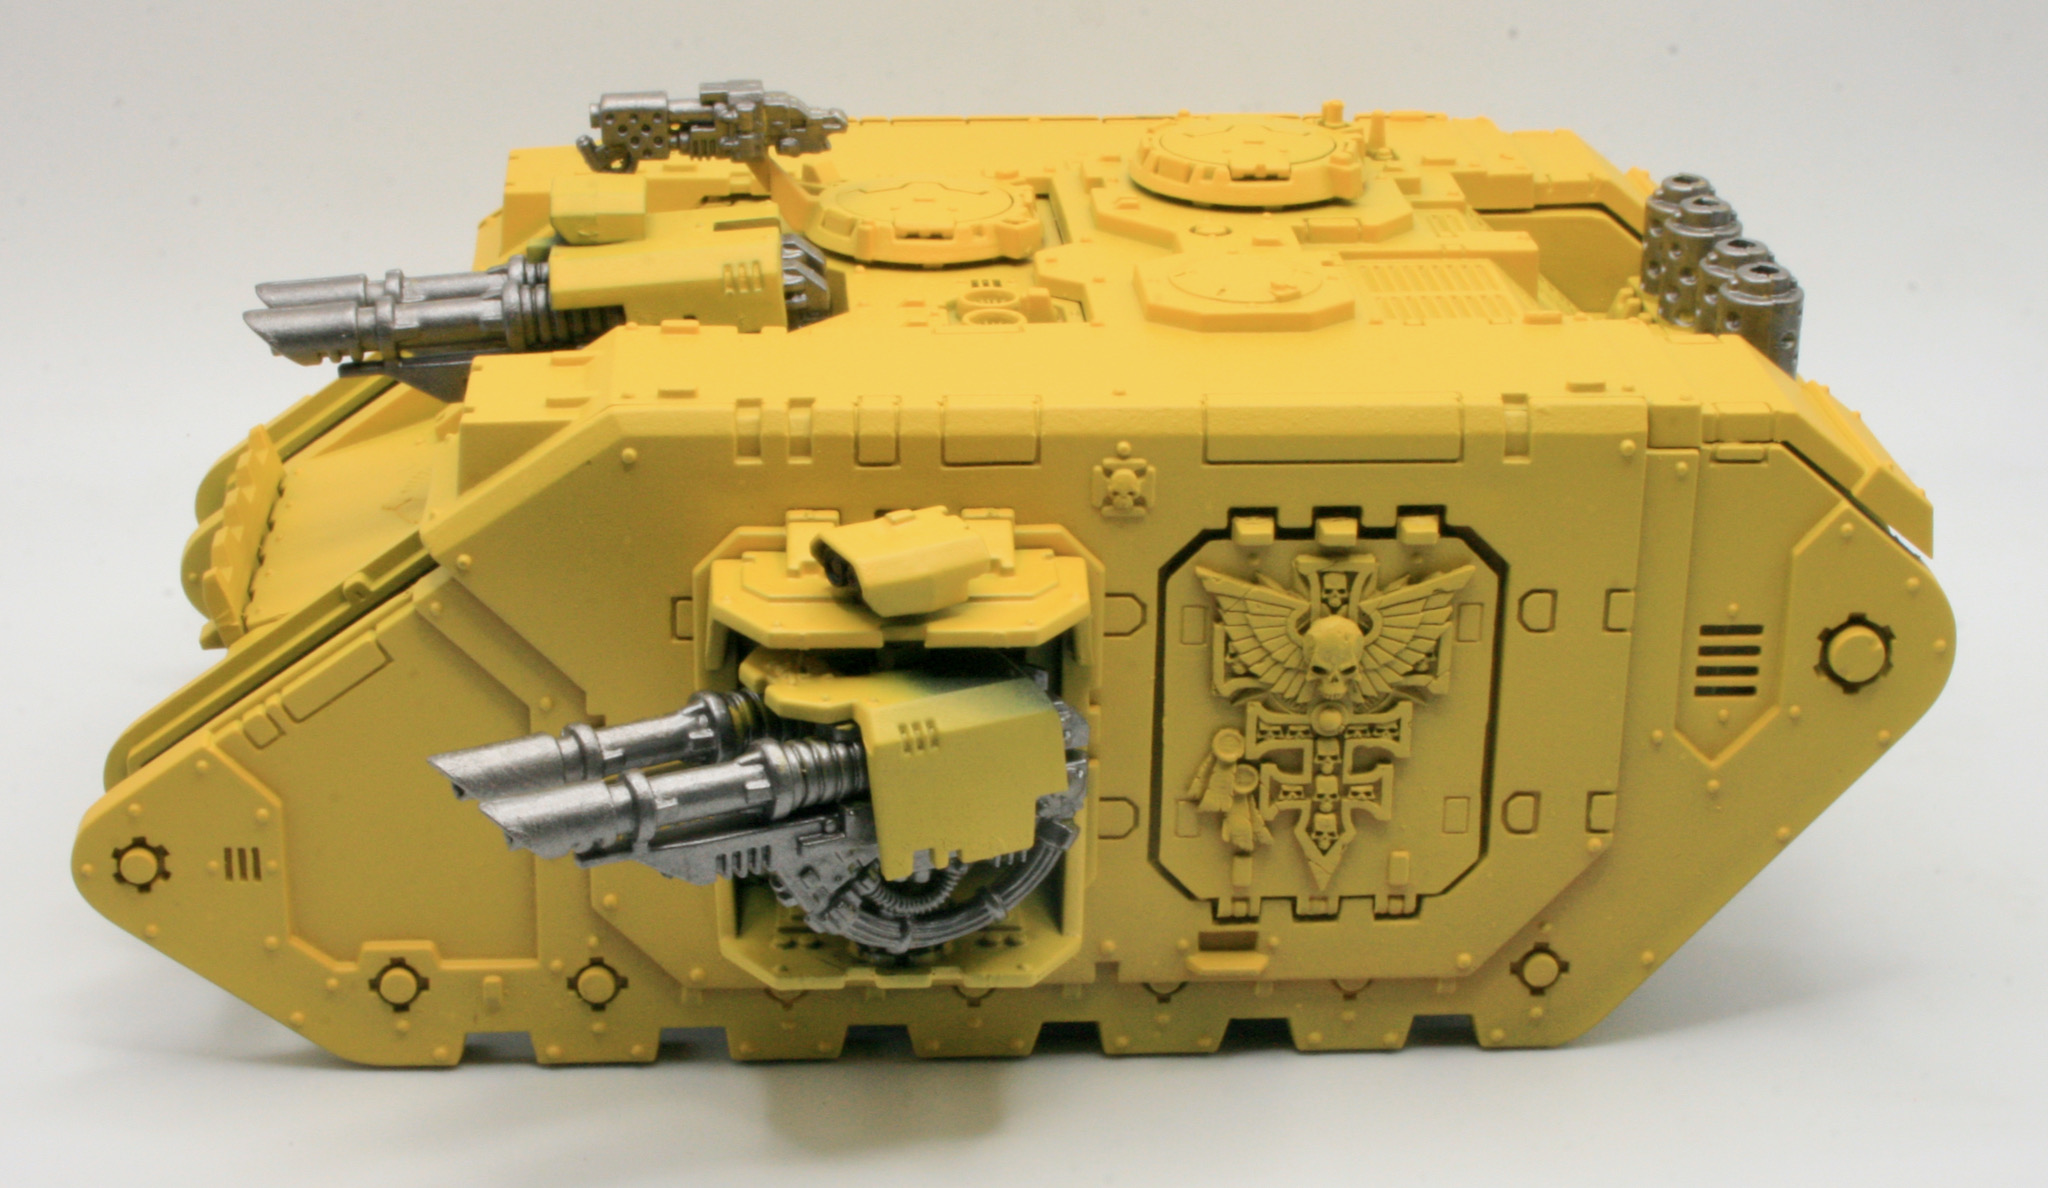
The Land Raider does have a fair amount of Inquisitorial and Grey Knights iconography on the model, but I have decided to leave it on.
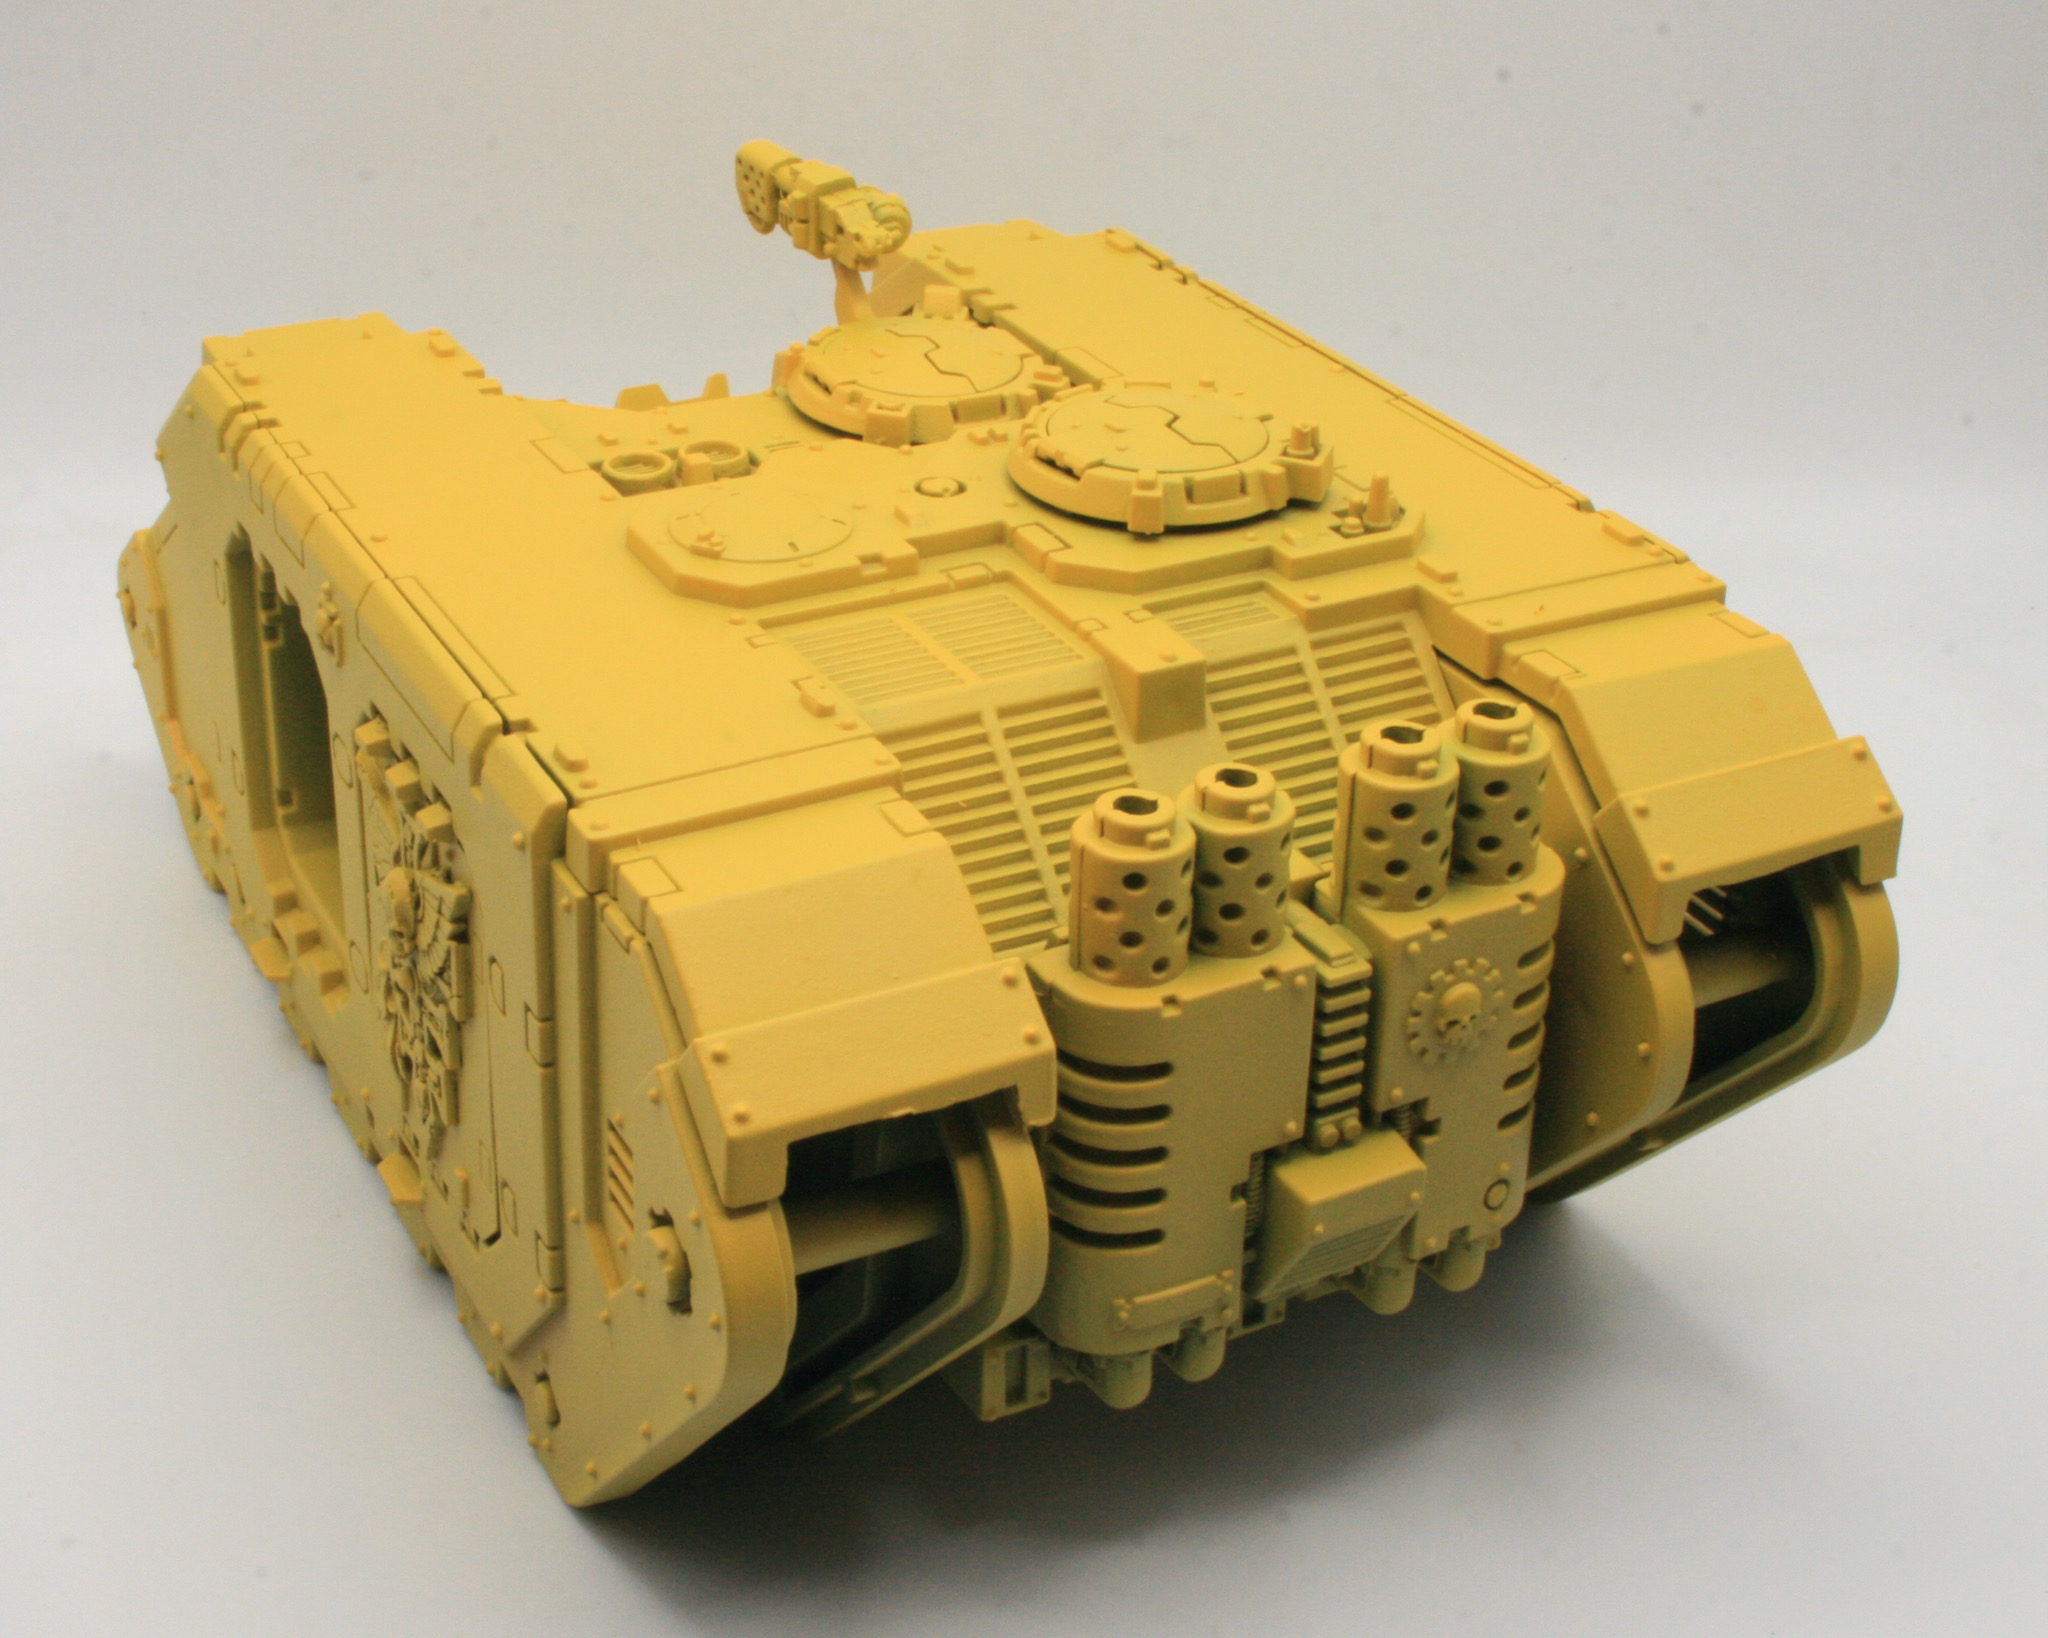
The first thing I did was spray the underneath of the model with Citadel Zandri Dust.
Games Workshop don’t do a yellow spray and I don’t have an airbrush. I did use a paint comparison site to find a close alternative to Yriel Yellow. The Daemonic Yellow spray from Army Painter seemed like a good choice, and my local FLGS had one in stock, which I bought for the Deimos-pattern Rhino.
I gave the model a couple of light coats of Daemonic Yellow.

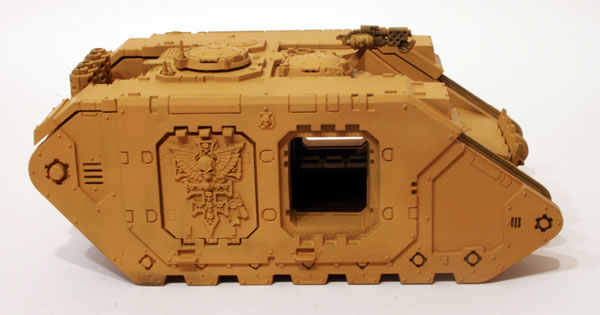
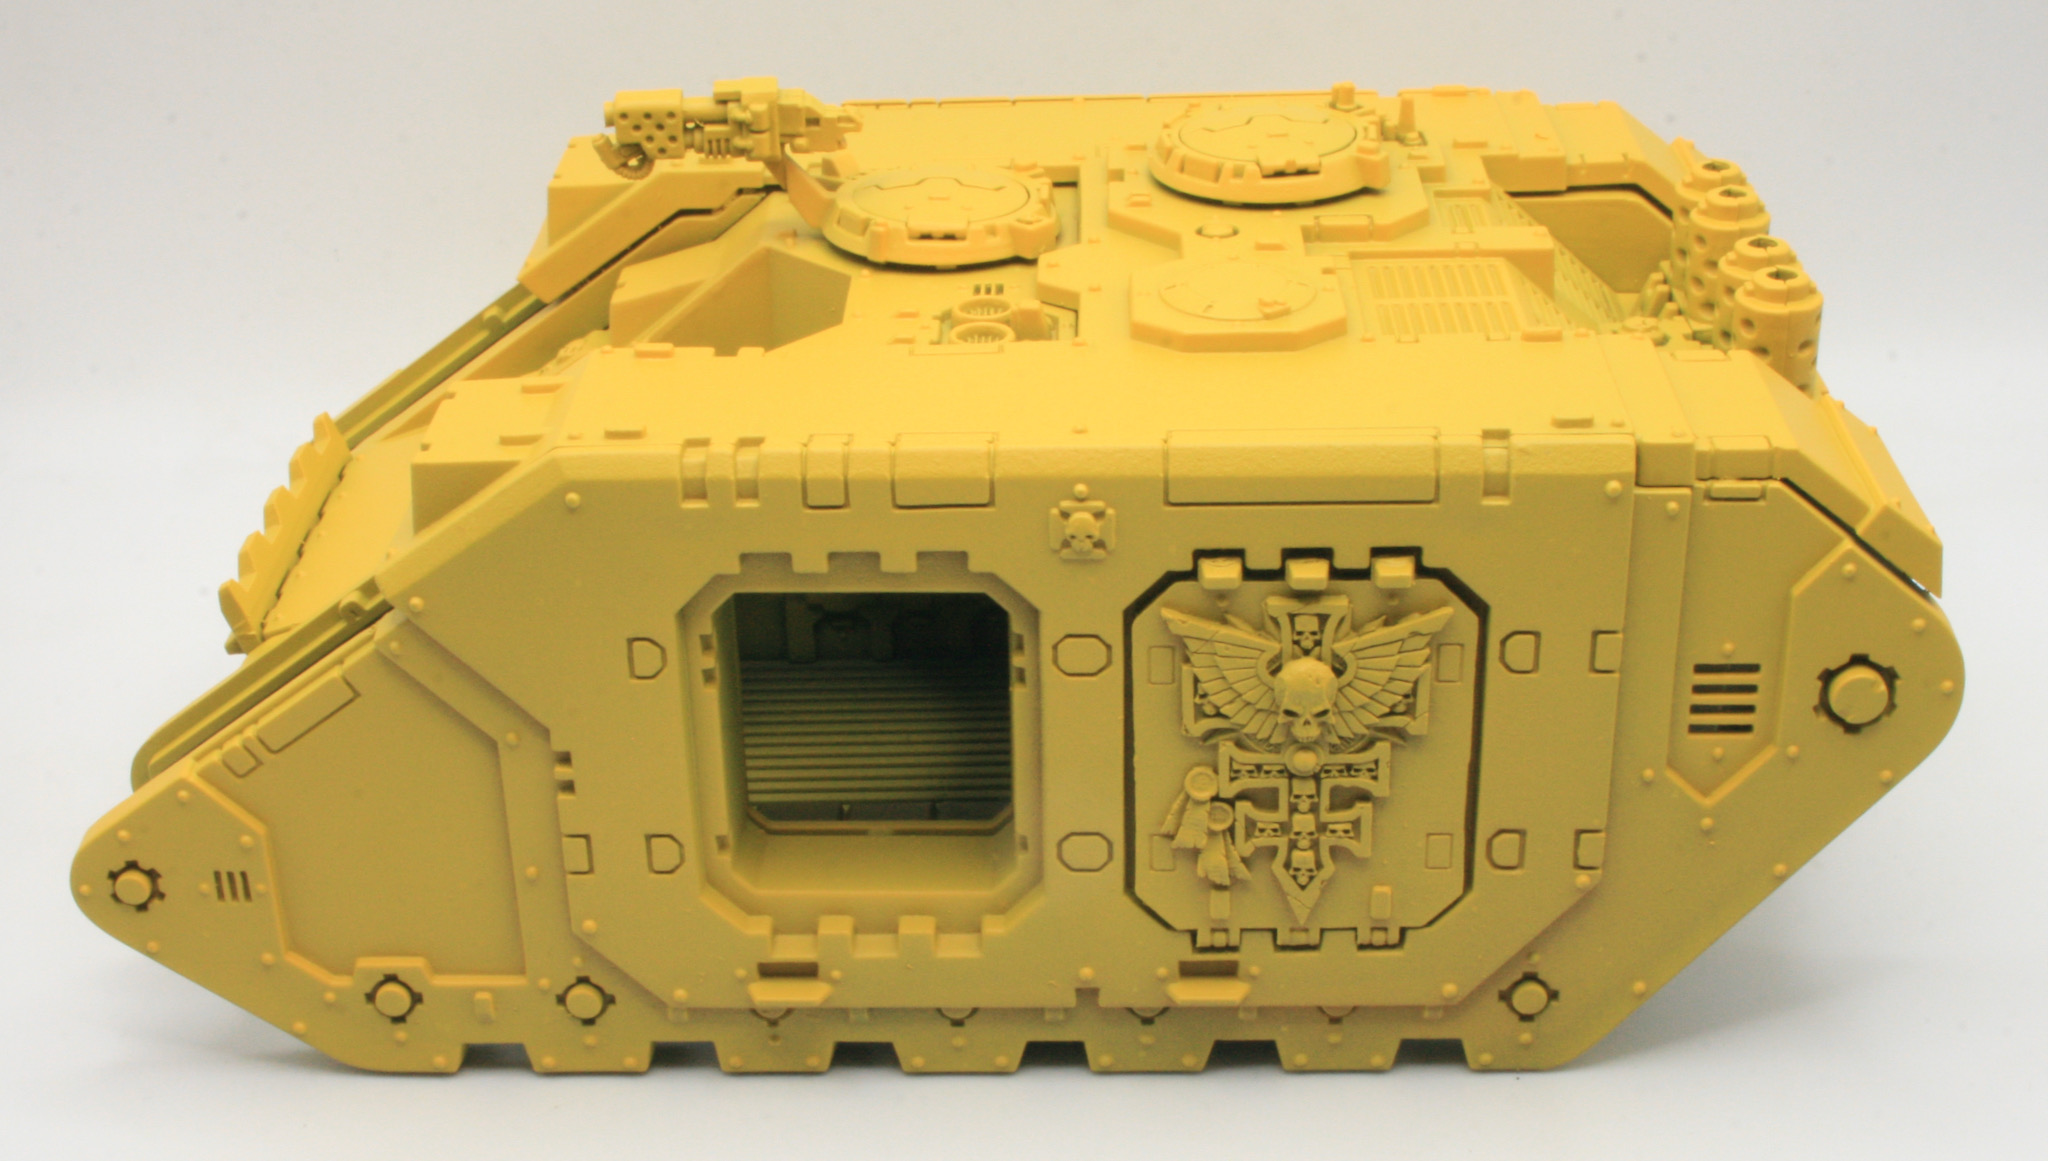
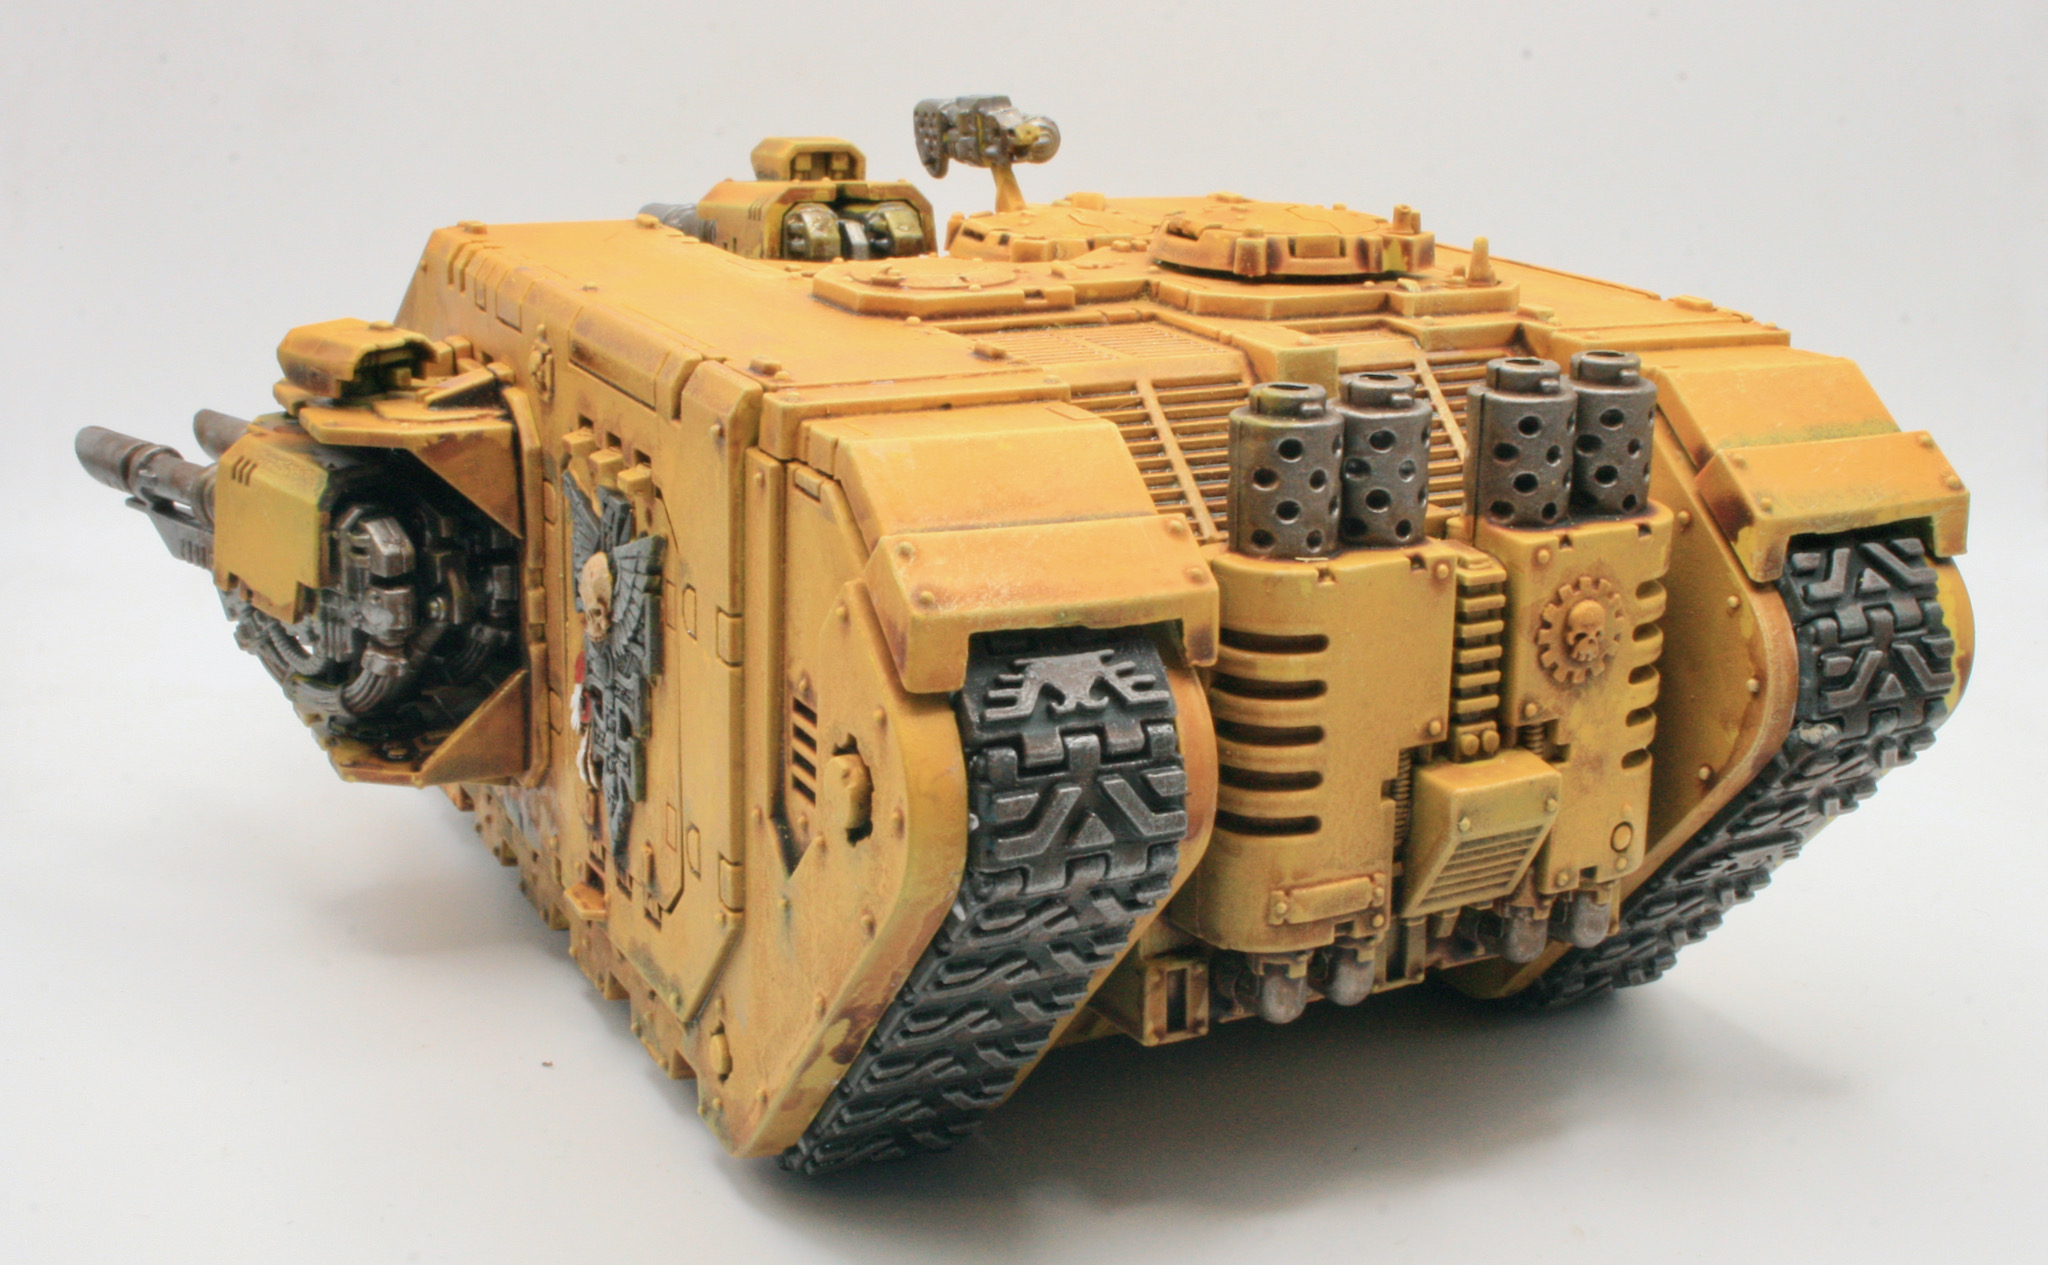
The rear view.
The main weapons will be painted separately.
Back when I constructed the model, having made the hull I kept the weapons as separate assemblies. The Lascannons for the Land Raider had been given a black undercoat some time ago when I undercoated the model. I gave the weapon assemblies a partial basecoat of Citadel Zandri Dust. I then gave the weapon assemblies a couple of light sprays of Army Painter Daemonic Yellow.

This is how the weapons look attached to the Land Raider.
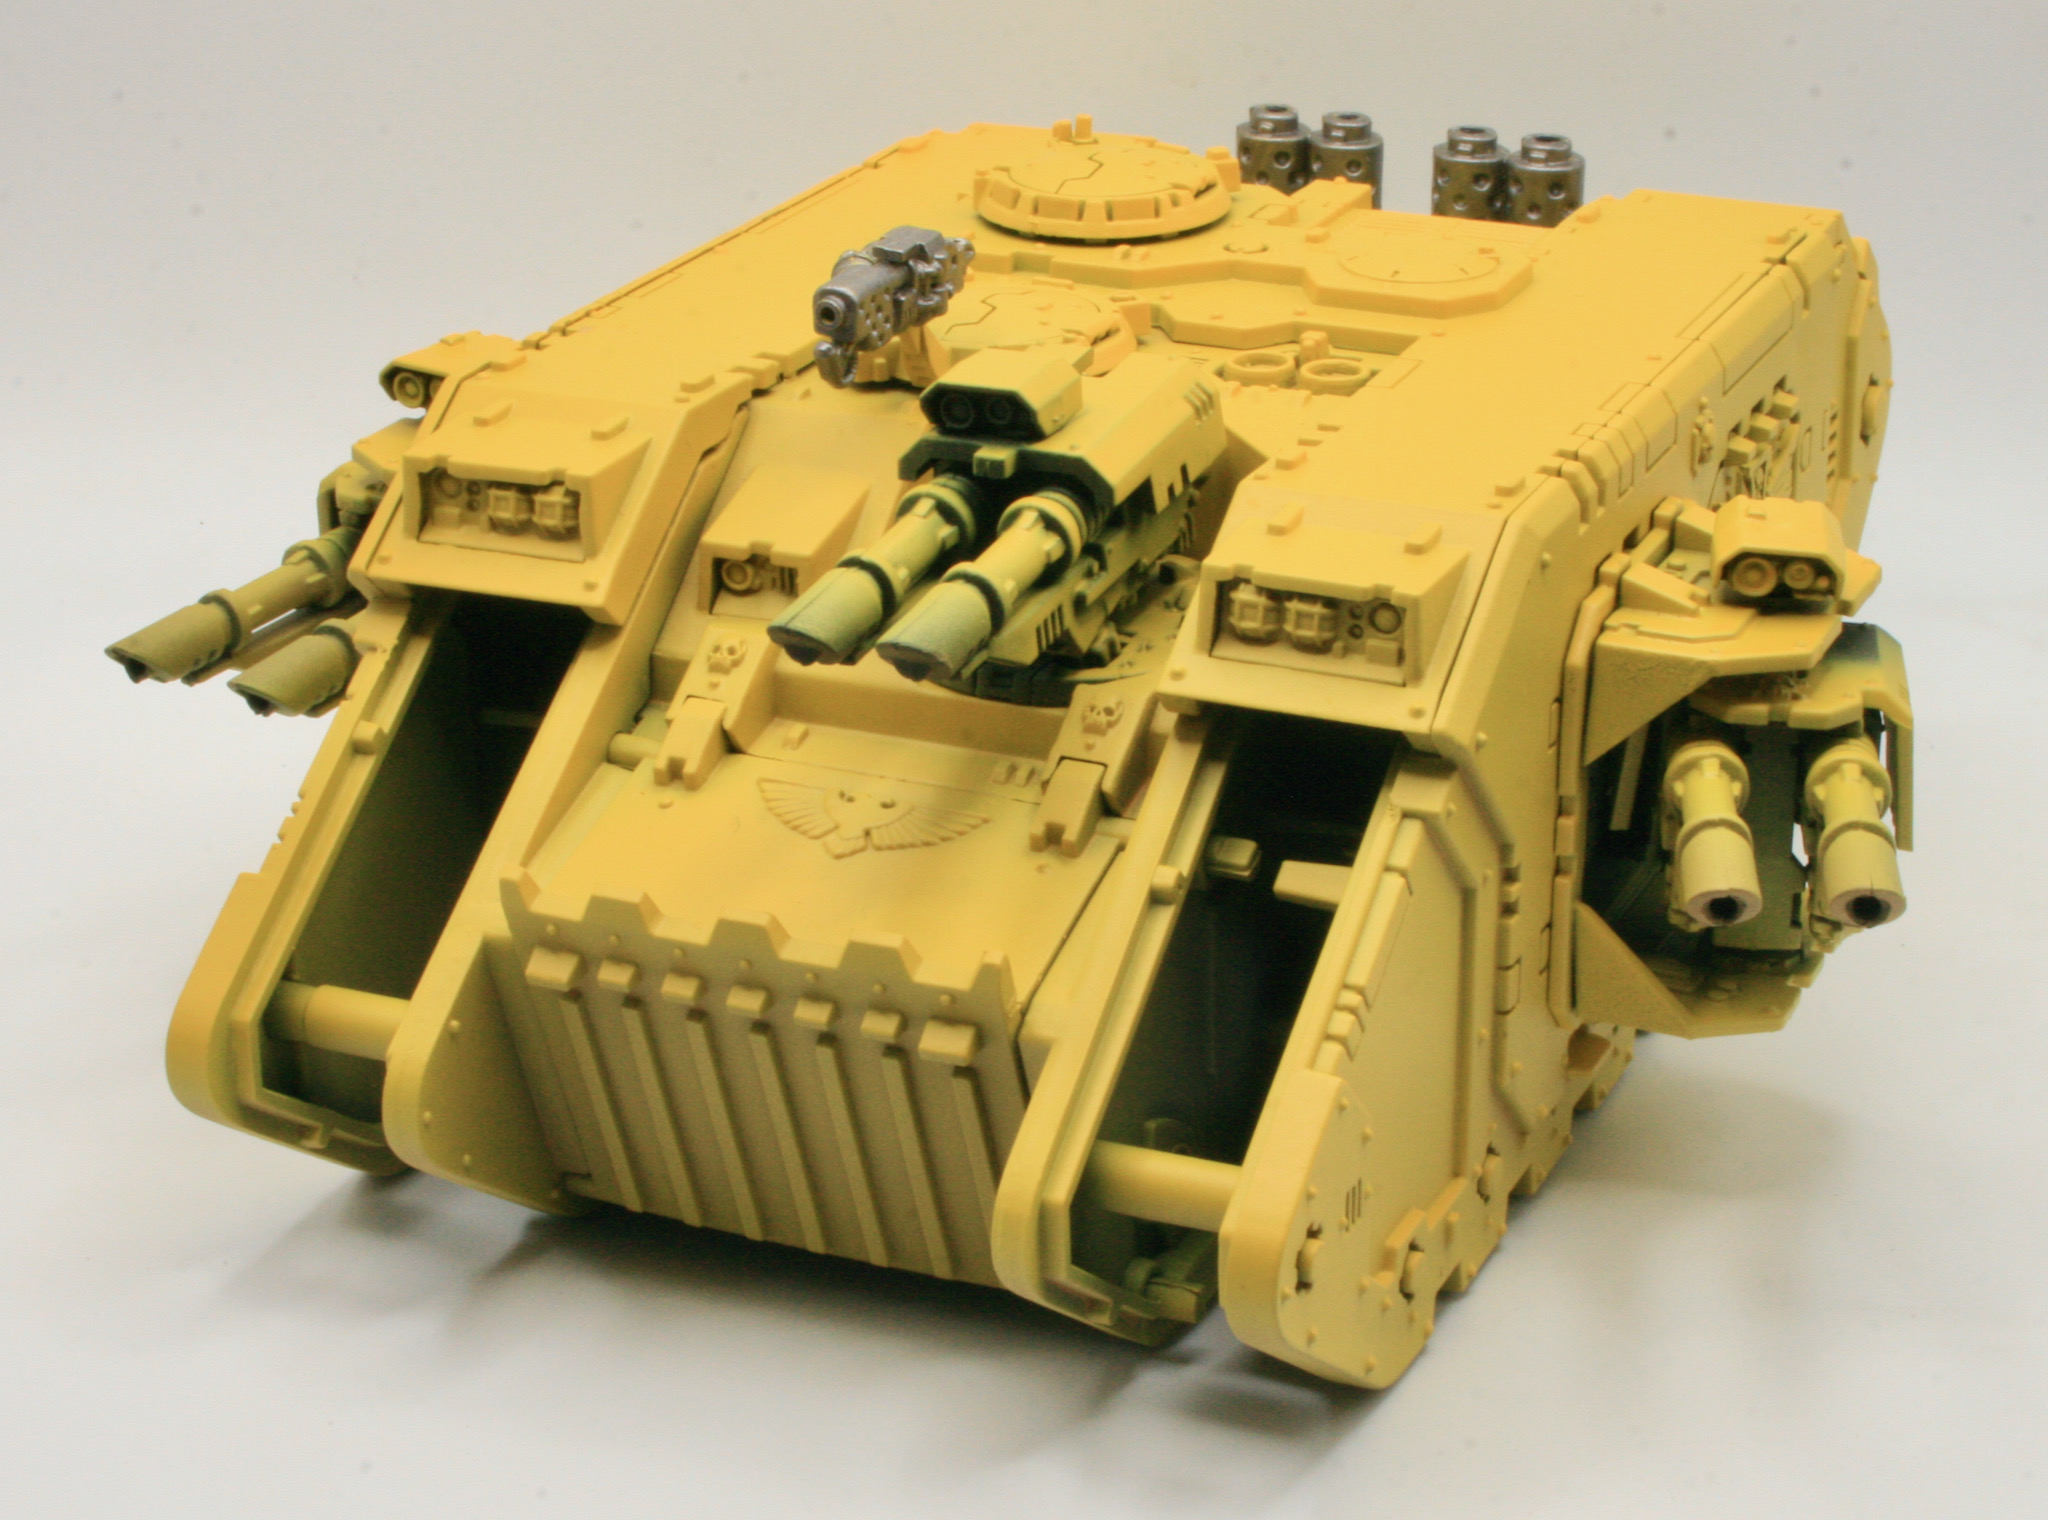
You can also see that I have started detailing the model, painting the flamer and exhausts with Citadel Leadbelcher.
I painted the lascannons with Citadel Leadbelcher.
This how they look attached the Land Raider.
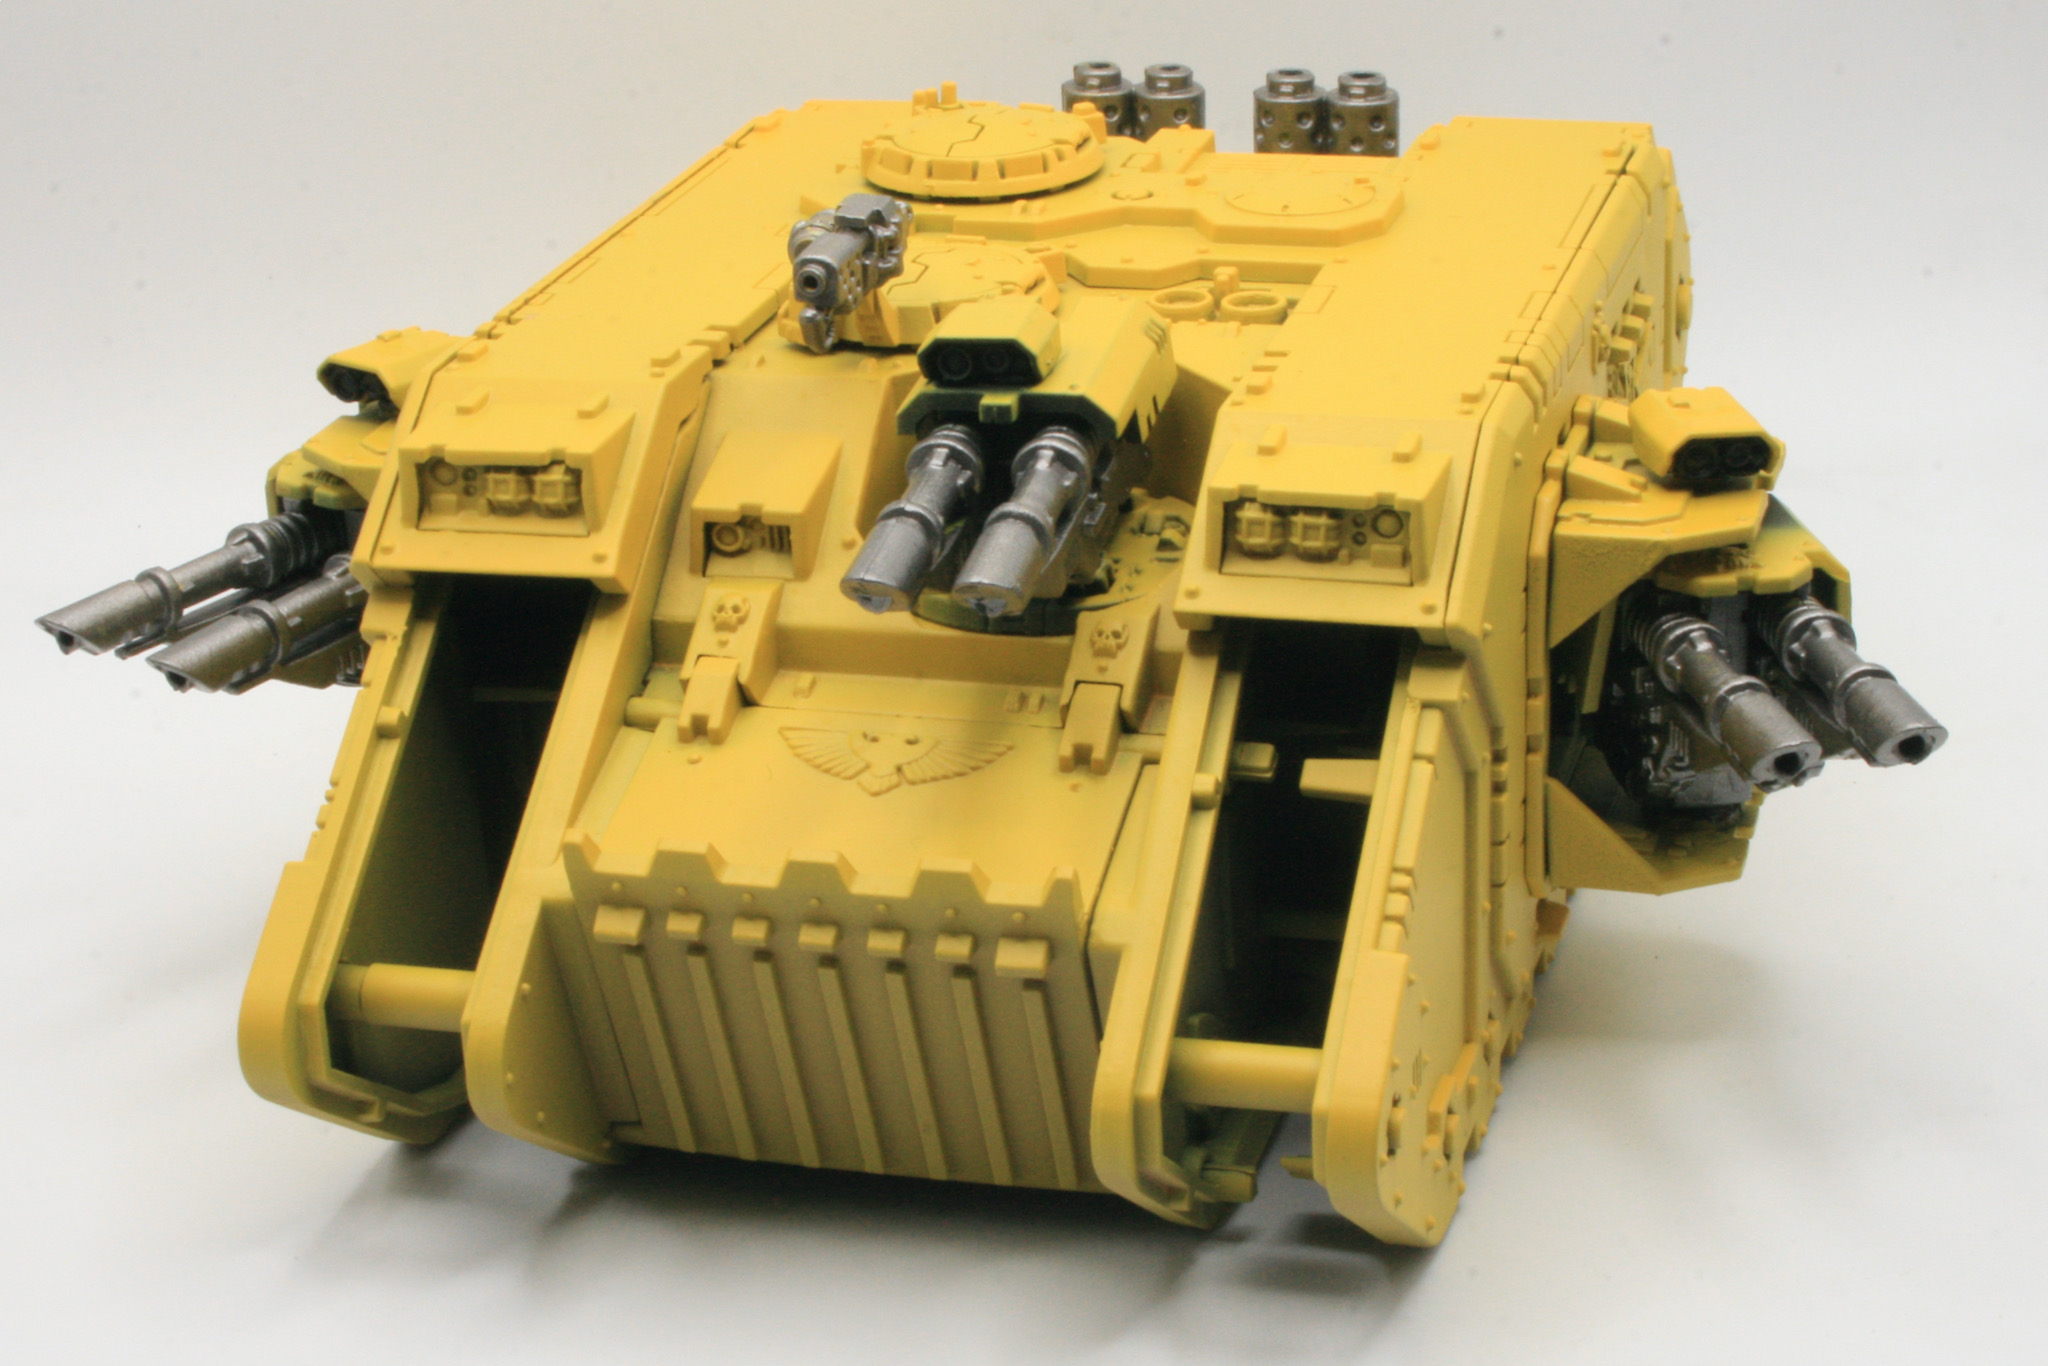
I have also painted the exhausts and other weapons.

When I was originally looking at the iconography on the doors of my Land Raider I did think about how I should paint it.

I started detailing and painting the iconography.

Initially I did consider painting it up with the colours of red, gold, black and white skulls. However when I looked at examples online they looked very busy. One thing I always liked about the Terminators from Space Hulk and at Warhammer World were the stone icons on their shoulder pads, like these Dark Angles Death Wing Terminators from Warhammer World.
So in the end I decided that I would paint the icongraphy on the doors as stone. I painted the door iconography with Mechanicus Standard Grey. I however did paint the skulls with Ushabti Bone.
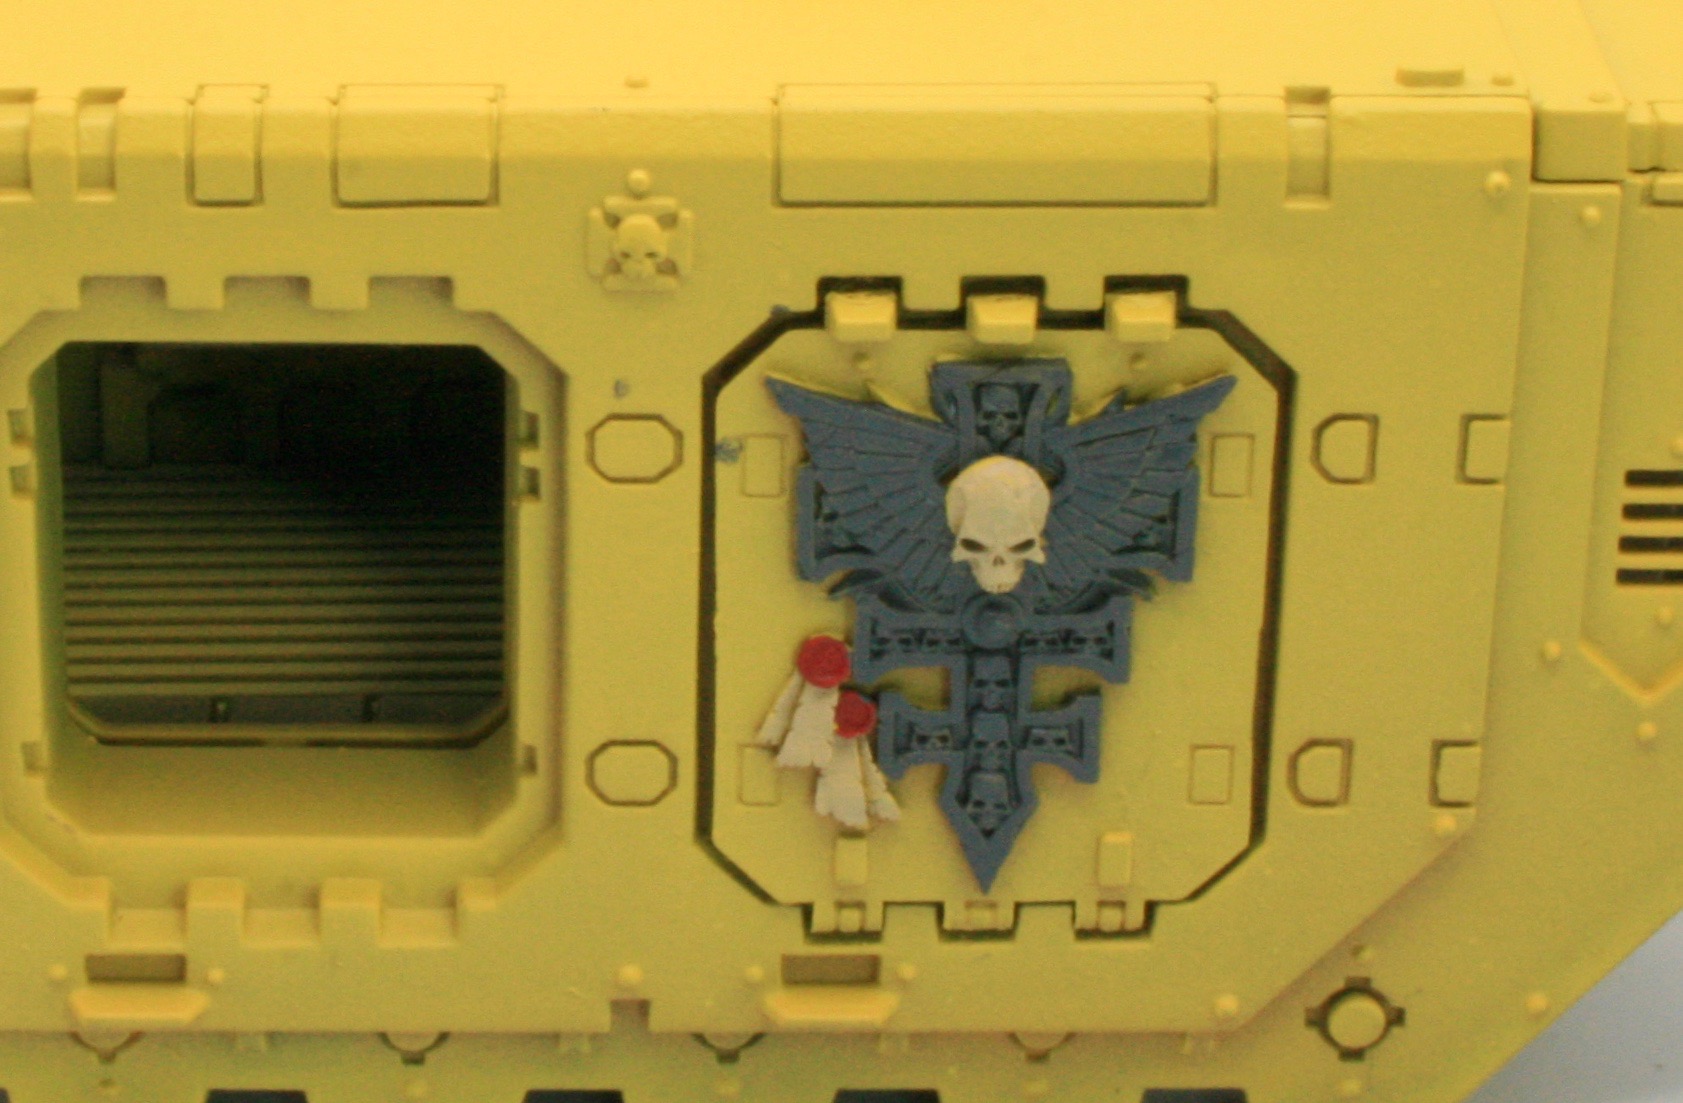
For the skull and the paper on the purity seals I used Ushabti Bone. For the wax seals I used Mephiston Red.


I attached the lascannons to the Land Raider and then started to shade the model. The side sponsons I did glue in. The frontal lascannons I left unstuck as I wanted to ensure I could get behind them.

I shaded the model with Reikland Fleshshade Shade. This was the process I used on the Deimos-pattern Rhino.

It didn’t cover as well as I would have liked, so I will be going over the model again.

I will do some further shading with Seraphim Sepia Shade and Agrax Earthshade Shade, especially over the rear engine area.

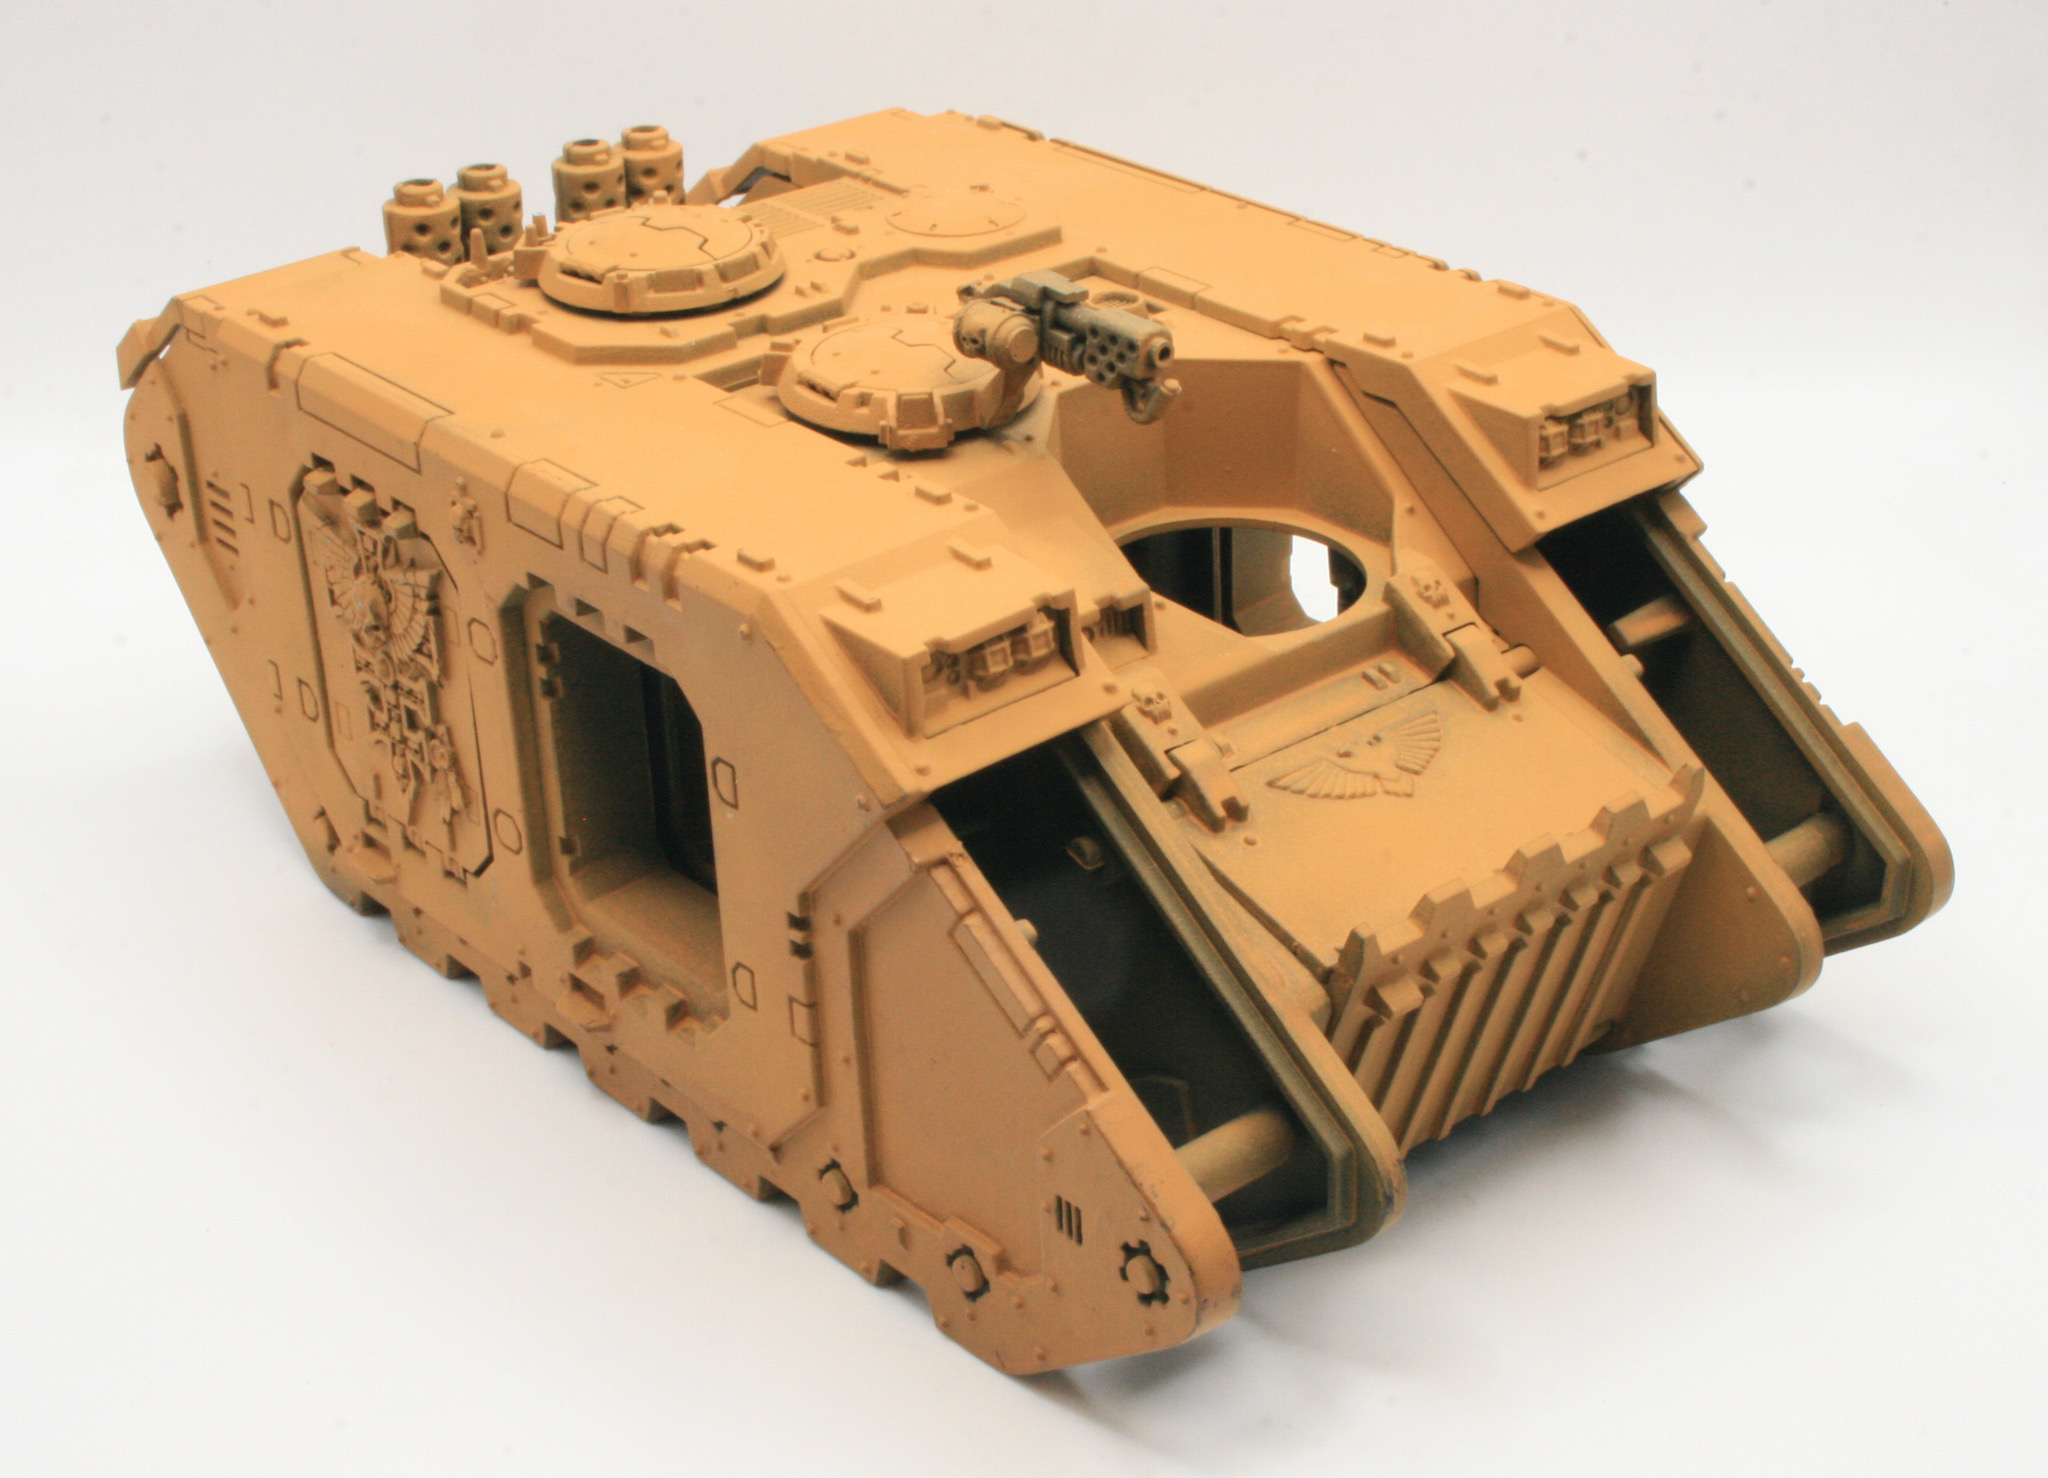
For the next stage I used some Citadel Layer Yriel Yellow. I took a large brush and gave the model, what I would call, a heavy drybrush. I put paint on the brush, and then used some kitchen towel to remove most of the paint, and then using a stippling process added paint to the model.

This was done all across the model and then repeated. I wanted to remove some of the shine from the shade as well.

I then gave the model a light drybrush of Citadel Layer Dorn Yellow. The aim here was to add edge highlights to the Land Raider.

I wanted to achieve a slight dusty effect as well.
After the drybrushing I will then detail the iconography, the weapons, and the engines on the model.

The tracks for the Land Raider were given a spray of Mechanicus Standard Grey.
I then did a heavy drybrush of Gorthor Brown. The tracks, once dry, I then gave them a wash of Agrax Earthshade Shade. I then did a heavy drybrush of Gorthor Brown. The tracks, once dry, I then gave them a wash of Agrax Earthshade Shade. After painting and shading them, I drybrushed them lightly, first with Leadbelcher. I then did a very light drybrush with Terminatus Stone.

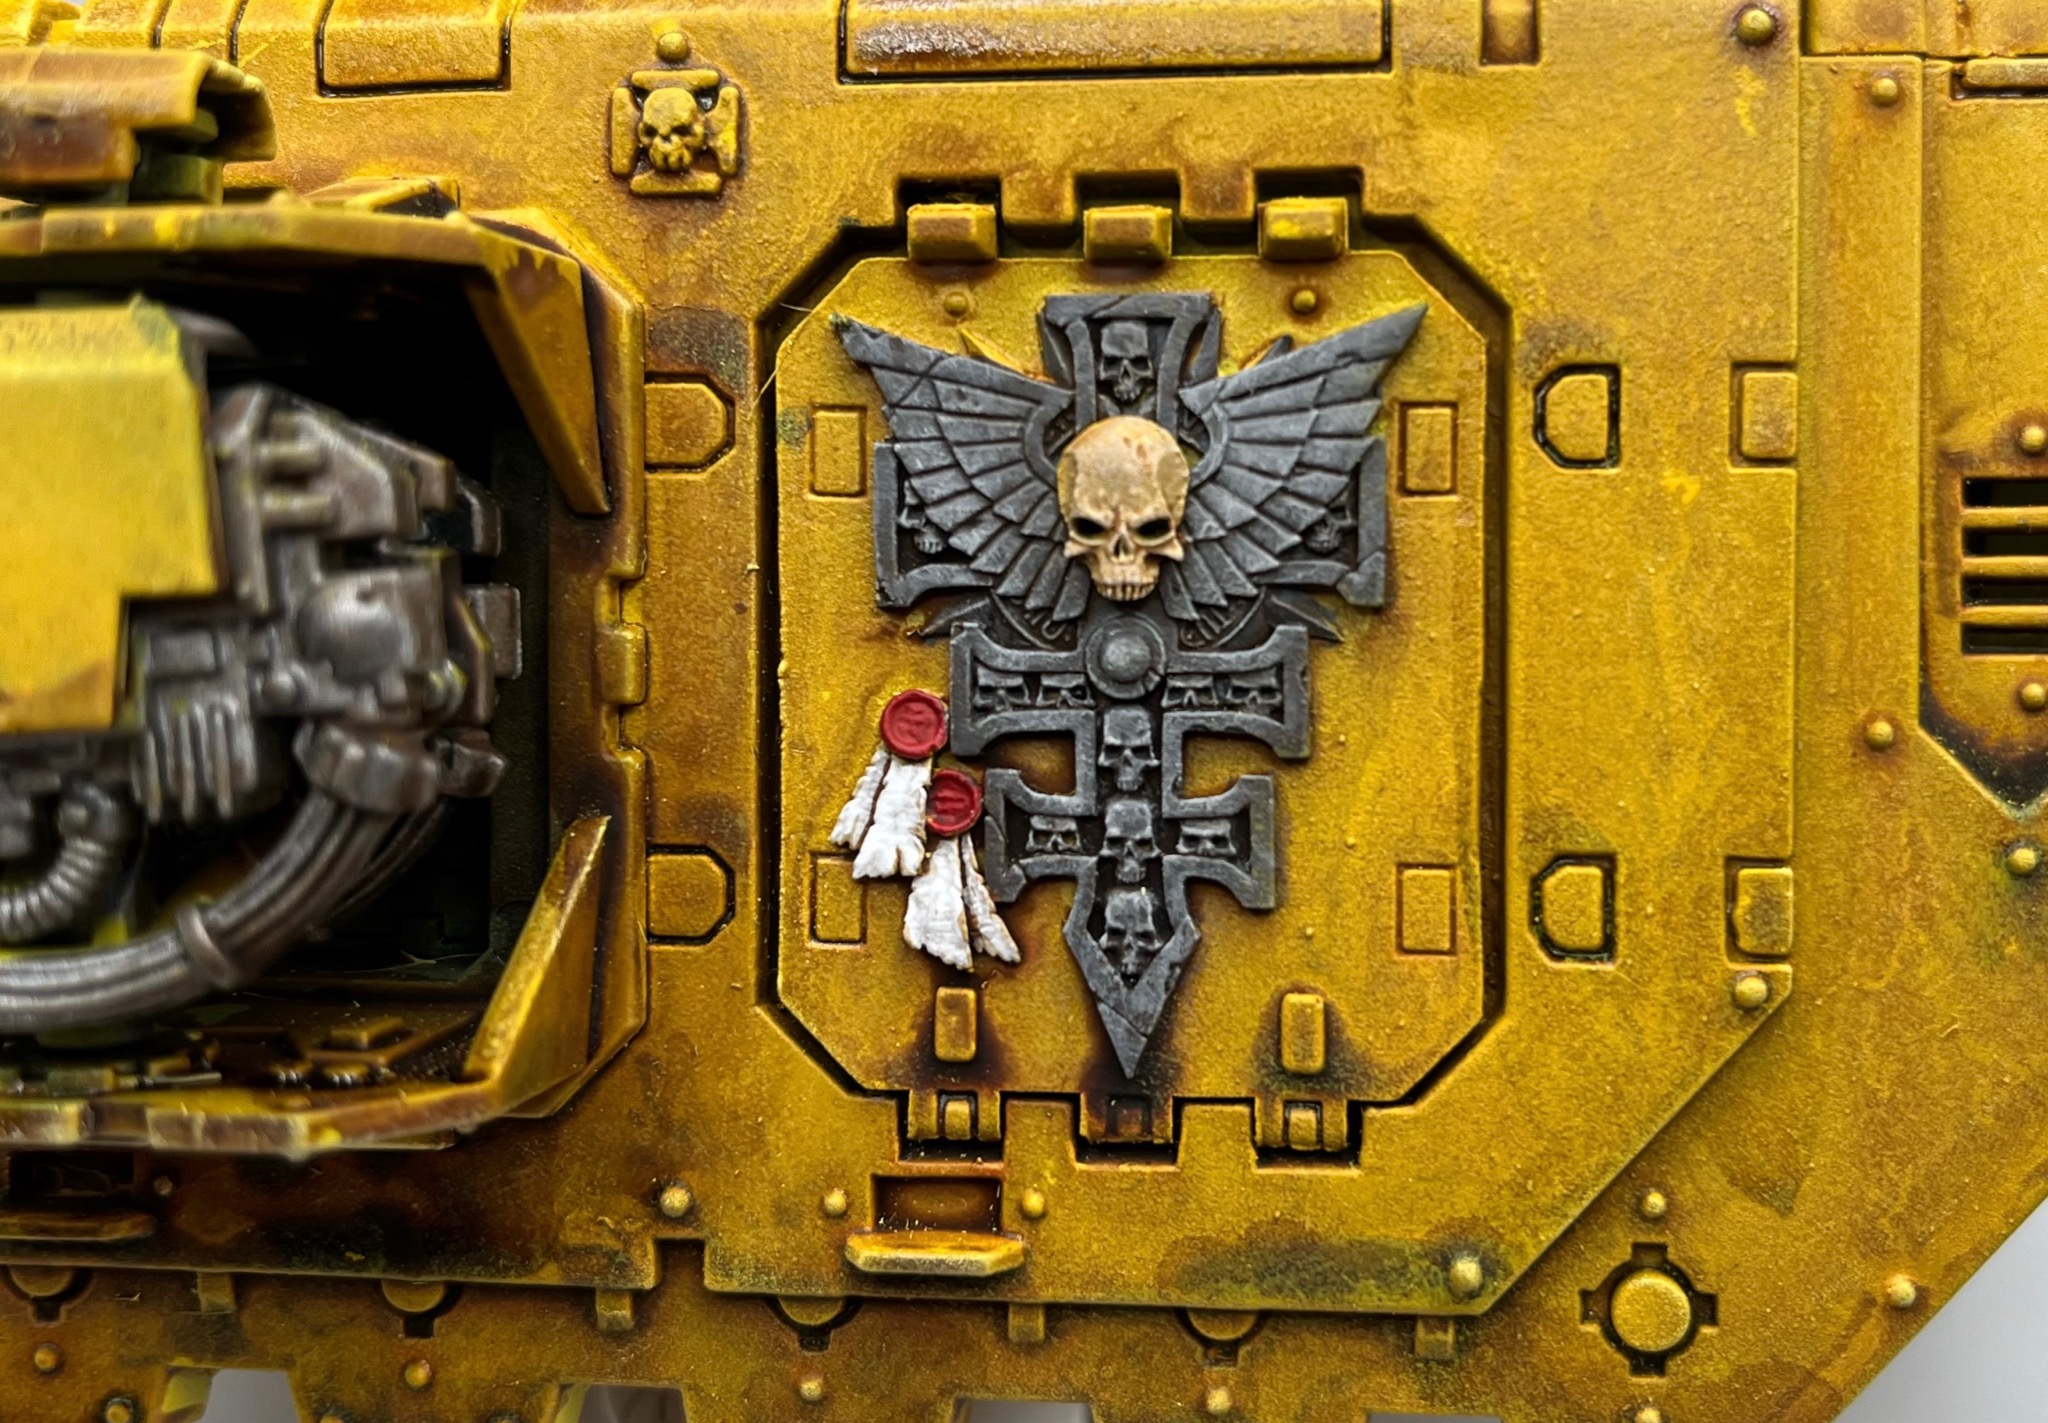
The next step was to paint and highlight the iconography.

This is to brighten up the purity seals and other iconography after it was dulled down by the shades and washes.

Once the model was shaded I then painted the doors with Stormvermin Fur. This was followed by a drybrush of Dawnstone Layer and then a lighter dry brush of Administratum Grey. The Dry paint grey was too dark, so I did a final really light dry brush of Terminatus Stone Dry paint.
The finished tracks were then glued to the Land Raider with superglue.

Really now looking the part.

I am really pleased with how this Land Raider has turned out, so much so I have decided that I will paint my Mark IIb Land Raider using the same process and techniques.