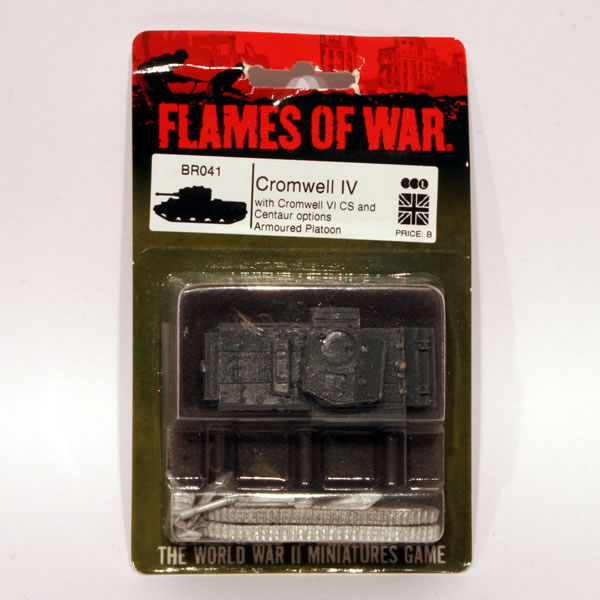
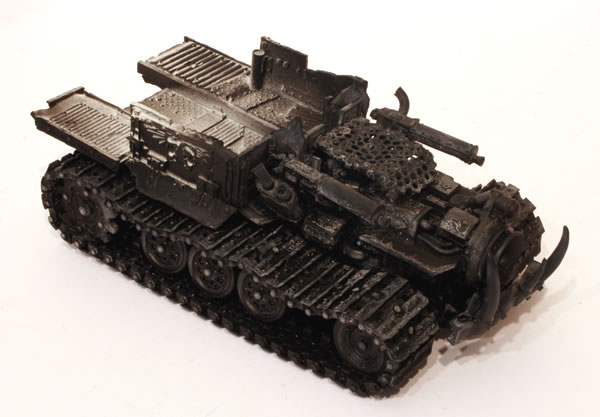
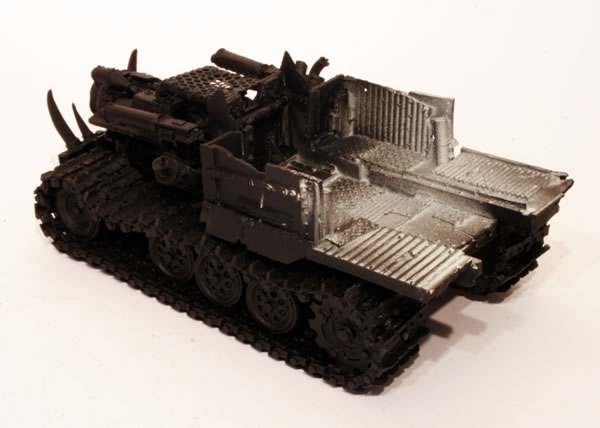
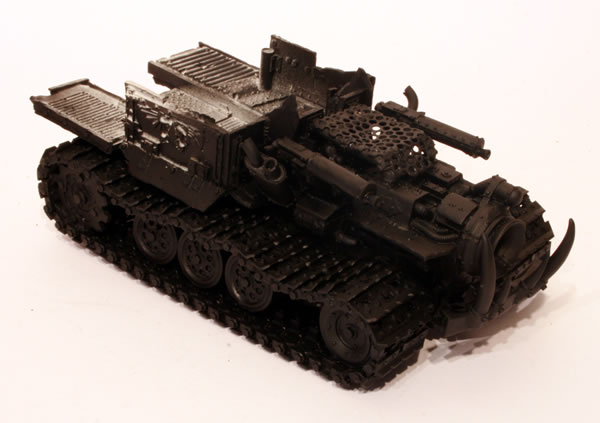
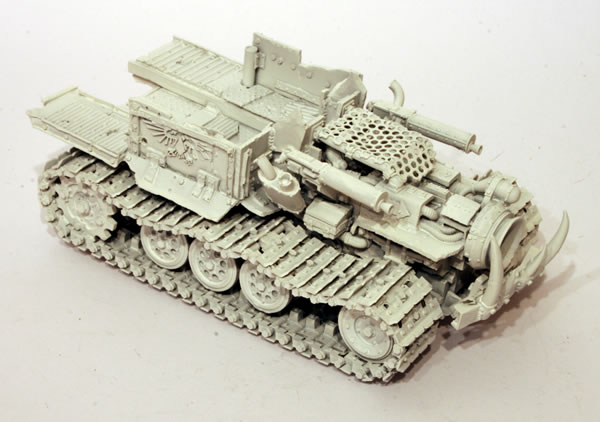
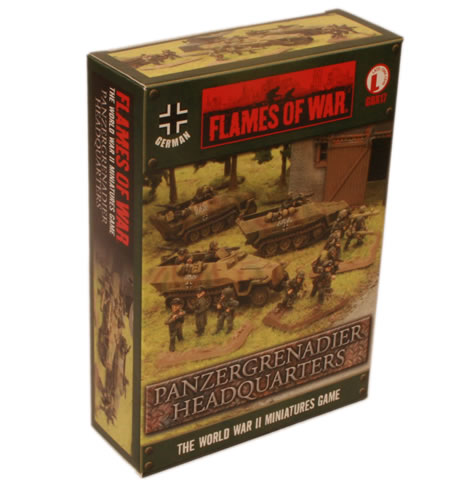
I purchased a Flames of War box of the German Panzergrenadier Headquarters.
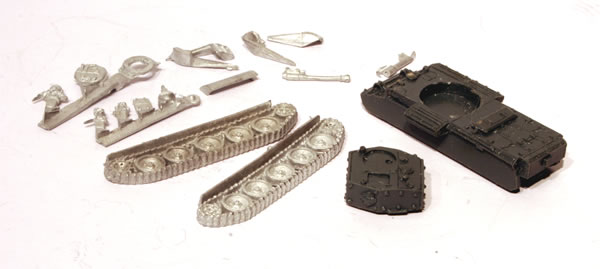
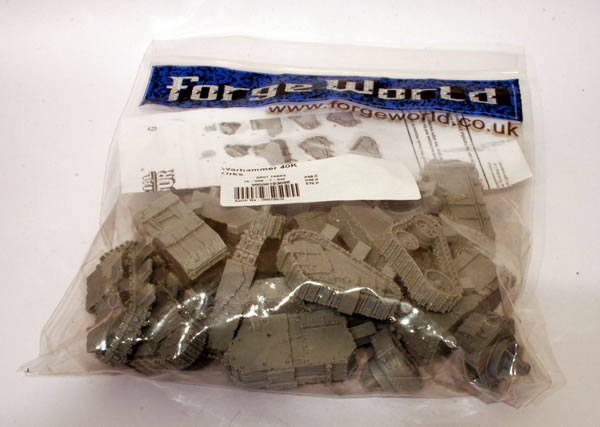
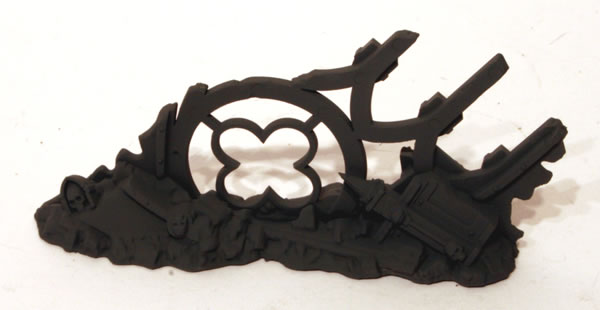
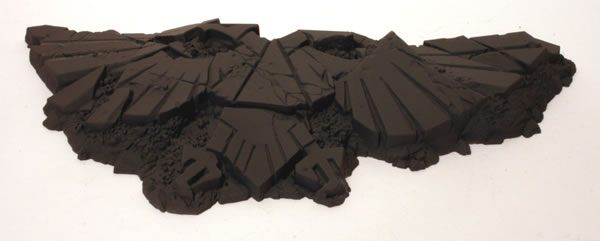
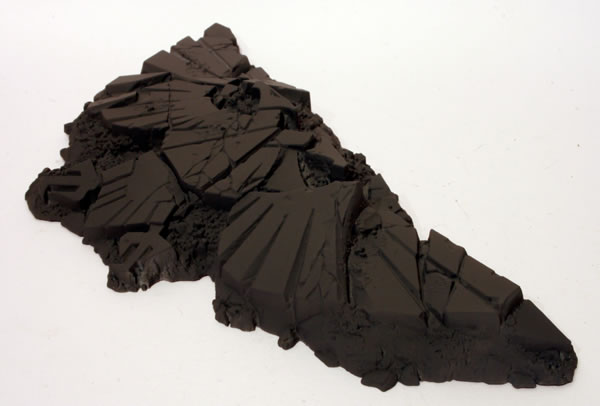
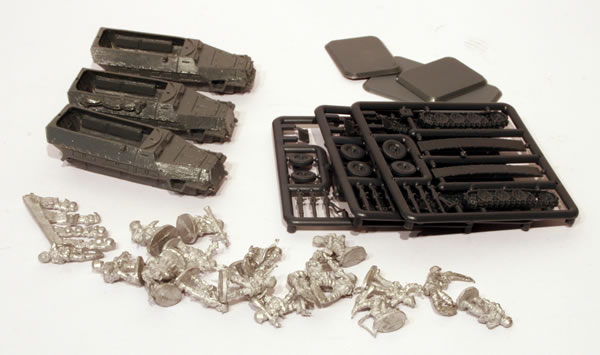
In the box you get a bunch of resin, plastic and metal.
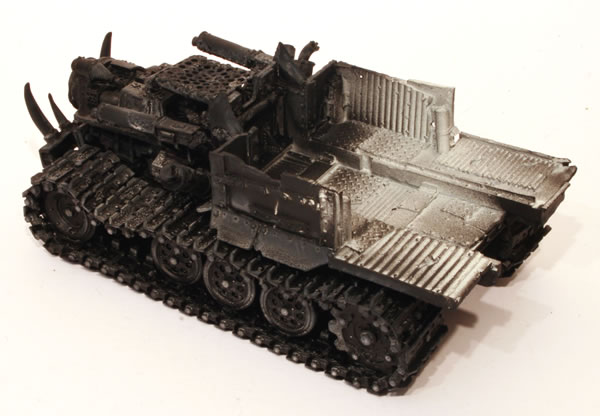
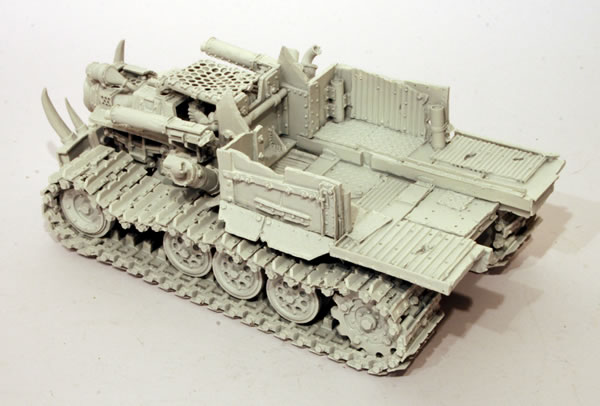
I like the fact that you get three different half tracks.
It’s a challenge though to see what goes where and on which bases which models go. I do think that there needs to be either better instructions in the box, or at least a good and explanatory guide on the Flames of War website. This is not the first or last model from Flames of War that has left me confused about what is what and where it goes on the model. It’s not even entirely clear about which infantry go together or clear instructions on how to base them.
See the workbench feature on this boxed set.