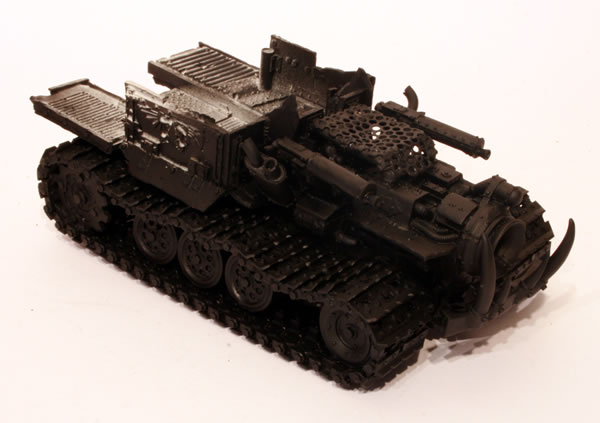
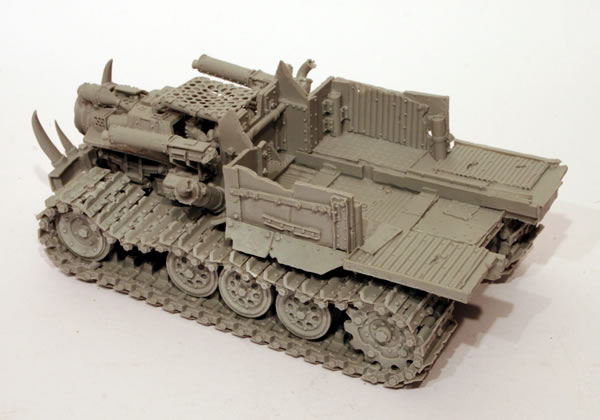
This heavy Ork transport can also be used to carry Big Gunz into battle. A brutal-looking machine, the Big Trakk comes with twin-linked big shootas, a massive gas-turbine engine, and ramming tusks.
Originally this was to be a conversion of the Ork Trukk kit, however in the end it was decided to make it a full resin kit. Main issue is that it comes with no instructions and it isn’t the easiest kit to put together.
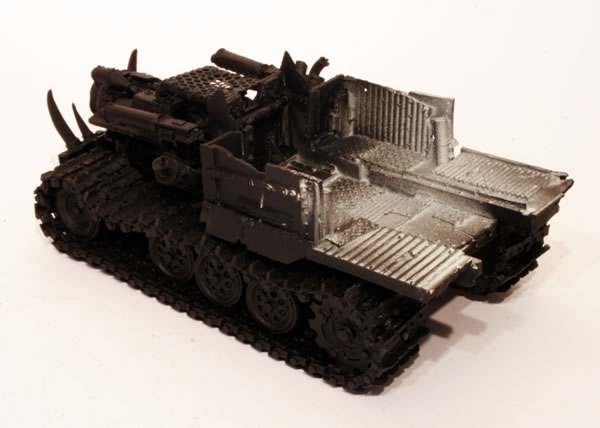
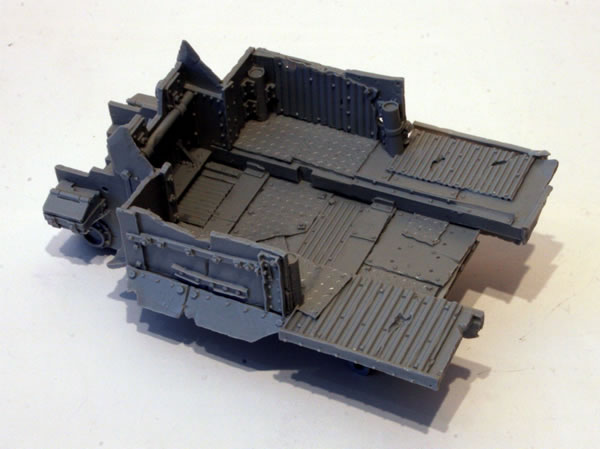
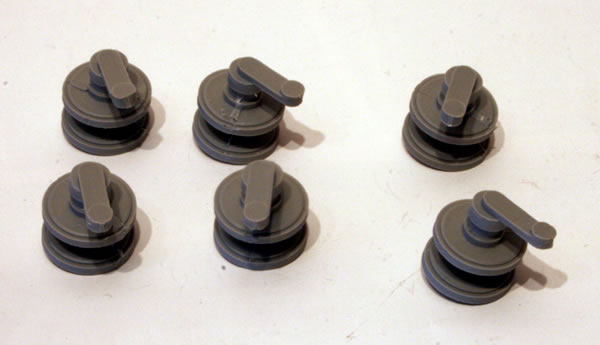
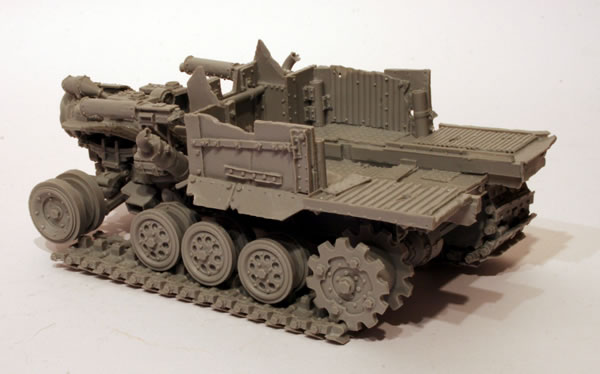
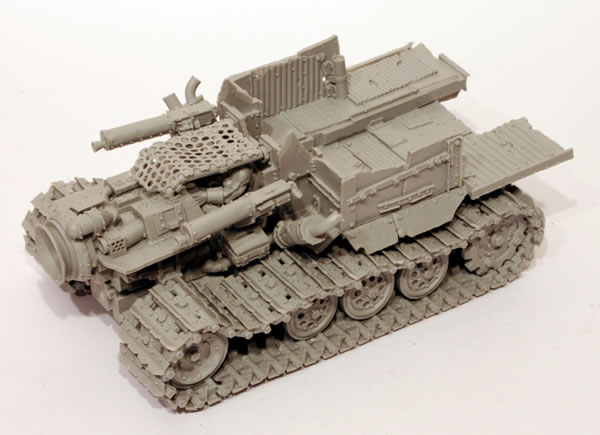
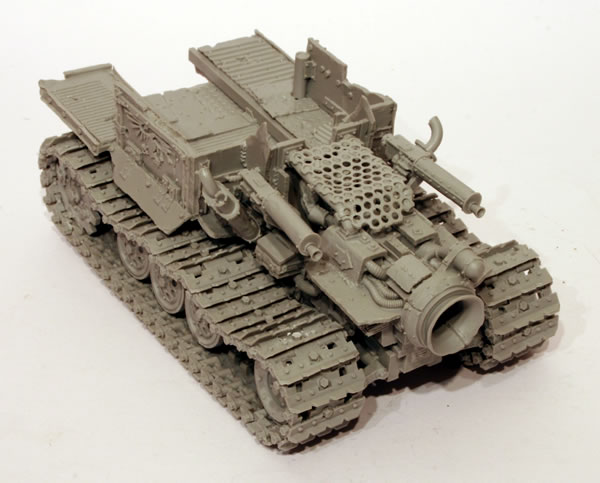
So this is what you get in the box.

This is not a simple kit, and it is furtherly complicated by a lack of instructions. Hopefully this workbench feature will help anyone else putting one of these wonderful and well detailed models together. I used many different photographs of the Big Trakk, both those I had taken and ones online. The first stage was fixing the suspension to the main body of the vehicle.
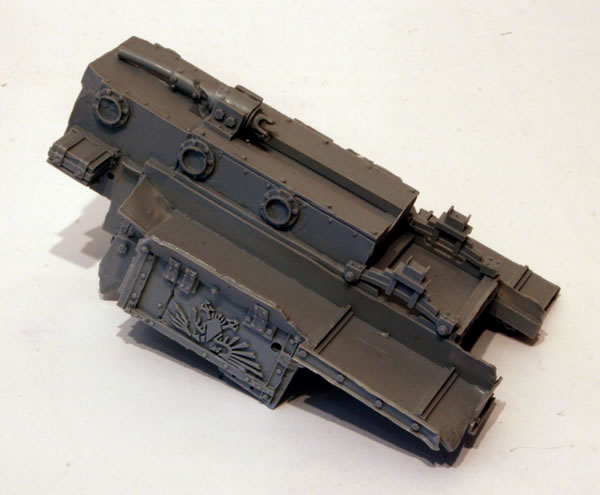
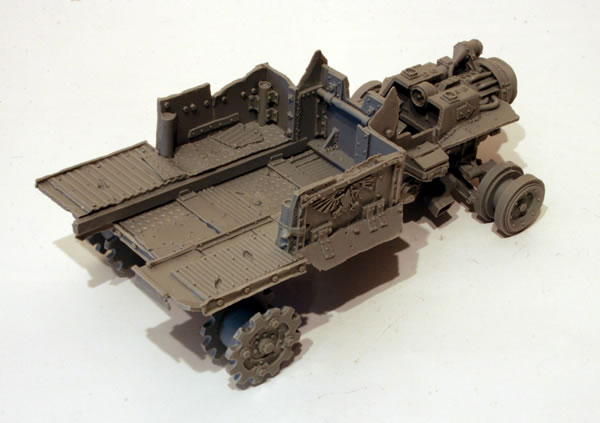
The left side was added the main flatbed of the superstructure.
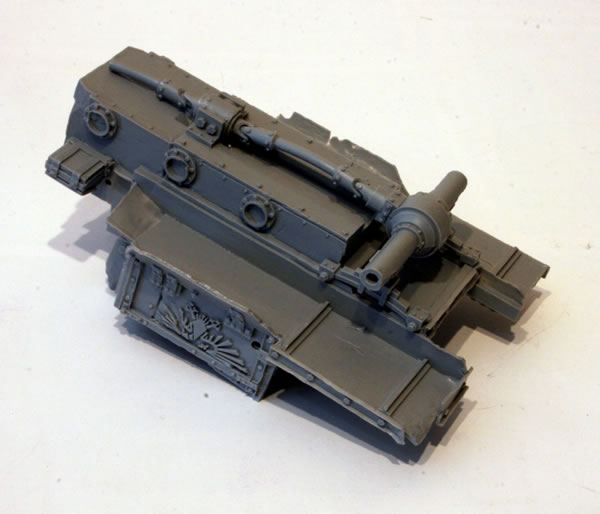
The driving axle was fixed to the driving shaft, this was then attached to the suspension
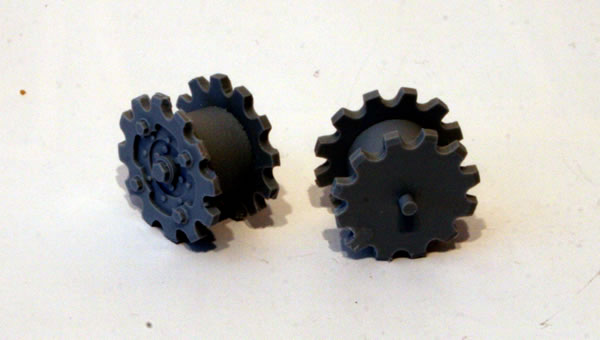
The driving wheels were then glued together.
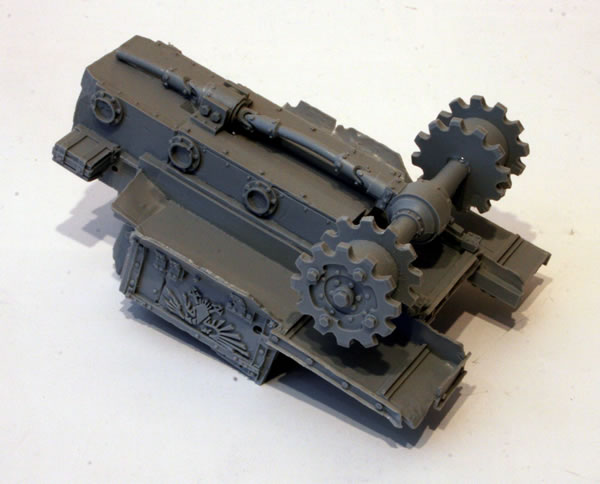
The driving wheels are then fixed to the rear axle.
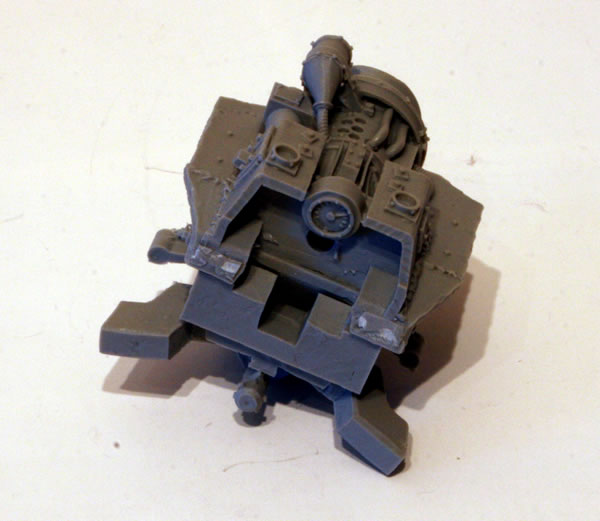
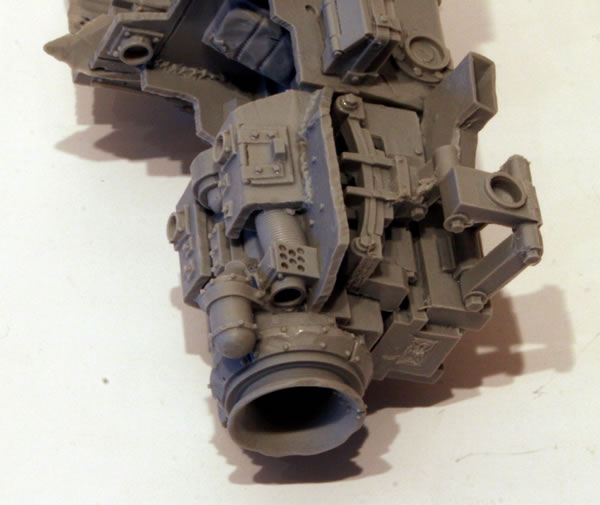
The main engine block comes in two parts.
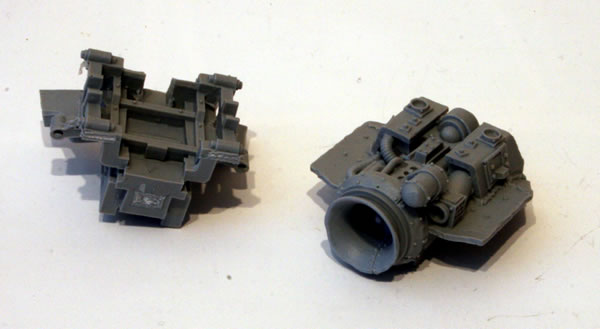
This is the bottom half (the wrong way up) and links into the drive shaft on the main part of the vehicle.
The well detailed jet intake is then stuck on top of the main engine block.
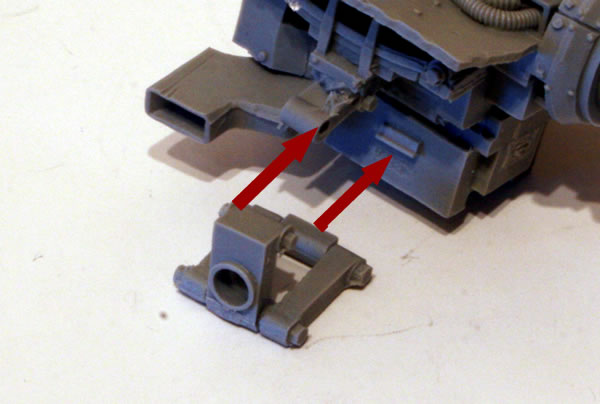
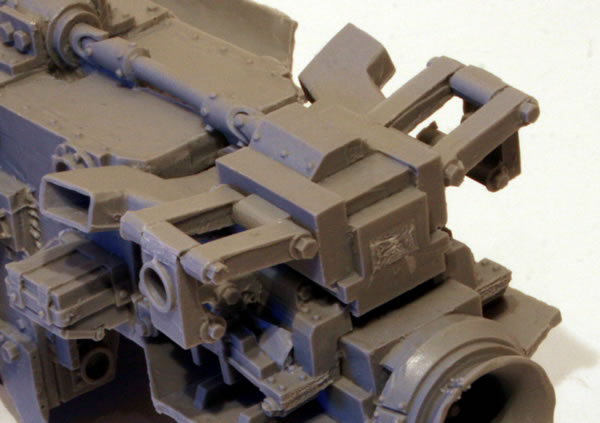
If you turn the engine over you will then be able to fix the front suspension and front axles.
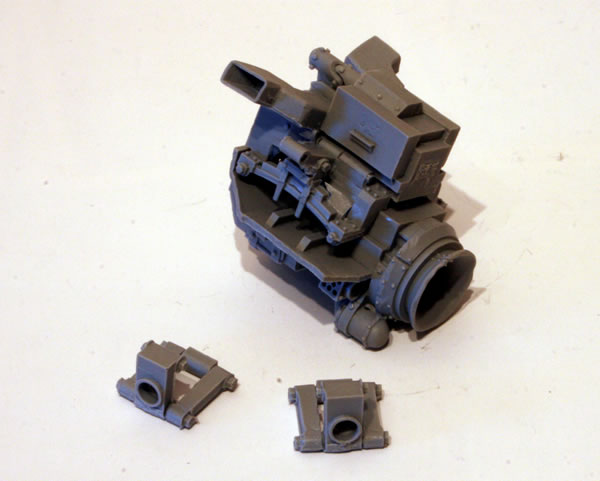
If you turn the engine over you will then be able to fix the front suspension and front axles. It’s not every clear how these fit on, but hopefully this diagram should make things clearer. There is a hole in the suspension arm fixed to the engine, and the suspension part is fixed to this and against the ridge on the engine block.
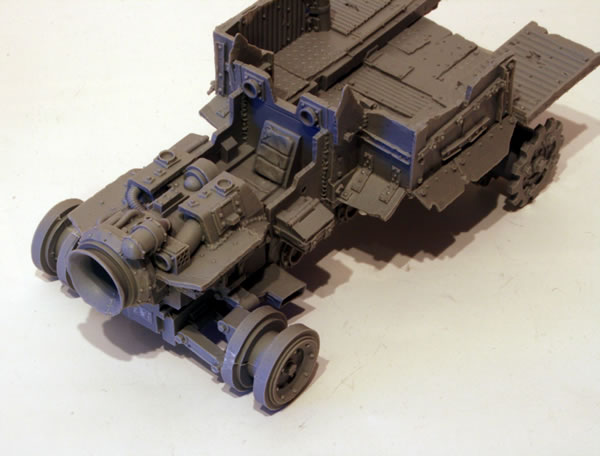
I decided to fix the suspension parts after fixing the engine to the main part of the vehicle. It is important at this stage to clean where the engine joins the superstructure otherwise there will be gaps and more importantly a weak joint.
The engine block was fixed to the main part of the vehicle.
I ensured that the drive shaft was connected to the engine block.
The next stage was to add the front axels.
You can see where I have digitally painted the part where it fits on the main engine block.
Another view of where the front axle and suspension goes.
More detailed view.
The next stage was the front road wheels.

The next stage was to add the front axels.
The view from underneath.
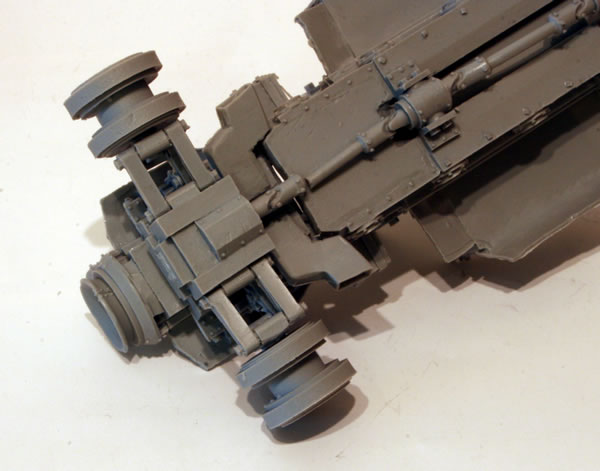
It is essential when sticking these that the model fits flat to the table otherwise you may have issues later on fitting the tracks.
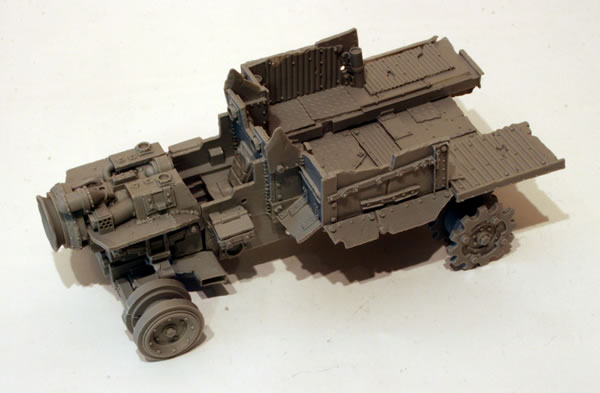
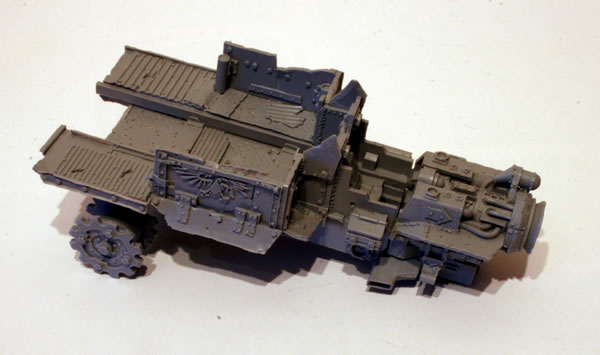
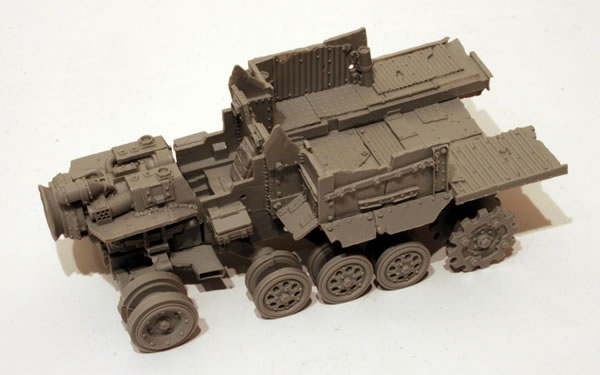
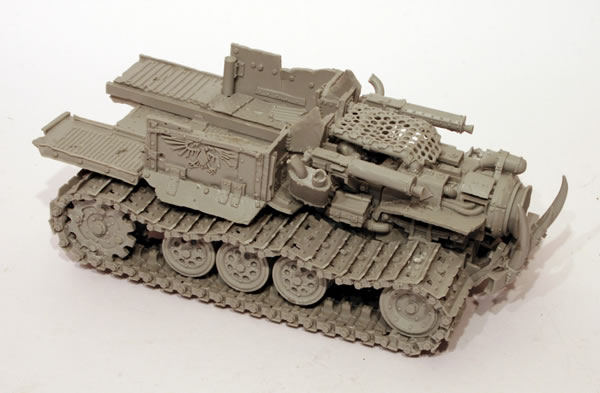
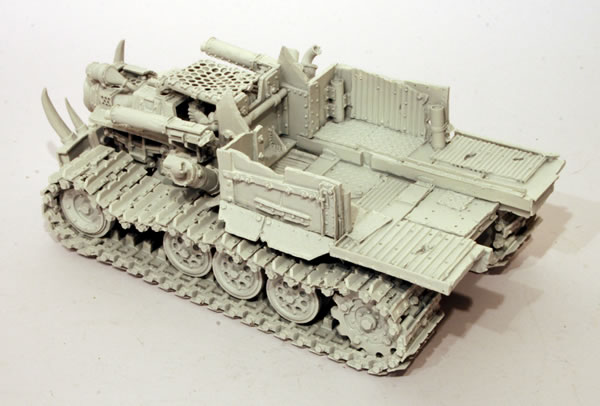
Starting to look more like a Big Trakk now.
The next stage was the road wheels.
These were attached to the suspension (torsion bars) before they were fixed to the vehicle.
The next stage was to add the driving wheels. Again fix these with the model on a flat surface as this will ensure that the model sits flat on the tracks. I did one wheel at a time to ensure I didn’t knock them as I stuck them together. Also ensure that you have the suspension or torsion bars facing to towards the back of the vehicle.
The other side.
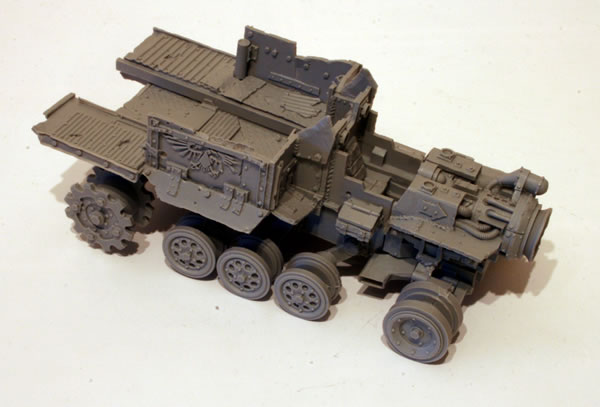
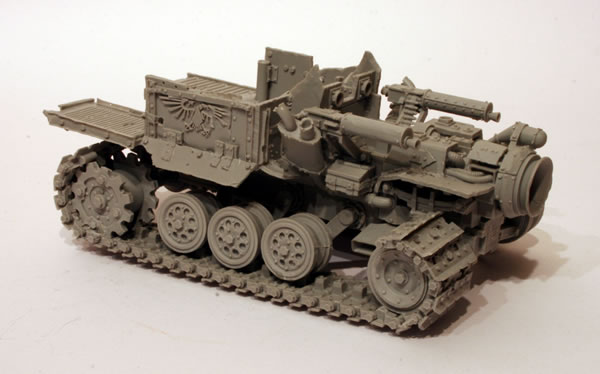
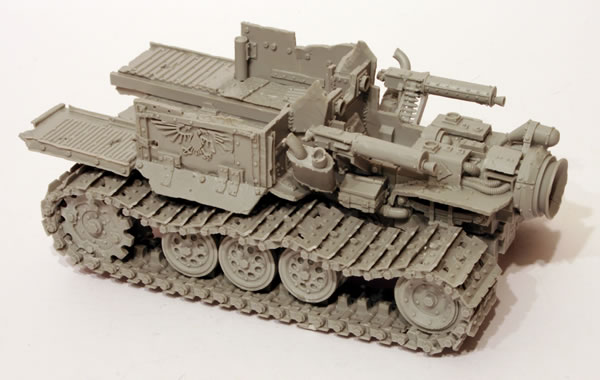
Starting to look a lot more like a Big Trakk now.

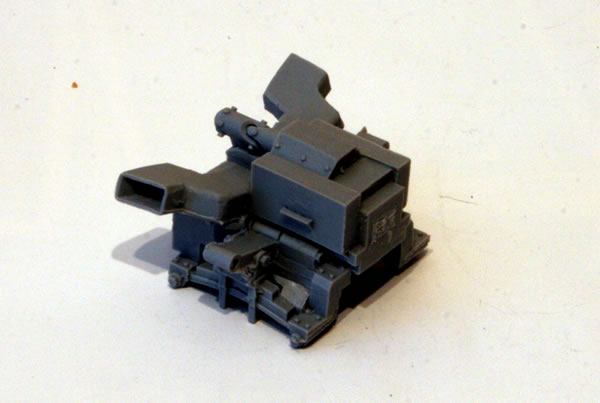
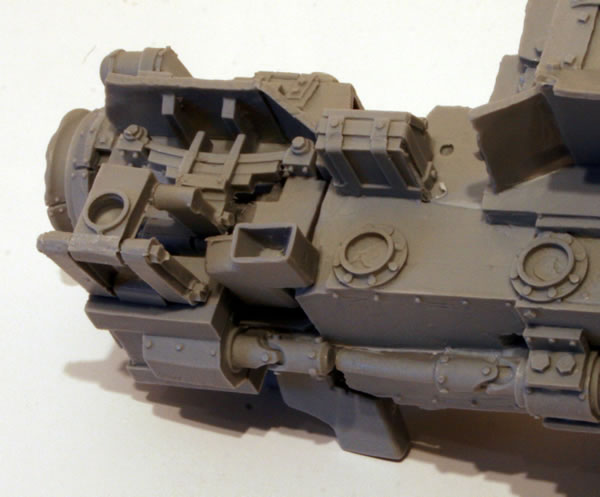
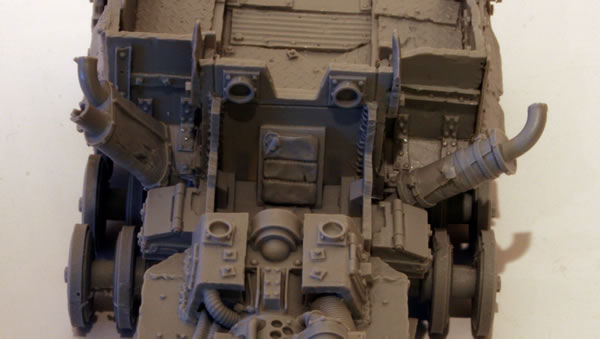
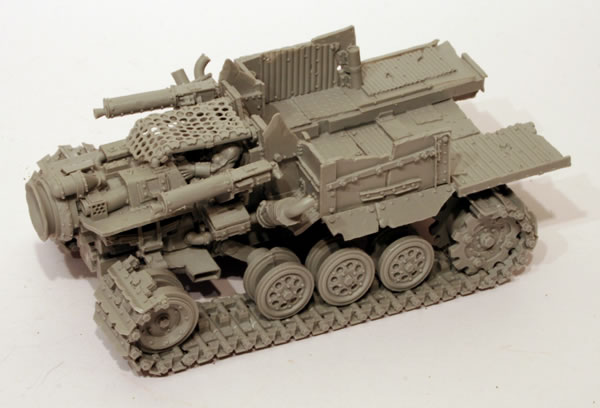
There are two exhausts and it is not immediately apparent where they fit.
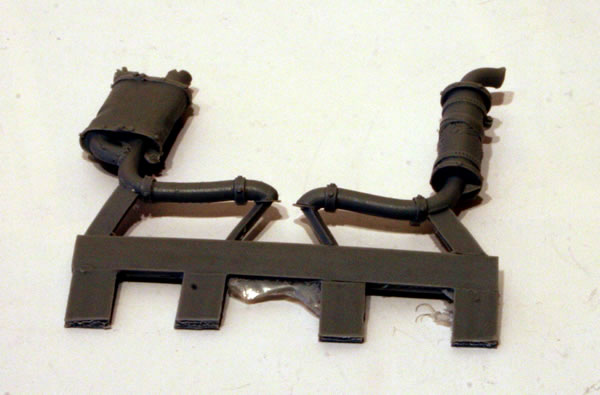
They are fitted on either side of the driver’s seat facing out at an angle.
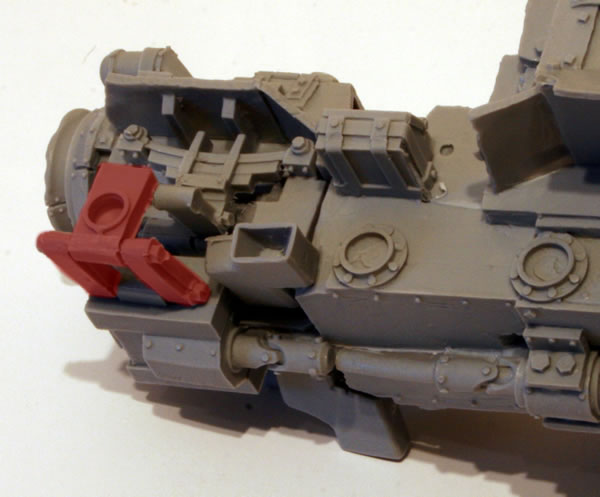
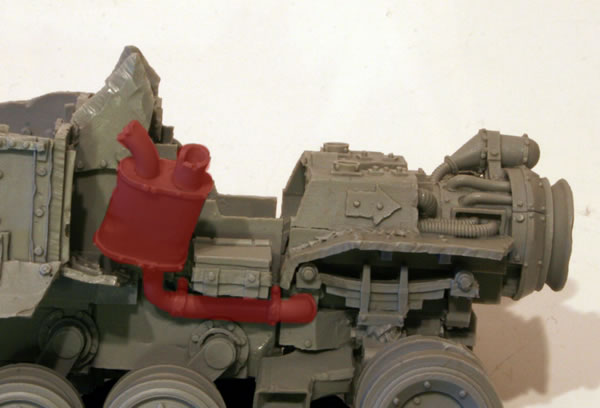
Fitting the right exhaust.

With the exhaust highlighted.
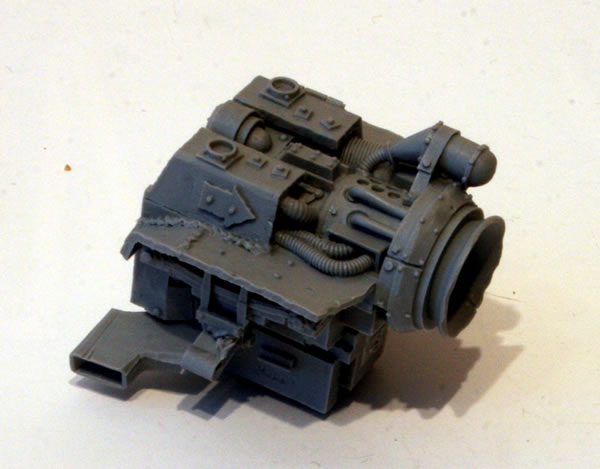
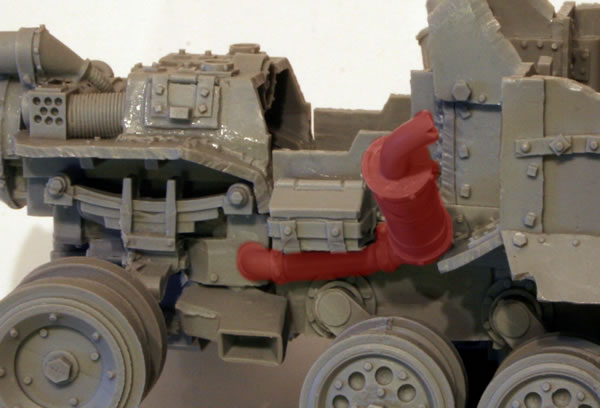
Fitting the left exhaust.

With the exhaust highlighted.
The next stage was adding the tracks. These have been numbered on the sprues and this is the order around the wheels that they go.
The largest pieces of track I had were quite warped, but immersing them in hot water allowed me to get them nice and flat. The key I found in placing the track was to get the largest piece flat attached to the rear cog.
I managed to get the right side track to fit. It was quite a struggle to get the bits underneath the rear flatbed in, but it all came together in the end.

At this stage I decided that I would fix the driver into the vehicle. The original plan was to paint him separately, however seeing how much he is “hidden” and this is not a Golden Demon entry, I decided to paint him in situ. So he got glued into his seat.
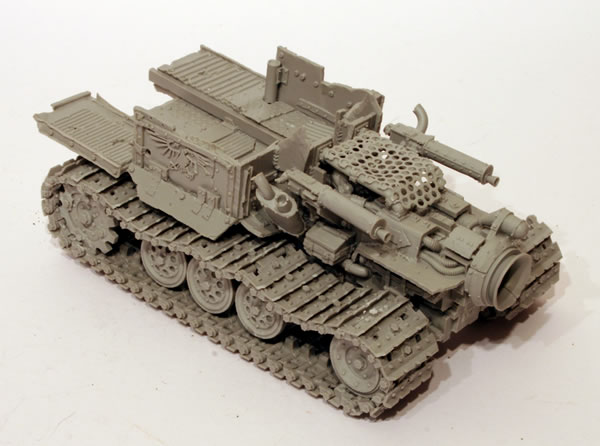
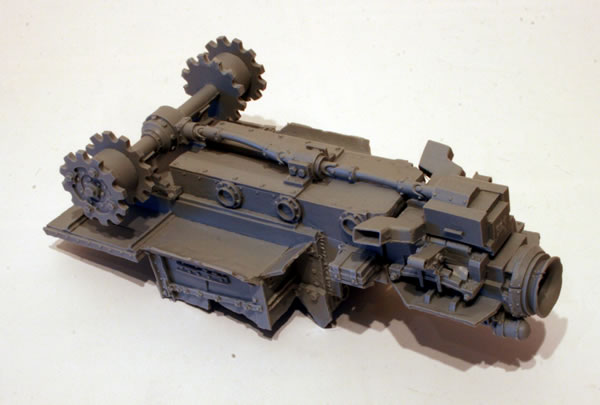
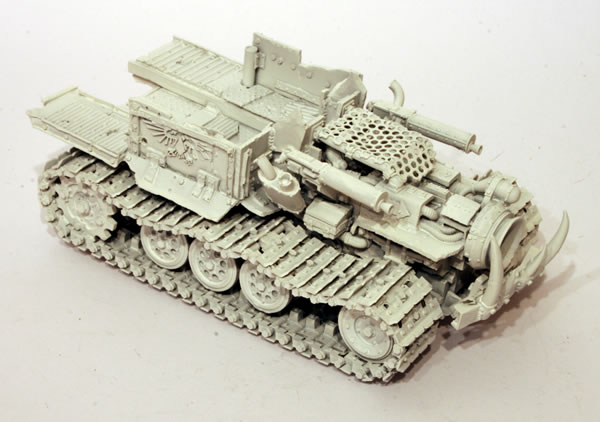
Finished the tracks.

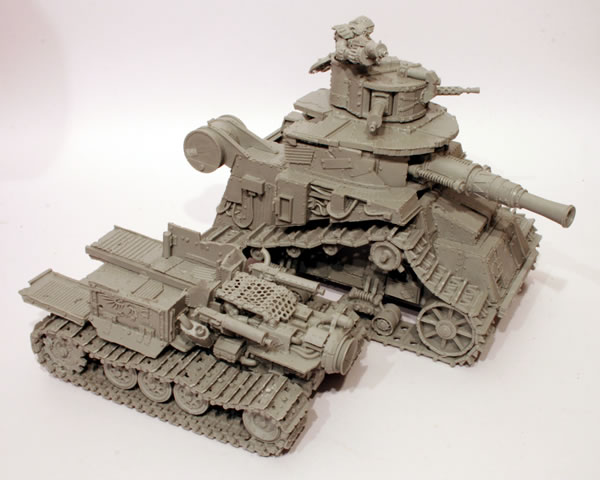
You can compare the Big Trakk here alongside my Kil Krusha.
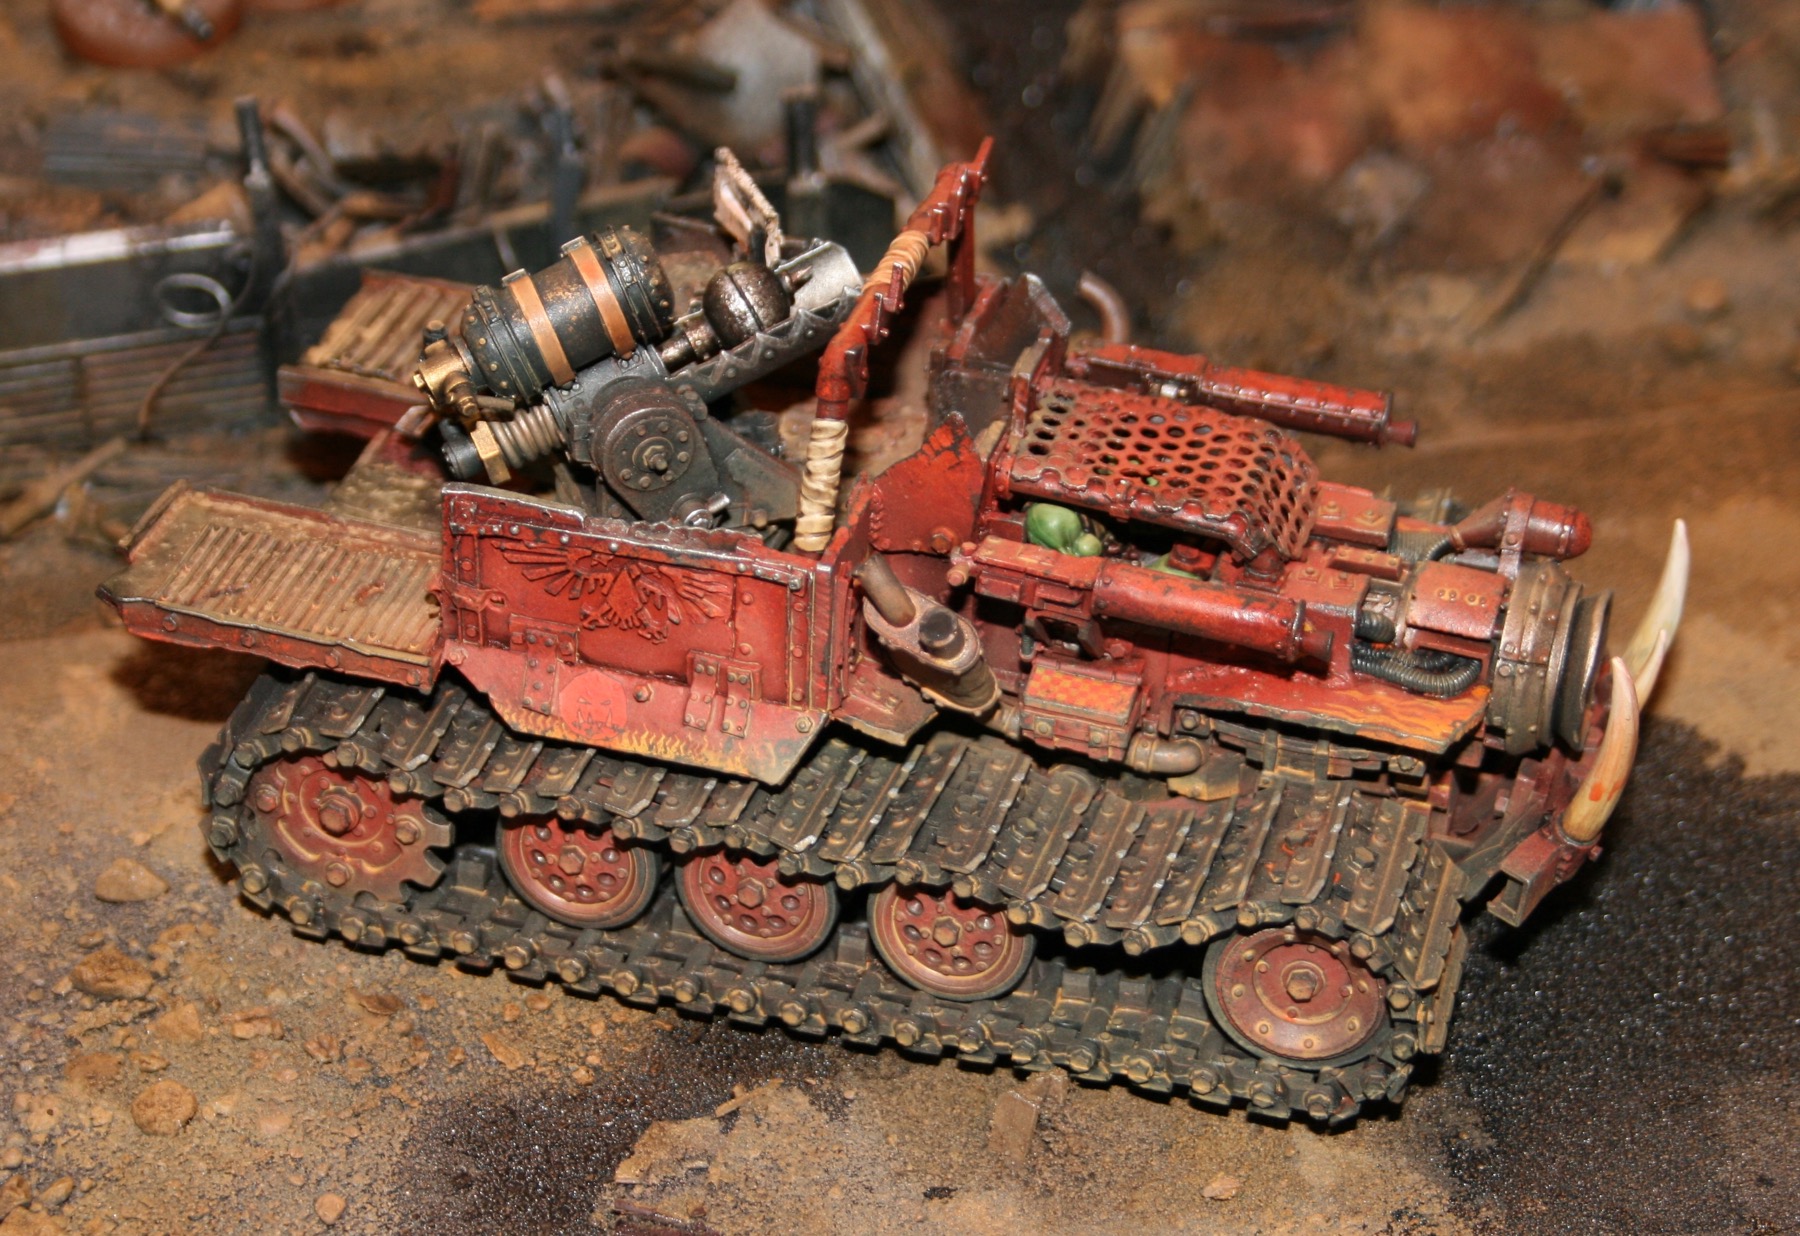
The final stage was adding the ramming tusks.
The first stage of painting was to give the model a white undercoat.
I then made a mistake. I used a can of Citadel black spray paint to paint the majority of the model except the flatbed. As you can see the results were less than satisfactory. The paint had dried and almost had a dusty look to it.
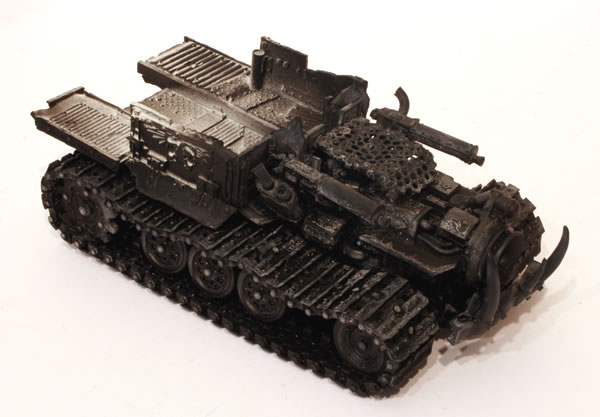
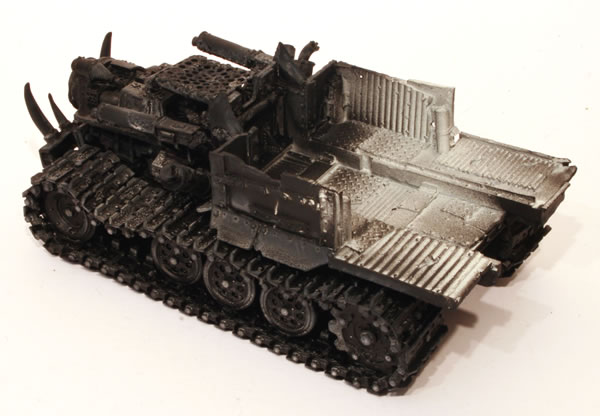
In the end I decided to respray with a different brand of matt black spray paint.