The Cromwell Tank was one of the most successful series of cruiser tanks fielded by Britain in World War II.
The Cromwell tank, named after the English Civil War leader Oliver Cromwell, was the first tank in the British arsenal to combine a dual-purpose gun, high speed from the powerful and reliable Meteor engine, and reasonable armour, all in one balanced package. Its design formed the basis of the Comet tank. The Cromwell first saw action in June 1944, with the reconnaissance regiments of the Royal Armoured Corps.
This is the Flames of War blister of the British Cromwell Tank.
In the blister you get a resin hull and turret and the rest of the model is in whitemetal. You get the option to make it a CS Centaur version.
The model is well detailed and certainly looks the part.
Looking at the army lists, I realised I needed more than one, so I managed to pick up another two from Hobbycraft.
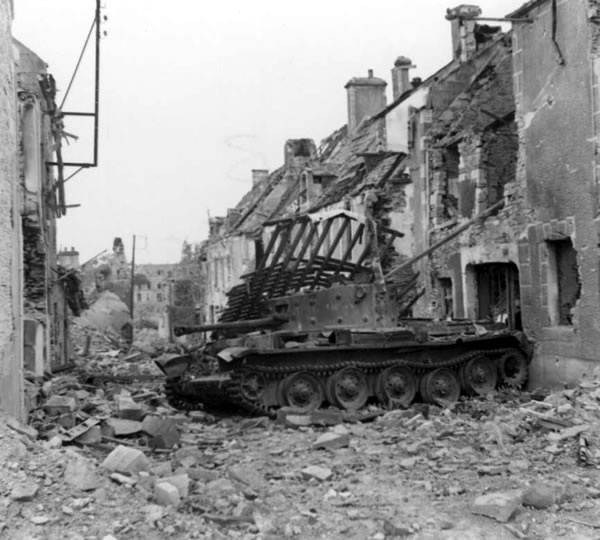
I always like to look at photographs of the actual tank when building these models, for information on stowage and extra pieces. Found these two photographs of a “destroyed” Cromwell.
It would appear that this photograph is of the same tank, but there has been some fighting, shelling or bombing since the previous photograph was taken if you look at the buildings.
According to the report I read, the tank was trying to turn round quickly on the street and caught a track on the road and got stuck. As a result the crew abandoned the tank and left it.
As with my Cromwell ARV (which I did first) I glued the track guards to the tracks and the main weapon to the turret and the hull MG to the hull.
I then glued the tracks to the hull.
I also glued the hatches to the turret.
This time I decided that I would not use the tank commanders.
Unlike the boxed set these models are all the same.
So thinking I might put some stowage in them before undercoating them white. In the end though I didn’t.
The next stage is base coat for the underneath of Humbrol Dark Green. This will add shadow and depth to the main (top) base coat of Warpaint British Armour.
As you can see from the top view, the white undercoat is still mainly visible.
The next stage was a base coat of Warpaint British Armour.
I used a spray can for this.
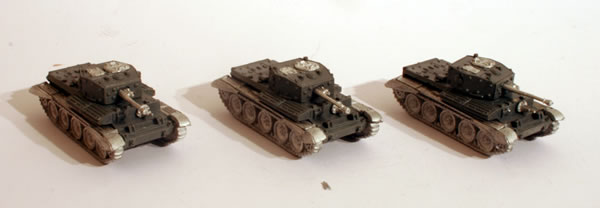
All three models were sprayed at the same time.
Here is the Challenger next to it’s little brother, the Cromwell IV.
The next stage will be detailing the tracks and equipment. I started to paint the tracks using German Grey (995).


