Painting Big Tiny Planes

I have been working on my Grot Bommers for Aeronautica Imperialis. 

The Grot Bommers are one of my favourite planes from Aeronautica Imperialis. 

The diminutive Gretchin have long been enthusiastic supporters of Ork aviation, whether gleefully pushing bombs out of open bays, crawling into tight spots to fix engines, or acting as spotters and even gunners on ork planes. It doesn’t take long before they become obsessed with flying just like their bigger kin, begging for their own turn on the control stick. Some enterprising Ork meks decided this arrangement could be mutually beneficial, and created guided missiles that could be flown like a tiny, gretchin-sized airplane. Fitted with a short-burn rocket engine and stuffed with unstable explosives, some rabid grots are happy to climb aboard just for the (short-lived) thrill of speed and freedom. They’re loaded into the wings of specially-fitted Grot Bommers, and launched in support of the Air Waaagh!

Having constructed the models I gave them a white undercoat. This was then followed by a base coat of Blood Angels Red contrast paint.

I did quite a thick coat, though reading round the use of contrast paints, two or more thinner coats would have been better. Something to do in the future with future models and contrast paints. I am even tempted to repaint my Adeptus Astartes flyers.

After touching up bits of the model that I had missed, I then gave the models a drybrush of Astorath Red dry paint to bring out the highlights and this actually toned down some of the dark patches I had by using the contrast paint.

I am liking progress so far.
Painting Tiny Planes

I did some more painting of my Asuryani Flyers.

These are the Asuryani Flyers (though I think of them as Eldar Flyers) that came with the Wrath of Angels boxed game.

You get three Nightwing fighters, in the Wrath of Angels boxed game, you also get three Phoenix Bombers.

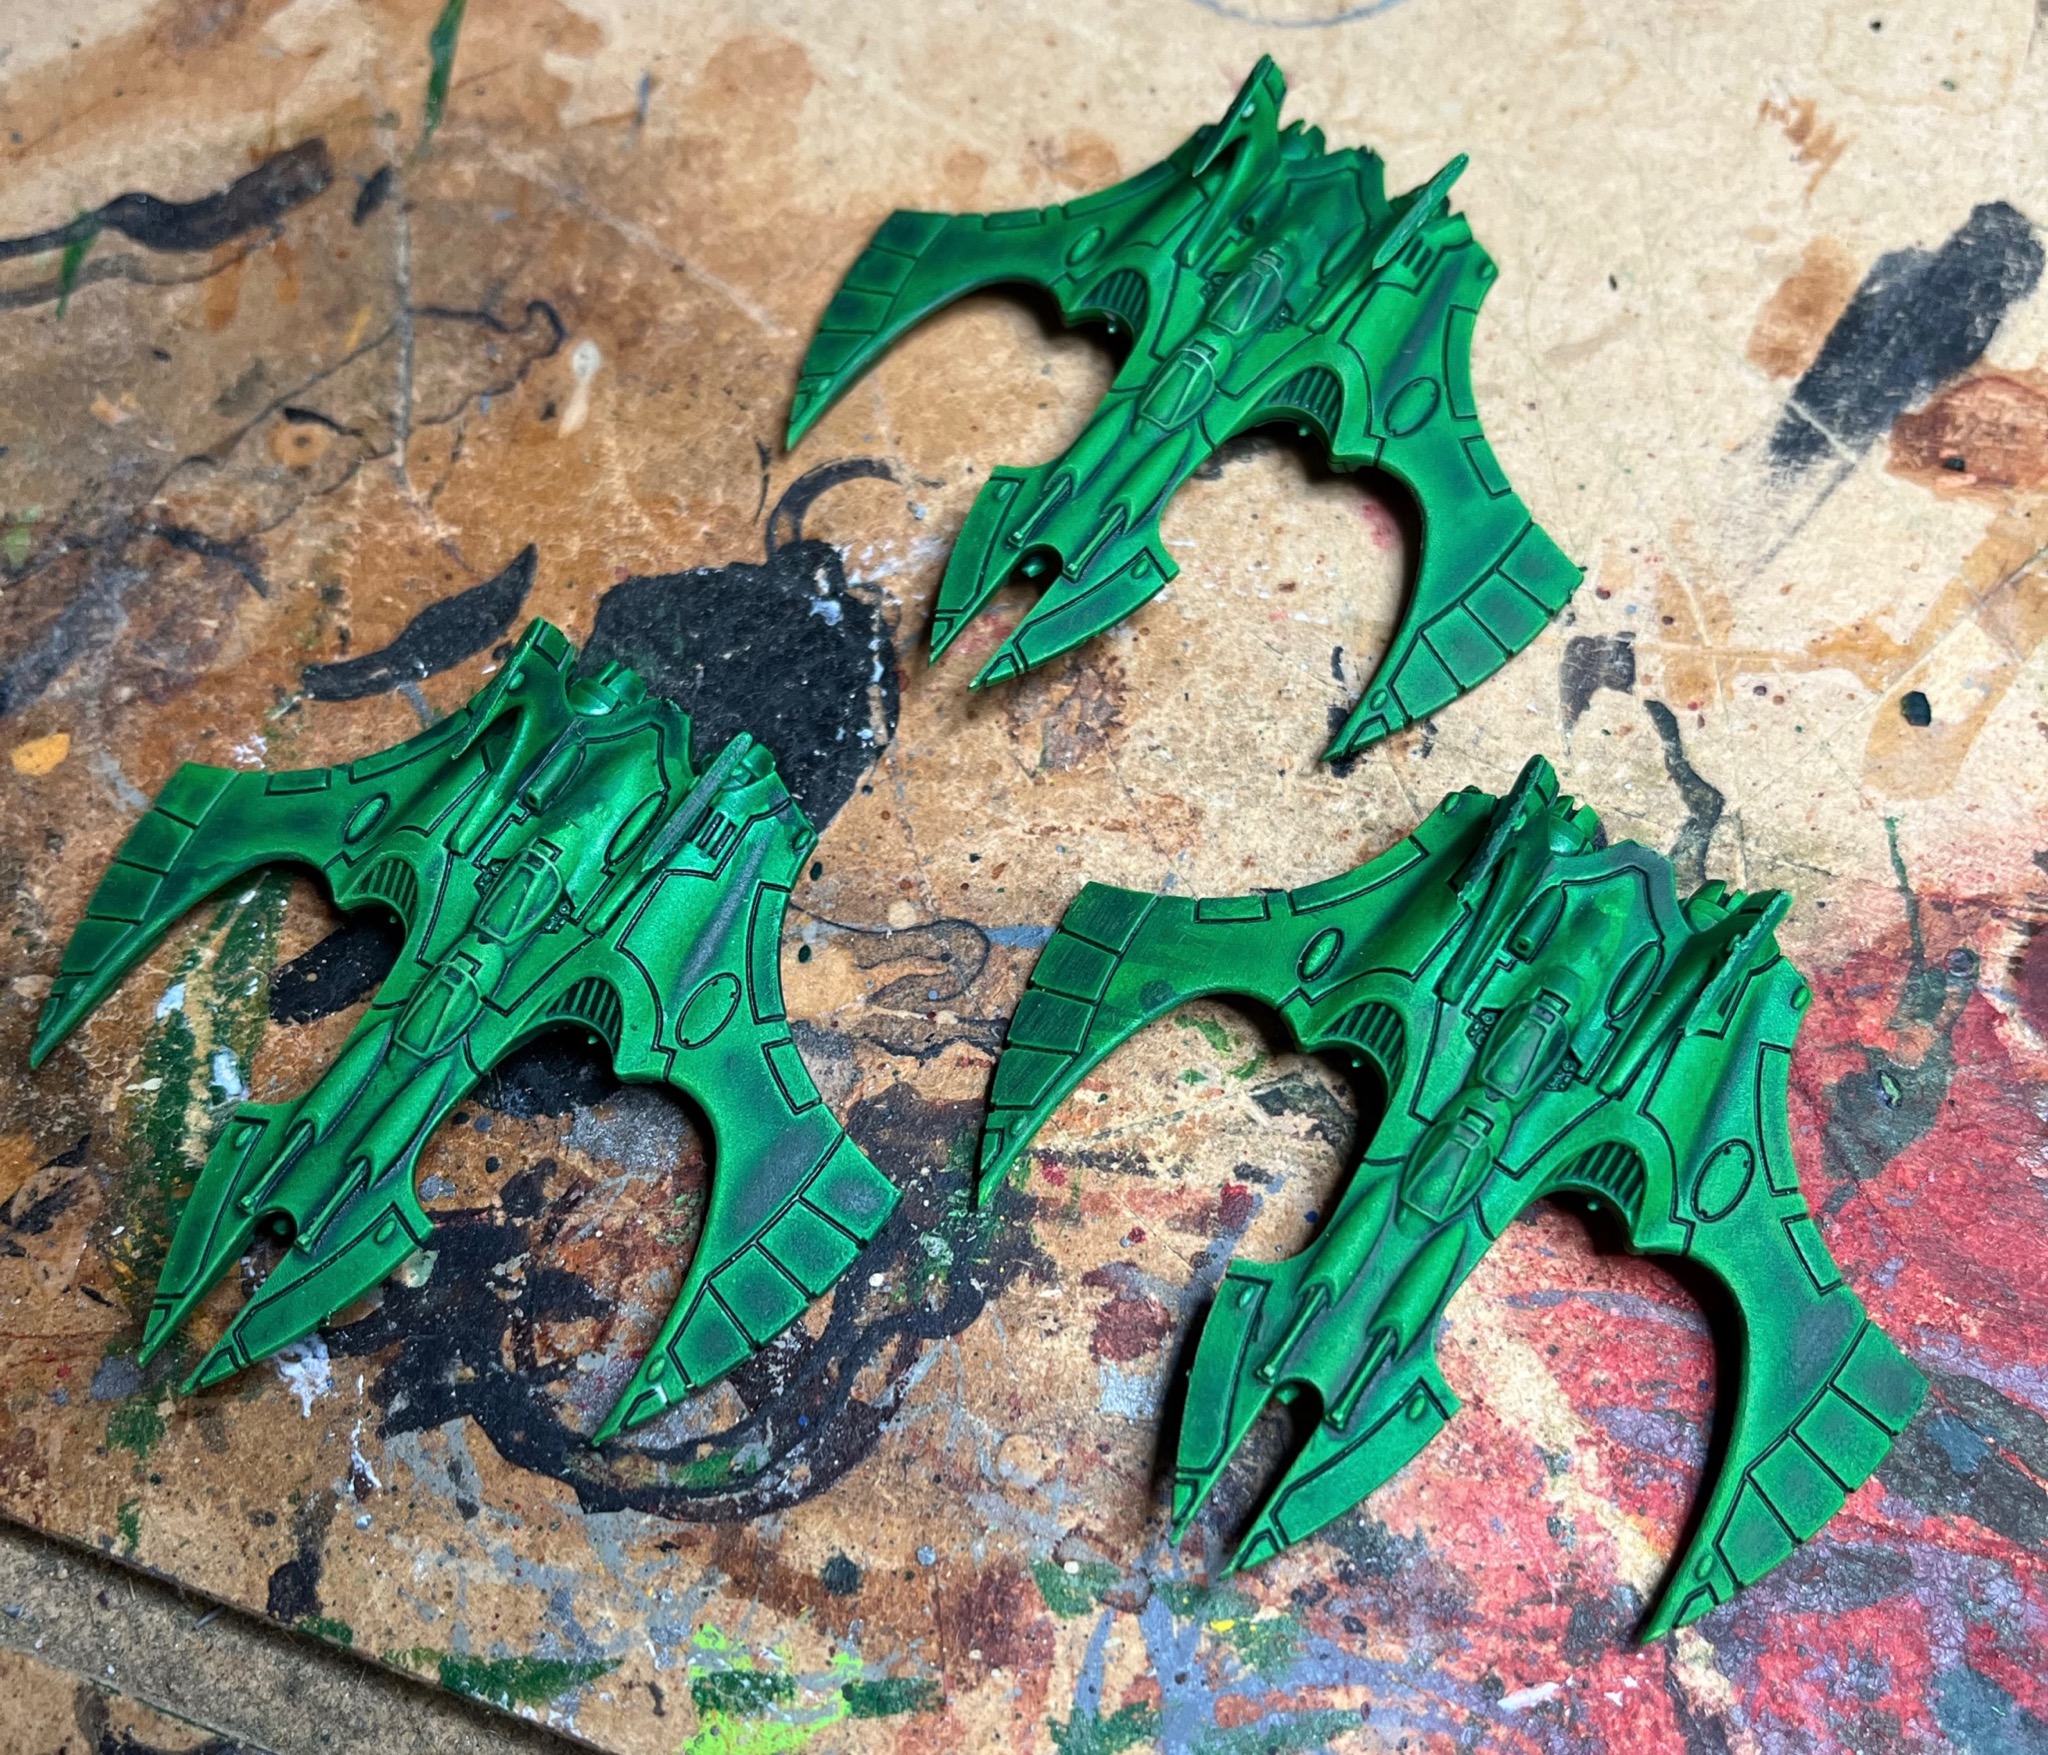
I had given the models a base coat of Ork Flesh contrast paint. After touching up bits of the model that I had missed, I then gave the models a drybrush of a green dry paint to bring out the highlights.

Painting the Zone Mortalis: Floor Tile Set

One of my Christmas presents, was the Necromunda Zone Mortalis: Floor Tile Set.

Zone Mortalis: Floor Tile Set

These highly detailed pieces of terrain allow you to build your very own dark and gritty corner of the Necromundan Underhive. They can be used to make a variety of board sizes, from narrow corridors and abandoned dwellings, to sprawling industrial complexes.

Zone Mortalis: Floor Tile Set

I had been thinking for some time in getting this set, for small games of Warhammer 40000, but also for games of Star Wars: Legion. So was pleased to get a box for Christmas

You get a set of four identical 12″ square plastic floor tiles.

I gave them a light white undercoat.

This was then followed by a spray of Mechanicus Standard Grey Spray.

The next step will be further painting, washes and weathering. I have decided not go down the hazard warning stripe road that you see on the box.

Painting the Containers

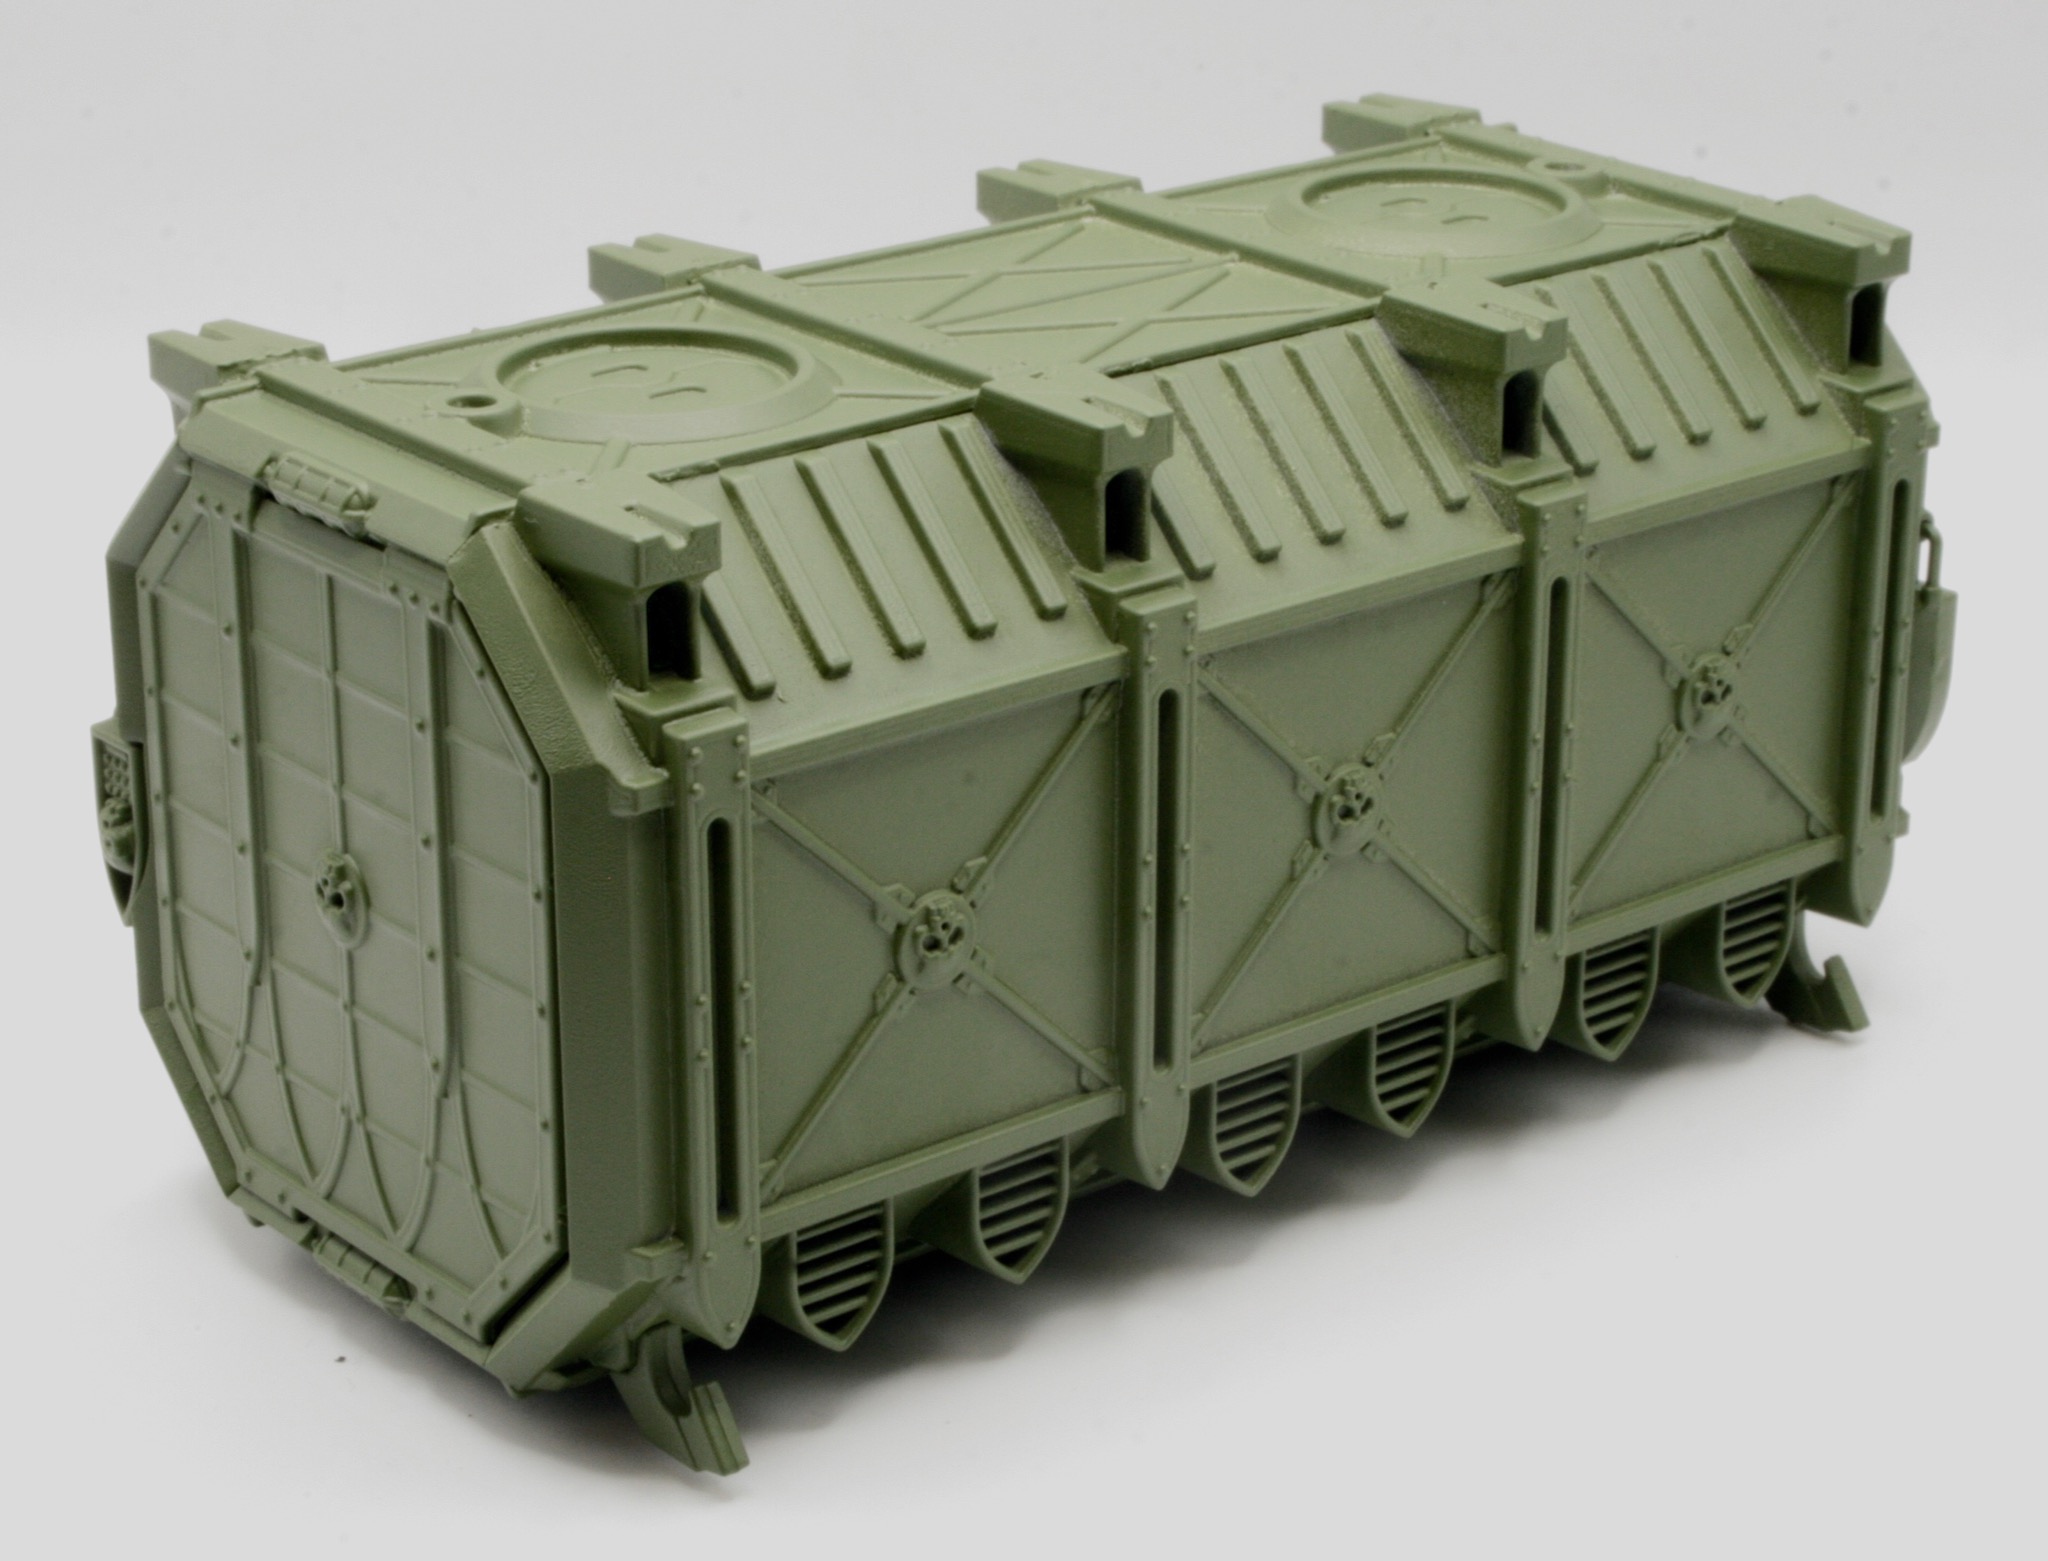
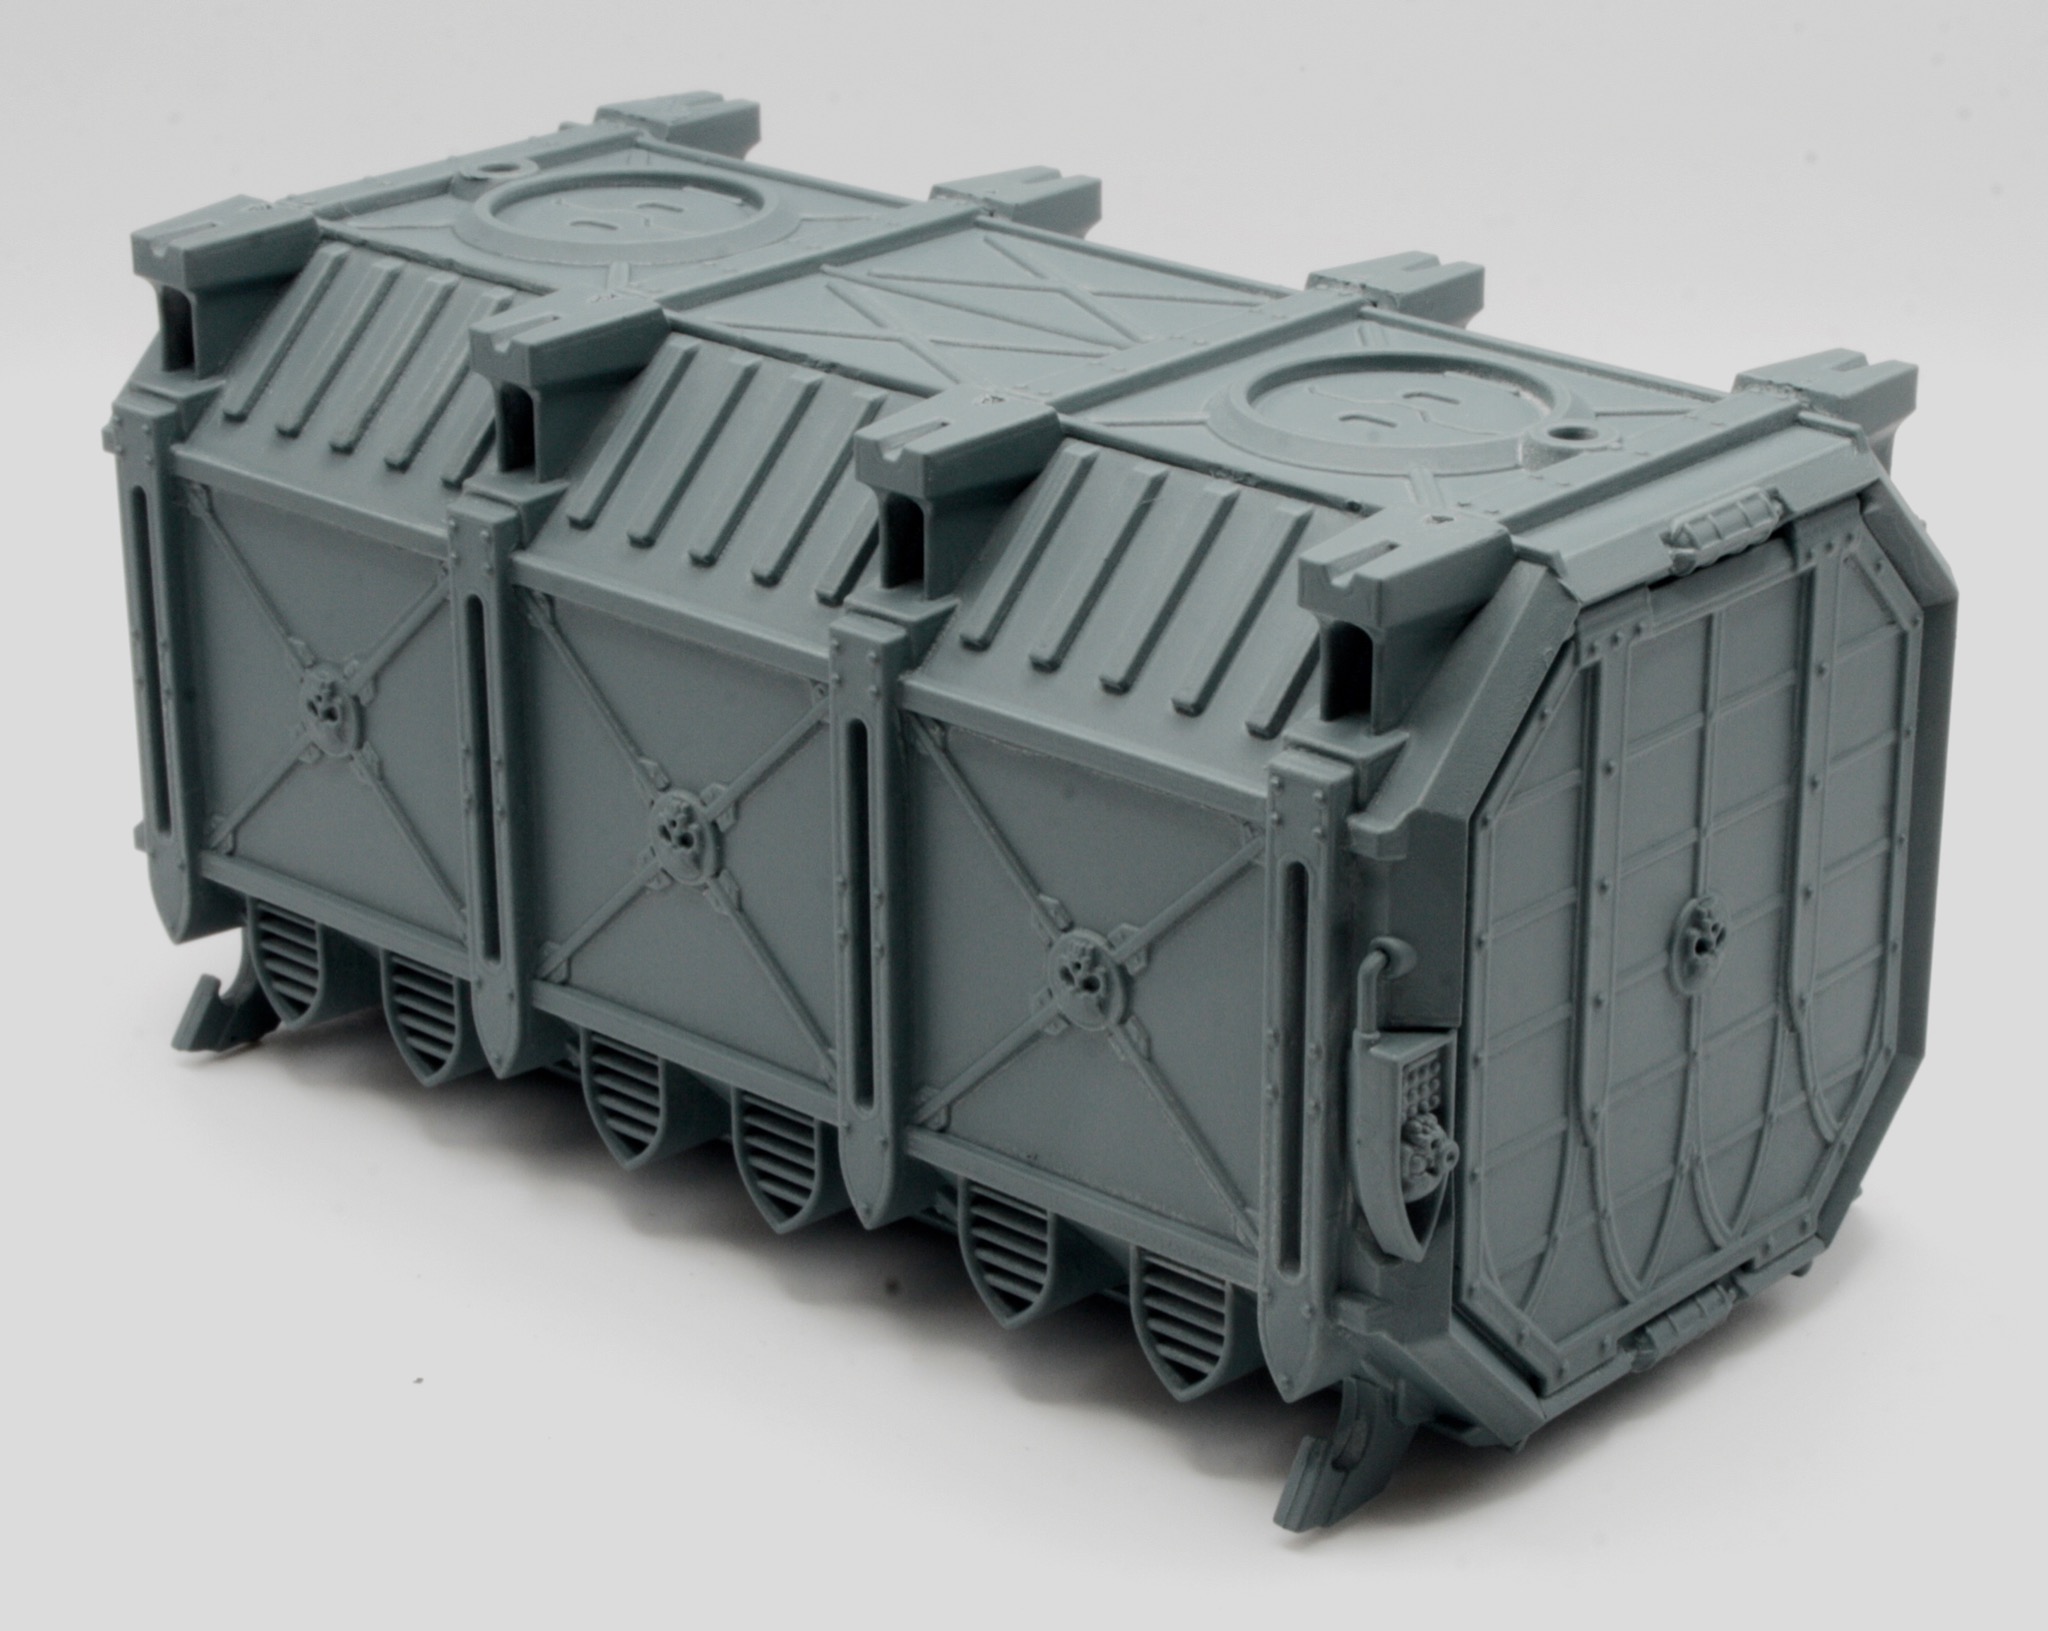
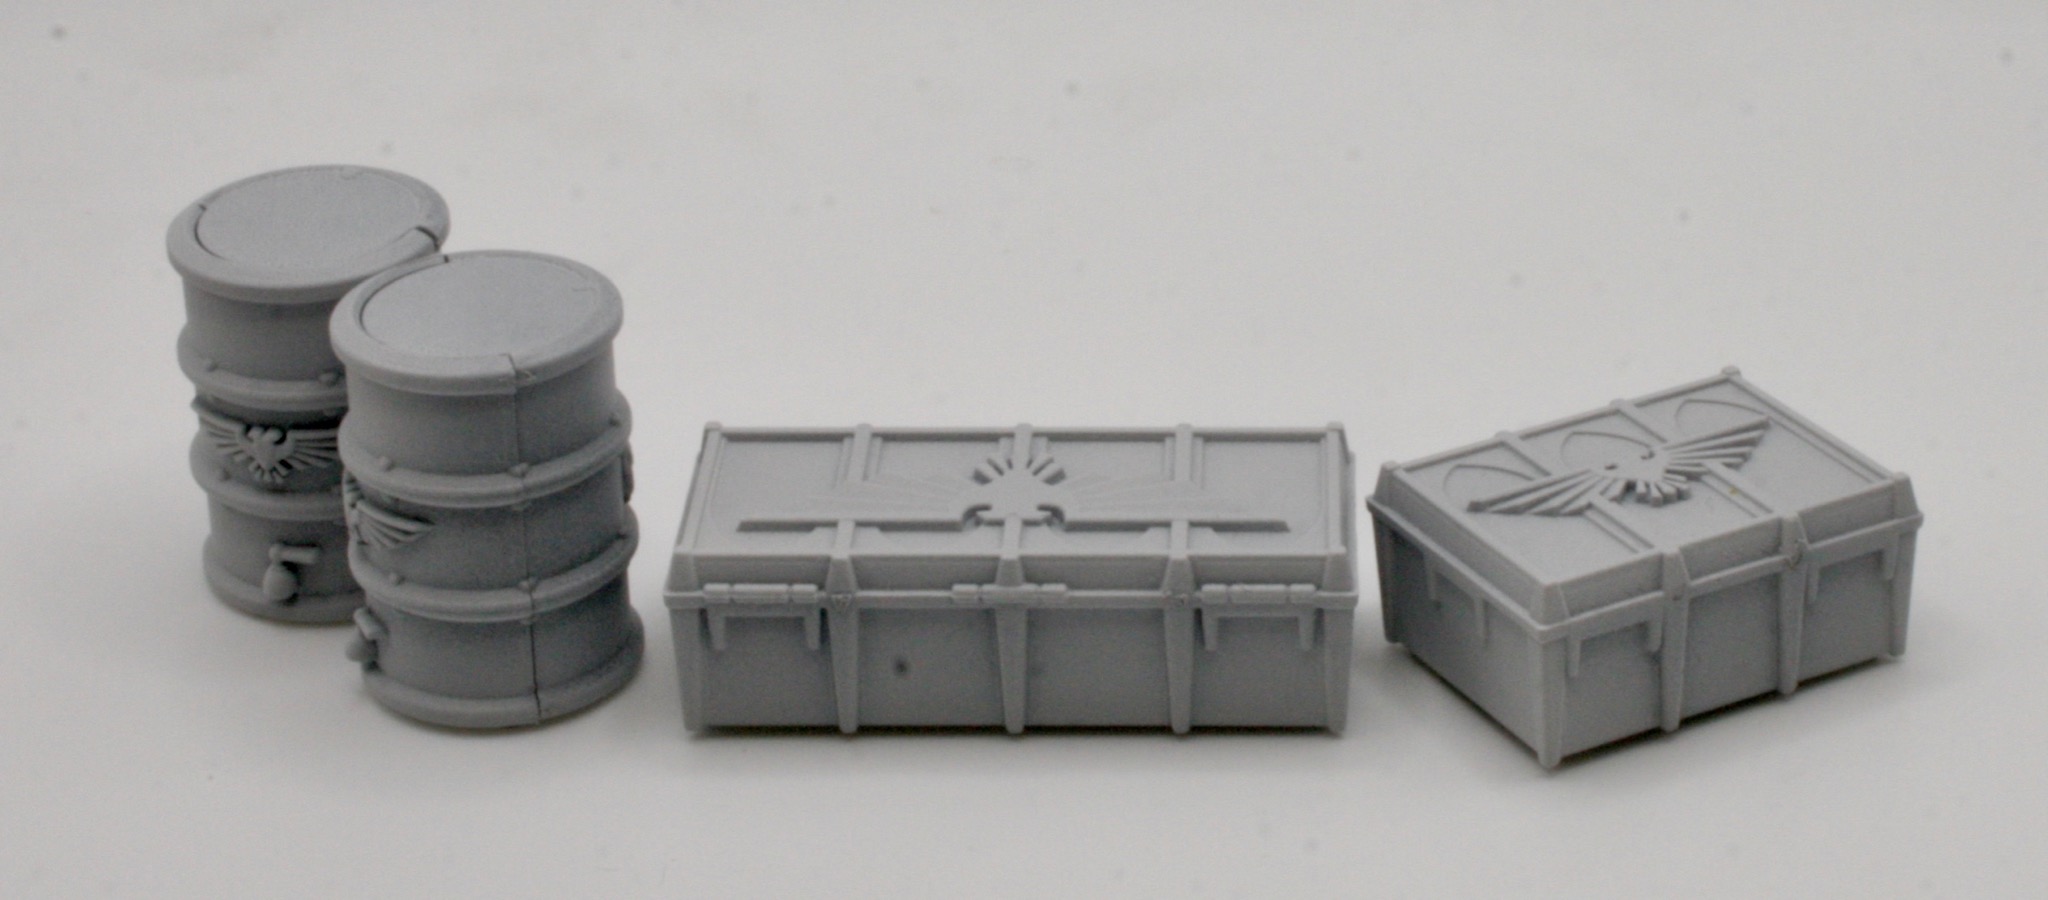
I got a box of the Warhammer 40K Munitorum Armoured Containers for Christmas. You get three identical sprues which allows you to construct three containers, nine oil barrels and twelve (ammo) crates.

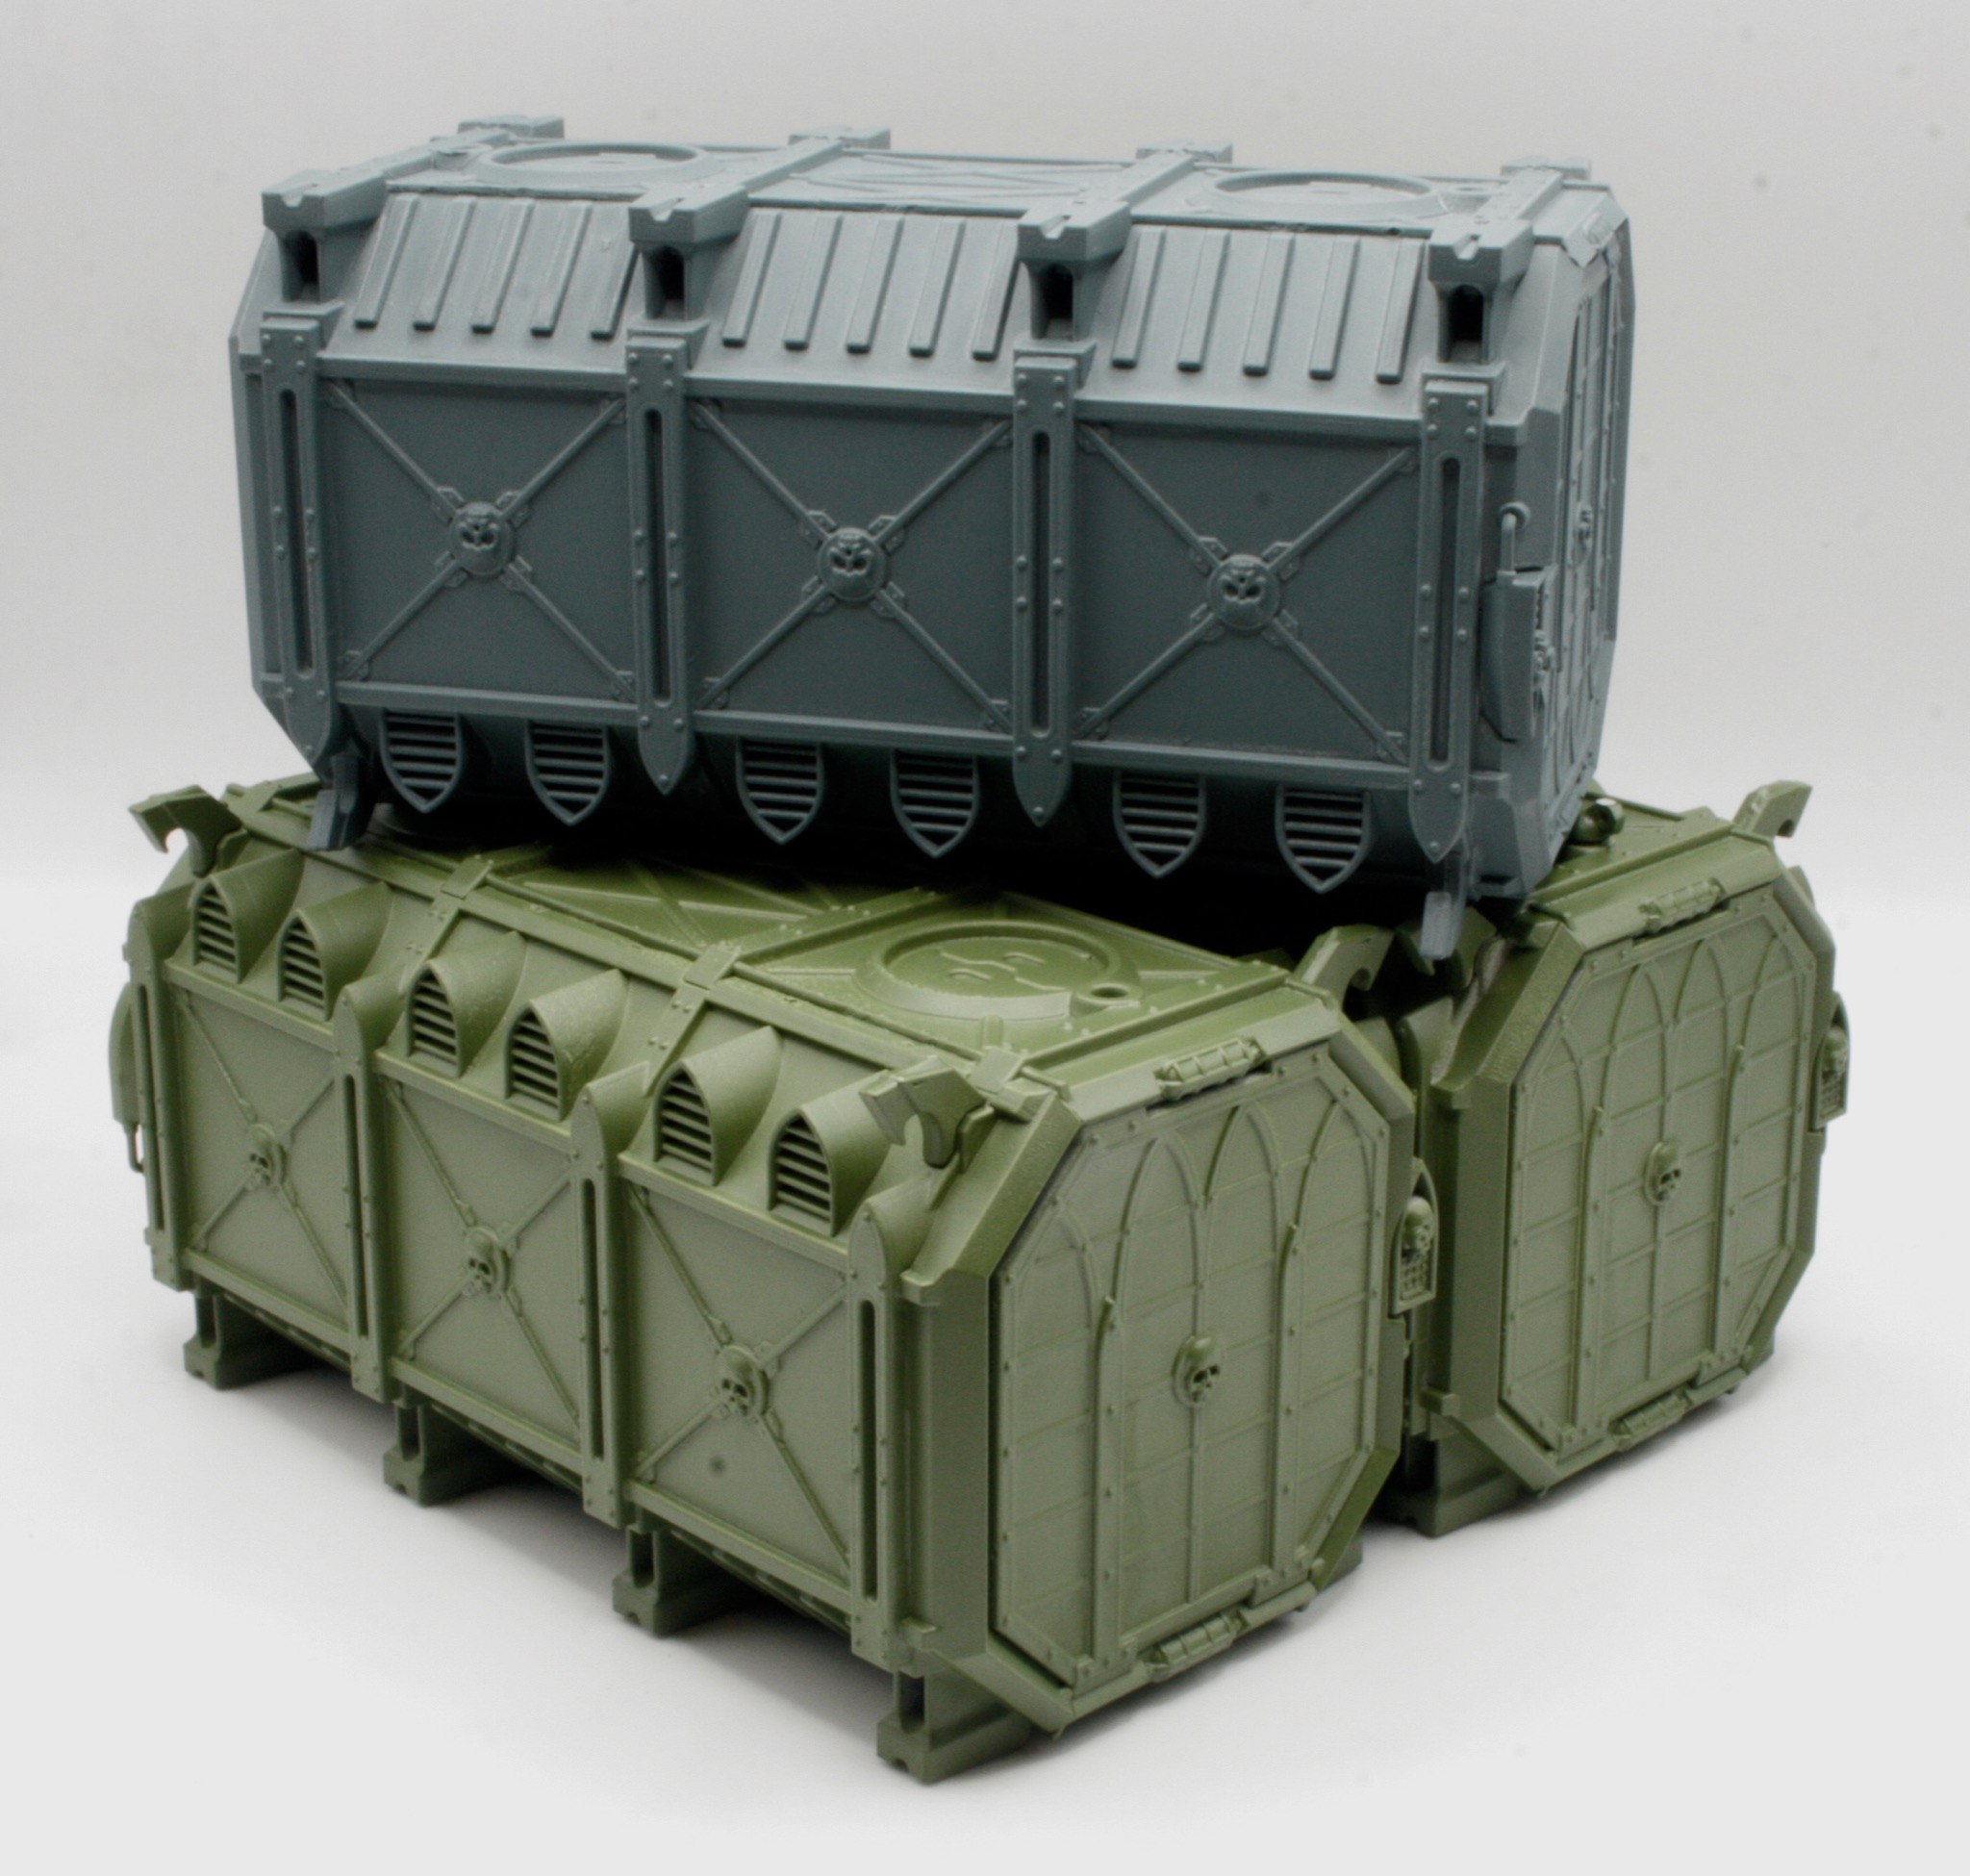
I gave the containers and other parts a white undercoat using a Corax White spray. I then started thinking about what colour I would paint them. The box cover art shows one red, one green and one black. Using the colours on my workbench, so I painted two of the containers with Army Green Spray from the Army Painter range.

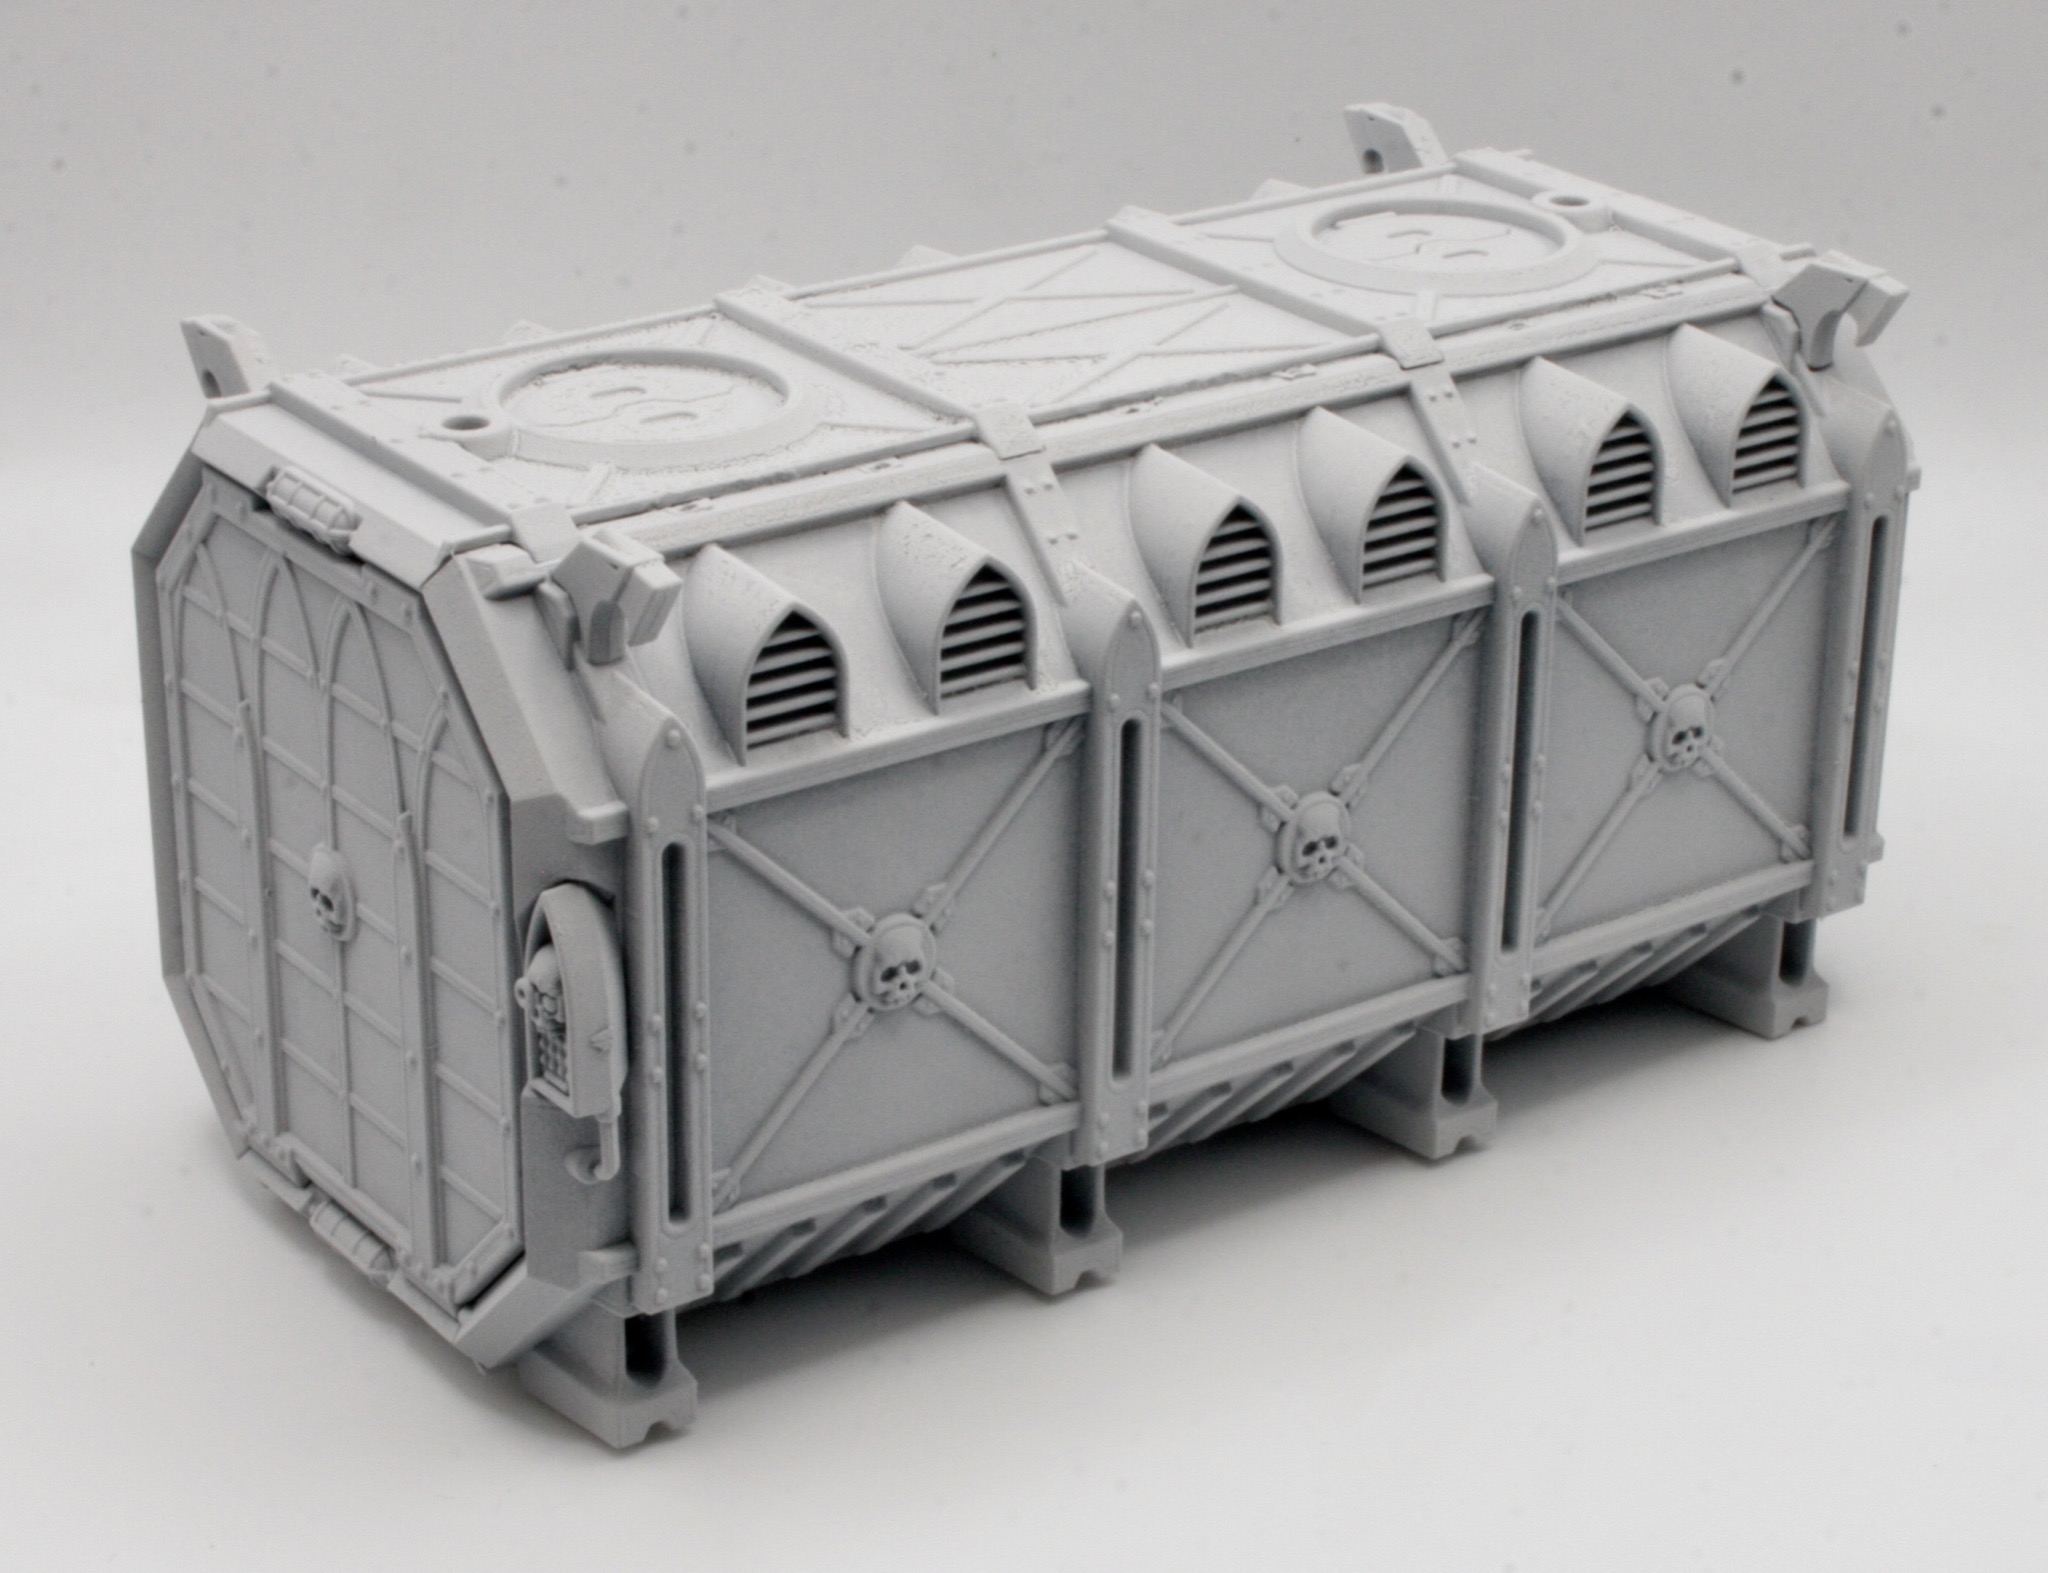
The third I used Mechanicus Standard Grey Spray.

I also photographed them upside down.

Here are the three containers.

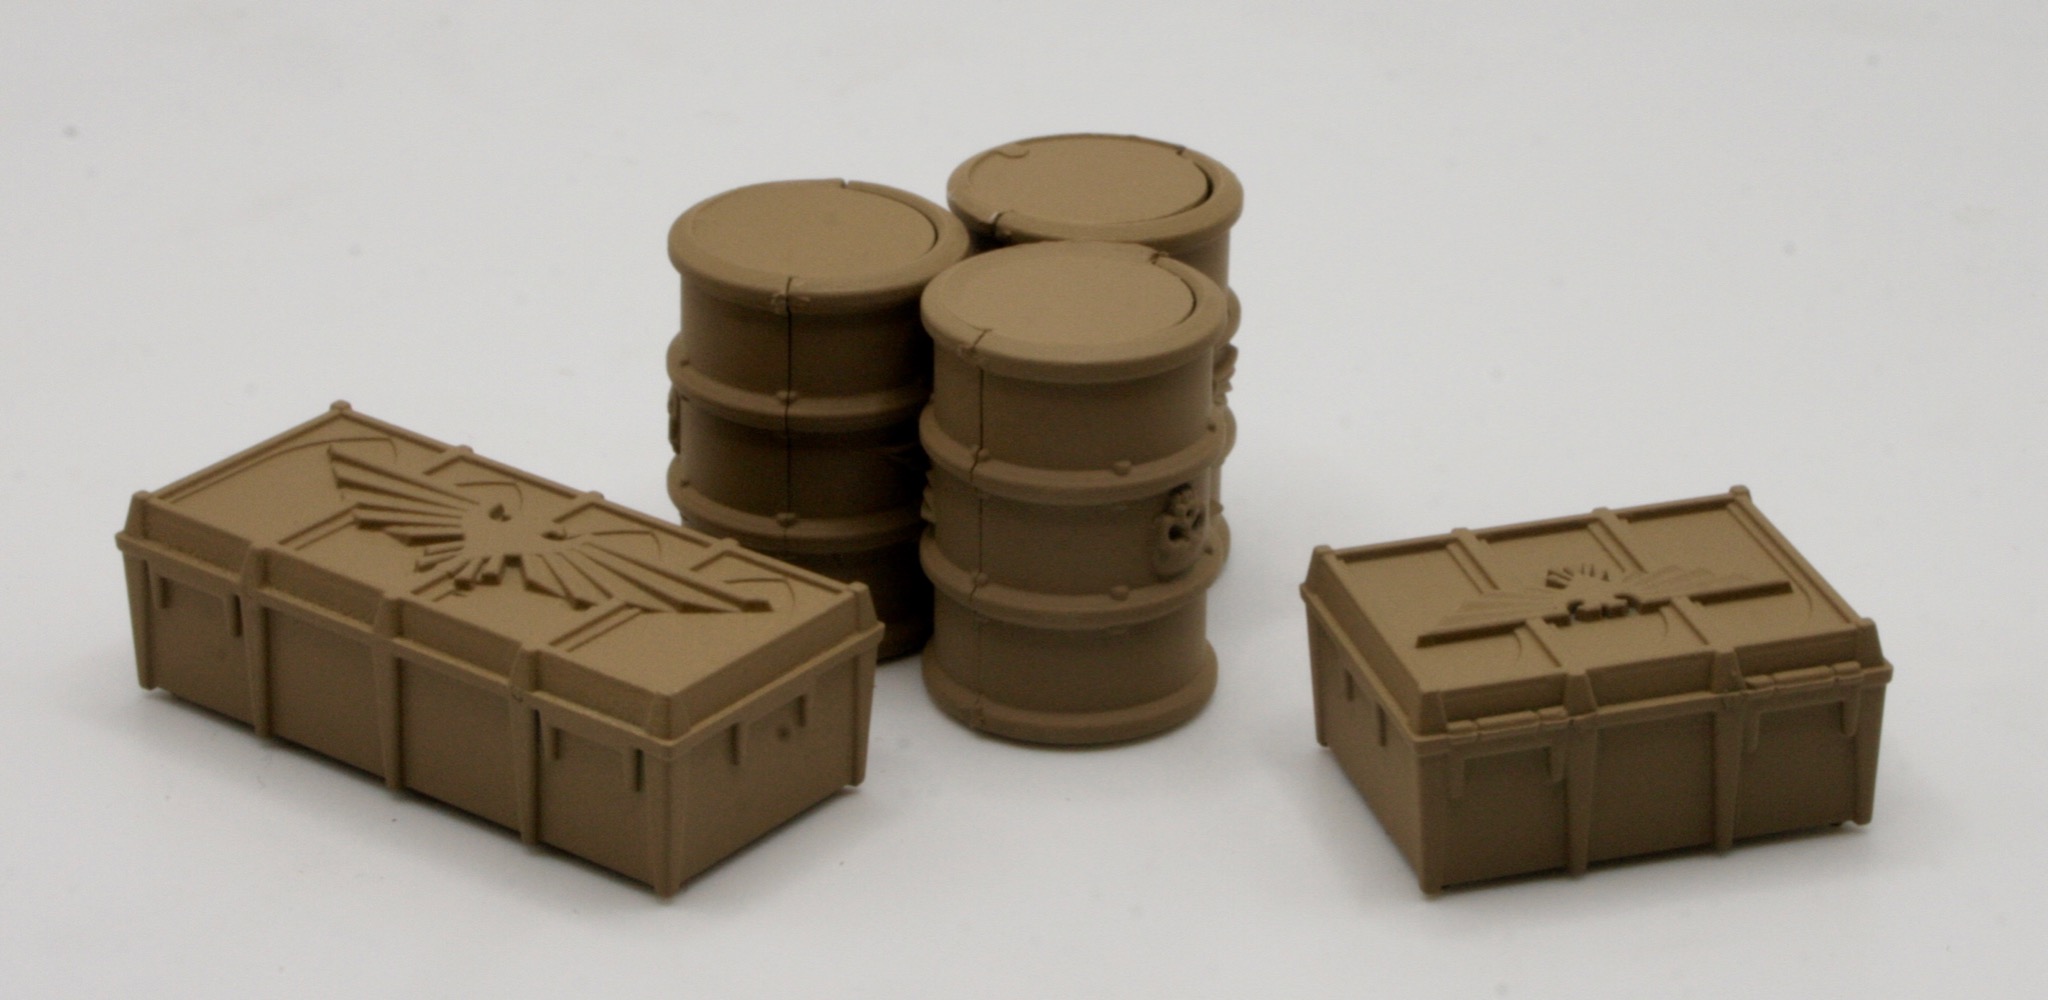
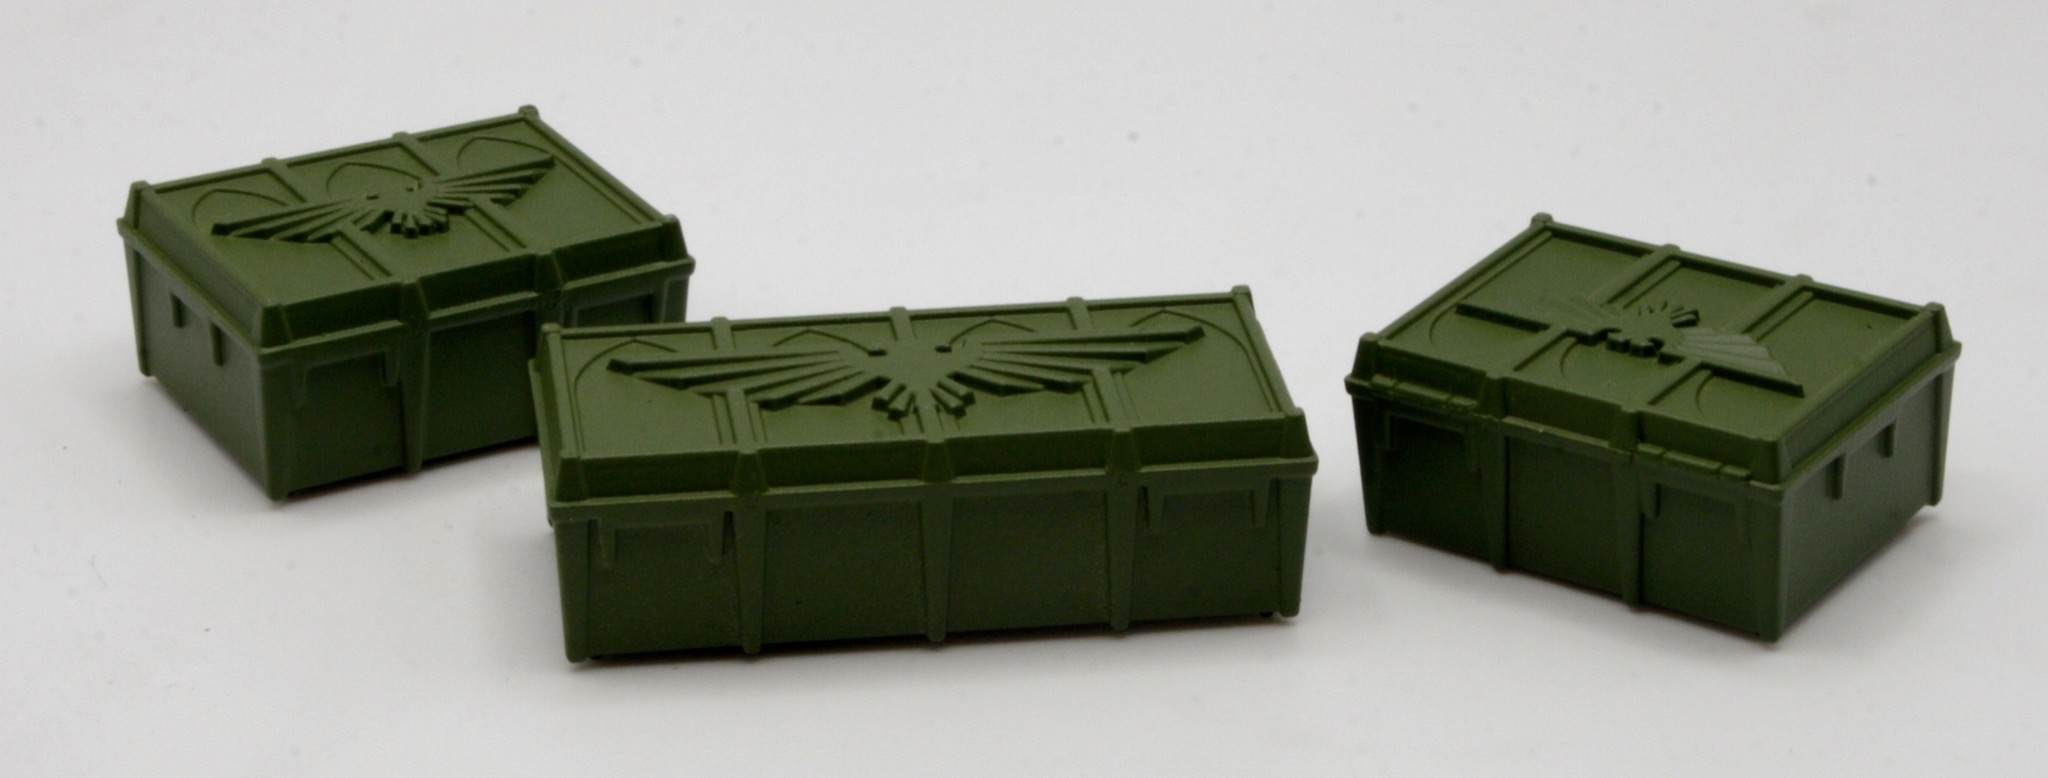
As for the barrels I did them in Zandri Dust. I also did some of the crates with the spray as well.

The barrels were rather challenging, as the spray would literally blow them over, as they were so light. I now think I should have added some weight to them.

As for the other crates I used the Army Green Spray from the Army Painter range.

Painting the uniforms on the Bolt Action Royal Navy Section

When I reflected on possible forces for Operation Sea Lion games I was looking around to see what is available. One unit which caught my attention was the Warlord Games Bolt Action Royal Navy section. So I bought a box.

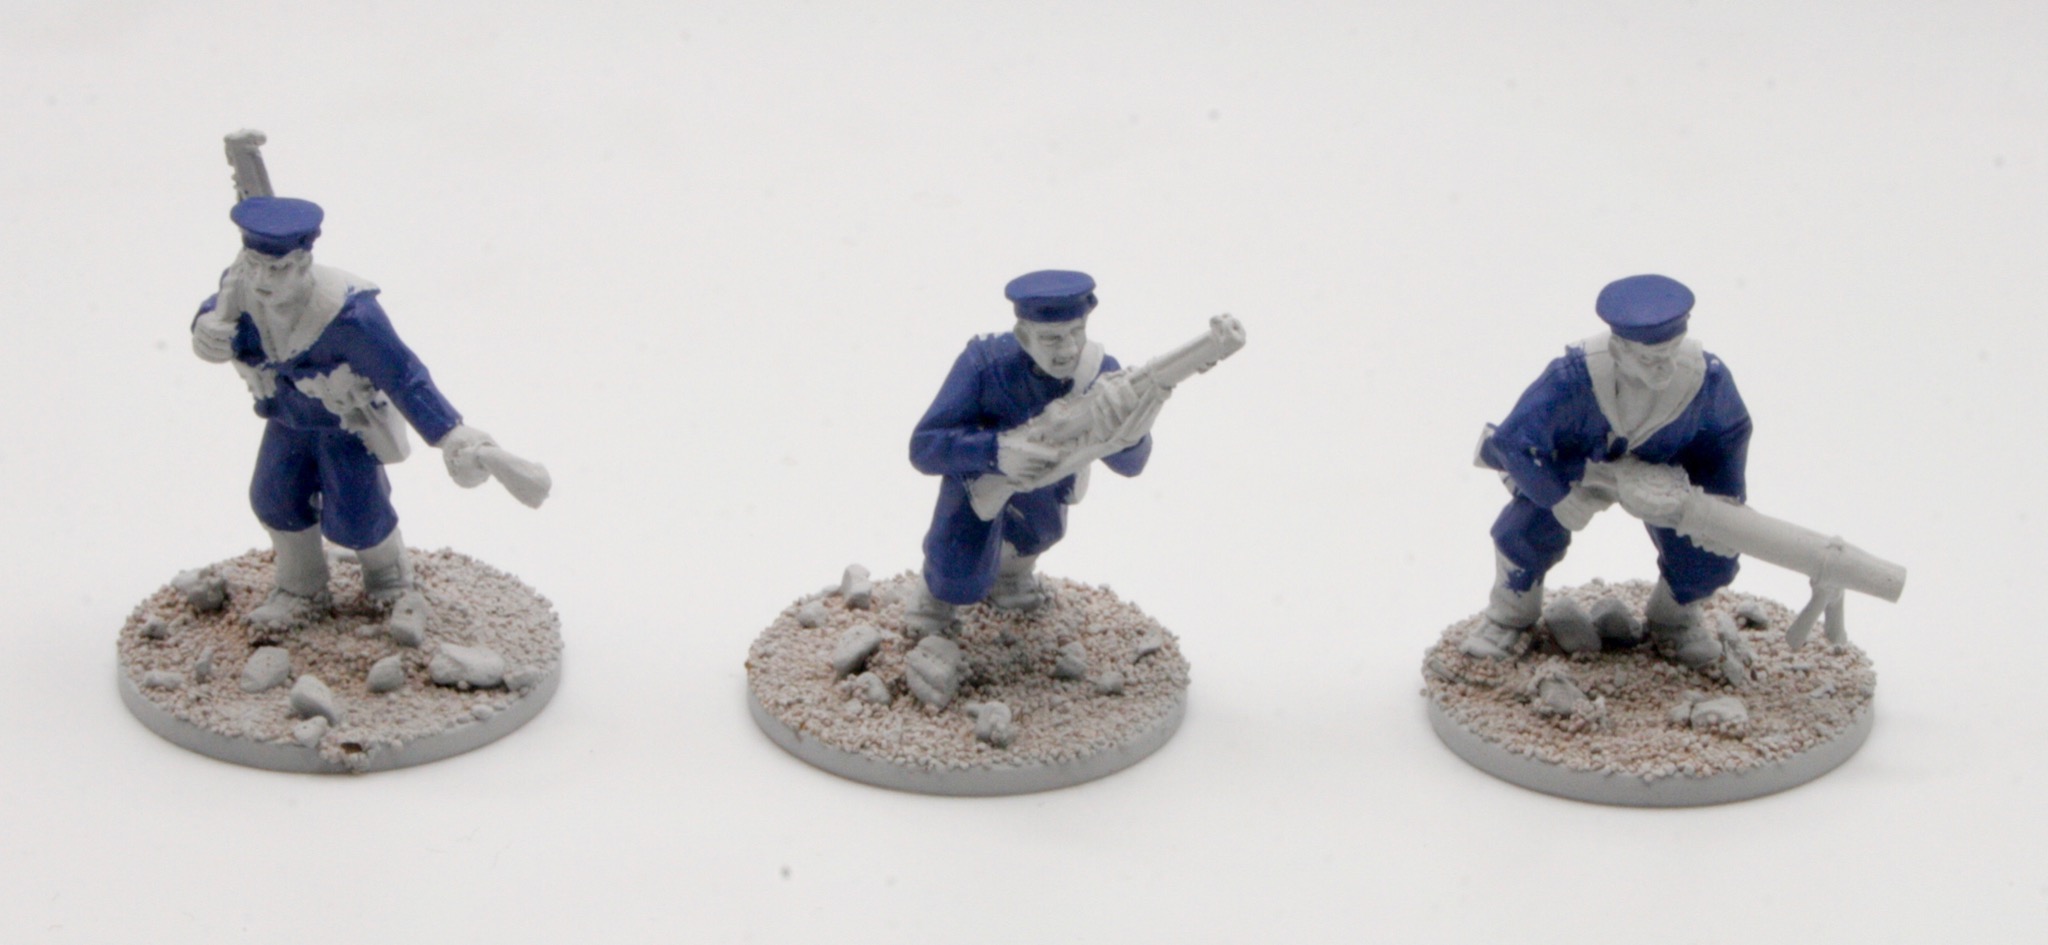
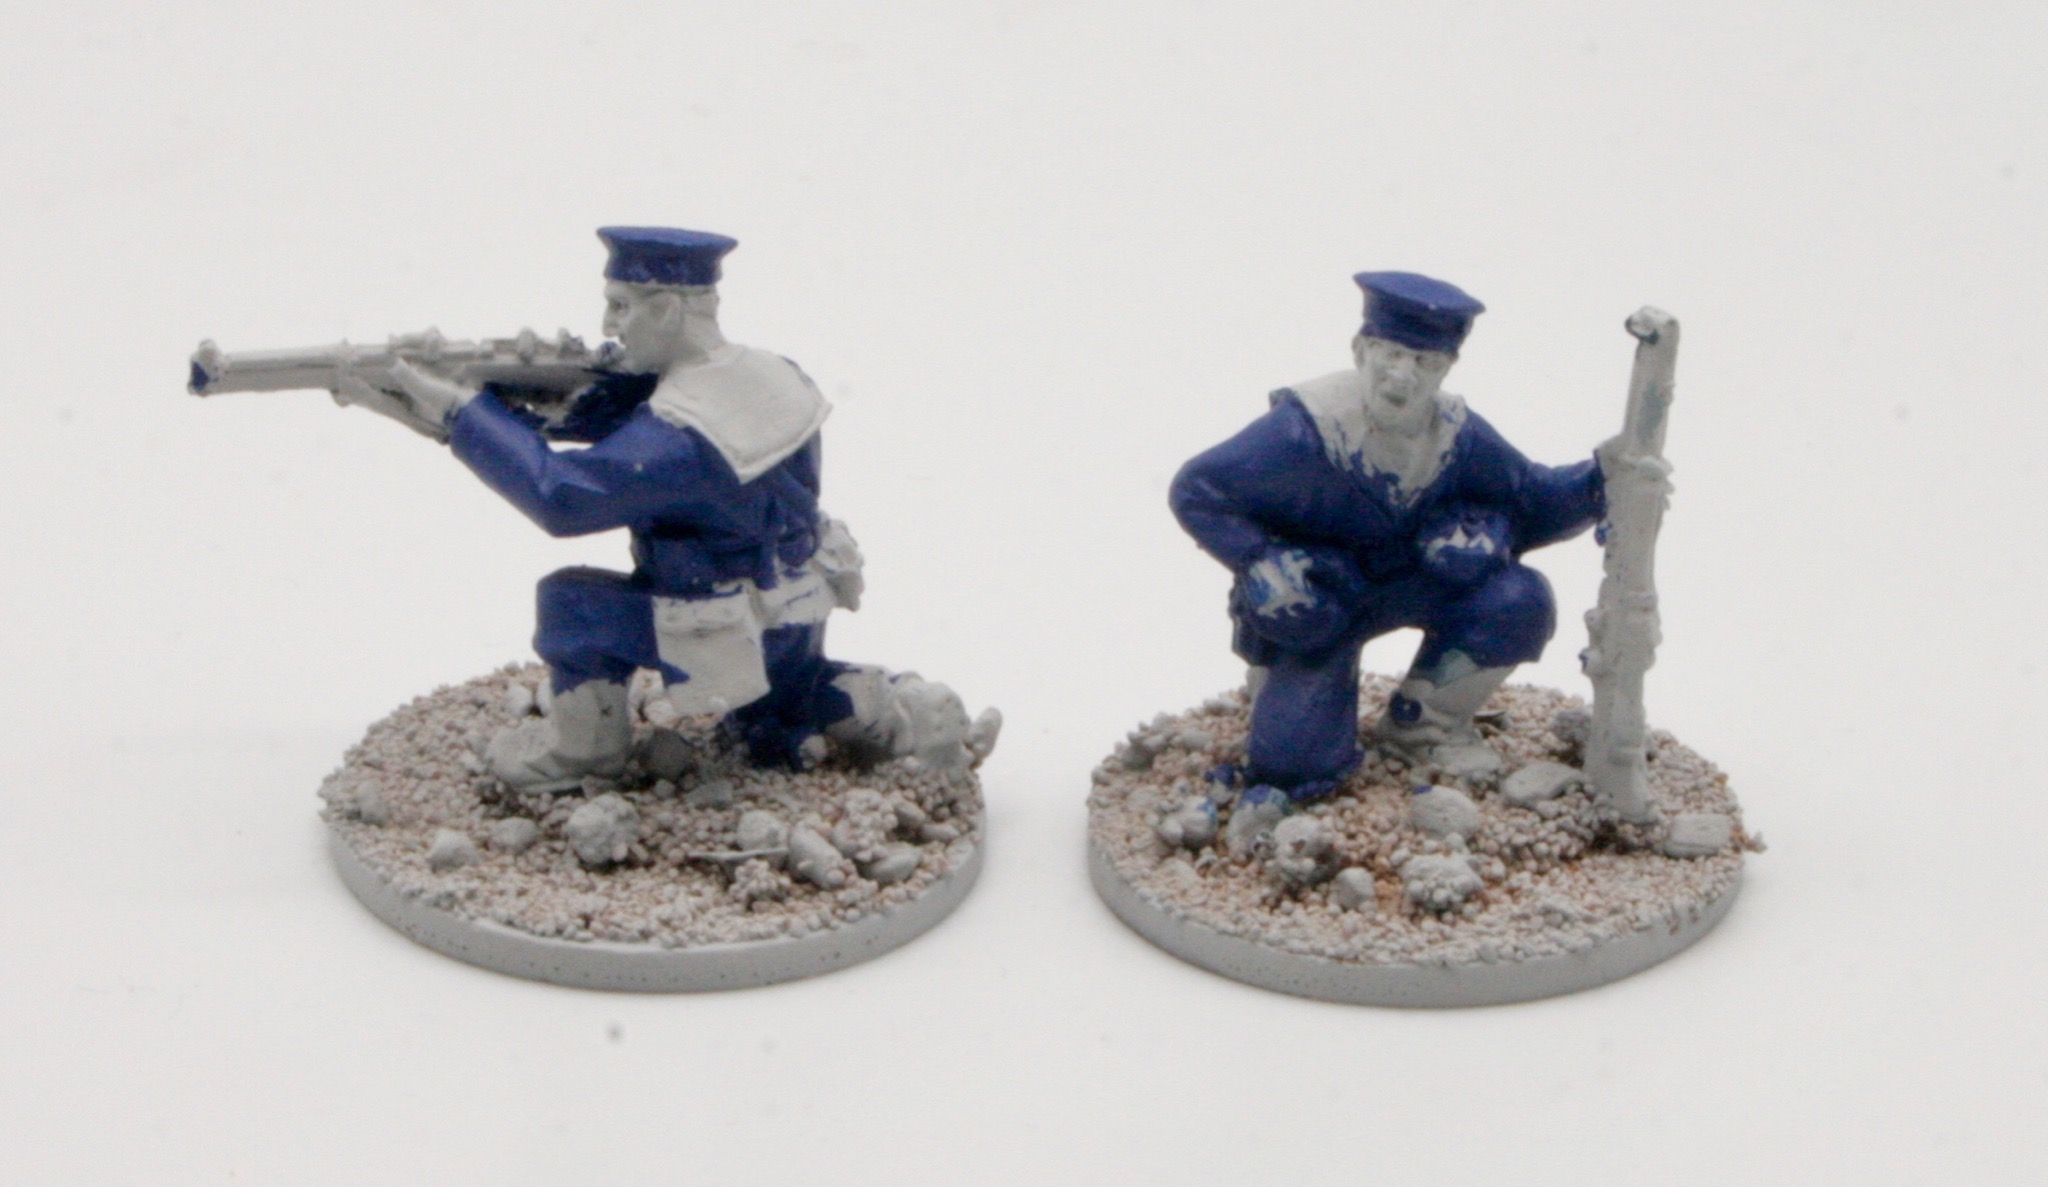
Having based and undercoated the Bolt Action Royal Navy Section I started painting their uniforms using Citadel Macragge Blue base paint.

I will then add highlights and potentially a wash.

Undercoating the Imperial Stormtroopers

In the Star Wars Legion box you get fourteen Stormtroopers, eight (regular) Stormtroopers, four heavy weapons and two unit leaders.

After constructing the Imperial forces I stuck them to their bases, and landscaped them using Citadel Sand. I then gave all the models a white undercoat using Corax White spray.

Here are the four regular troopers.

The two troopers with heavy weapons.

Finally the two unit leaders.

Undercoating the Containers

I got a box of the Warhammer 40K Munitorum Armoured Containers for Christmas. You get three identical sprues which allows you to construct three containers, nine oil barrels and twelve (ammo) crates.

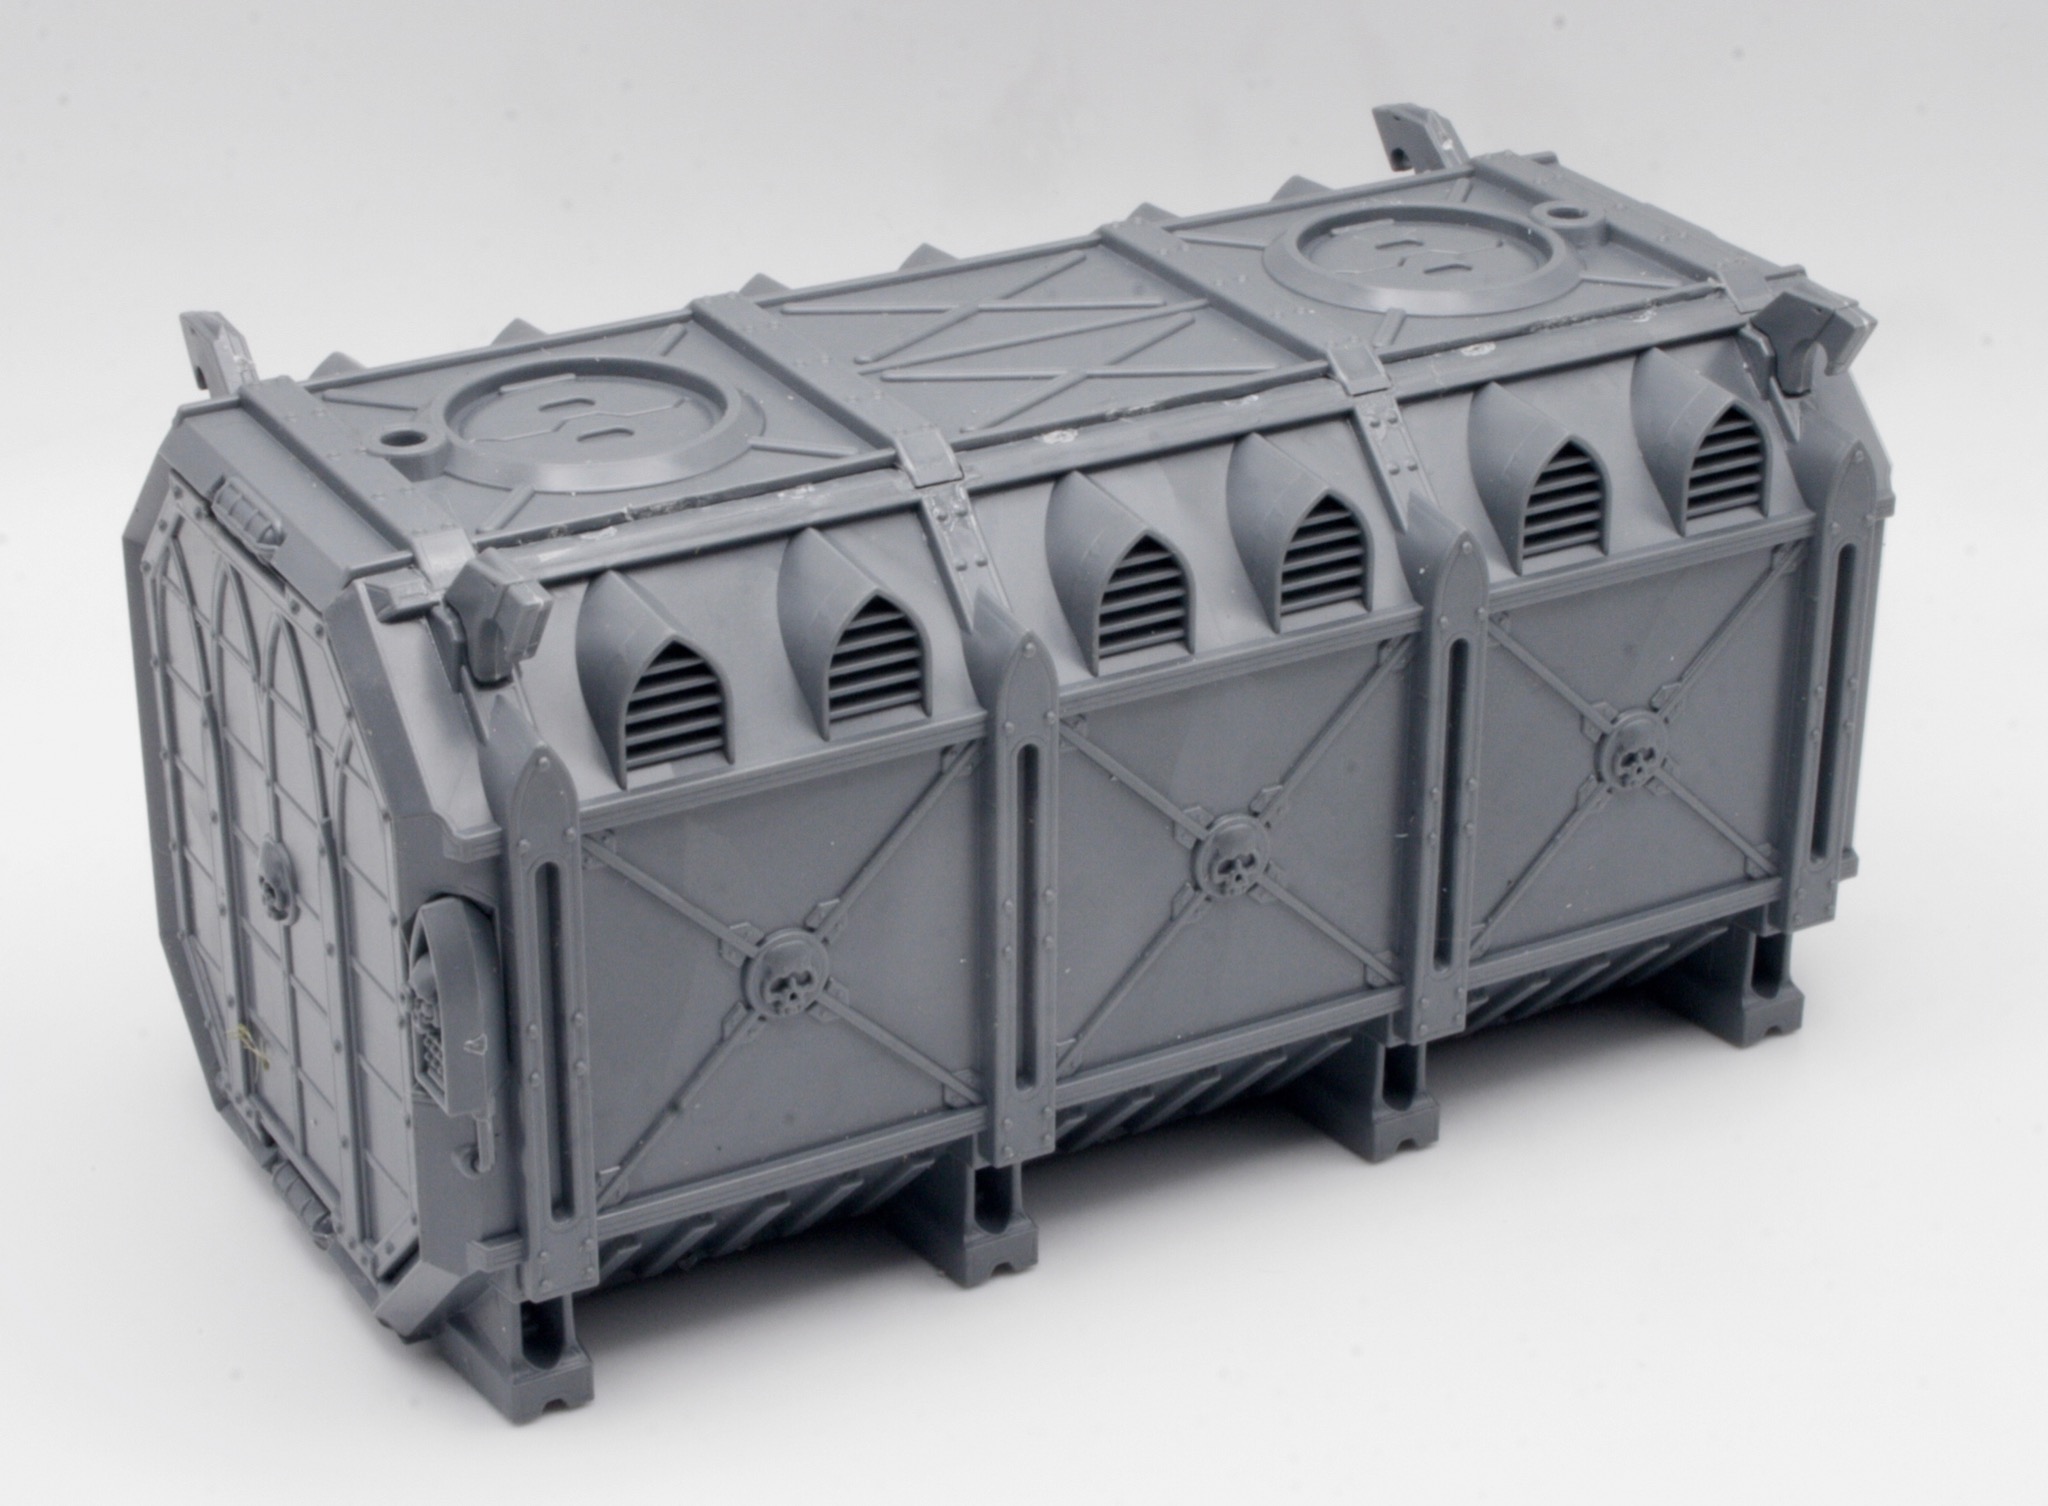
I gave the containers and other parts a white undercoat using a Corax White spray.

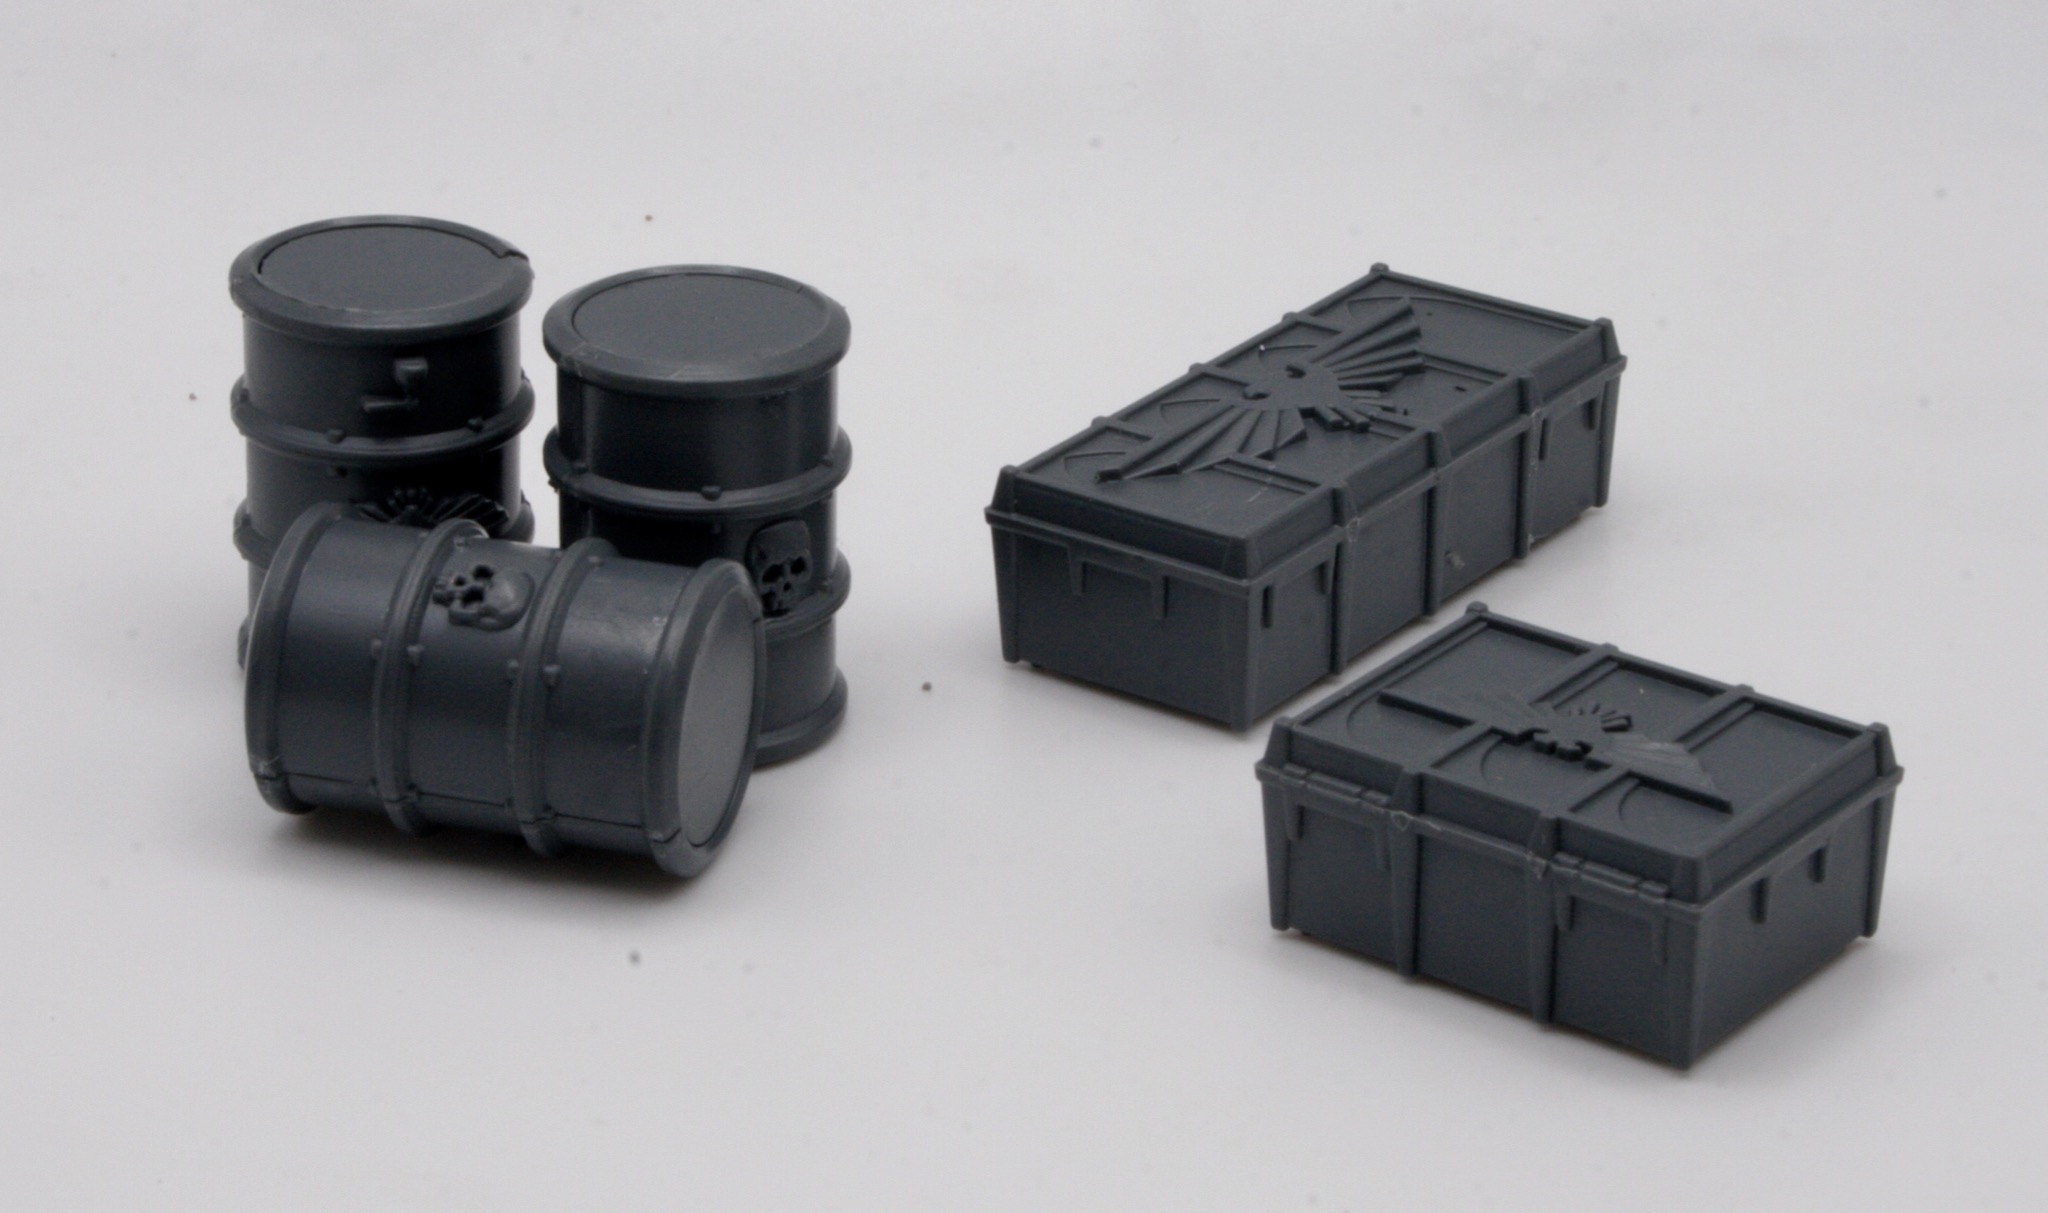
I also undercoated the crates and barrels.

Undercoating the 74-Z Speeder Bikes

The 74-Z speeder bike was a model of speeder bike used by the Galactic Empire for combat reconnaissance purposes during the Galactic Civil War. They were usually piloted by scout troopers and were able to jam comlinks. All machinery the Empire deemed unnecessary was stripped off to maximize the speeder bike’s speed.

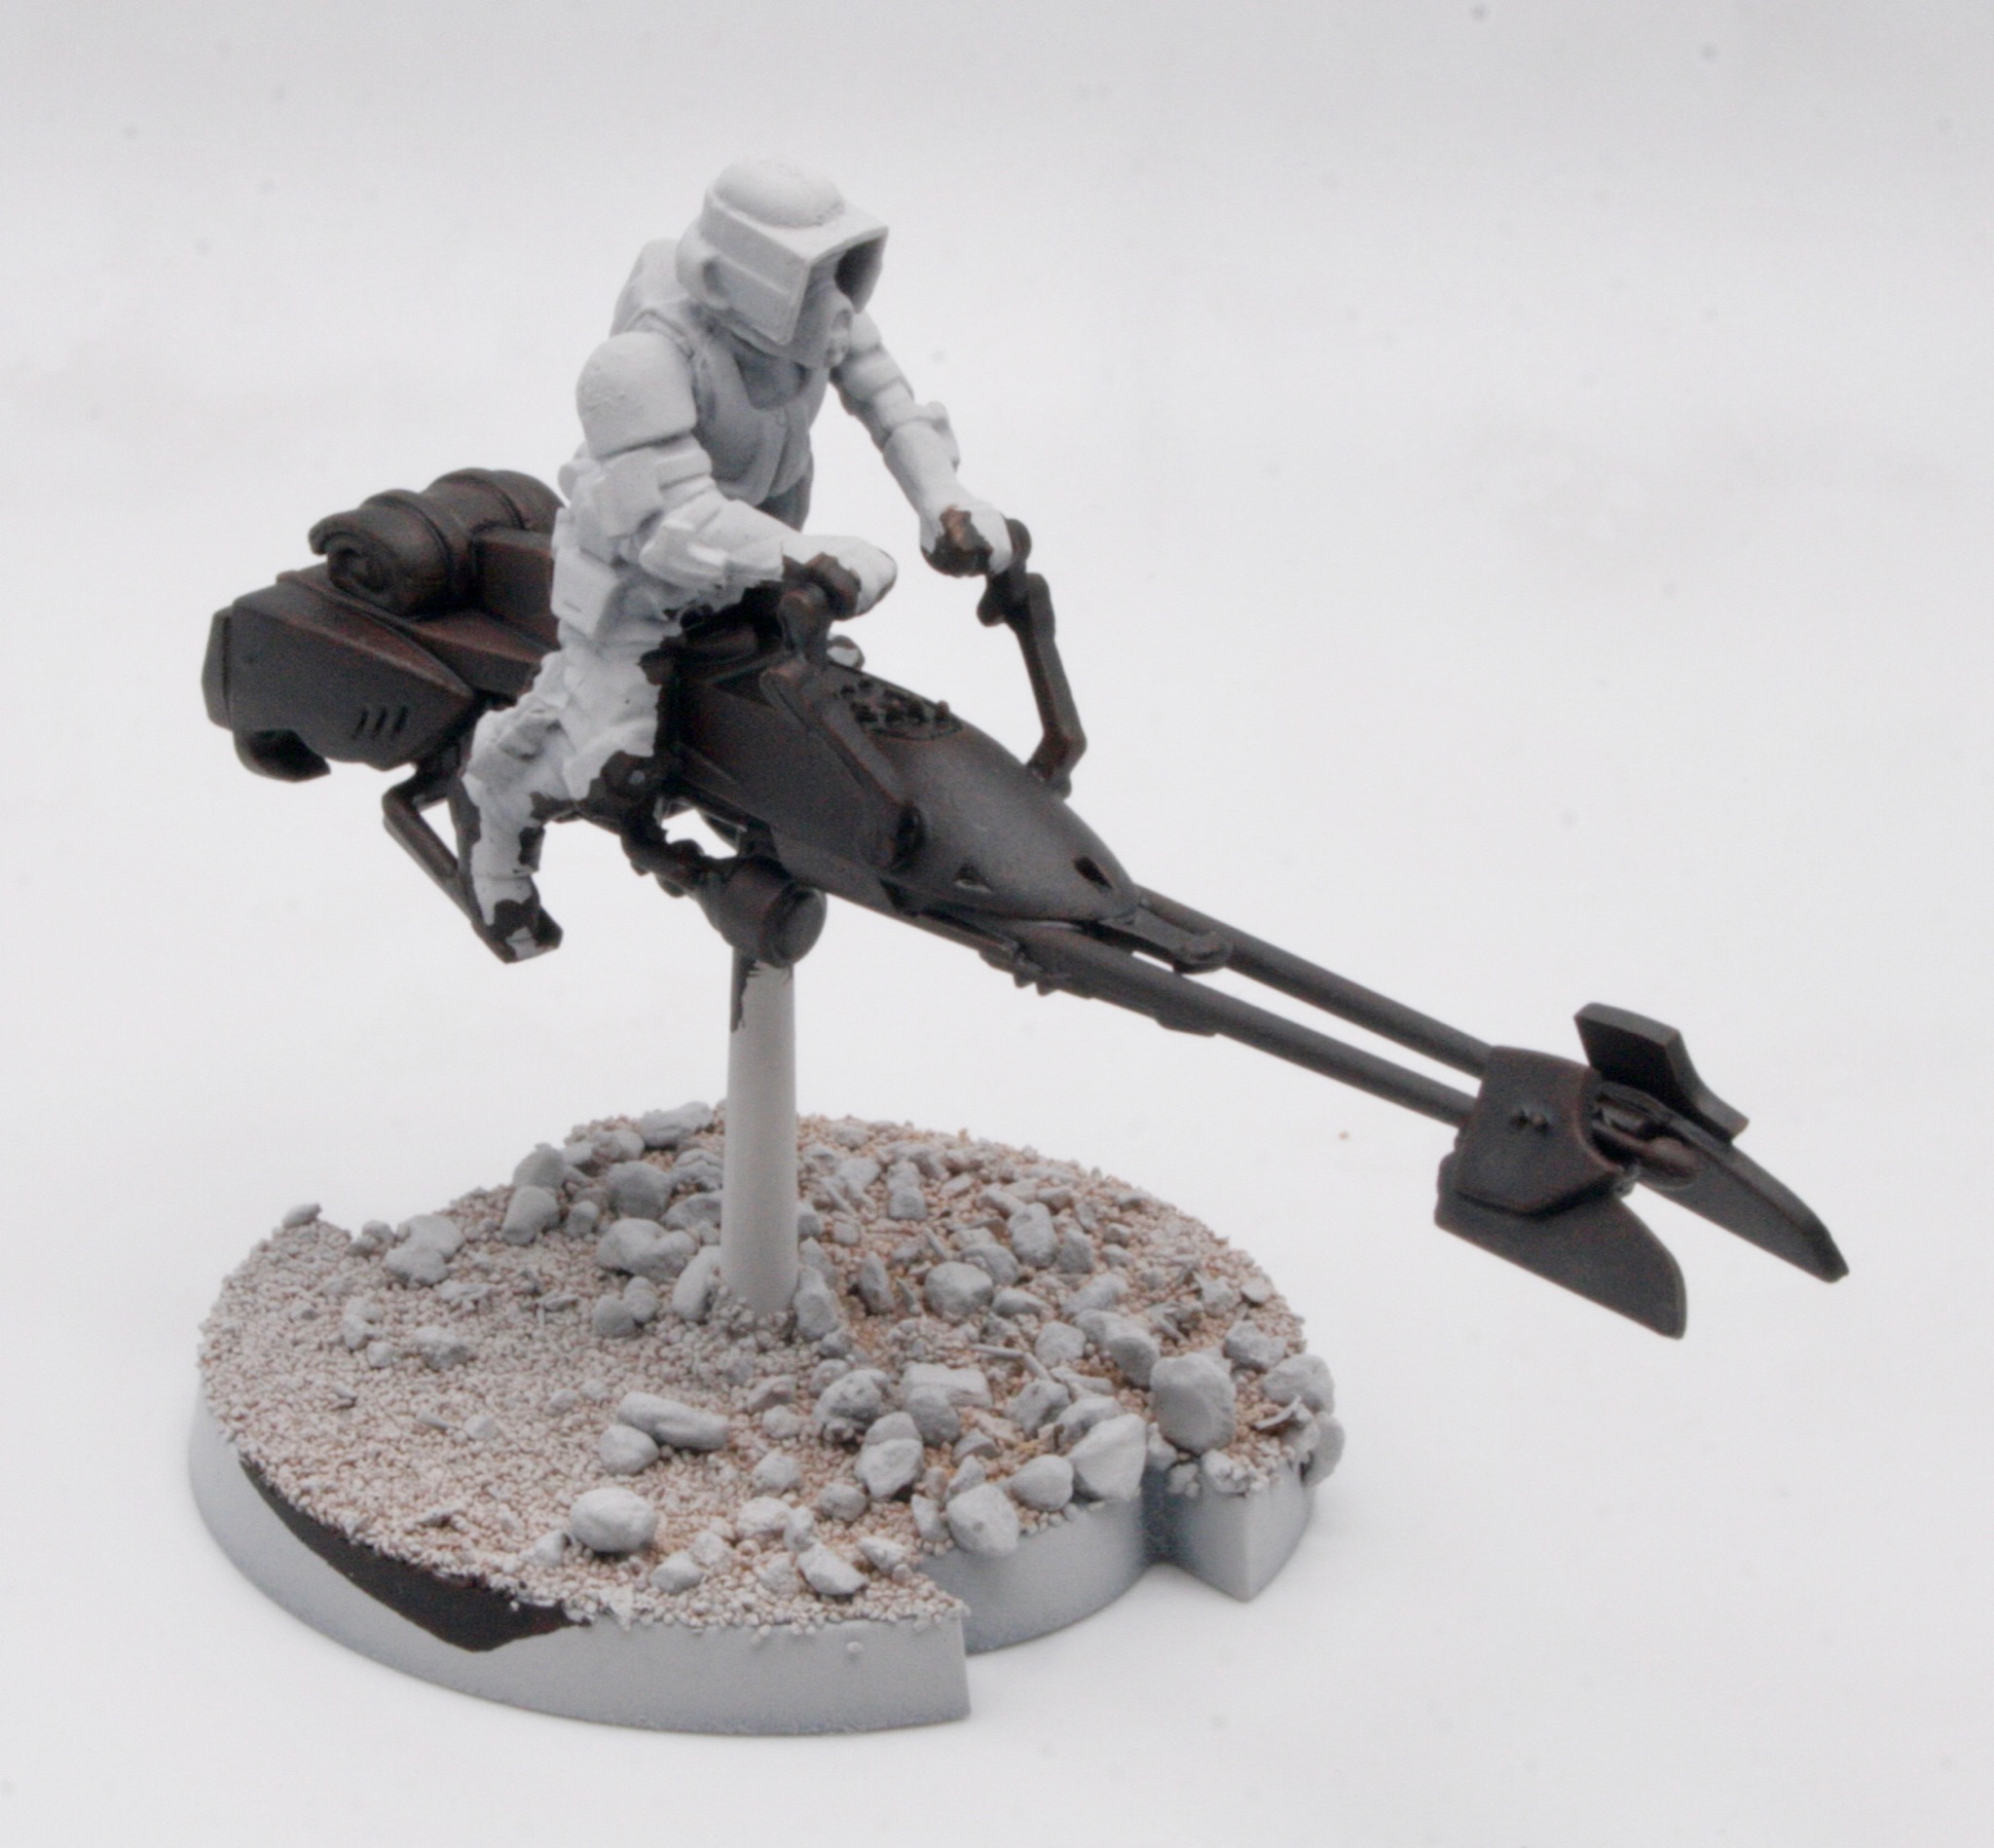
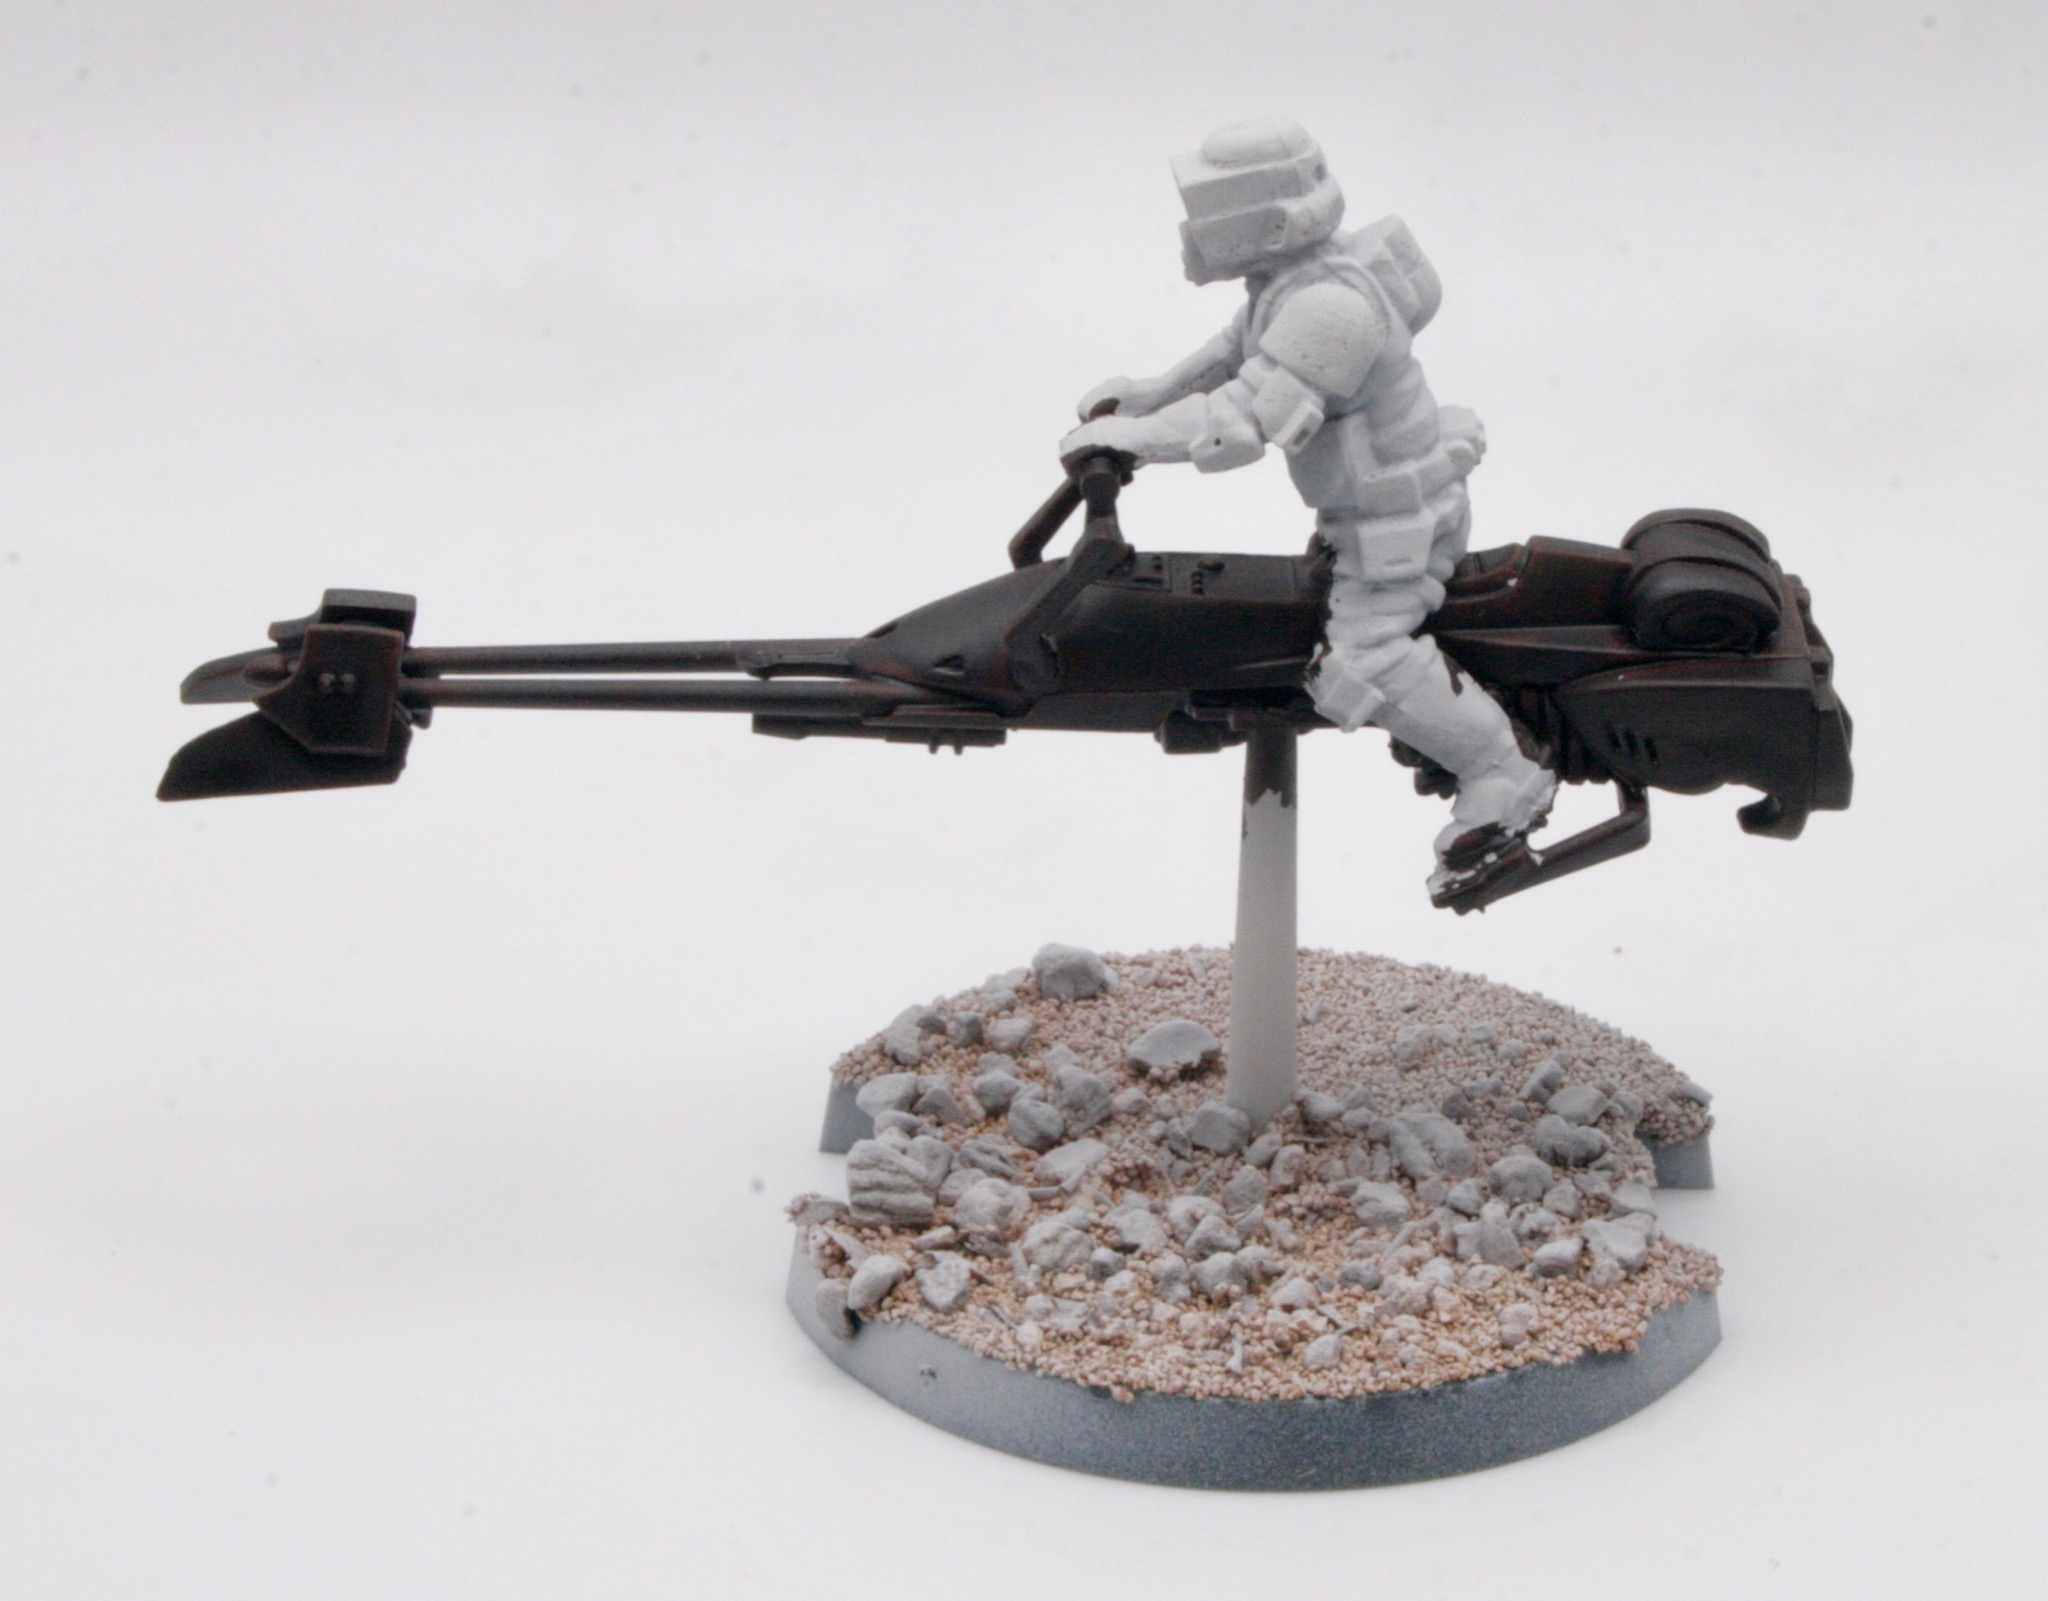
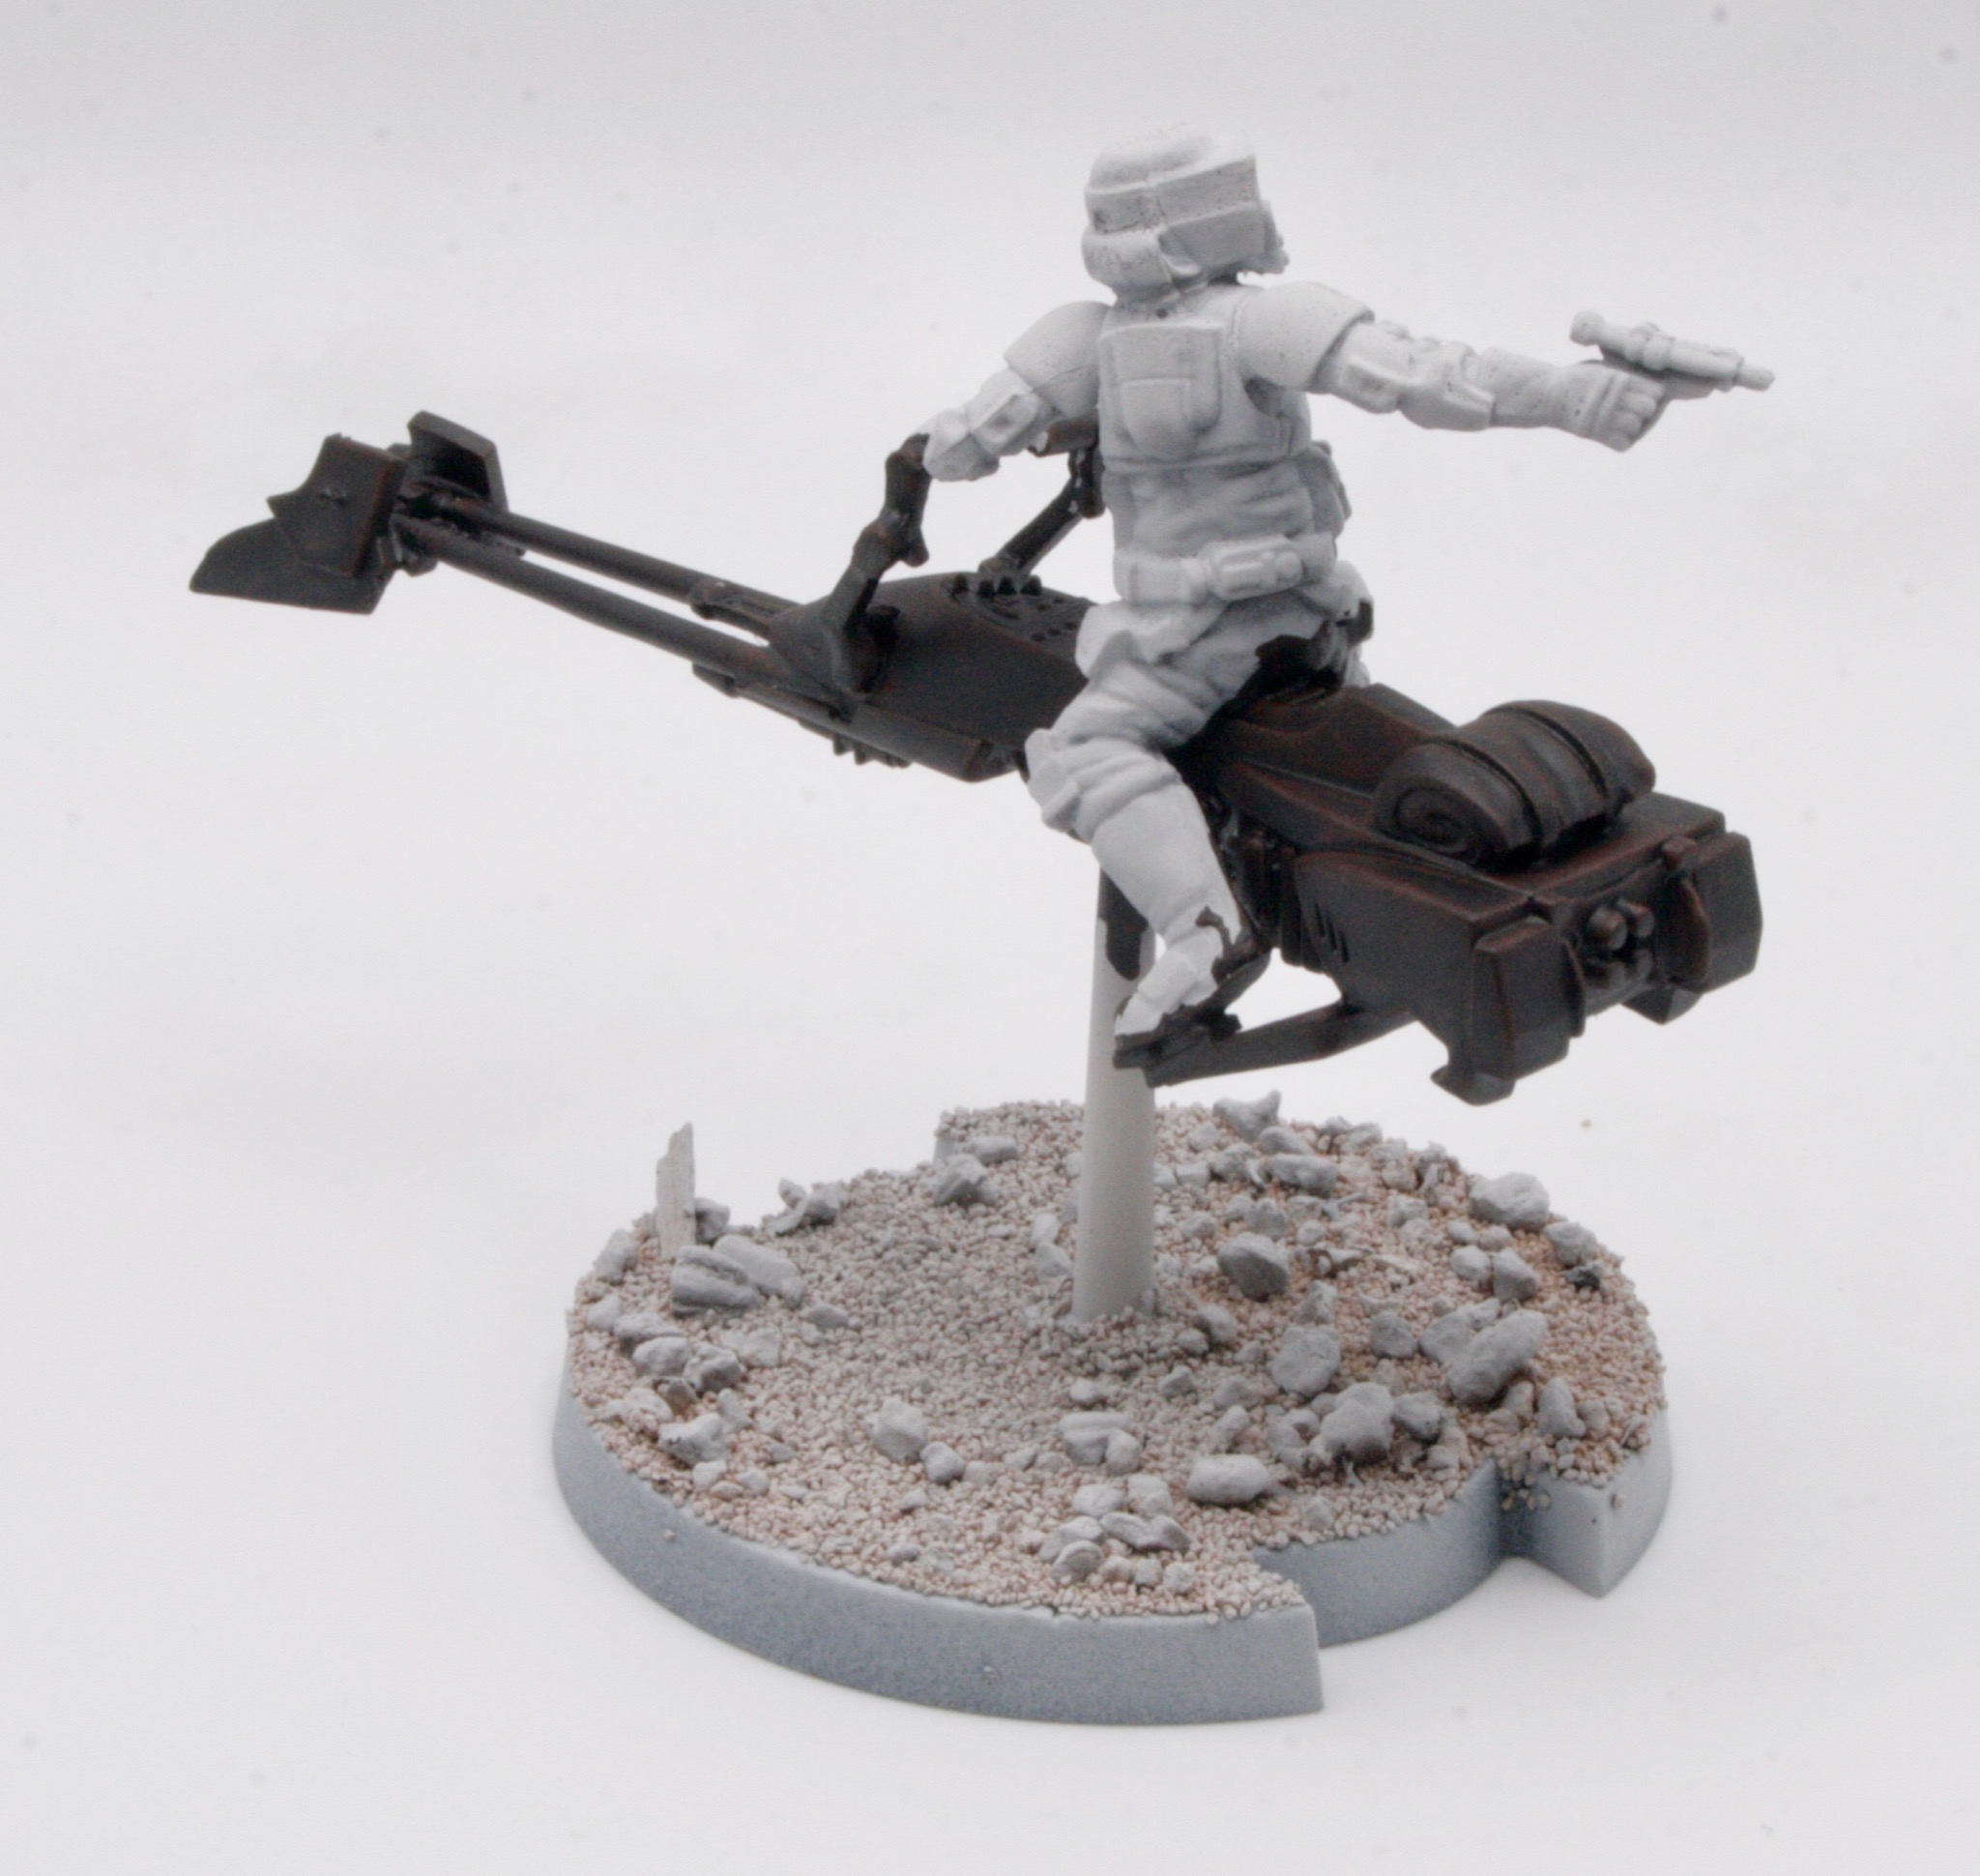
In the Star Wars Legion box you get two 74-Z speeder bikes with Scout Trooper riders.

The models go together really easily and I like the look of them.

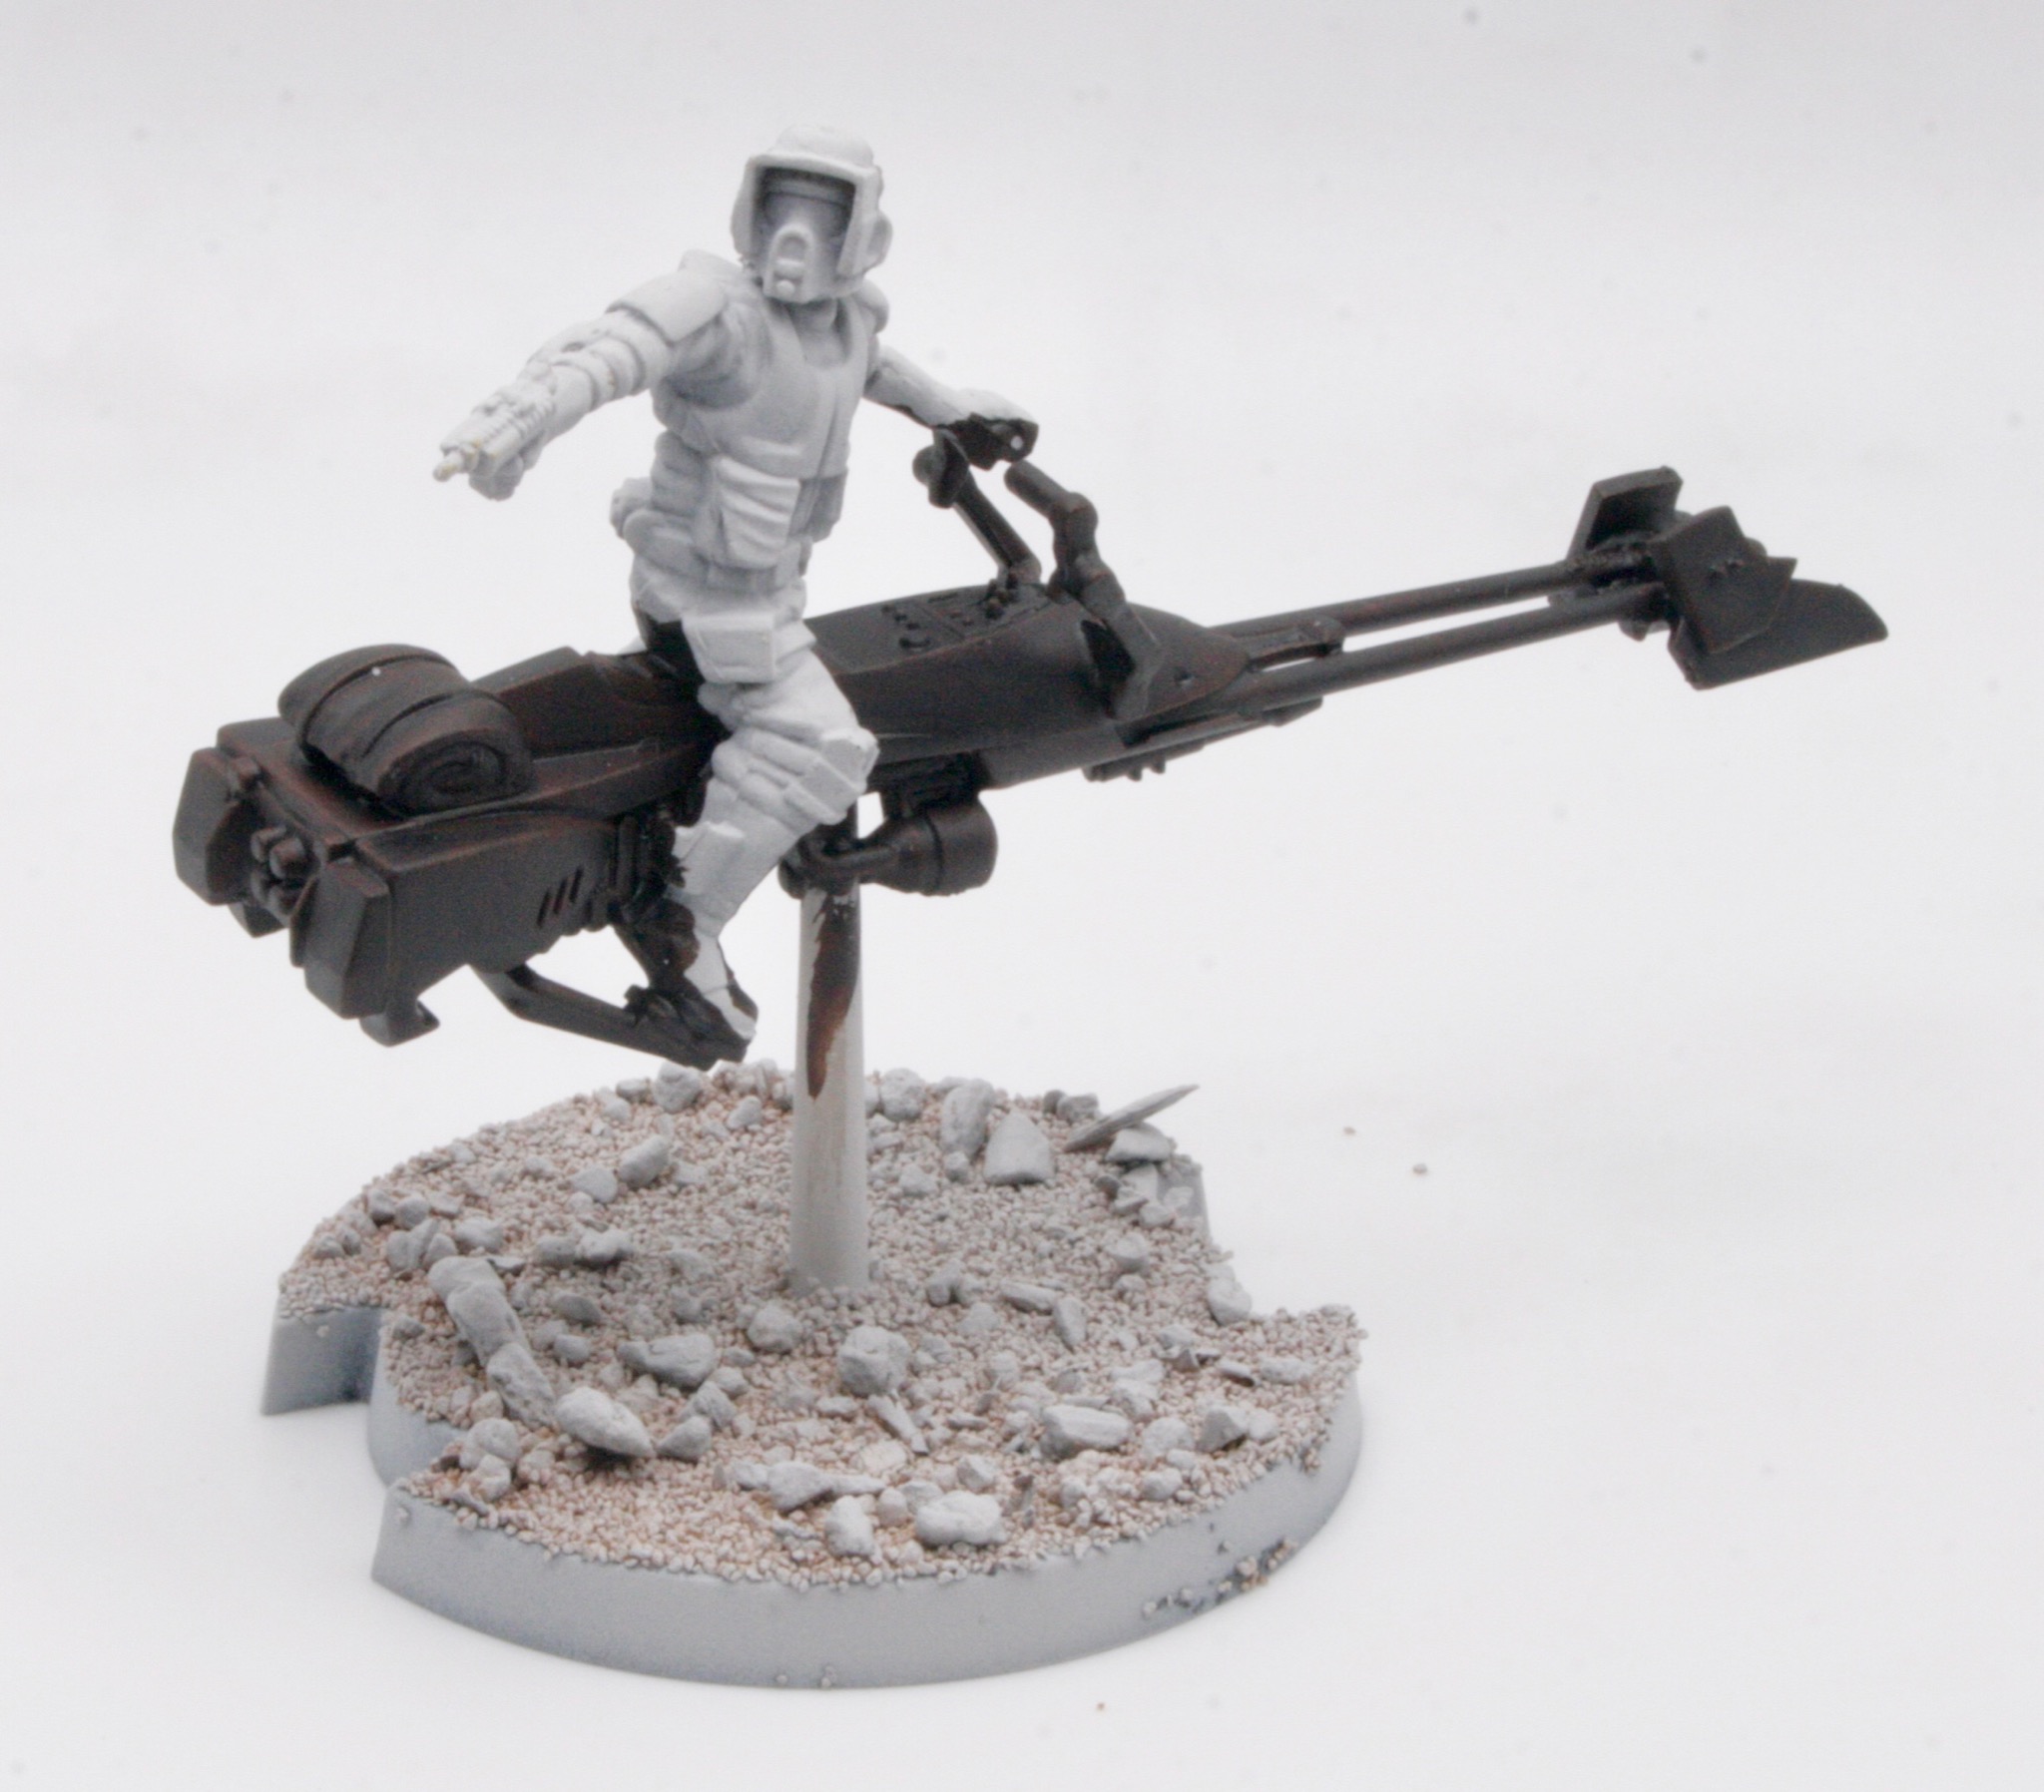
I gave the models a white undercoat. I did think about doing a black undercoat. Storm troopers appear to be wearing black with white armour plates. Giving the models a white undercoat doesn’t stop me from painting them (all) black, but I think I will try and avoid that. Another reason for a white undercoat is the bikes will be brown.

I painted the bikes with a shade of dark brown.

I will now finish the bikes before starting on the Scout Trooper riders.

Constructing the Containers

I got a box of the Warhammer 40K Munitorum Armoured Containers for Christmas. You get three identical sprues which allows you to construct three containers, nine oil barrels and twelve (ammo) crates.

I built each sprue as I got it out the box.

I did think initially that the containers would be easy to build, but as the doors don’t add to the structural integrity of the model, I did for two of them press too hard when gluing the parts that they fell apart. Eventually I did get them together. Each container comes with two bolters for gluing on top. I did think it would have been nice to have an alternative choice so you didn’t need to arm all the containers.

The oil barrels go together really easily and the crates are a single casting with nothing to glue.

The next stage will be a white undercoat.