There are Orks who have looted Imperial weaponry. Not only can they use Space Marine weapons they can also borrow the transport.
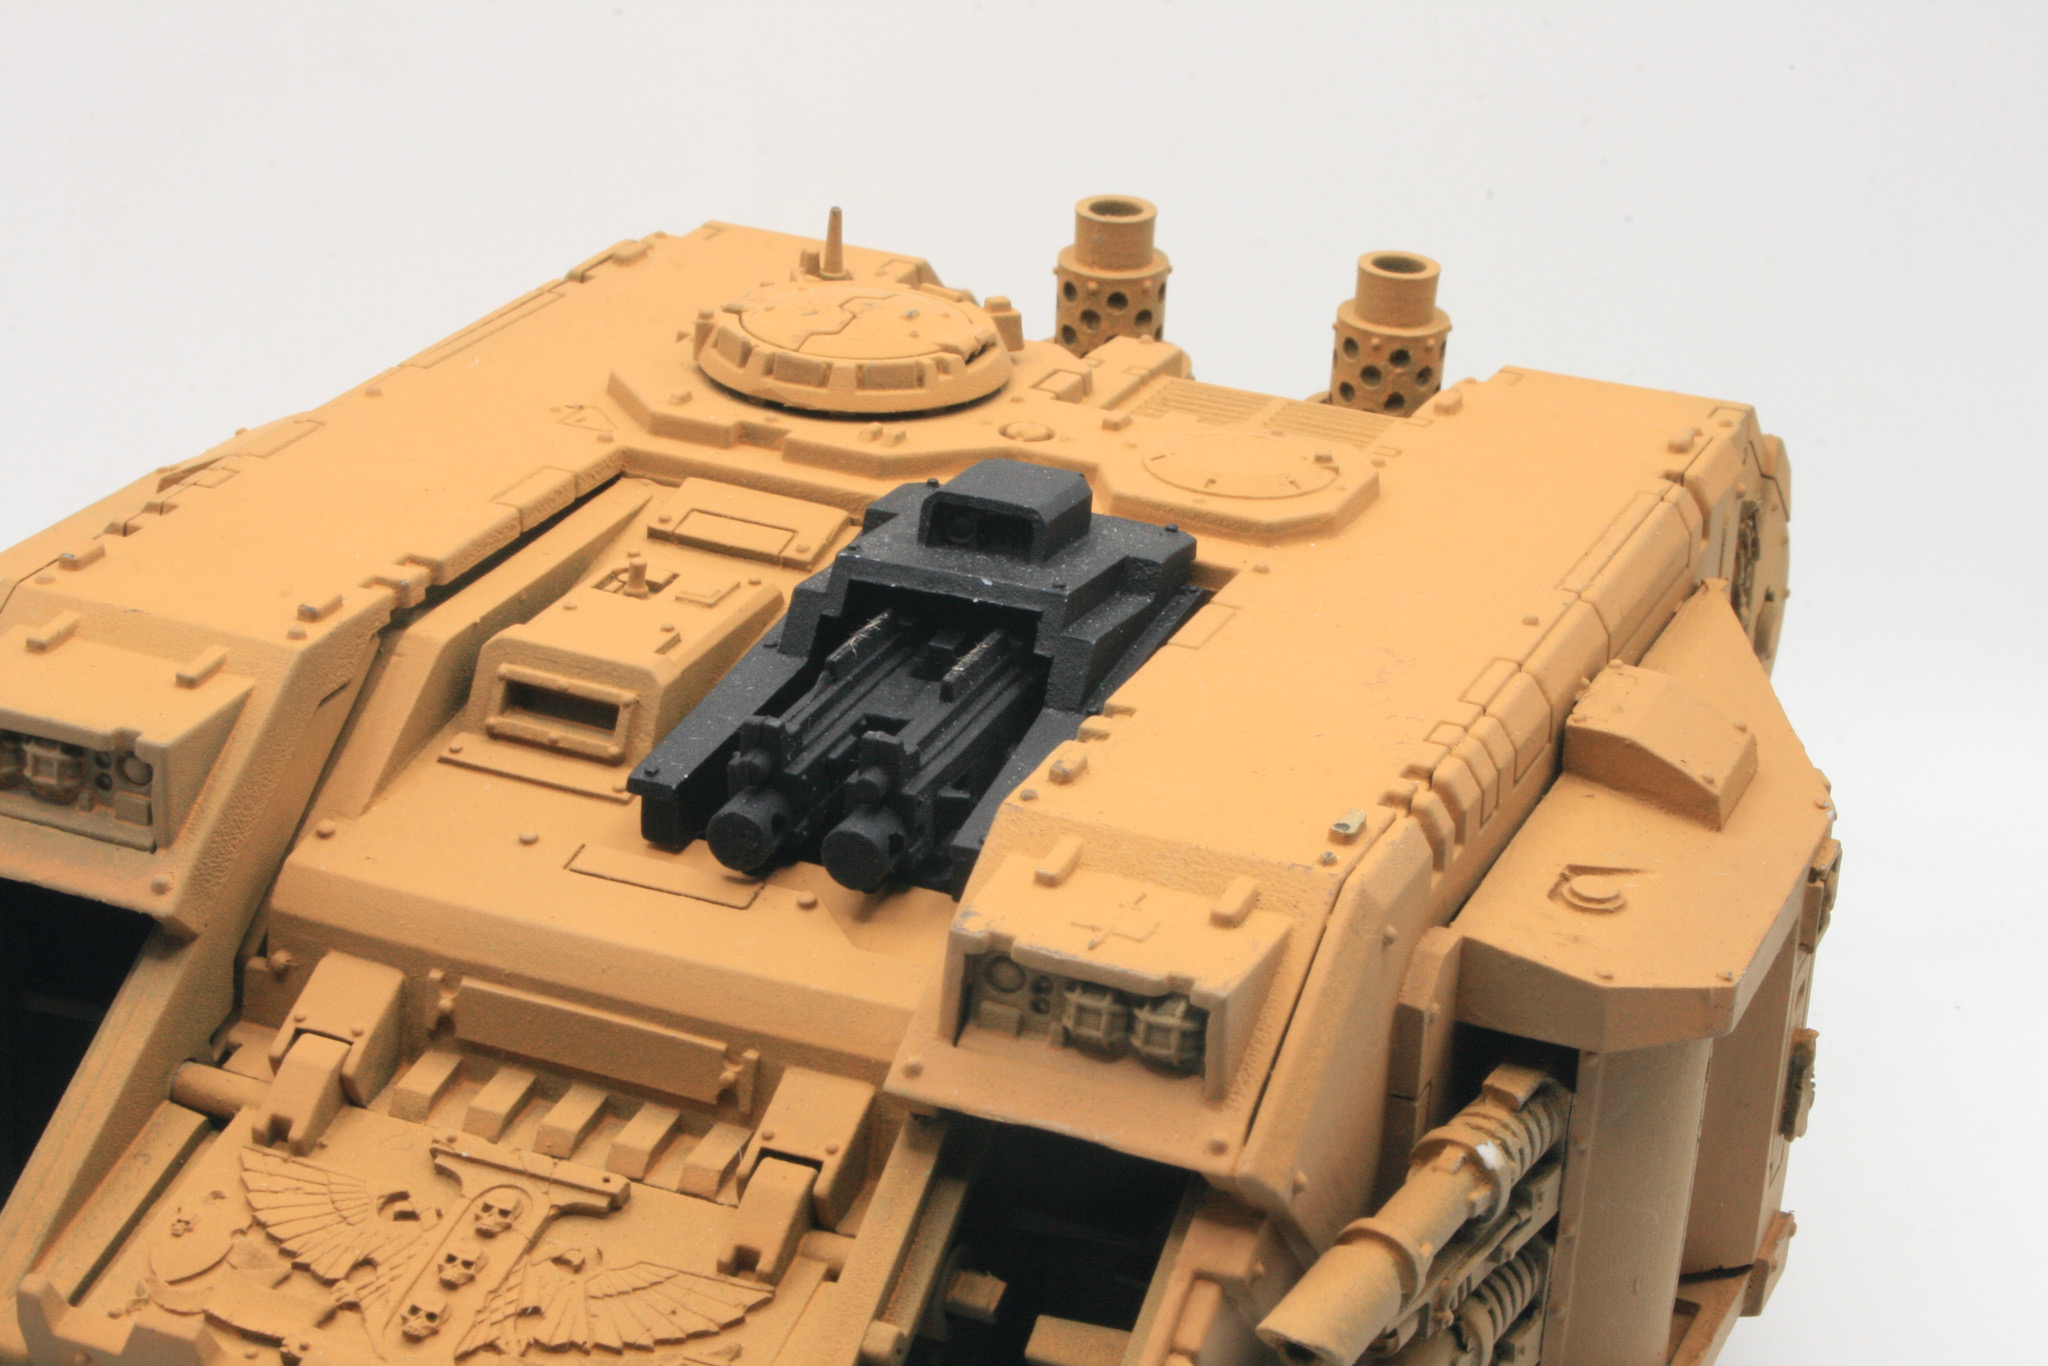
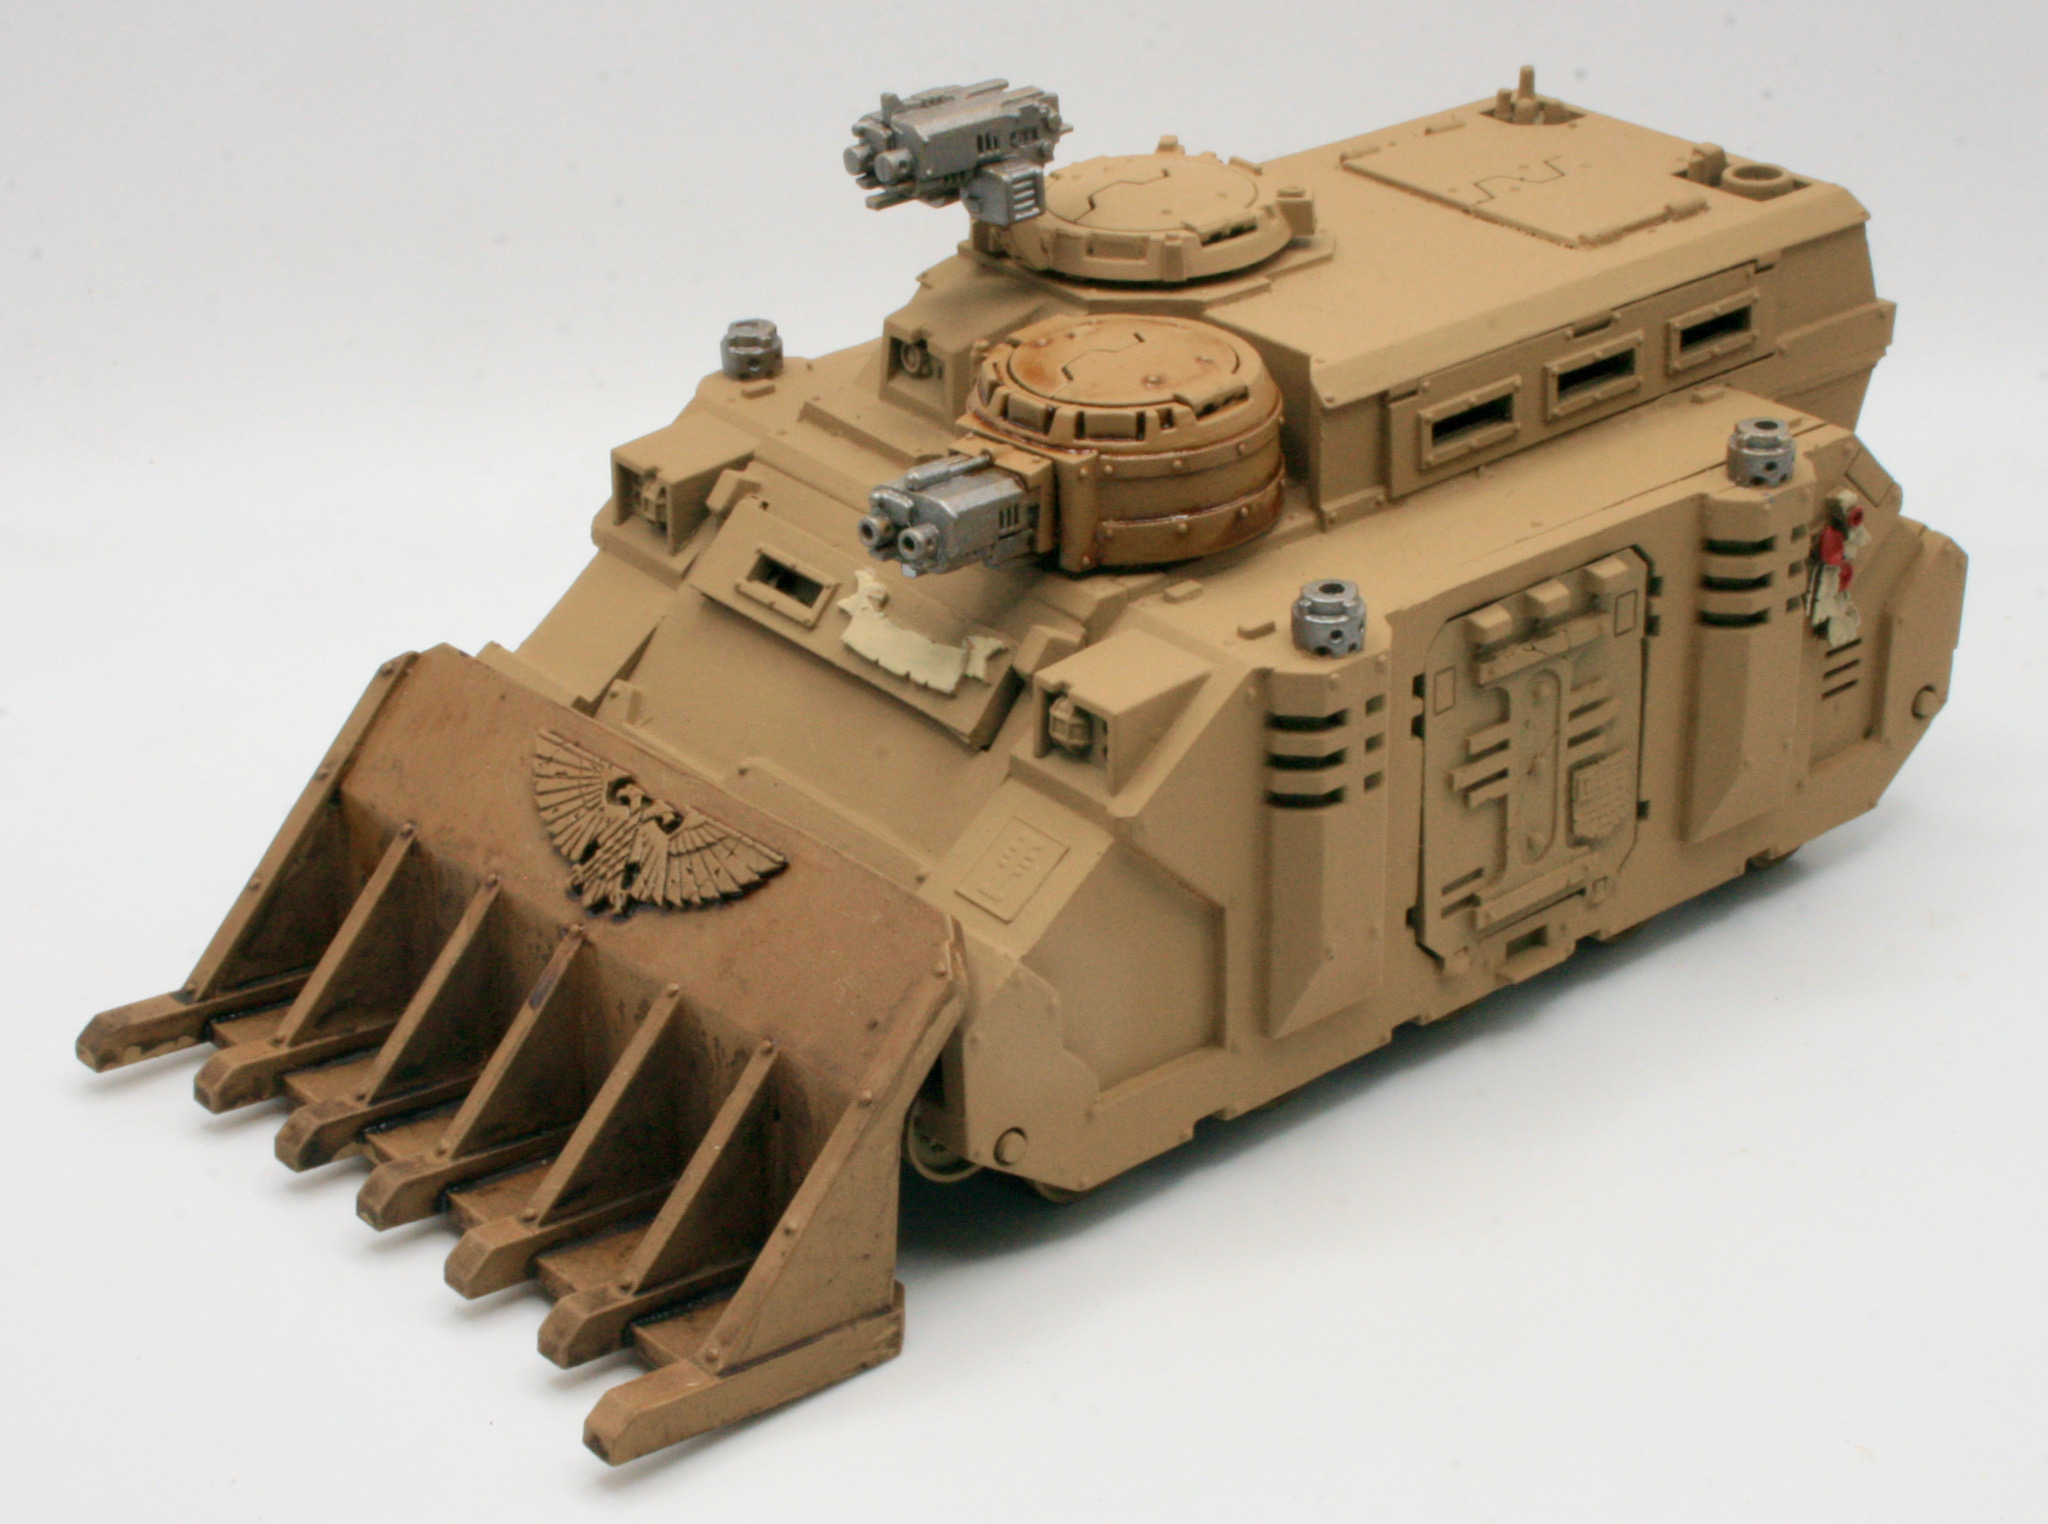
A Looted Rhino is an Imperial Rhino armoured personnel carrier that has been looted from a previous battlefield by Ork Lootas and is now used as a transport for their WAAAGH!
I wrote about my Ork Looted Rhino and where I was in progressing it.

I was painting the tracks for my Repressor and Razorback when I realised I had three sets of tracks. It took me a while, before I realised that the tracks were for my Ork Looted Rhino. I actually thought I had affixed them, but obviously I hadn’t.
I had painted the tracks on the sprues.

I had drybushed them with Leadbelcher.
I realised I had no idea how the different parts were affixed to the Rhino. I also had no idea where the kit instructions were. So, a quick Google search found some Rhino instructions. The tracks were marked L and R, which of course meant left and right. It was useful to see the instructions as there were seven parts for each track.
I snipped them off the sprues and affixed them to the Looted Rhino with superglue.

This is the underneath view.

They were relatively easy to fix, though they were a little tight fitting them under the fenders or mudguards.
I now need to touch them up where they joined the sprue. I will then do some additional weathering, using shades and drybrushing.
I started my Ork Looted Rhino many years ago, and the process I used is outlined on my workbench feature on the Looted Rhino.