After much procrastinating and leaving it, the other day I started and made significant progress on my Sisters of Battle Repressor which I am going to use as a Storm Troopers Transport. Over the next week or so I will post photographs of the different stages of the process.
The Repressor uses the Rhino as the basis for the model and there are various resin parts.
After thinking about it for a while I decided that I would not detail, model or paint the interior of the model. In the main as the resin parts did not allow easy access (viewing) to the internals and therefore would be (in my view) a lot of work and effort and nobody would see it.
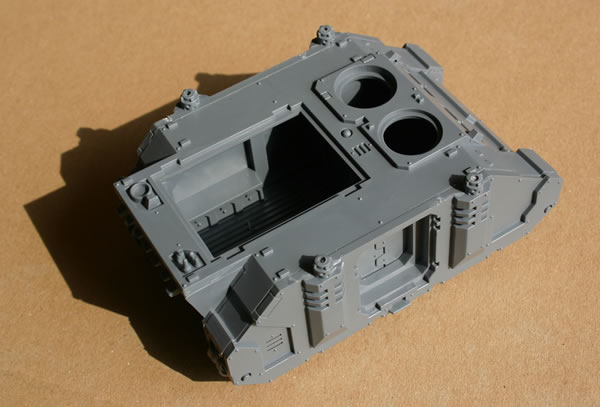
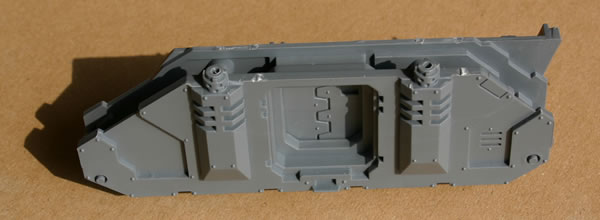
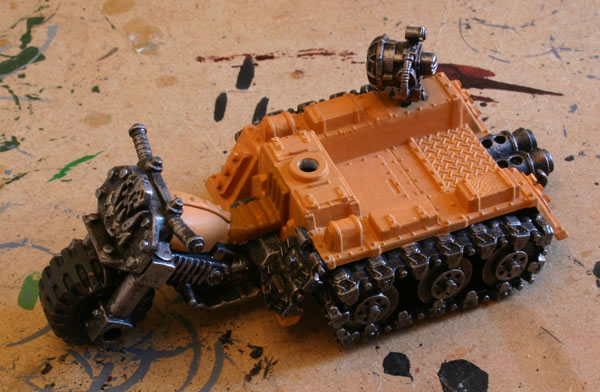
The first stage was to put the core Rhino structure together. I avoided the mistake I made with my Ork Looted Rhino and assembled it according to the “instructions”.

After one side I glued the other track assembly together. Luckily there are not lots of wheels like most scale model kits you get these days.

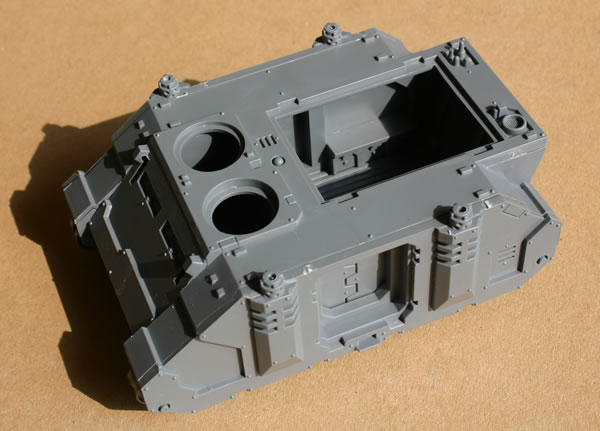
Then the two sub-assemblies were glued together. At this point don’t forget to add the back door!
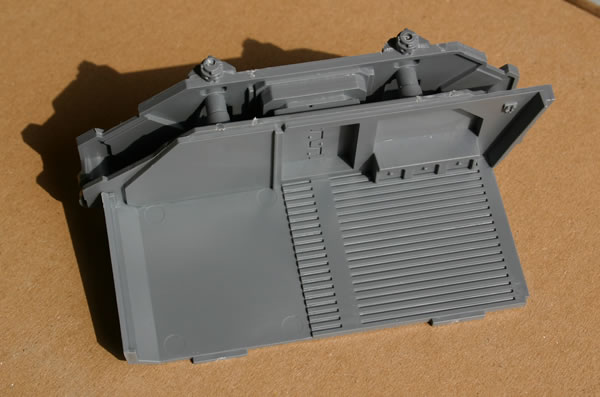
Next stage was to add the top of the hull.