I have done some more work on my Ork Looted Rhino.
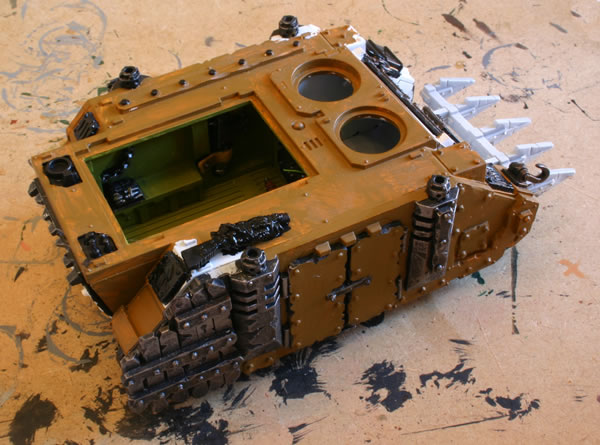
This is the opposing view.

I still have to paint some more of the detail black and finish off the brown basecoat. I will then give it a wash and a drybrush before adding more detail.
warhammer, wh40k, flames of war, bolt action, aeronautica imperialis, star wars, models, news, views and stuff
I have done some more work on my Ork Looted Rhino.
This is the opposing view.
I still have to paint some more of the detail black and finish off the brown basecoat. I will then give it a wash and a drybrush before adding more detail.
This is the first time I used the new Citadel Foundation Paints on a miniature. I painted the rokkit cone of one of my Orks with a Rokkit Launcha using the red.
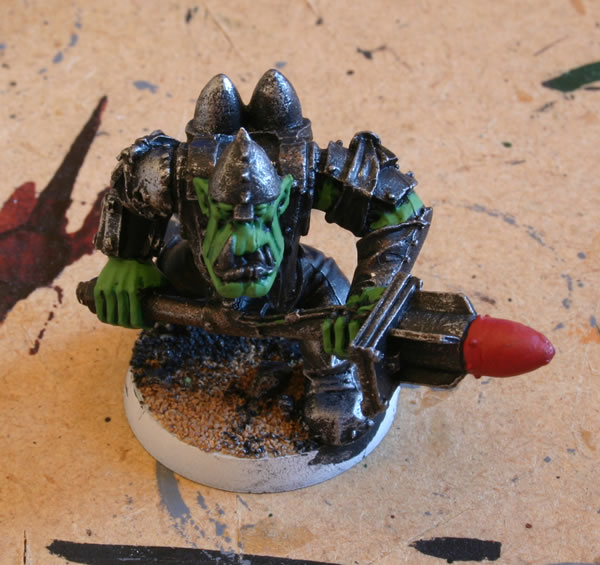
The paints seemed rather thick, but did cover well (it does what it says on the tin). I then tried other paints on some other Orks. I think they are going to be useful for the miniatures I use a black undercoat on.
I have done some more work on my Ork Looted Rhino.

I still have to paint some of the detail black and finish off the brown basecoat. I will then give it a wash and a drybrush before adding more detail.
I am slowly building up my Grey Knights army (and doing even less painting).
I purchased the new Space Marine Librarian in Terminator armour as I really do like the model and for me will certainly fit into my Grey Knights army with all the books and purity seals.
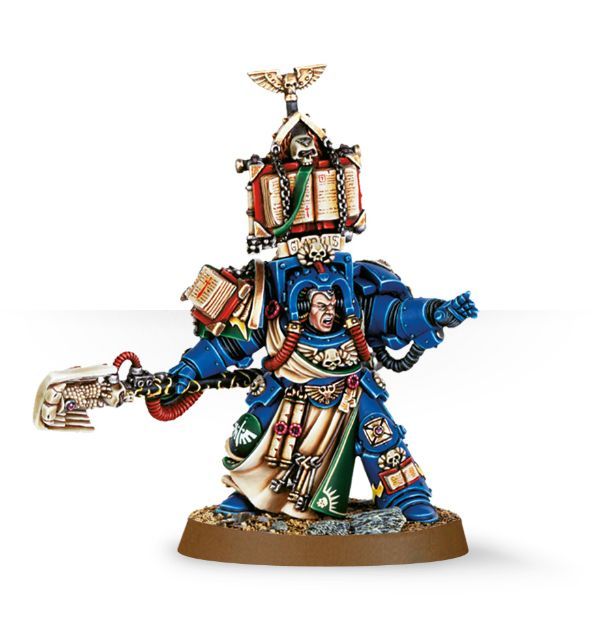
Obviously at £8 it is quite expensive for a single model, but then when has Games Workshop even made “cheap” models.
Nice model and nice that all the weapon options are included.
When I got my XXX White Dwarf figure I purchased an Ork Kommando with Burna as I wanted the figure to go with my Ork Kommandos.
What I had forgotten was I had purchased the very same figure in March!
Doh!
Ah well so I have two now.
So that means more than one way to burn Imperial Guard tanks!
I have been looking to make my own water-transfers and so was pleased to find this supplier. Basically you print your decals and (if using an inkjet) seal them and then put them on your models.
But they look like Dark Angels, honestly they are Grey Knights…
So I got a box set of Dark Angels Veterans the other day, it is my intention to use them as Grey Knights as I really like the cloaks.

The sprues are full of odd bits and pieces which will work okay with Grey Knights.

So they are not like the metal Grey Knights, but Grey Knights use a variety of old equipment, now and again I suspect they may use slightly newer kit hence being able to use the Dark Angels sprues.
Missing from the photographs is a standard Marine sprue.
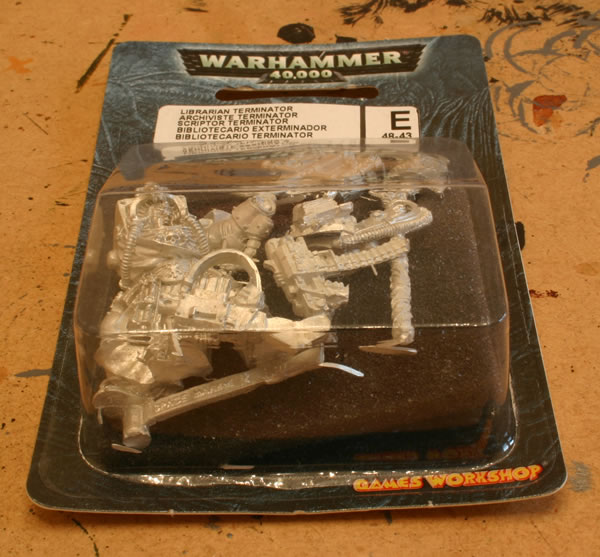
Though I am still not that far ahead in painting my Kommandos, I got the blister pack with the Ork Kommando with Burna.
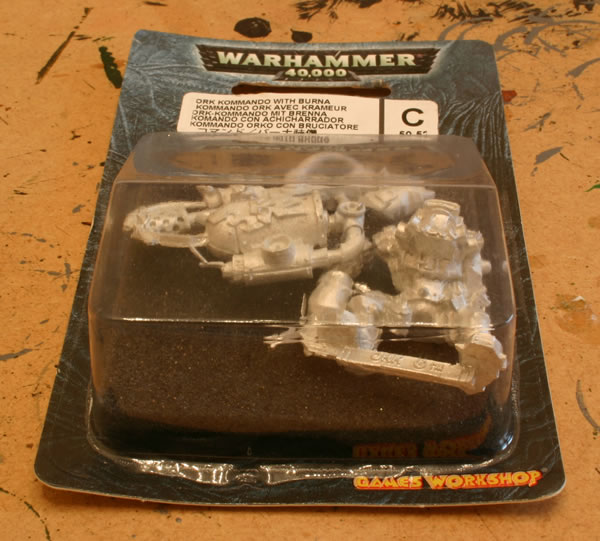
This is a nice model and I am impressed with the sculpting and casting.
I am making slow progress with my Grey Knights with my Daemonhunters army, quite a bit to paint.
With both the Repressor and the Razorback I want to add purity seals and other Grey Knight paraphernalia to make them different to your run of the mill Space Marine vehicles.
The new Dark Angels “extras” sprue has some nice bits, so today I got a Dark Angels Veterans boxed set. I am intending to use the Marines as Grey Knights, I really like the cloaks.
Looking nice.
This is an Ork Wartrakk I have been working on.
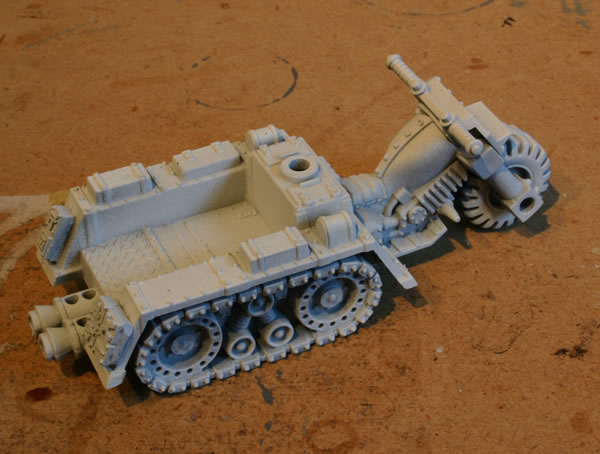
As you can see I have been using some of the Ork glyphs from Forgeworld, which are really really thick.