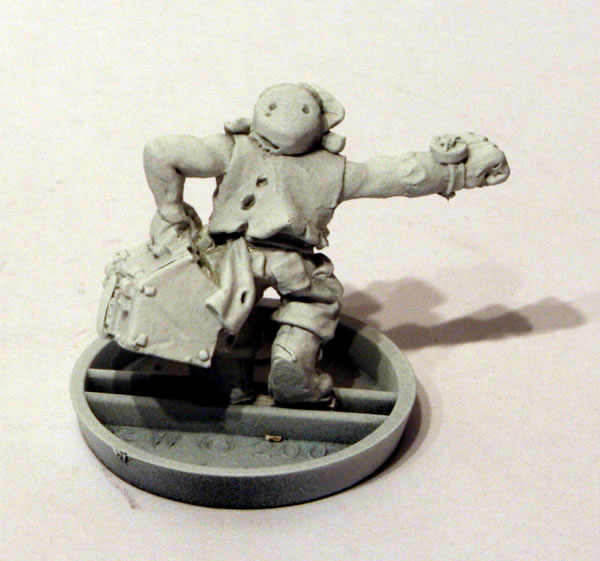
If you have looked at my Grey Knights Landspeeder you will realise that I am attempting to paint a Grey Knights force which goes beyond the listings in the DaemonHunters Codex. What I am trying to do is to create a Grey Knights force (using the Space Marine Codex) and then using a DaemonHunters force as allies.
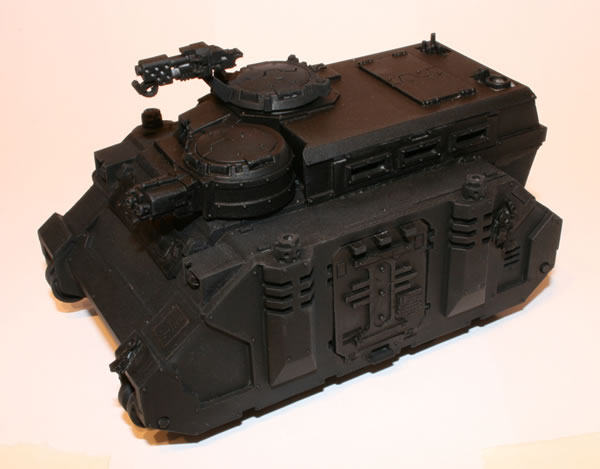
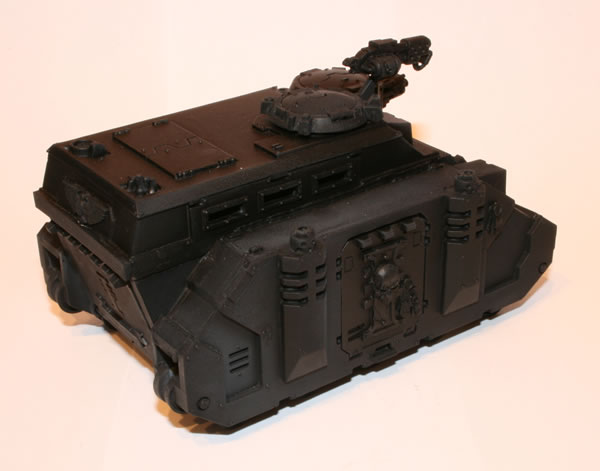
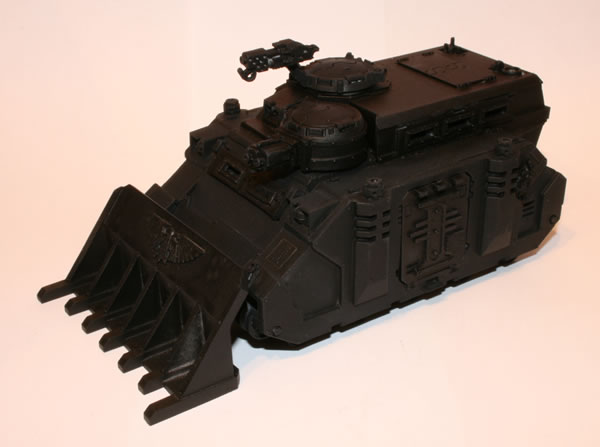
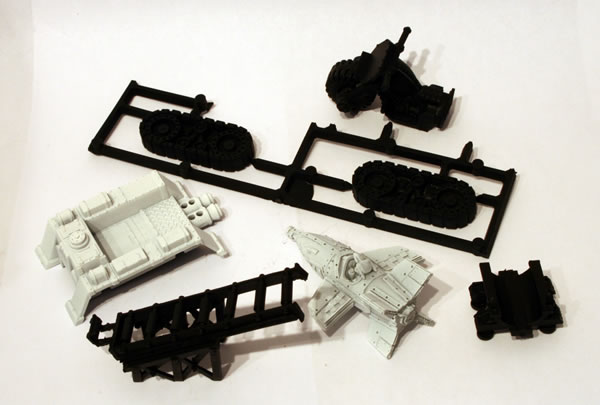
Having constructed my Razorback and added Grey Knights iconography I gave the model a black undercoat.
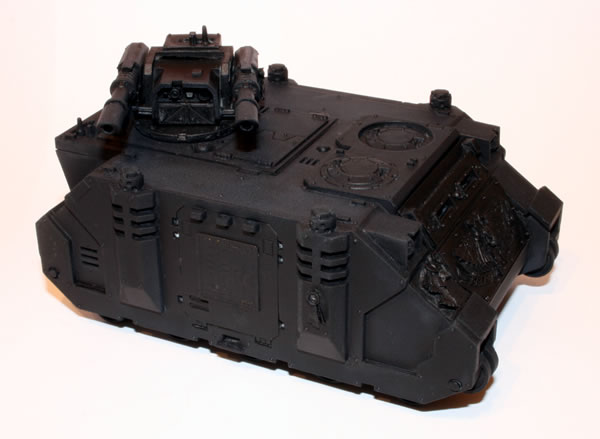
The next stage will be adding the basecoat.
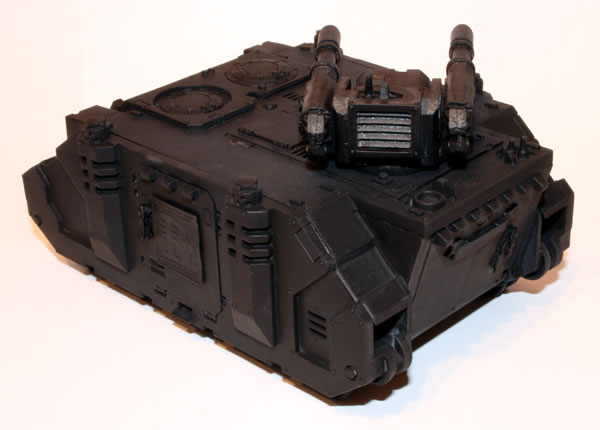
See the full workbench feature on my Grey Knights Razorback.