At the beginning of March 2005 on my (old) blog I mentioned that GW were releasing a limited edition Witch Hunter model that would only be sold in the stores on the 2nd and 3rd April.
Well I didn’t think I was going to get one, but I was on my way over to Simon’s for a game of Space Hulk and stopped off at the GW store and picked one up.
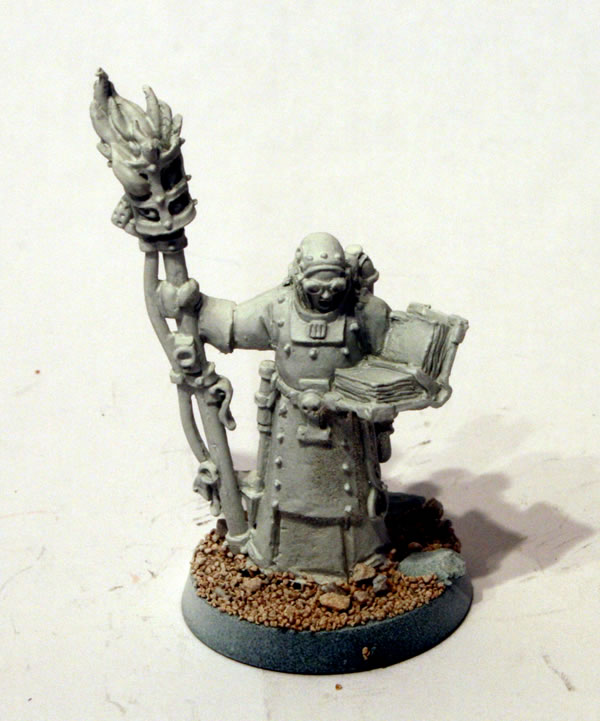
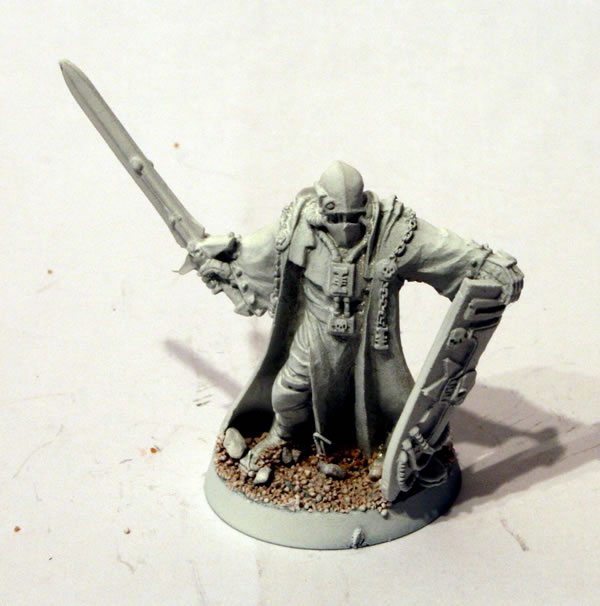
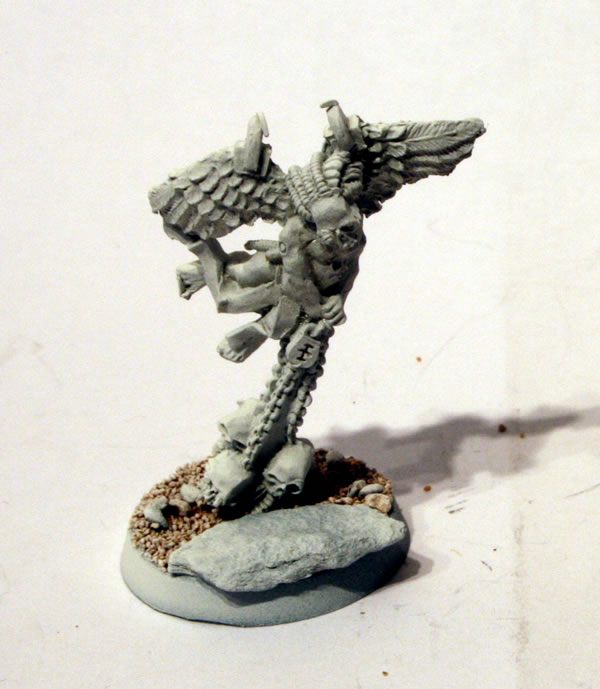
It is a very nice model and is based on the Witch Hunter model that is available in the boxed set, but has a different weapon (plasma pistol) and is pointing rather than holding a sword. Personally I think it is a better model.
Now at the time I thought do I paint it, or do I keep it and sell it on eBay in a few years time (or does everyone do that).
After much thought (well two and a half years) I decided that I would put together the model and paint it. The casting comprises a single casting, but the model is in two parts. The model goes together very easily.
Having flocked the base with Games Workshop modelling sand, I gave the model a white undercoat.

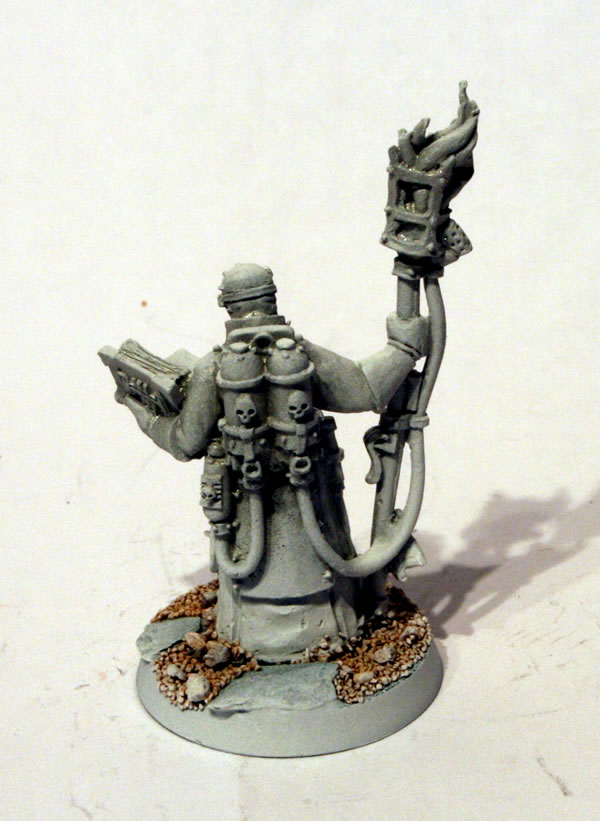
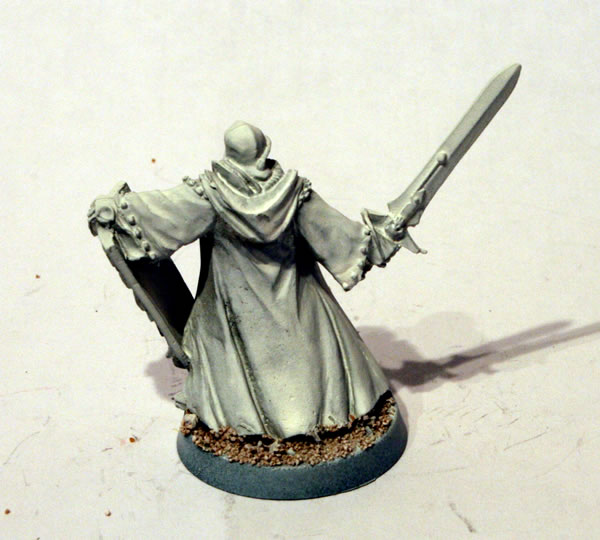
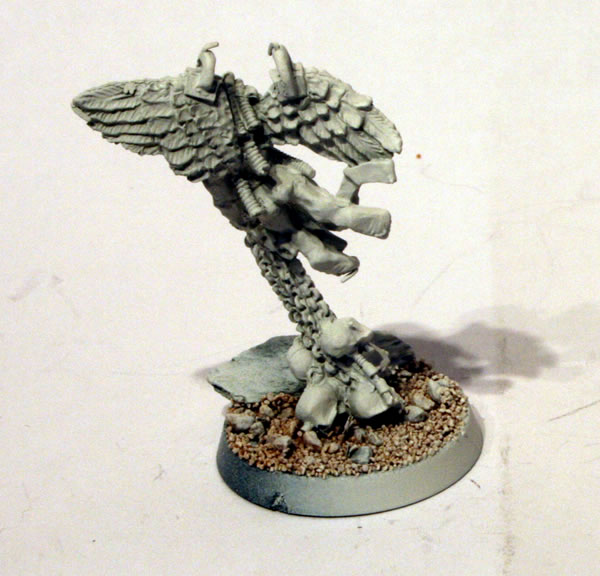
The rear view.

See the full workbench feature for this model.
Rules can be found in White Dwarf #304 for this model.