The Killa Kan was a christmas present from my mother-in-law. You can find out how I made my other two Killa Kans on this page. This model will now give me a mob of three.
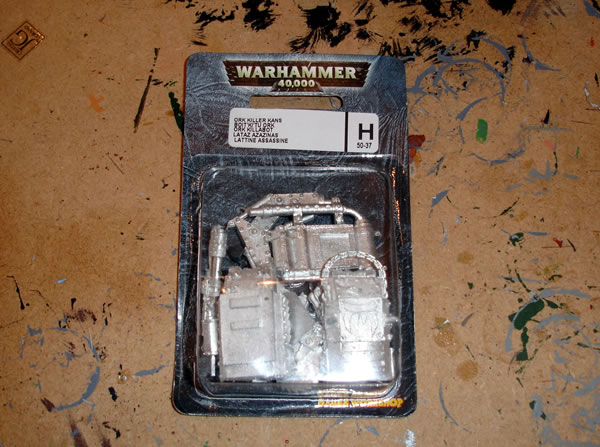
This is quite an old model now and is all metal. There are various components and as with most Games Workshop metal models no instructions! This particular model came with a Burna (flamer).
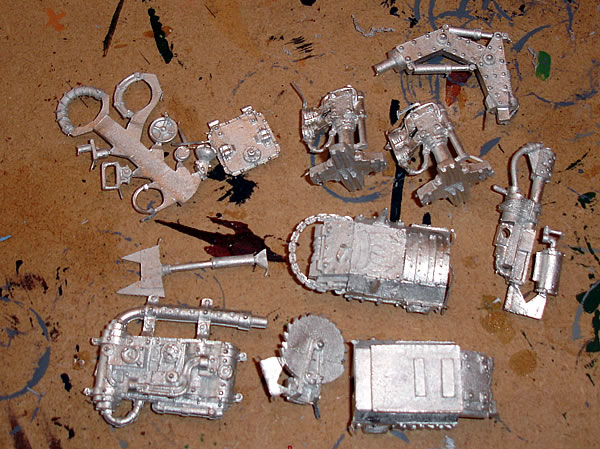
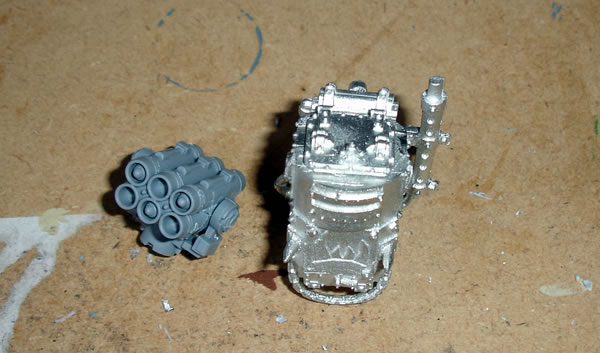
Having thought about it, I decided to arm this Killa Kan with a Rokkit Launcha to go along with the other two which also have Rokkit Launchaz. I didn’t have a spare Ork Rokkit Launcha to hand, so decided to use the Missile Launcher from the Chaos Vehicle sprue.
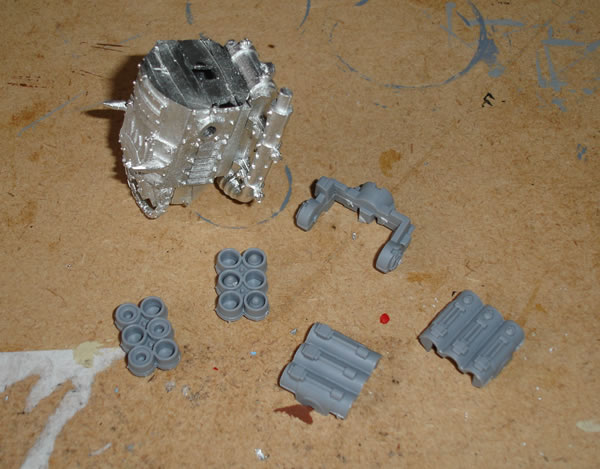
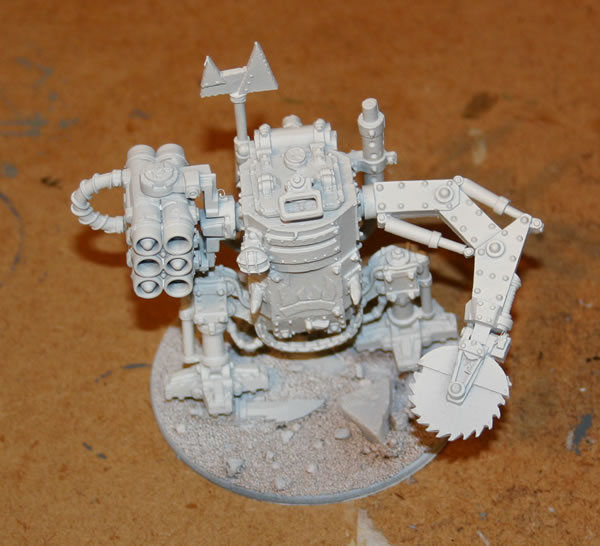
Having glued the two halves together which needed a bit of filing for a snug fit, I added the engine on the back. The Rokkit Launcha I made according to the instructions.
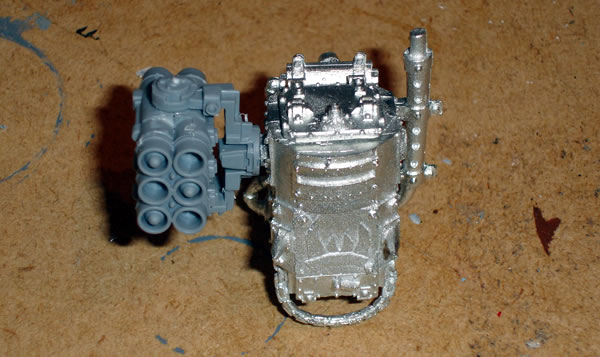
Using a small piece of plastic rod I glued it to the Rokkit Launcha and glued to the arm hole on the Killa Kan.
I now need to stick on the rest of the metal parts add some more Ork Gubbinz to make it more Orky. I will also need to find a base as they now come with the smaller 40mm round bases rather than the bigger 60mm bases they use to come with and what my other two are based on.
It does seem to work and look okay.

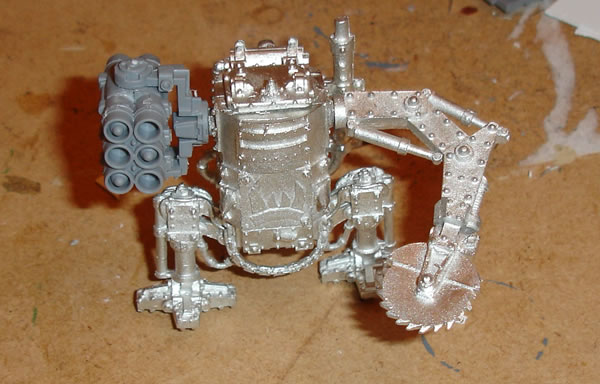
The next stage was to glue the legs and the dreadnought weapon to the body.
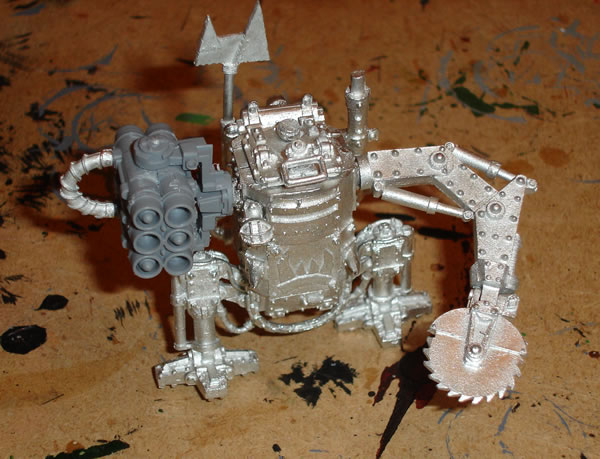
I then added some Ork Gubbinz to the model. Some cables, a light, a banner and a few handles. This does make it look a lot more Orky.
I have undercoated my Ork Killa Kan with a white undercoat.
You will notice how light the undercoat is, and that unlike previous versions this has a white undercoat. Partly to try out something new and partly as I had run out of black spray paint. I painted the metallic parts I wanted in black.
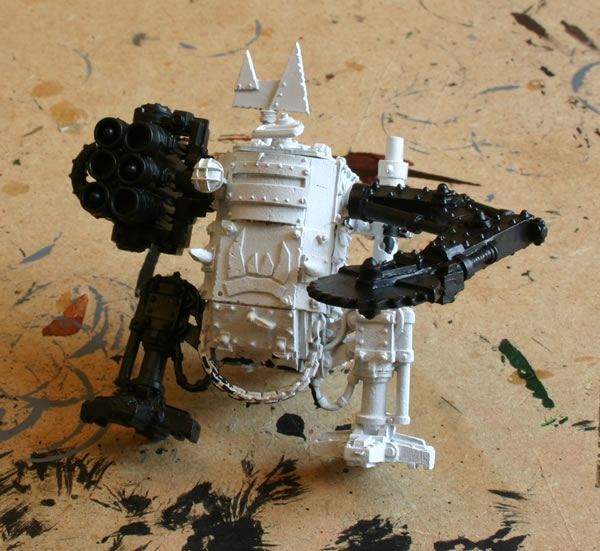
Once I had done that and left it to dry I then drybrushed the black parts, first with Tin Bitz and then lightly with Boltgun Metal.


Next stage was to paint the body of the Killa Kan.
Well as I started to paint it I knew that it wasn’t going to work and it wouldn’t look right. Maybe okay if it was a single Killa Kan, but in my squadron of three it was going to look odd. So I stopped painting the colour, let it dry and then went over the area with Chaos Black.
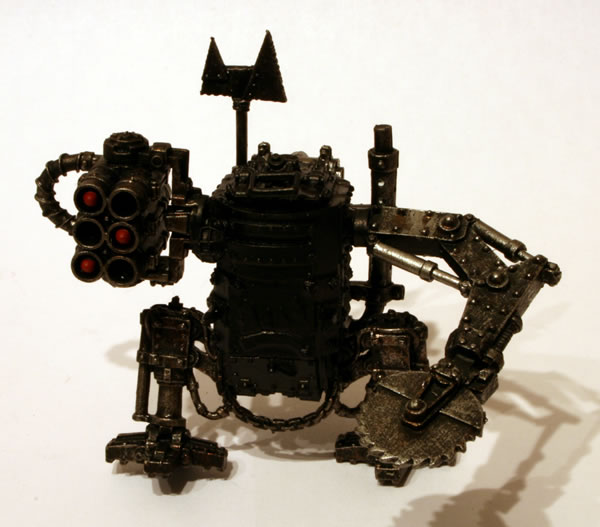
I then drybrushed the (new) black parts, first with Tin Bitz and then lightly with Boltgun Metal. I also painted the rockets with the red Foundation Paint.
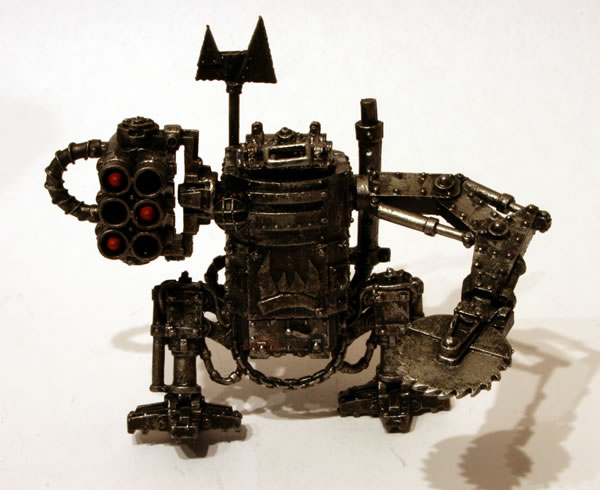
The next stage was adding some more highlights and painting the front armour plate glyph with a green paint.

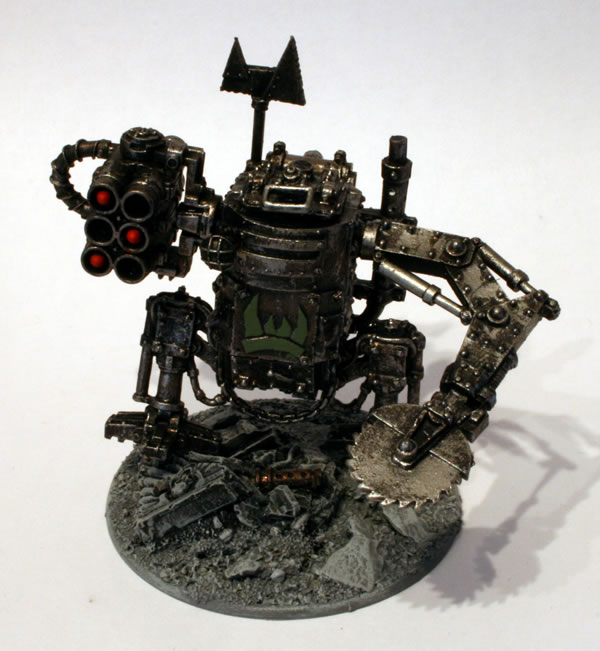
Here is the model virtually finished on the base I will be using.