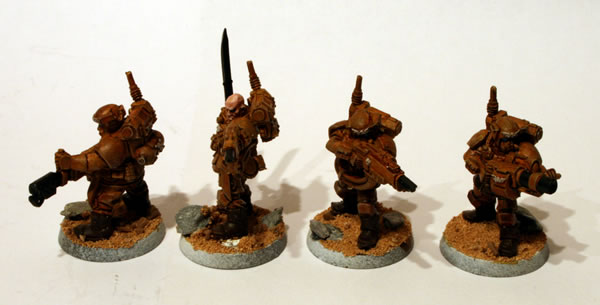
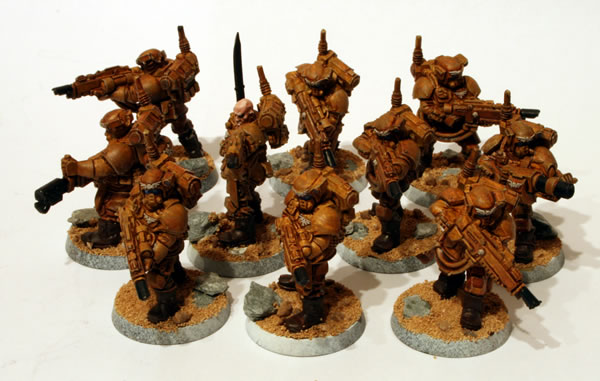
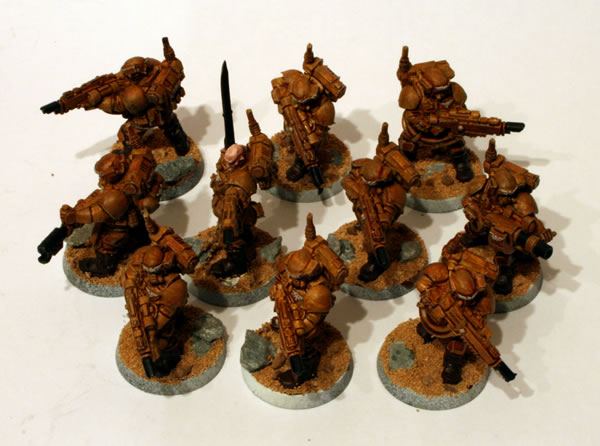
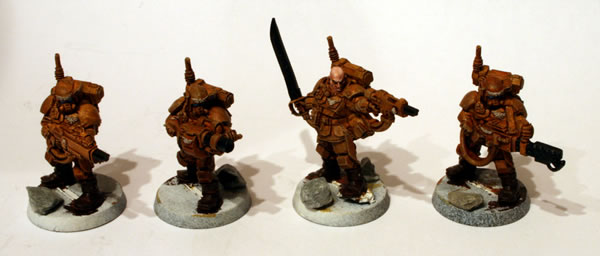
Dozerblade for the Repressor

One of the nice extra parts for the Sisters of Battle Repressor is the large dozer blade. It consists of two parts; the blade and the attachment for attaching the blade to the hull.

Dozerblade for the Repressor

The blade has some quite large sprue attachments which need to be removed with care.

If you don’t it can result in damage to the resin blade, luckily this is at the bottom of the blade.

Dozerblade for the Repressor

The attachment had a fair bit of flash attached which needed to be cleaned.

Dozerblade for the Repressor

I am going to paint this part separately, but to give you an idea on how the final Repressor will look here is as though the dozer blade was attached.

Repressor

The next stage is doors, for which I think I may purchase some Rhino Inquisition doors from Forgeworld.

Ork Looted Rhino

I decided looking at my Ork Looted Rhino that I really ought to finish the basecoat. Here is the Ork Rhino as it was. Just the side and front plate needed doing.

Ork Looted Rhino

This actually took me less time then I thought it would. Here it is with the hatch off and the rear ramp down.

Ork Looted Rhino

Next will be to give it a wash of dark ink with some paint to offset the gloss of the ink. Here it is “closed down” with the hatch on and ramp up. The hatch was scratchbuilt.

Ork Looted Rhino

Another view.

Ork Looted Rhino

More.

Ork Looted Rhino

Some more work to do. See how I got to this stage on the main workbench feature.

Warhammer Chapel

I was lucky to receive one of the new Warhammer plastic buildings for a present (thanks Simon). I have mentioned in previous posts how impressed I was with the new buildings.

It was the chapel.

Warhammer Chapel

In the “A4” sized box you get two sprues with all the parts and extras on them.

Warhammer Chapel

One part I did particularly like was the clock.

Warhammer Chapel

This looks like it will be quite a substantial kit, as the plastic parts are quite thick compared to other plastic building kits I have made in the past. There will also be quite a few extra parts which I will be able to use on other models as well.

I hope we see more building kits in the future, it would be nice to see some more accompanying buildings as well as Orc or Elven constructions as well.

Looking forward to making this one up.

Repressor Hatch Flamer

…let them burn in the fires of retribution or somesuch rubbish…

The Repressor kit comes with a resin flamer for a hatch ring.

Repressor Hatch Flamer

Combined with the plastic hatch ring from the extras sprue, it will go on the top of the Repressor structure.

Repressor Hatch Flamer

It went together very easily.

Repressor Hatch Flamer

I decided to make the hatch closed, if this was a Sisters of Battle Repressor or a Adeptus Arbites Repressor then I may have added a gunner, as this will be used for different units I decided to make it closed.

The continuing saga of the ill-fitting top

carve and file…

After much thought about the ill-fitting top on my Sisters of Battle Repressor I decided initially to try and file down the Rhino body to allow the resin superstructure fit.

This wasn’t really working, so I decided to trim the back of the superstructure.

Sisters of Battle Repressor

This allowed the superstructure to fit.

Sisters of Battle Repressor

But it wasn’t a perfect fit.

Sisters of Battle Repressor

This was more apparent on the front.

Sisters of Battle Repressor

Where there was quite a large gap.

Sisters of Battle Repressor

Time to get out the green stuff (putty).

Sisters of Battle Repressor – Storm Troopers Transport Storm Bolter Turret

The Storm Bolter Turret on my Sisters of Battle Repressor – Storm Troopers Transport went together very easily.

These are the resin and plastic components.

Sisters of Battle Repressor Storm Bolter Turret

Here is the completed turret.

Sisters of Battle Repressor Storm Bolter Turret

It fits nicely into the turret ring.

The top don’t fit

The resin seems to have shrunk…

As I was building the Repressor I noticed that I had a problem. The new roof did not fit as expected, it was as though it had shrunk.

The top don't fit

The arrow points to the parts not fitting together as they should.

This is of course always a concern with resin parts and to be honest I almost expect it with Forgeworld models, these are resin kits which require skill not mass produced plastic kits which any old fool can put together!

Now the issue was how was I going to rectify this?

Putting the top on, before putting the resin bits on…

After putting the sides together I stuck on the top of the Rhino which is the base for my Sisters of Battle Repressor – Storm Troopers Transport.

Sisters of Battle Repressor - Storm Troopers Transport

I also added the front armour panel as well.

Sisters of Battle Repressor - Storm Troopers Transport

I won’t be detailing the inside as already mentioned, but I am intending to add extra details such as purity seals etc…