I was lucky enough to get for one Christmas a few years back two packs of Foundry Old West Outlaws (thank you Simon).
Here are three more of the Outlaws based and undercoated with a white undercoat.

Have a look at my Old West miniatures Gallery.
warhammer, wh40k, flames of war, bolt action, aeronautica imperialis, star wars, models, news, views and stuff
I was lucky enough to get for one Christmas a few years back two packs of Foundry Old West Outlaws (thank you Simon).
Here are three more of the Outlaws based and undercoated with a white undercoat.
Have a look at my Old West miniatures Gallery.
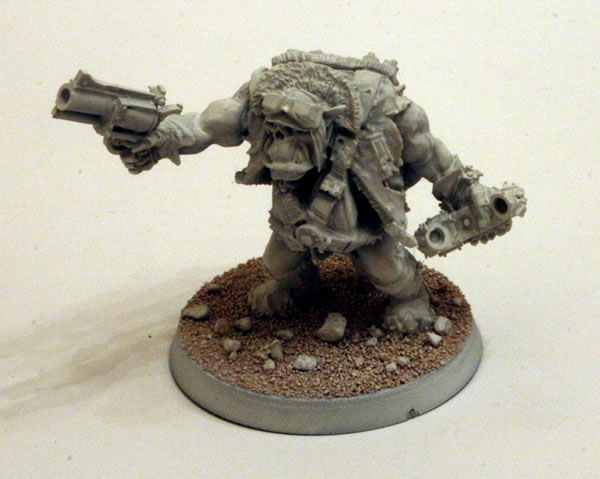
The Ork Sqwadron Commander is a really nice model (only available as a show model from Forge World).
Next stage for the model was a white undercoat, this is different to what I usually use with my Orks.
The rear view.
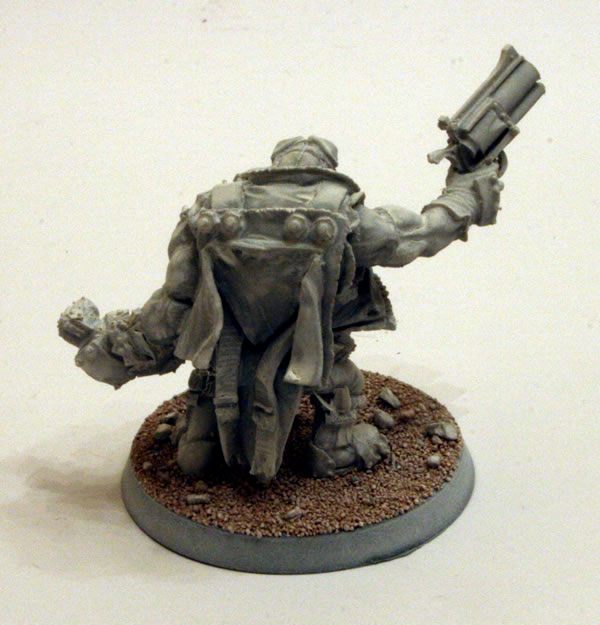
See the full workbench feature on the Ork Sqwadron Commander.
I was lucky enough to get for one Christmas a few years back two packs of Foundry Old West Outlaws (thank you Simon).
Here are three more of the Outlaws based and undercoated with a white undercoat.

Have a look at my Old West miniatures Gallery.
One of the purchases I made from Forge World was the generator.
One of the key things you need to do with virtually all Forge World models is to give them a good wash.
When the Forge World models are cast, the mould is given a spray (I guess) of some kind of lubricant to allow the cast model to be released from the mould easily. However the lubricant also acts as a barrier to paint, so as happened with previous models I (and others) have painted is that the paint flecks off.
Washing the model in water with a drop of washing up liquid should remove the lubricant. Avoid using hot water as this could warp the resin (a useful tip if you need to warped resin back to its original shape).
Once washed the model is then ready for painting. The model was given a black undercoat.

I was lucky enough to get for one Christmas a few years back two packs of Foundry Old West Outlaws (thank you Simon).
Here are three of the Outlaws based and undercoated with a white undercoat.

Have a look at my Old West miniatures Gallery.
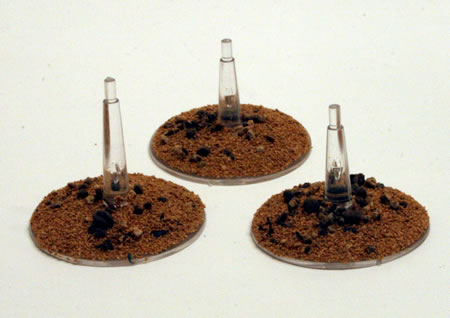
When I am using GW flying bases I usually like to “flock” the main base and only keep the stand the clear plastic.

For these I used some resin pieces from one of the scenery boxes. I will then use GW sand to flock the base. After that I will paint the base before drybrushing and adding extra scenic features.
Having made the chassis, the next stage was adding the superstructure.
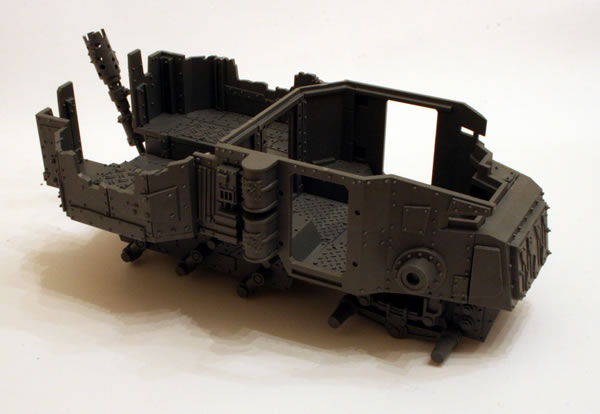
Still kept the model separate for painting purposes.

Another view.
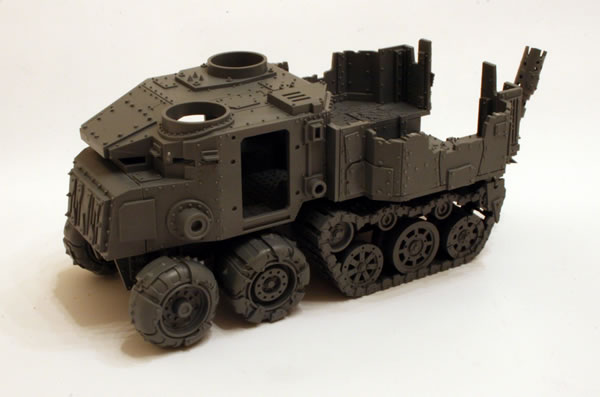
This is how it looks with the provided turret, though I have decided not to use the turret with the model.
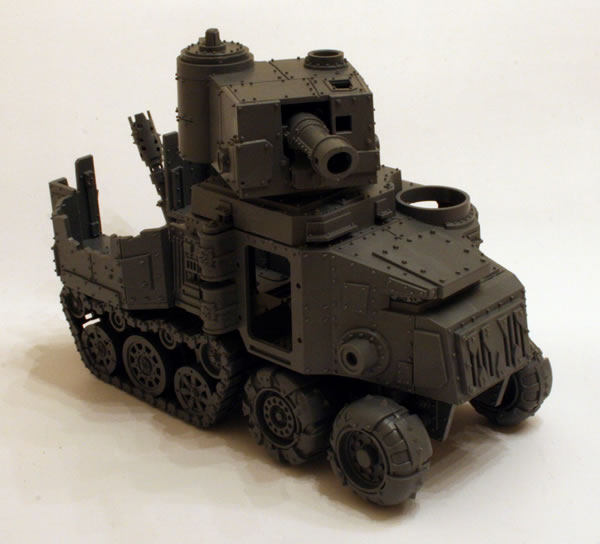
Though in the above photographs it looks like the wheels and tracks are fixed, I kept them unstuck so that the model would be easier to paint.
See the full workbench feature on the Ork Battlewagon.
See photographs of completed Ork Battlewagons from various shows.
When I am using GW flying bases I usually like to “flock” the main base and only keep the stand the clear plastic.
For these I used GW sand. I will then paint the base before drybrushing and adding extra scenic features.
Grey Knights can use Land Raiders, when I first started putting this force together I knew that if I was going to get a Land Raider it would have to be the Forge World MkIIB Land Raider.
However I was also lucky enough to receive a second Land Raider as a present. It was the Terminus model, however I decided to build it as a standard Land Raider.
Having made the model I gave it a black undercoat.

I kept the weapons as separate assemblies, I would also be adding the tracks later too.

Now I made a mistake when I ordered my Mark IIb Land Raider, you get a set of doors and I (foolishly) asked them to replace the supplied eagle doors with Grey Knights Land Raider doors. Now what I didn’t realise was that the side doors on the sponson are not the same size as the Land Raider doors, but are in fact the same size as Rhino side doors. So the Grey Knight doors are too big! However this meant I could use them on this new Land Raider.
Notice how the doors are at the rear, it never made sense to me to have the main weaponry firing in the way of the side doors… so the main lascannons are at the front and the access doors at the rear.
See the full workbench feature on this Grey Knights Land Raider.
Having got far as I wanted to with the scrap, I gave the model a black undercoat, the next stage was a red primer basecoat.
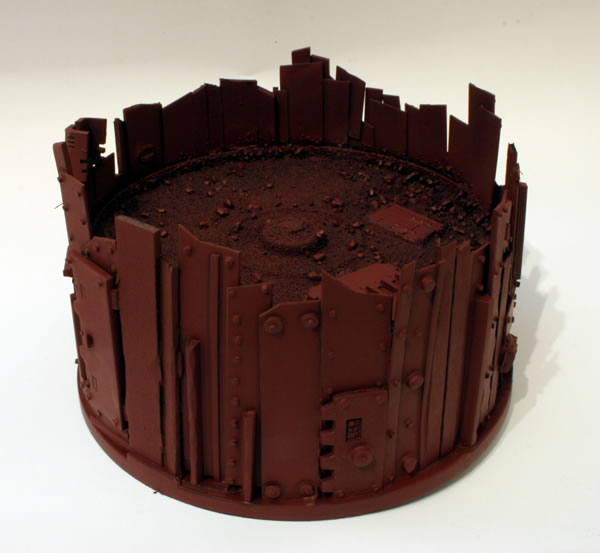
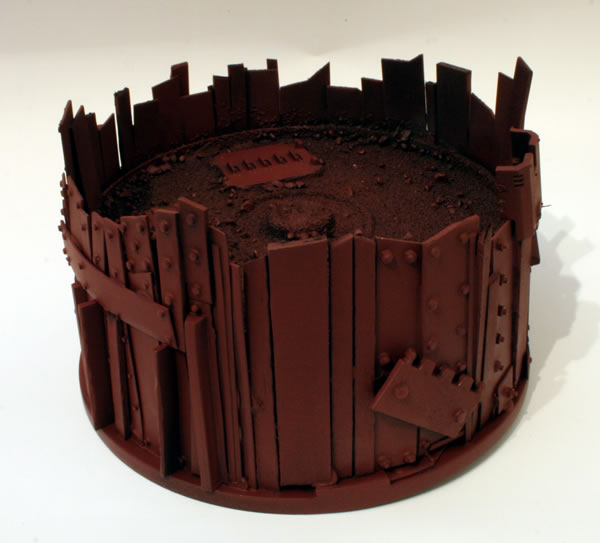
See the full workbench pages for the fort.