The Land Raider is an Imperial main battle tank and troop transport which serves as the “armoured fist of the Space Marines.” It is one of the most resilient and iconic armoured vehicles in the galaxy. The Land Raider’s heritage predates even the founding of the Imperium of Man, yet it remains the single most destructive weapon in the Adeptus Astartes’ arsenal.
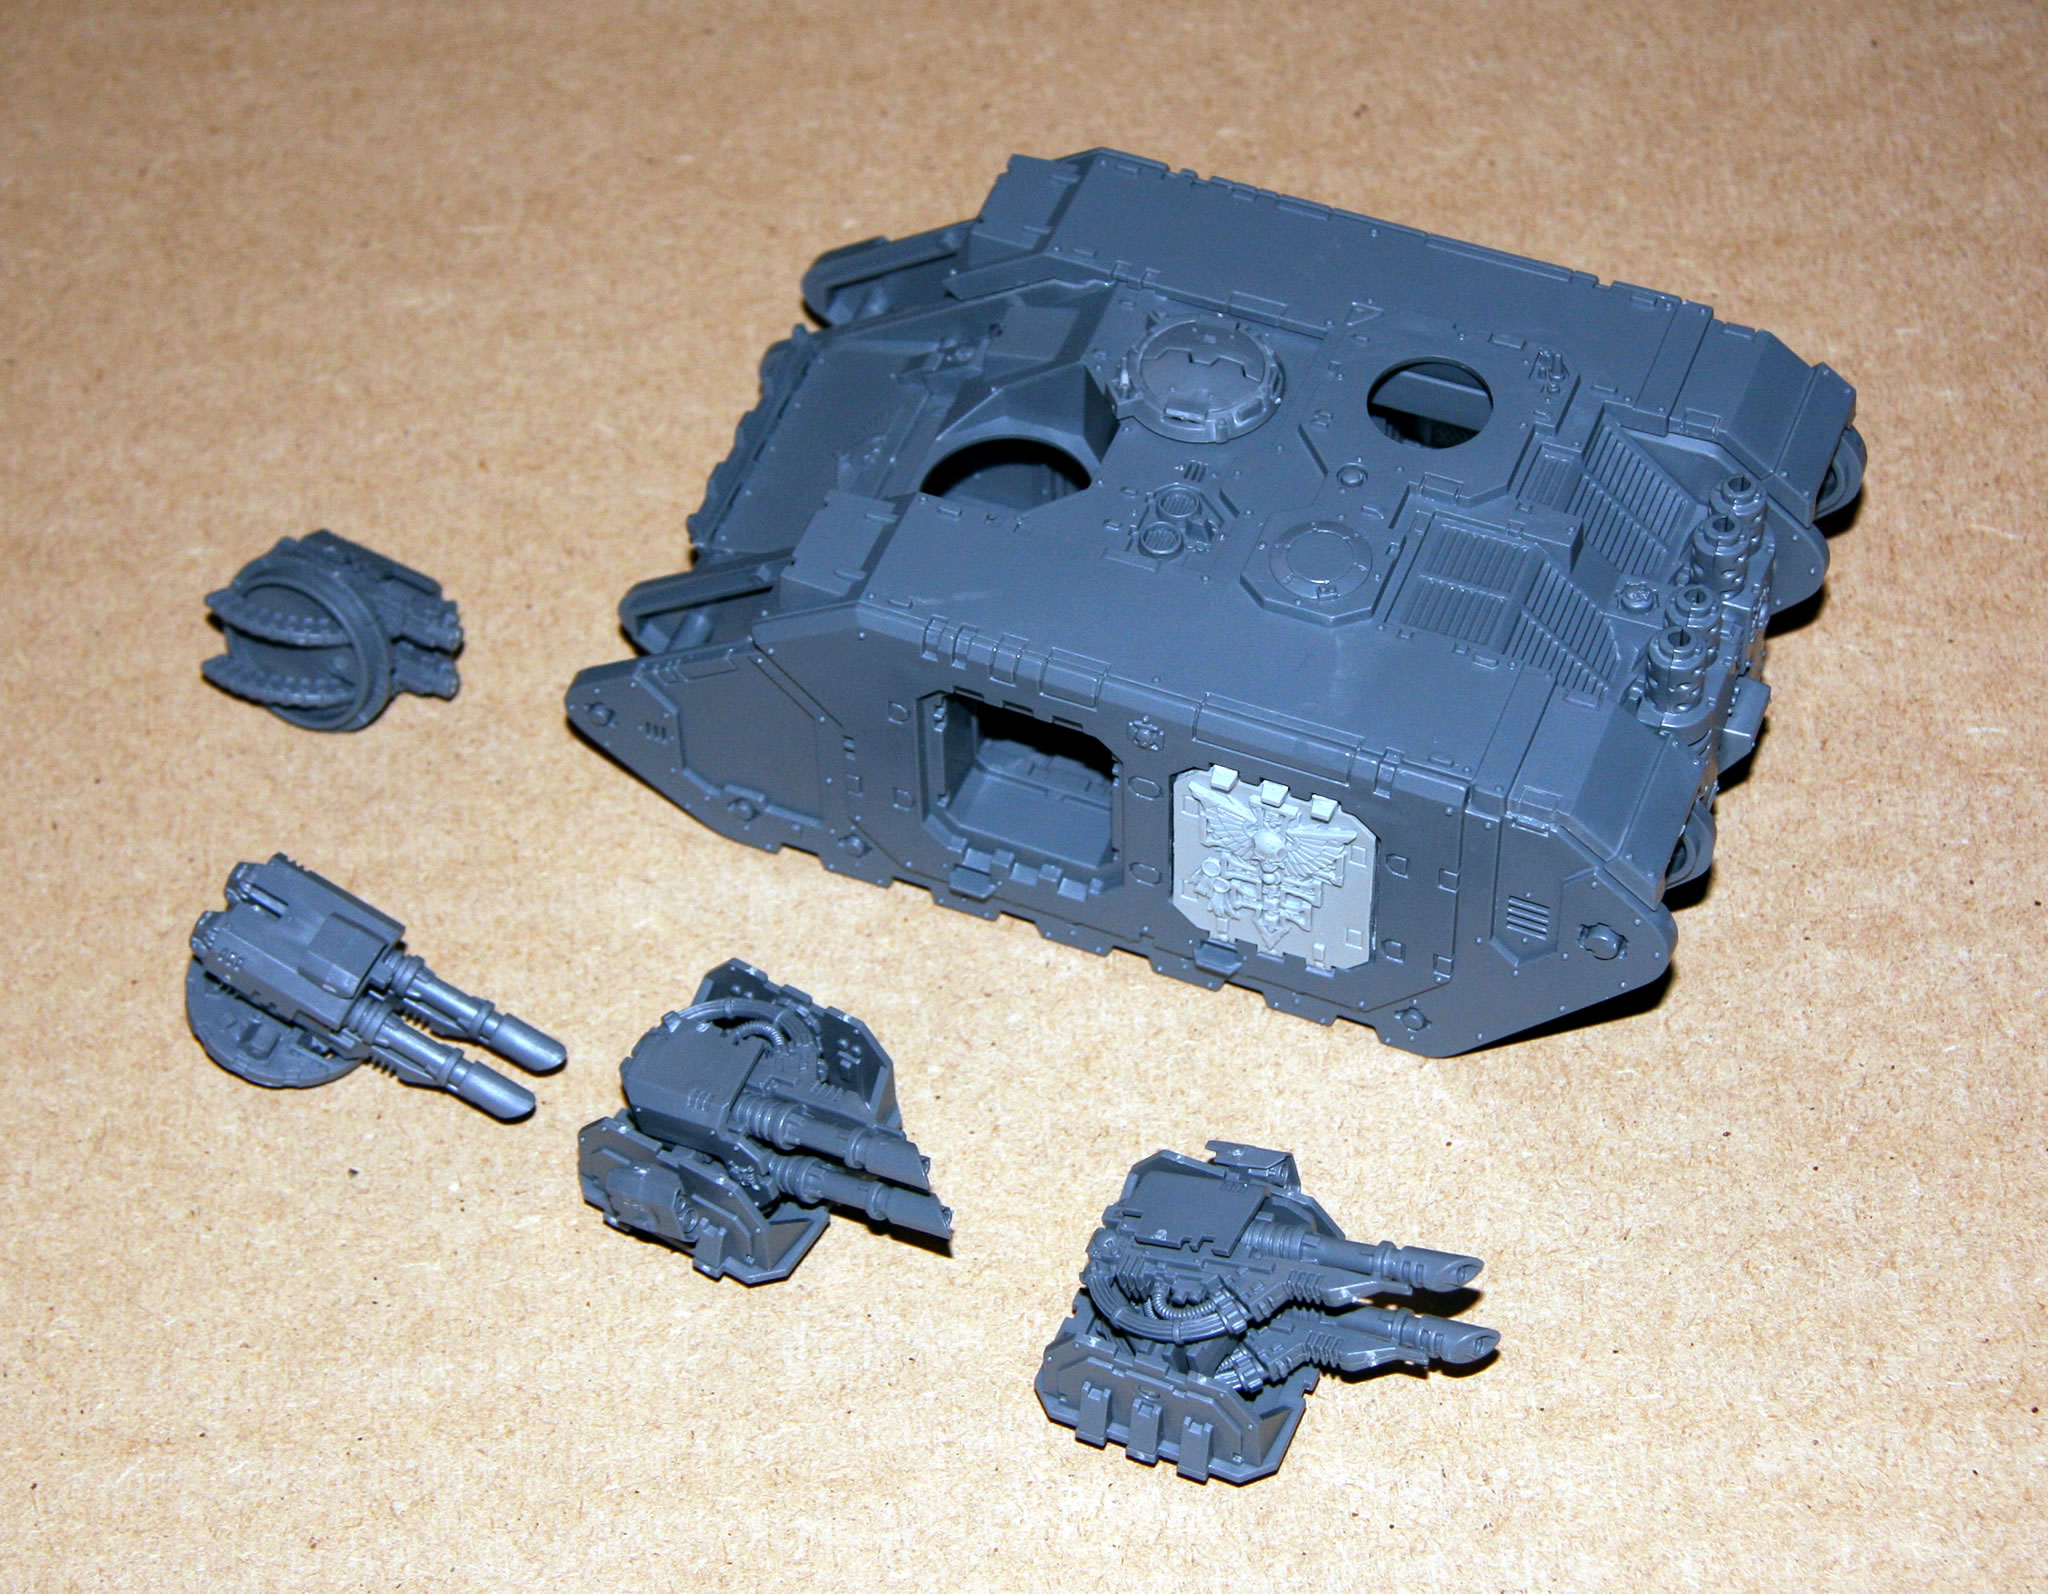
The Mark IIb Land Raider Phobos is one of the earliest marks of the standard pattern of Land Raider, and it still bears similarities to both the Land Raider Proteus and the Spartan Assault Tank that served as the models for the design.
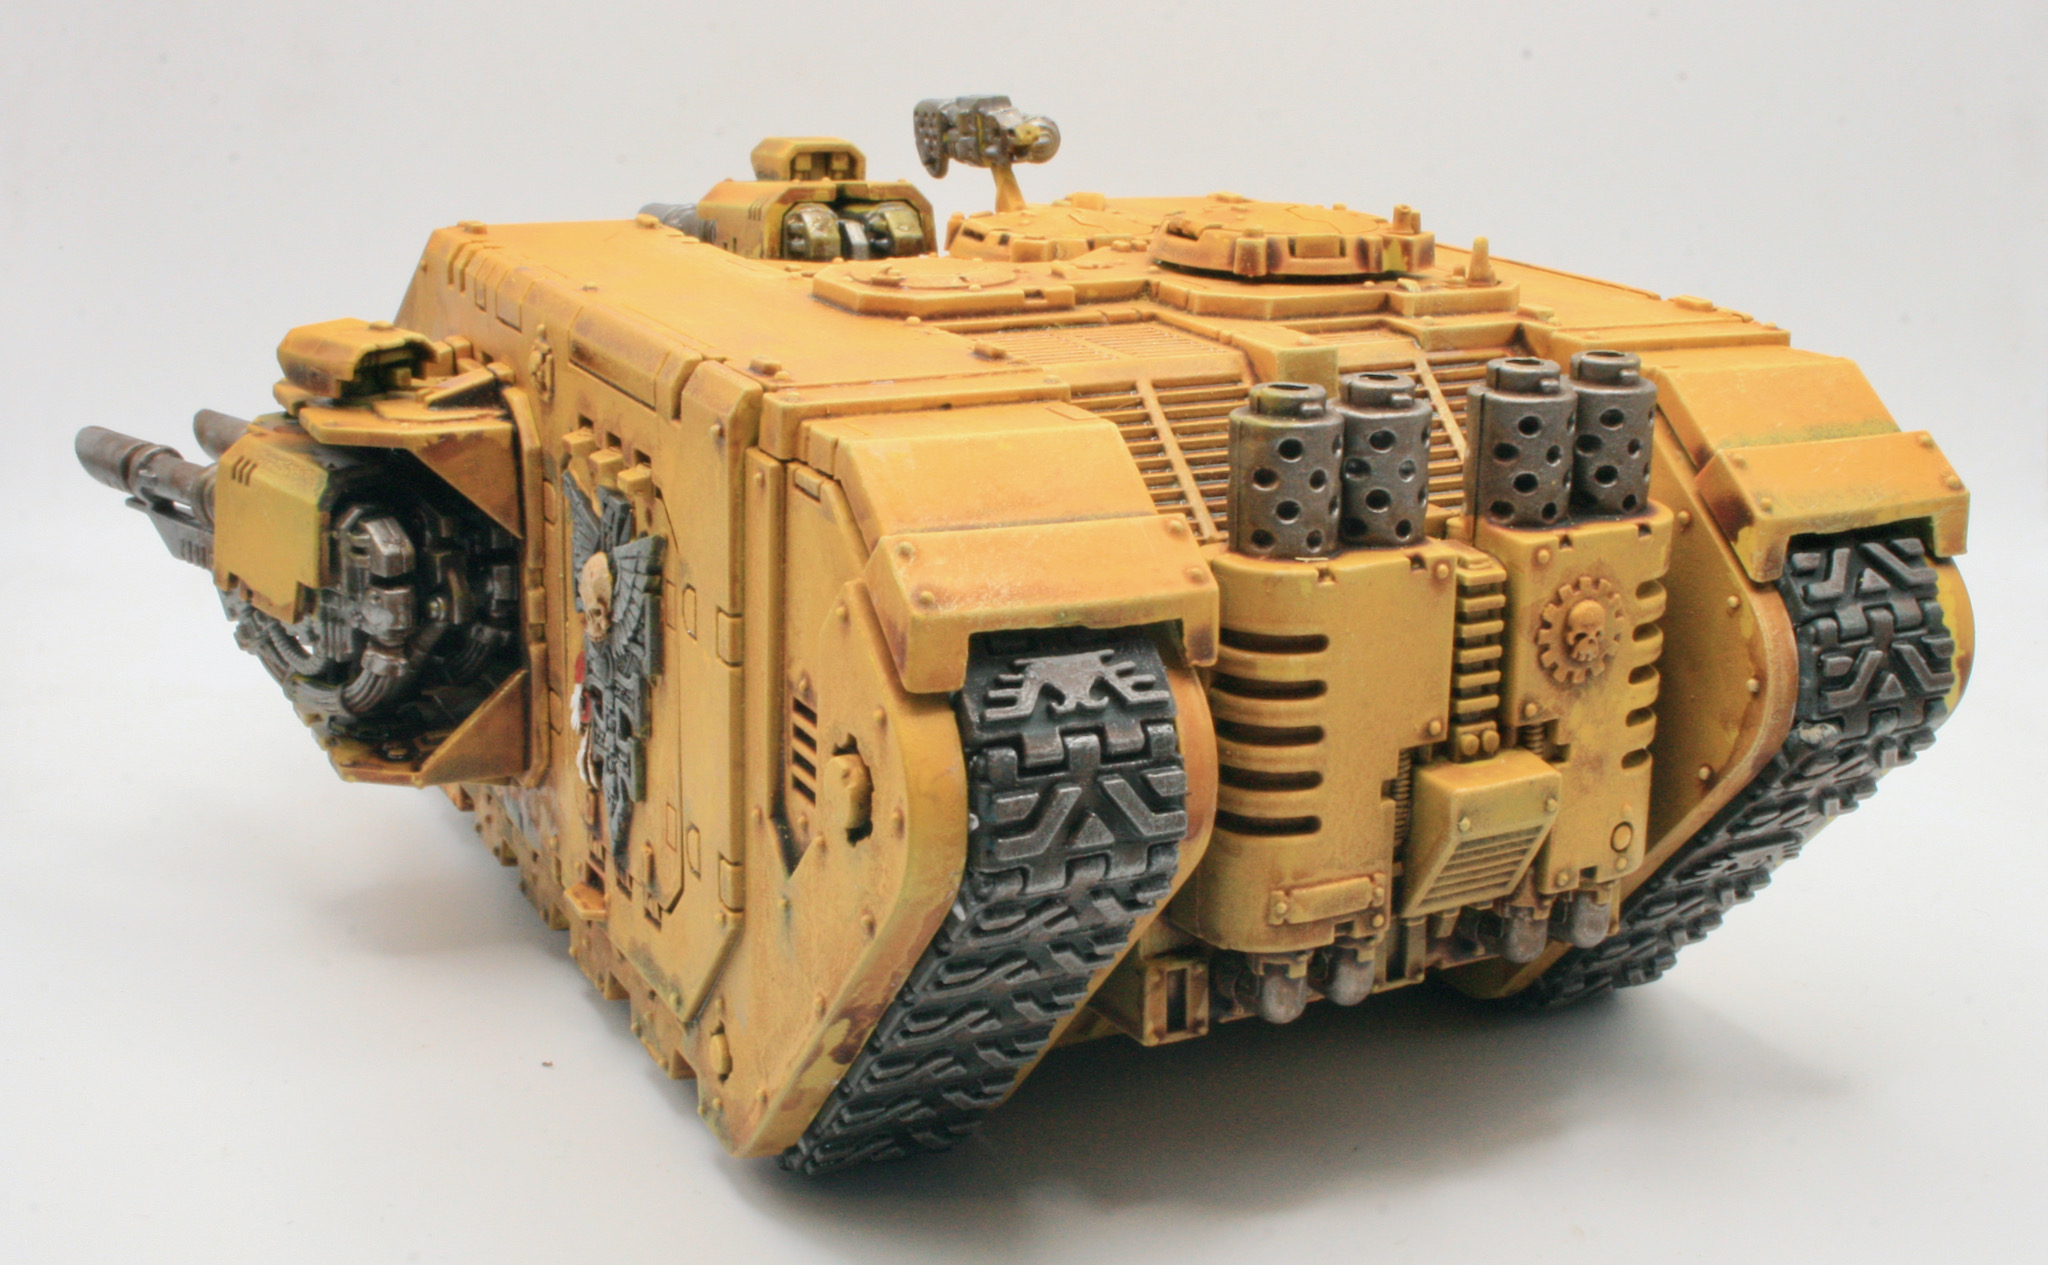
The Mark IIb Land Raider Phobos is the only pattern of the standard Land Raider Phobos that uses the older armoured sponsons, as they do not allow the weapons they hold to fully rotate. This pattern of Land Raider is mostly extinct within Space Marine Armouries, having been replaced with newer marks and patterns of the standard Land Raider Phobos. However, some Chapters may still possess one or two as treasured relics of their ancient past.
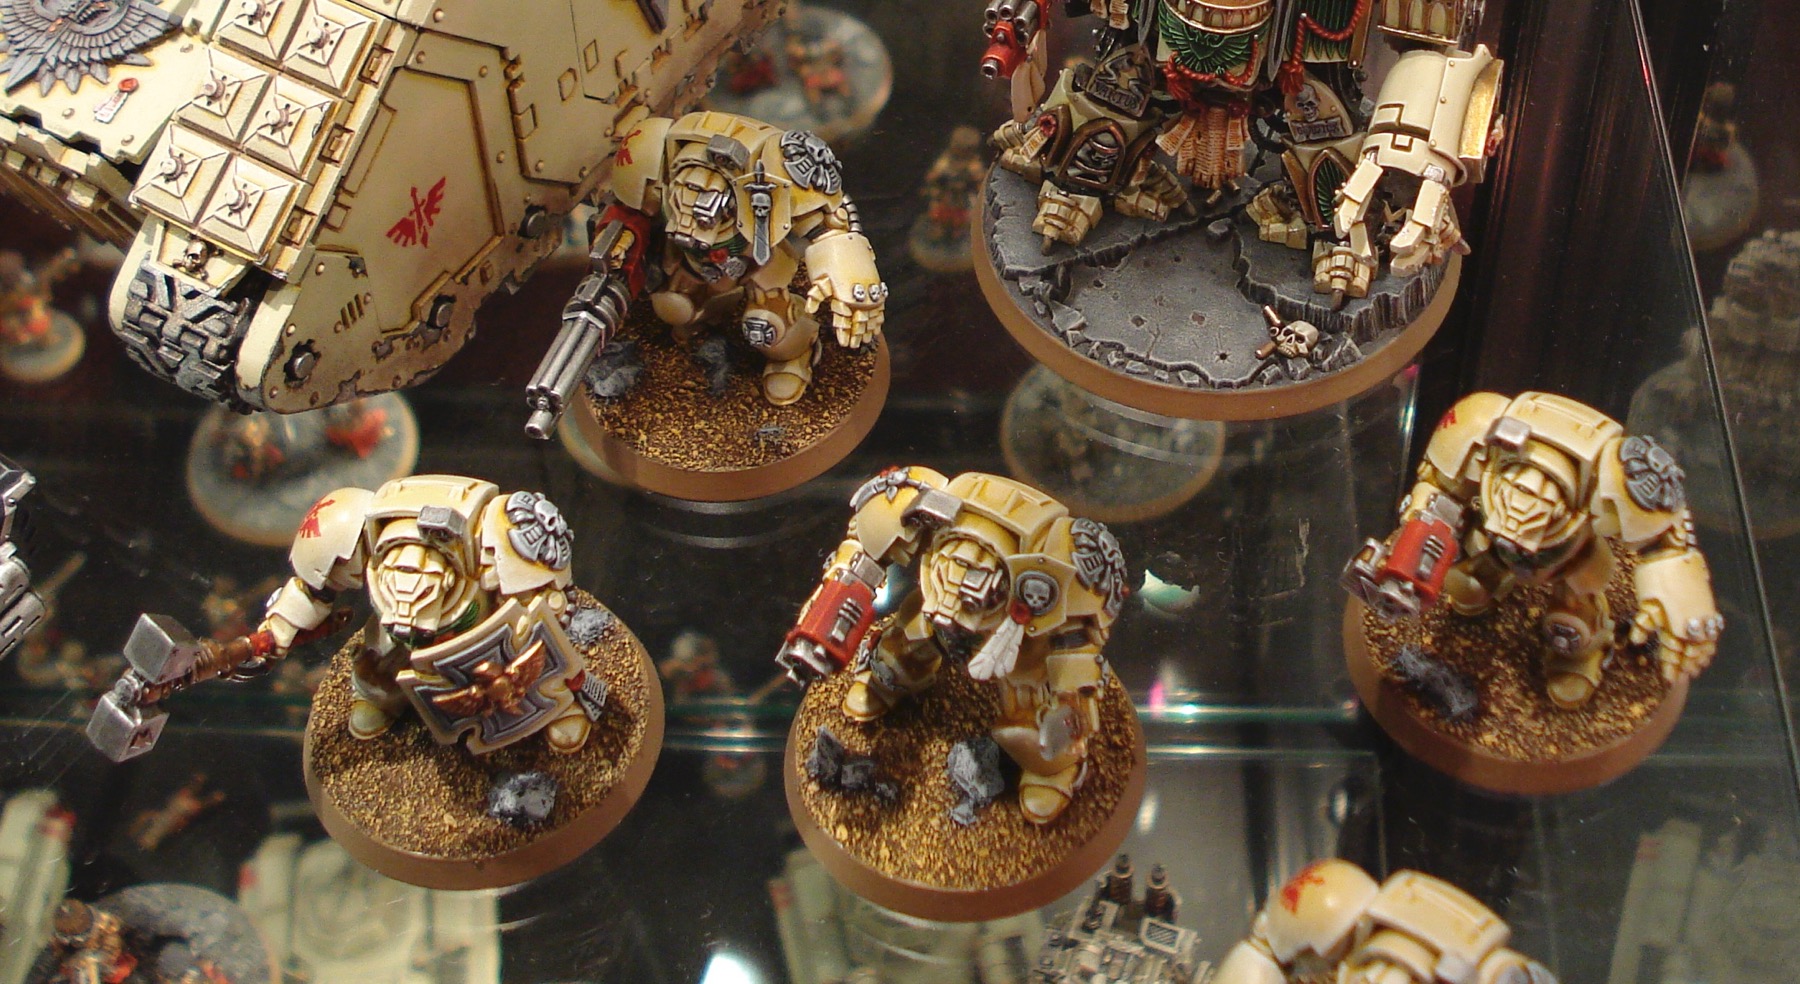
When I got a Forge World MkIIB Land Raider and was originally painting it up, the plan was to this as a Grey Knights Land Raider in desert camouflage.

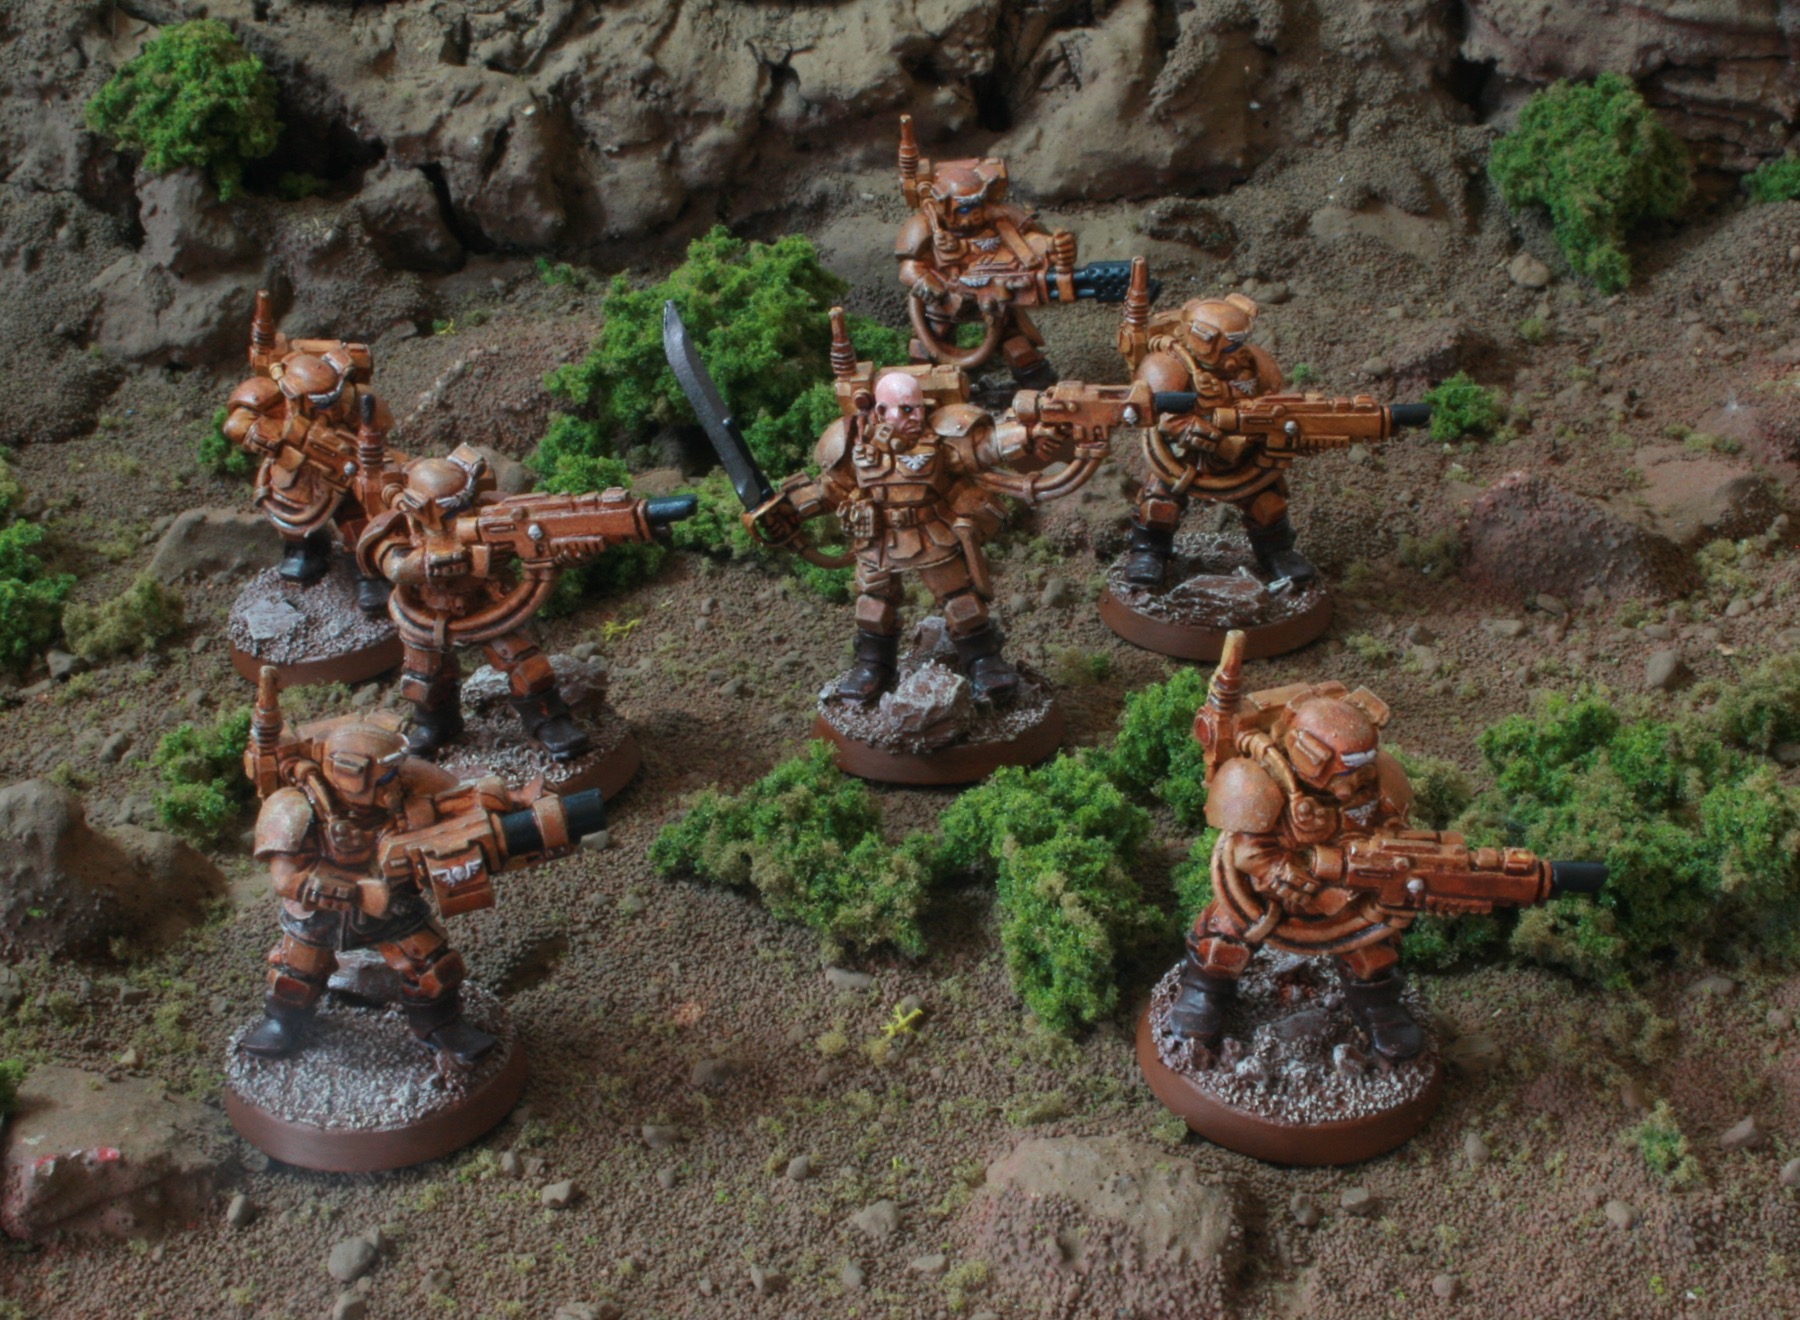
The planned painting process I was using, eventually it would have turned out and looked like the Inquisitorial Stormtroopers Repressor Transport.

Though I am pleased with my Repressor, and it works with the painted Inquisitorial Stormtroopers I painted a few years back.

I wasn’t sure if this was the best way forward for the Mark IIb Land Raider. I wrote up some reflections recently on my MkIIB Land Raider, on the current state of the painting and what I needed to do next.
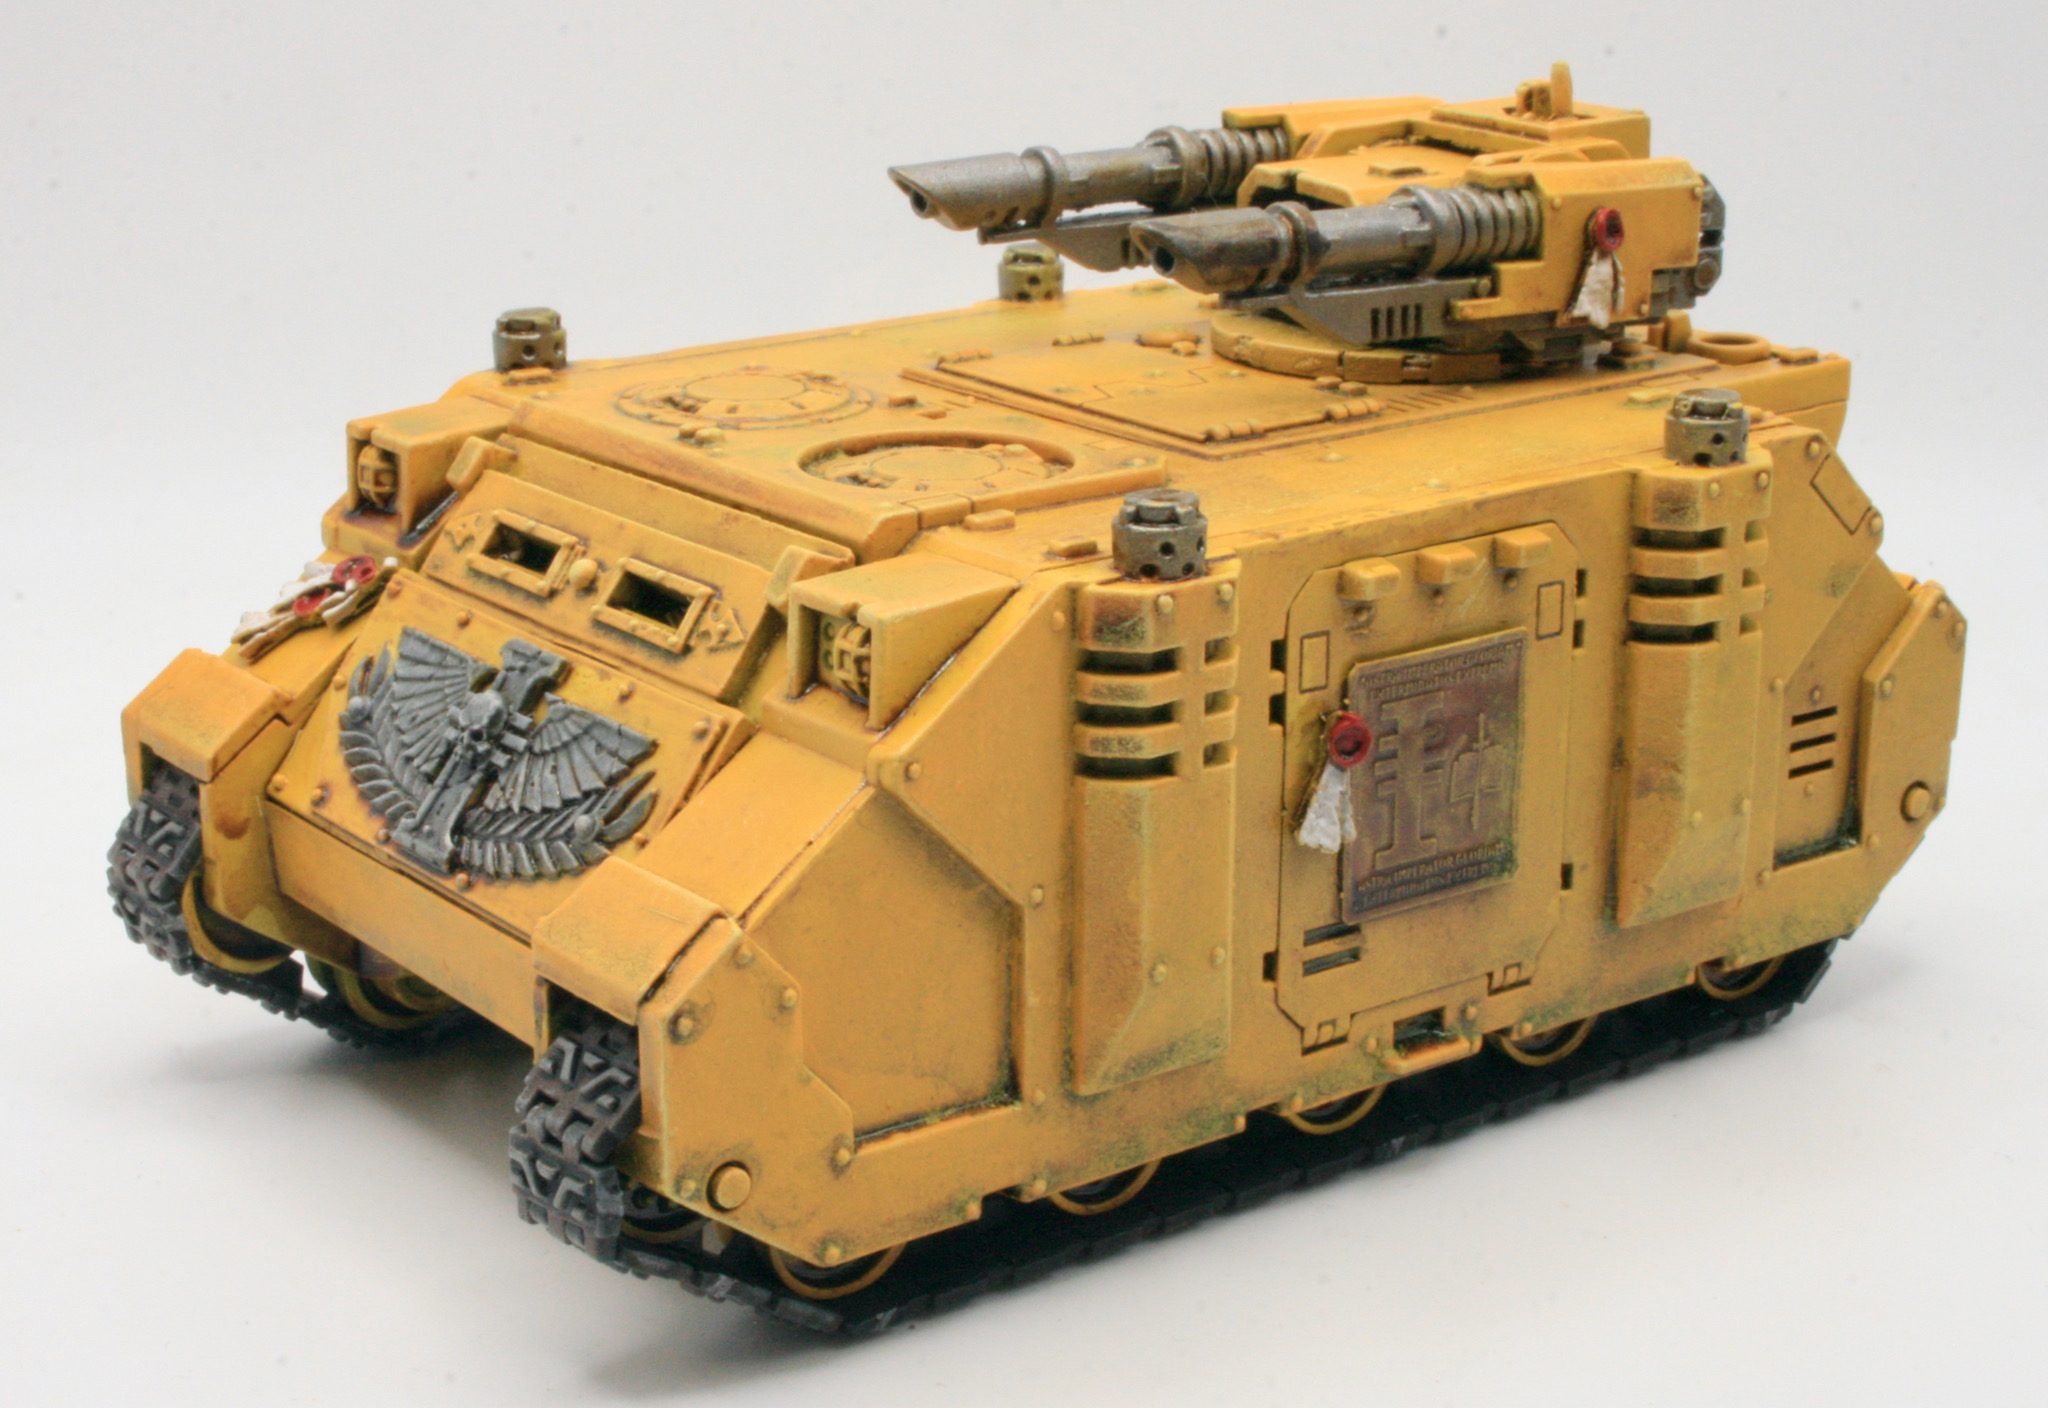
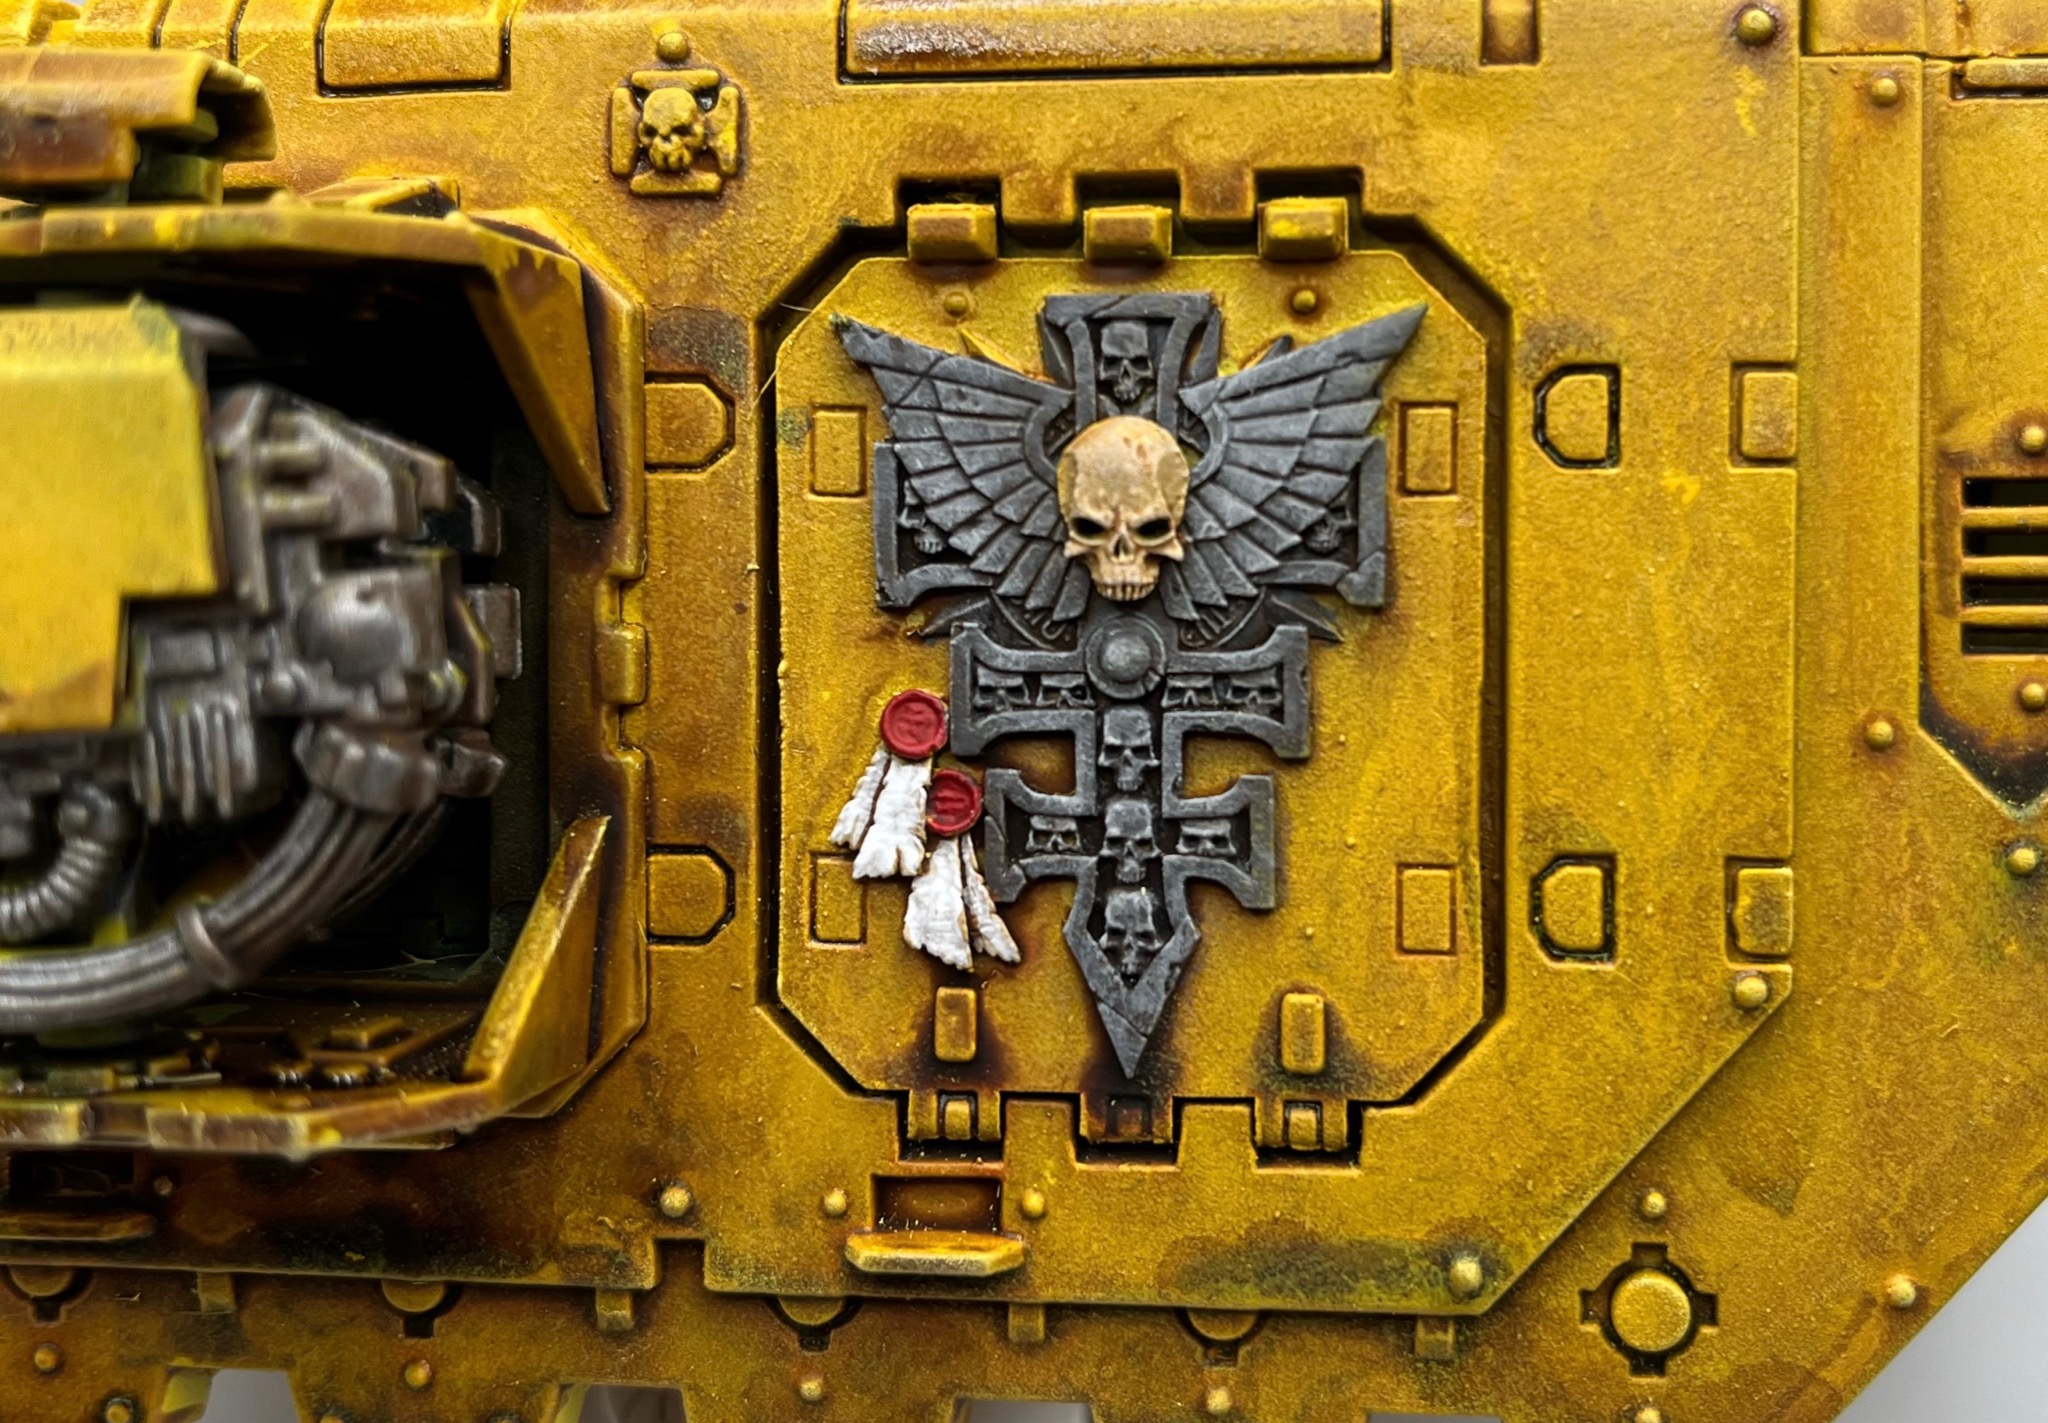
However having liked the paint scheme I was using on my Deimos-pattern Rhino, I decided that I would find the model and paint this Land Raider in the same scheme.
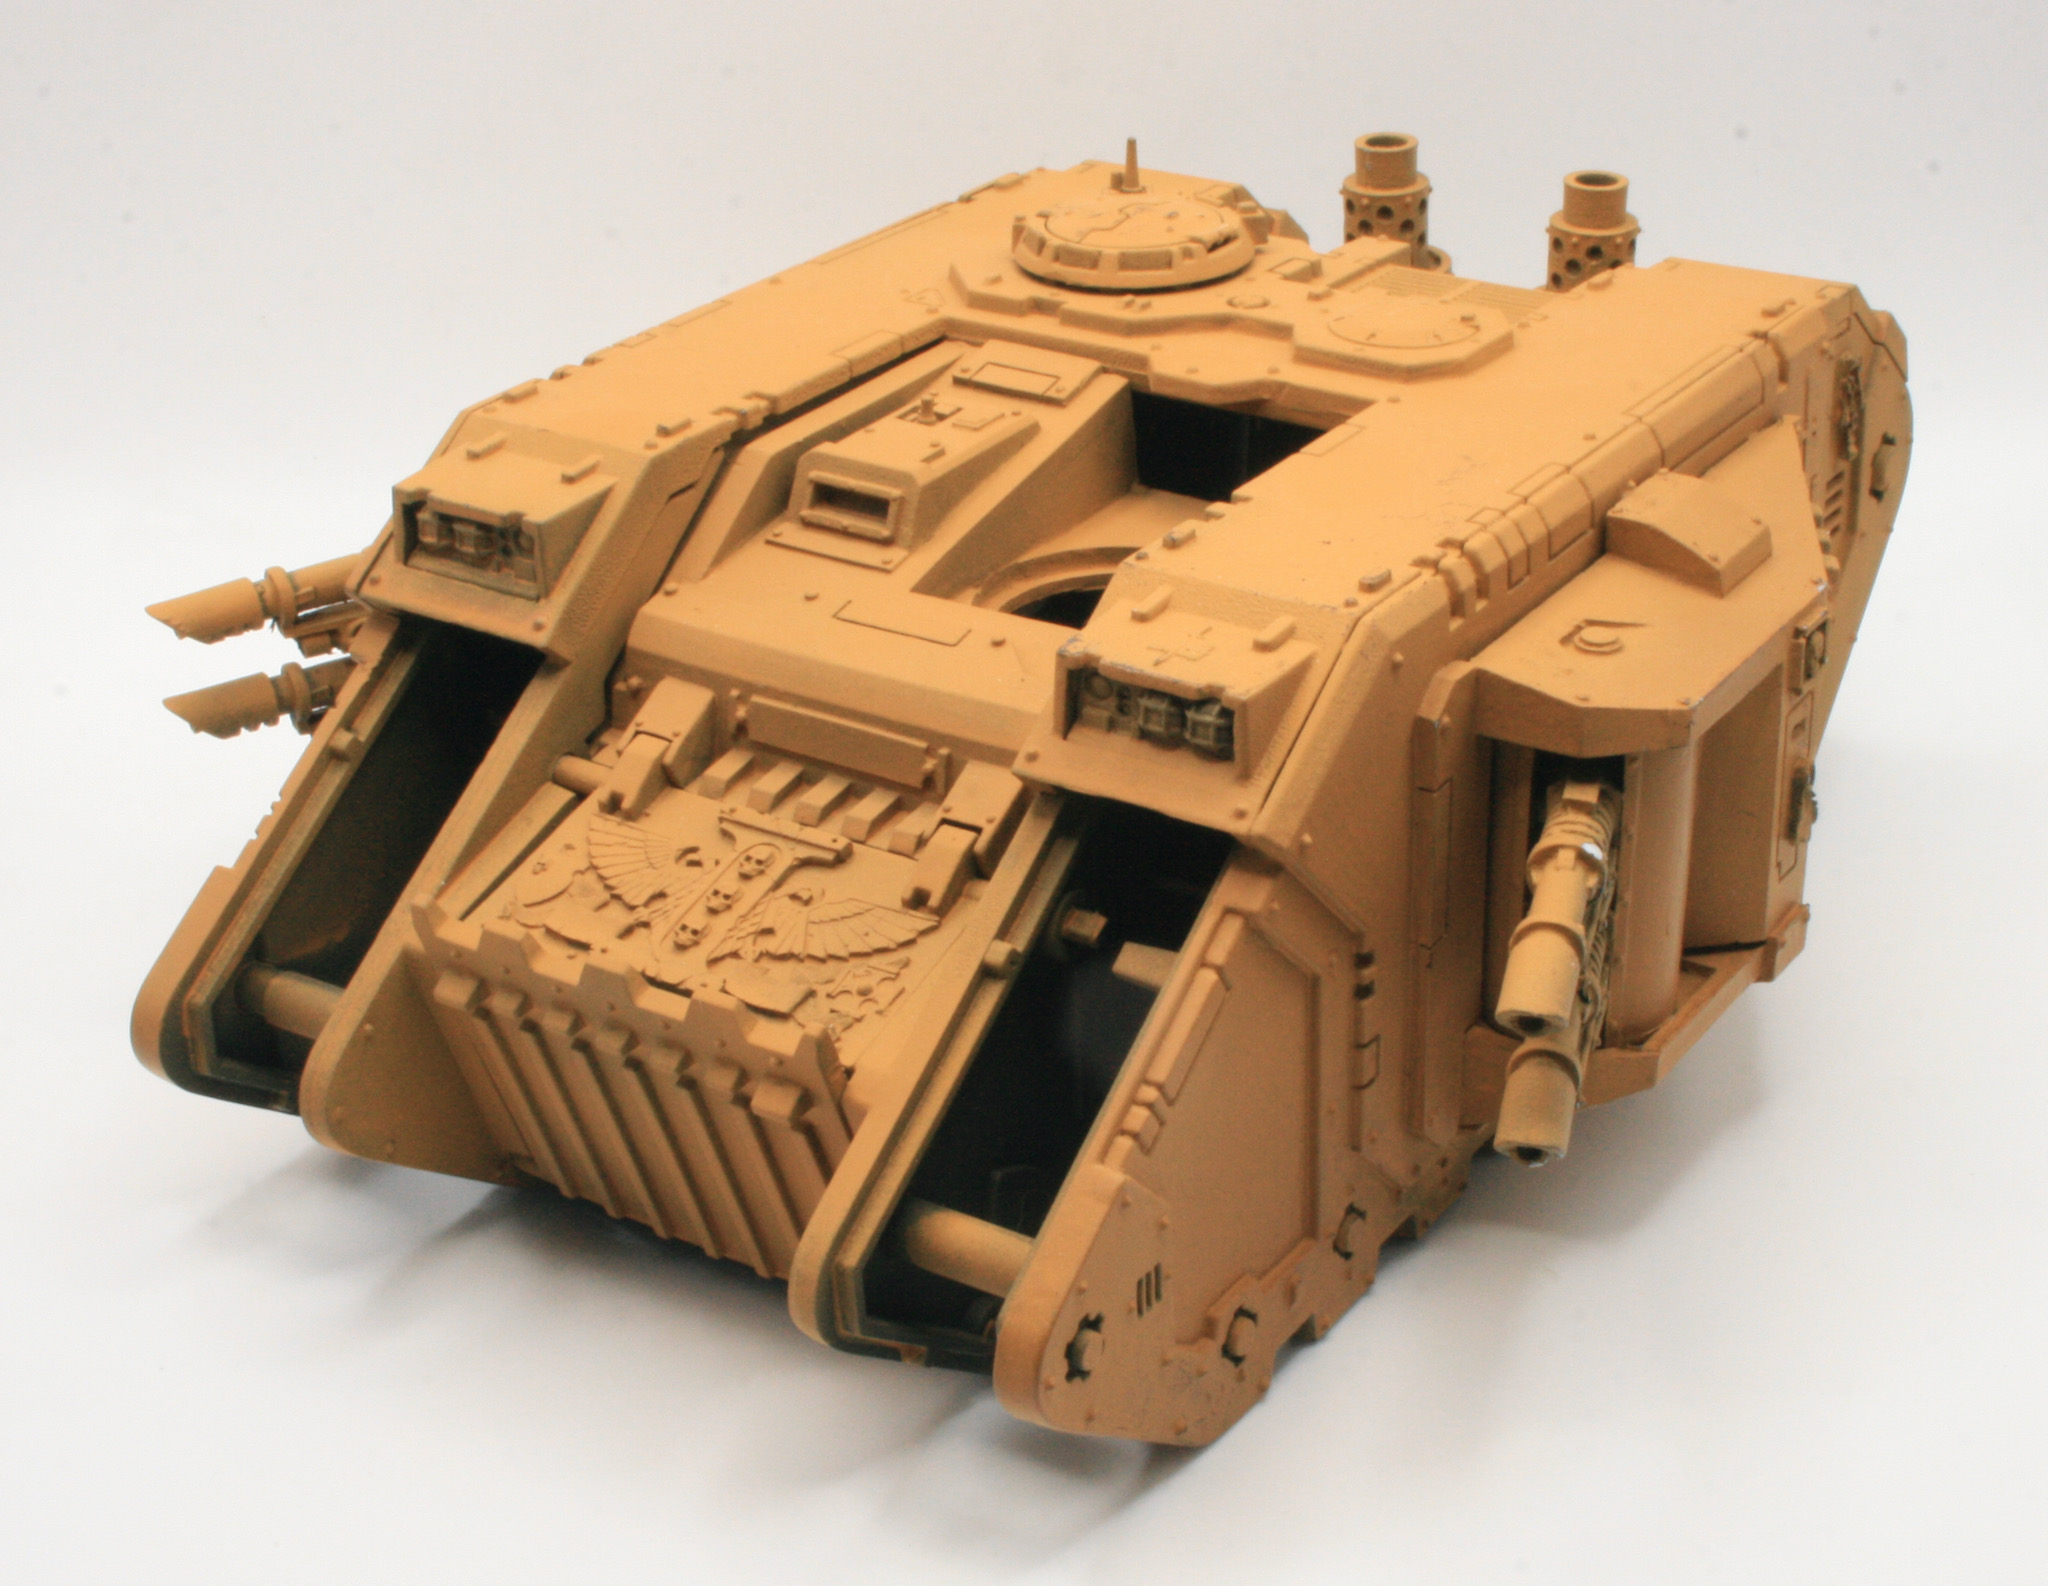
However I first decided that I would try out the paint scheme on my other Land Raider first before doing anything drastic. With that Land Raider I followed the process I had used on the Rhino with a yellow spray various shades, dry brushing and detailing.

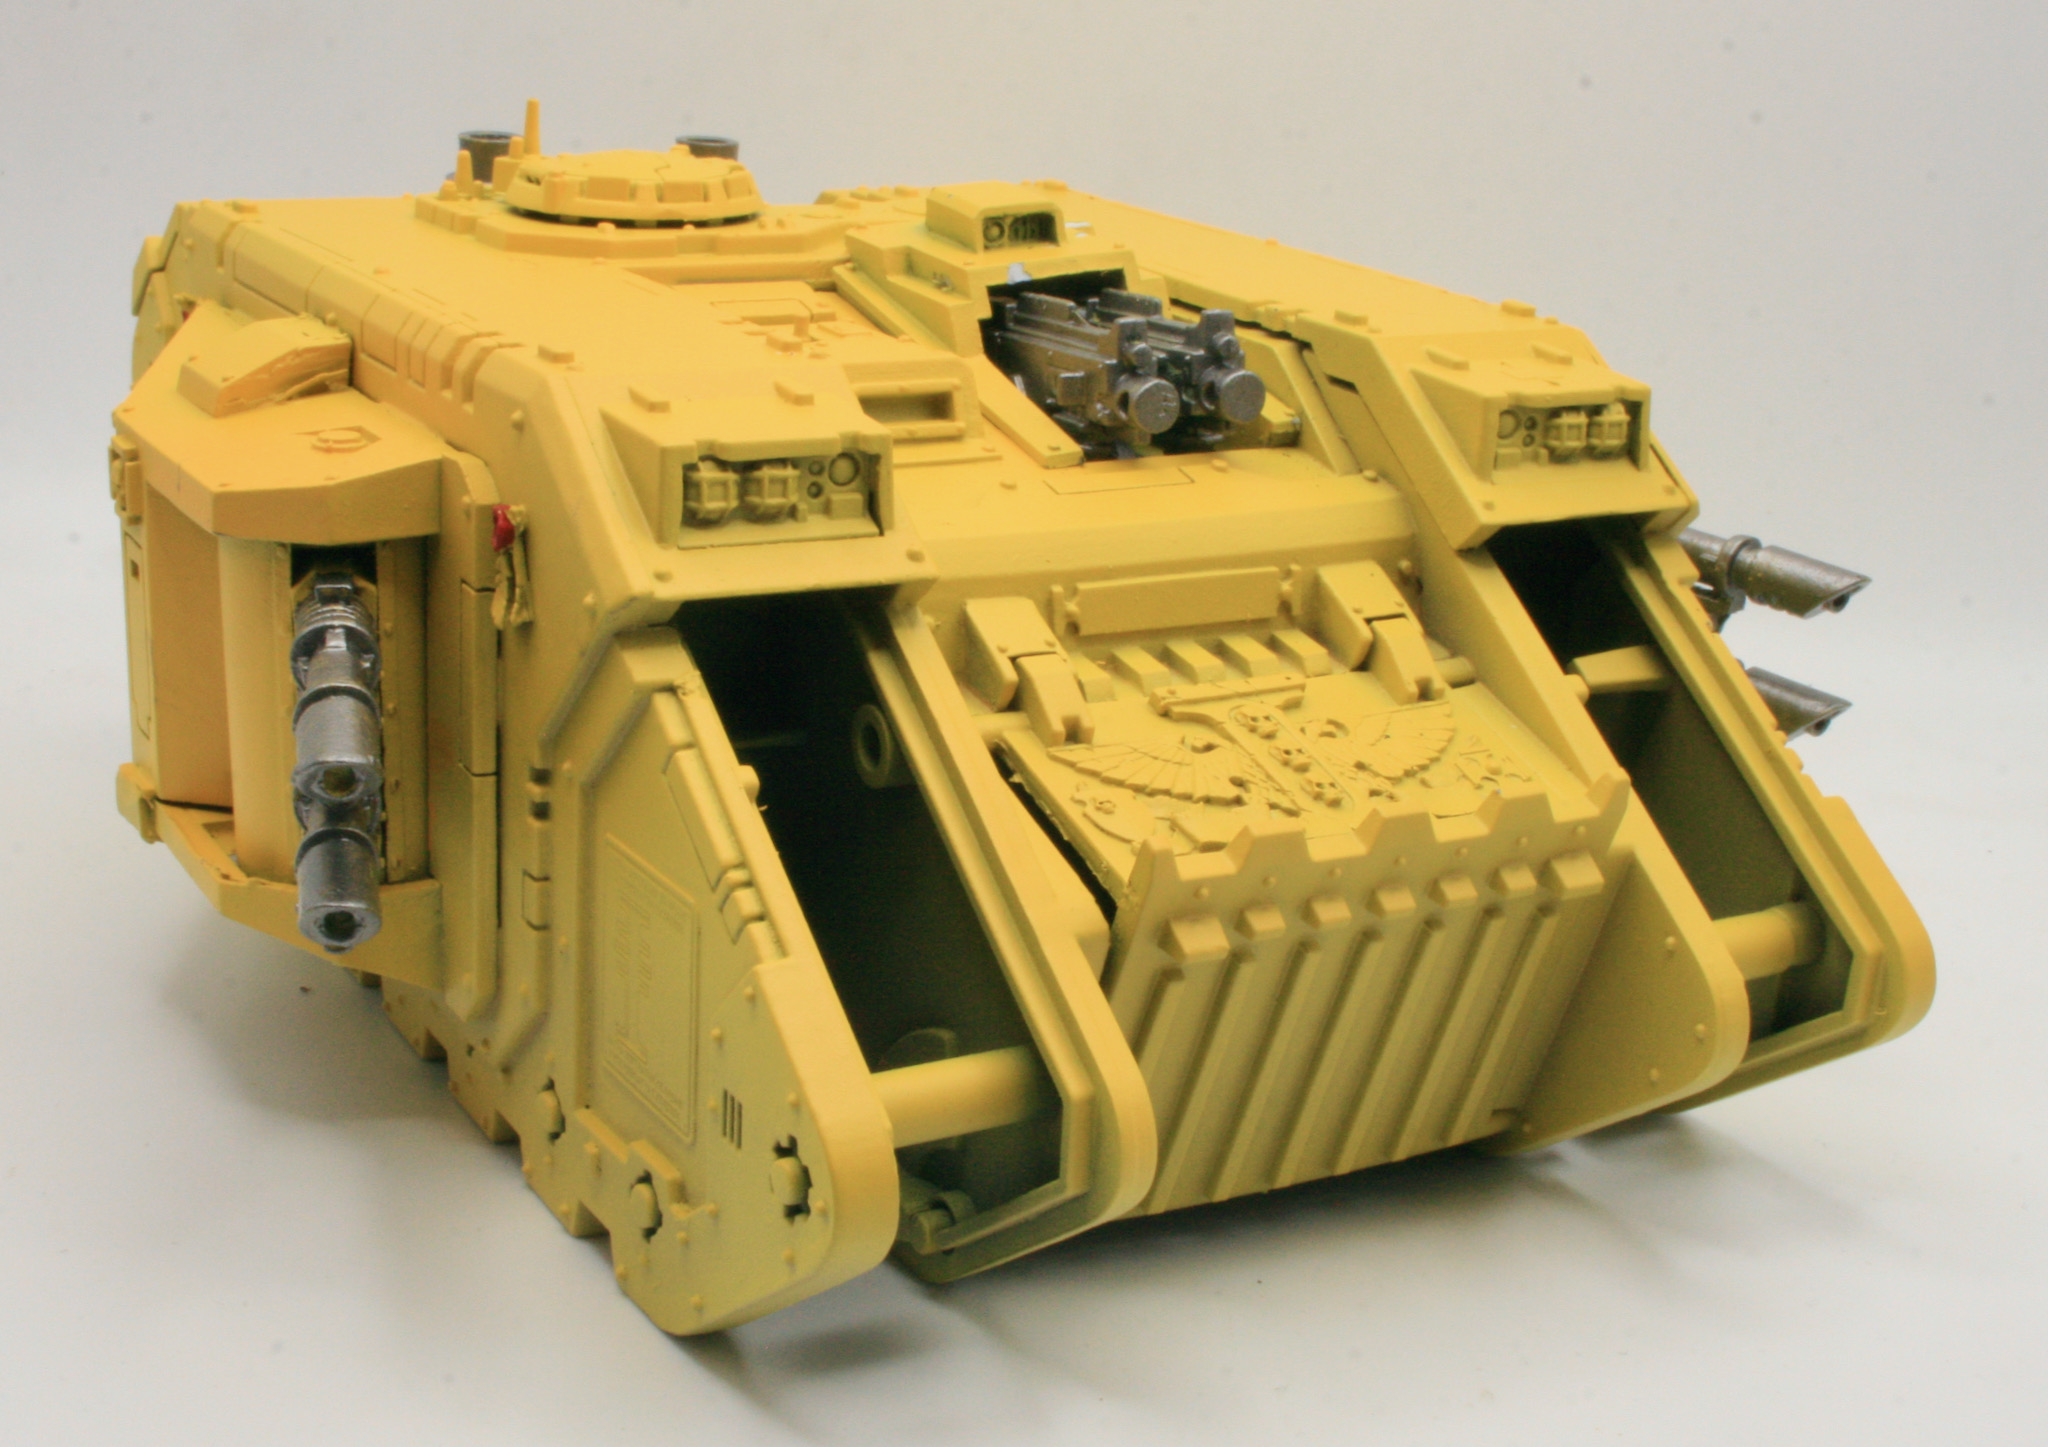
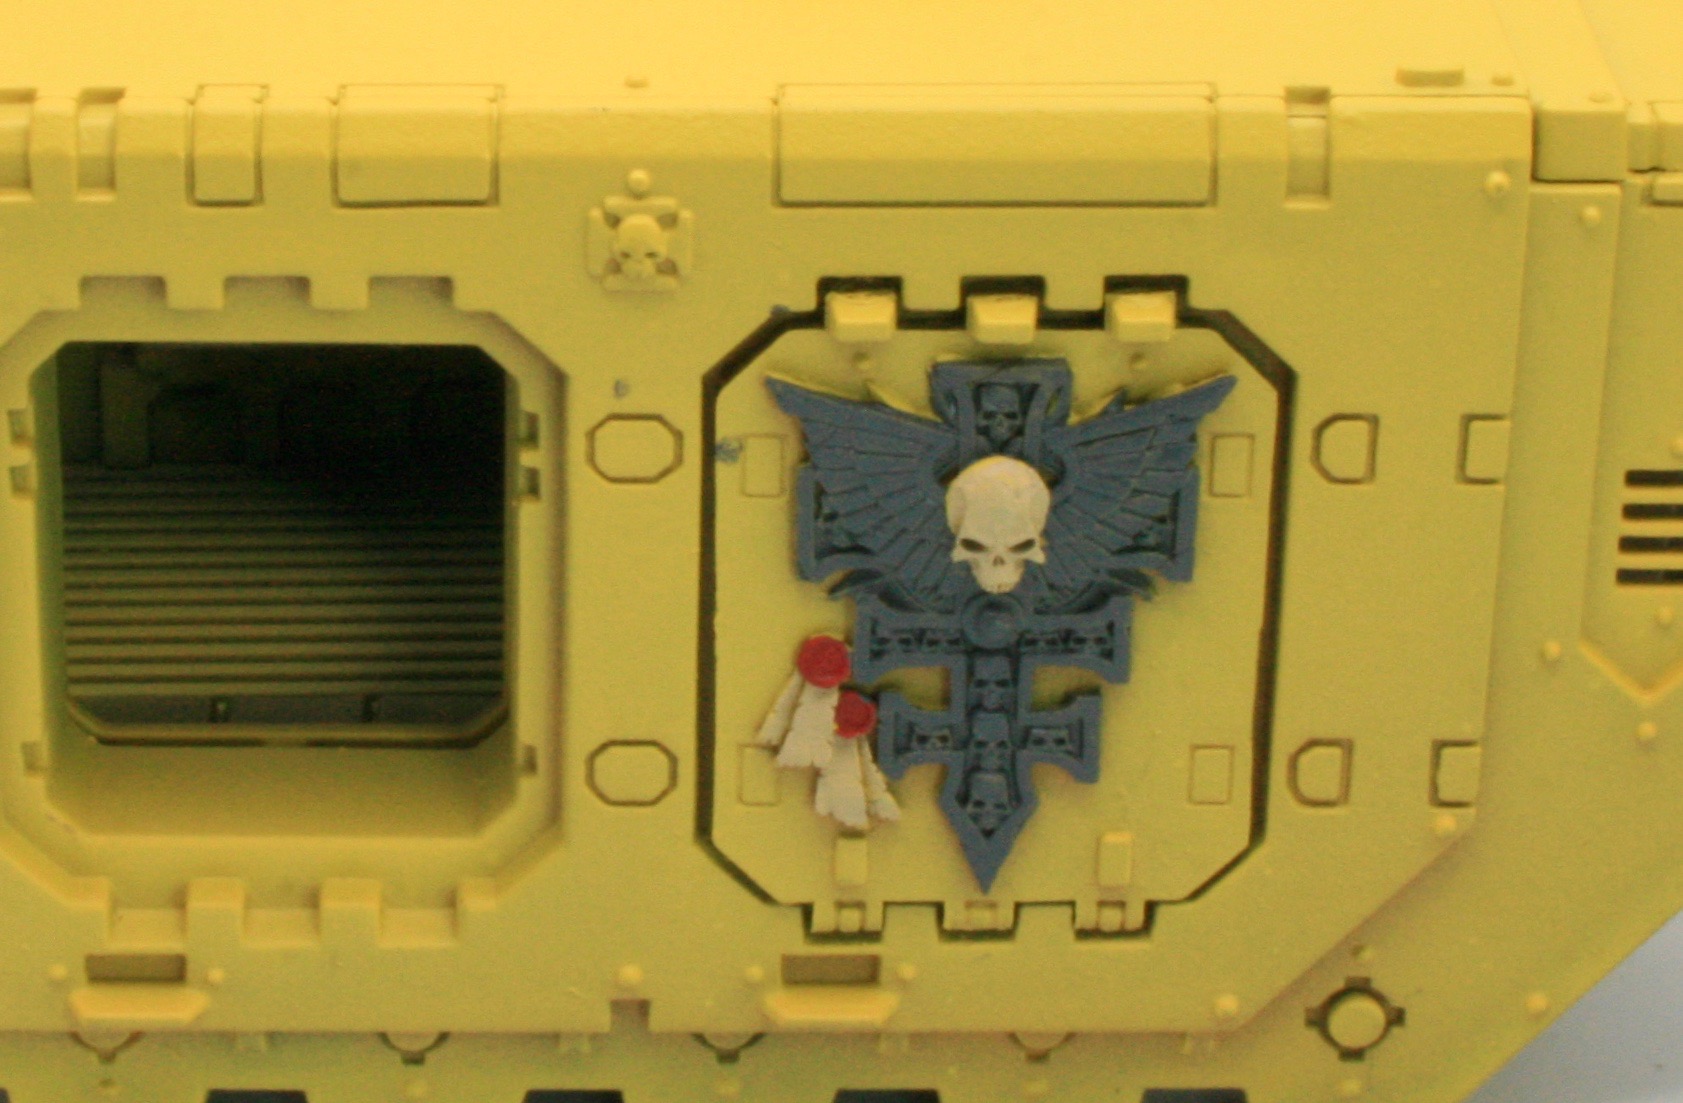
I was really pleased with the progress on that Land Raider so as it neared completion, I decided I would use a similar process on the Mark IIb Land Raider with one minor change. Whereas with the other Land Raider I left the base coat Tausept Ochre before applying the yellow. This time I sprayed the Mark IIb Land Raider with a spray of White Scar paint.

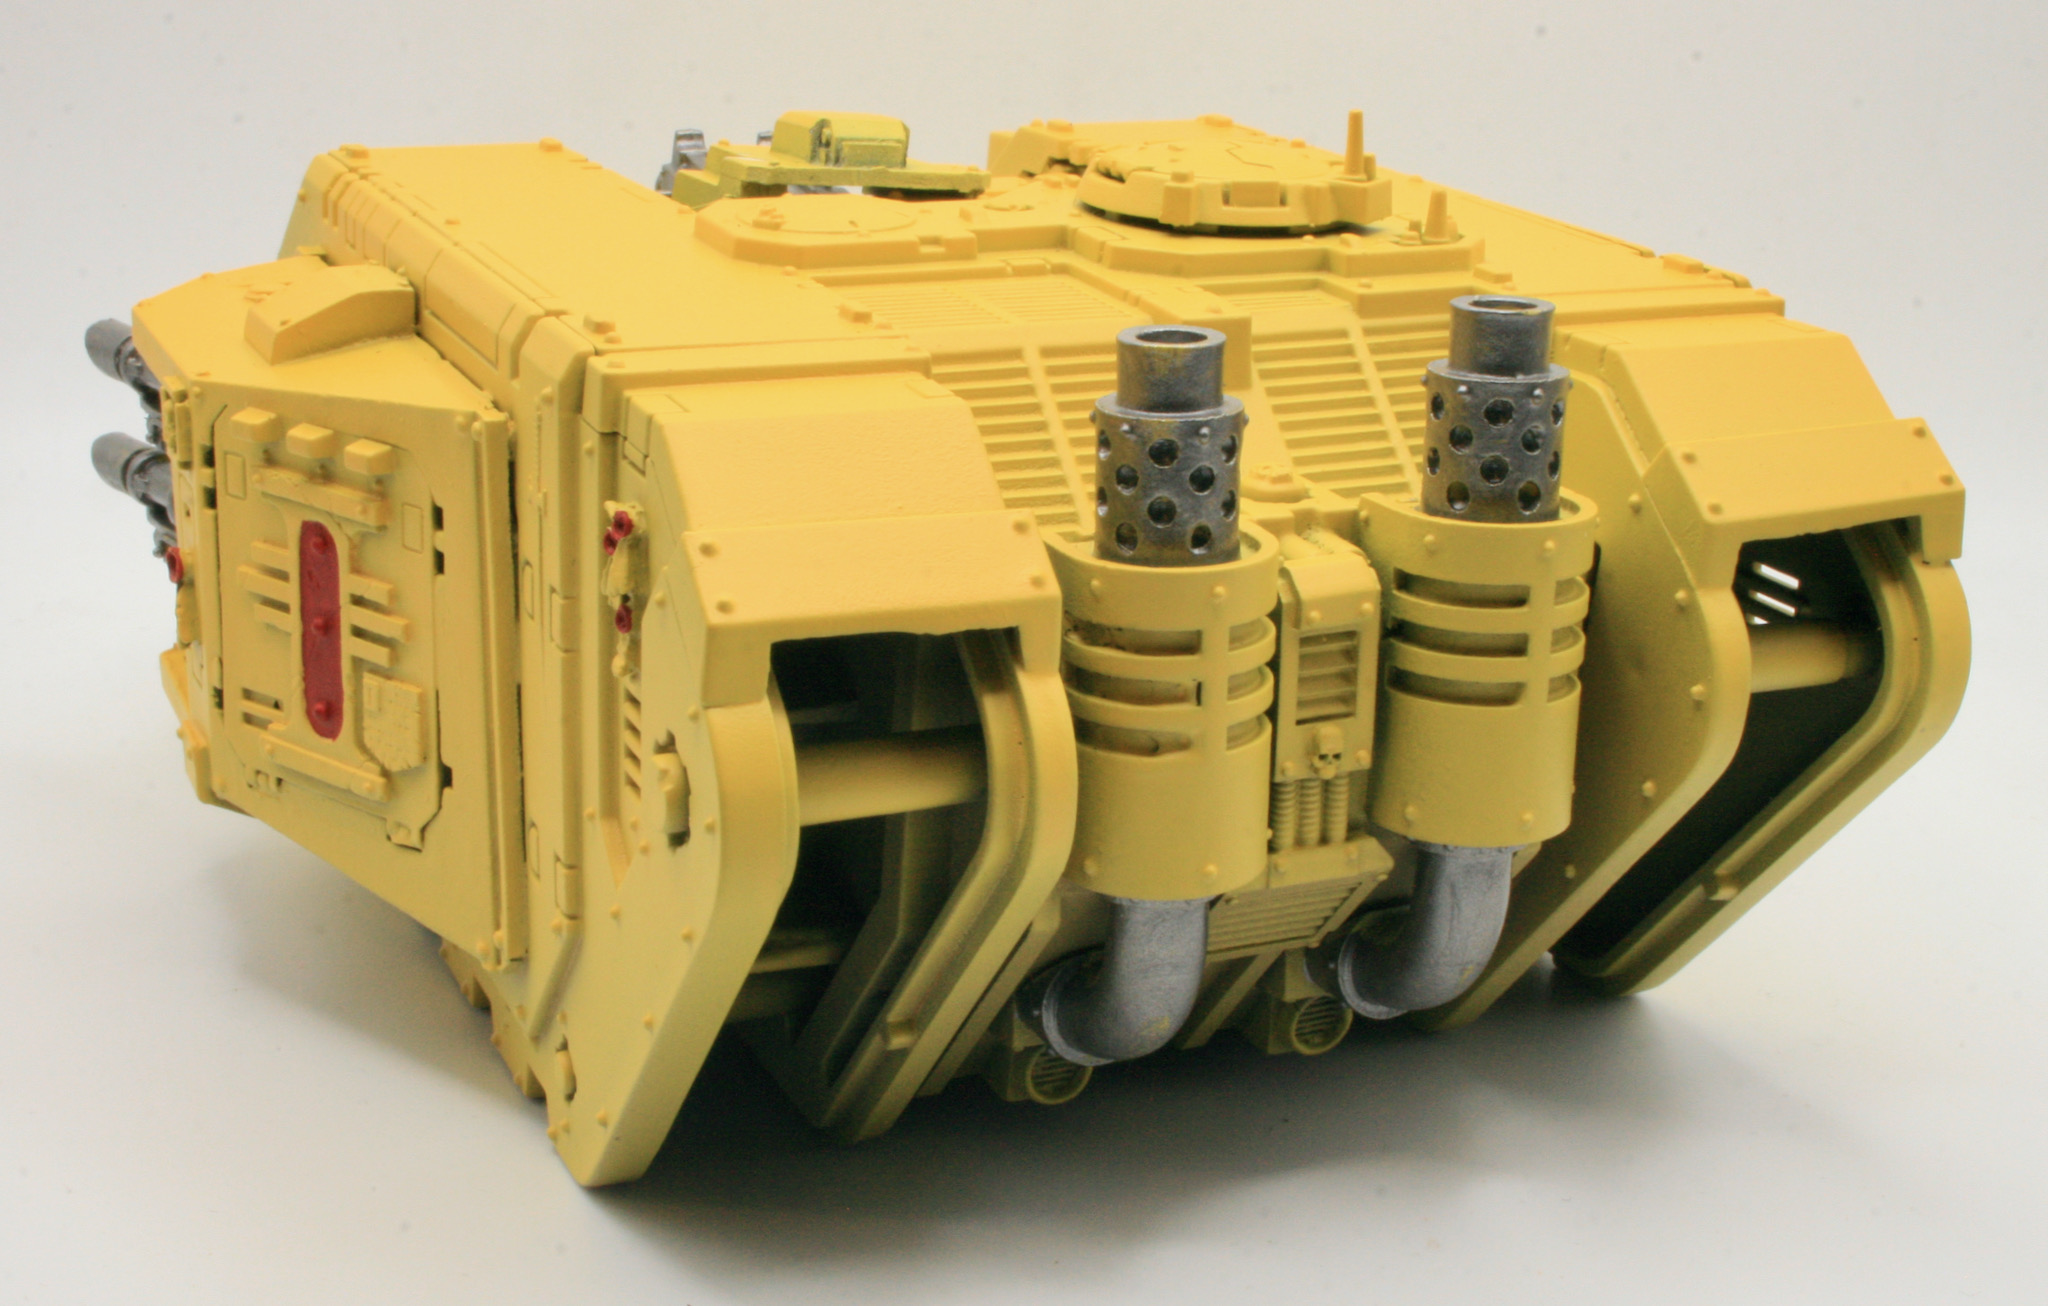
I left the underside Zandri Dust to add some shadow to the future yellow basecoat.

The next step will be a spray of yellow paint. Games Workshop don’t do a yellow spray and I don’t have an airbrush. I did use a paint comparison site to find a close alternative to Yriel Yellow. The Daemonic Yellow spray from Army Painter seemed like a good choice, and I had one which I bought for the Deimos-pattern Rhino.
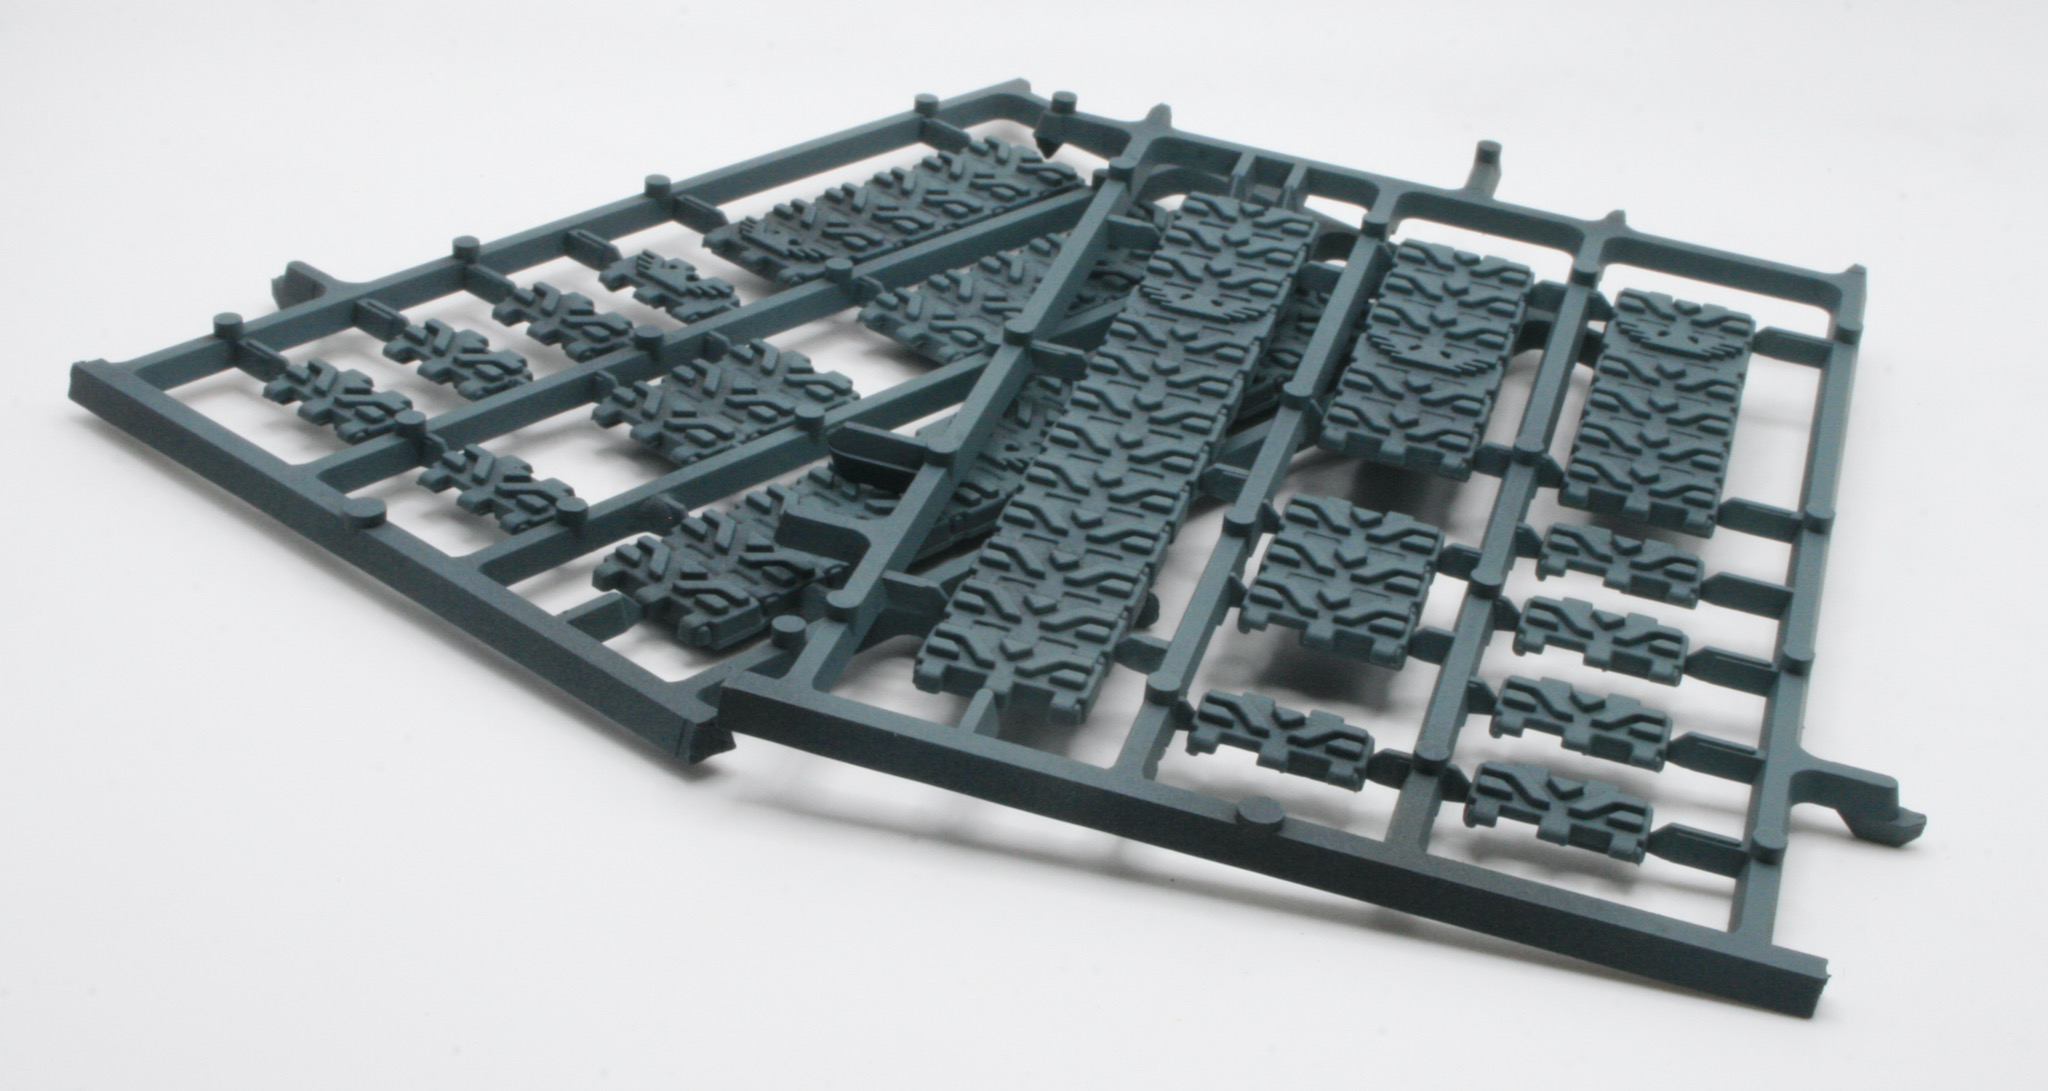
I also started on the tracks for the Land Raider, which were given a spray of Mechanicus Standard Grey.

I then did a heavy drybrush of Gorthor Brown. The tracks, once dry, I then gave them a wash of Agrax Earthshade Shade. After painting and shading them, I drybrushed them lightly, first with Leadbelcher. I then did a very light drybrush with Terminatus Stone.

See the full Mark IIb Land Raider workbench.