On my last visit to Warhammer World, they did have a Grot Tank in the display cabinets. They also had a box of them for sale in the shop. Now I was very tempted to get a box to add to my current fleet of Grot Tanks. However in the end I went with some Old World miniatures. Alas the Grot Tanks have been deleted from the store and are no longer available. I am a little disappointed.
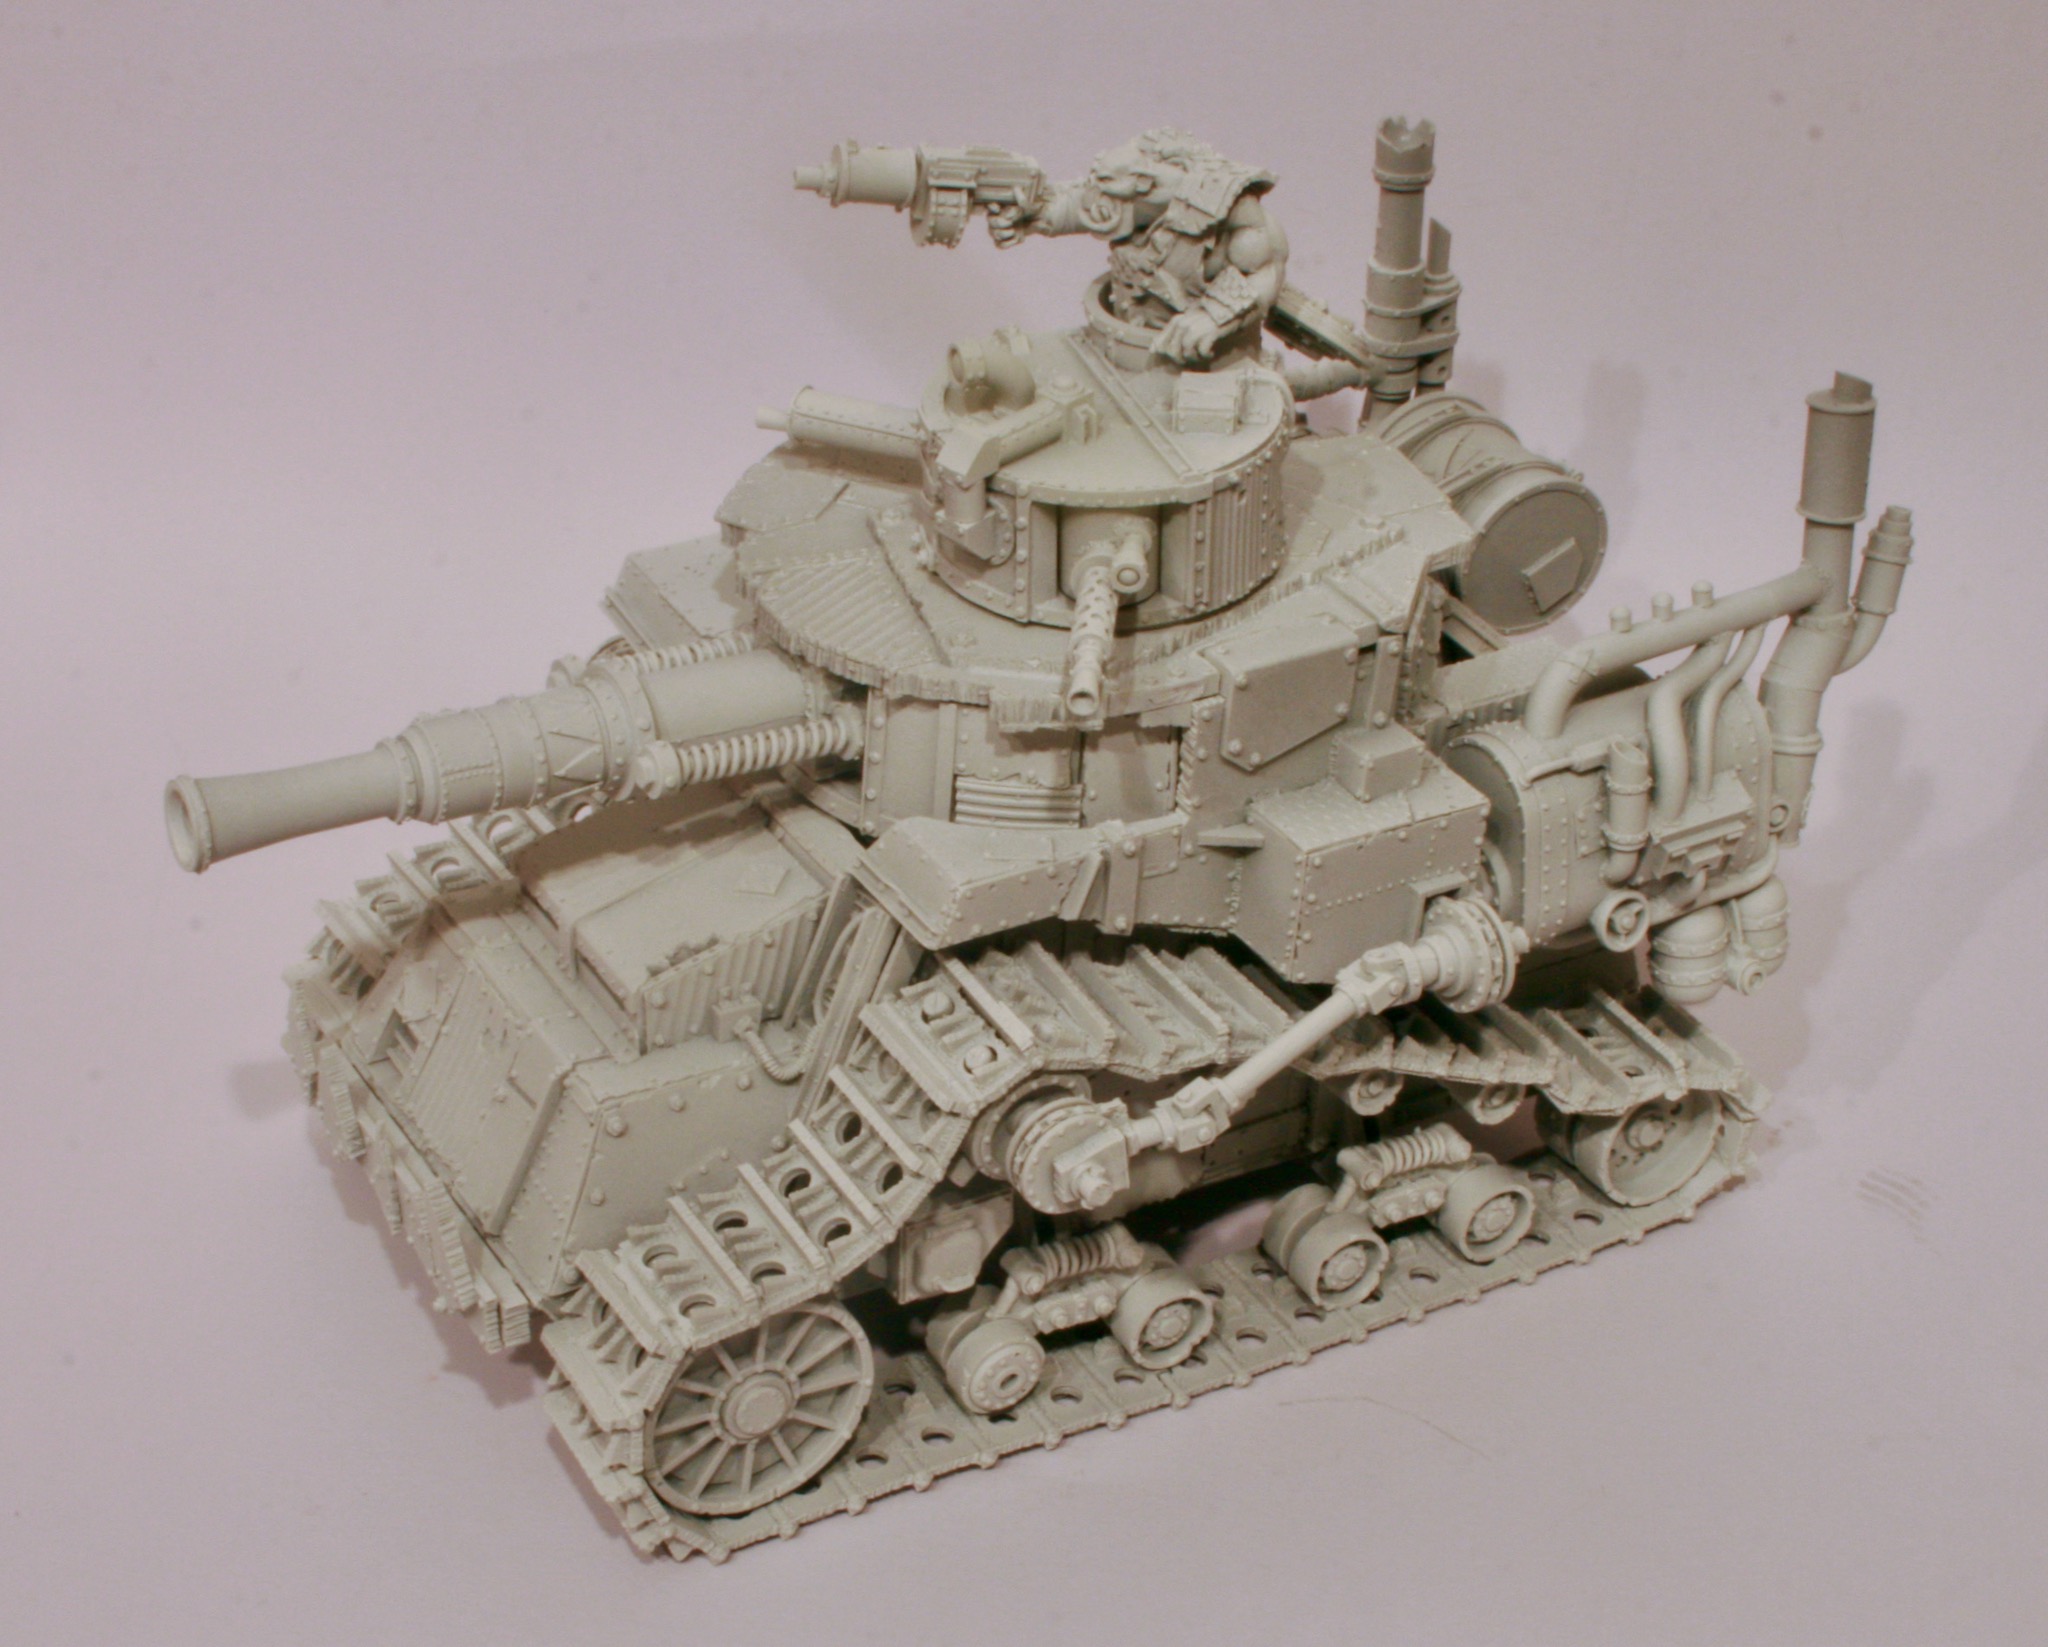
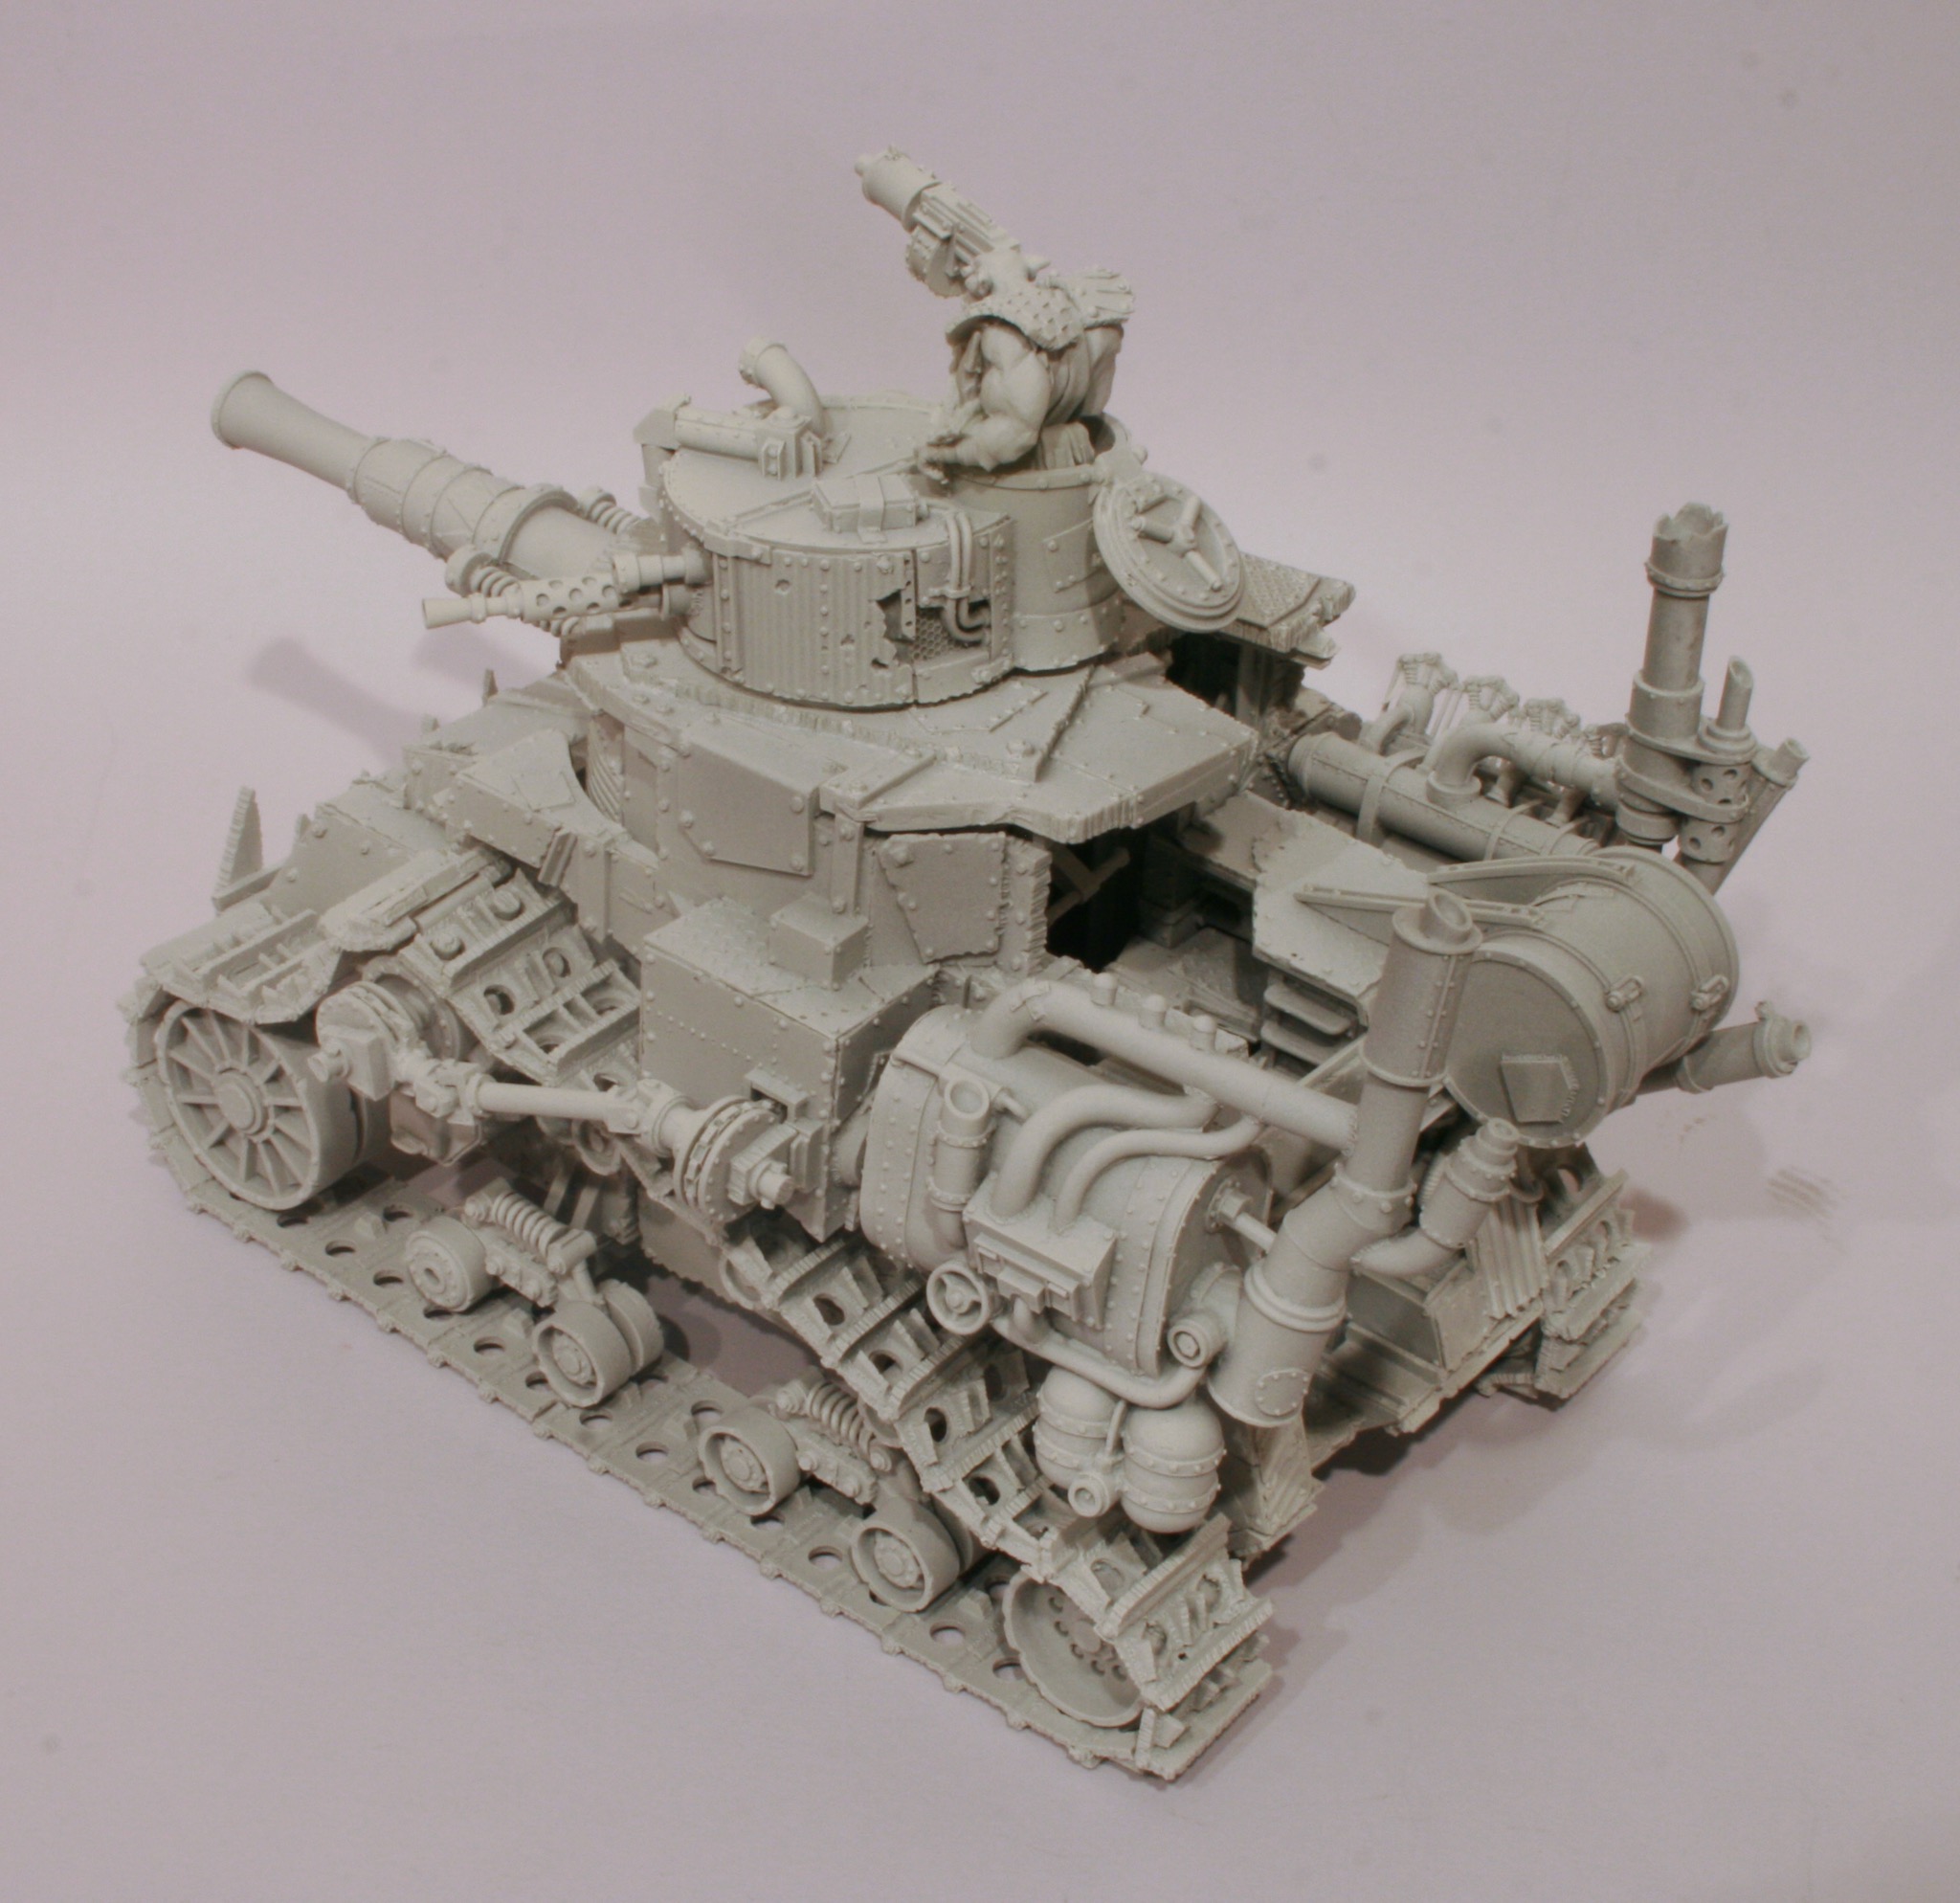
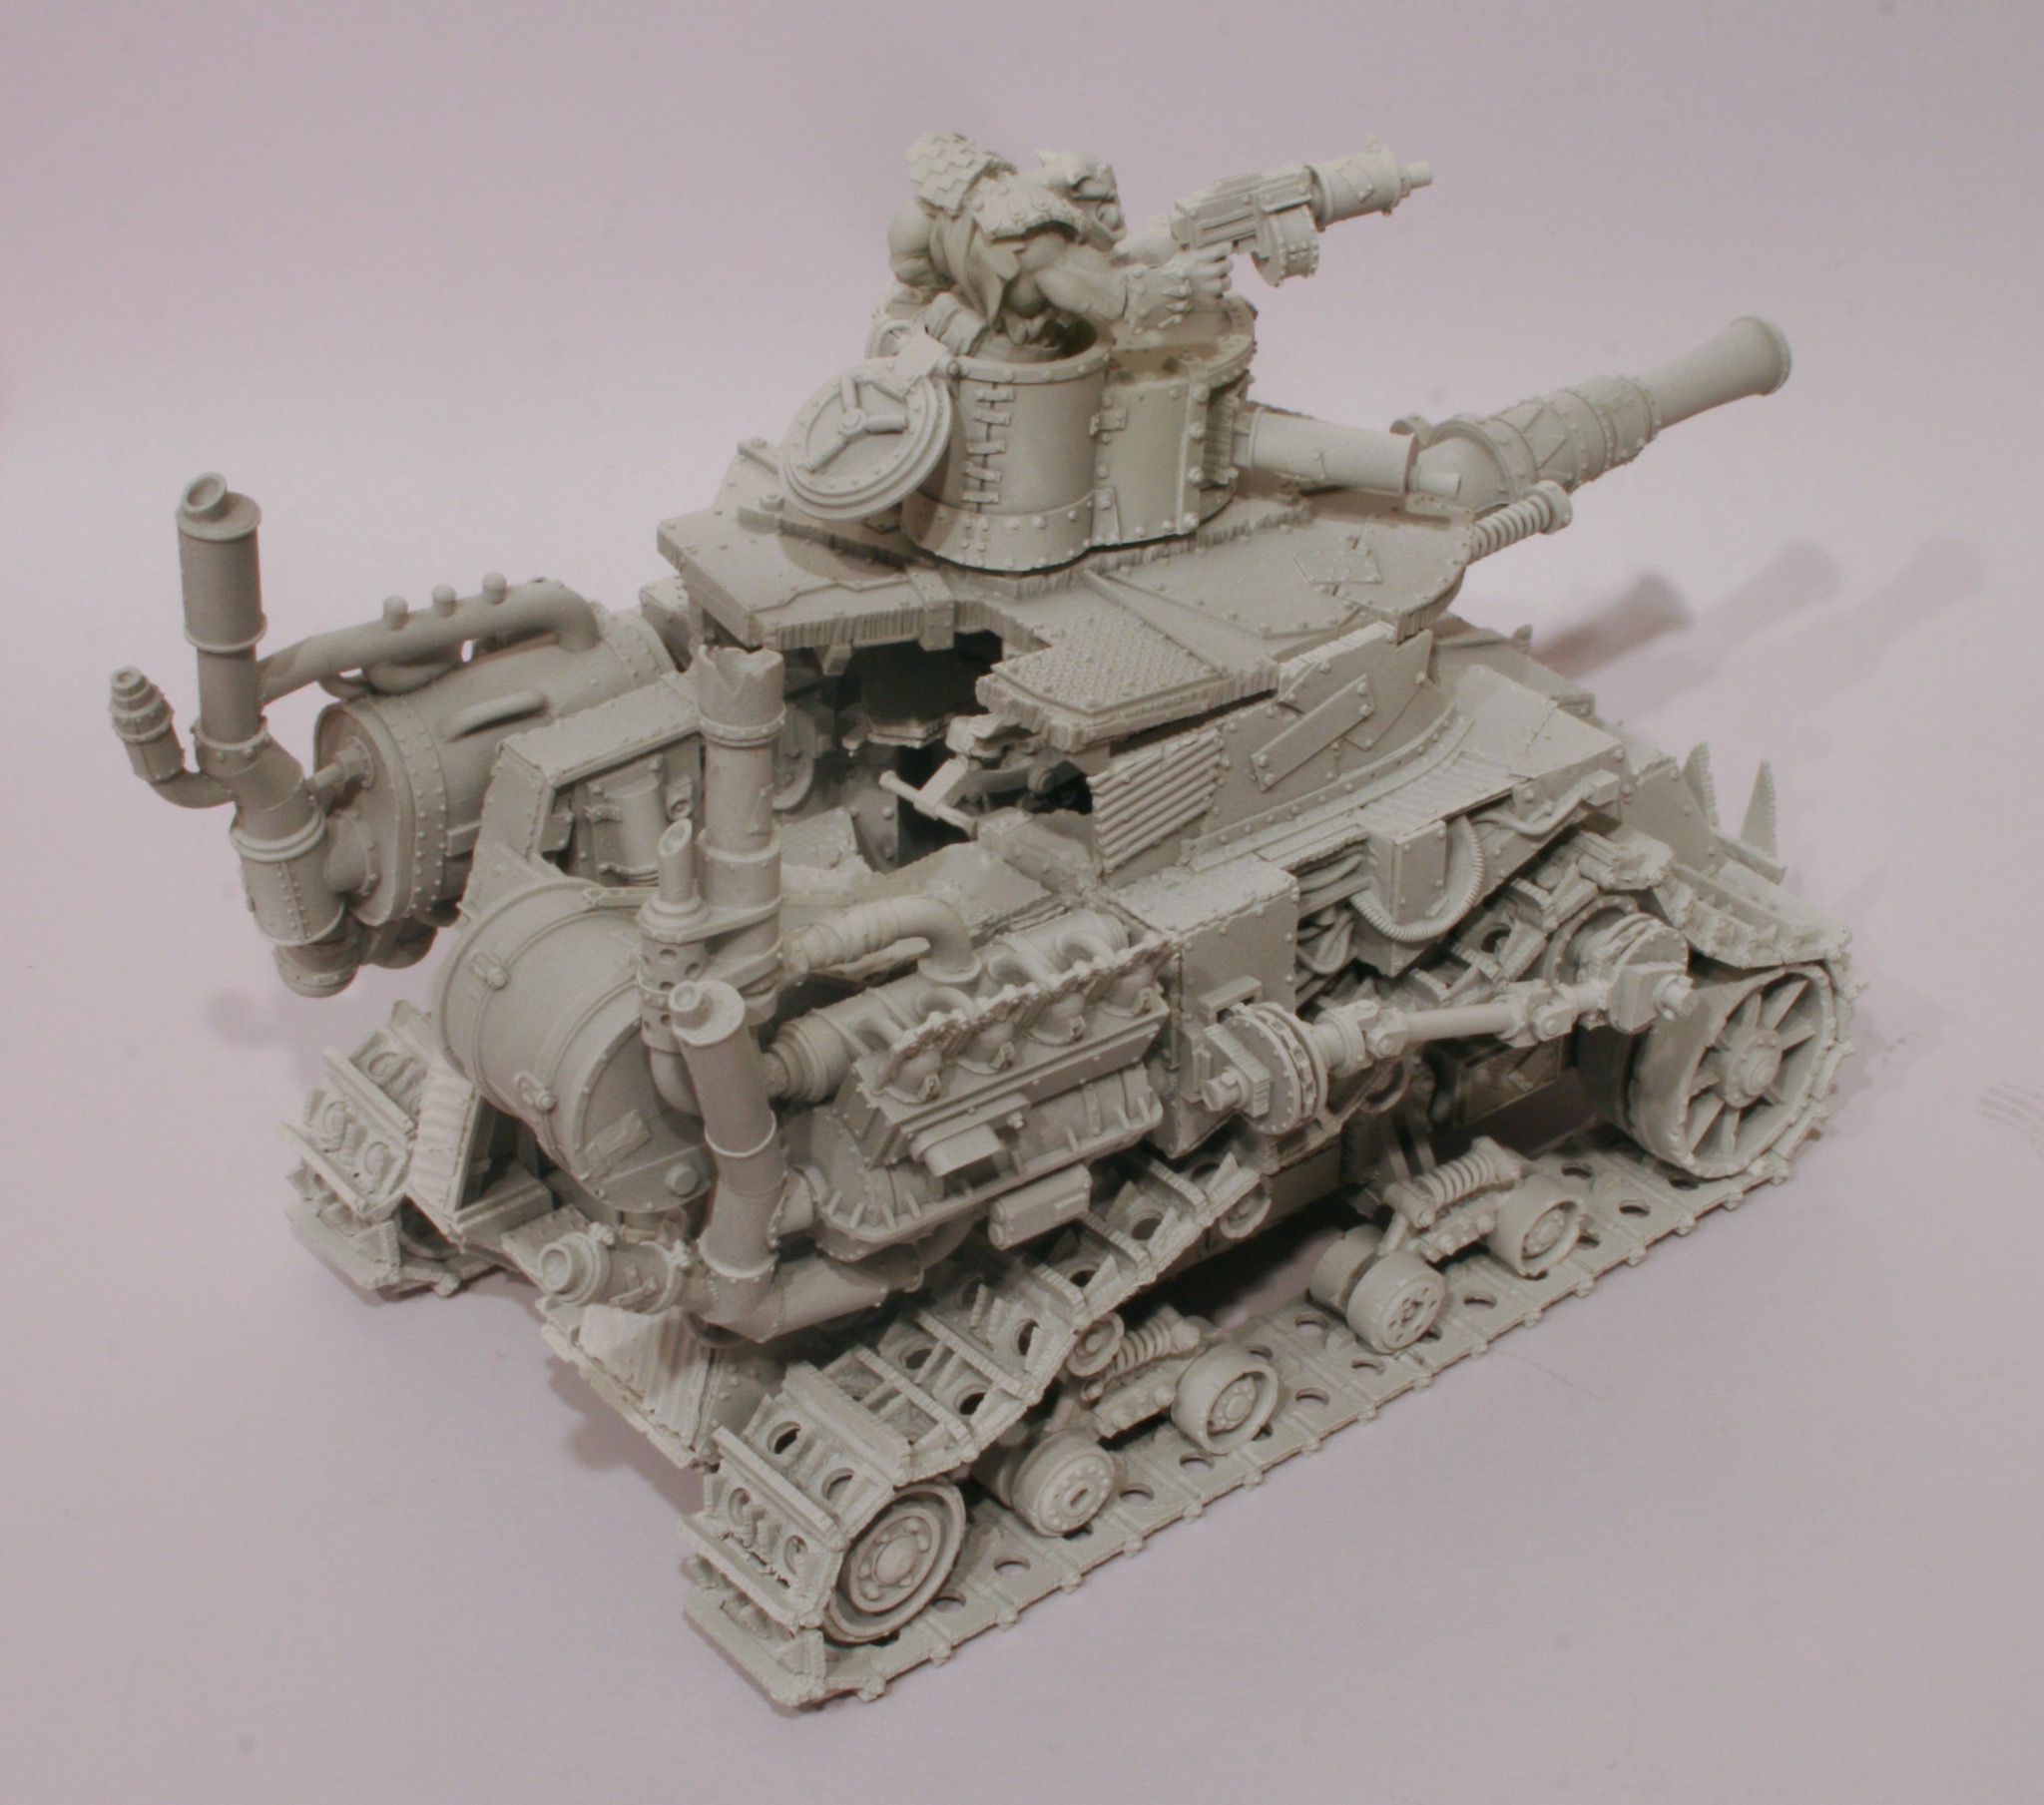
This was the Grot Tank at Warhammer World.

The lunatic product of the deranged imaginations of grot riggers and scavs that have spent far too long basking in the insane genius of the Big Meks, Grots Tanks are diminutive armoured vehicles made to imitate the far larger Ork Wagons and Tanks.

I really liked these models and I bought them when they were released, but alas they spent many years on the Grot Tank workbench before I got some real painting done and virtually finished all four tanks.
See the Grot Tank Miniatures Gallery for more photographs of these little tanks.