I pre-ordered the Horus Heresy Deimos Pattern Rhino and having picked it from my local FLGS I did think, would I leave it on the shelf for a few months (or years) before I started on it. Well I even surprised myself and actually started it a day or so after picking it up. I put the model together and then gave it a white undercoat. I also sprayed the underneath of the model with Citadel Zandri Dust in preparation for painting the the whole model yellow.

Games Workshop don’t do a yellow spray and I don’t have an airbrush. I did use a paint comparison site to find a close alternative to Yriel Yellow. The Daemonic Yellow spray from Army Painter seemed like a good choice, and my local FLGS had one in stock.
I gave the model a couple of light coats of Daemonic Yellow.
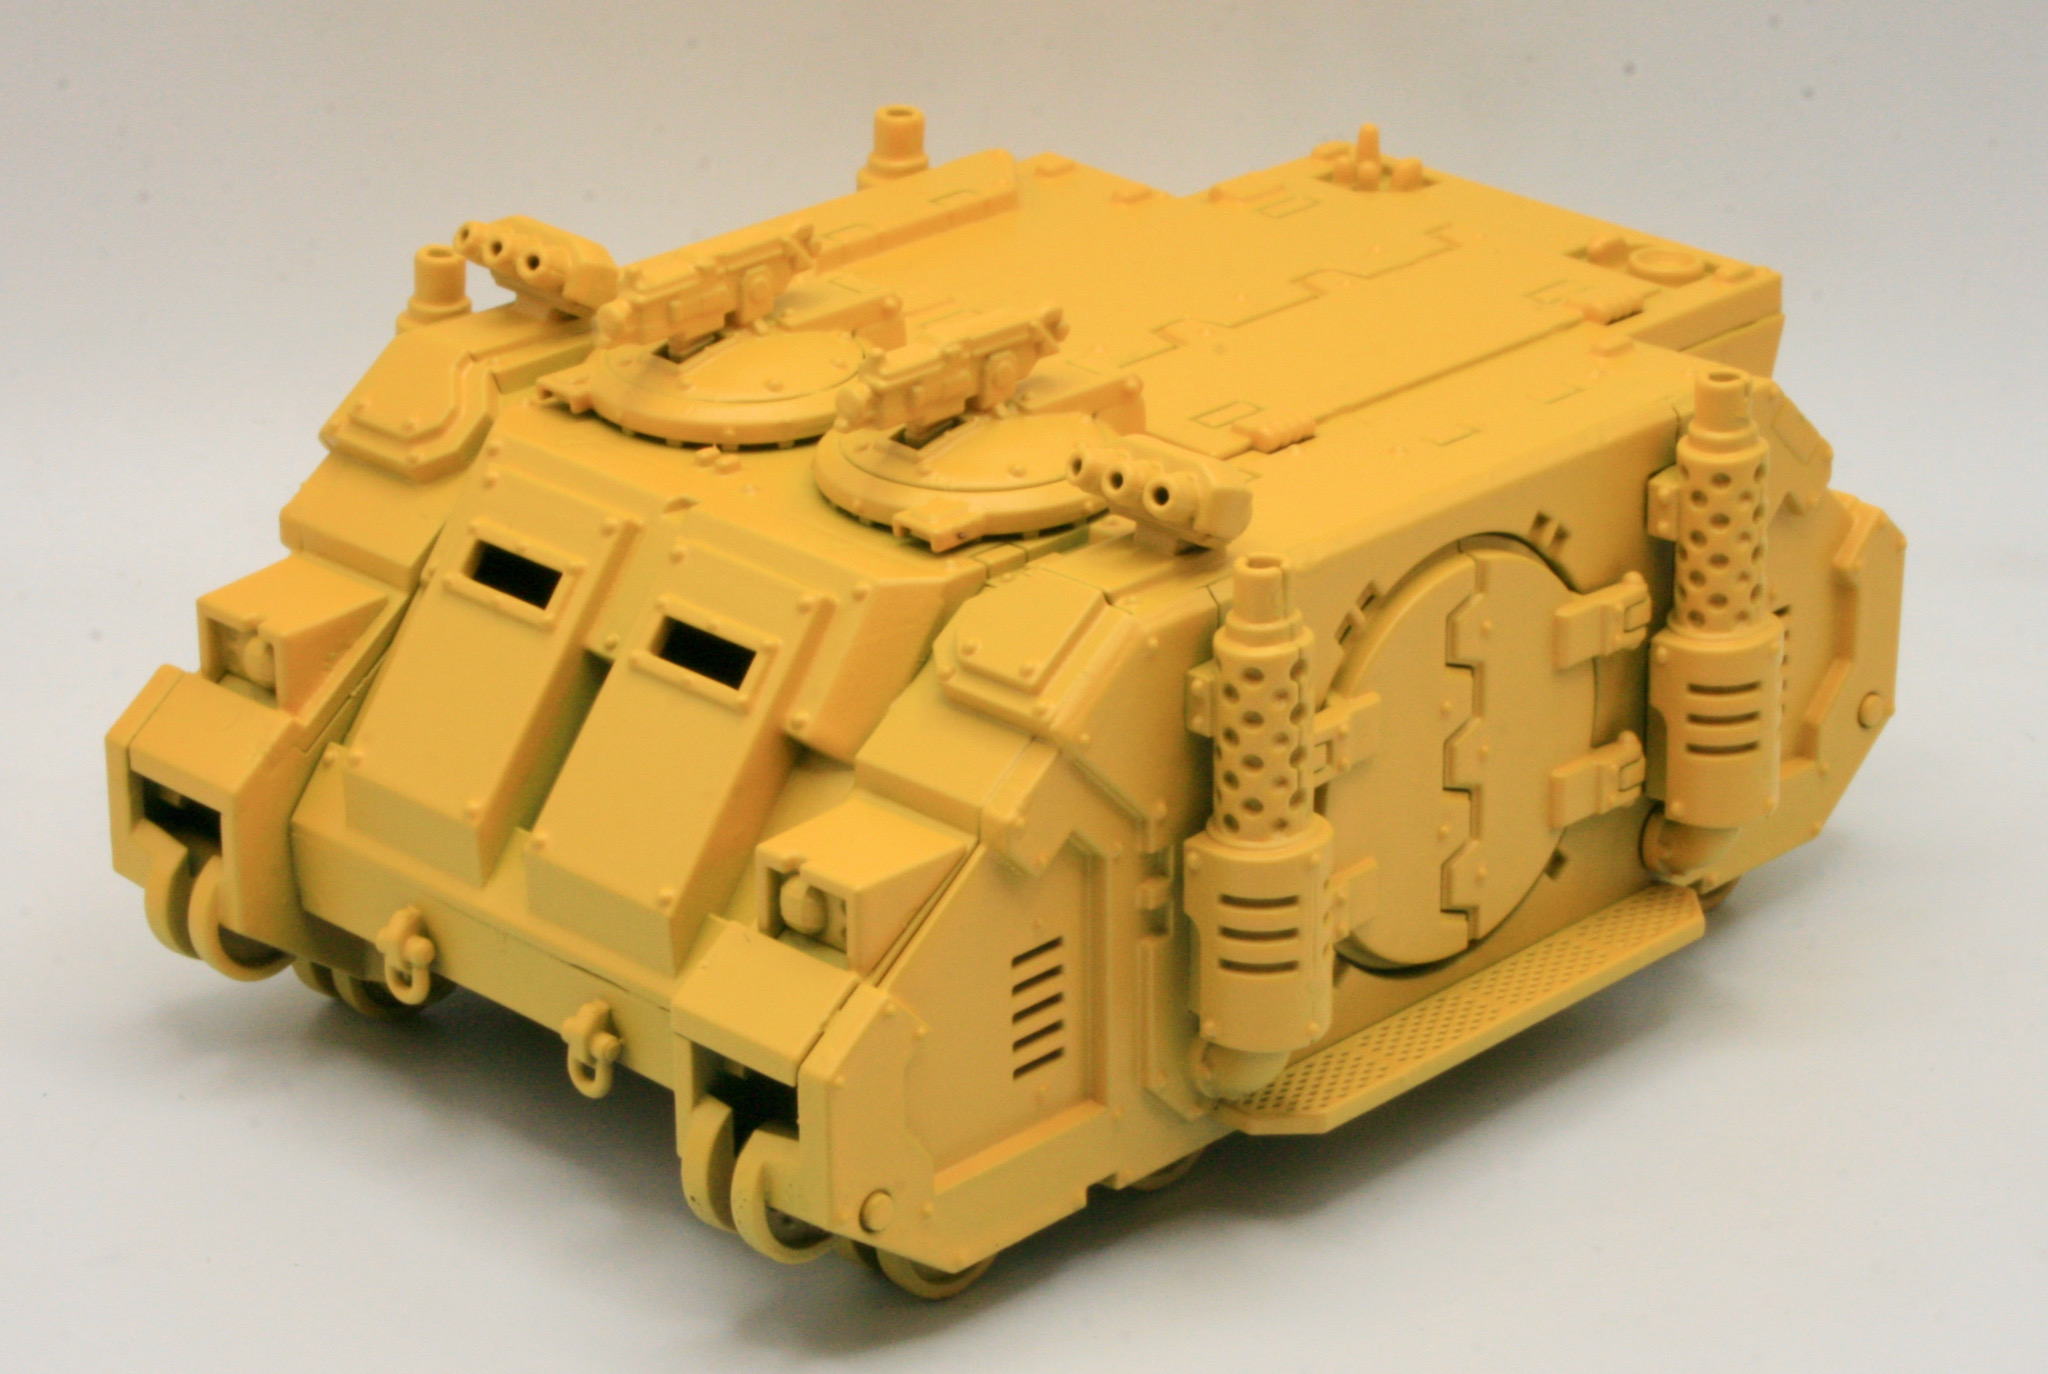
The rear view.

I will be painting the exhausts and bolters with Leadbelcher. The next step after that will be shading the model.
For the tracks, still on the sprue, I gave them a spray of Mechanicus Standard Grey.