The Repressor tank is often used by Sisters of Battle as transport, and by the Adeptus Arbites in an anti insurgency role.
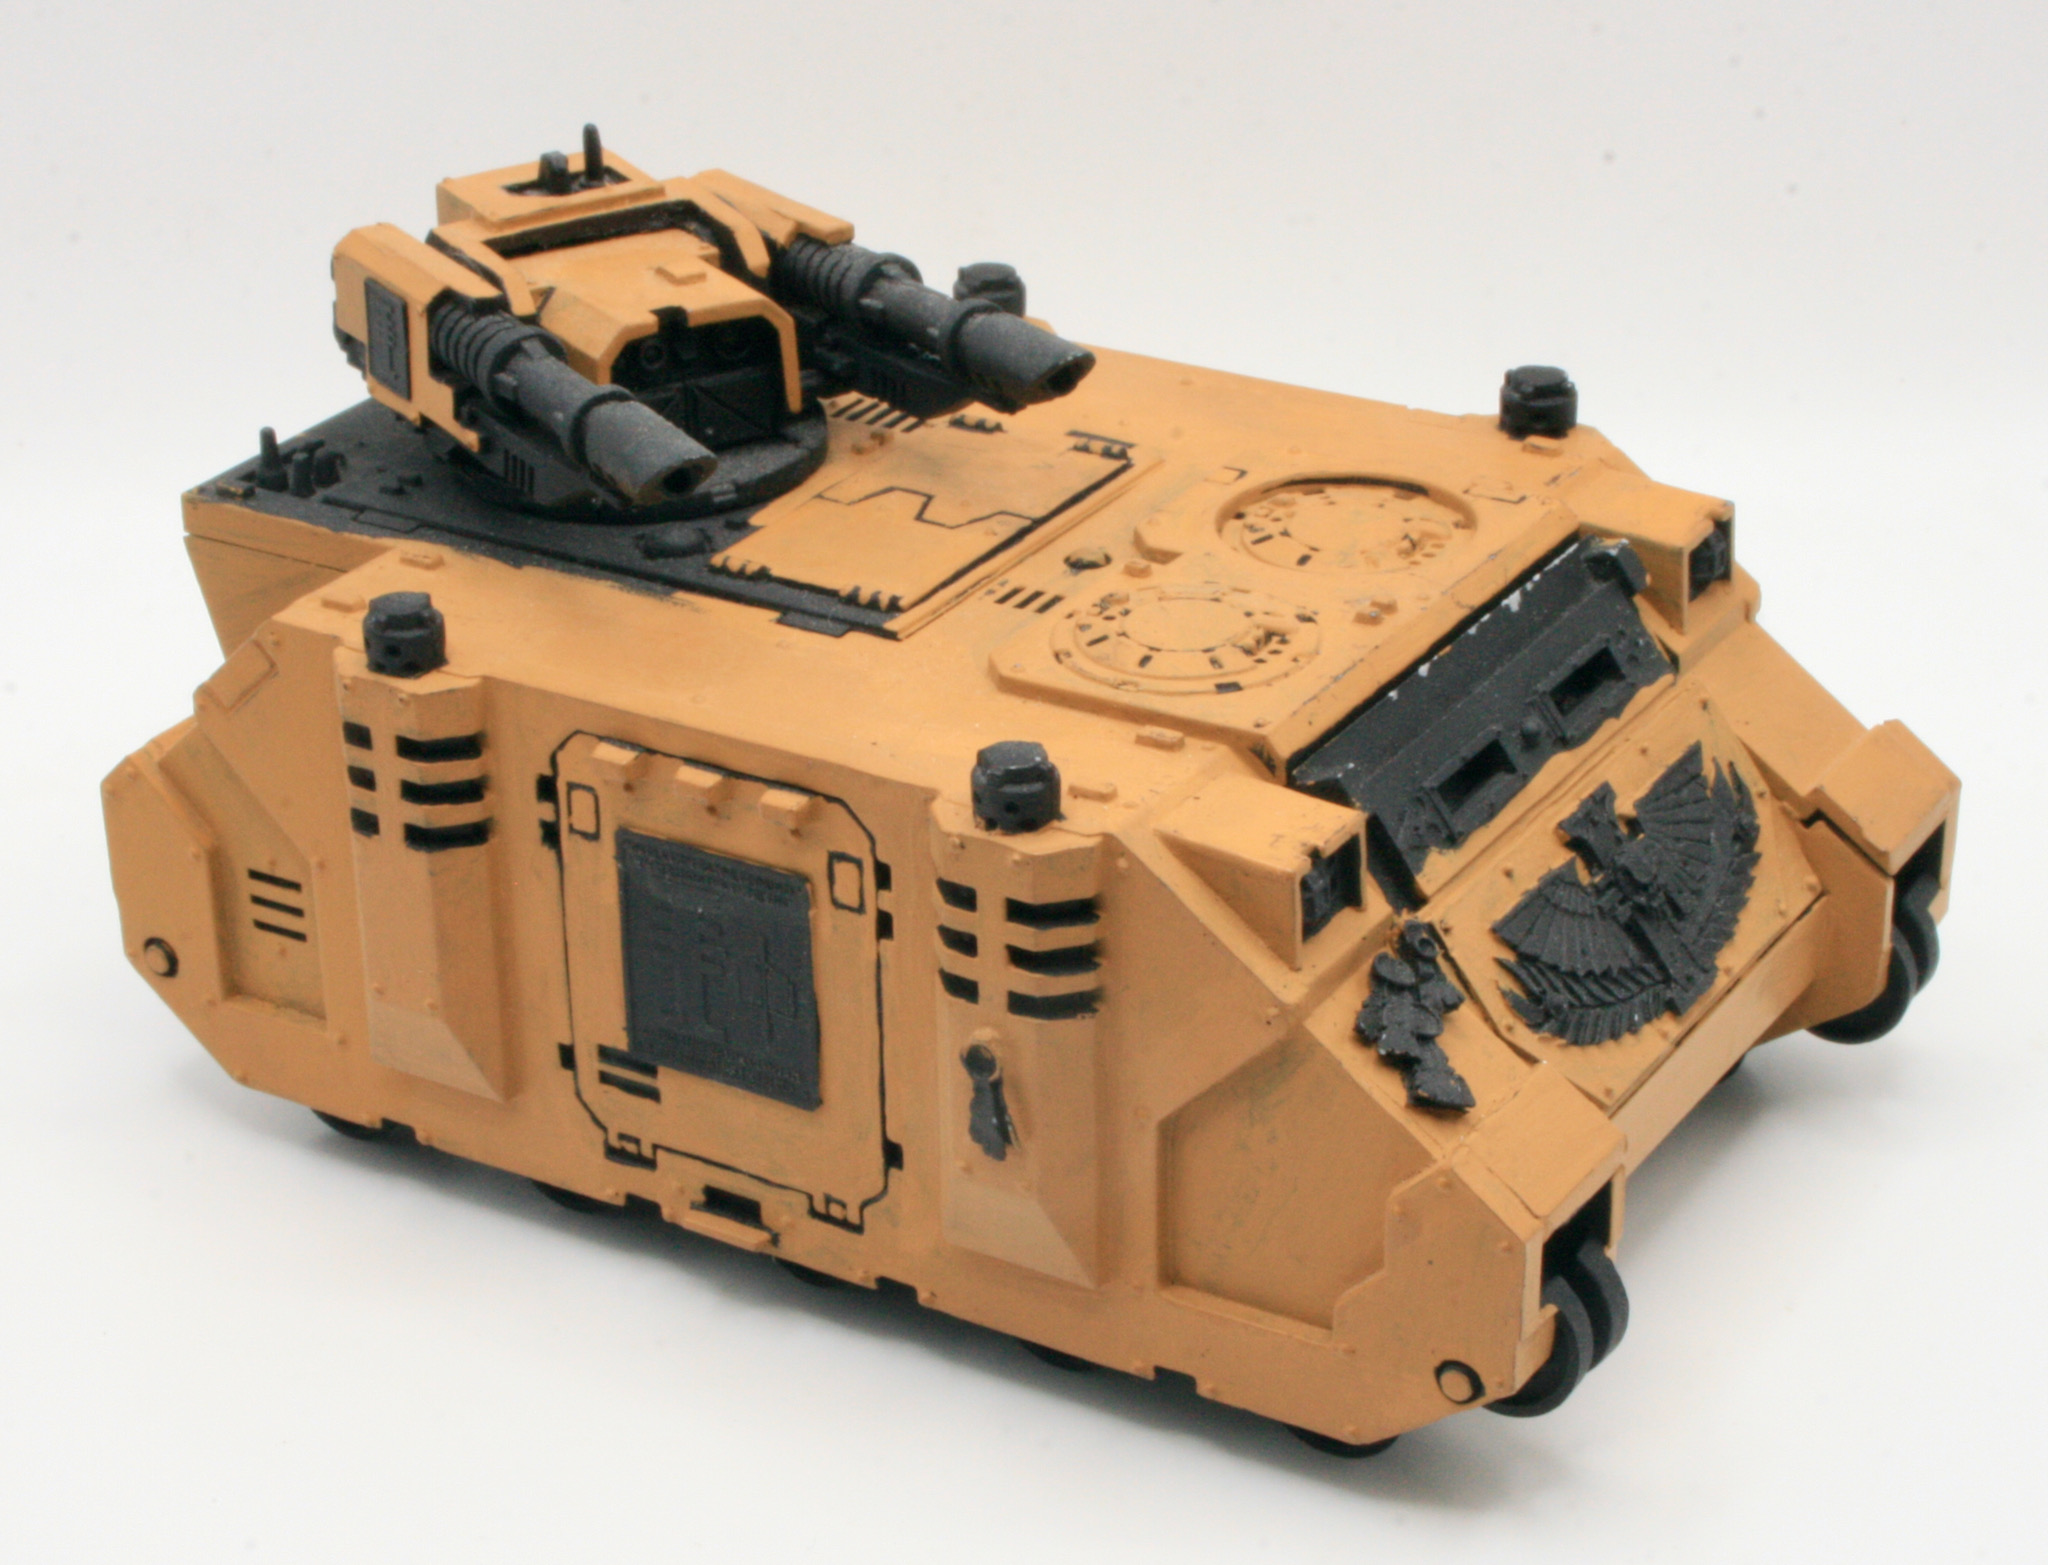
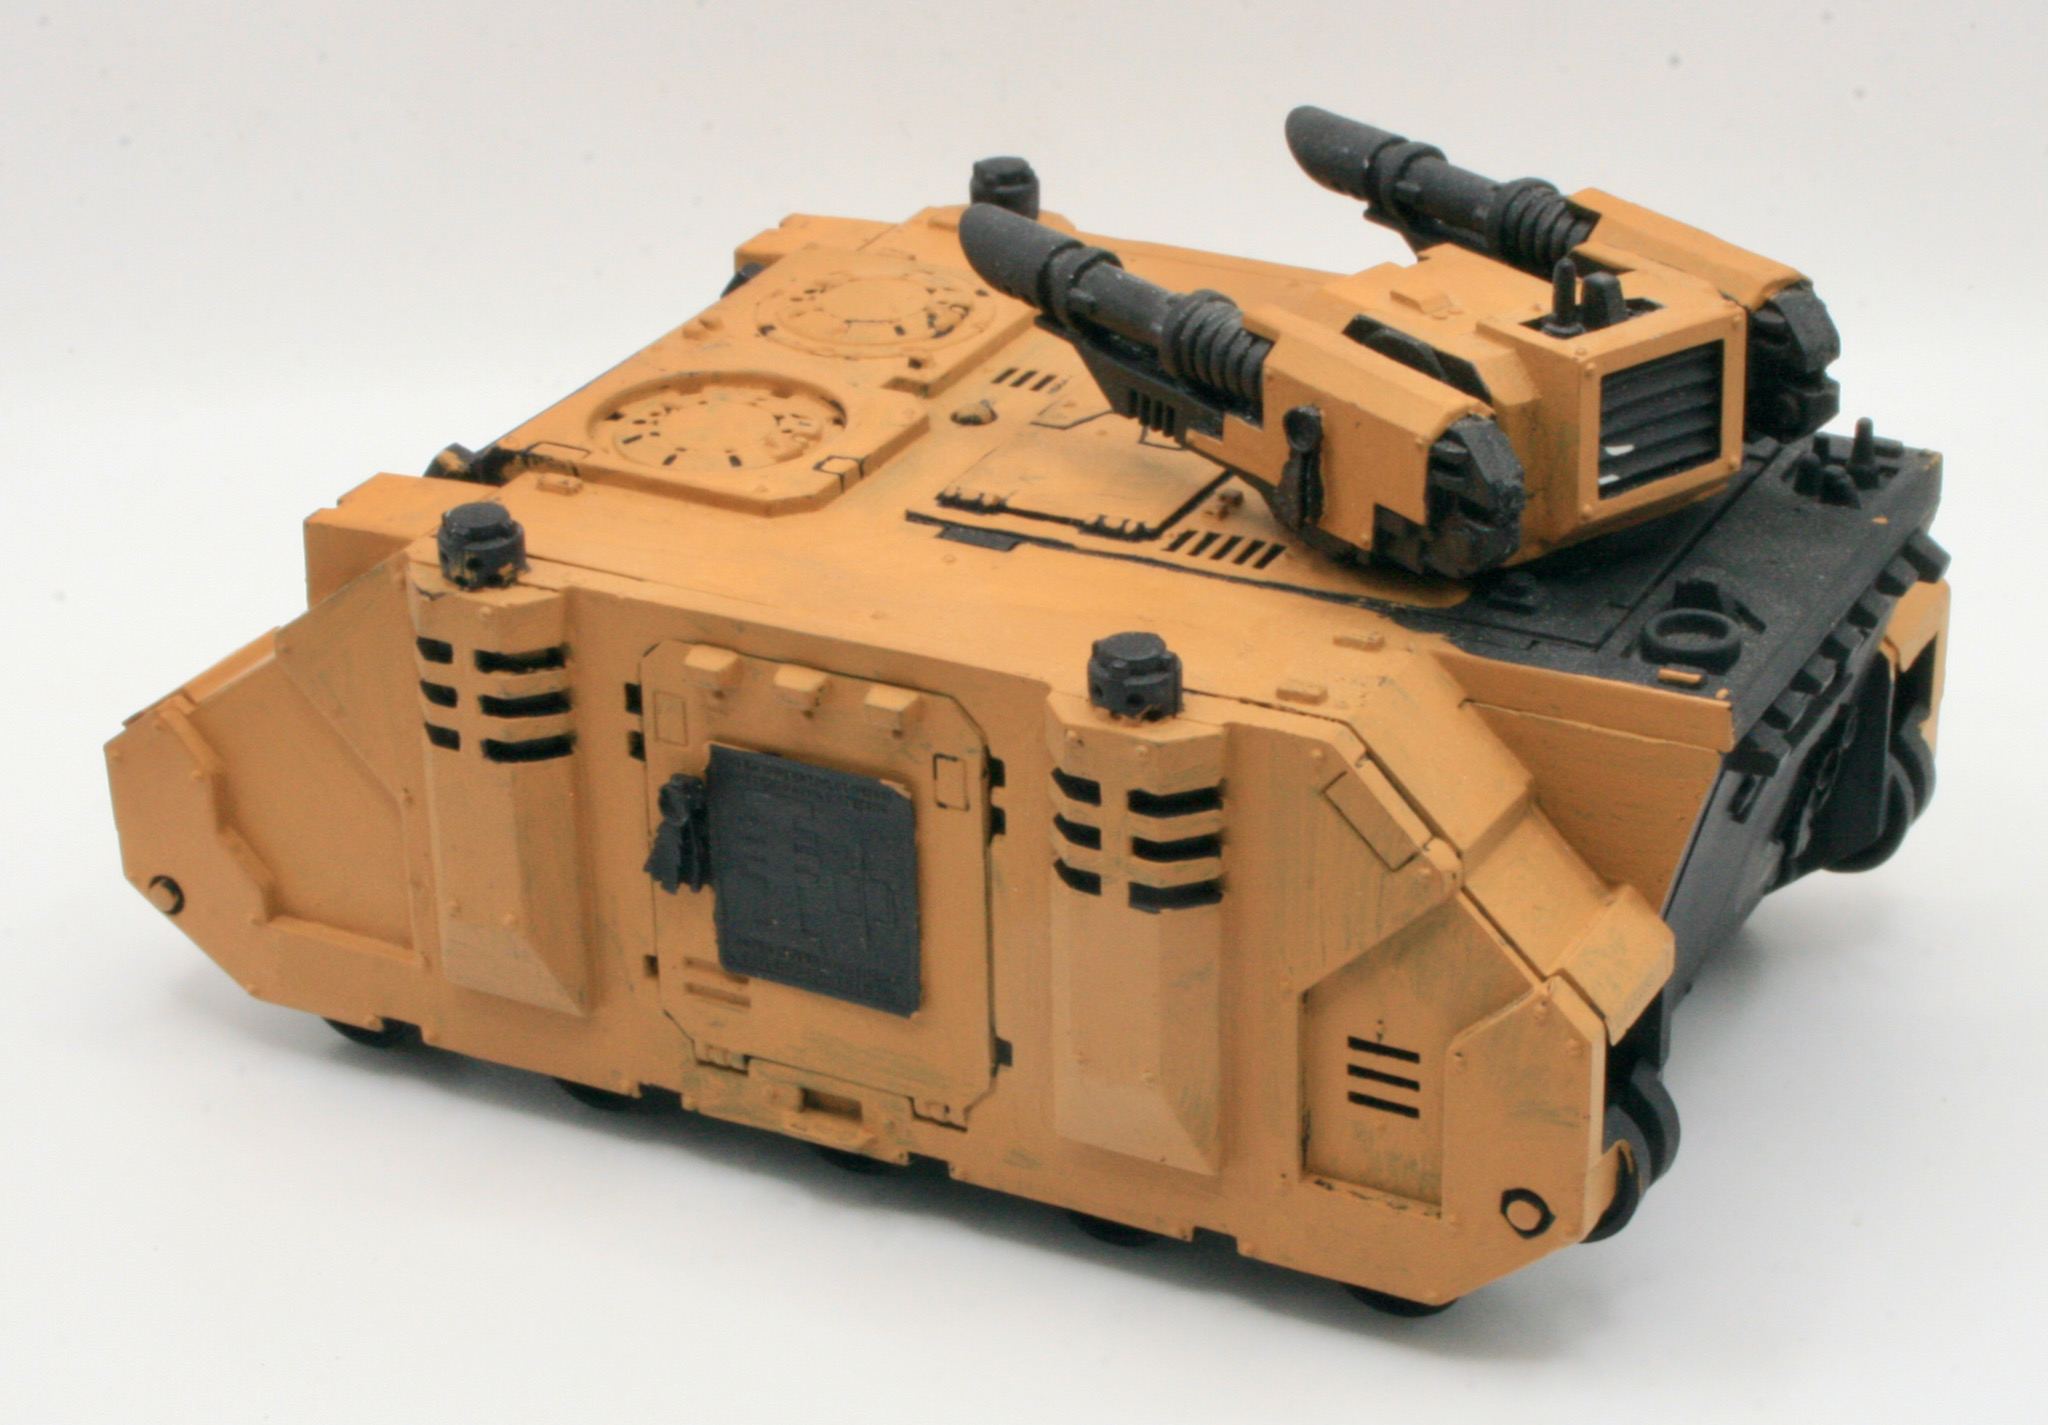
The Repressor is an Imperial armoured personnel carrier (APC) based on the standard Rhino chassis. The Repressor is used by both the Adeptus Arbites as a riot control and crowd suppression vehicle, and by the Adepta Sororitas as an infantry transport during intense urban battles. The Repressor uses an extensively converted Rhino chassis; the transport compartment has been greatly expanded upon, a raised roof featuring firing slits for the passenger’s weapons has been added, a large dozer blade used to plow through debris and rioting mobs is attached to the front of the vehicle, and the vehicle possesses a small forward cupola-mounted turret.
I said in a blog post back in 2004 “I do like this model and I am intending to get one to use with my Daemonhunters army as a transport for the Storm Troopers”. I did get one that Christmas as a present.
Though I actually started building and painting this model back in 2007, I recently retrieved it from storage and decided that I would try and finish painting it. I realised I had made quite significant progress.
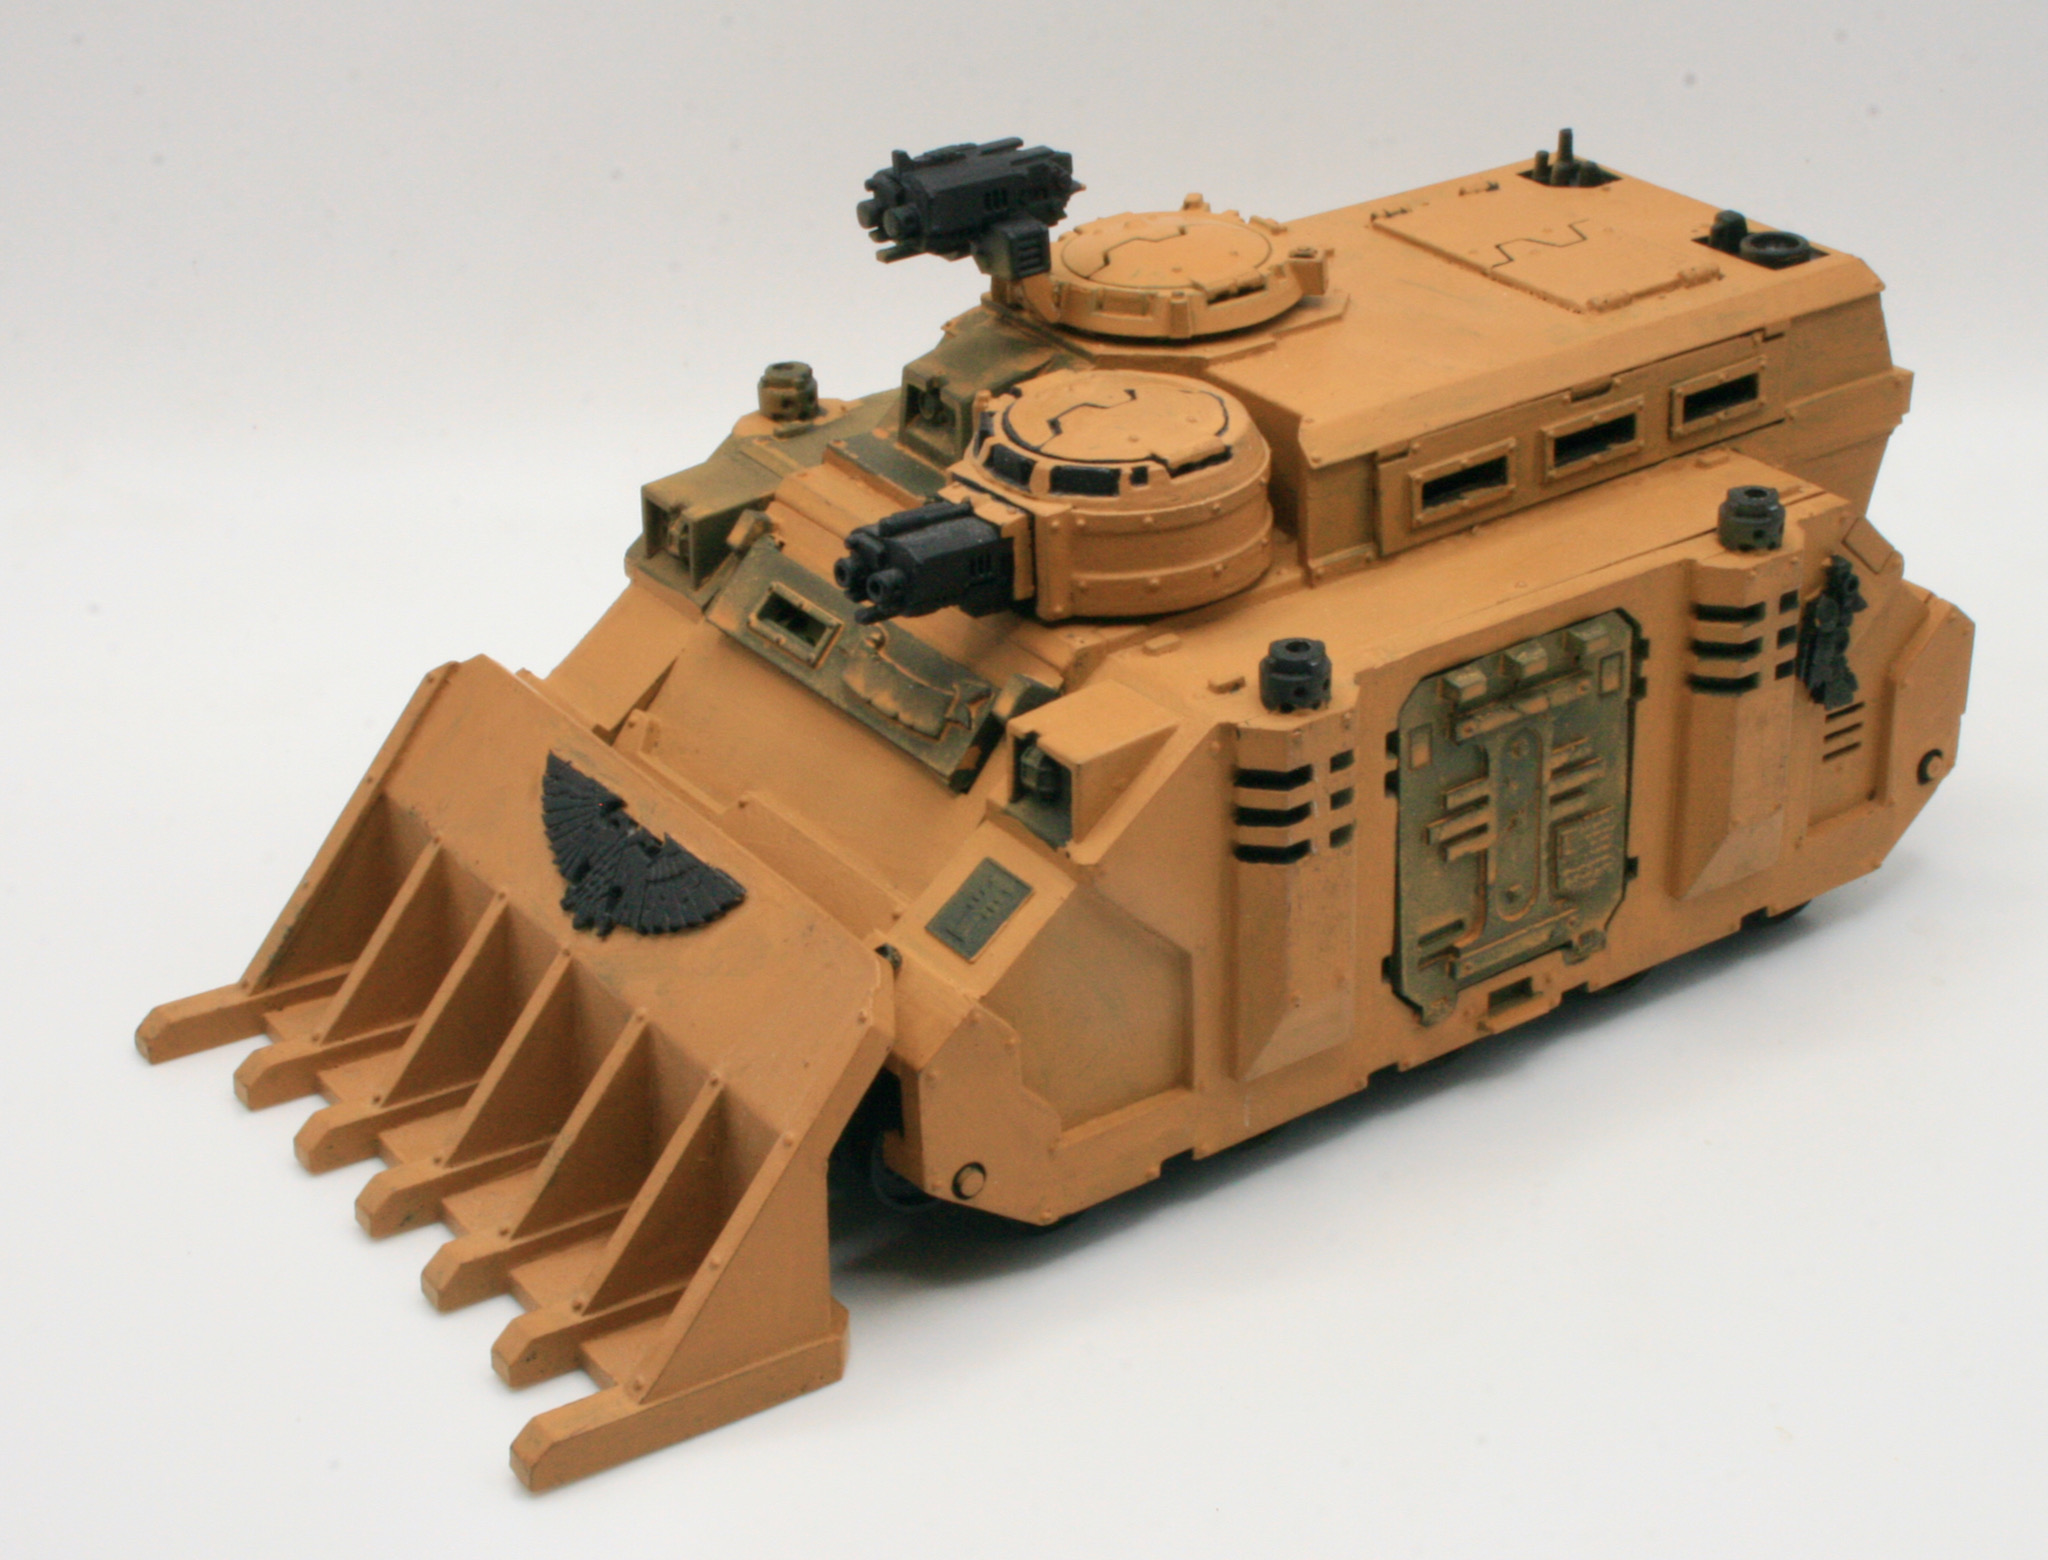
I was using Tausept Ochre as the base coat, though as you can see the basecoat wasn’t covering the black undercoat very well.
At one point I decided that I would try using Citadel’s spray gun to base coat the rest of the Repressor. However due to thinning the paint too much I didn’t get the result I hoped for. It was really at this point it got put away.
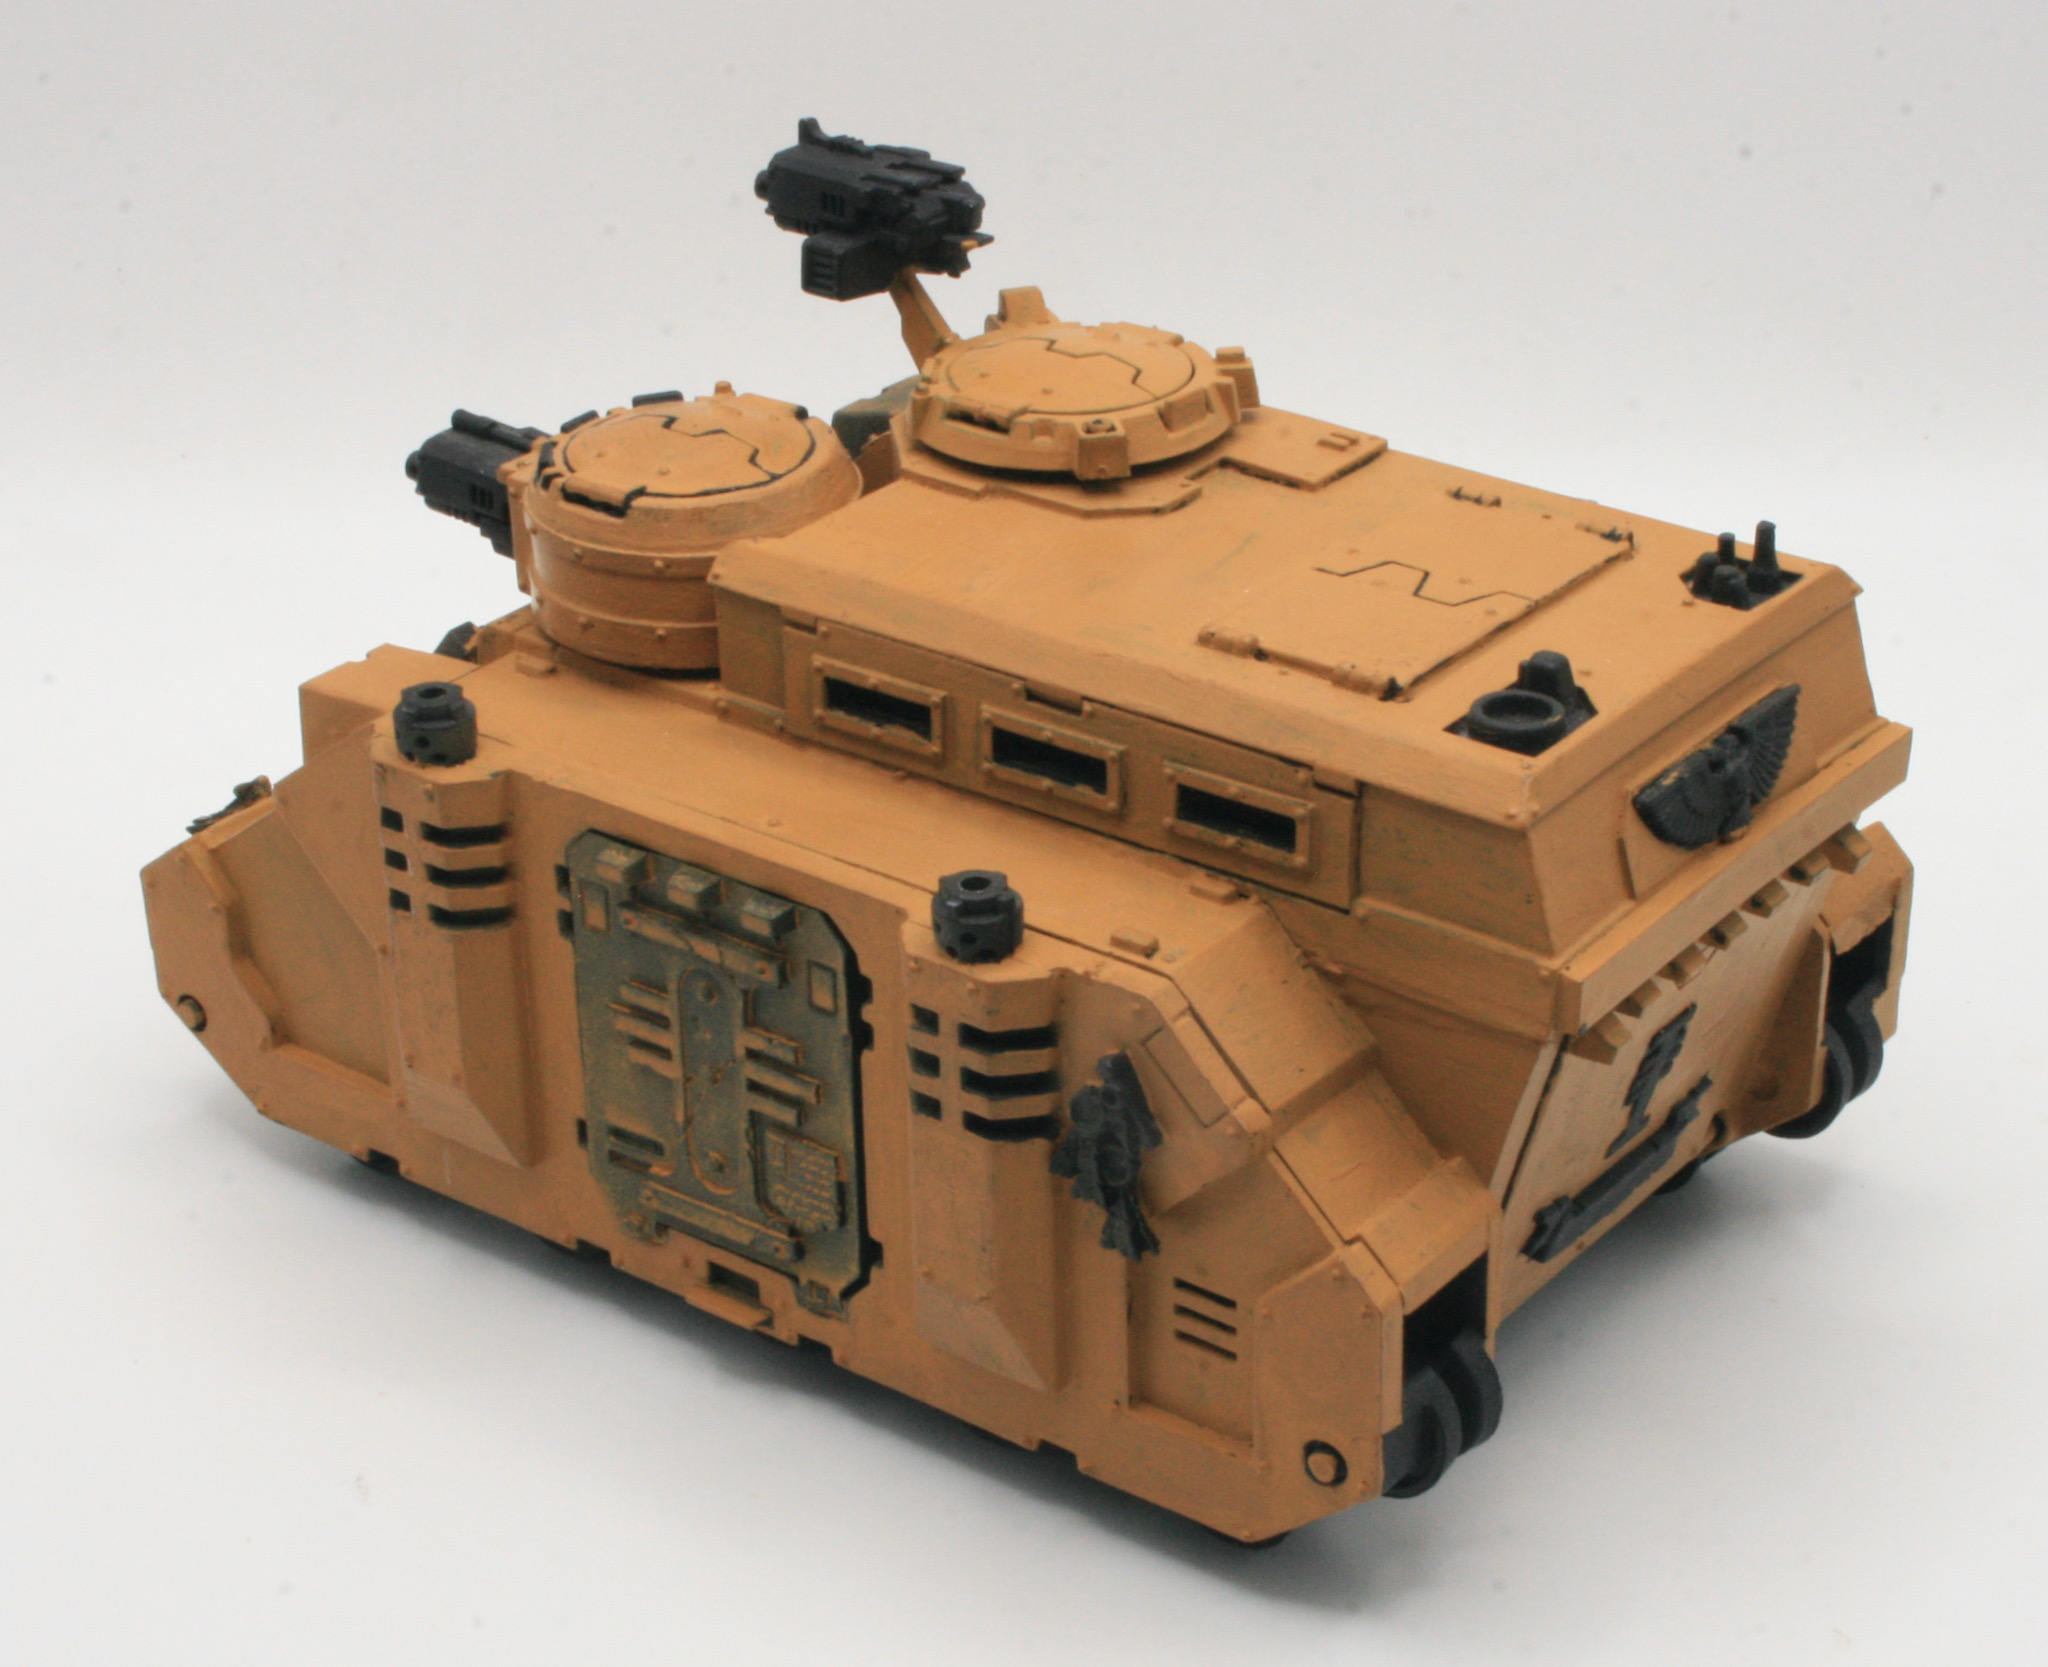
However having liked the paint scheme I was using on my Deimos-pattern Rhino, I decided that I would paint the Repressor using the same method, but not necessarily the bright yellow of the Rhino.
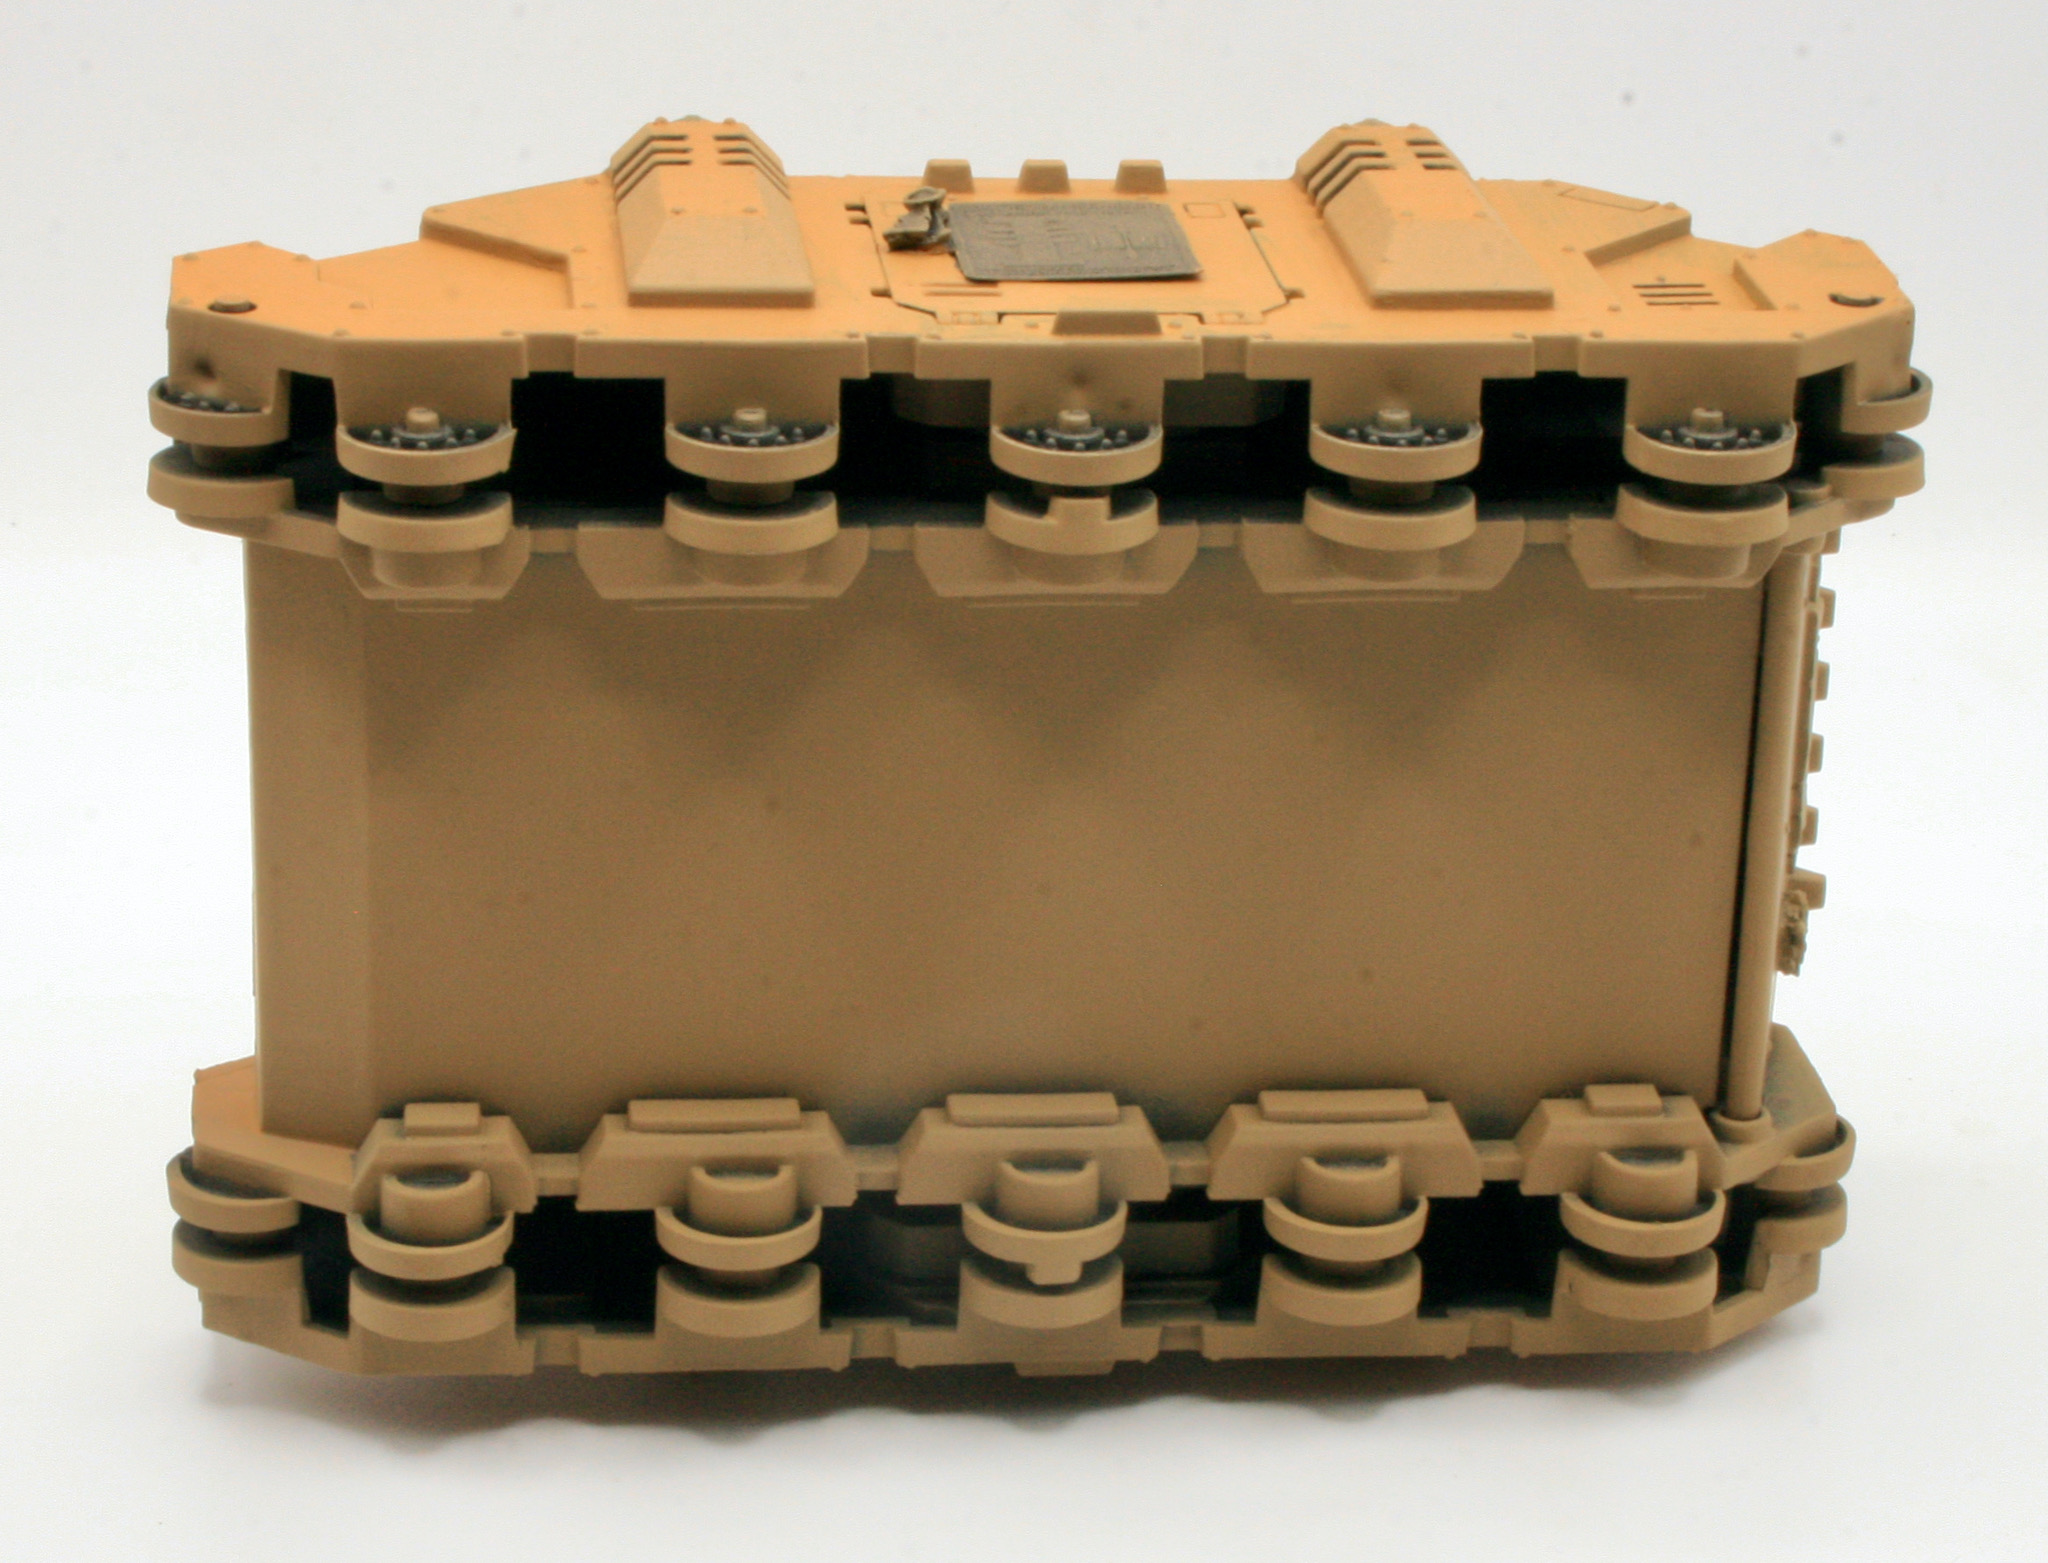
The first thing I did was spray the model with Citadel Zandri Dust.
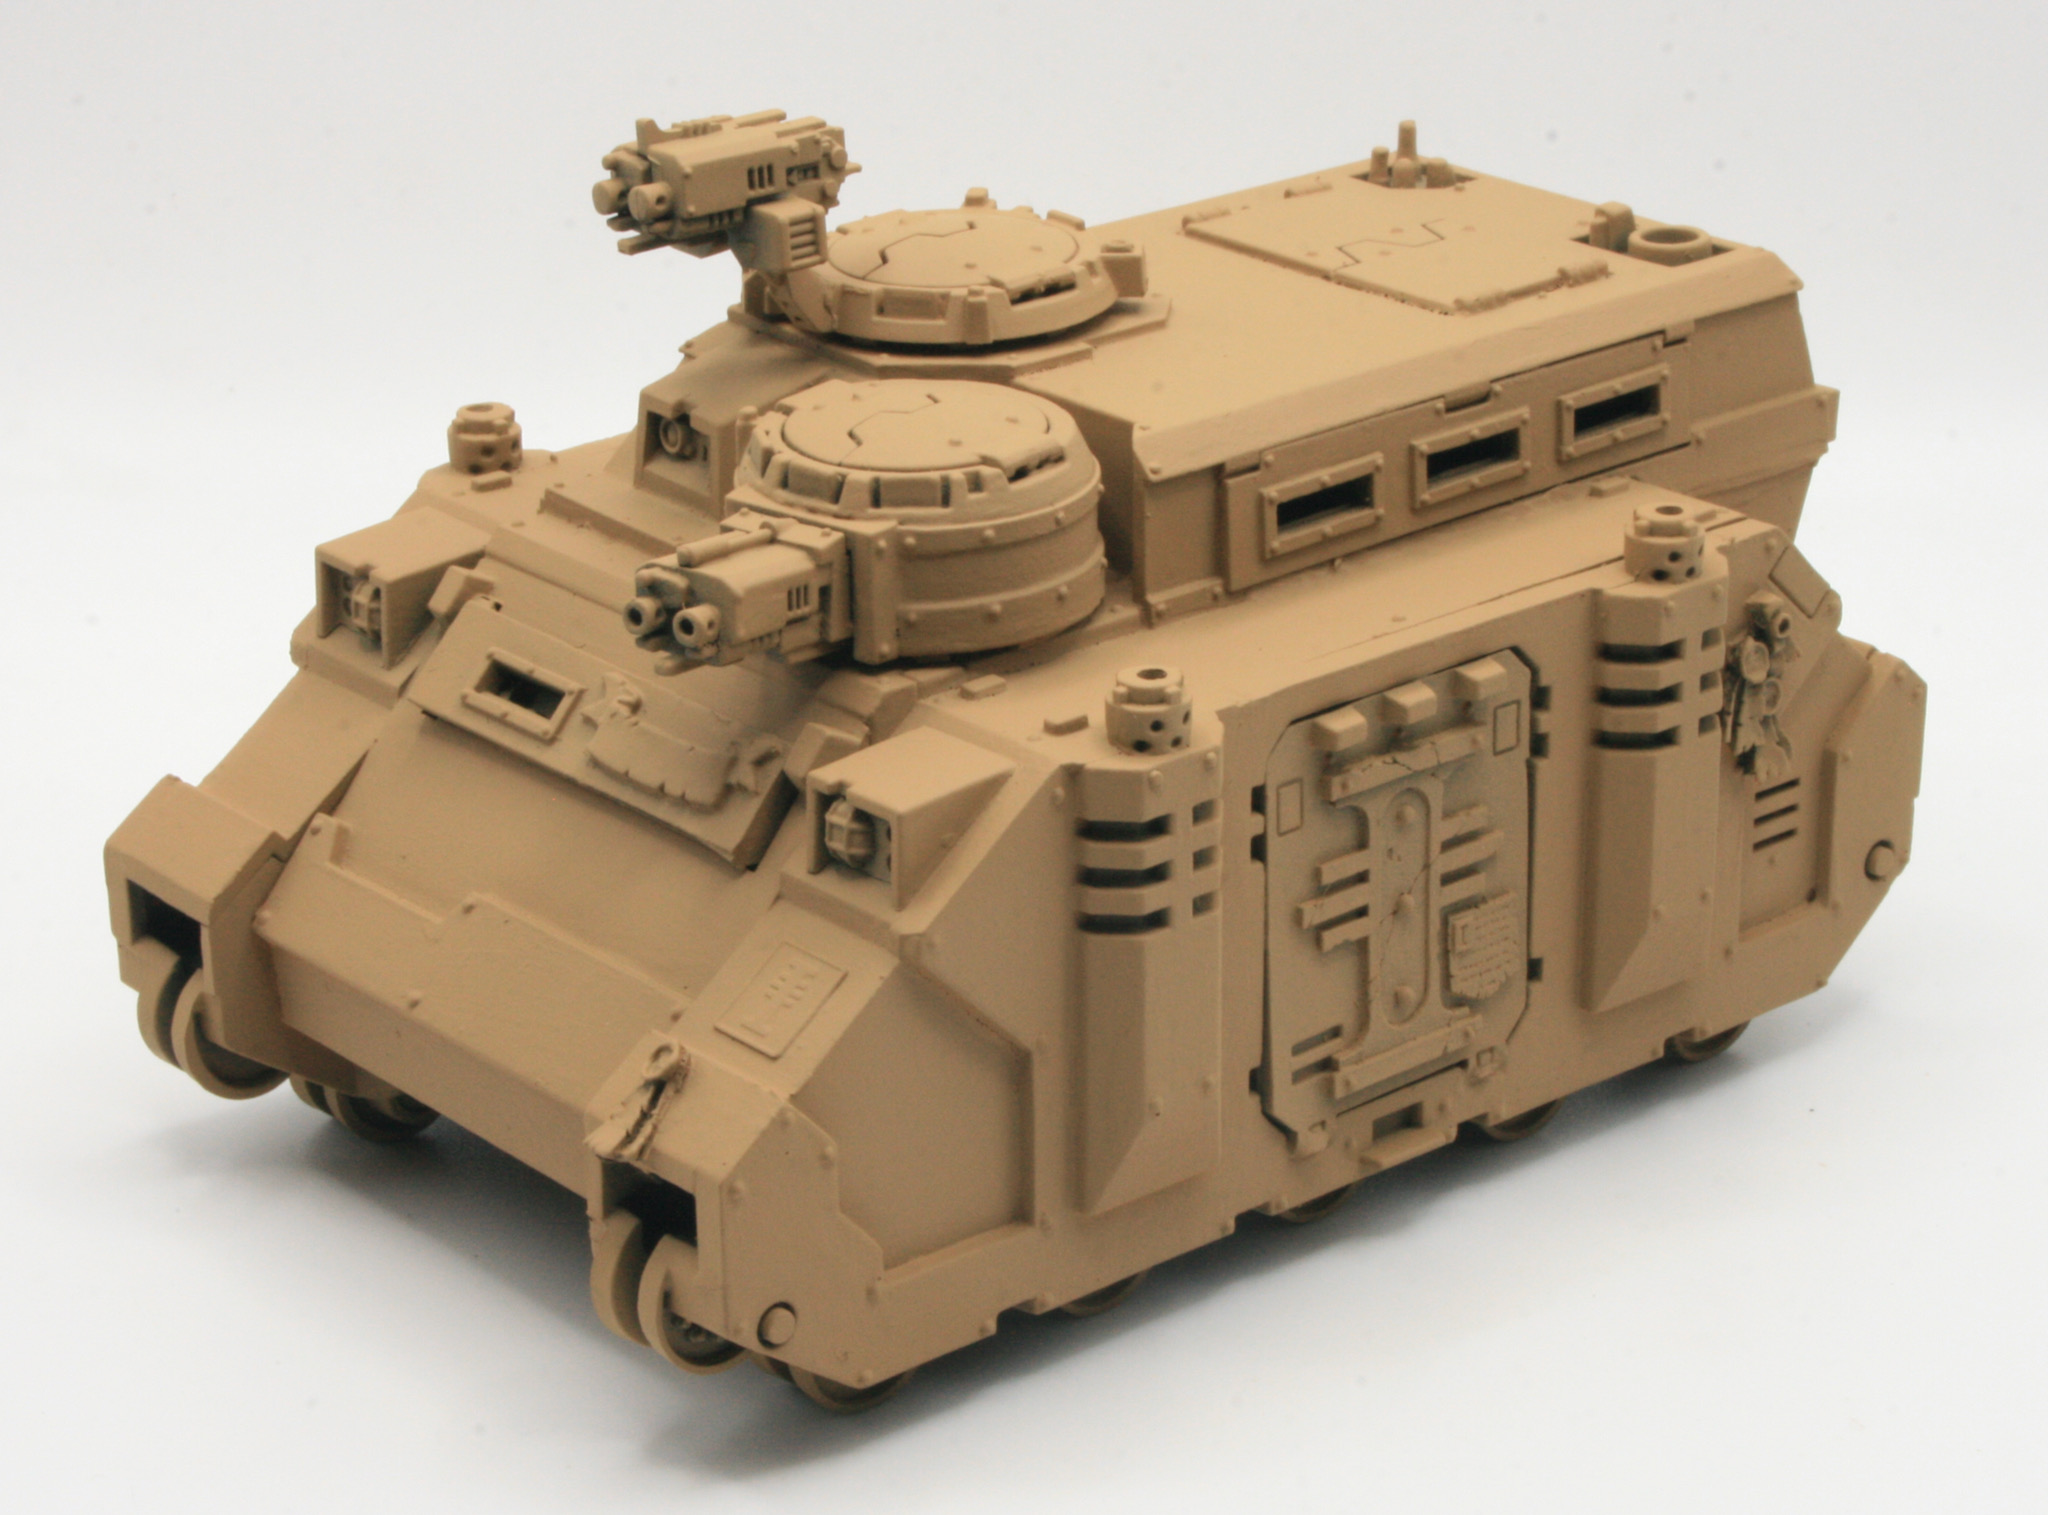
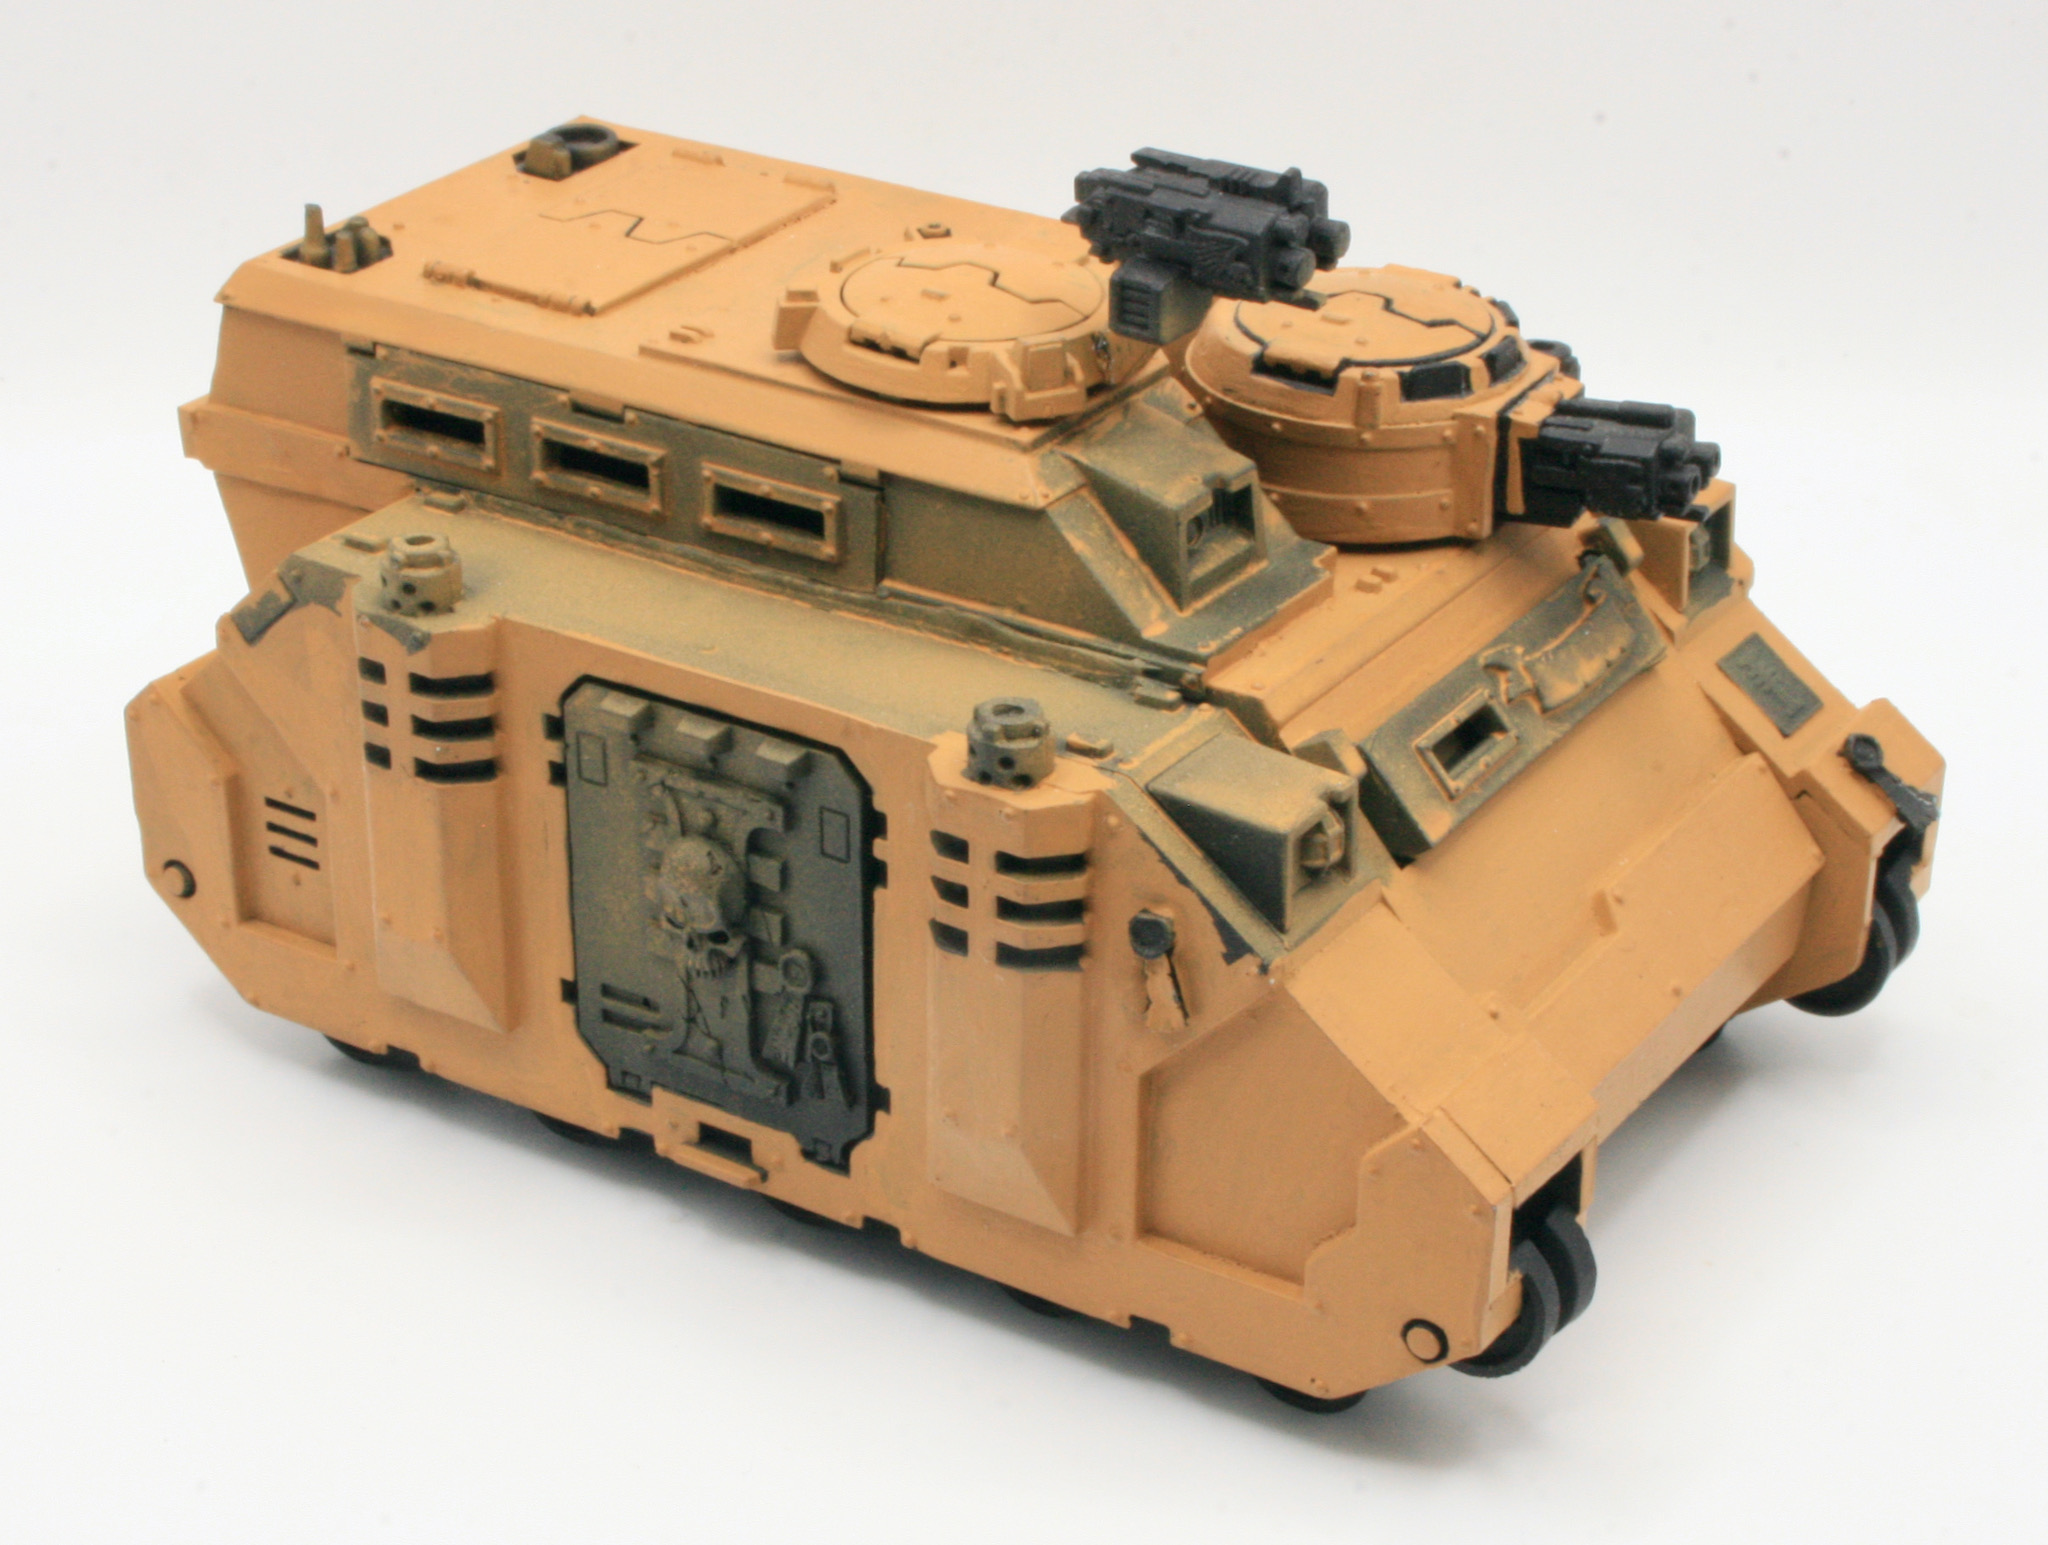
This certainly covered the model well, and looked better than the Tausept Ochre paint.
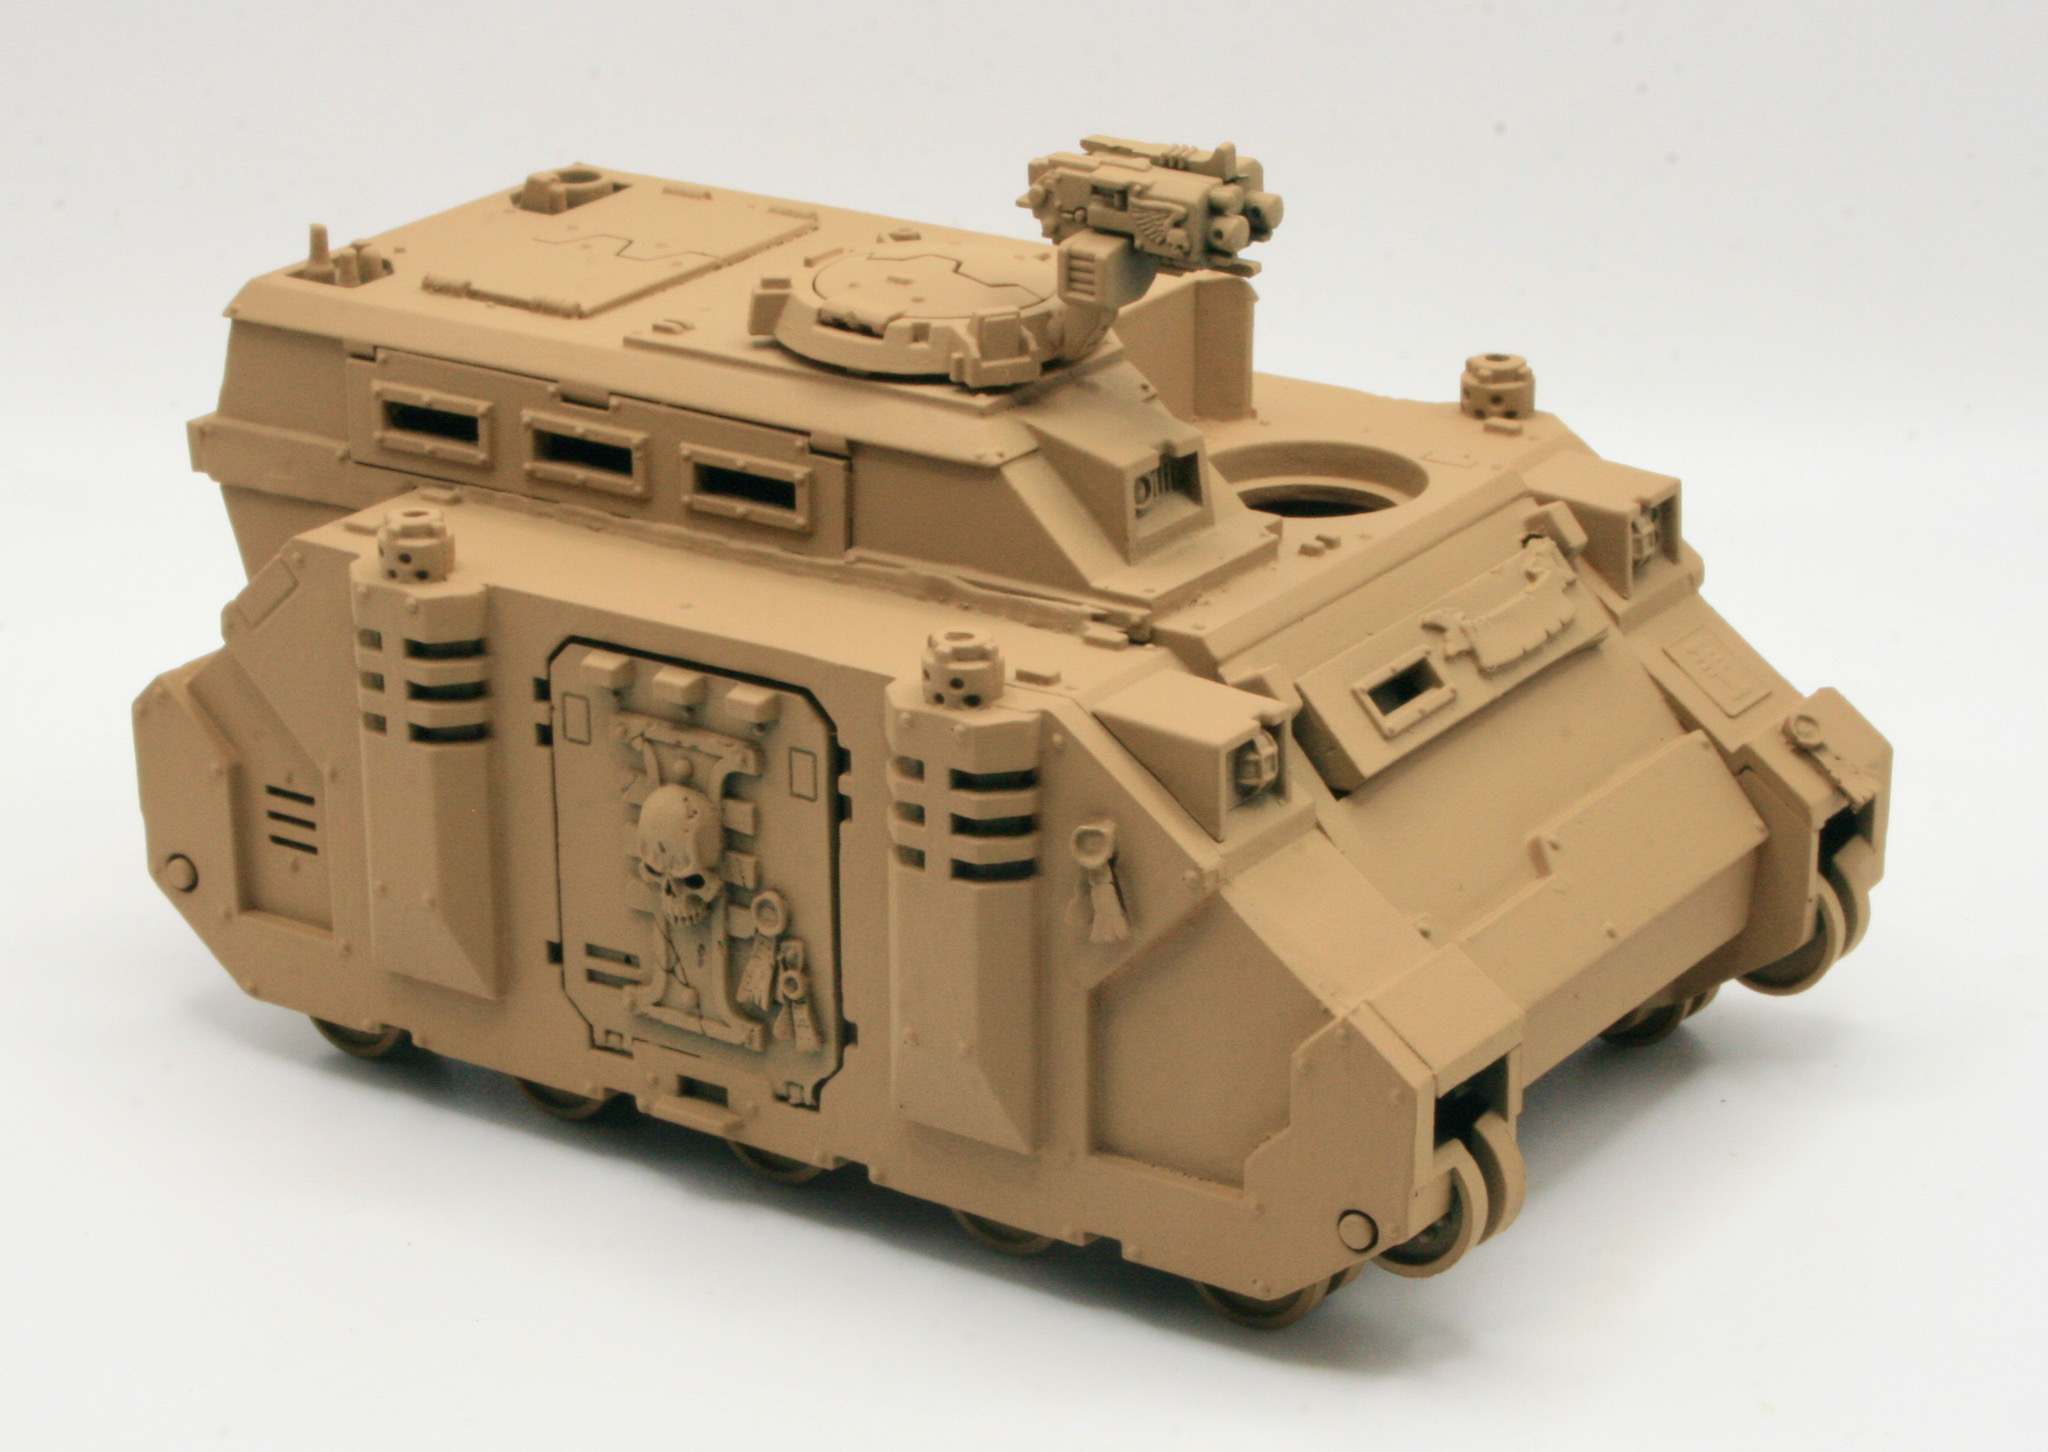

The next stage will be the detailing in Leadbelcher before shading the model.