The Land Raider is an Imperial main battle tank and troop transport which serves as the “armoured fist of the Space Marines.” Available to the Space Marines, the Traitor Legions of the Chaos Space Marines and the forces of the Inquisition and Adeptus Mechanicus, it is one of the most resilient and iconic armoured vehicles in the galaxy.
The Land Raider’s heritage predates even the founding of the Imperium of Man, yet it remains the single most destructive weapon in the Adeptus Astartes’ arsenal.
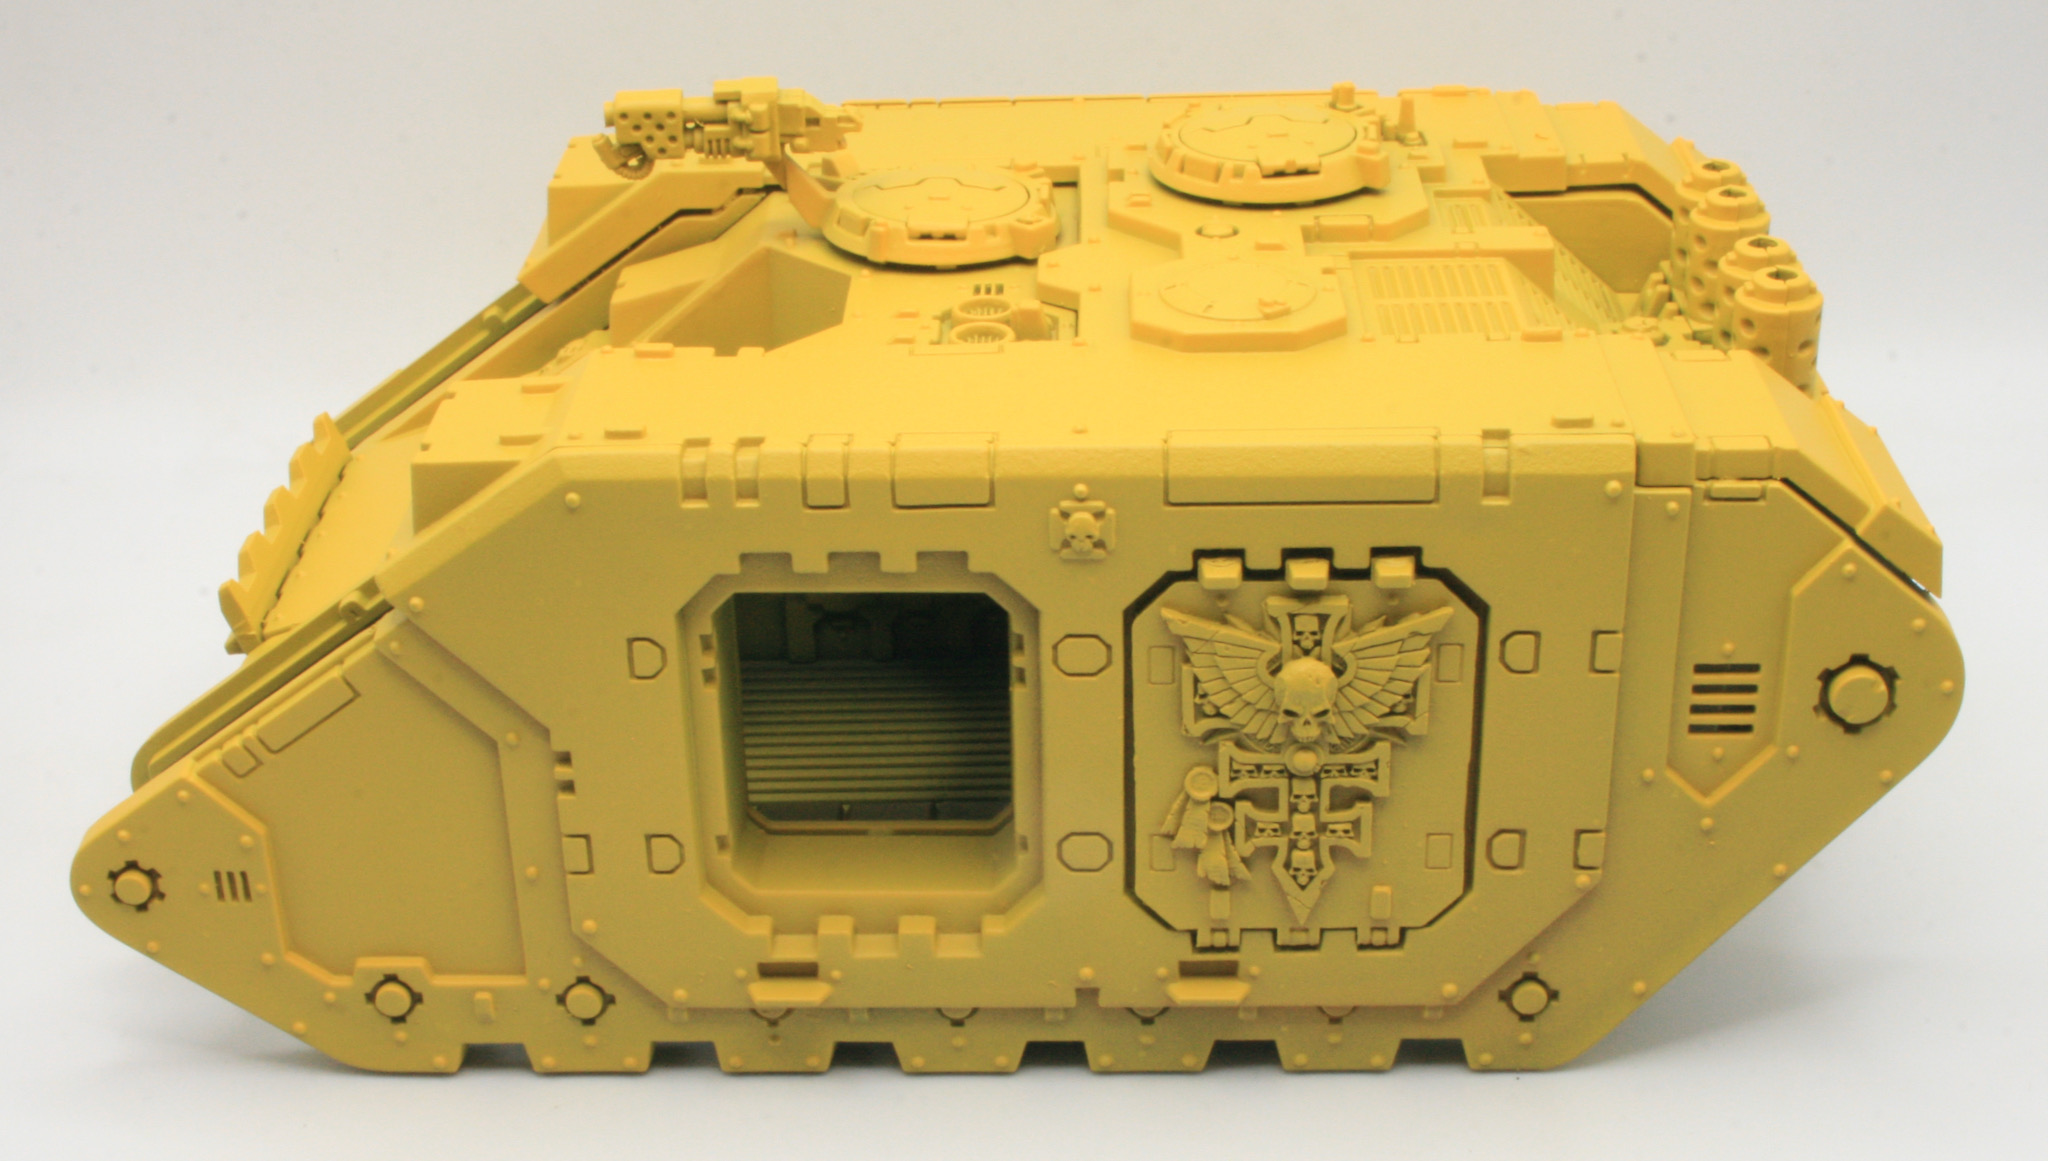
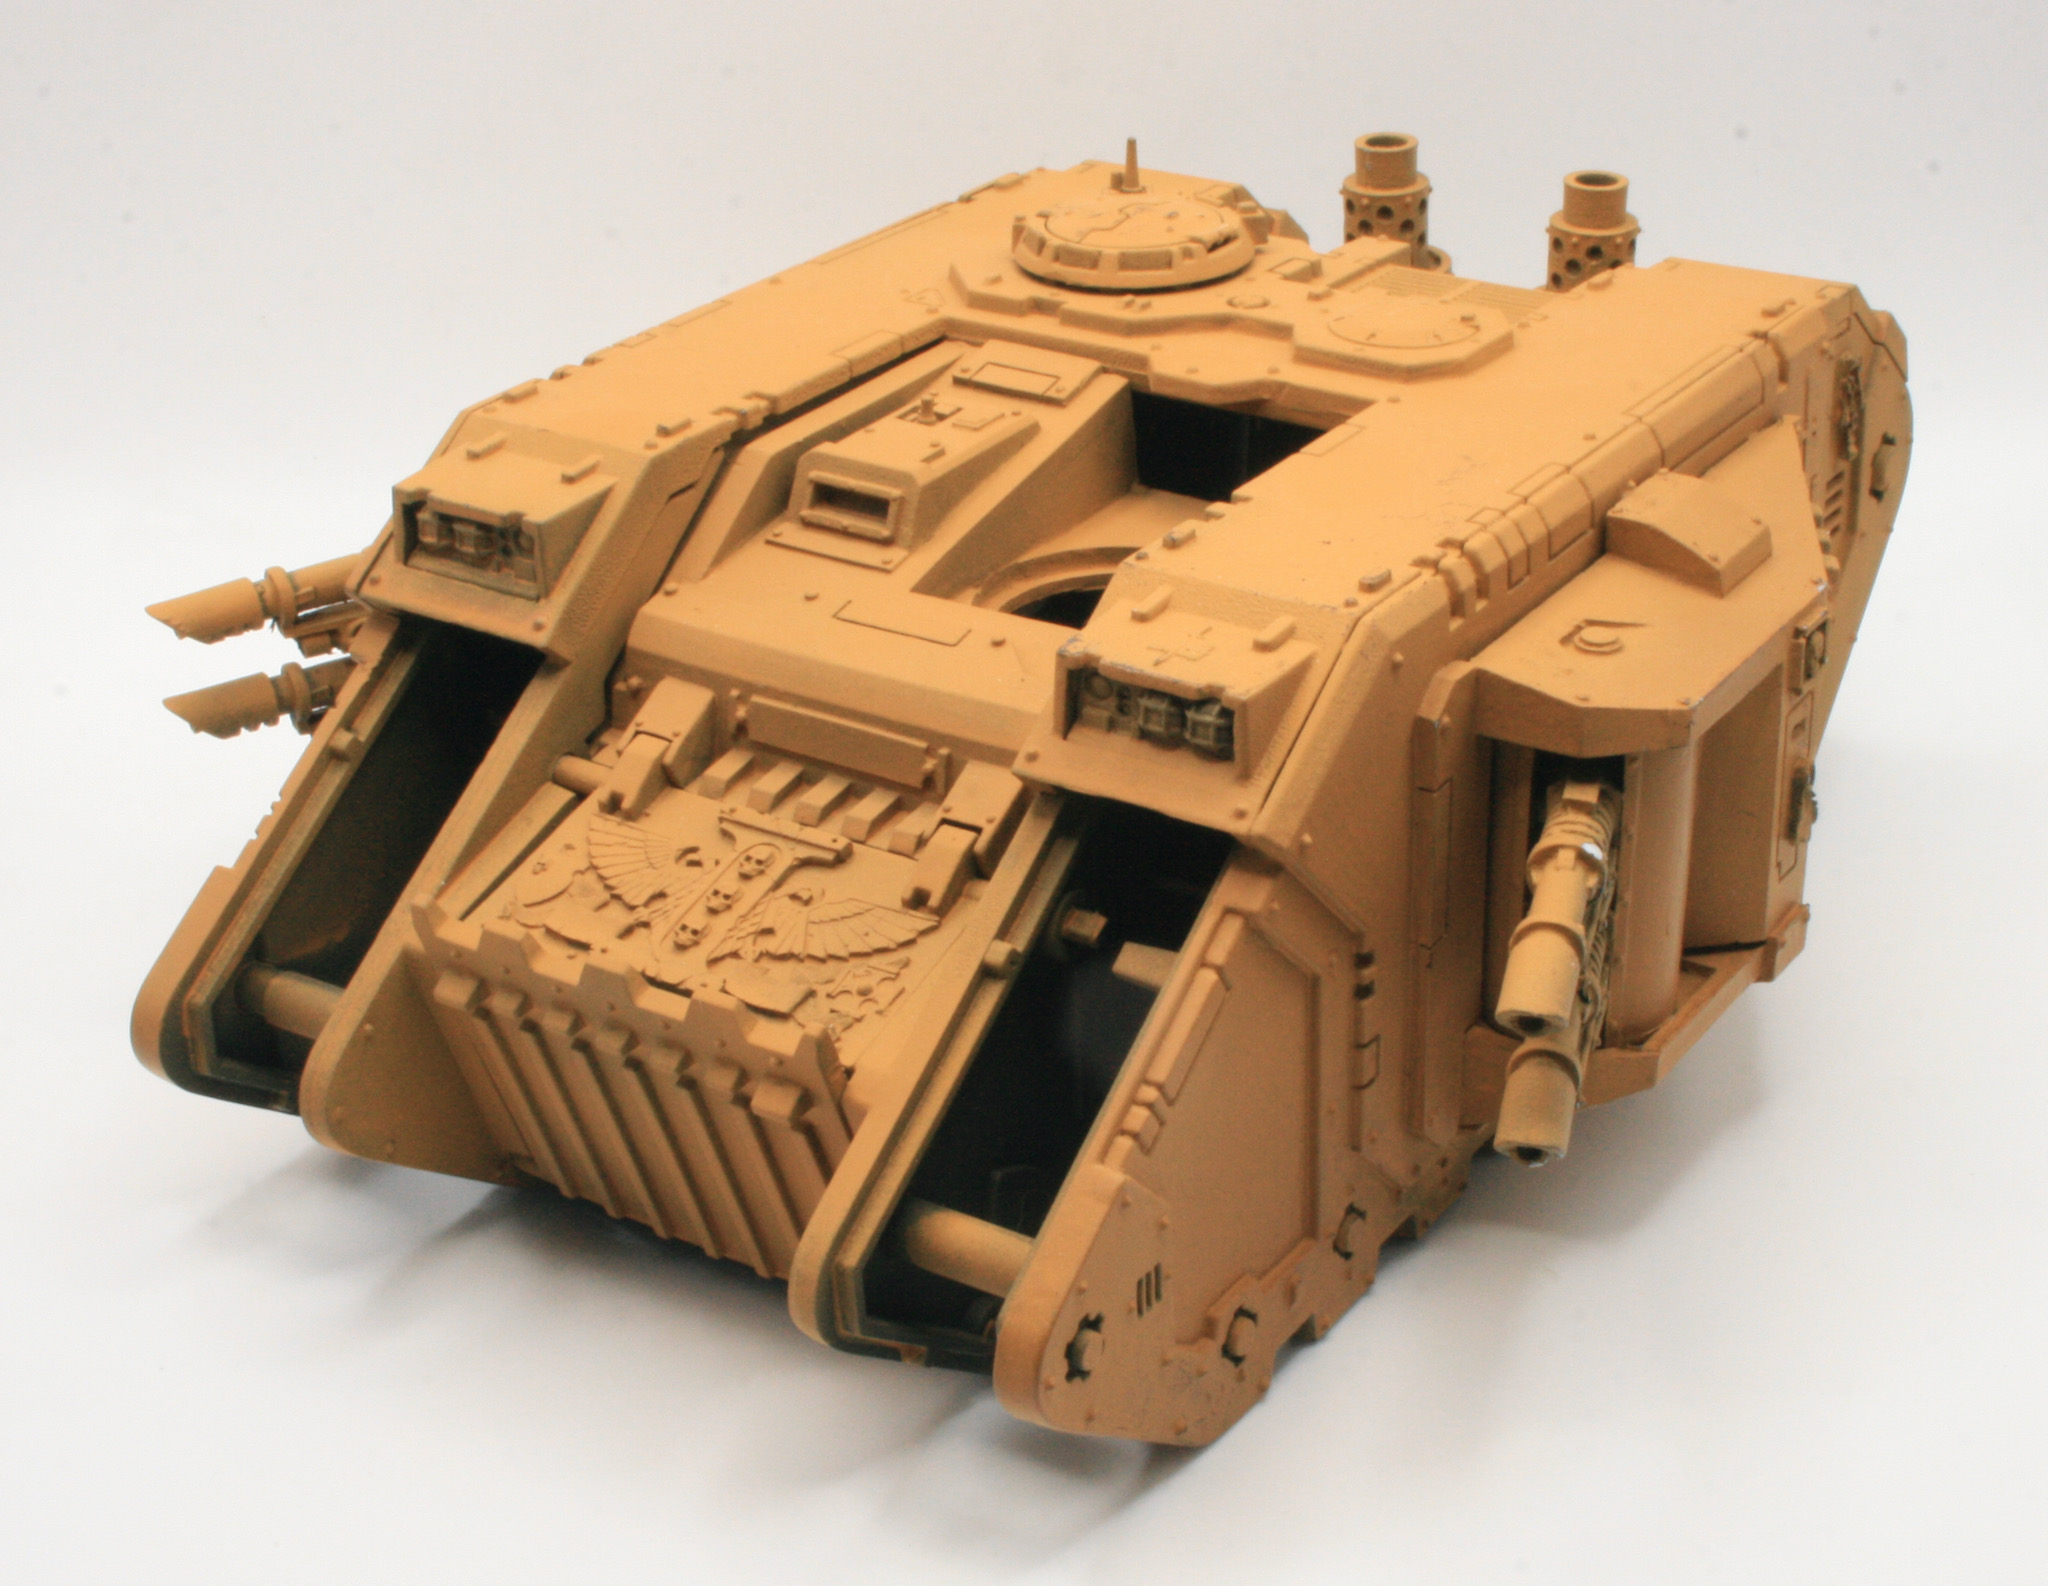
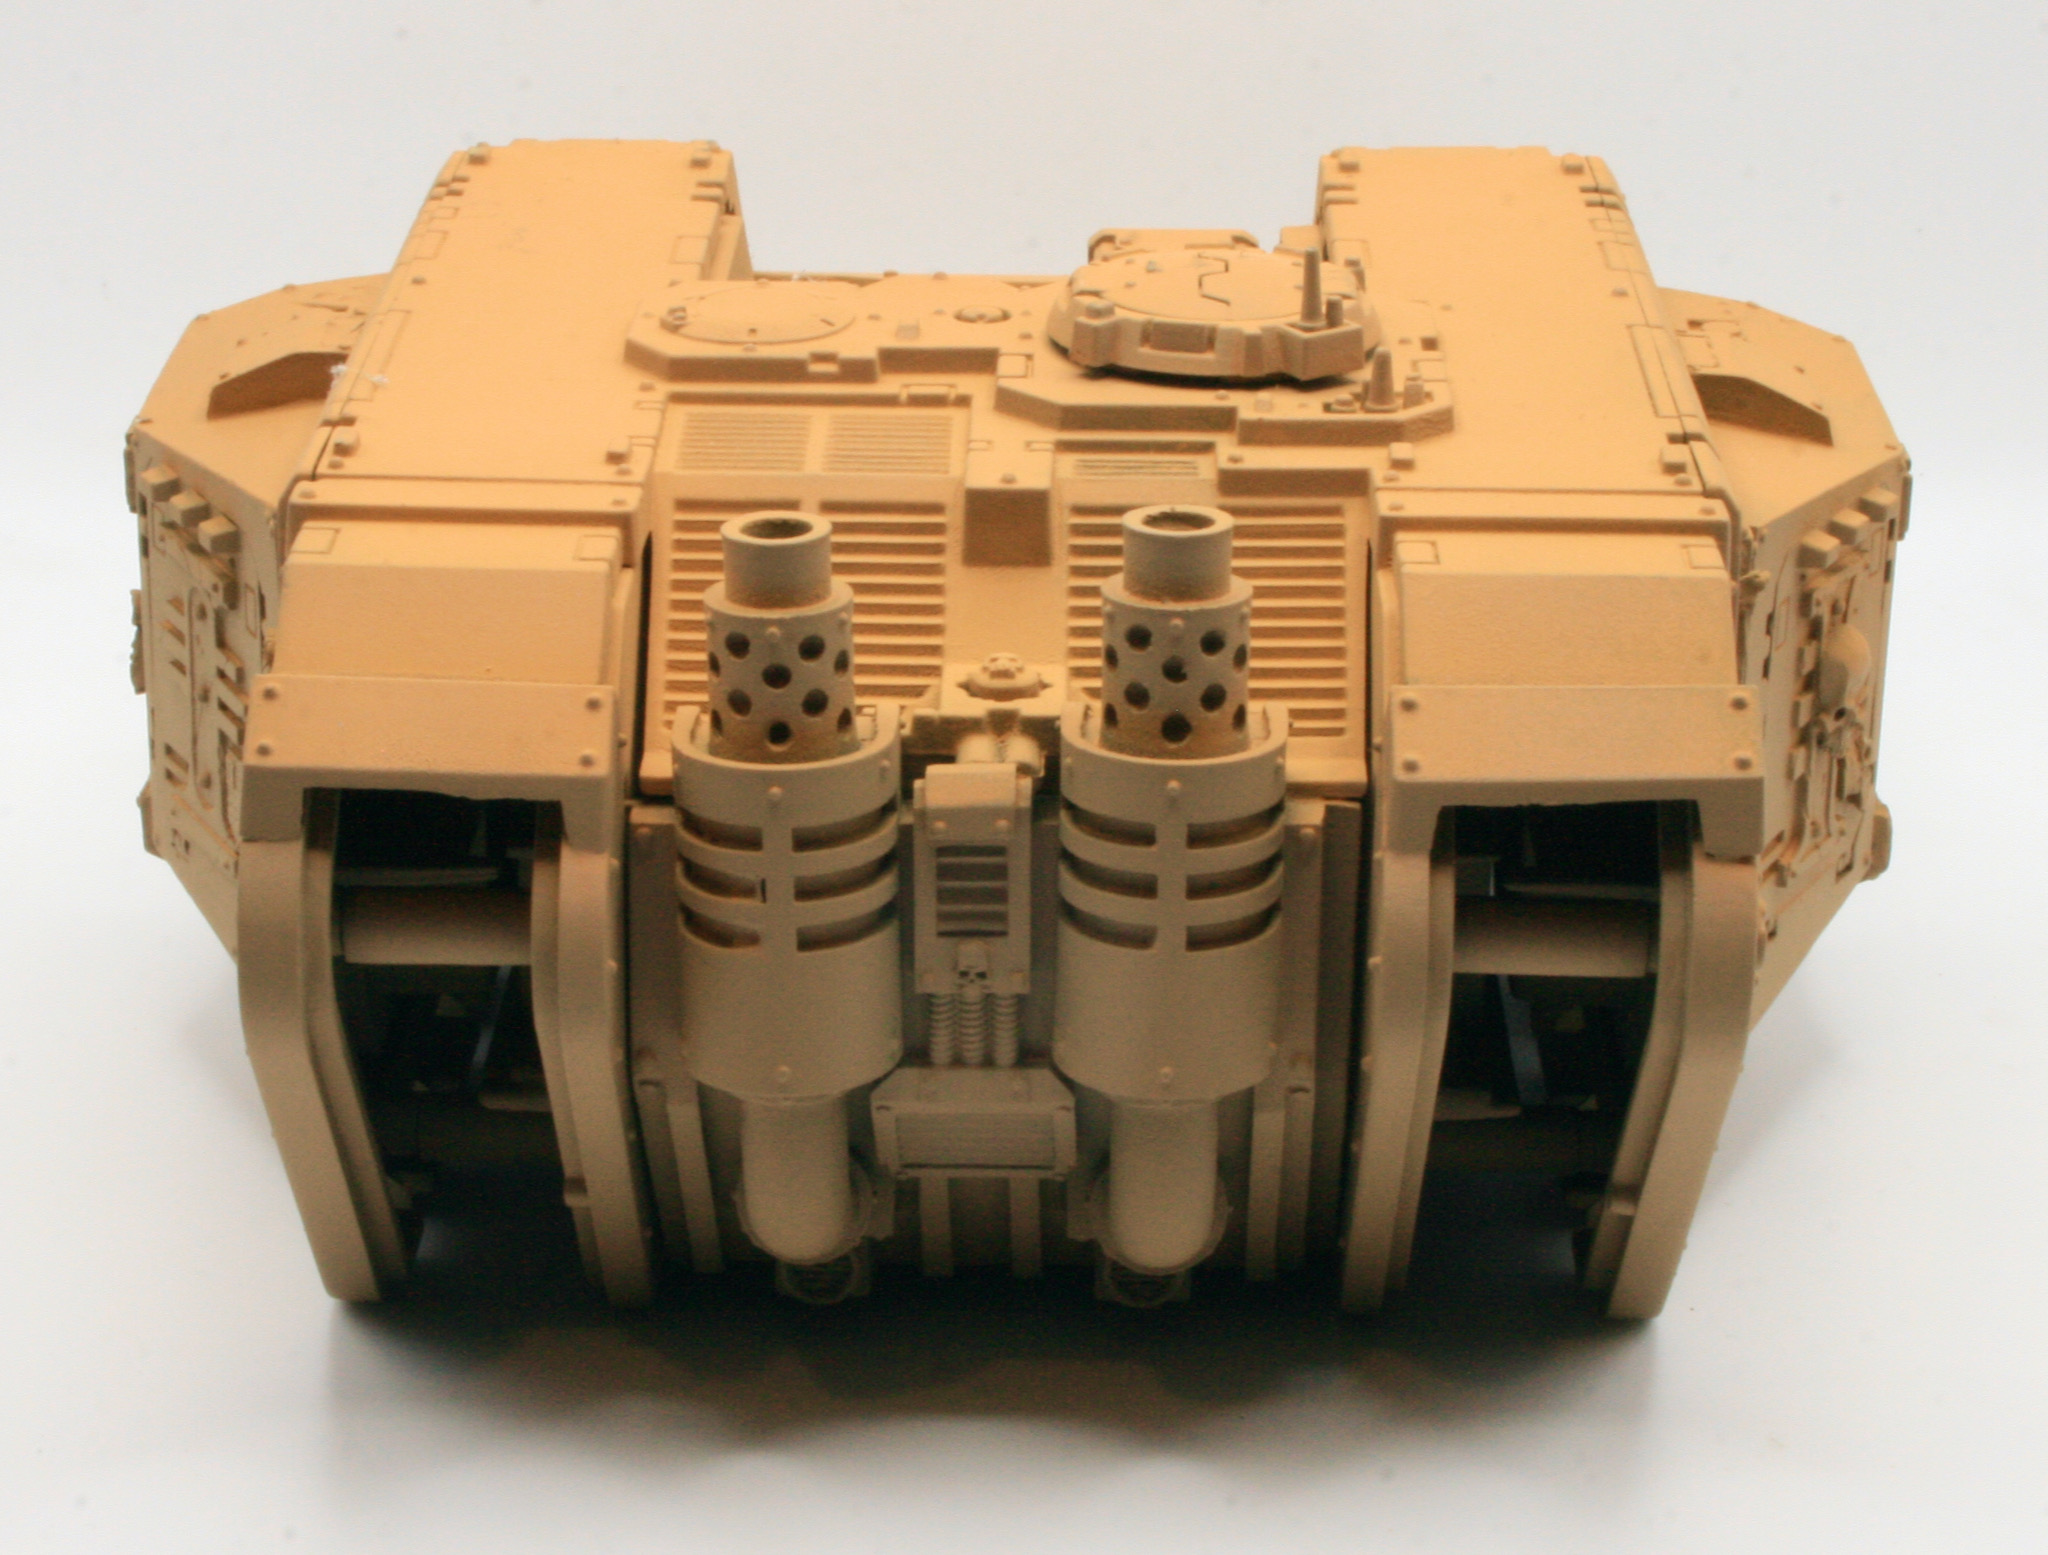
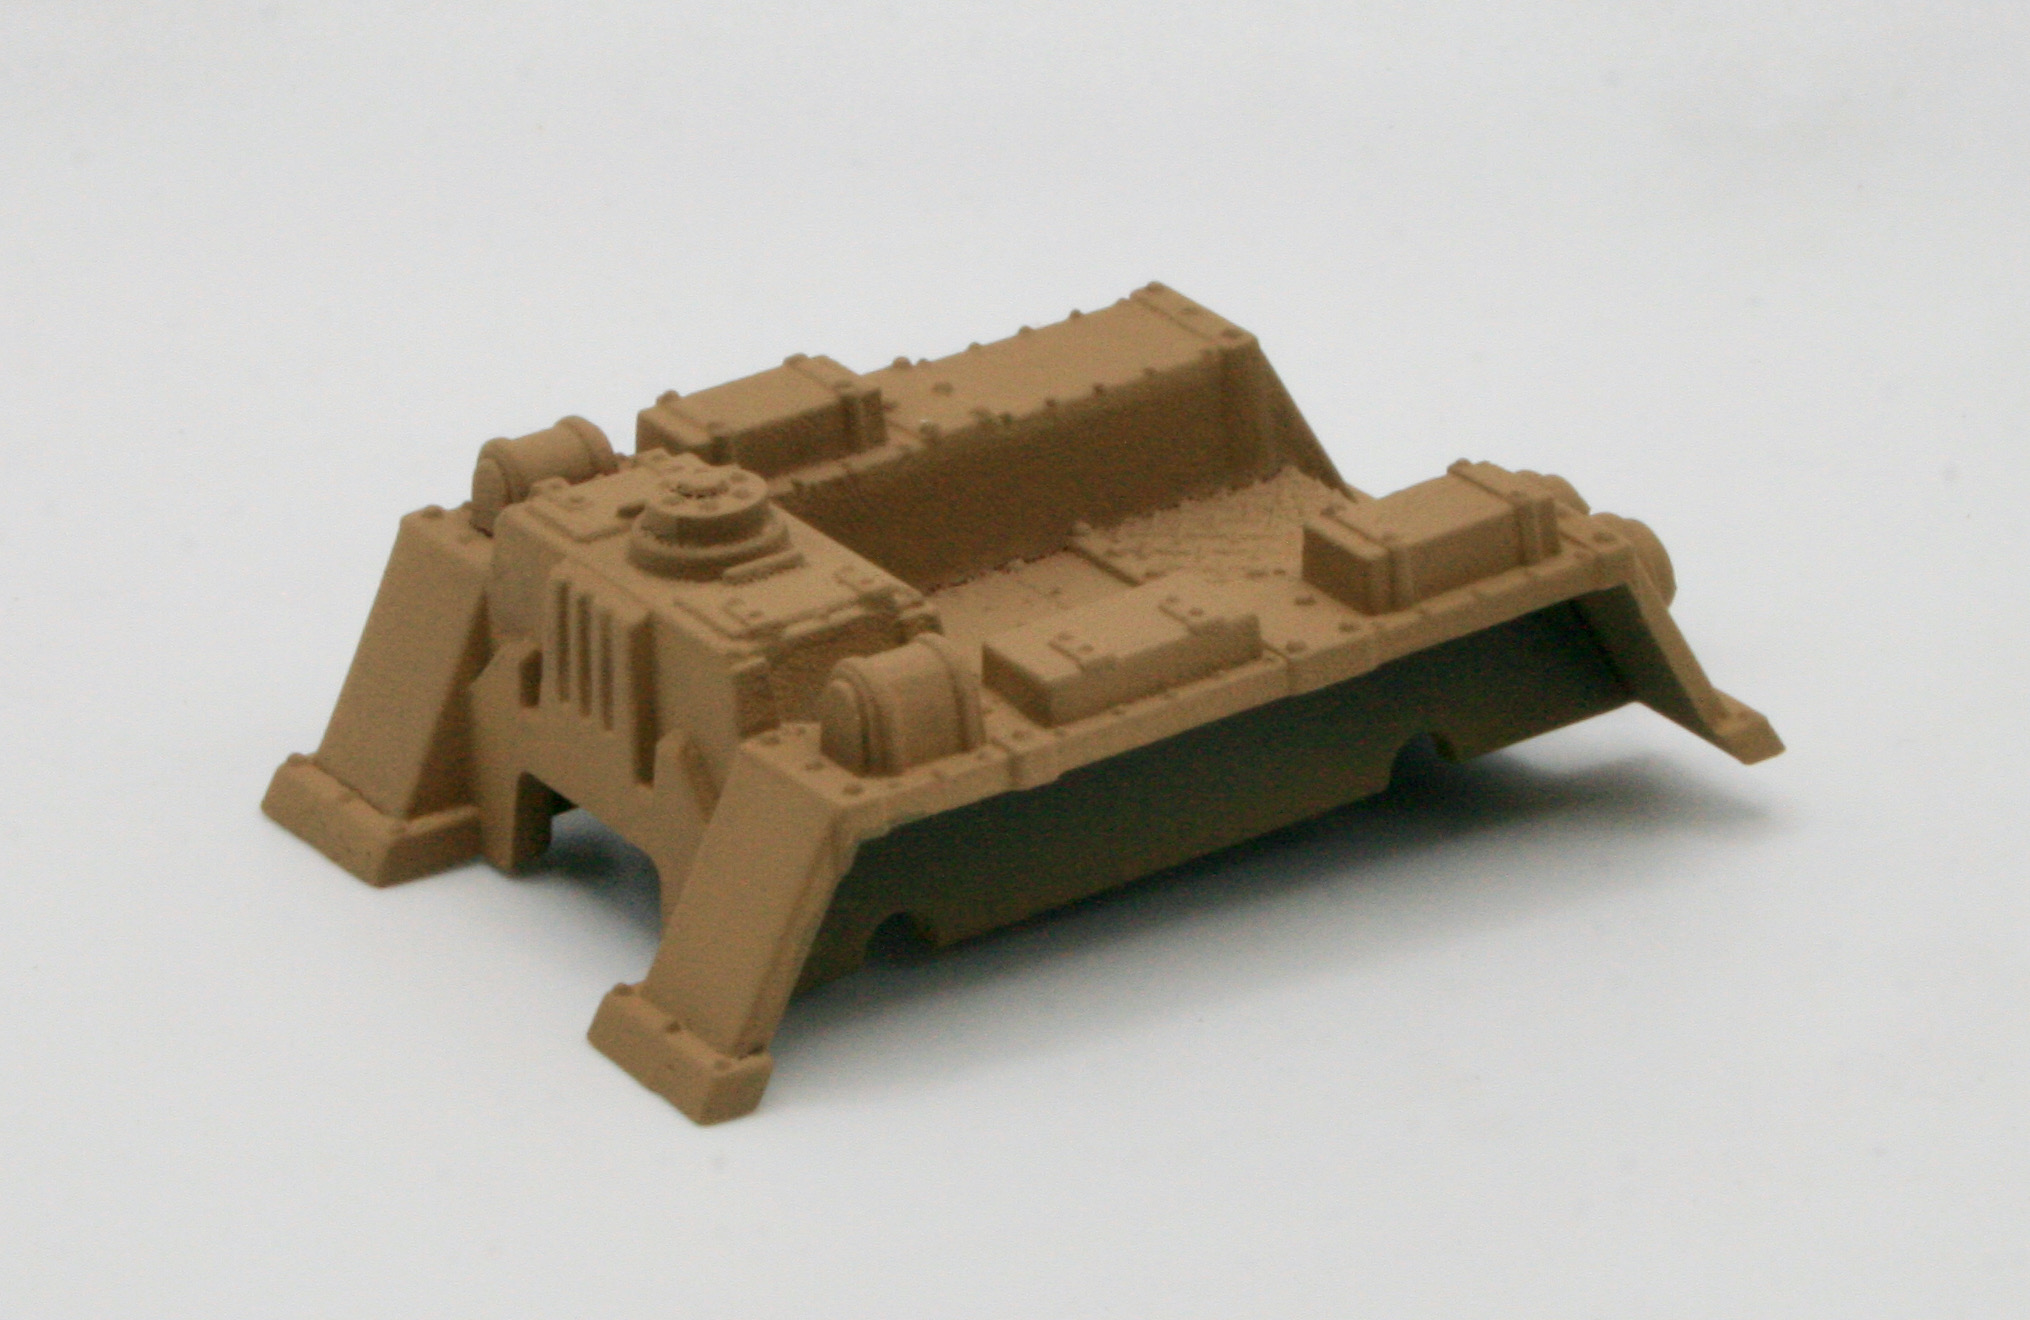
The Mark IIb Land Raider Phobos is one of the earliest marks of the standard pattern of Land Raider, and it still bears similarities to both the Land Raider Proteus and the Spartan Assault Tank that served as the models for the design.
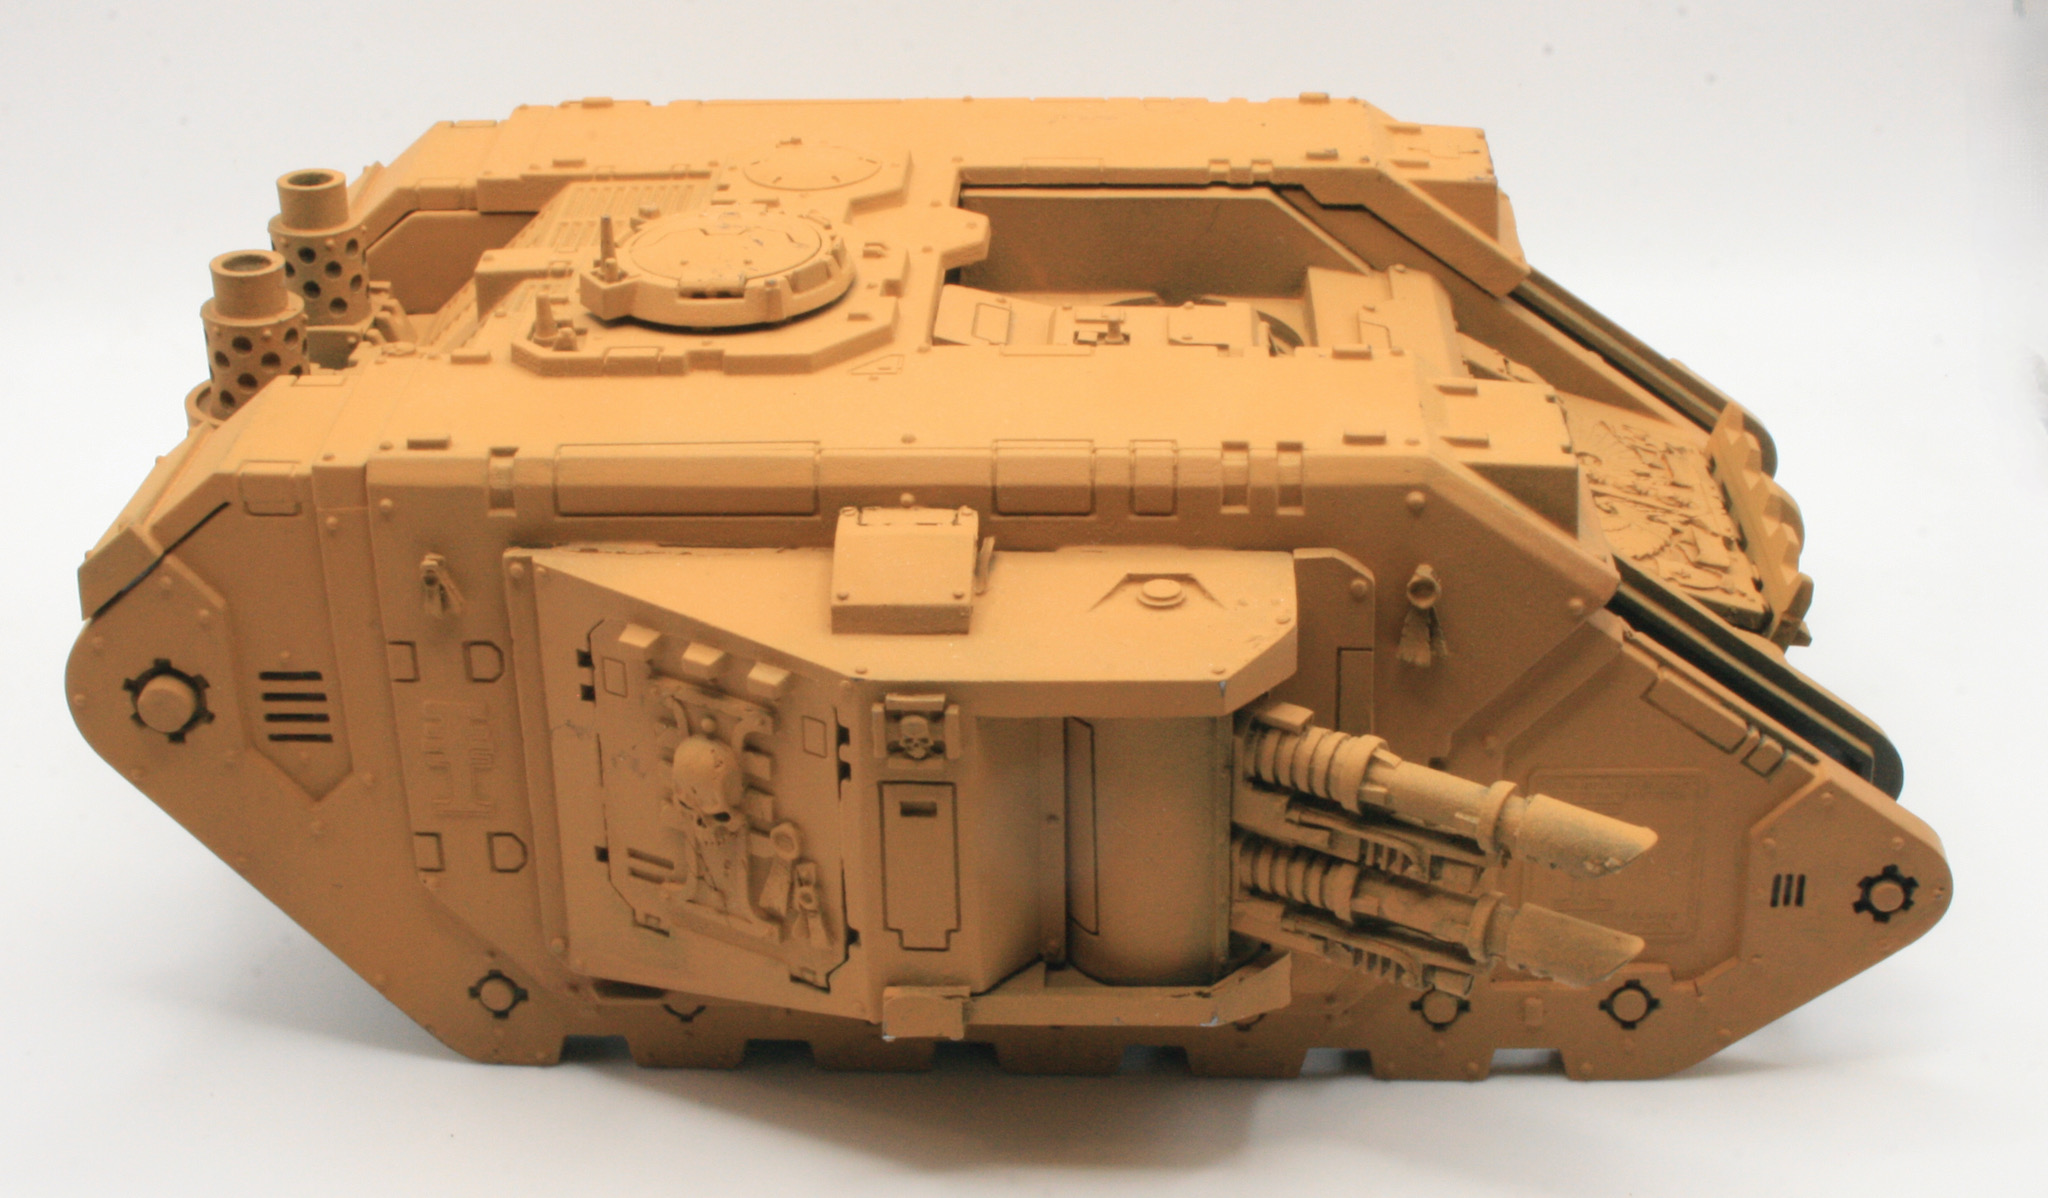
The Mark IIb Land Raider Phobos is the only pattern of the standard Land Raider Phobos that uses the older armoured sponsons, as they do not allow the weapons they hold to fully rotate. This pattern of Land Raider is mostly extinct within Space Marine Armouries, having been replaced with newer marks and patterns of the standard Land Raider Phobos. However, some Chapters may still possess one or two as treasured relics of their ancient past.
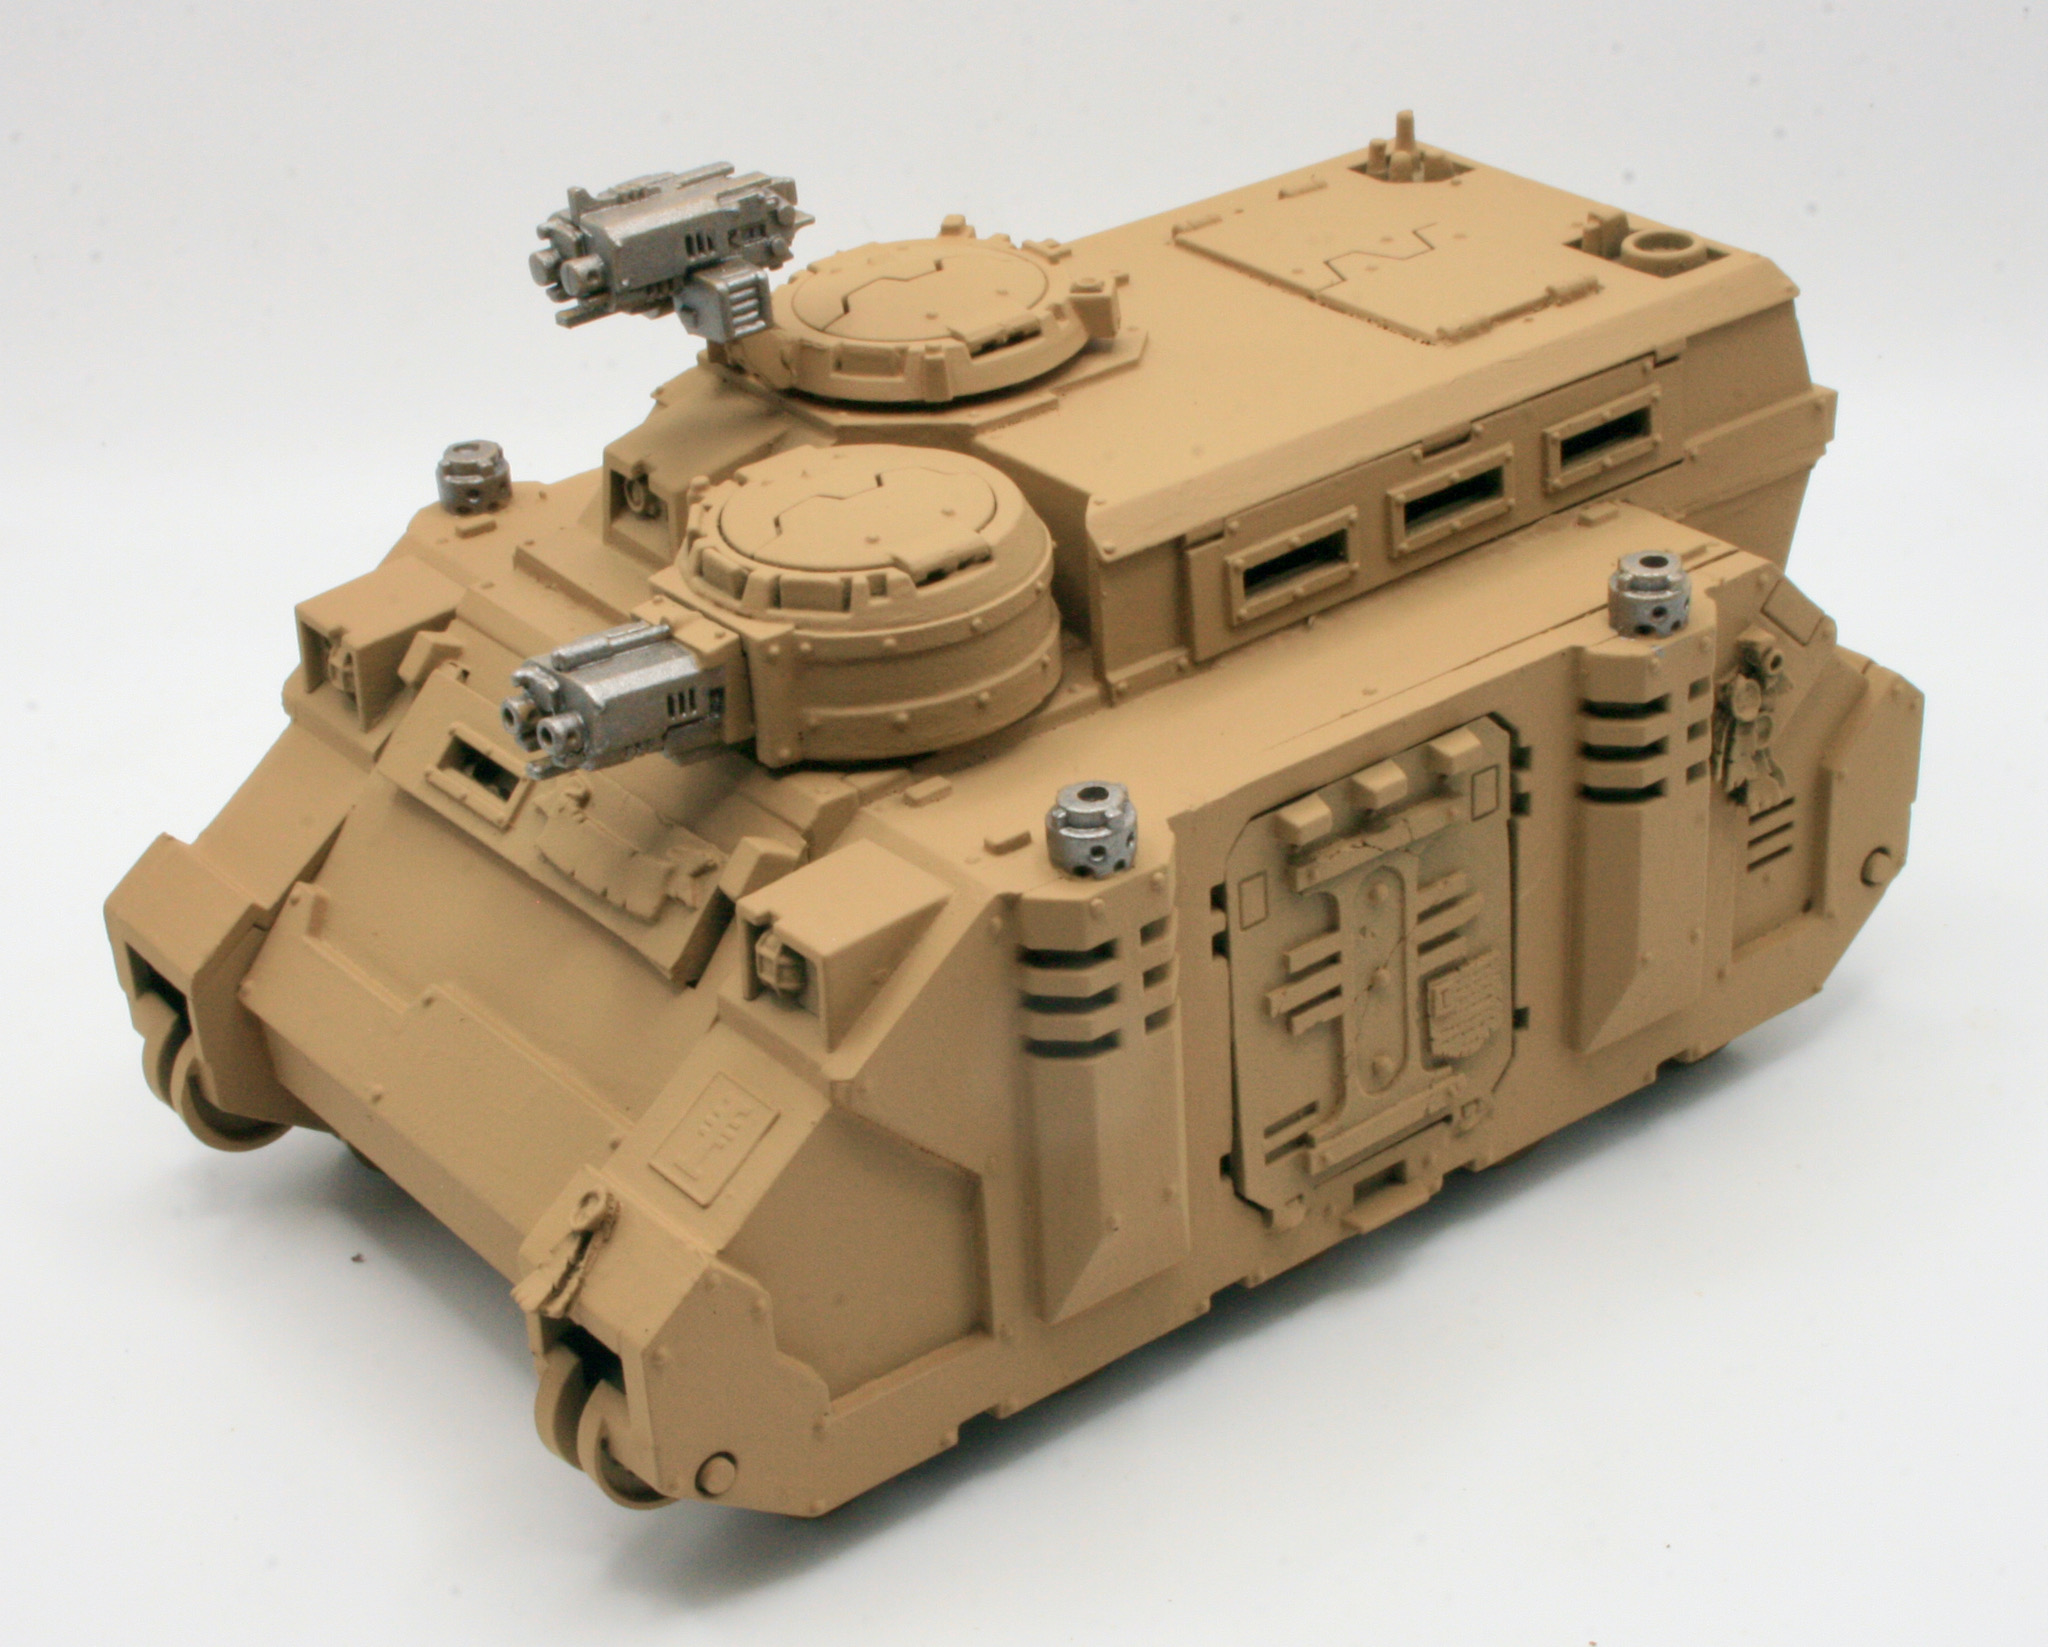
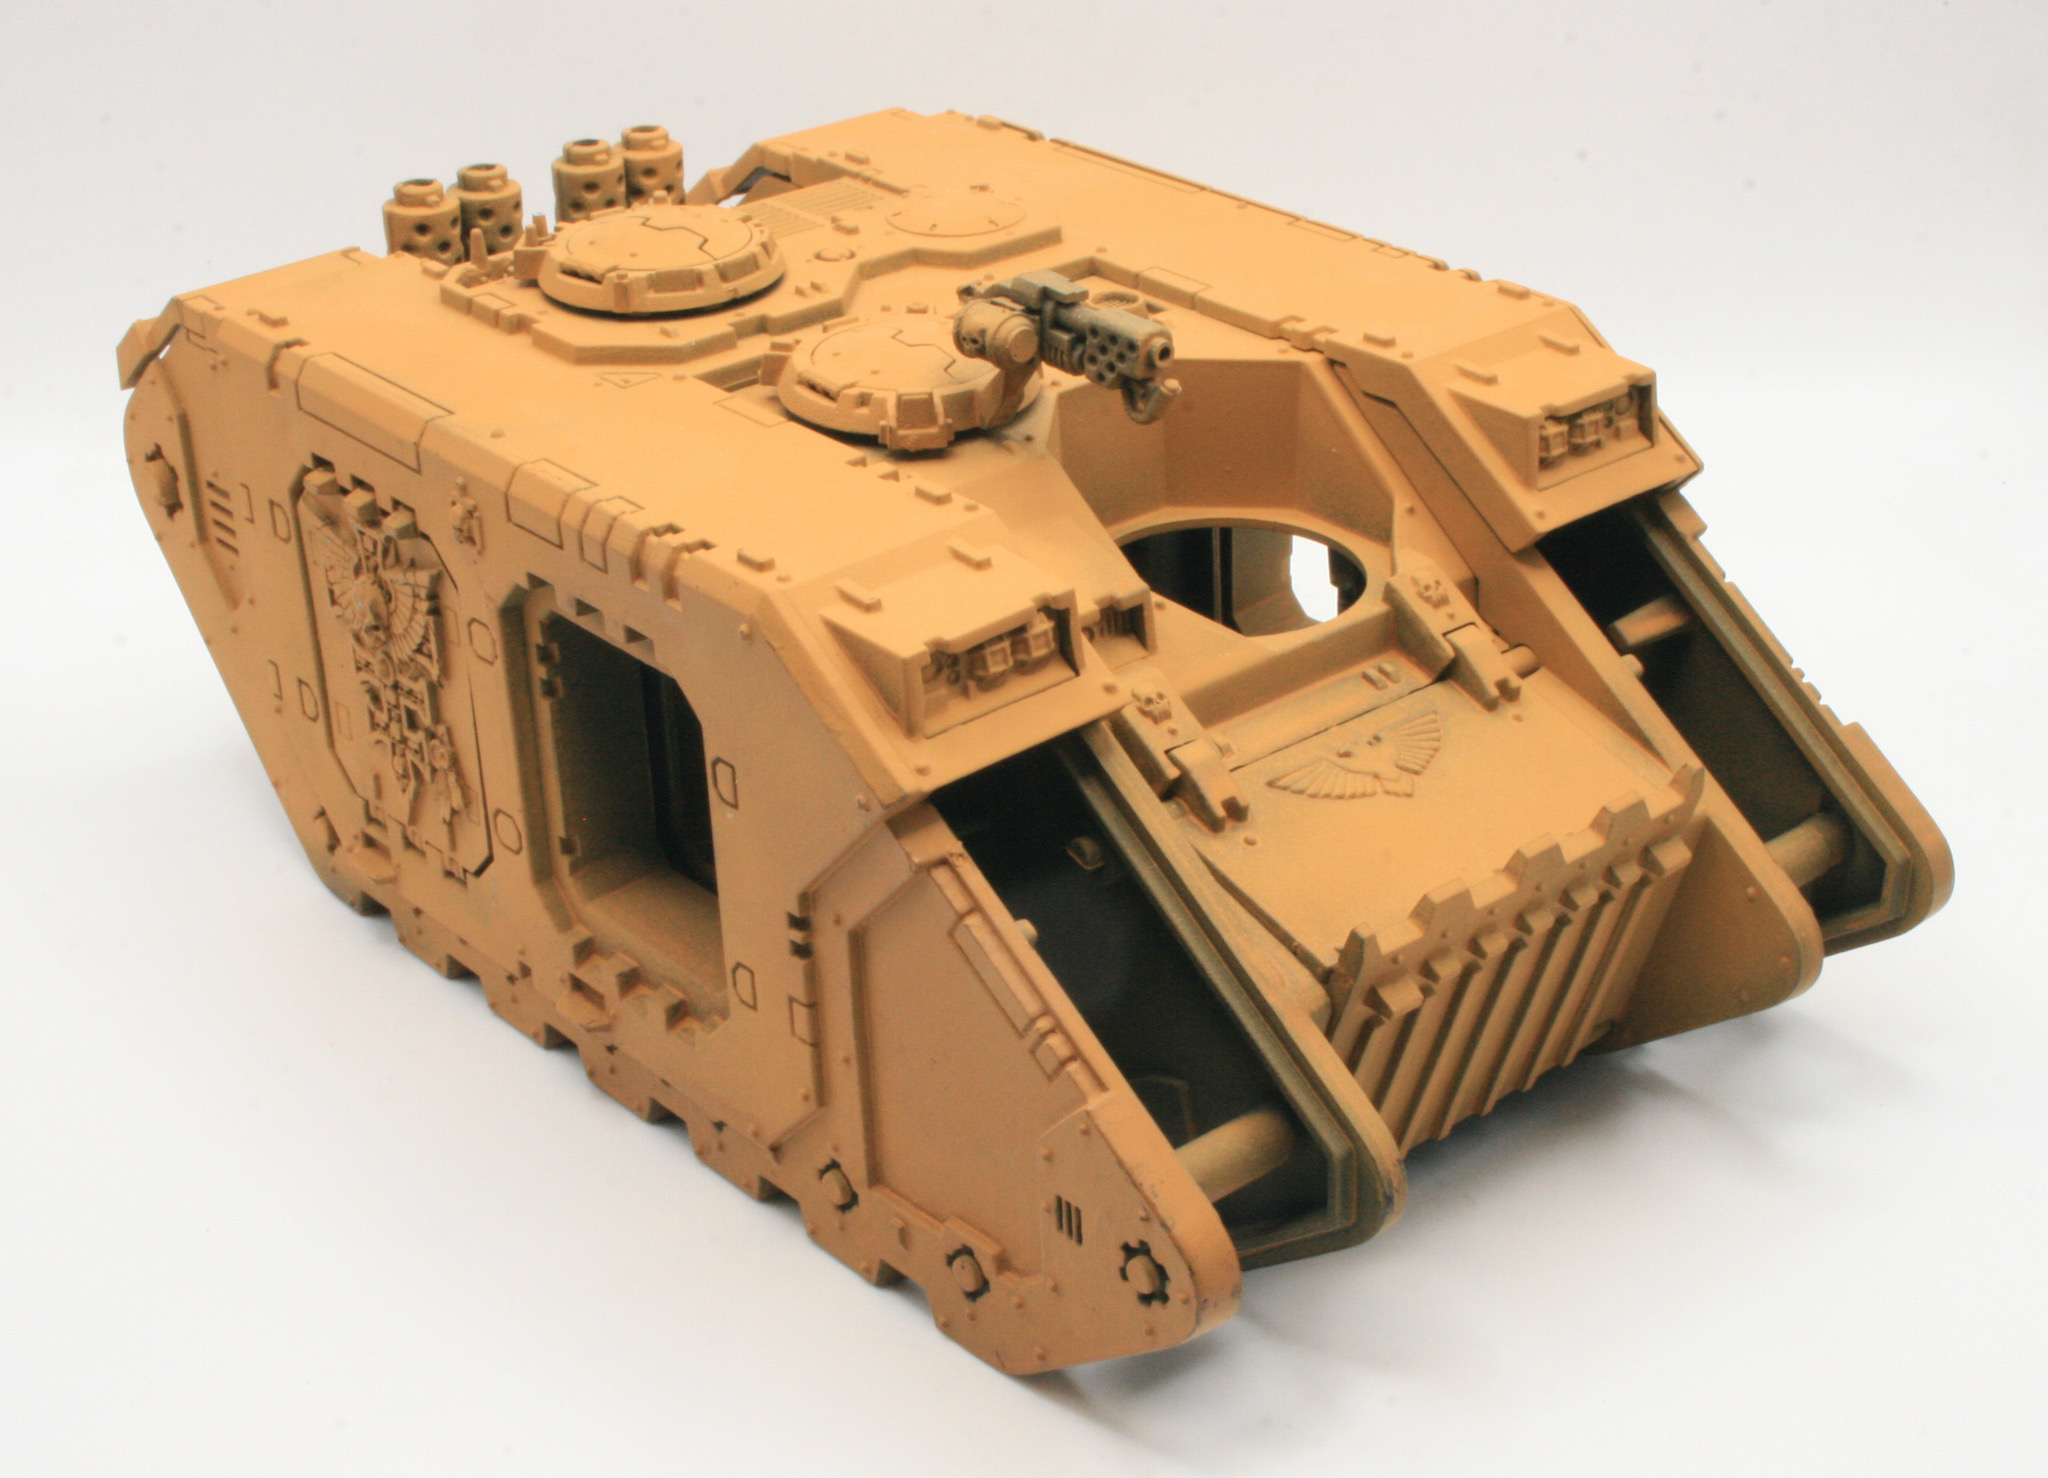
I got a Forge World MkIIB Land Raider and was originally painting it up as a Grey Knights Land Raider in desert camouflage.

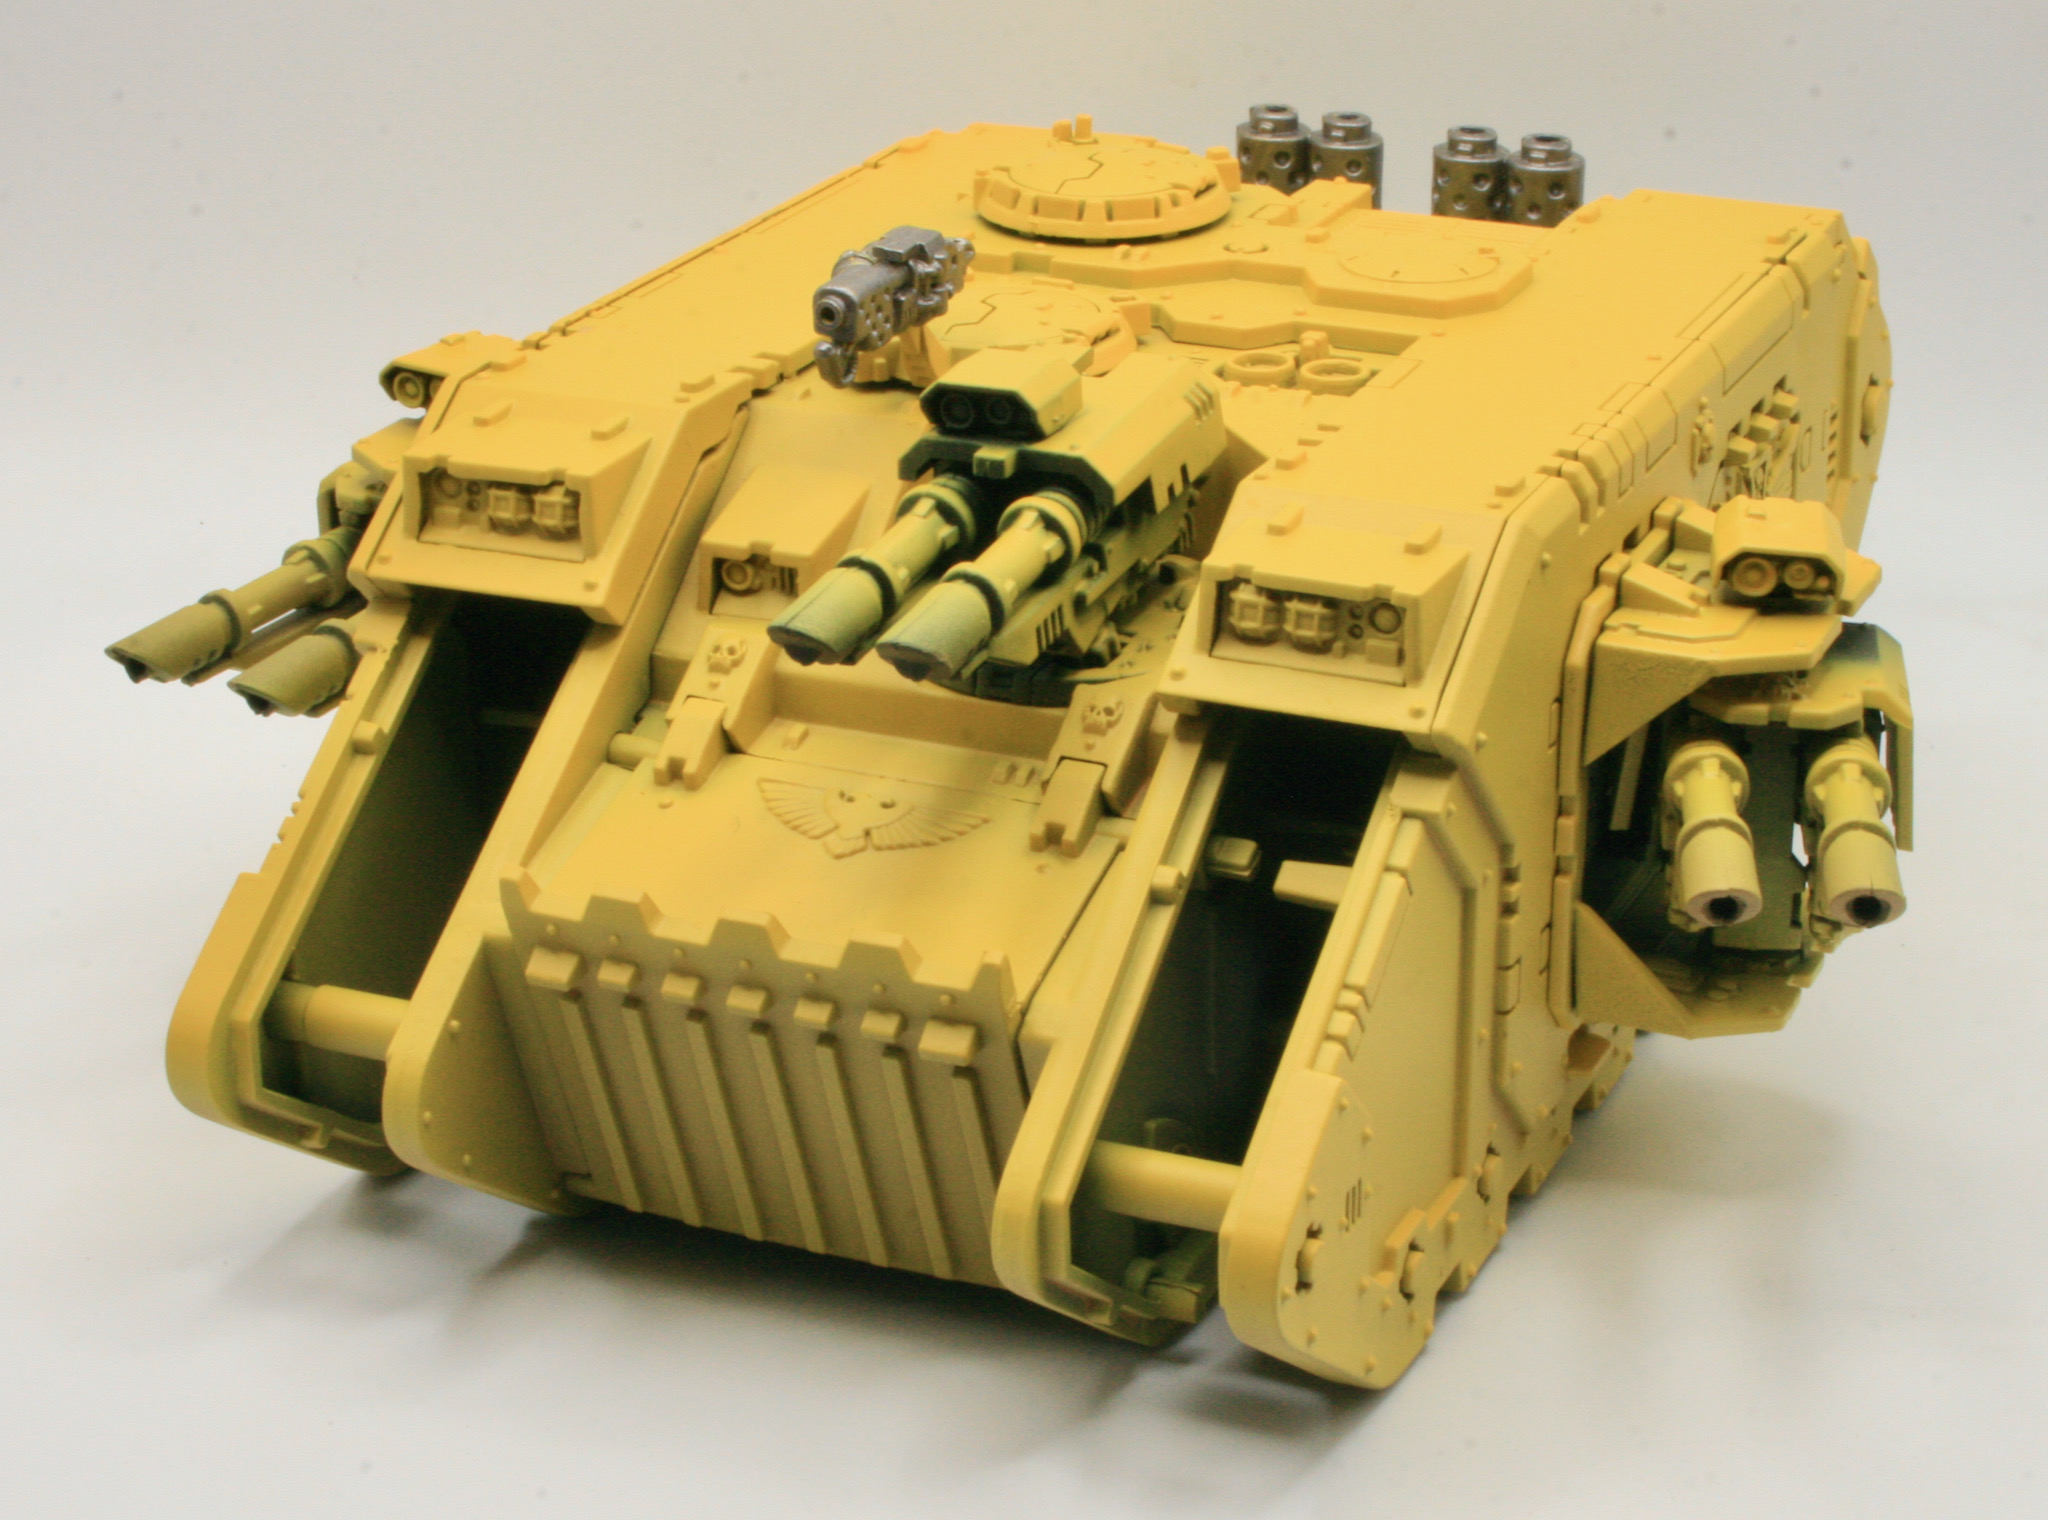
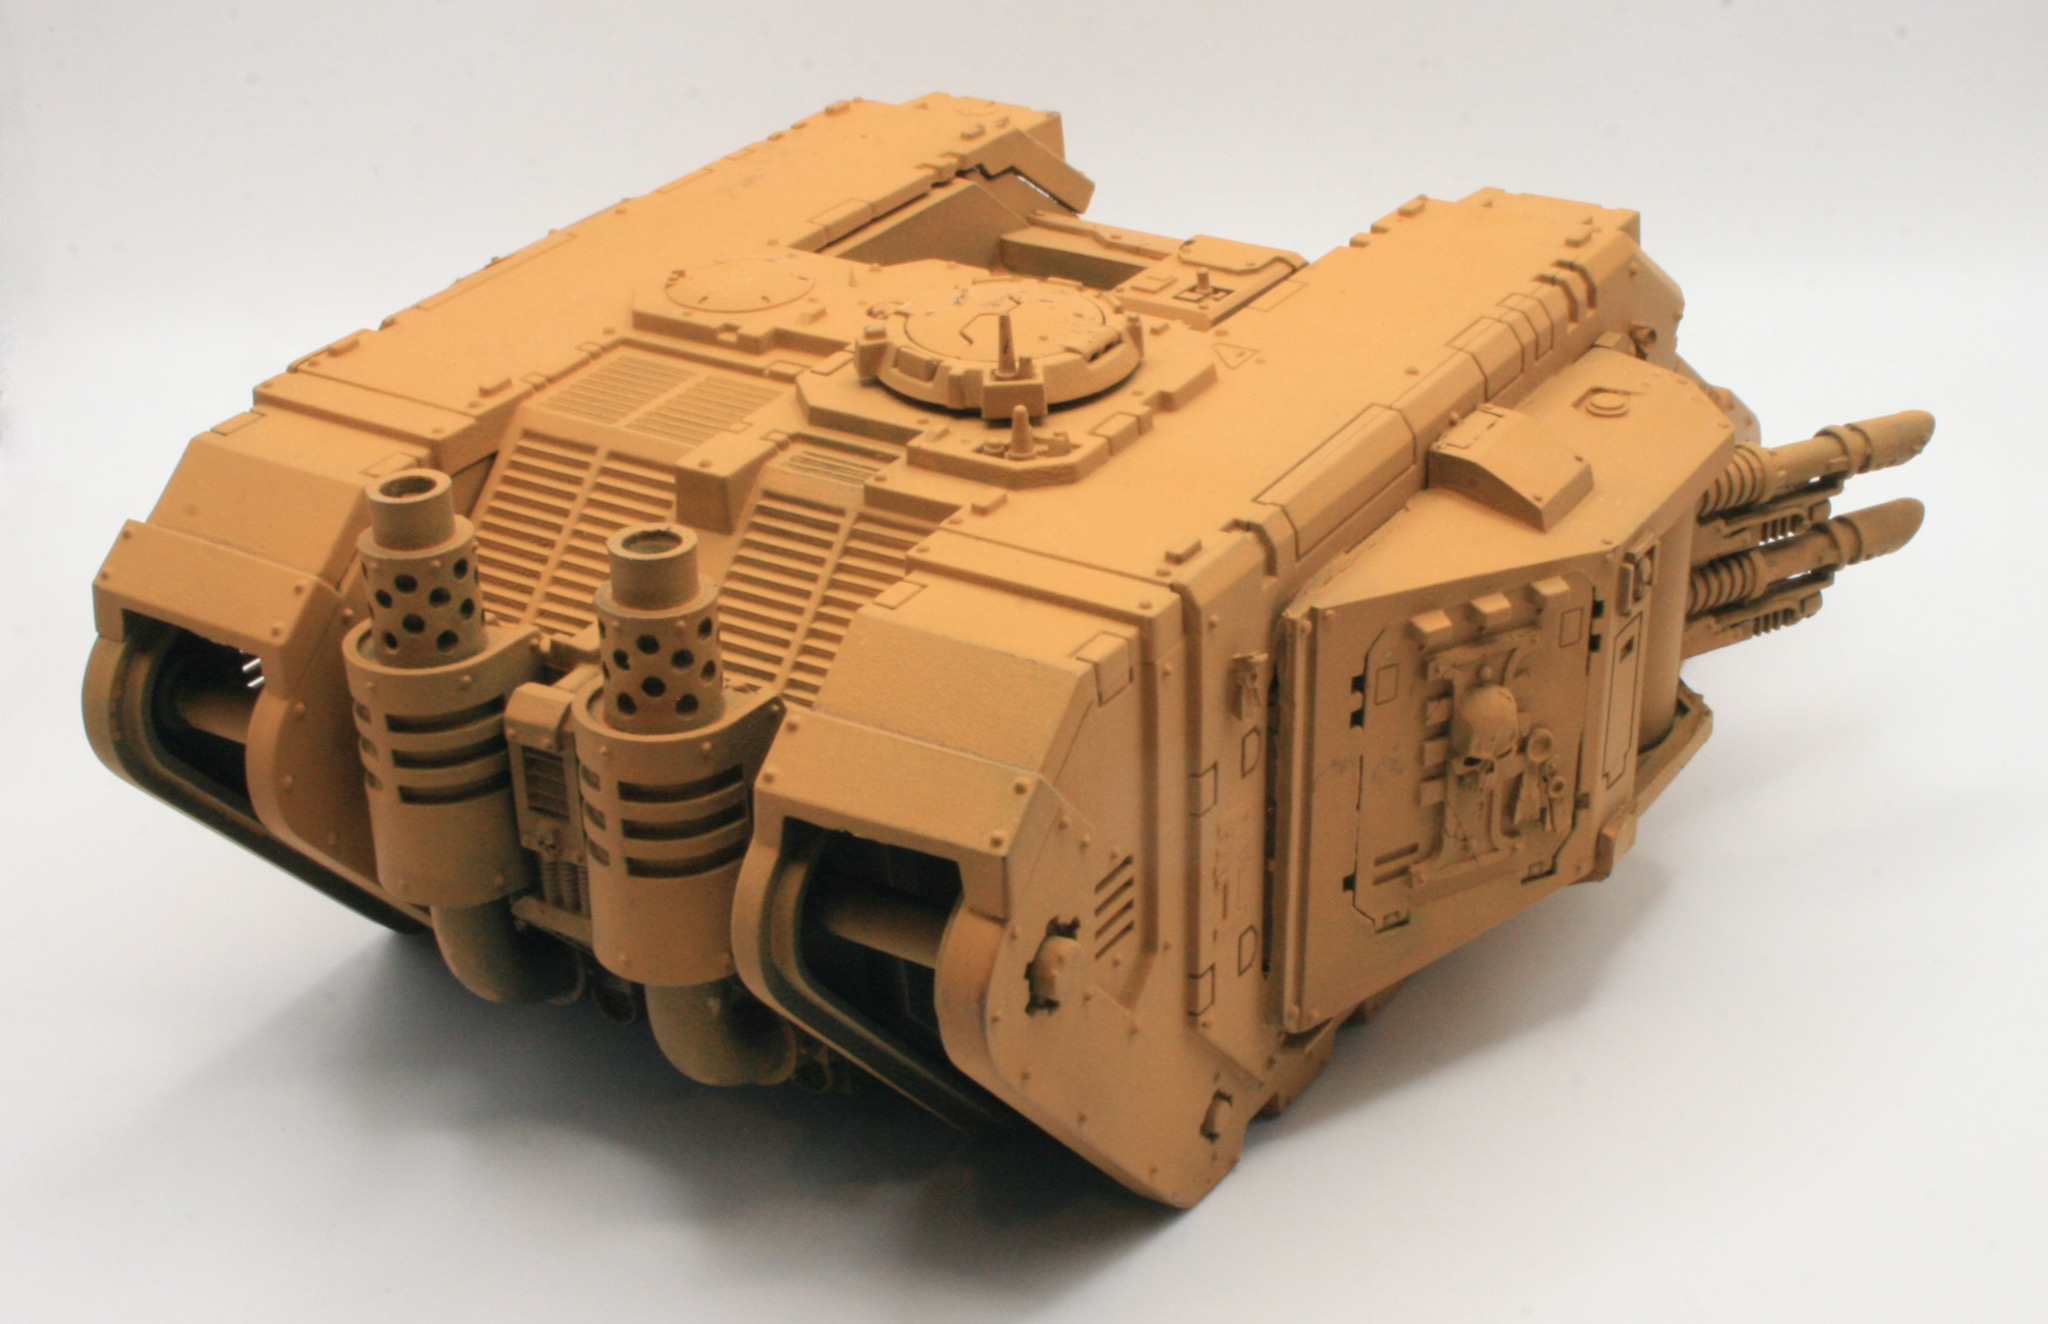
For the basecoat I used the old Foundation Paints from Games Workshop, specifically Tausept Ochre.

This was taking it’s time, so I decided that I would try using Citadel’s spray gun to base coat the rest of the Land Raider. However due to thinning the paint too much I didn’t get the result I hoped for. I did give it a second coat, and then lost interest in finishing the model like my other Land Raider. So, it got put into storage.

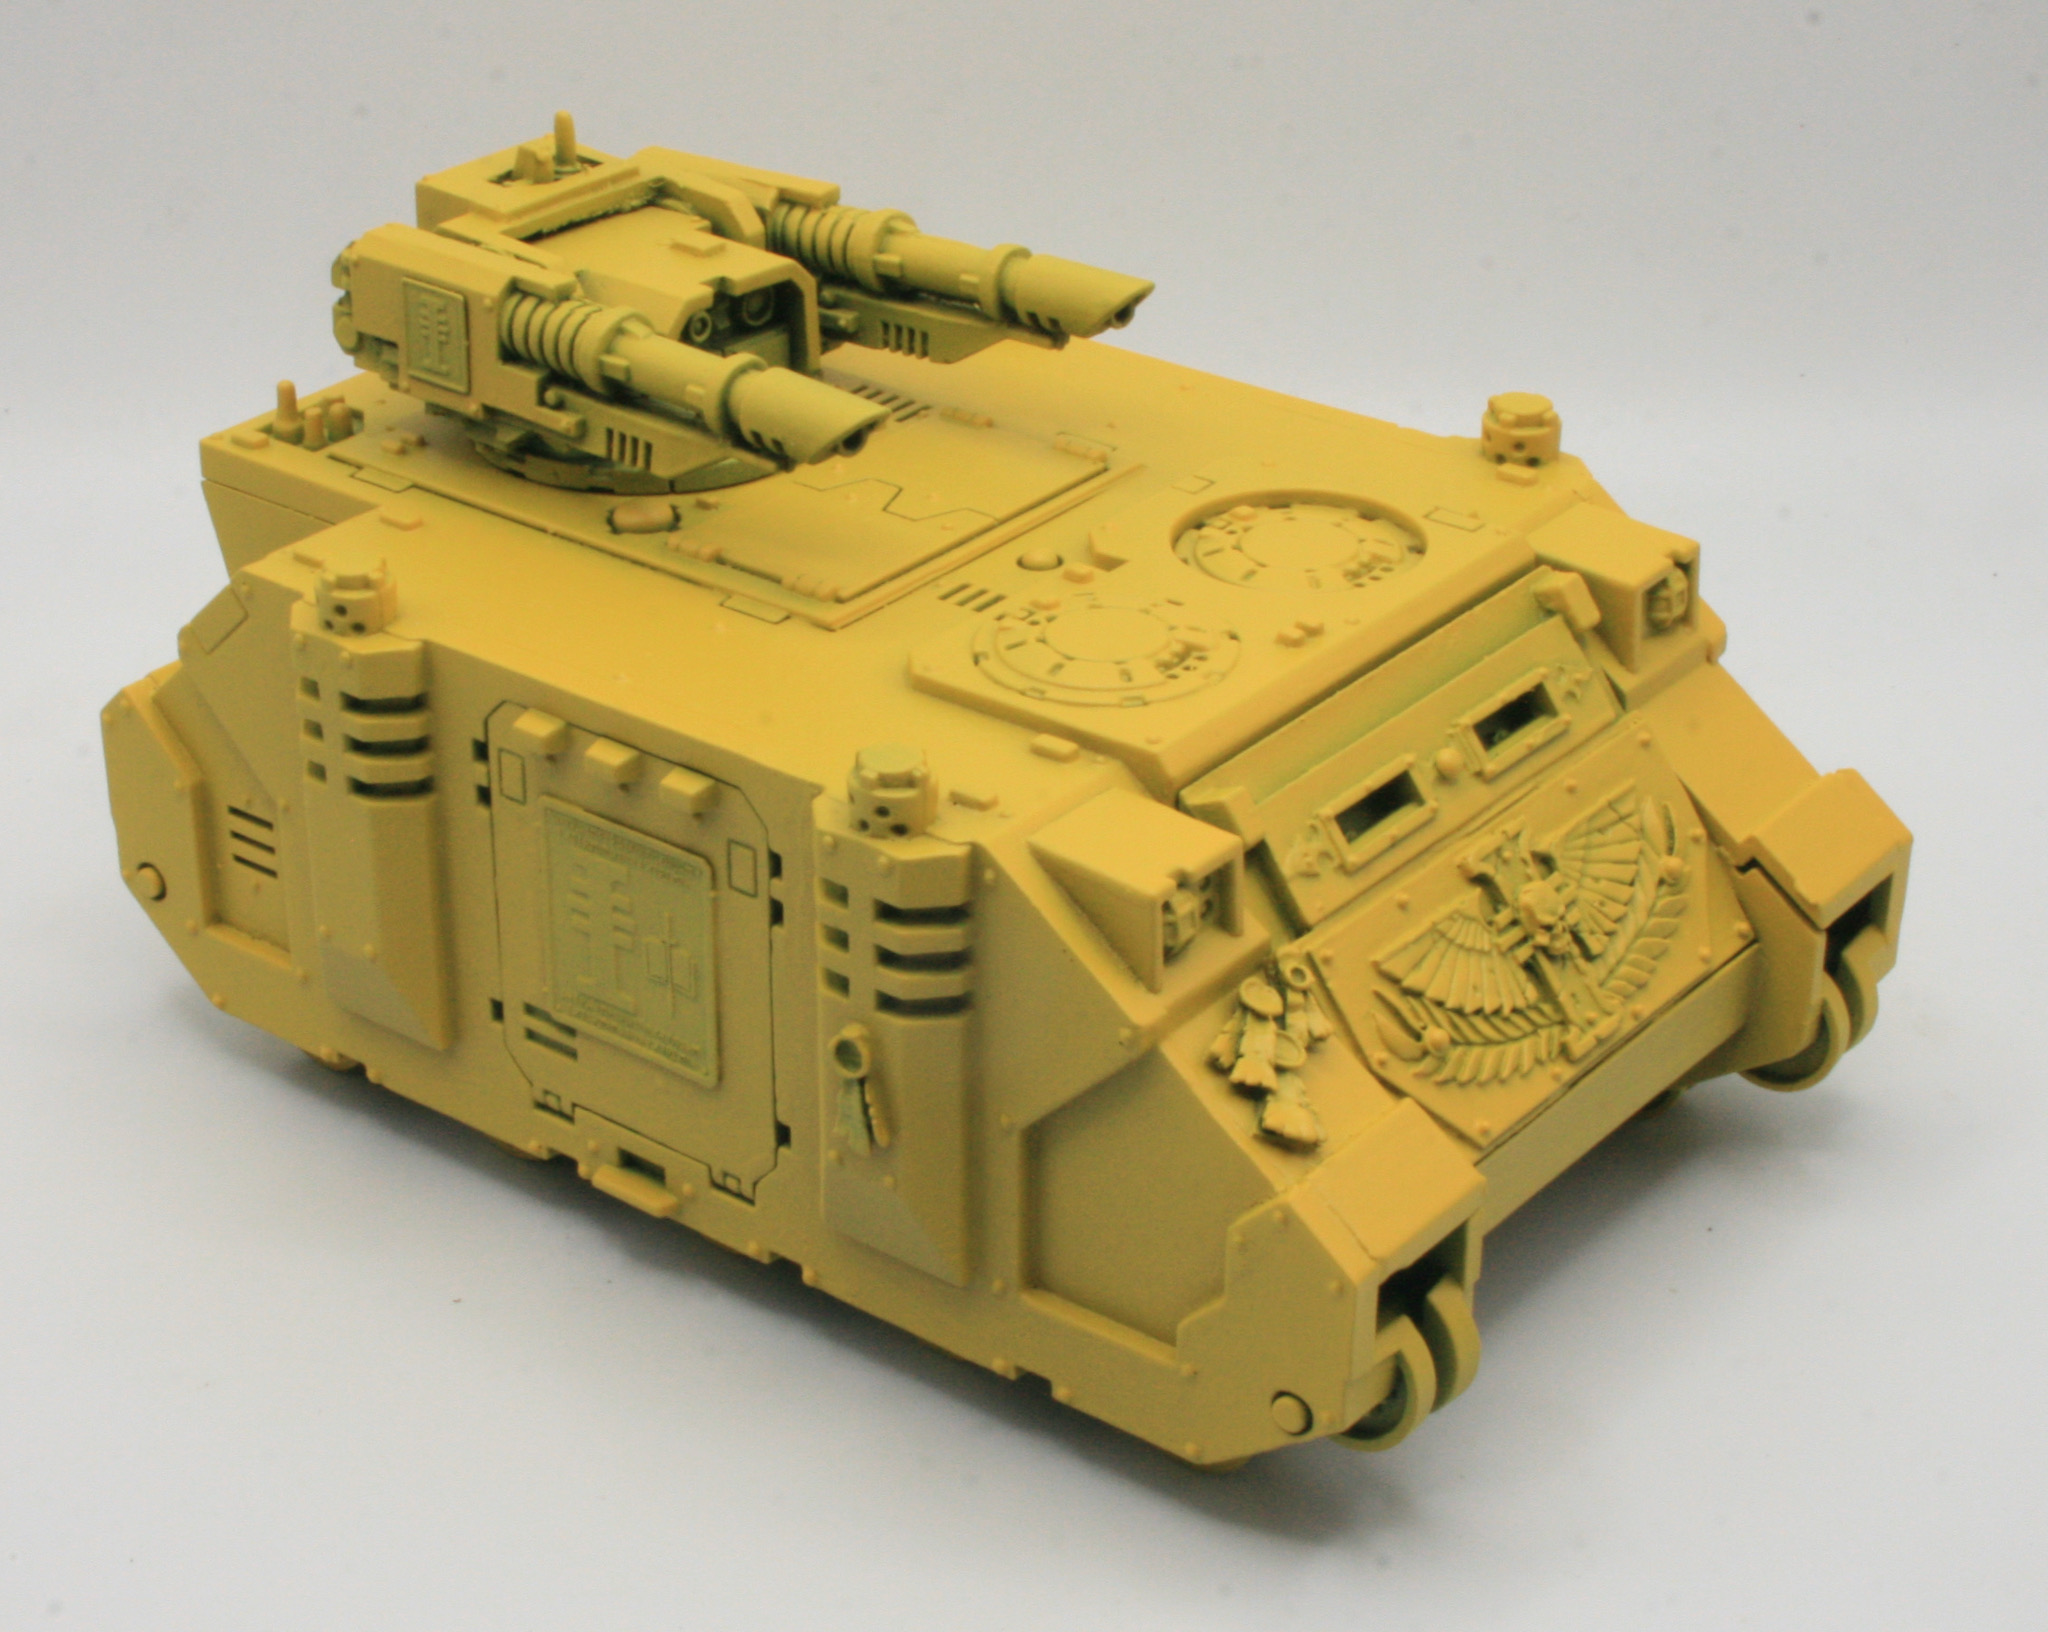
However having liked the paint scheme I was using on my Deimos-pattern Rhino, I decided that I would find the model and paint this Land Raider in the same scheme.
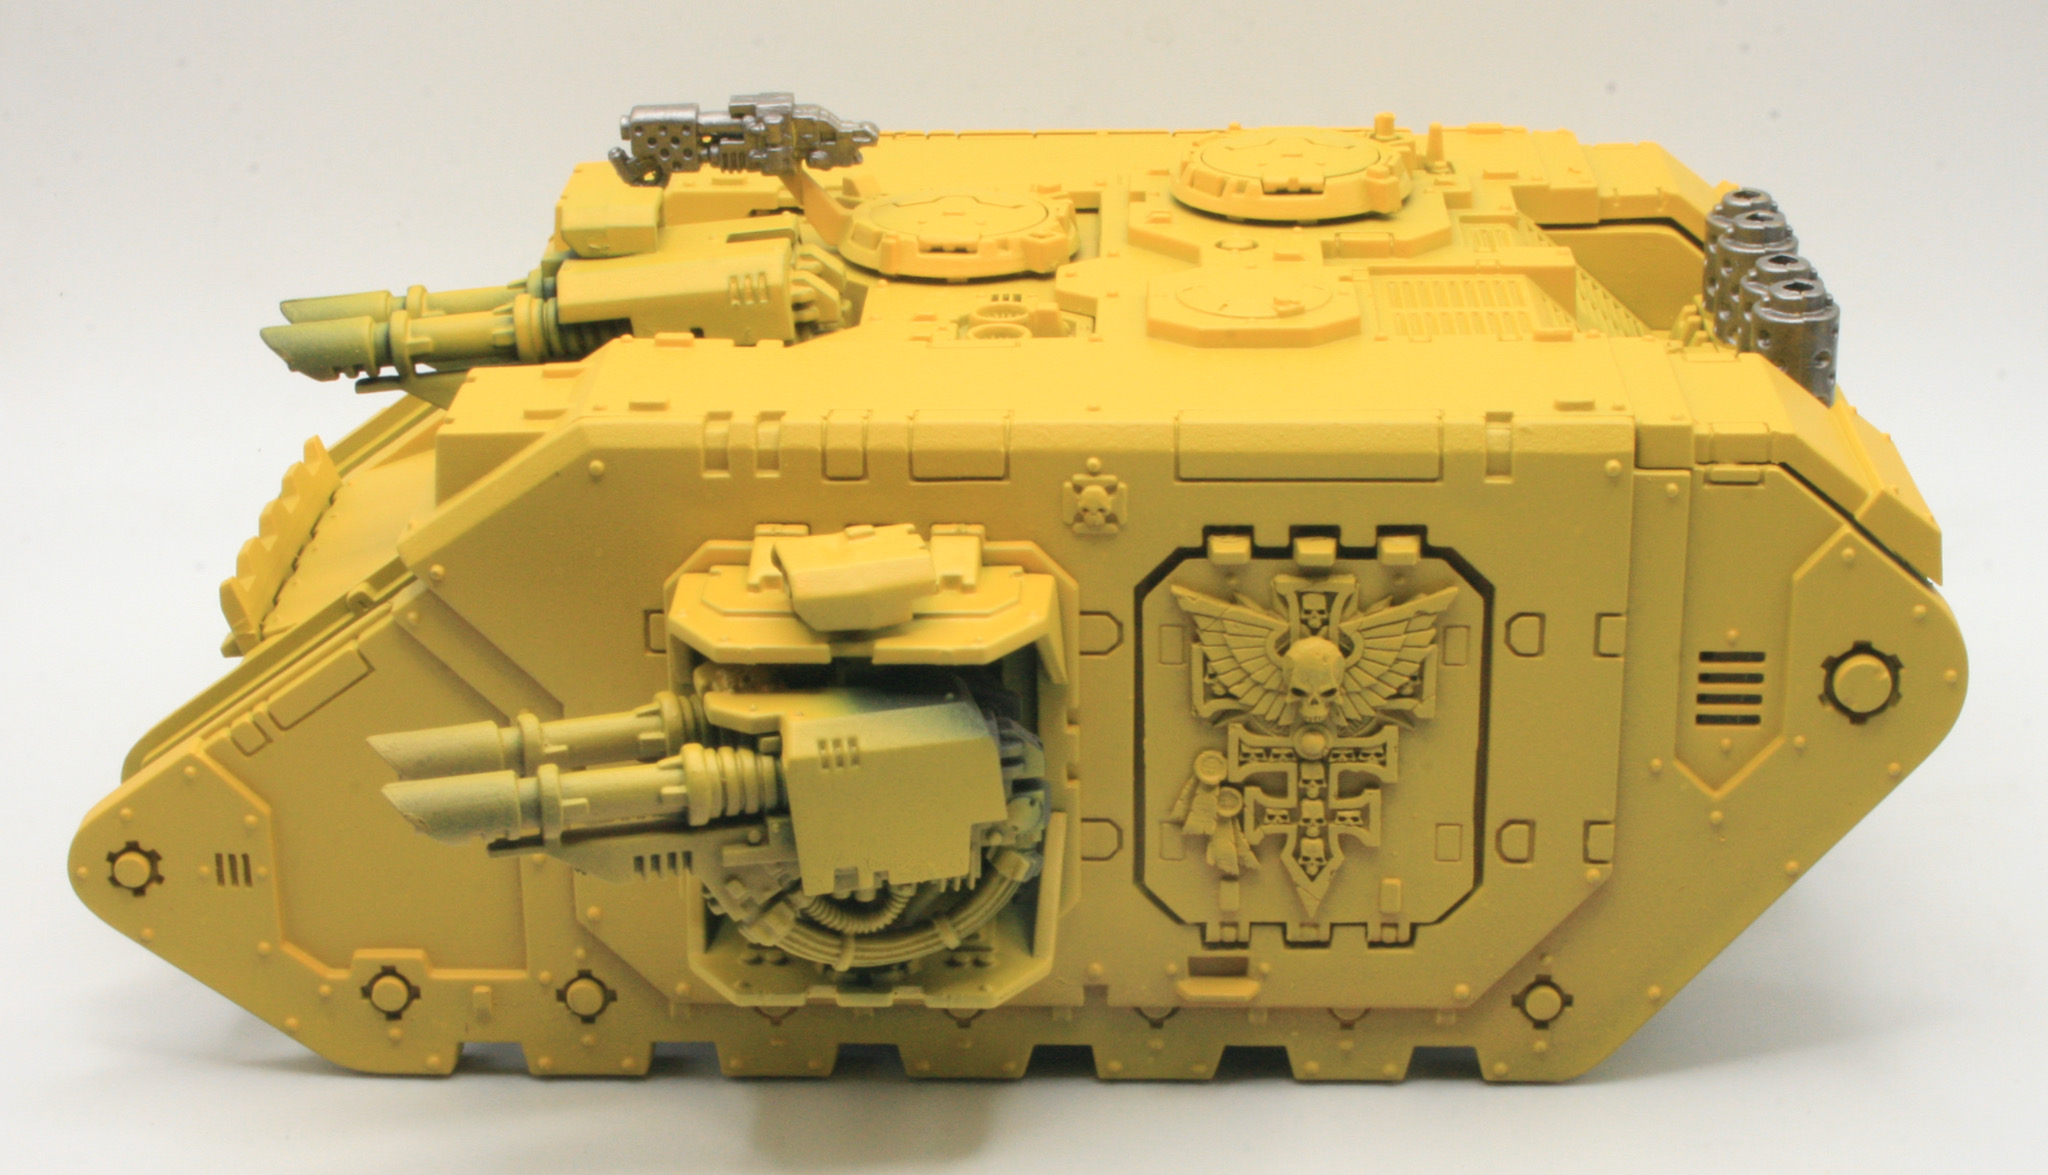
The Land Raider does have a fair amount of Inquisitorial and Grey Knights iconography on the model, but I have decided to leave it on. I also noticed that there is a part missing the, the hull top front bolters. I will have to find where I put that piece.
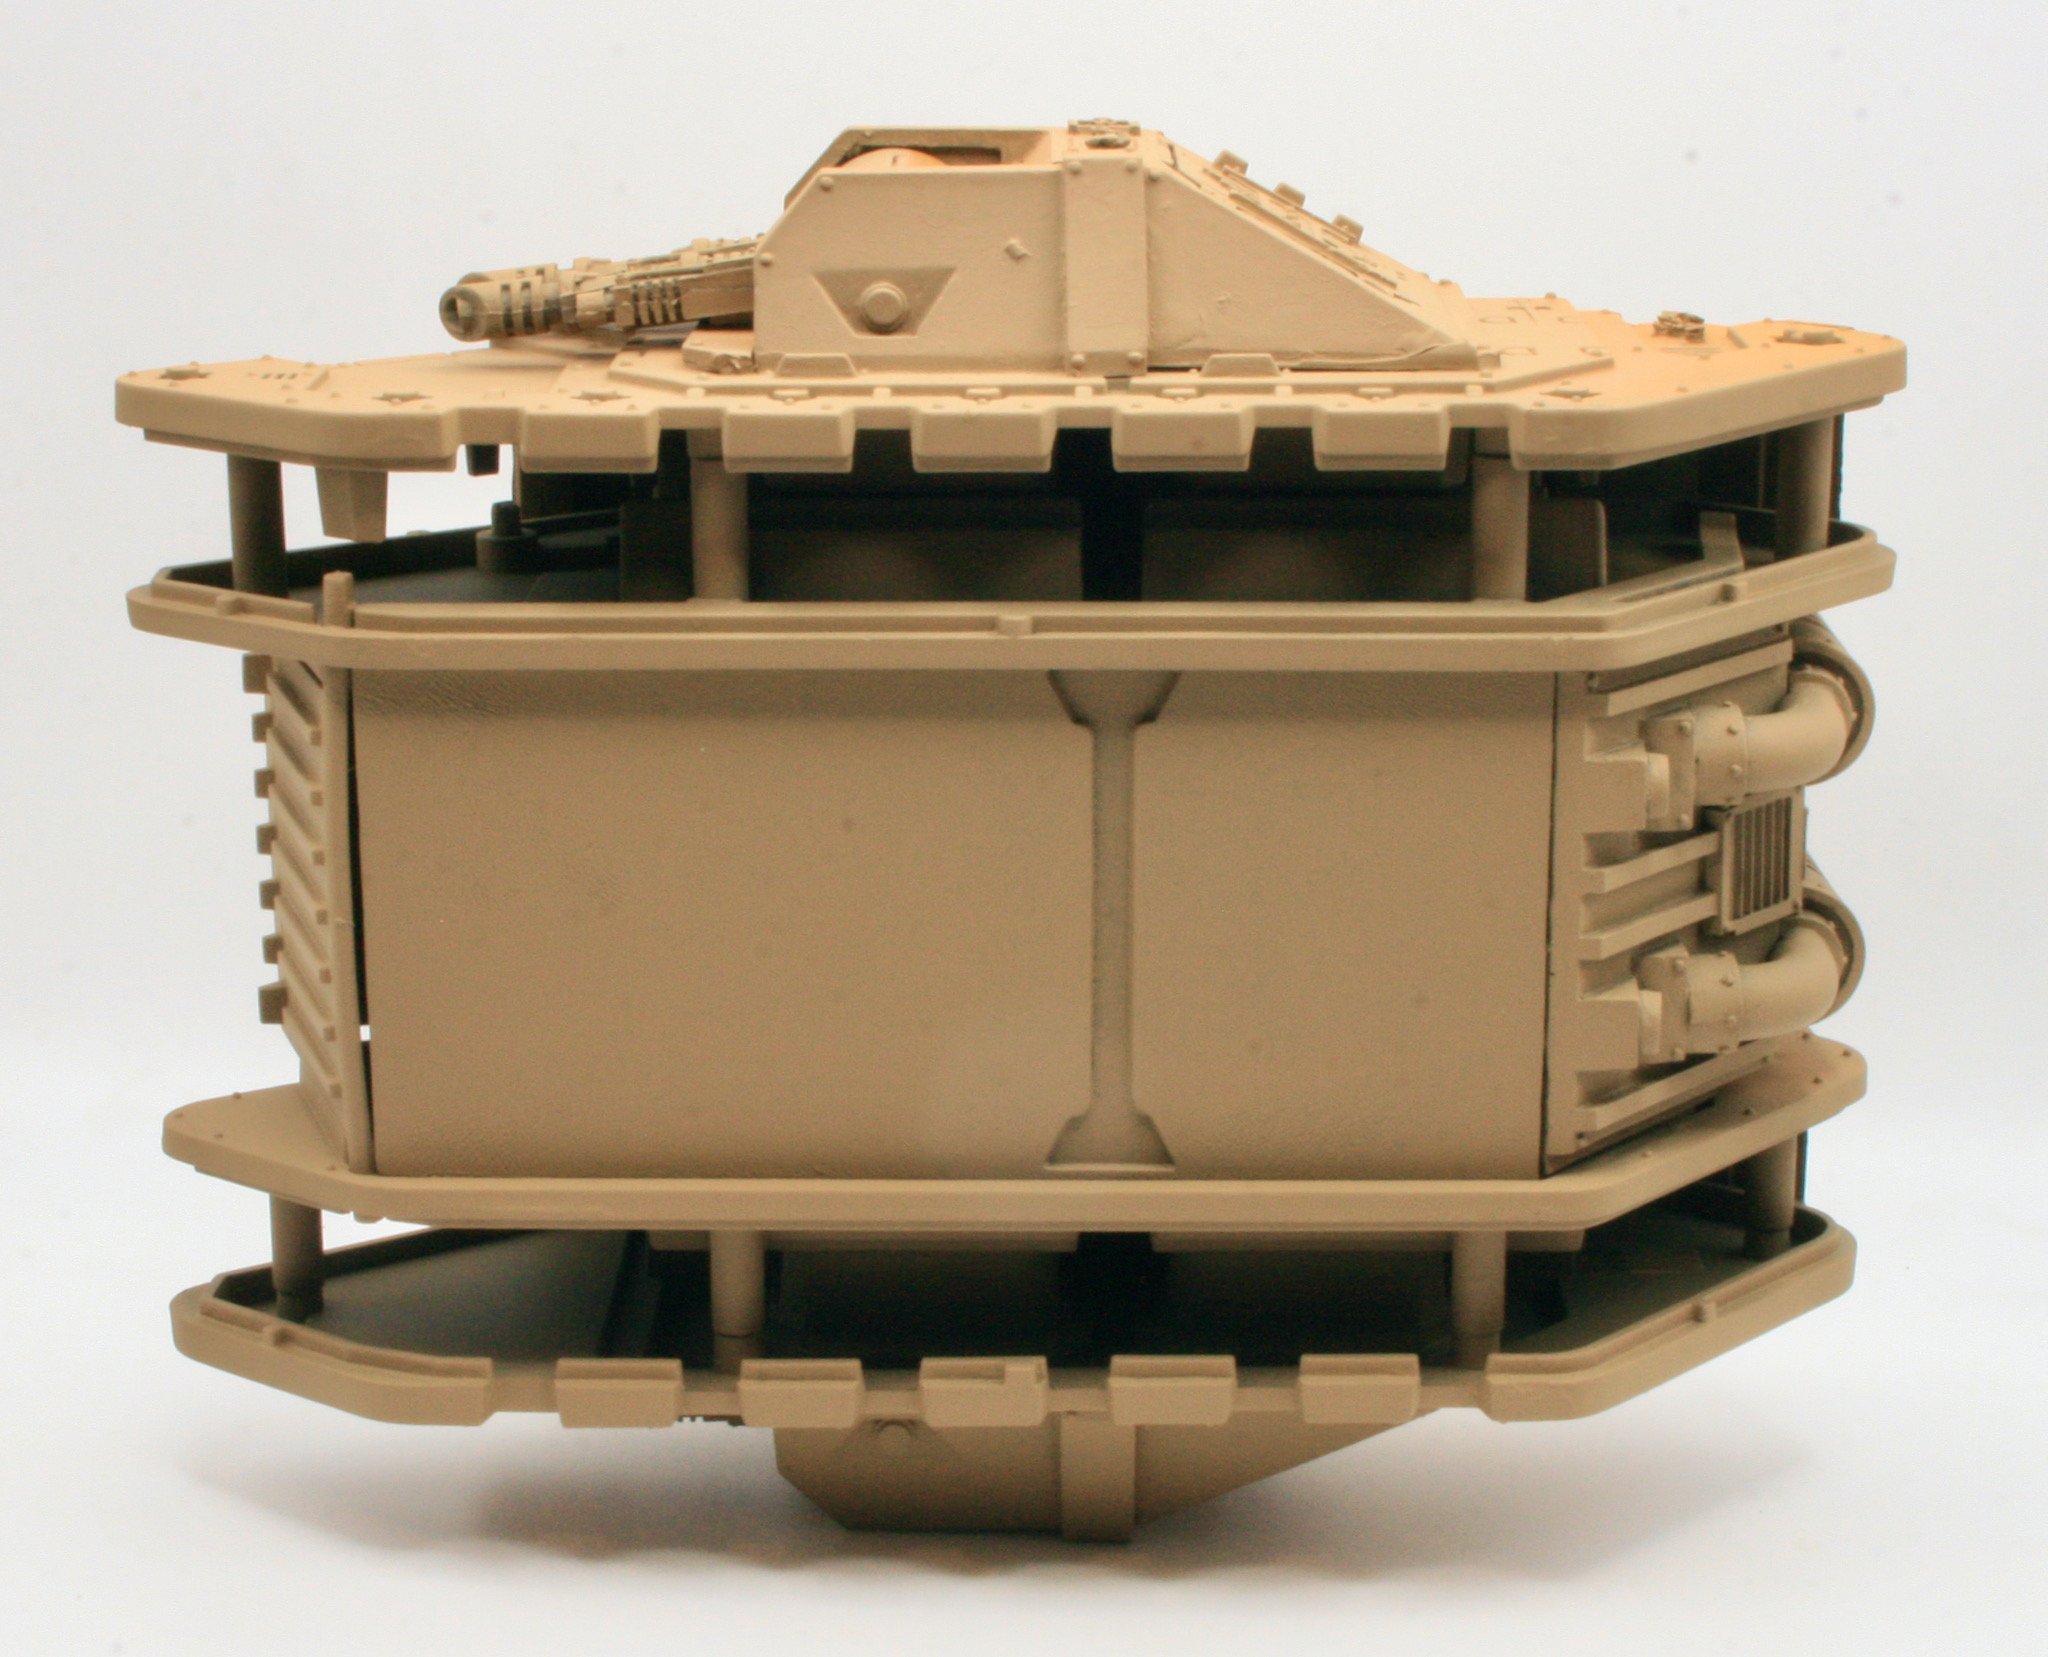
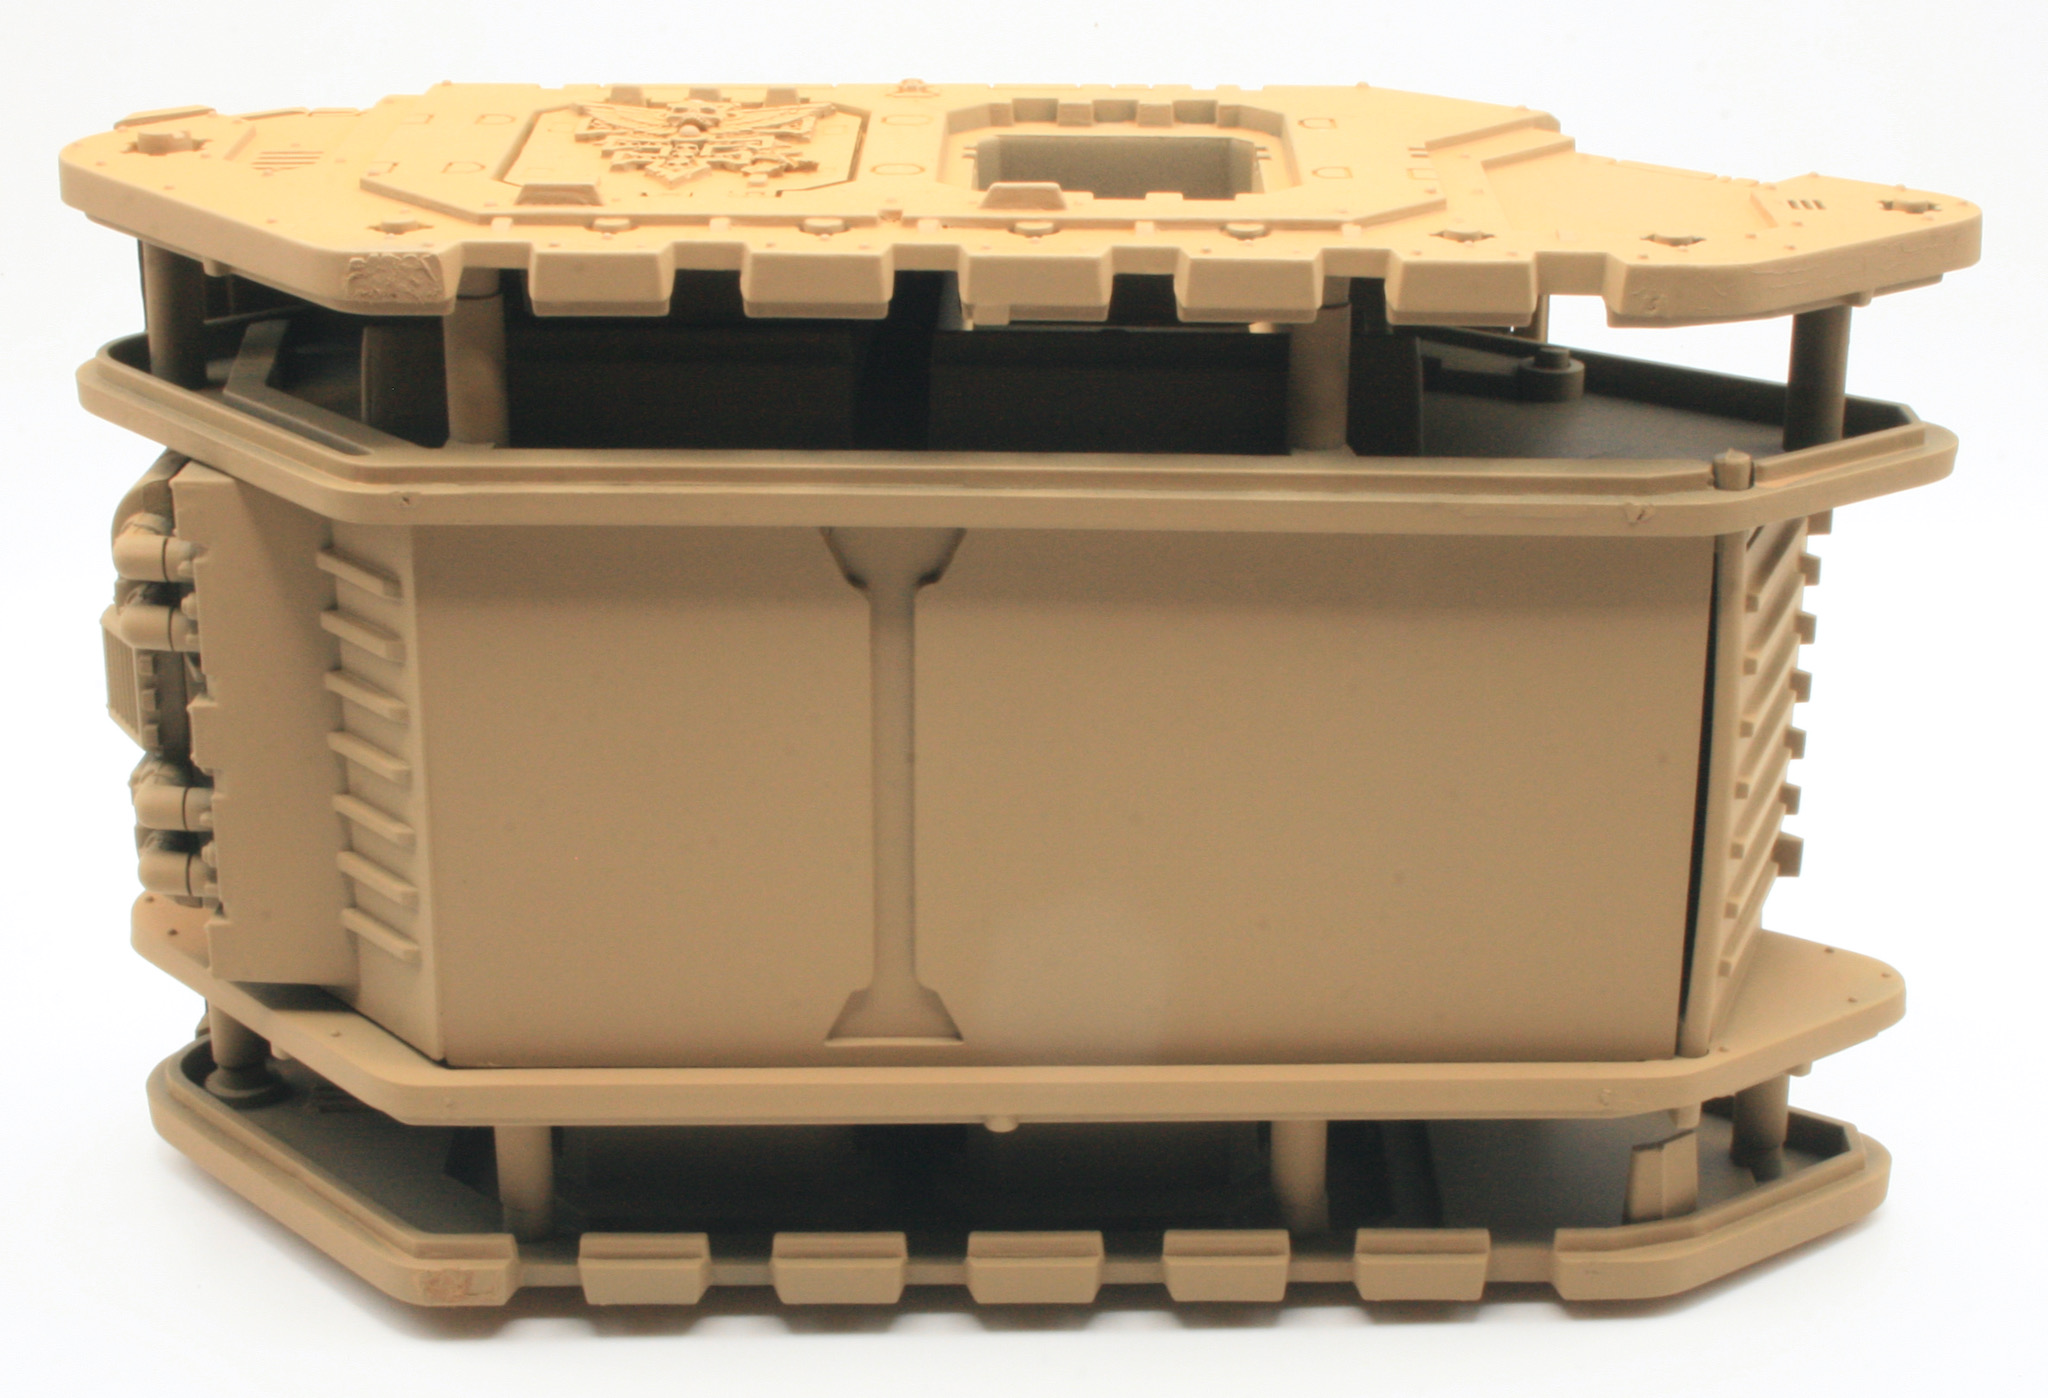
The first thing I did was spray the underneath of the model with Citadel Zandri Dust.

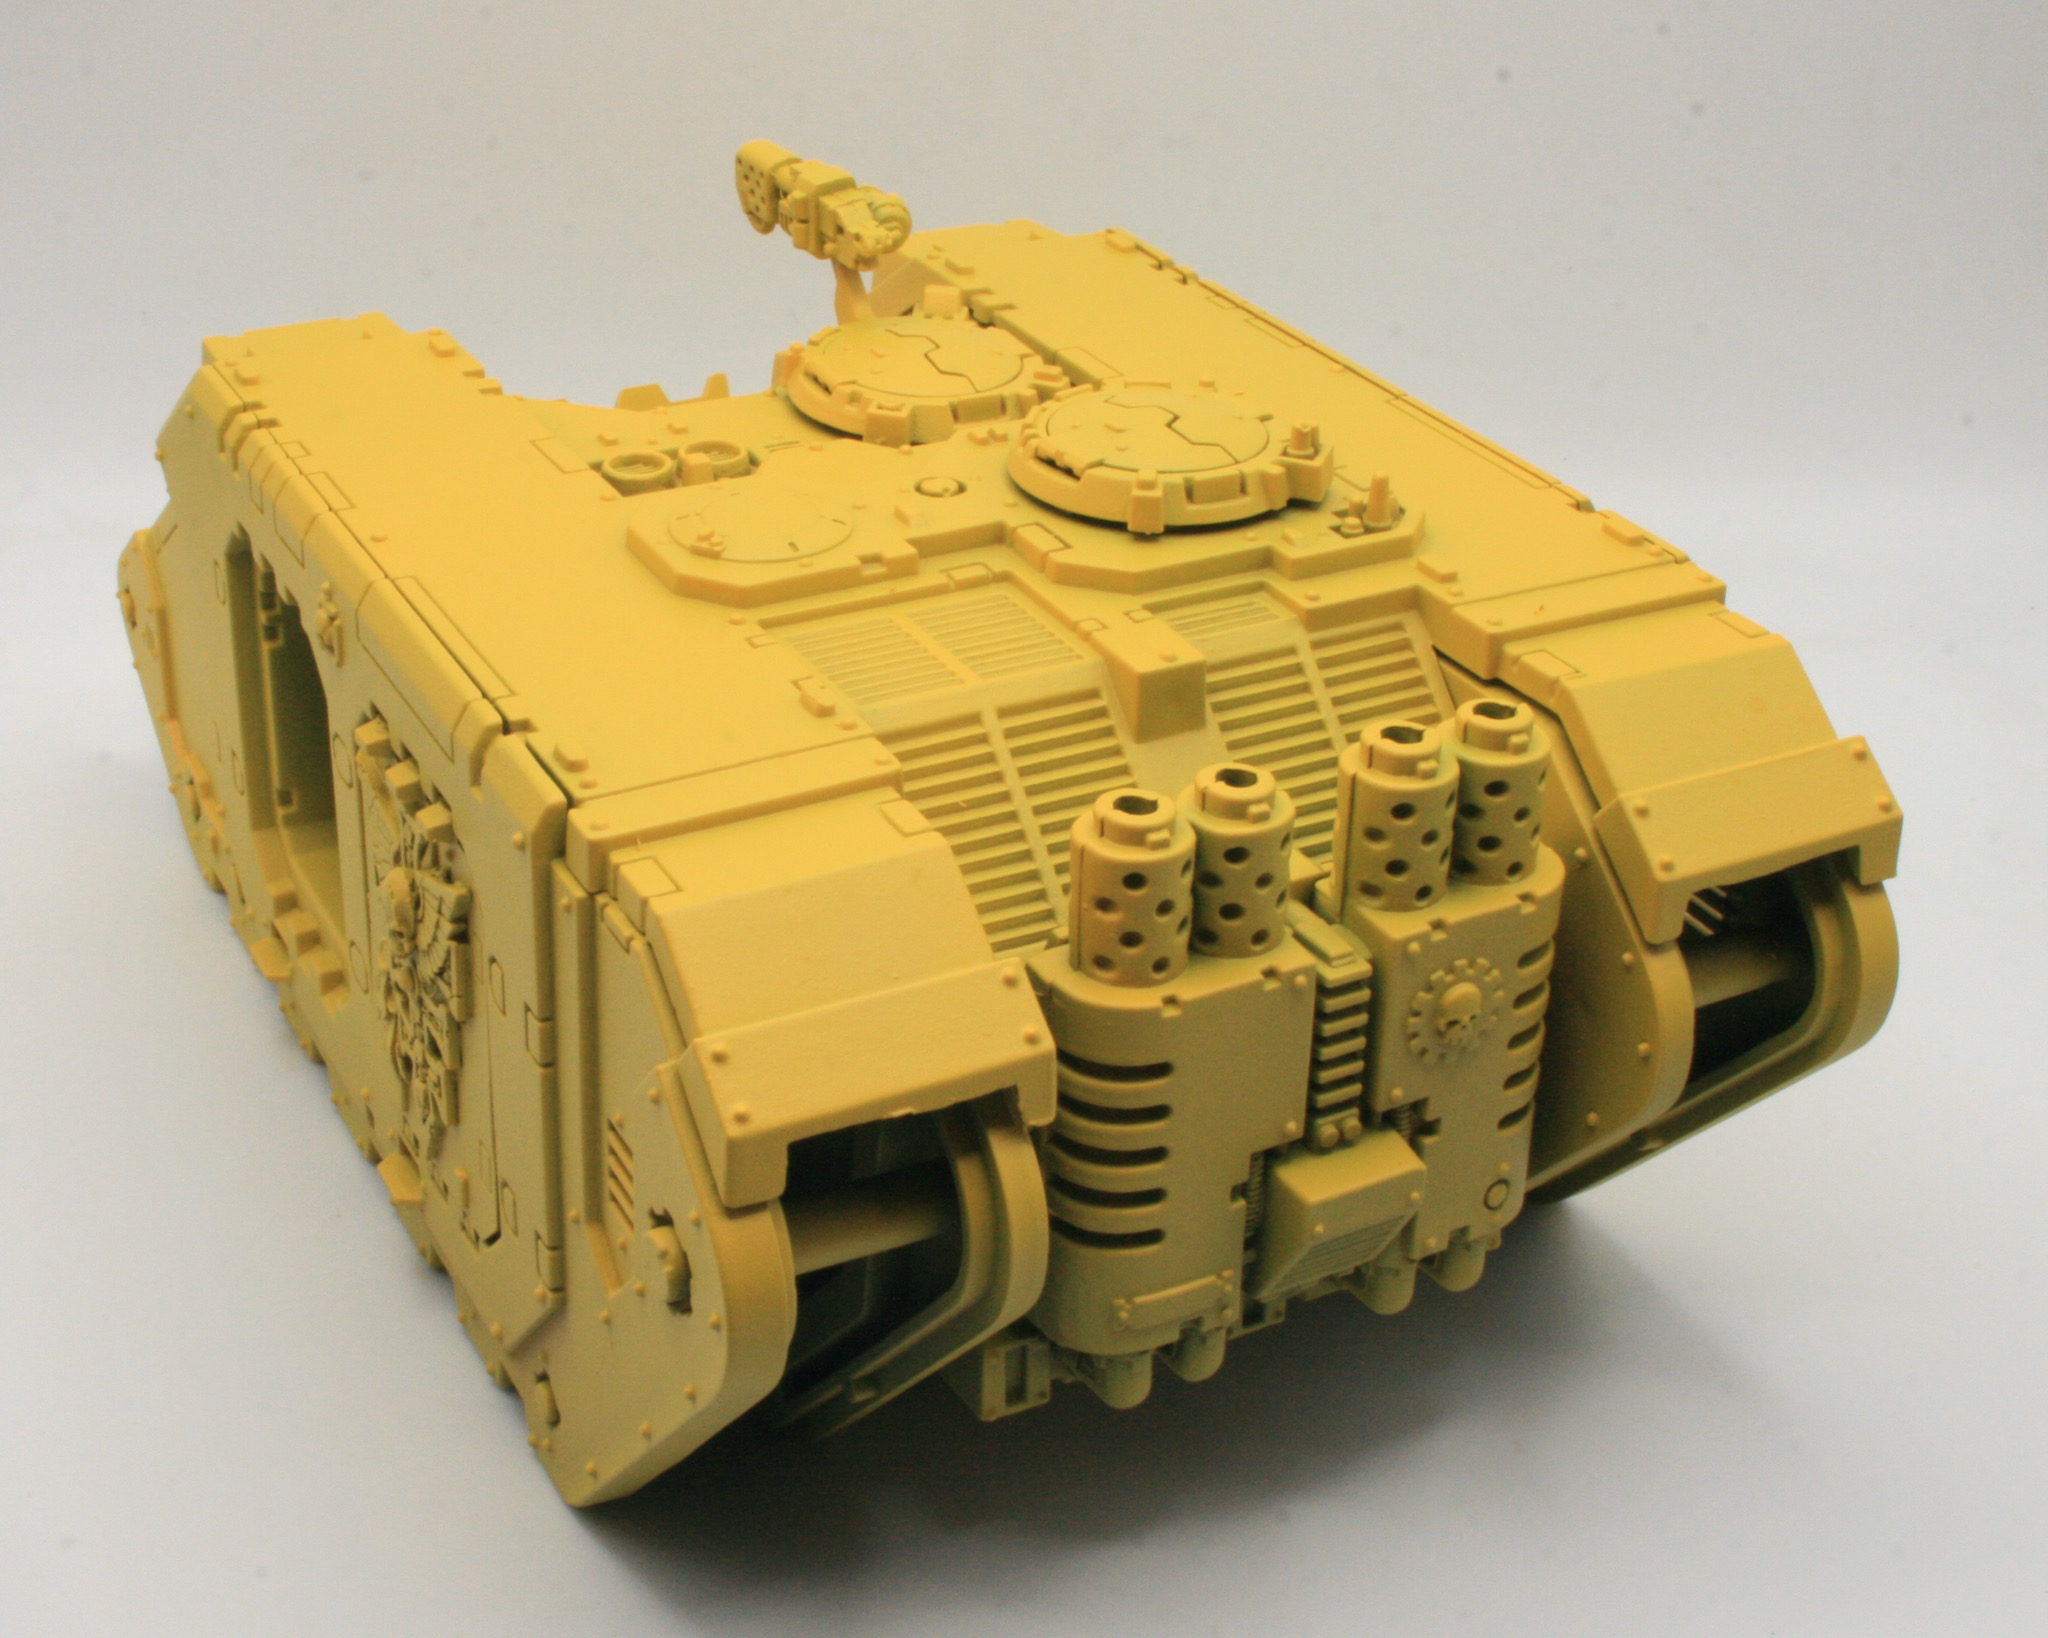
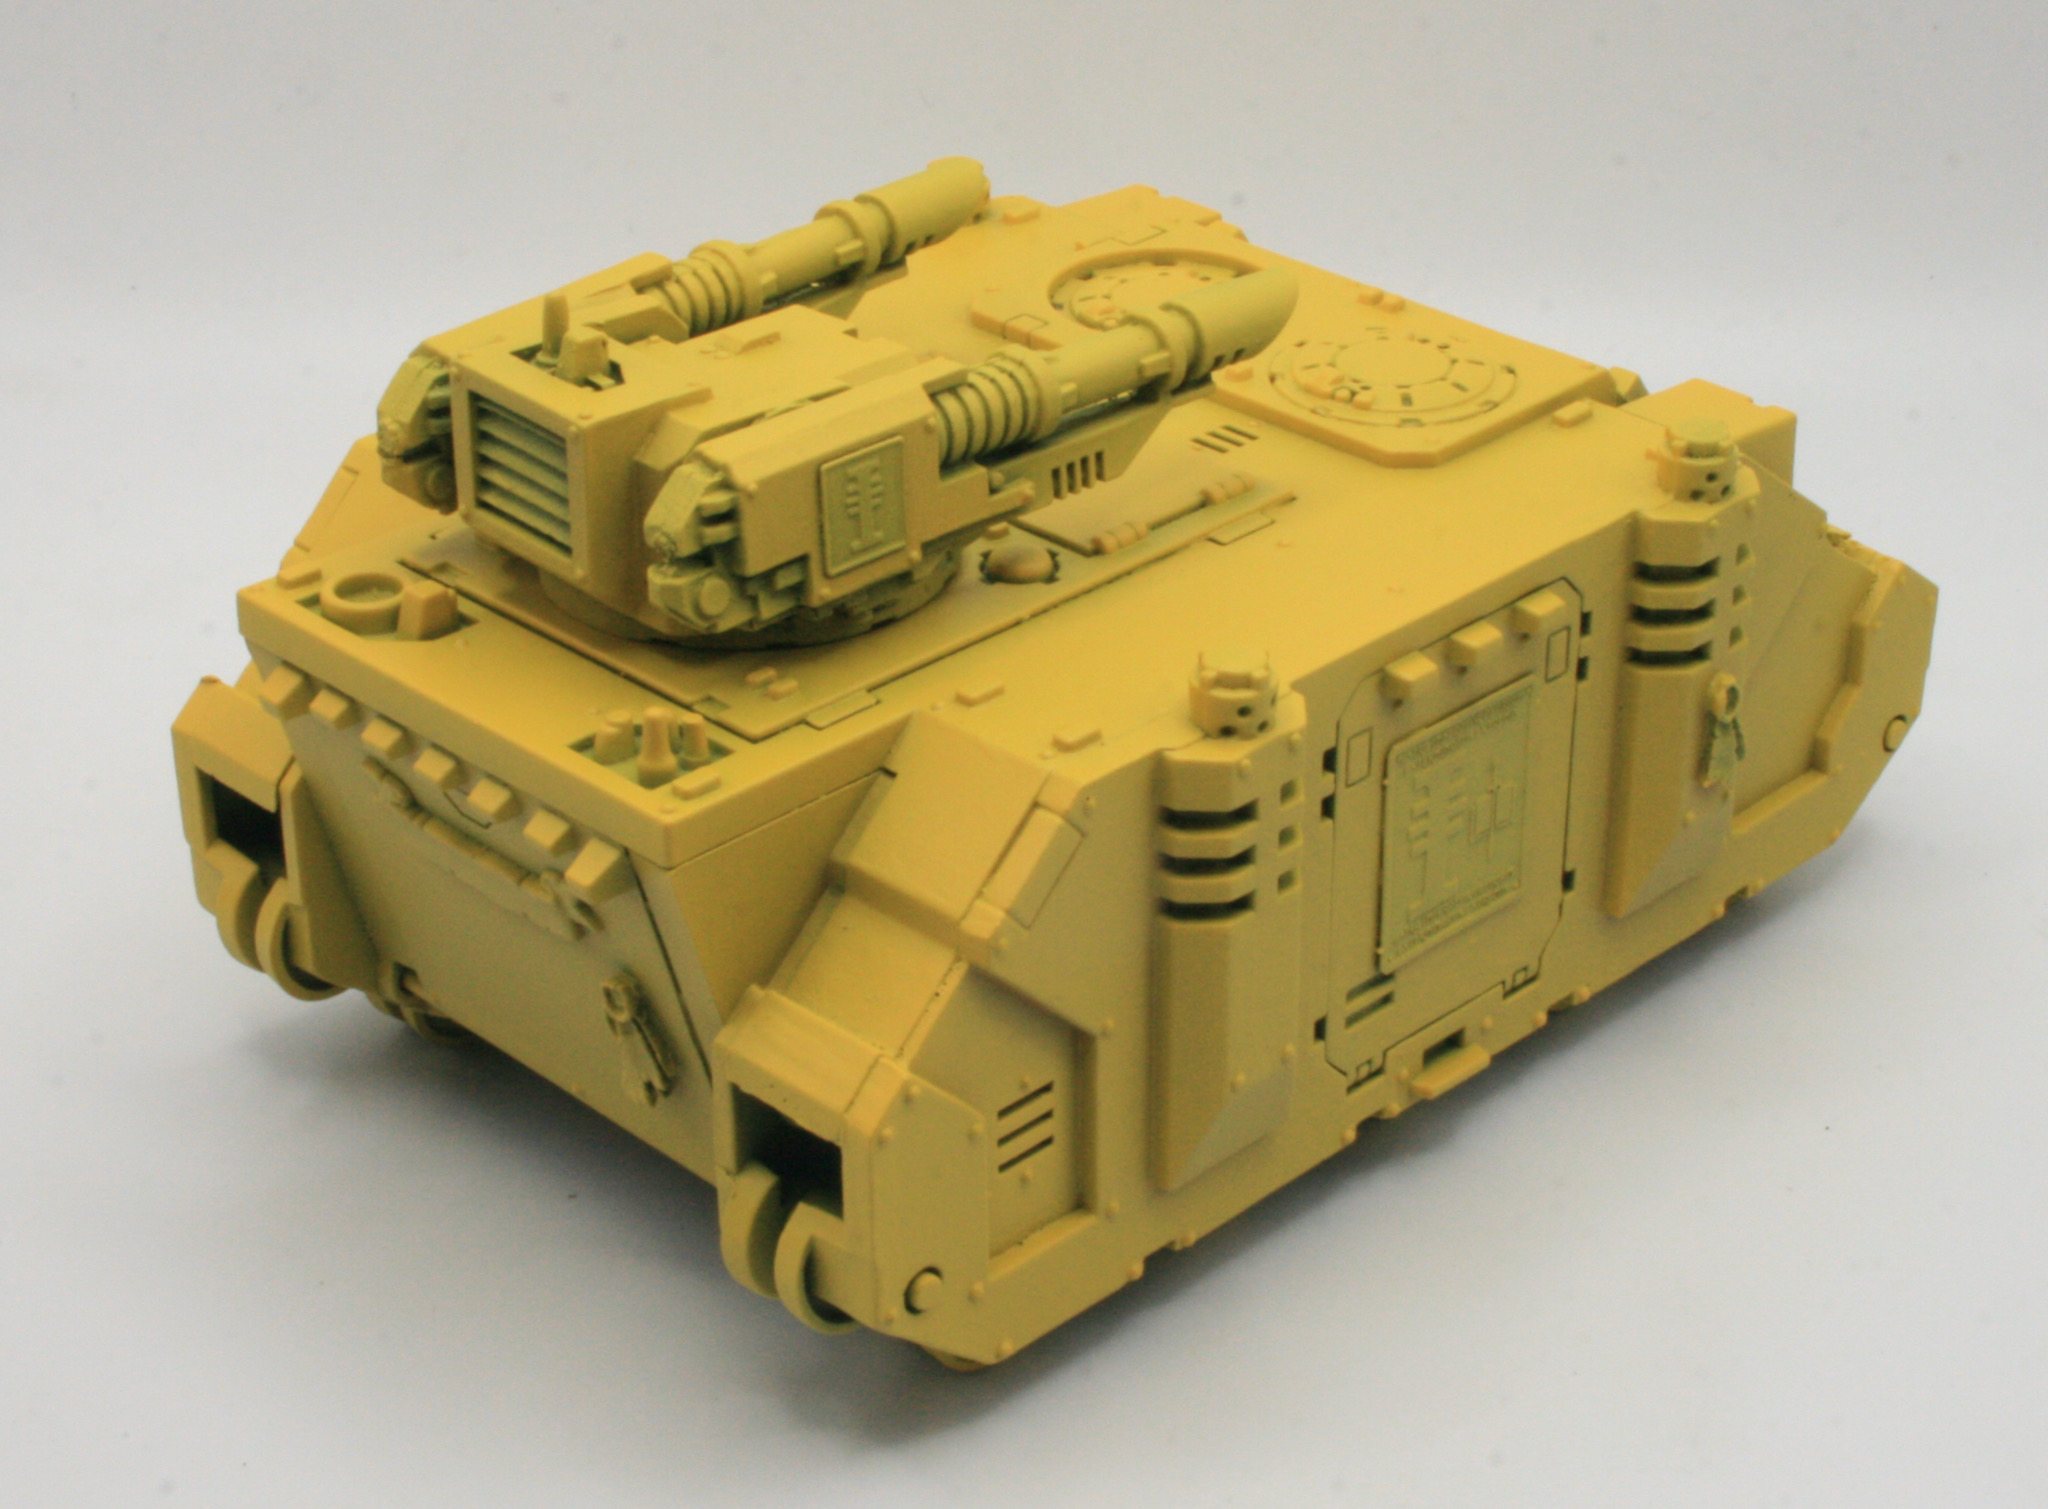
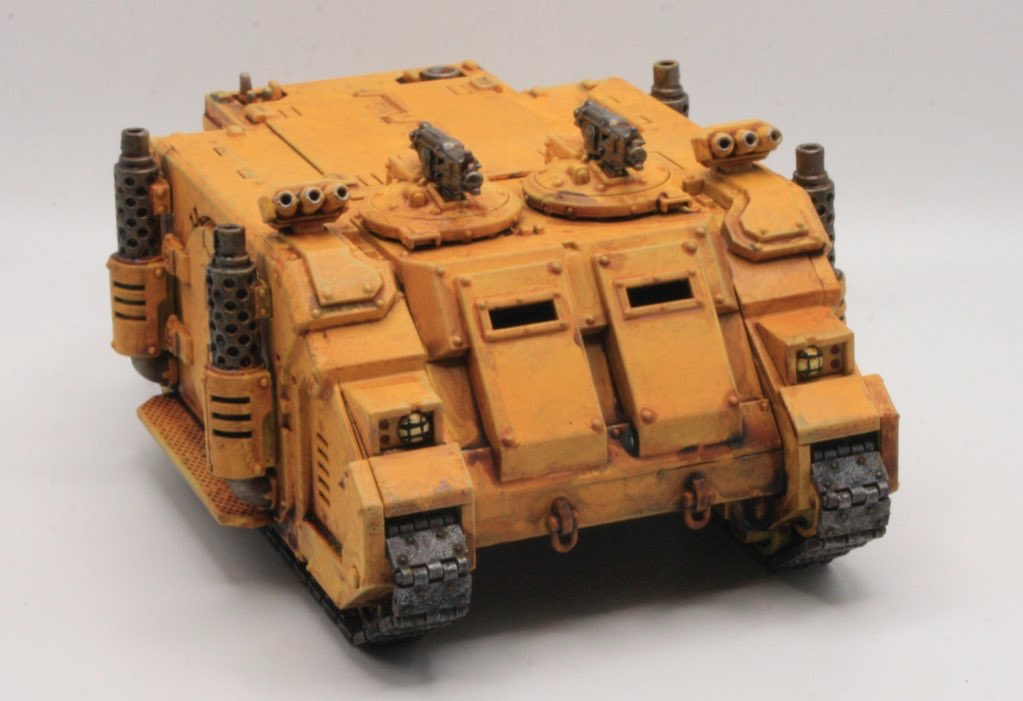
The rear view.

Next stage is to decide what to do next.
See the full Mark IIb Land Raider workbench.