This Forge World Warlord Titan was on display at Warhammer World.

At the Titan’s feet you can see Knights and Rhino APCs, which look really small, almost Epic sized in comparison.
warhammer, wh40k, flames of war, bolt action, aeronautica imperialis, star wars, models, news, views and stuff
This Forge World Warlord Titan was on display at Warhammer World.
At the Titan’s feet you can see Knights and Rhino APCs, which look really small, almost Epic sized in comparison.
The Vindicator has been in use by Imperial forces since the Great Crusade, and it has hardly changed since those turbulent days so long ago. The Space Marine Legions that sided with the corrupted Warmaster and Primarch of the Luna Wolves, Horus Lupercal, used their Vindicators against the Loyalist forces of the Emperor during the Horus Heresy. After the Horus Heresy ended in a pyrrhic victory for the Emperor’s Loyalists, the Traitors fled into the Eye of Terror, and luckily the number of Vindicators they still have in their possession is quite low in the late 41st Millennium, due to the Traitor Legions’ inability to easily replace their losses.
This Chaos Vindicator was part of a large display at Warhammer World.

The Vindicator is an Imperial siege tank based on the Rhino chassis used by many Space Marine Chapters that boasts the most powerful weapon of its type in the Adeptus Astartes’ standard armoury, the Demolisher Cannon. It is highly valued and can only be issued to company officers whose units have been tasked with a specific tactical requirement. Though short-ranged, the Vindicator’s Demolisher Cannon is capable of destroying enemy armour and fortifications in a single shot.
Games Workshop have had a Vindicator model in their ranges for many years now. Originally a conversion article in White Dwarf back in 1989, it was followed up some years later with a Forge World resin conversion kit of the then new plastic rhino.

In 2007 Games Workshop released a new plastic Vindicator. Not to be outdone, in 2013 Forge World released the Demios Pattern Vindicator.

A nostalgic throwback to the original plastic conversion from 1989, this is obviously a lot more detailed and sophisticated model.
The Vindicator has a long history in Games Workshop and the many variations providing an interesting insight to the design and development of Games Workshop as a whole. From the early days of simple conversions, to Forge World conversion kits, a detailed plastic kit and then a retro throwback.
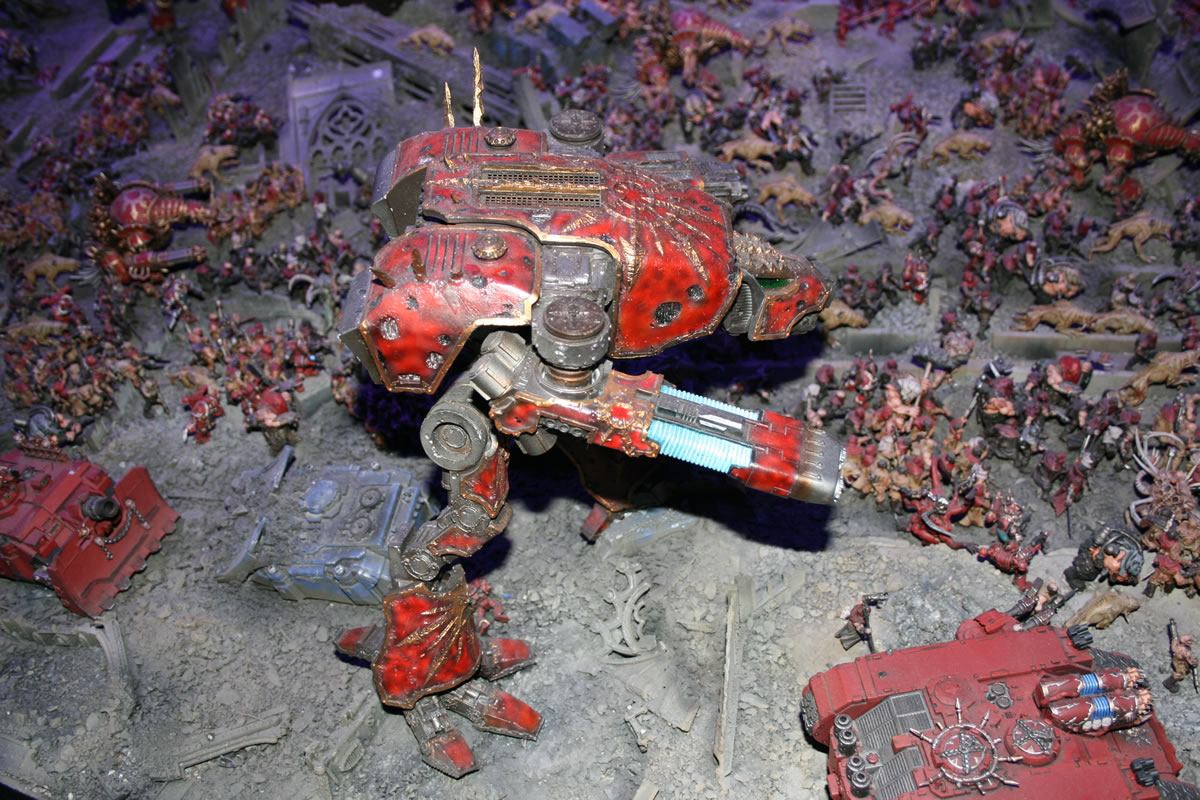
This Chaos Knight was marching across the battlefield at Warhammer World, opening fire on the enemy forces.
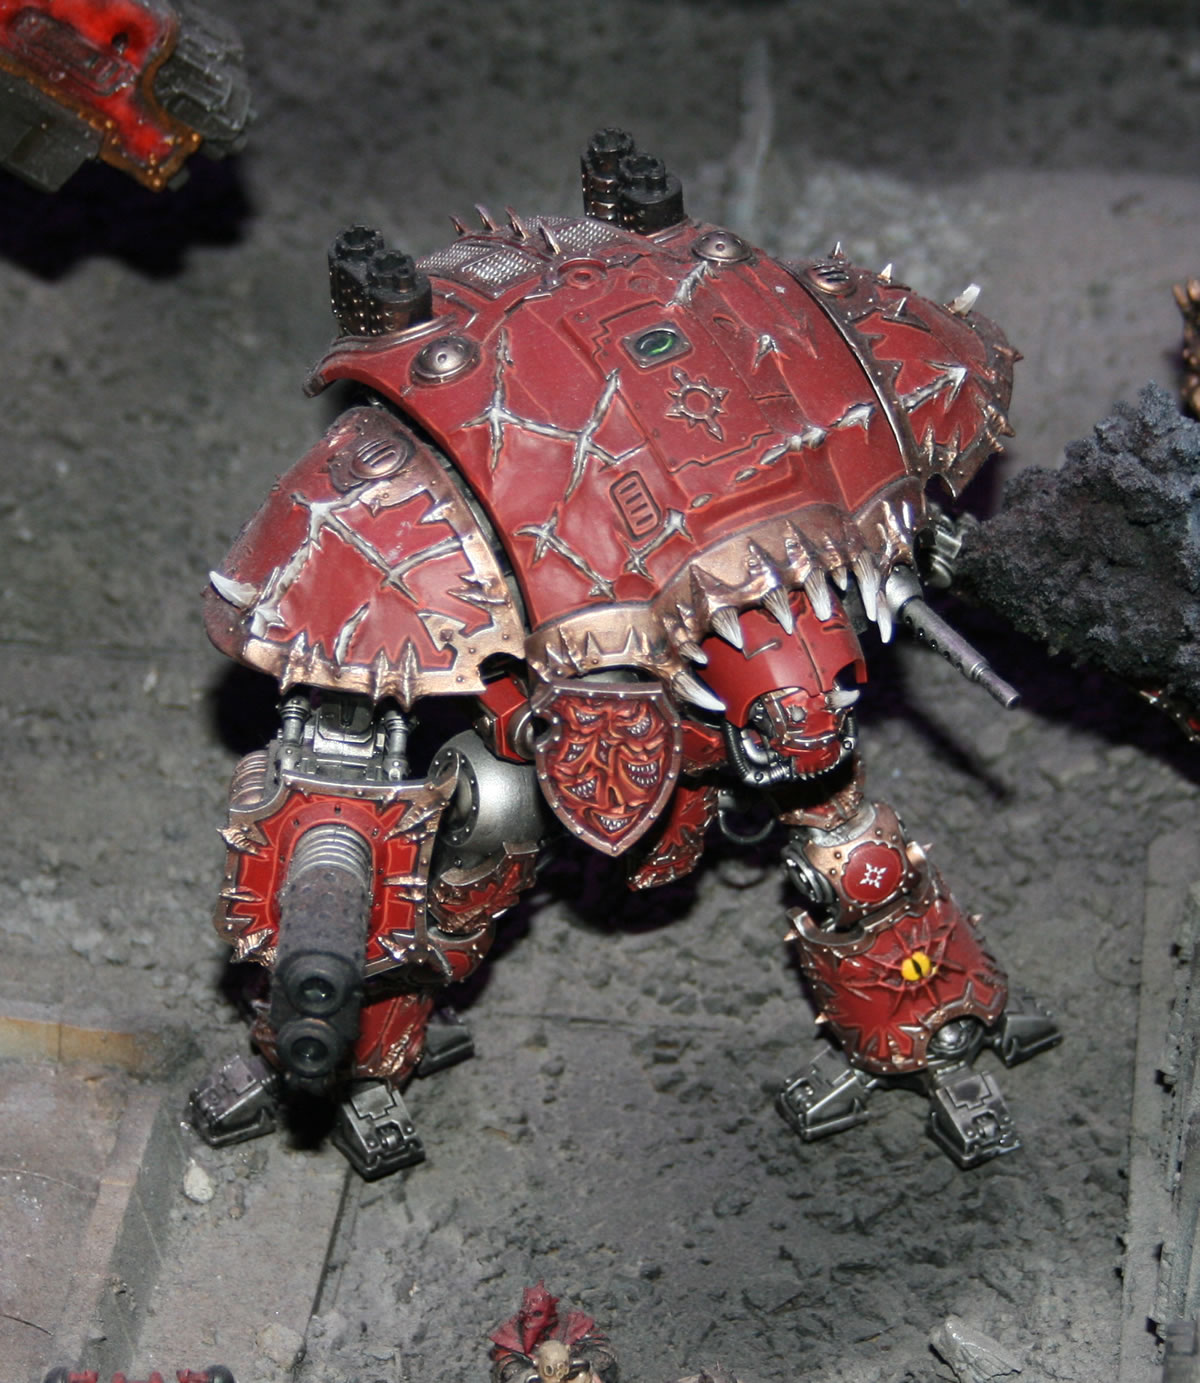
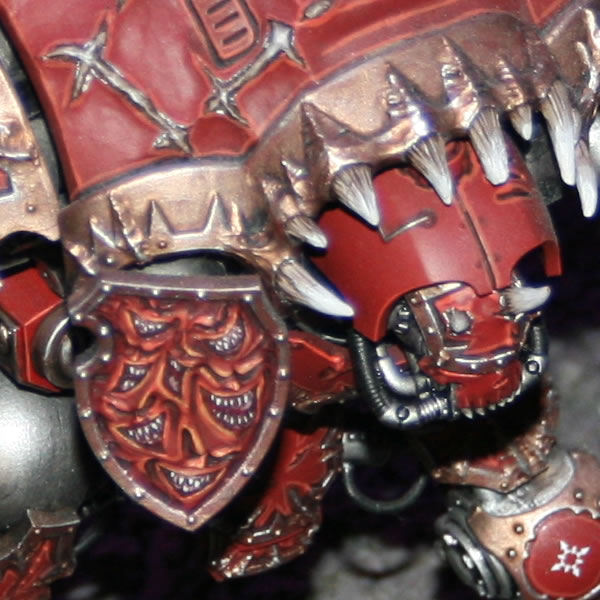
There were some nice touches, such as the shield with the laughing demons.
A fierce Chaos Stormlord on the assault at Warhammer World.
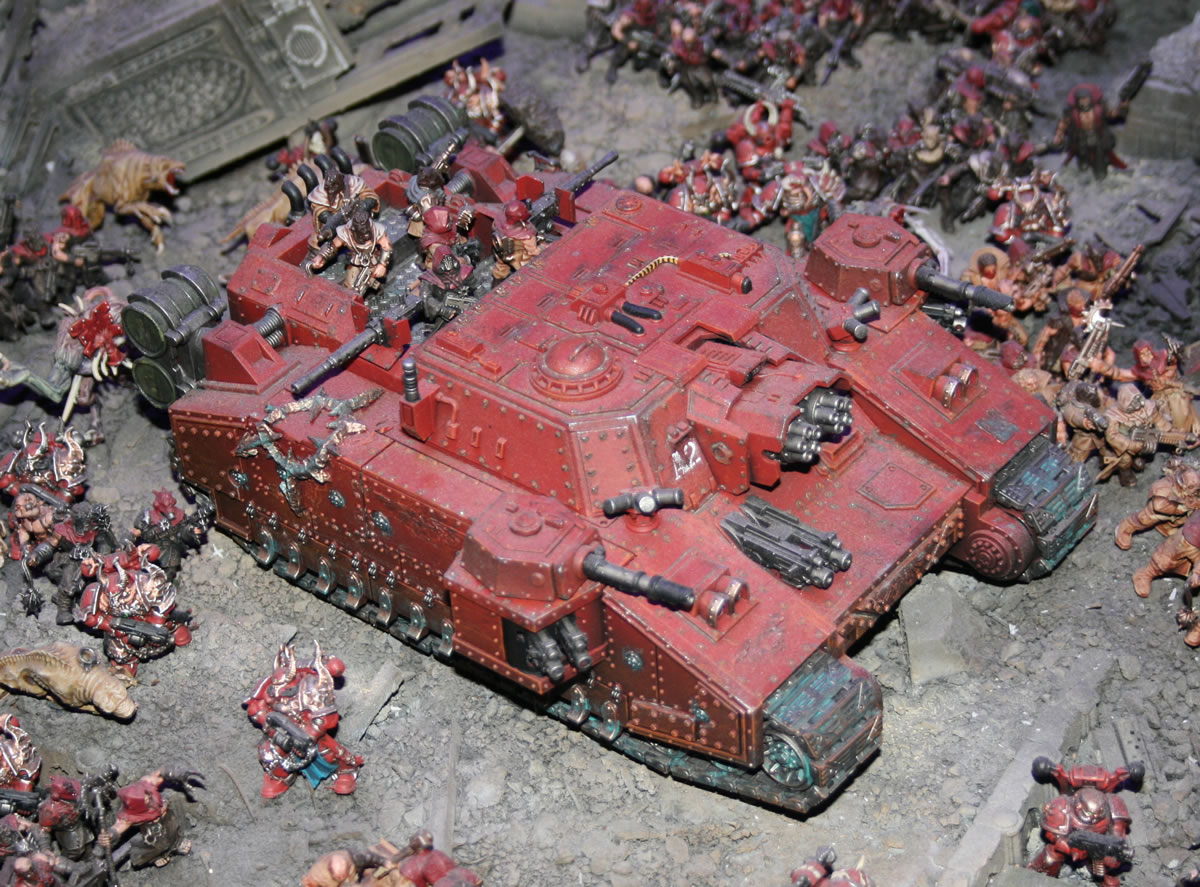
The Stormlord is a super-heavy main battle tank and variant of the Shadowsword tank-hunter and Titan-killer tank usually used by the forces of the Astra Militarum. The Stormlord replaces the Volcano Cannon of the Shadowsword with a Vulcan Mega Bolter. By removing the large capacitors and generators required for the Volcano Cannon to operate, extra space has been opened up near the rear of the vehicle which allows the Stormlord to carry up to 40 infantrymen as an open-topped armoured transport. With the Horus Hersey many Stormlords turned over to the forces of Chaos.
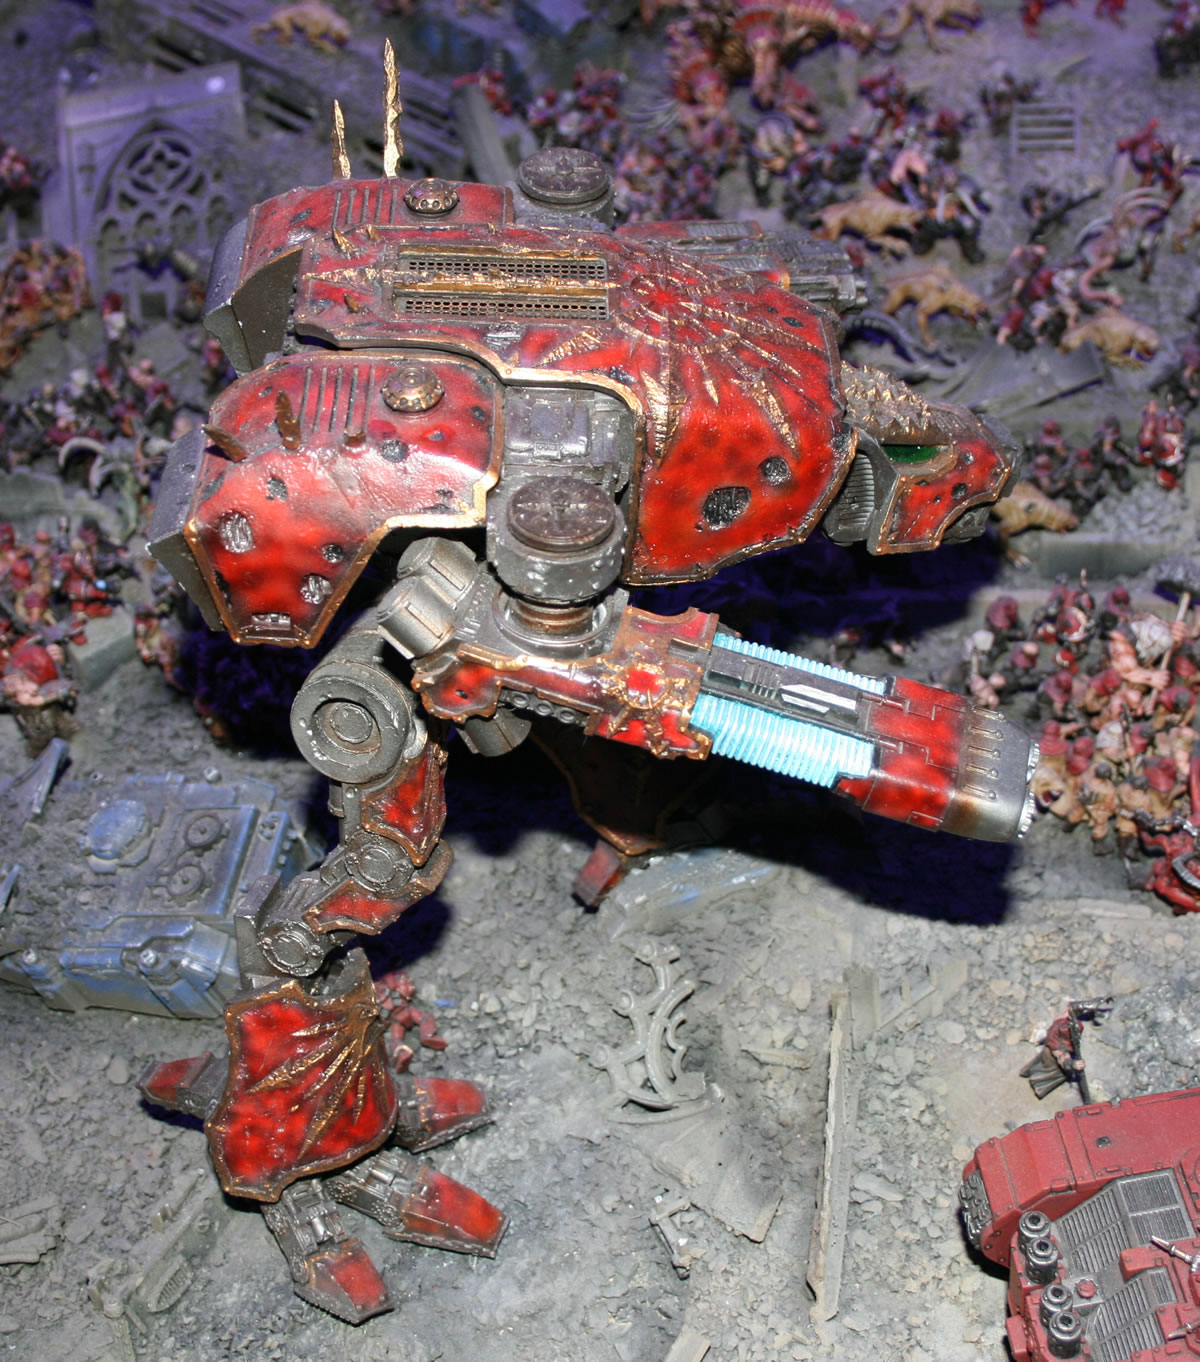
This Forge World Chaos Warhound Titan was marching across the battlefield at Warhammer World.
Wider angle with Land Raider and Vindicator in shot.
One of the things I like about Warhammer World are being able to see Forge World model in the flesh as it were. You really get a feel for the size and mass of the model, which isn’t always apparent from seeing it on the website.
This Legion Kharybdis Assault Claw was part of a massive display at Warhammer World.
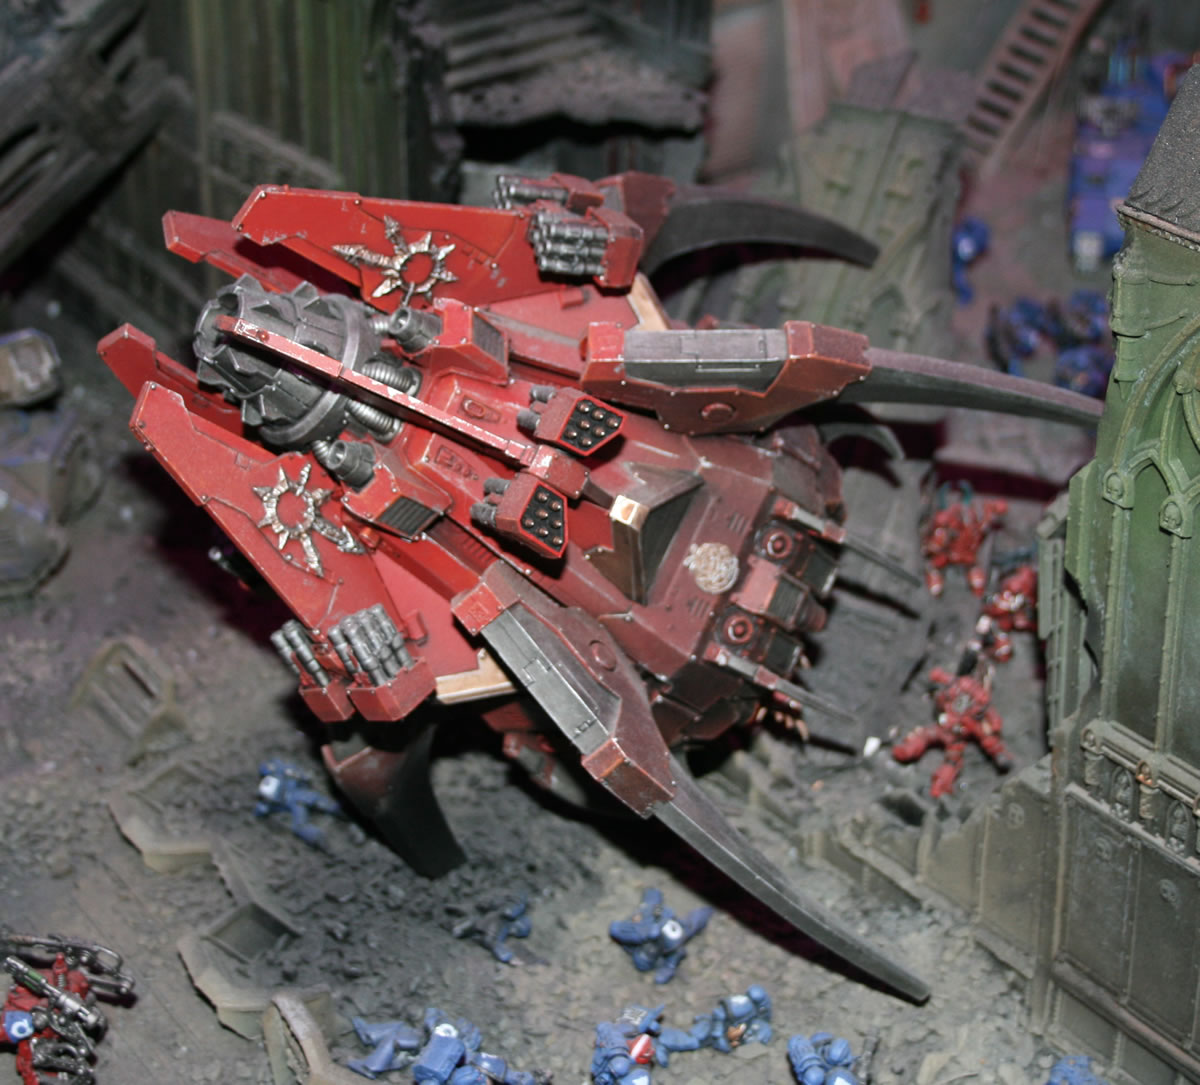
Employed by many Legions as their primary ship-to-ship assault craft, the Kharybdis is a monstrous drop pod capable of carrying large assault forces through the void and mounting significant firepower to blast a path through defending small craft.
As a fully operational dropship, Kharybdis assault claws also serve as orbit-to-surface transports, a role that allows them to use the firepower of their storm launchers and melta cutters to scour clean their chosen landing zone before disembarking their deadly cargo.
Some aggressive commanders employ the Kharybdis as an effective tank hunter, ramming enemy armour in daring low-altitude attack runs.
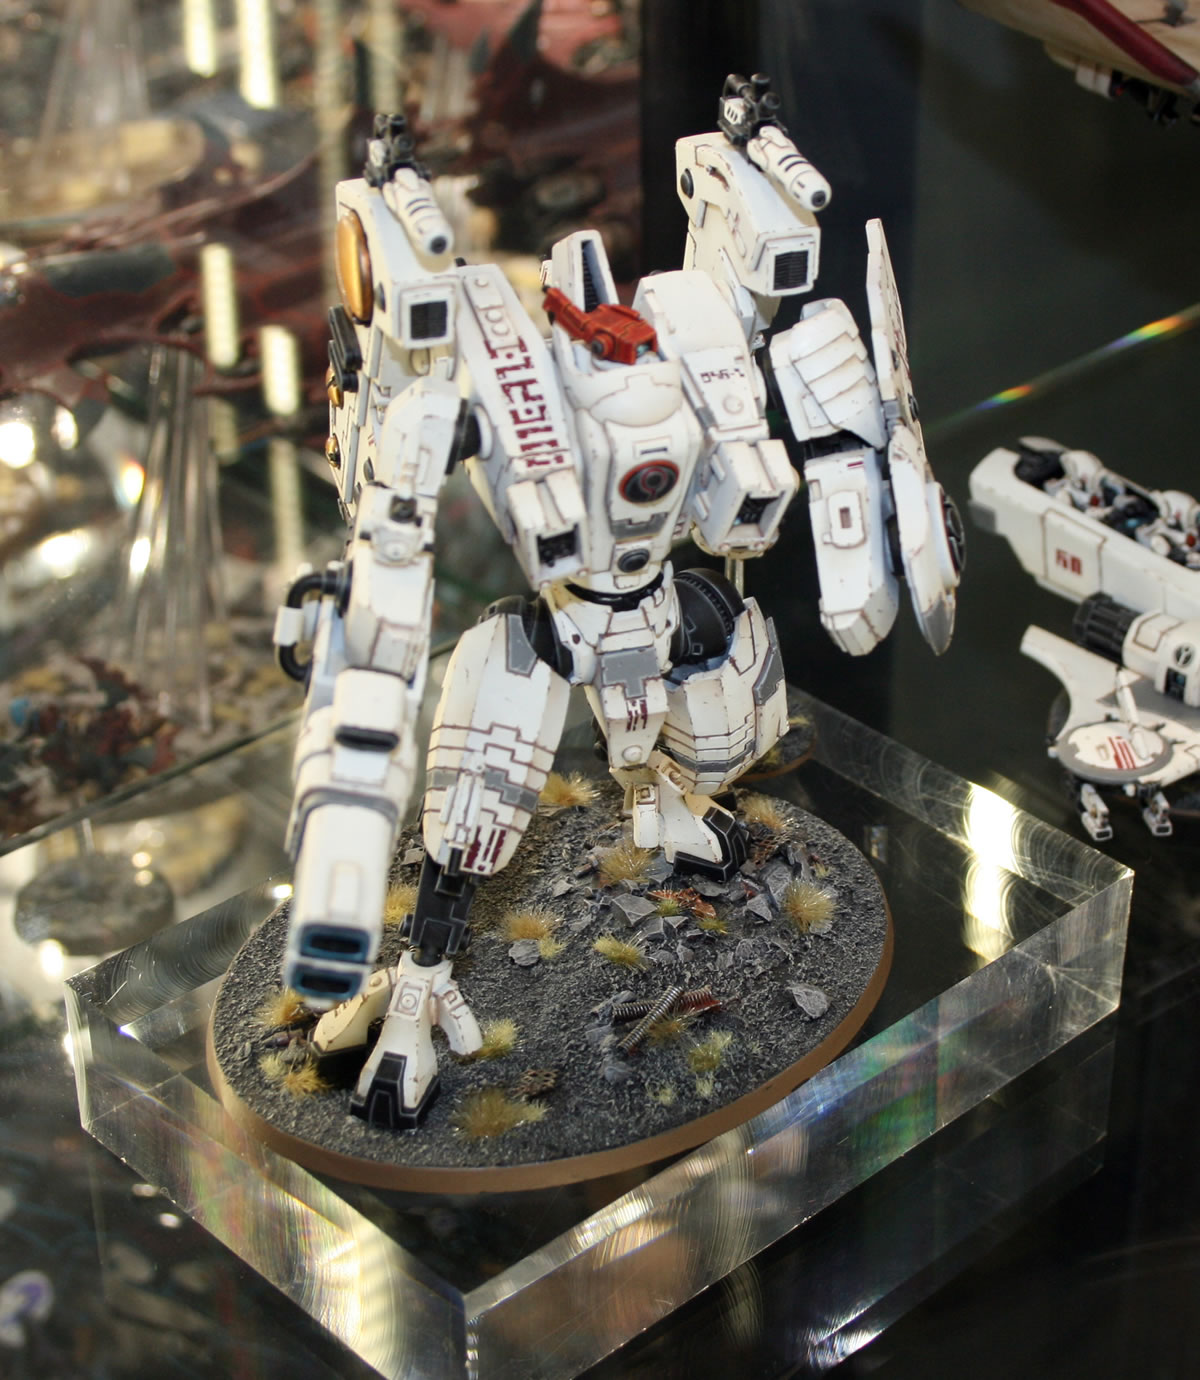
The T’au XV104 Riptide is the pinnacle of the Earth caste’s battlesuit development. It stands twice as tall as the XV8 Crisis suit, but its movements are more like those of its smaller cousins than the mechanical stiffness displayed by Imperial walkers with their crude servo-motors.
Razorbacks are common variations of the Rhino chassis that can be armed with a variety of powerful turret-mounted heavy weapon systems that offer the squads they carry effective fire support before and after they disembark.
This Space Marine Ultramarines Razorback was on display at Warhammer World.
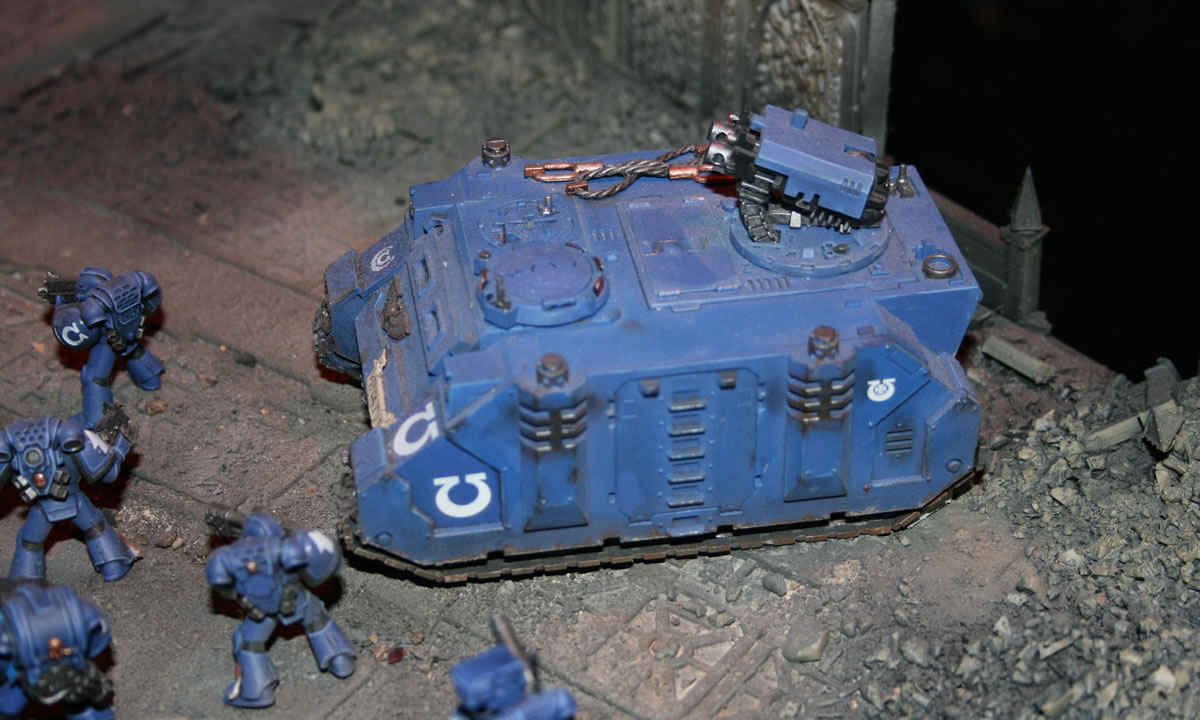
I have been working on (for too long now) a Grey Knights Razorback.
In the display cabinets are various models from Warhammer 40k including these splendid .
Eldar Wraithknight

Looming ghost warriors many times larger than even the mighty Wraithlords, the war machines known as Wraithknights are still dextrous enough to run through the ruin of a shattered city, leaping from pillar to spar as their arcane weapons bring oblivion to the enemies of the Aeldari.
In the same shot is the Eldar Fire Prism which I didn’t know has been released as a plastic kit.
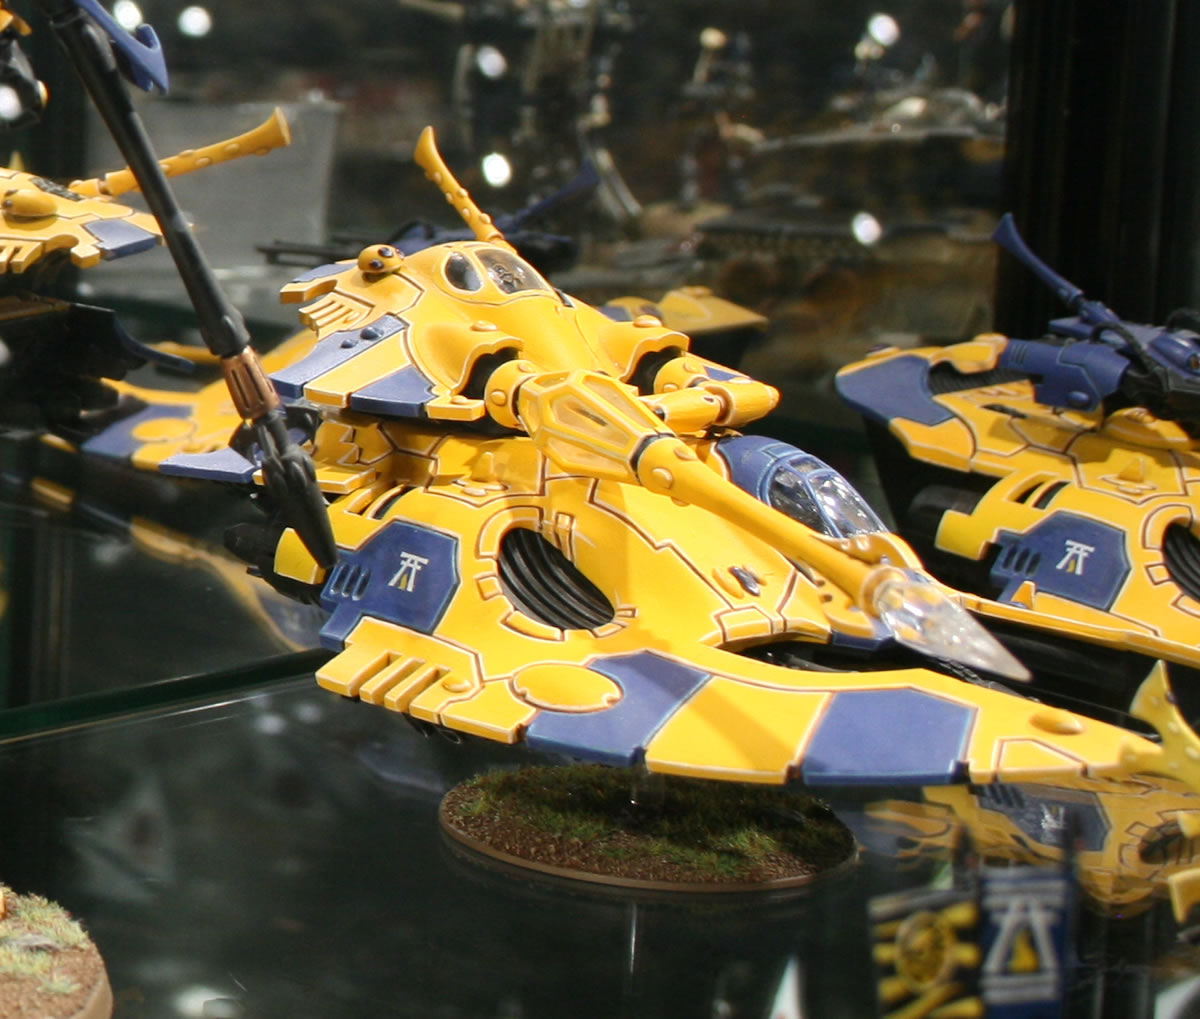
Armed with a formidable prism cannon that can blast smoking holes into enemy vehicles or vaporise infantry, the Fire Prism is a versatile and deadly addition to any Aeldari army.
Massive diorama at Warhammer World between Eldar and Tyranids.

Clever volcanic scenery as well.