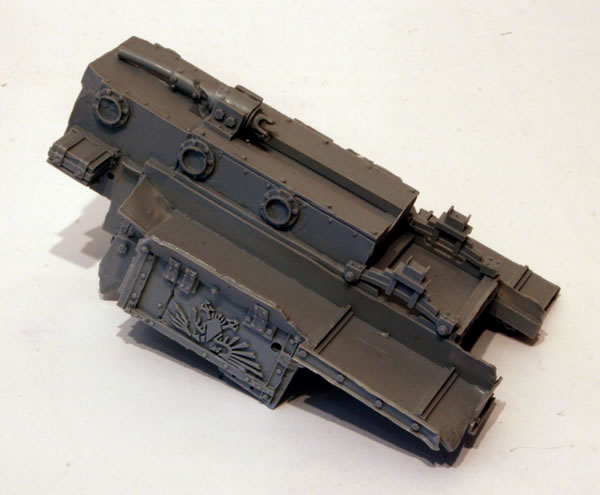
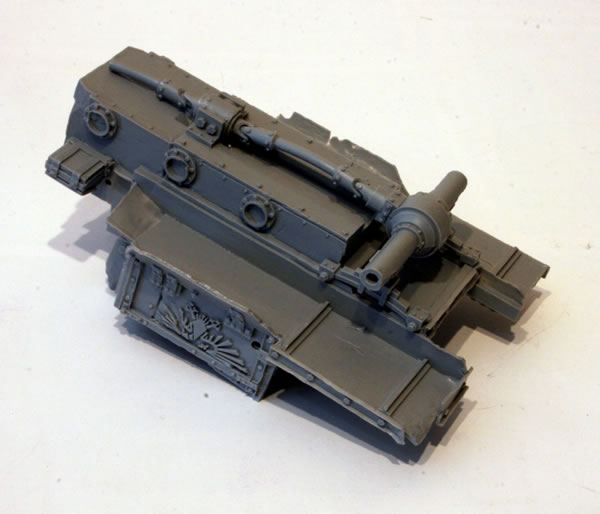
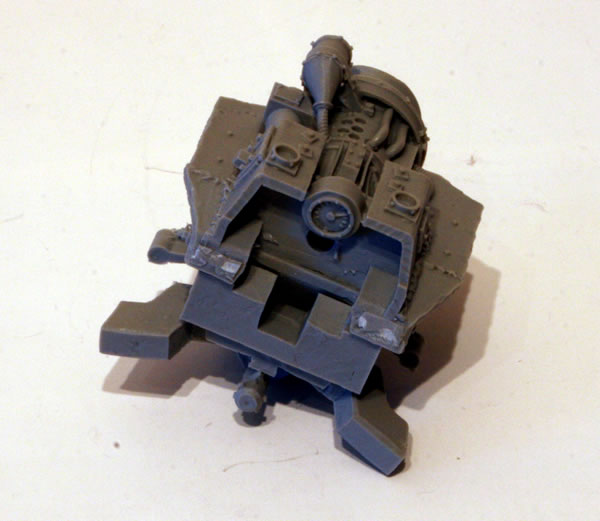
The main engine block for the Ork Big Trakk comes in two parts.
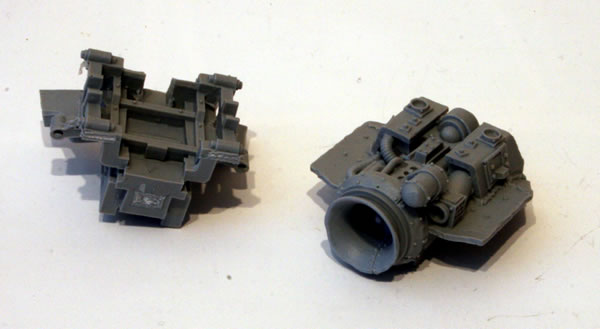
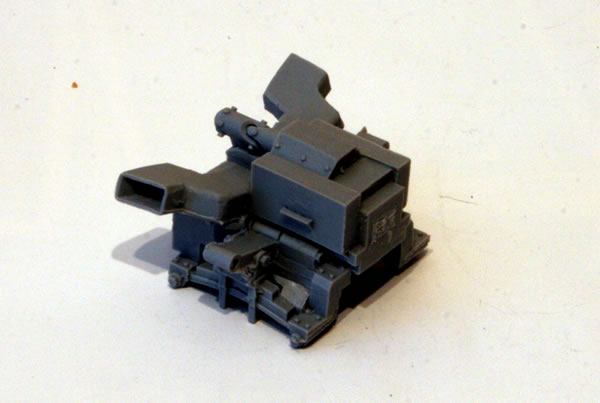
This is the bottom half (the wrong way up) and links into the drive shaft on the main part of the vehicle.
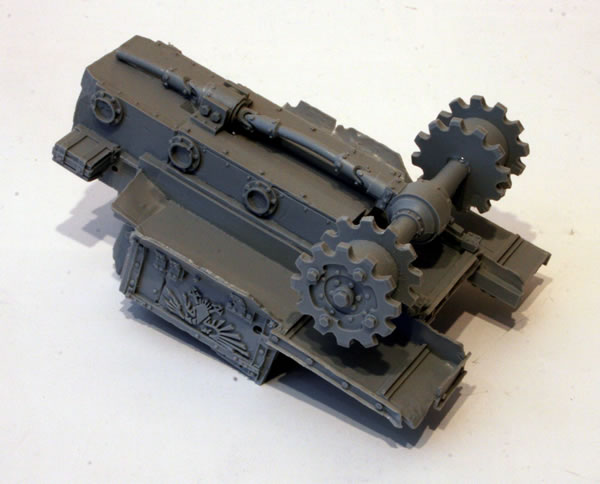
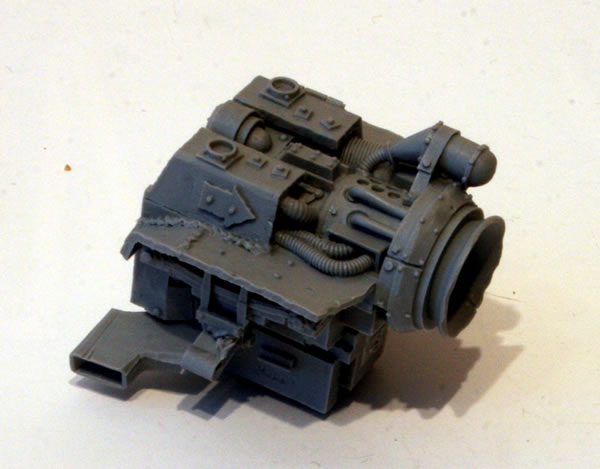
The well detailed jet intake is then stuck on top of the main engine block.
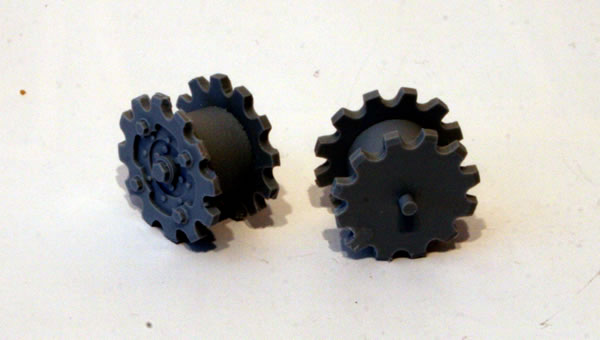
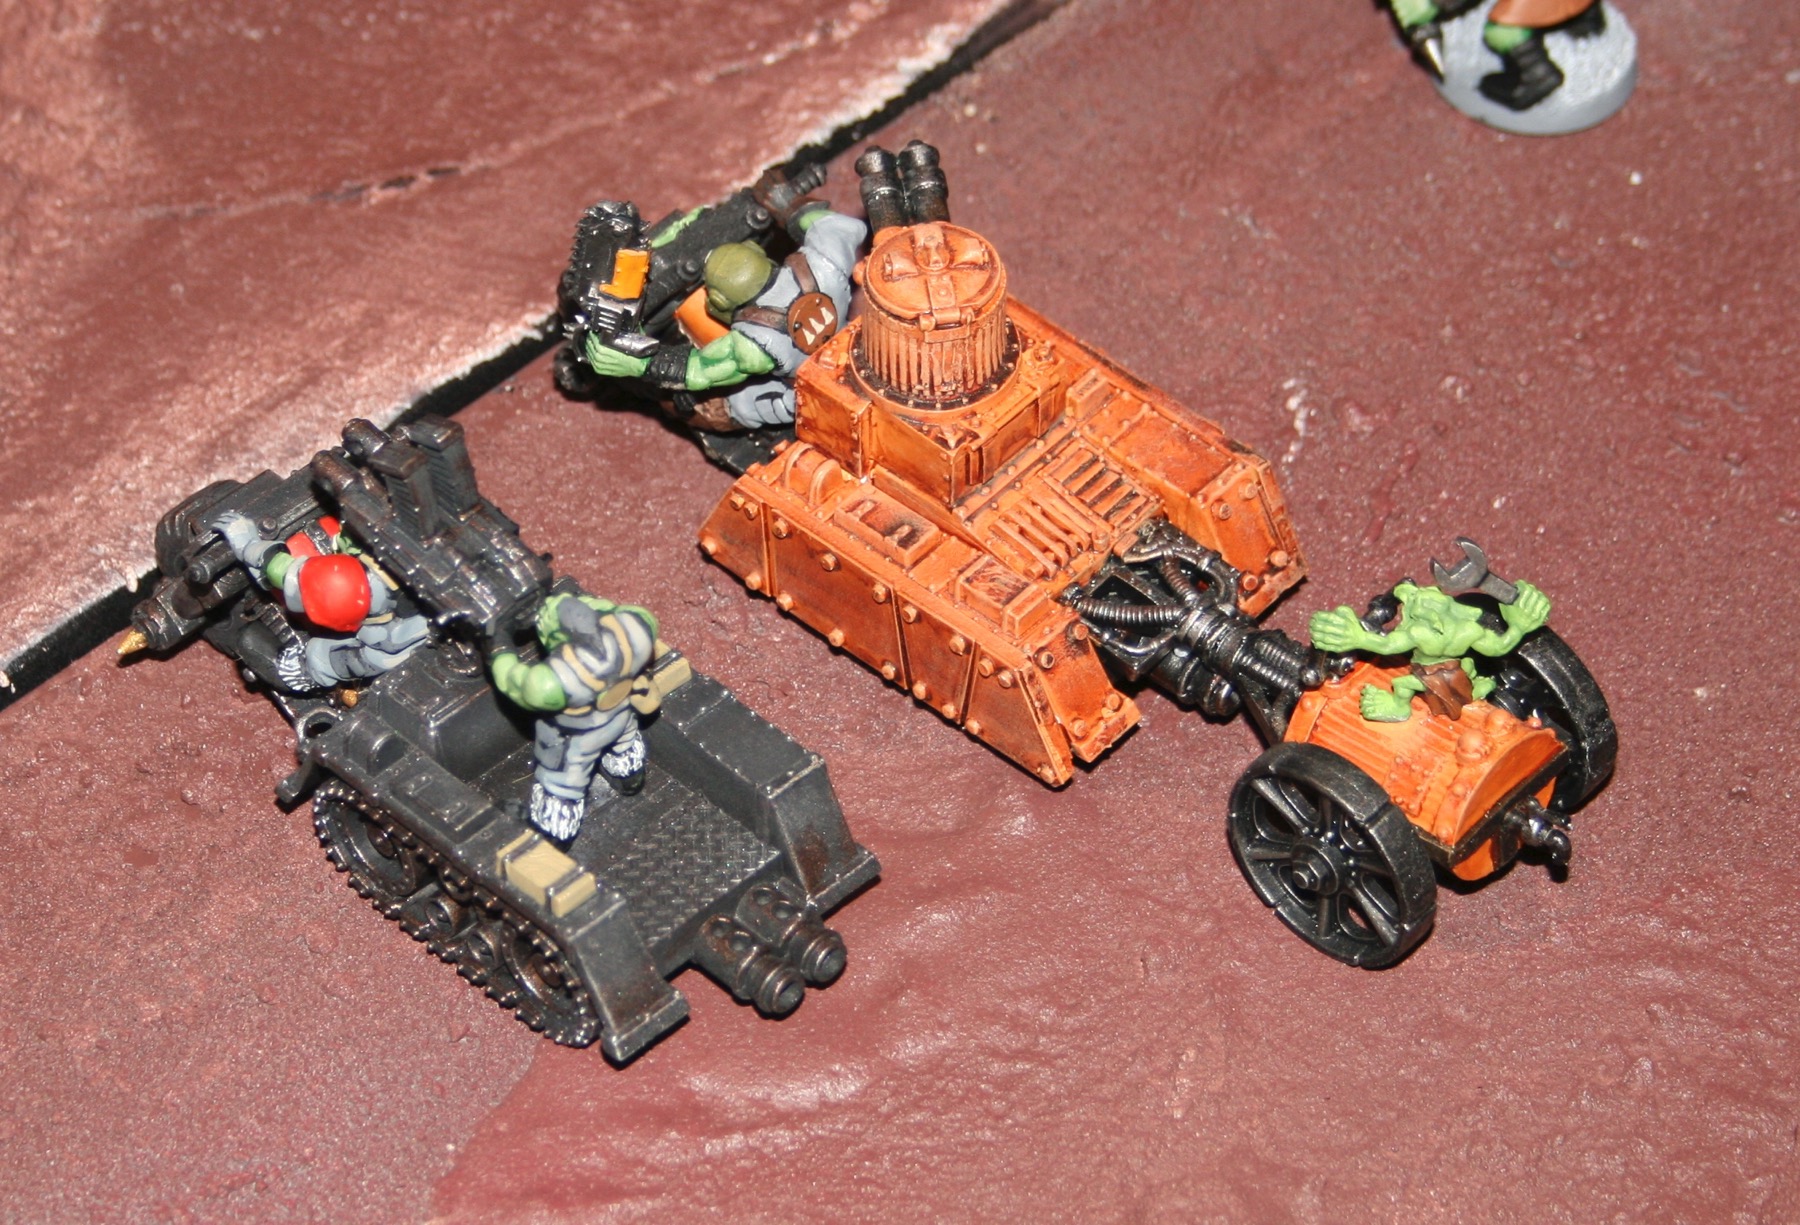
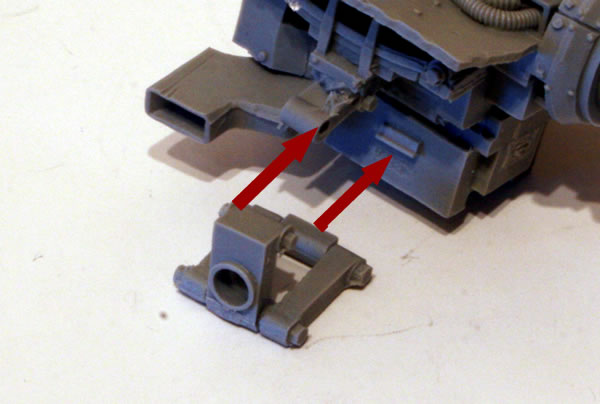
If you turn the engine over you will then be able to fix the front suspension and front axles.
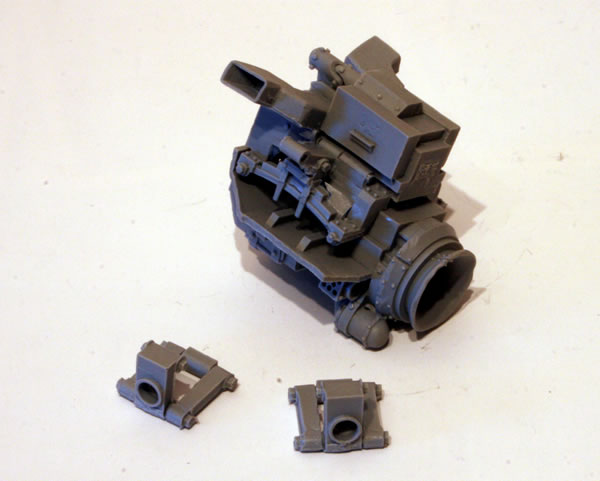
If you turn the engine over you will then be able to fix the front suspension and front axles. It’s not every clear how these fit on, but hopefully this diagram should make things clearer. There is a hole in the suspension arm fixed to the engine, and the suspension part is fixed to this and against the ridge on the engine block.
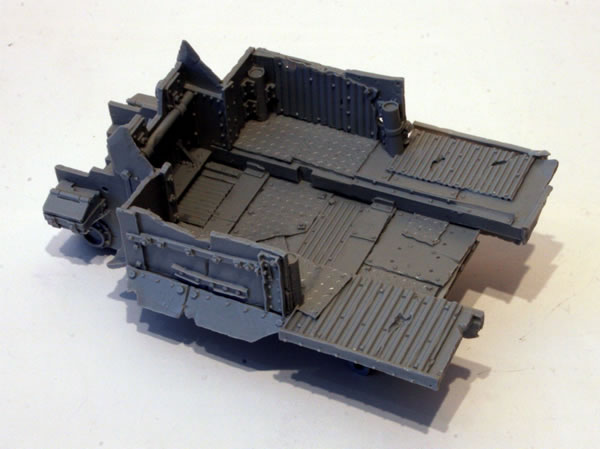
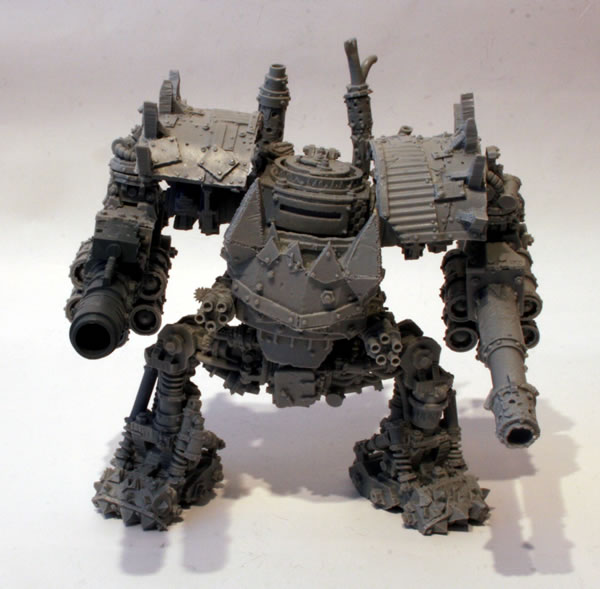
I decided to fix the suspension parts after fixing the engine to the main part of the vehicle. It is important at this stage to clean where the engine joins the superstructure otherwise there will be gaps and more importantly a weak joint.
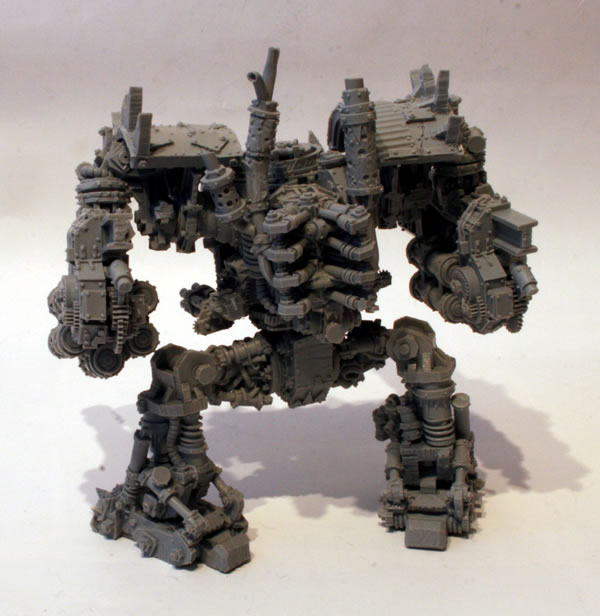
The workbench feature on the Big Trakk may help anyone else putting one of these kits together.