Ork Stompa with Forge World Bitz

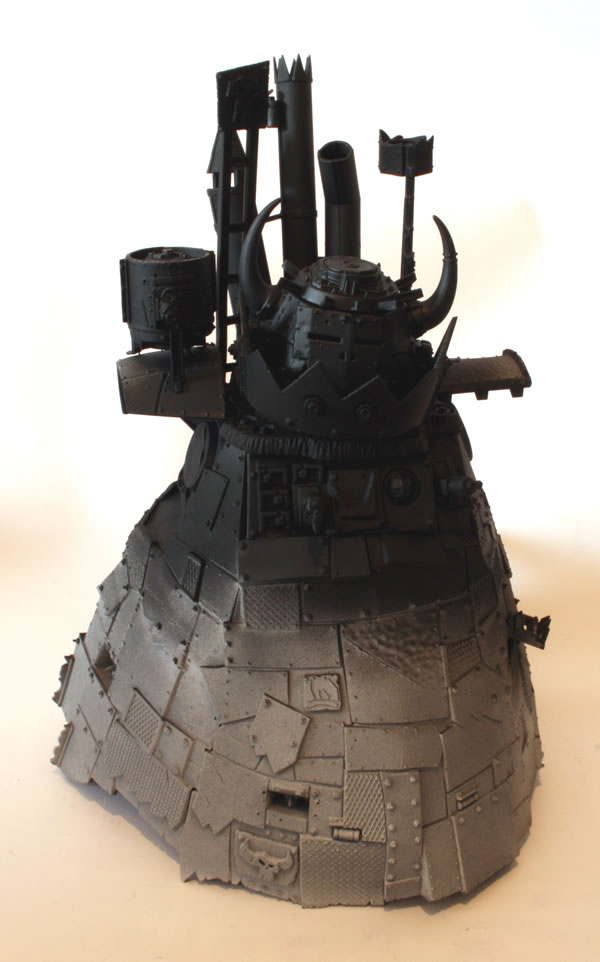
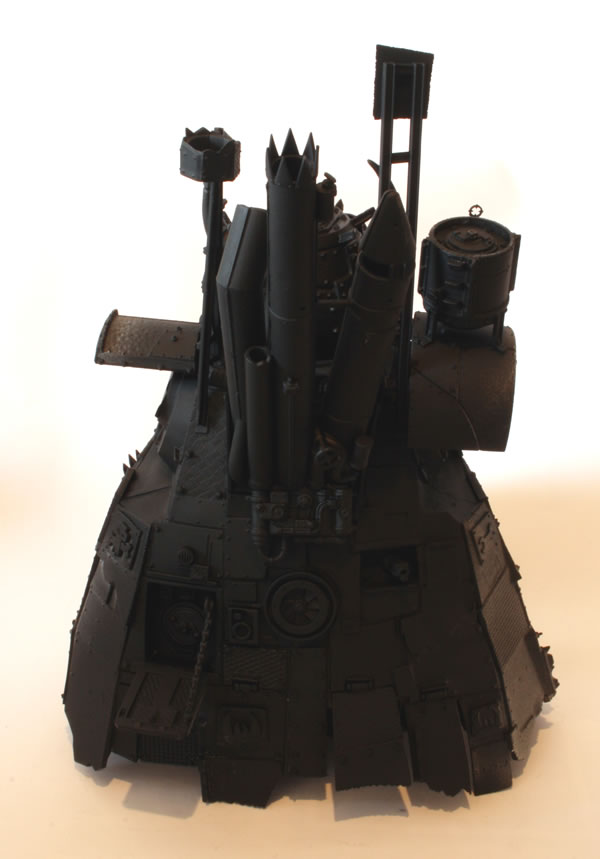
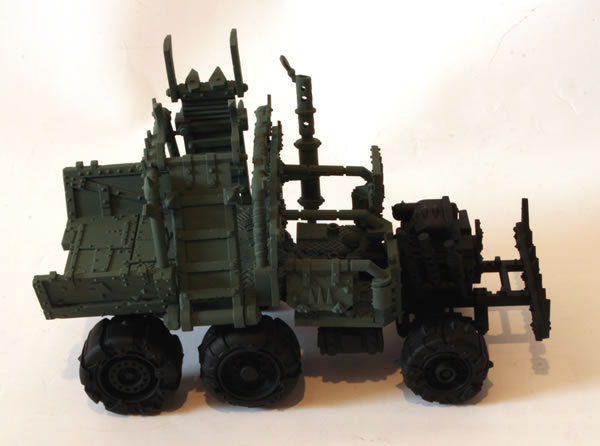
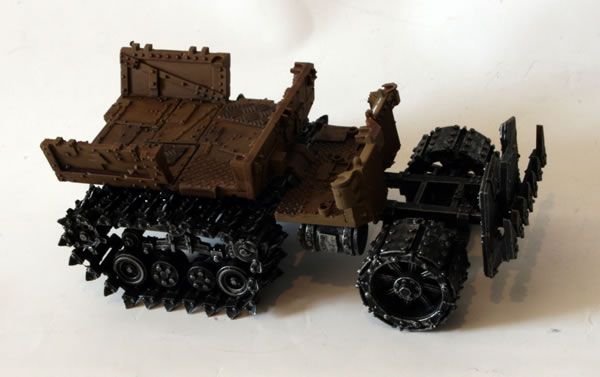
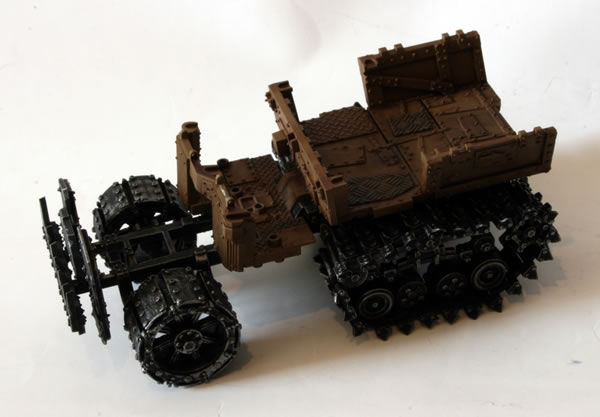
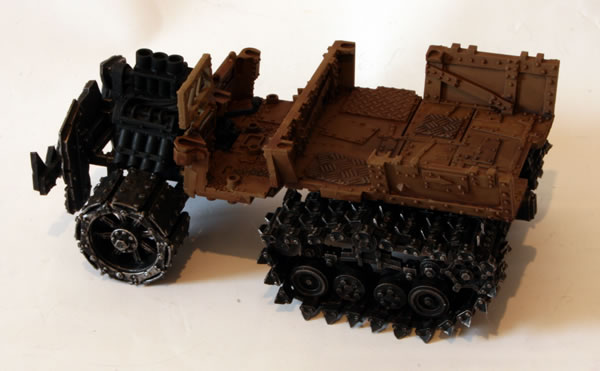
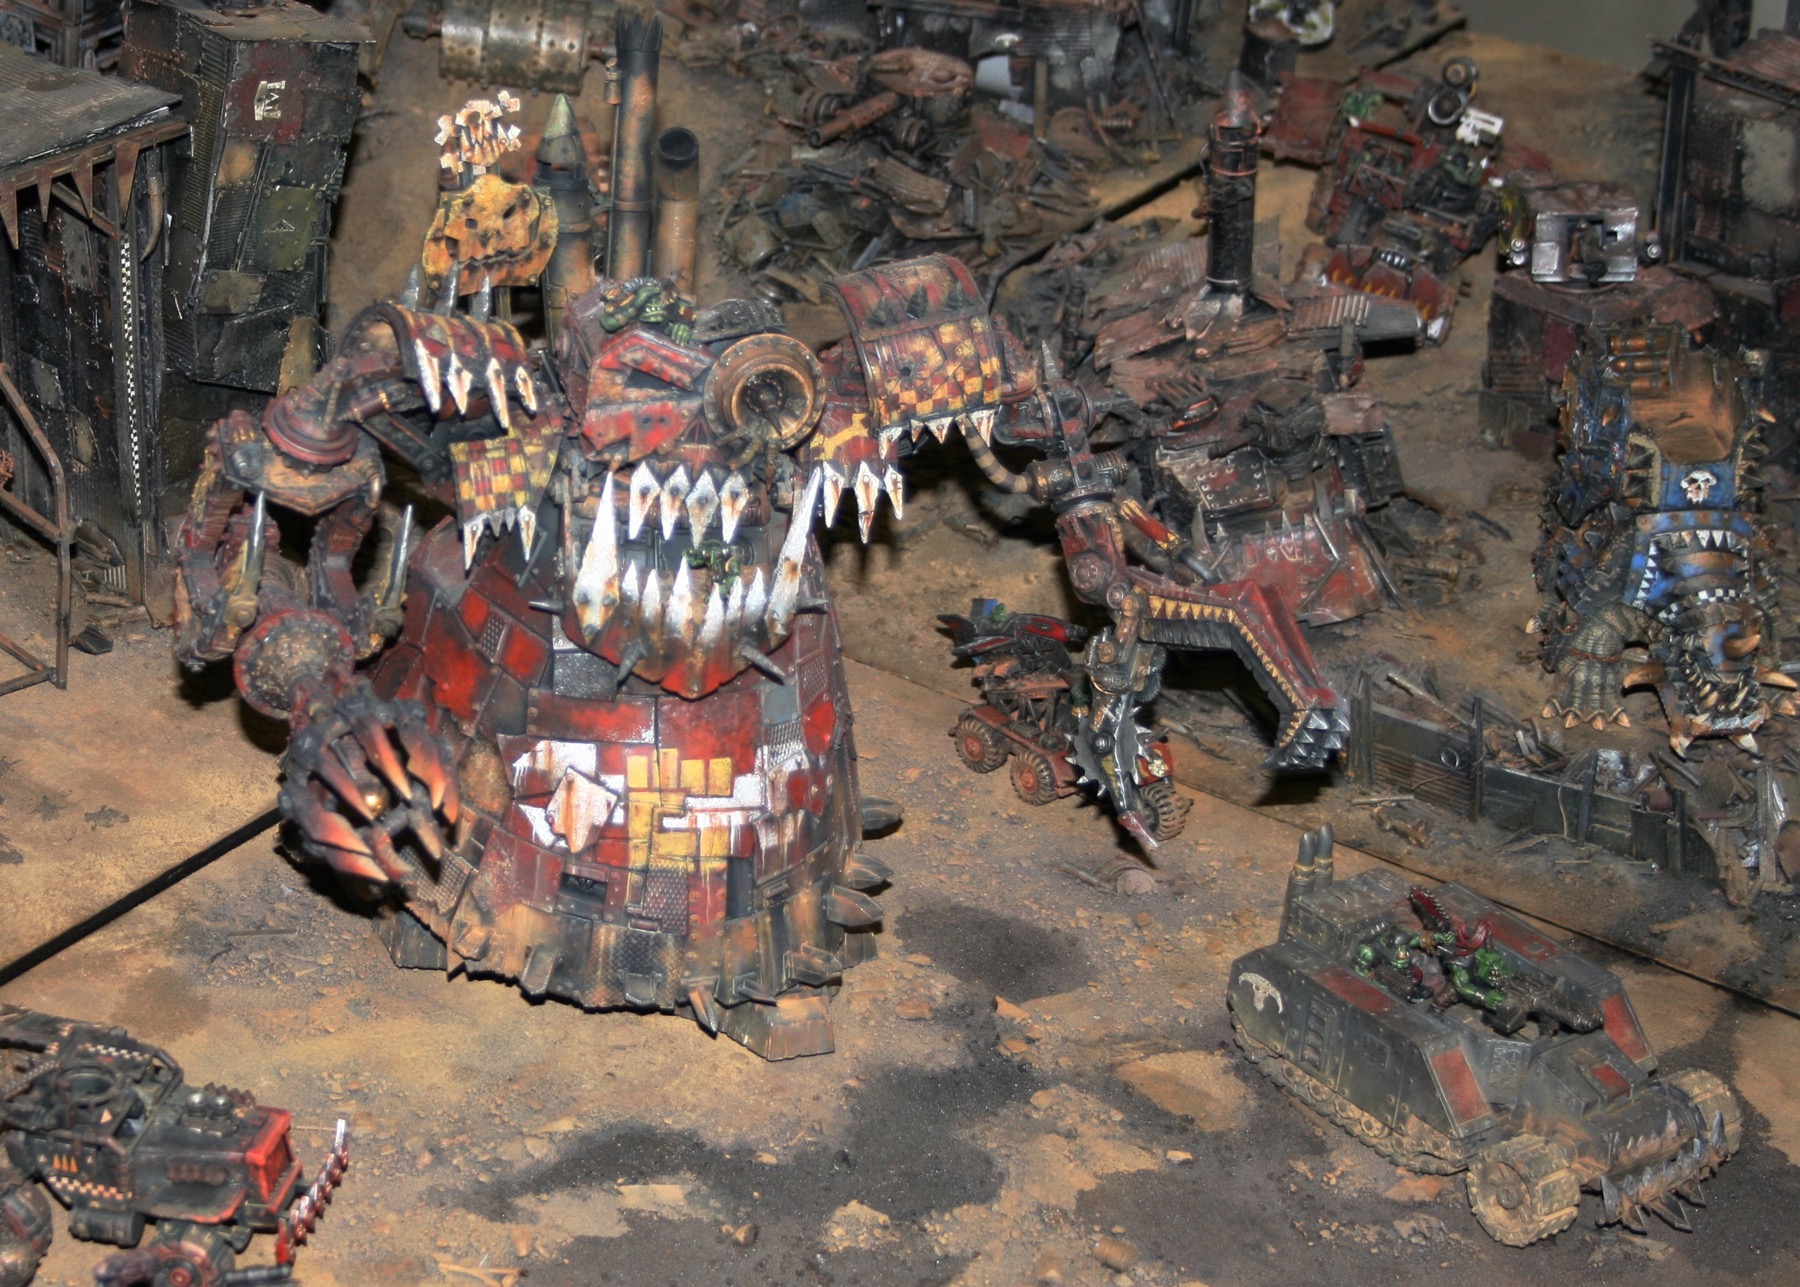
At GamesDay 2010 was another chance to see Forge World’s excellent Ork Shanty Town diorama.

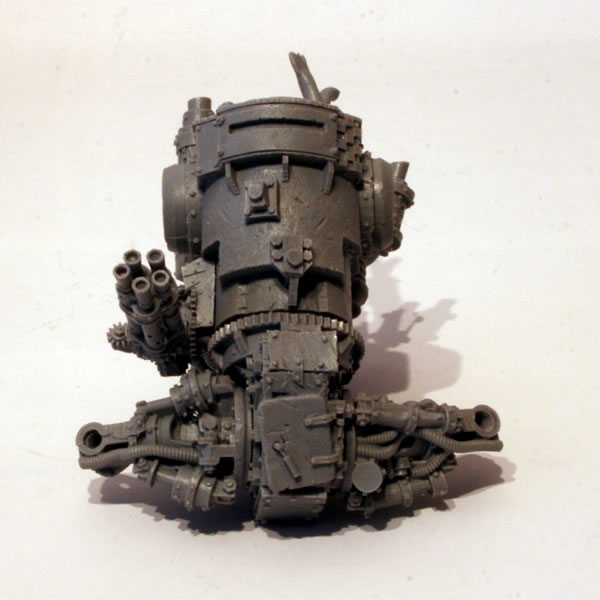
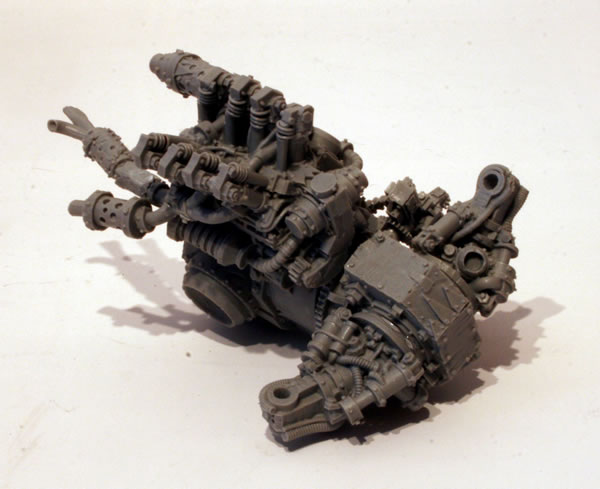
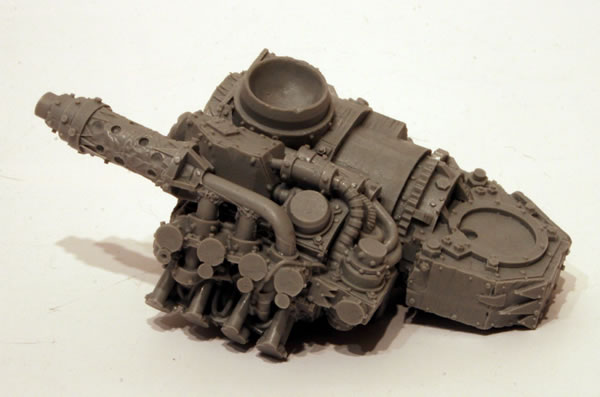
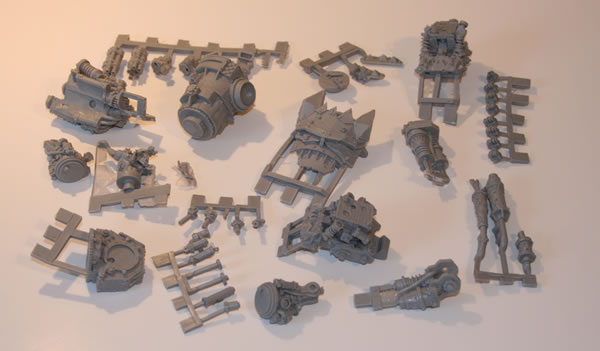
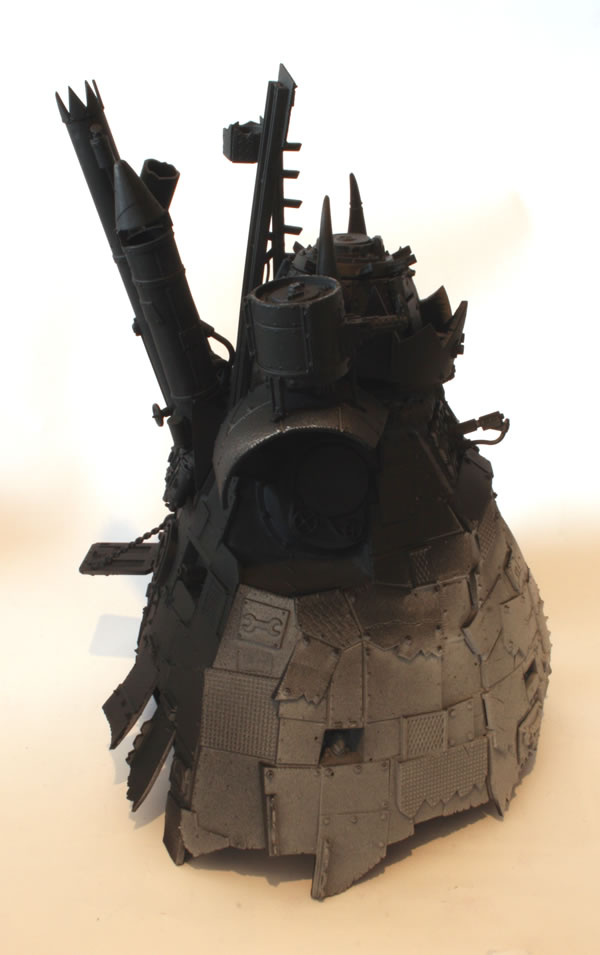
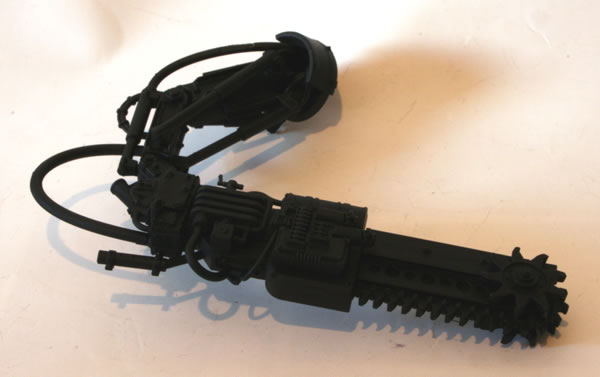
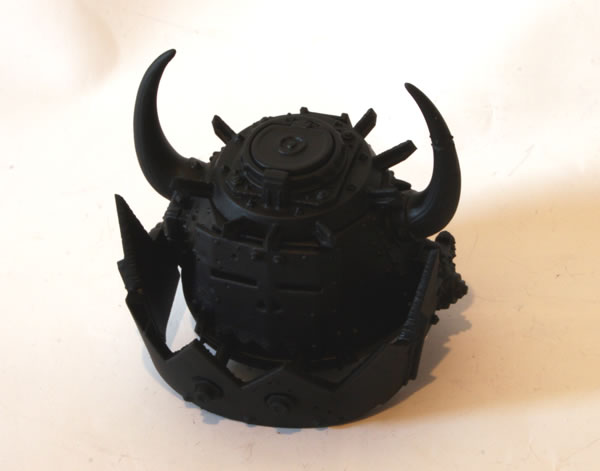
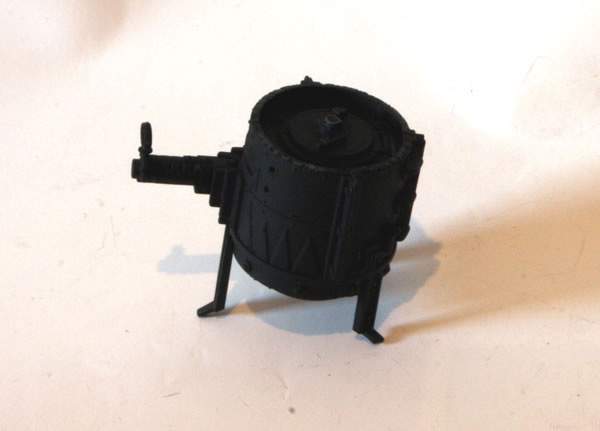
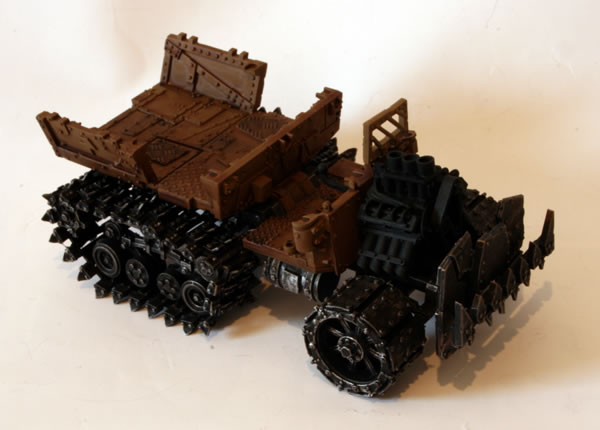
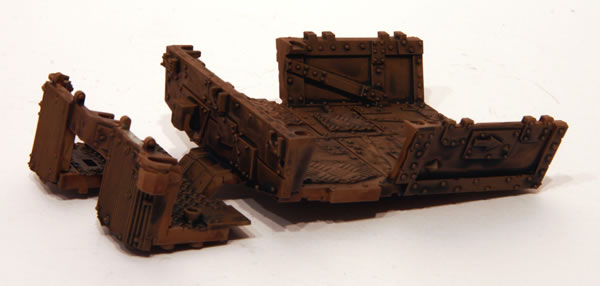
This time though Forge World had added a lot of their new models, including an Ork Stompa, one that had used some of the Forge World conversion kits for the Stompa.

On display at GamesDay 2010, Ork Stompa with Forge World variants.
On display at GamesDay 2010, Ork Stompa with Forge World variants

Though I know it will be some time before we see an Ork Gargant from Forge World, it certainly isn’t outside the realms of possibility. Forge World make a BIG model once every two years. Last year, in 2009,  we saw the Reaver Titan, next year 2011 we see the Eldar Phantom Titan. Therefore in 2013 we will see another BIG model. I have to admit my money would be on a Warlord Titan, but an Ork Gargant is certainly one possibility and if we do see the Warlord in 2013 then I think we would see a Gargant in 2015… Can I wait that long? Probably.

So what about the size? Well the process that Forge World use is the same one that companies like Rolls Royce use to make full size resin copies of their aircraft engines, so size isn’t really an issue, selling them certainly is though. Forge World only make models under the assumption that they will sell them. Models that don’t sell find themselves resigned to the mould bin of history.

So would I buy one? If I could afford one, then yes I would. Could I afford one? Probably not.

Attaching the Mega Dread thighs

After constructing the legs and thighs, I attached the thighs to the main body.

I also added one of the side Big Shootaz.

There are eight “taps” that they need to be glued onto the rear engine. The exhausts were challenging, in the main due to the superglue I was using, the glue was a little two liquid, so I changed to a gel type super glue.

See the full workbench feature on my Ork Mega Dread.

Putting the Mega Dread together

Having washed all the resin components of my Forge World Ork Mega Dread, time to start putting it together. Firstly I put the main body parts together. They comprise the body, waist and engine sections.

I then added one of the exhausts.

This is the rear view. You can see the flat joins for parts of the engine.

See the full workbench feature on my Ork Mega Dread.

Forge World Ork Mega Dread

Back in September 2009, Forge World released the Mega Dread…

megadread001

Just what every mekboy wants; an even bigger `Dread! This large new model is a great addition the Ork ranks; a smoke-belching, hydraulic monster able to tear apart enemy tanks and smash a side lesser war machines with contemptuous ease. Designed by Phil Stutcinskas with pilot by Mark Bedford, this is another amazingly detailed model which, standing at over 5” tall, dwarves a Space Marine Dreadnought.

Just as with our Space Marine Dreadnoughts we are selling the main body of the Mega-Dread (which also comes with two ‘Gatling gun style’ big Shootas) and its weapon arms separately. The two arms we are releasing with it are the Mega-Dread Killkannon arm and the Mega-Dread Rippa-Claw arm. Both of these weapon arms are designed to fit on either side of the Mega-Dread’s body allowing you to customise it as you wish.

Ork Mega-Dread Killkannon: The Mega-Dread Killkannon is a large bore cannon which is fed shells revolver-style from a rotary magazine, and allows the Mega-Dread to tote an artillery piece as easily as an Ork Boy would his shoota, blasting the Mega-Dread’s path through the enemy.

Ork Mega-Dread Rippa-Claw: The Mega-Dread Rippa-Claw is a huge mechanical pincer-claw designed to punch through the toughest armour, and it lets the Mega-Dread rip great chunks of wreckage from enemy vehicles and dismantle siege defences and bunkers piece by piece.

I bought mine at GamesDay 2009 and purchased it with two Killkannons as I didn’t think much of the Rippa-Claw, it looked flimsy in comparison to the model as a whole.

Here is a photo of all the resin pieces.

See the full workbench feature on the Forge World Ork Mega Dread.

Undercoating the Stompa

I decided that I would before any black undercoating, I would give my Stompa a light white undercoat. This would then enable the black to adhere properly. Having done that, I gave the Stompa weapons a black undercoat.

So was the main close combat arm.

The head with the face mask attached was also undercoated black.

The Grot Turret also got a black undercoat.

Basecoating another Trukk Flatbed

Basecoated the flatbed of another of my Ork Trukks. This time with Humbrol Dark Brown.

This flatbed is kept simple, unlike my other Trukk. The flatbed was kept simple, no sides, no rollbars and no ramps. I do quite like how this looks, fast and speedy.

Here is how the Trukk looks with a Kannon.

See the workbench feature on this Ork Trukk.

Forge World Ork Halftrakk Flatbed

The flatbed of my Ork Halftrakk was sprayed with a Humbrol brown paint. I then gave it a wash of Devlan Mud. Not sure if I like using this wash over the usual brown ink and paint wash I usually use. I usually use a wash consisting of brown ink, paint and water.

I added some more washes to the body of the Half Trakk using Devlan Brown and Badab Black.

Next stage will be a drybrush.

See the full workbench feature on the Forge World Ork Halftrakk.