Purity Seals on my Grey Knights Landspeeder

Having finished most of the metal bodywork on my Grey Knights Landspeeder I went and painted the purity seals using a Foundation Paint.

Grey Knights Landspeeder

It covered the black undercoat really well compared to normal Citadel colour. There are quite a few on the model, I used the resin purity seals available from Forgeworld rather than make my own. You can make your own using paper and green stuff for the seals, but the Forgeworld ones are much easier to use and I think much better than I could do.

Grey Knights Landspeeder

When I was editing the photographs for this blog entry I was quite pleased with the way the metal finish appeared (in close-up) on the Landspeeder body.

Grey Knights Landspeeder

This was done with Boltgun Metal. I still need to add some highlights.

Grey Knights Land Speeder – the story continues…

Painting Orks takes time, so much time that I realised it had been some time since I last mentioned my Grey Knights Landspeeder (see work done so far here).

I got it out the other day and finished off the basecoat which was done in Boltgun Metal. Basically I did the left wing and the engine compartment doors.

Grey Knights Land Speeder

The next stage was to do the purity seals.

Dozerblade for the Repressor

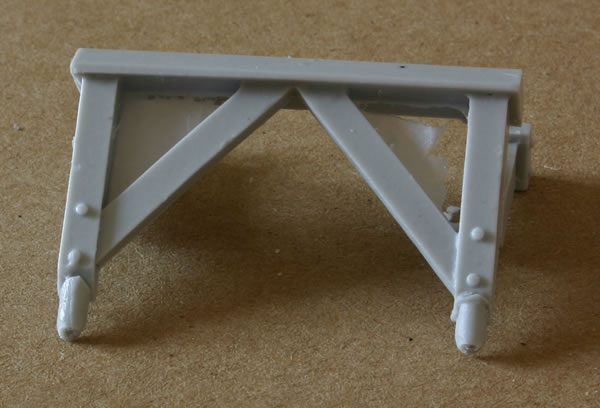
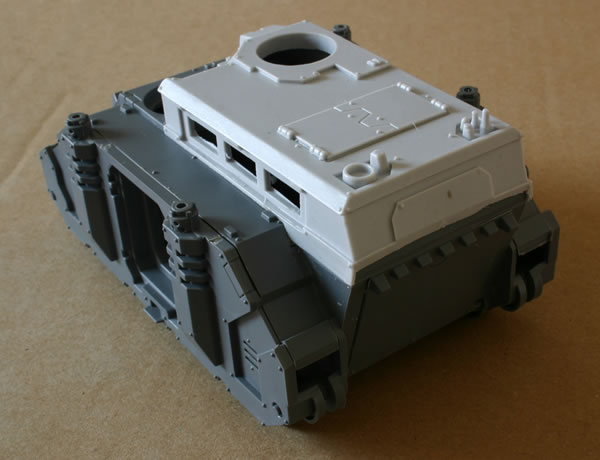
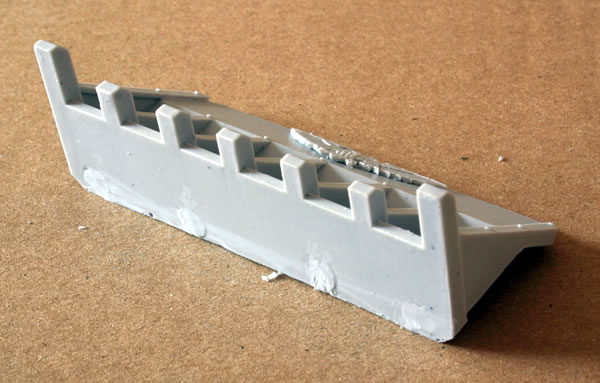
One of the nice extra parts for the Sisters of Battle Repressor is the large dozer blade. It consists of two parts; the blade and the attachment for attaching the blade to the hull.

Dozerblade for the Repressor

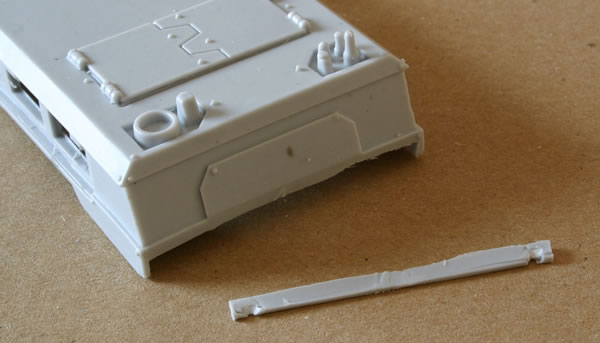
The blade has some quite large sprue attachments which need to be removed with care.

If you don’t it can result in damage to the resin blade, luckily this is at the bottom of the blade.

Dozerblade for the Repressor

The attachment had a fair bit of flash attached which needed to be cleaned.

Dozerblade for the Repressor

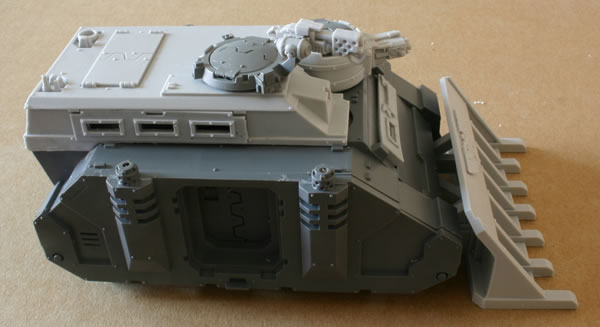
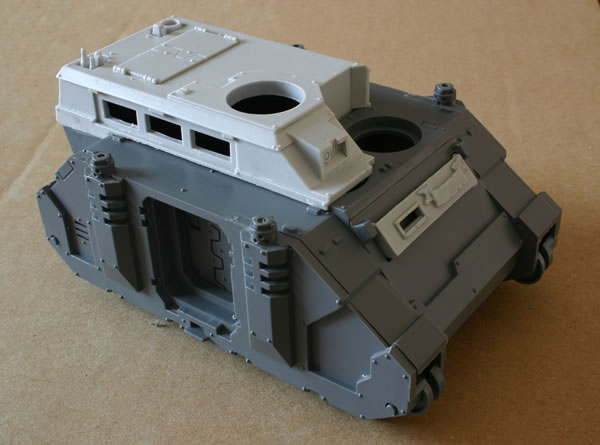
I am going to paint this part separately, but to give you an idea on how the final Repressor will look here is as though the dozer blade was attached.

Repressor

The next stage is doors, for which I think I may purchase some Rhino Inquisition doors from Forgeworld.

Repressor Hatch Flamer

…let them burn in the fires of retribution or somesuch rubbish…

The Repressor kit comes with a resin flamer for a hatch ring.

Repressor Hatch Flamer

Combined with the plastic hatch ring from the extras sprue, it will go on the top of the Repressor structure.

Repressor Hatch Flamer

It went together very easily.

Repressor Hatch Flamer

I decided to make the hatch closed, if this was a Sisters of Battle Repressor or a Adeptus Arbites Repressor then I may have added a gunner, as this will be used for different units I decided to make it closed.

The continuing saga of the ill-fitting top

carve and file…

After much thought about the ill-fitting top on my Sisters of Battle Repressor I decided initially to try and file down the Rhino body to allow the resin superstructure fit.

This wasn’t really working, so I decided to trim the back of the superstructure.

Sisters of Battle Repressor

This allowed the superstructure to fit.

Sisters of Battle Repressor

But it wasn’t a perfect fit.

Sisters of Battle Repressor

This was more apparent on the front.

Sisters of Battle Repressor

Where there was quite a large gap.

Sisters of Battle Repressor

Time to get out the green stuff (putty).

Sisters of Battle Repressor – Storm Troopers Transport Storm Bolter Turret

The Storm Bolter Turret on my Sisters of Battle Repressor – Storm Troopers Transport went together very easily.

These are the resin and plastic components.

Sisters of Battle Repressor Storm Bolter Turret

Here is the completed turret.

Sisters of Battle Repressor Storm Bolter Turret

It fits nicely into the turret ring.

The top don’t fit

The resin seems to have shrunk…

As I was building the Repressor I noticed that I had a problem. The new roof did not fit as expected, it was as though it had shrunk.

The top don't fit

The arrow points to the parts not fitting together as they should.

This is of course always a concern with resin parts and to be honest I almost expect it with Forgeworld models, these are resin kits which require skill not mass produced plastic kits which any old fool can put together!

Now the issue was how was I going to rectify this?