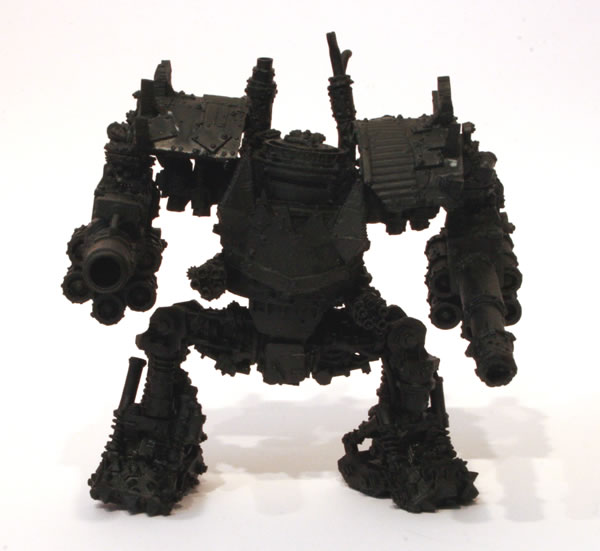
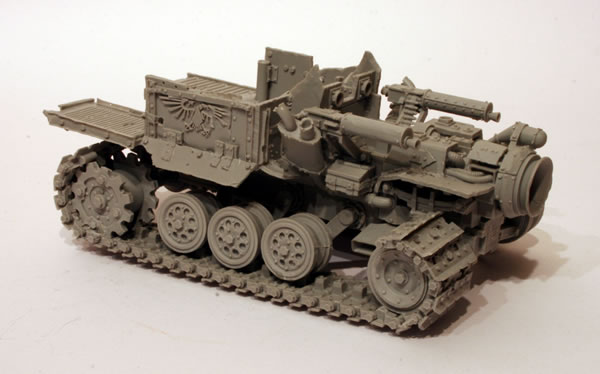
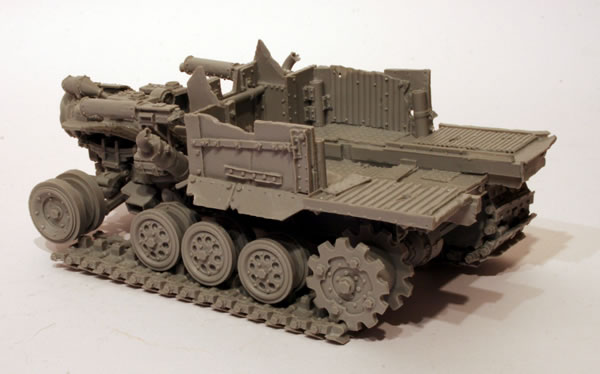
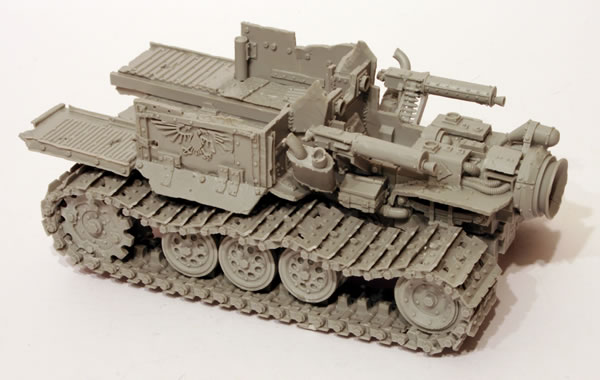
So after getting all the parts together the next stage was undercoating the model.
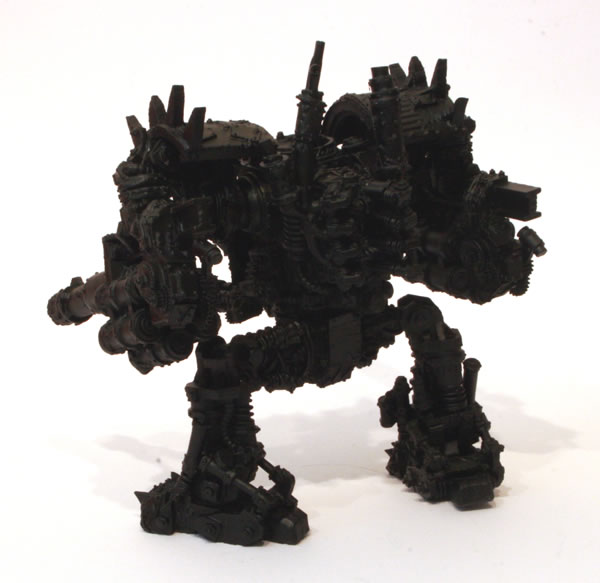
See the full workbench feature on my Ork Mega Dread.
warhammer, wh40k, flames of war, bolt action, aeronautica imperialis, star wars, models, news, views and stuff
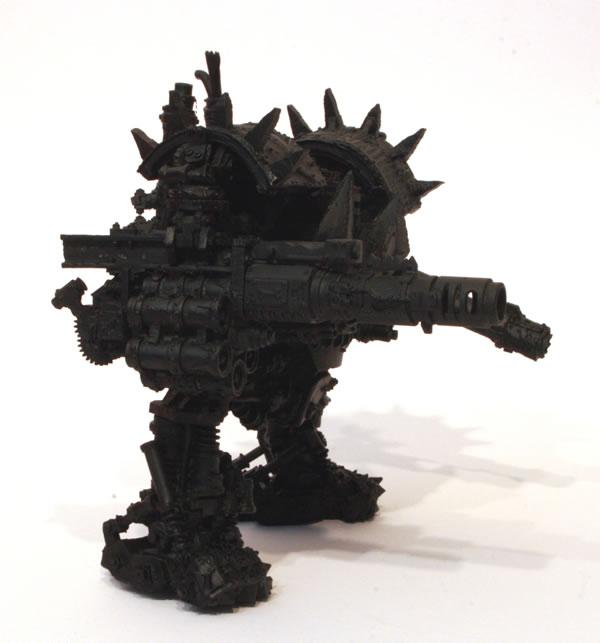
So after getting all the parts together the next stage was undercoating the model.
See the full workbench feature on my Ork Mega Dread.
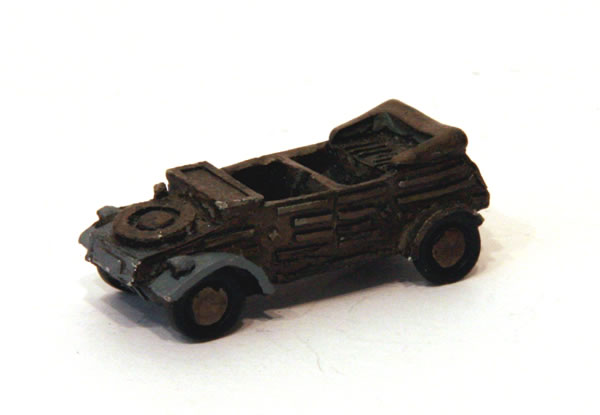
Don’t remember the manufacturer. I have painted this model. I gave the model a black undercoat, I then started to paint it with dark grey.
I really don’t like this model, it doesn’t look right and seems well out of proportion. The detail is quite out of scale too. My intention is to use it for scenery.
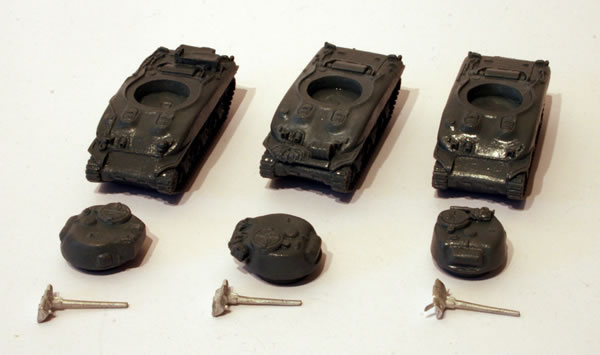
These miniatures come in the Open Fire Flames of War starter set.
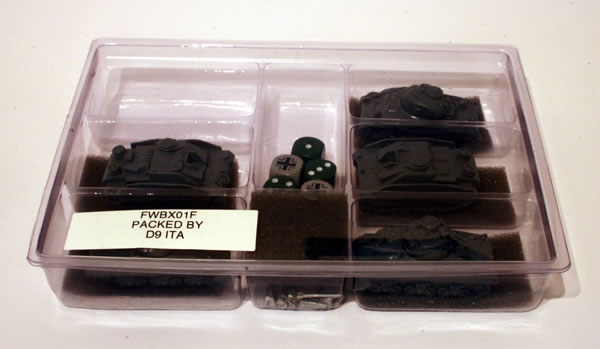
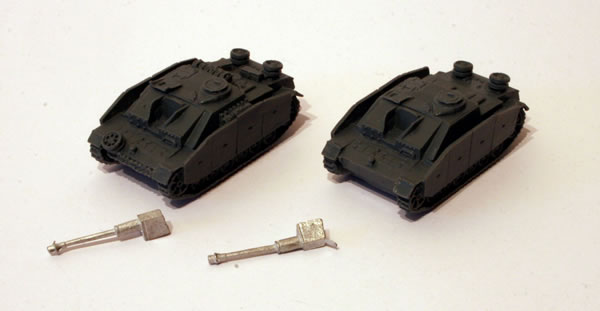
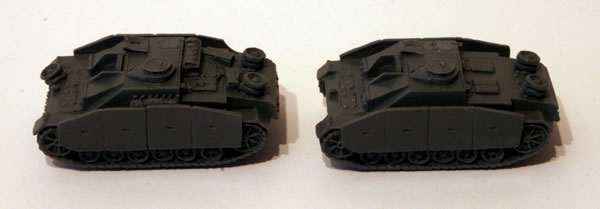
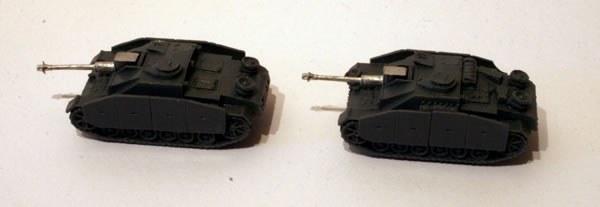
The StuGs come all in resin with separate metal main weapons. If you buy the StuGs individually they come with metal tracks.
Side view.
The gun barrels were fixed by superglue.
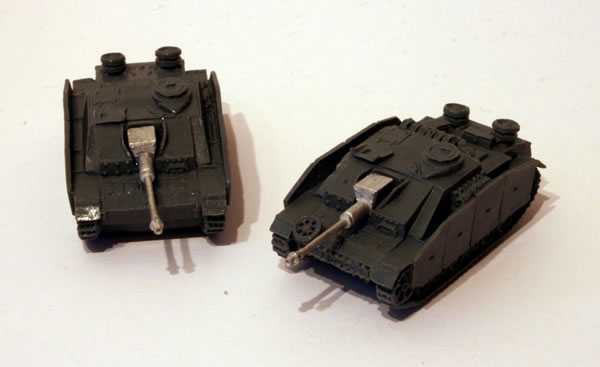
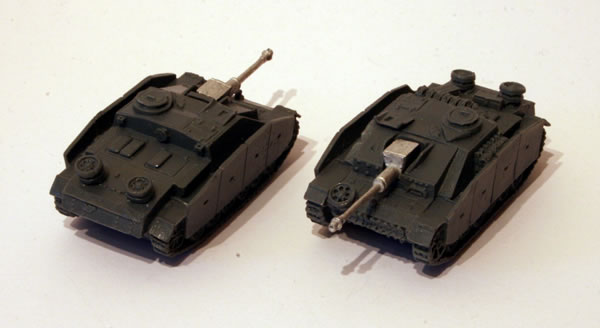
See the full workbench feature on these StuG G Assault Guns.
Having fixed most of my Ork Trukk with Enclosed Cab together, I decided to have a look to see how the Big Zzappa looked inside the flatbed.
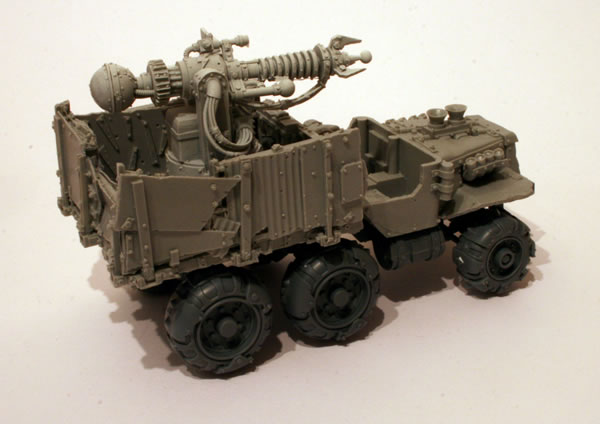
Works well and as would be expected fits in very nicely.
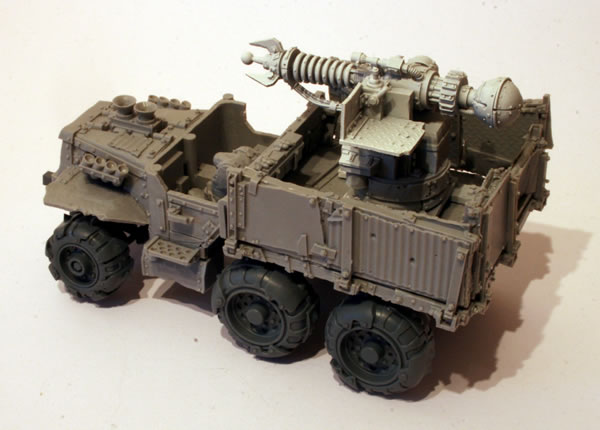
See the workbench features on the Ork Trukk with Enclosed Cab and the Big Zzappa.
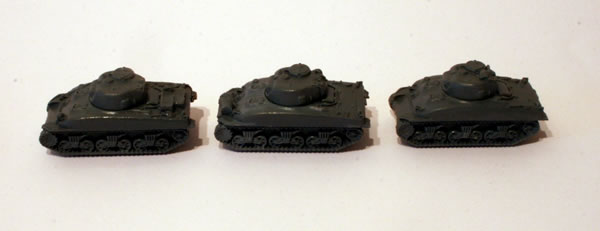
These Sherman tank miniatures come in the Open Fire Flames of War starter set.
The Shermans come all in resin with separate turrets and metal main weapons. If you buy the Shermans individually they come with metal (or plastic) tracks.
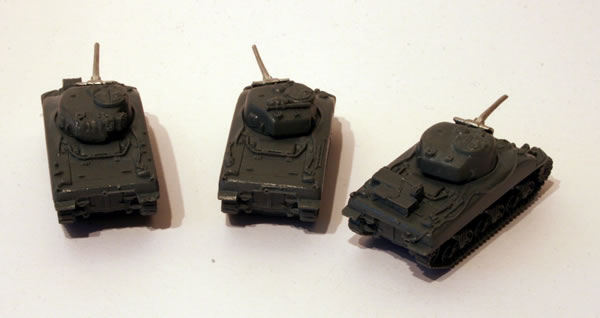
These are very nice models. The gun barrels were fixed by superglue. However I kept the turrets separate so they can move freely during the games.
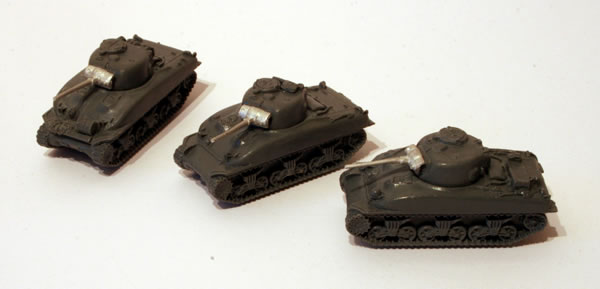
I did like the fact that these are three different castings, and not three copies of a single casting. You can see that from the rear, front and turret stowage.
See the full workbench feature on these Sherman tanks.
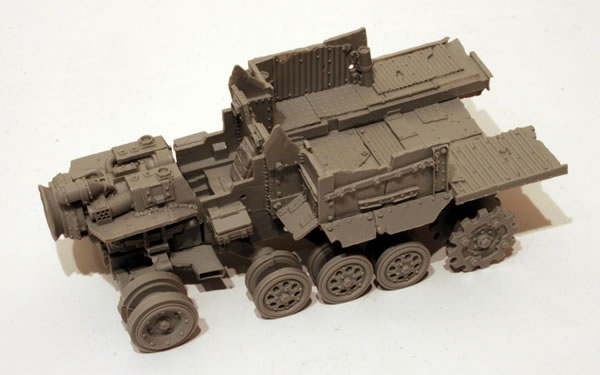
The next stage was adding the tracks. These have been numbered on the sprues and this is the order around the wheels that they go.
The largest pieces of track I had were quite warped, but immersing them in hot water allowed me to get them nice and flat. The key I found in placing the track was to get the largest piece flat attached to the rear cog.
I managed to get the right side track to fit. It was quite a struggle to get the bits underneath the rear flatbed in, but it all came together in the end.
And now the left…
The workbench feature on the Big Trakk may help anyone else putting one of these kits together.
As well as putting together an Ork Fort I also using a similar technique to build an Ork Fuel Depot. Using parts from the Stompa kit and Cities of Death Manufactorium I added more detail to the Depot.
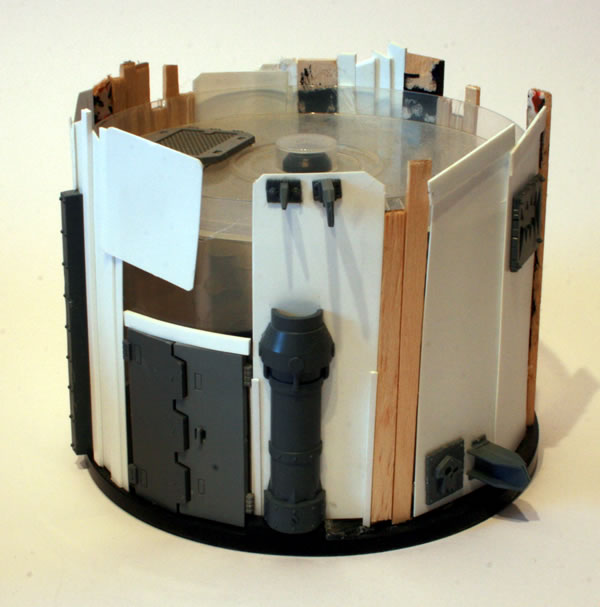
See the full workbench feature on the fuel depot. However at this stage it is probably going to be just an ordinary fort now.
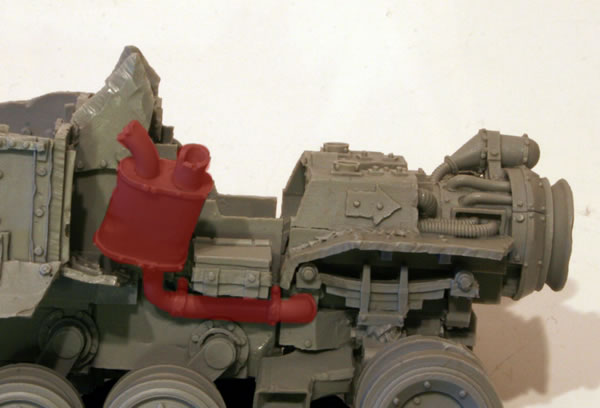
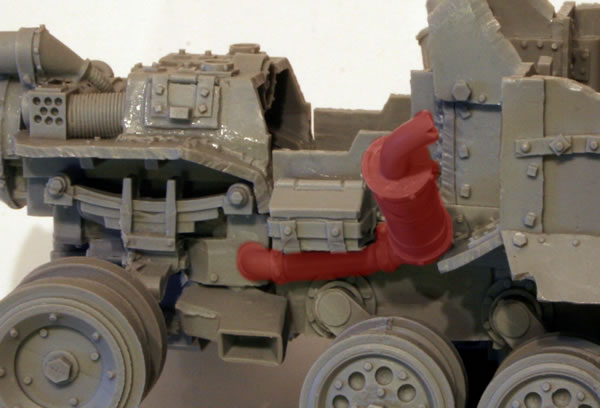
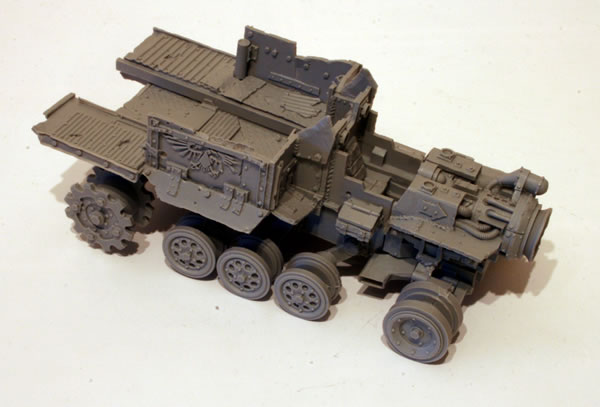
The next stage for my Big Ork Trakk was to add the exhausts. There are two exhausts and it is not immediately apparent where they fit.
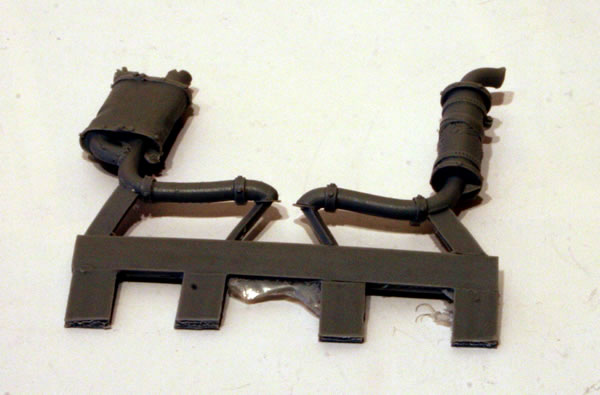
They are fitted on either side of the driver’s seat facing out at an angle.
Fitting the right exhaust, with the exhaust highlighted.
Fitting the left exhaust, with the exhaust highlighted.
The workbench feature on the Big Trakk may help anyone else putting one of these kits together.
Having taken the parts our of the bag and washed the resin pieces of the Forge World Ork Trukk with Enclosed Cab the next stage was to start putting it together.
The resin cab is basically one piece to which the smaller parts fit very easily.
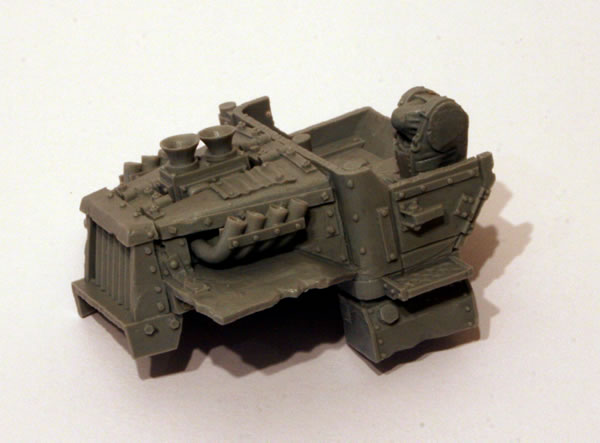
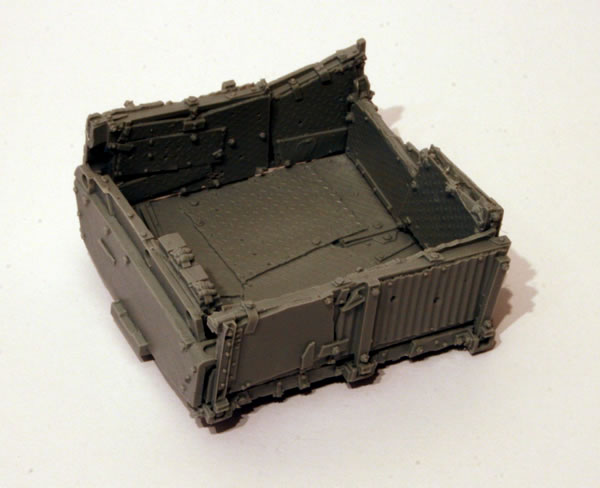
I decided to construct the flatbed with the sides up.
The chassis was constructed as per the instructions, though like my other Trukk as I had spare wheels I gave the model all rounded wheels rather than the mix that comes as standard with the kit.
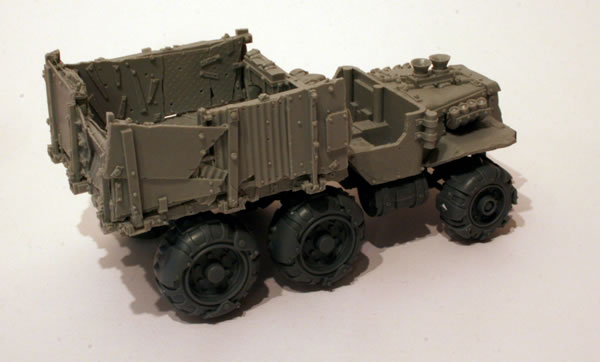
Another view.
I do really like how different this kit (and the wheels) this makes the Ork Trukk look. As a result I won’t have a consistent style of Ork Trukk, just a ramshackle series of vehicles that may have a common heritage, but look all cobbled together from whatever was lying about in the Mek’s workshop.
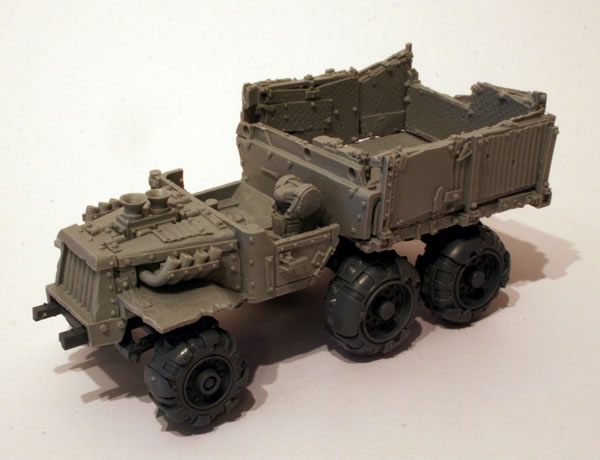
See the full workbench feature on the Forge World Ork Trukk with Enclosed Cab.
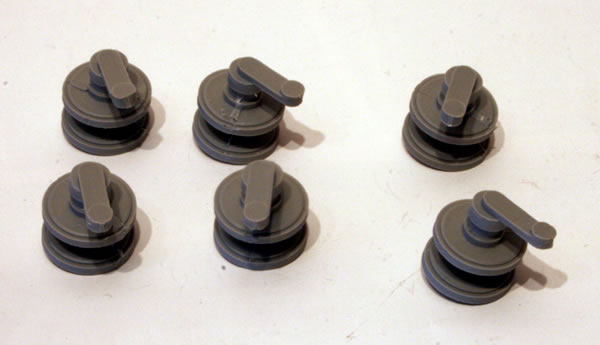
The next stage for my Big Ork Trakk was to add the wheels.

These were attached to the suspension (torsion bars) before they were fixed to the vehicle.
The next stage was to add the driving wheels. Again fix these with the model on a flat surface as this will ensure that the model sits flat on the tracks. I did one wheel at a time to ensure I didn’t knock them as I stuck them together. Also ensure that you have the suspension or torsion bars facing to towards the back of the vehicle.
The other side.
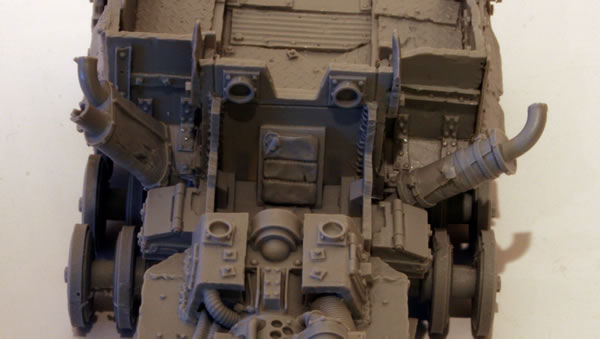
Starting to look a lot more like a Big Trakk now.
The workbench feature on the Big Trakk may help anyone else putting one of these kits together.