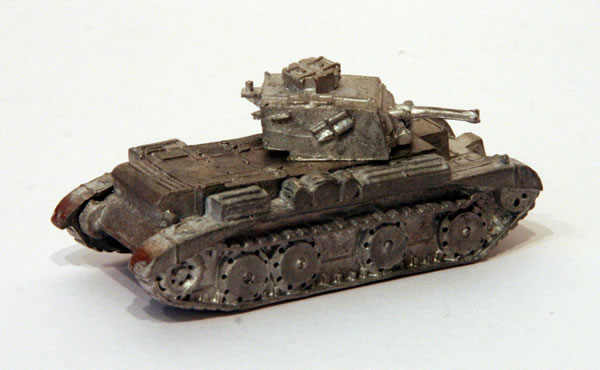
The Renault R35, an abbreviation of Char léger Modèle 1935 R or R 35, was a French light infantry tank of the Second World War. Designed from 1933 and produced from 1936, the type was intended as a light infantry support tank, equipping autonomous tank battalions, that would be allocated to individual infantry divisions to assist them in executing offensive operations. To this end it was relatively well-armoured but slow and lacking a good antitank-capacity, fitted with a short 37 mm gun. At the outbreak of the war, the antitank-rôle was more emphasized leading to the development and eventual production from April 1940 of a subtype with a more powerful longer gun, the Renault R40. It was planned to shift new production capacity to the manufacture of other, faster, types, but due to the defeat of France the R35/40 remained the most numerous French tank of the war, about 1685 vehicles having been produced in June 1940.

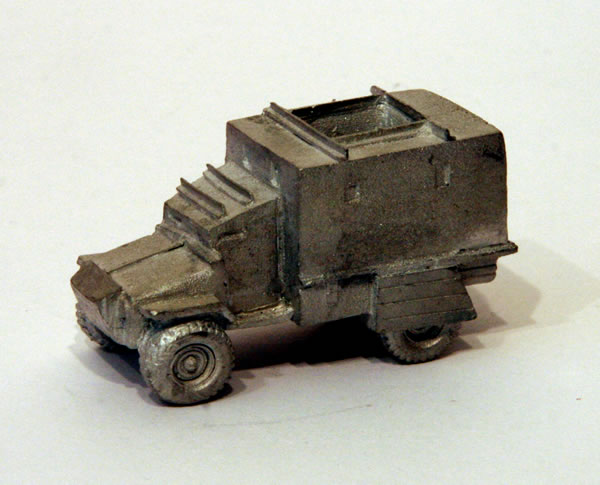
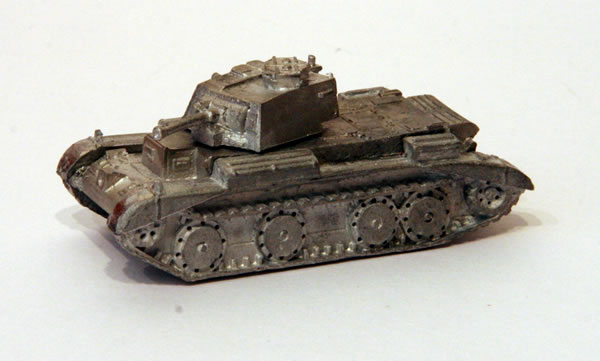
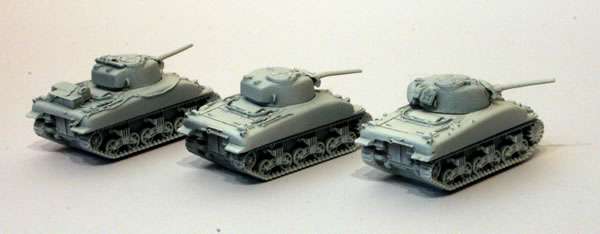
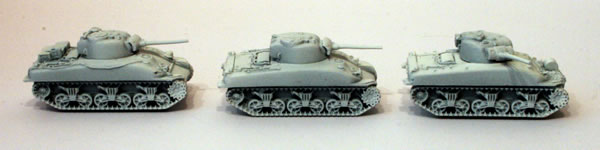
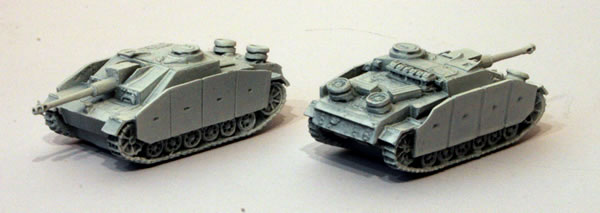
Like some of my other models I am unsure of the manufacturer of this one. After a bit of internet research I believe it is an old SDD miniature. Not convinced totally, but other miniatures in the box it was in carry SDD codes.
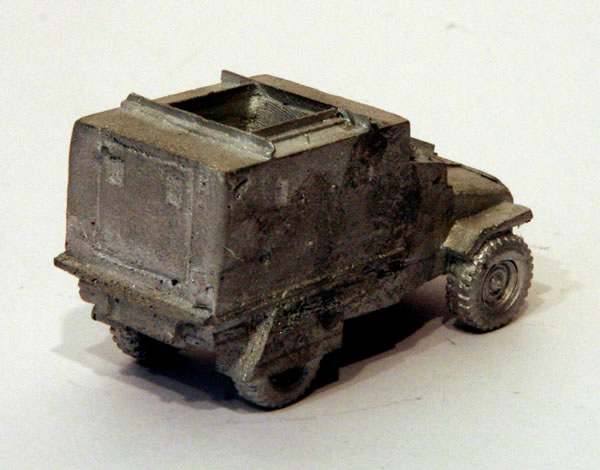
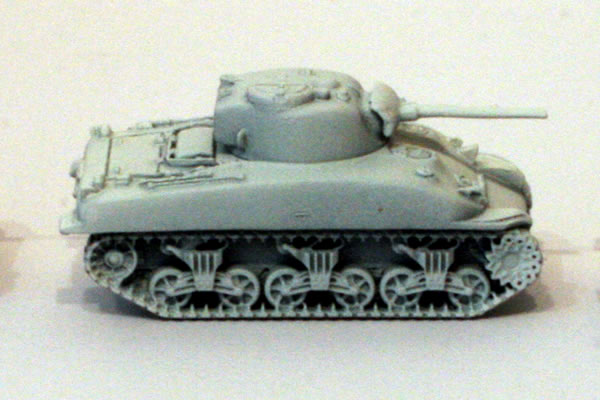
I am going to use this one as the test vehicle for my Flames of War French tanks to try out different paint schemes.
Tempted though to paint as a captured German version.

Photo source.


