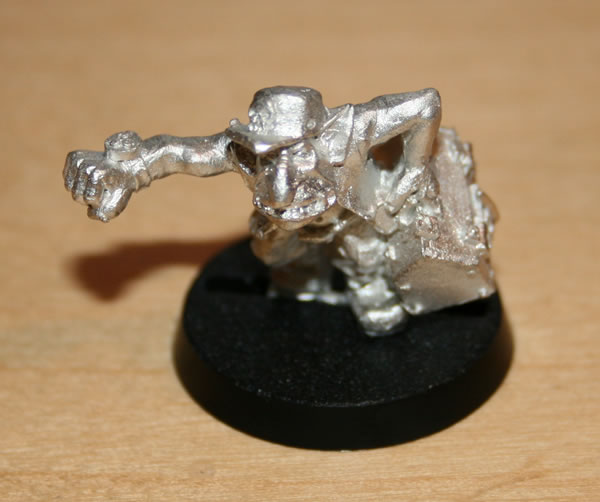
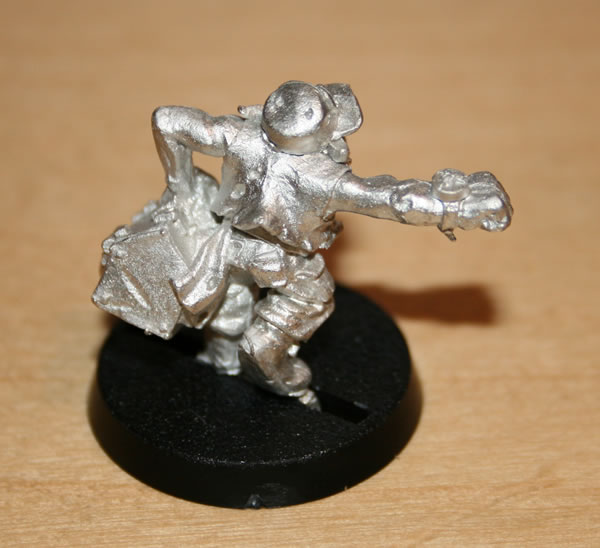
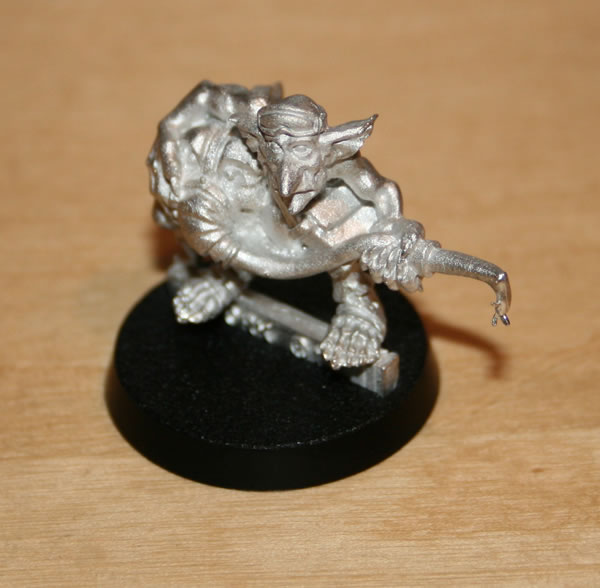
Here is my Ork Sqwadron Commander, which I have assembled. Some minor cleaning and it went together very easily.
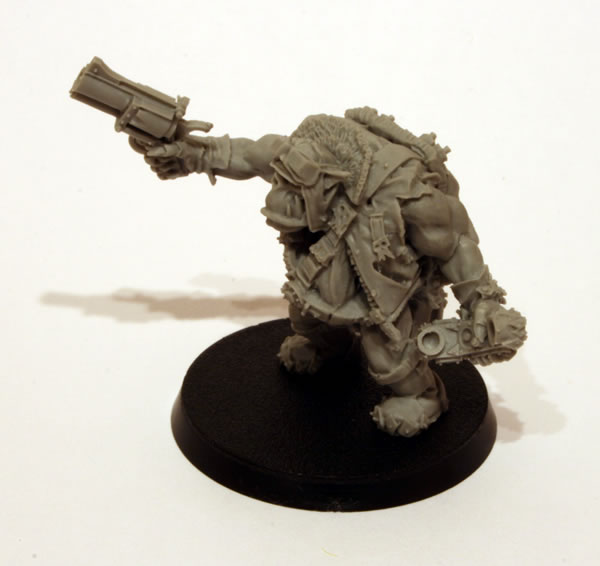
It is a really nice model.
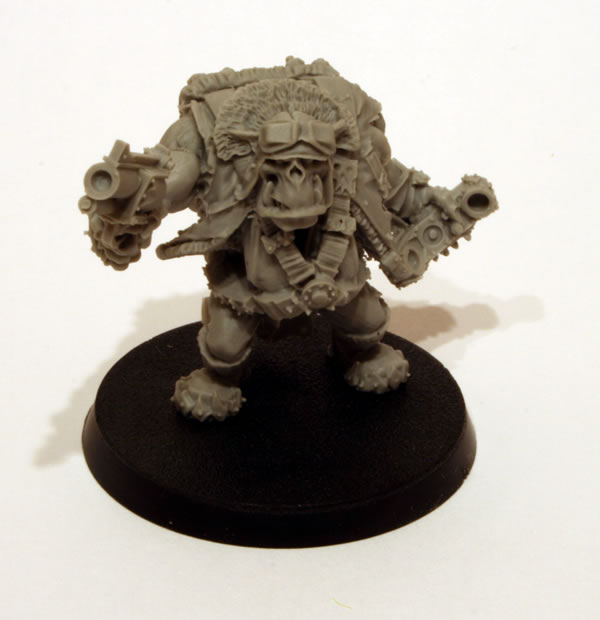
I would like to build him an airfield, hangars, flak guns, meks… but in the end he will need to make do with just my Ork Bommer.