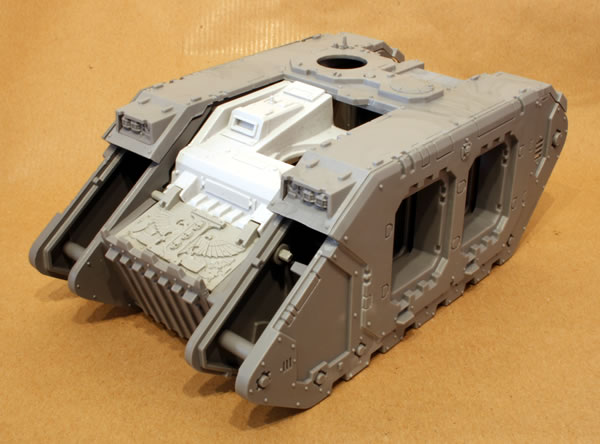
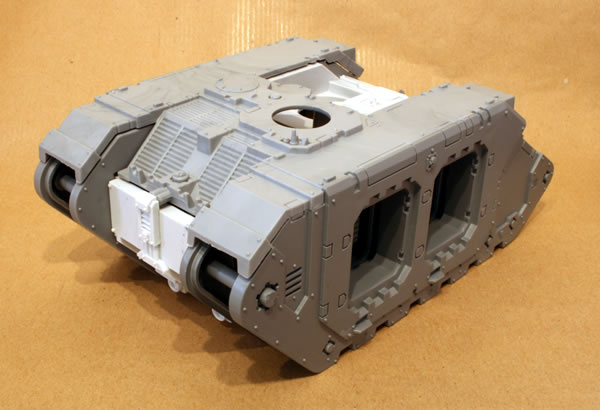
I have been giving quite a bit of thought on how best to paint the Grey Knights’ tanks I have for my Daemonhunters army.
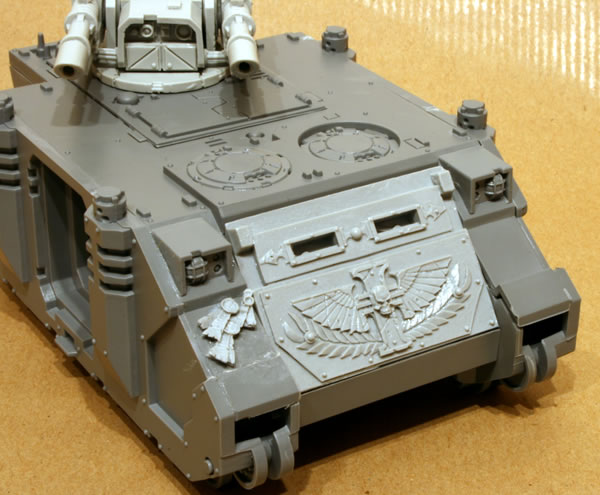
The obvious option is to paint them as Grey Knights style vehicles as I have done with my Land Speeder.

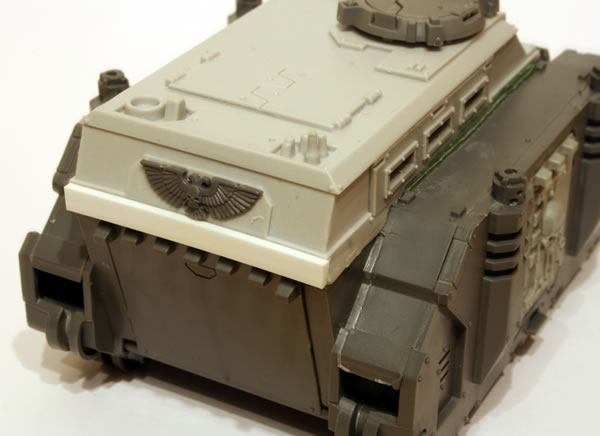
However two things came to mind, first my Repressor transport is for my Stormtroopers and therefore is not a “true” Grey Knights vehicle and I really wanted to have some consistency across the army. I didn’t want my Razorback to be too different to the Repressor. Secondly though I like the look of Grey Knights I wanted to do something slightly different.
My first idea was to do a white undercoat, do a basecoat of something like Kommando Khaki (a light brown) and then wash with a Chestnut Ink and paint wash. The metal parts I would paint black and then drybush with Boltgun Metal.
So it seemed quite simple and then… I read the following article on the Games Workshop website on painting tanks.
Painting vehicles, especially those with brightly coloured paint schemes, has always been something of a challenge. Large, flat plates like those on vehicles usually required many layers to achieve the opacity needed, even over a white undercoat. When you factor in the size of some vehicles (e.g., Land Raiders), you could burn through a ton of paint on just one tank.
All of that has changed with the arrival of the new Citadel Foundation Paints. Now, regardless of the colour of the undercoat, your basecoat goes on in one layer, not five.
So now I am in a bit of quandary.
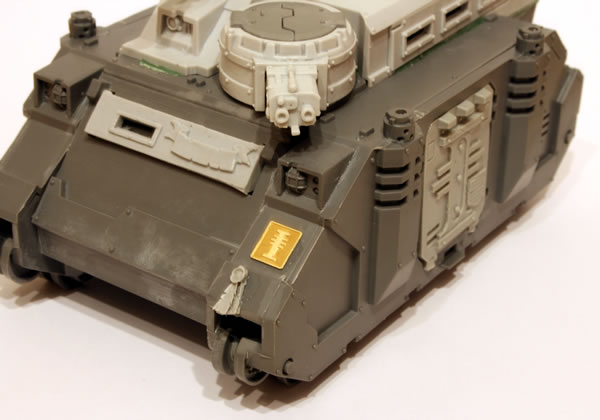
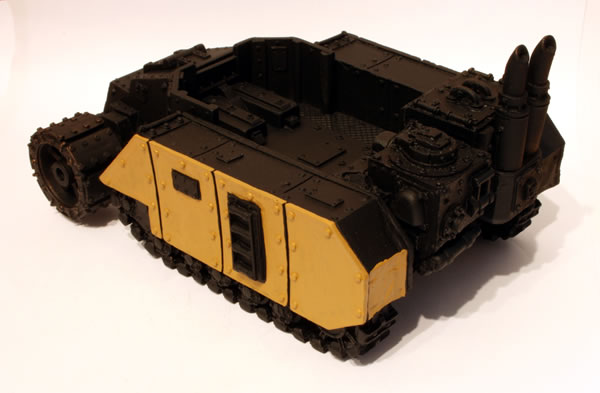
I am now thinking that maybe I should give my tanks a black undercoat and then use something like Tausept Ochre from the Foundation Paints range for the base coat. I would follow this with a wash (as above) and then highight with a lighter brown, before weathering the tanks.
Still thinking about which will be the better option.