The starter boxed set for Warhammer 40K, the Assault on Black Reach is now available to pre-order on the Games Workshop online store.

For only £40 I think it represents “amazing” value for money.
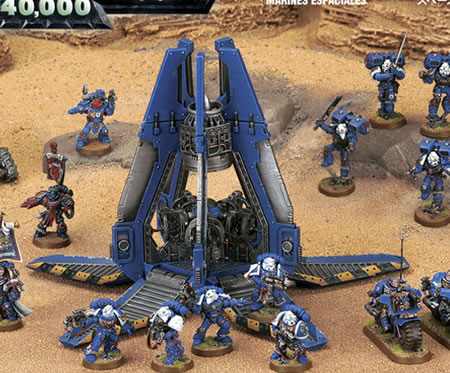
An ideal first purchase for anyone new to wargaming or existing gamers who want to begin playing Warhammer 40,000, the enclosed starter booklet has easy-to-follow examples and a step-by-step introduction to the game, while the rulebook contains all of the information you’ll need to play the game proper. The two armies provided will allow you and a friend to begin playing right away – these finely detailed, plastic, citadel miniatures have been specially designed to allow you to quickly assemble an army ready for your first battle. For existing Warhammer 40,000 players, this set provides some unique scenery and a handy, pocket-sized rule book, great for taking along to tournaments and events. This boxed game contains a 112-page Rulebook, a 33-page Getting Started booklet, Dice, Templates, Range Rulers and almost 50 Citadel miniatures, including: a Space Marine Captain, 10 Tactical Space Marines, Five Space Marine Terminators, a Space Marine Dreadnought, an Ork Warboss, 20 Ork Boyz, five Ork Nobz and three Ork Deffkoptas.
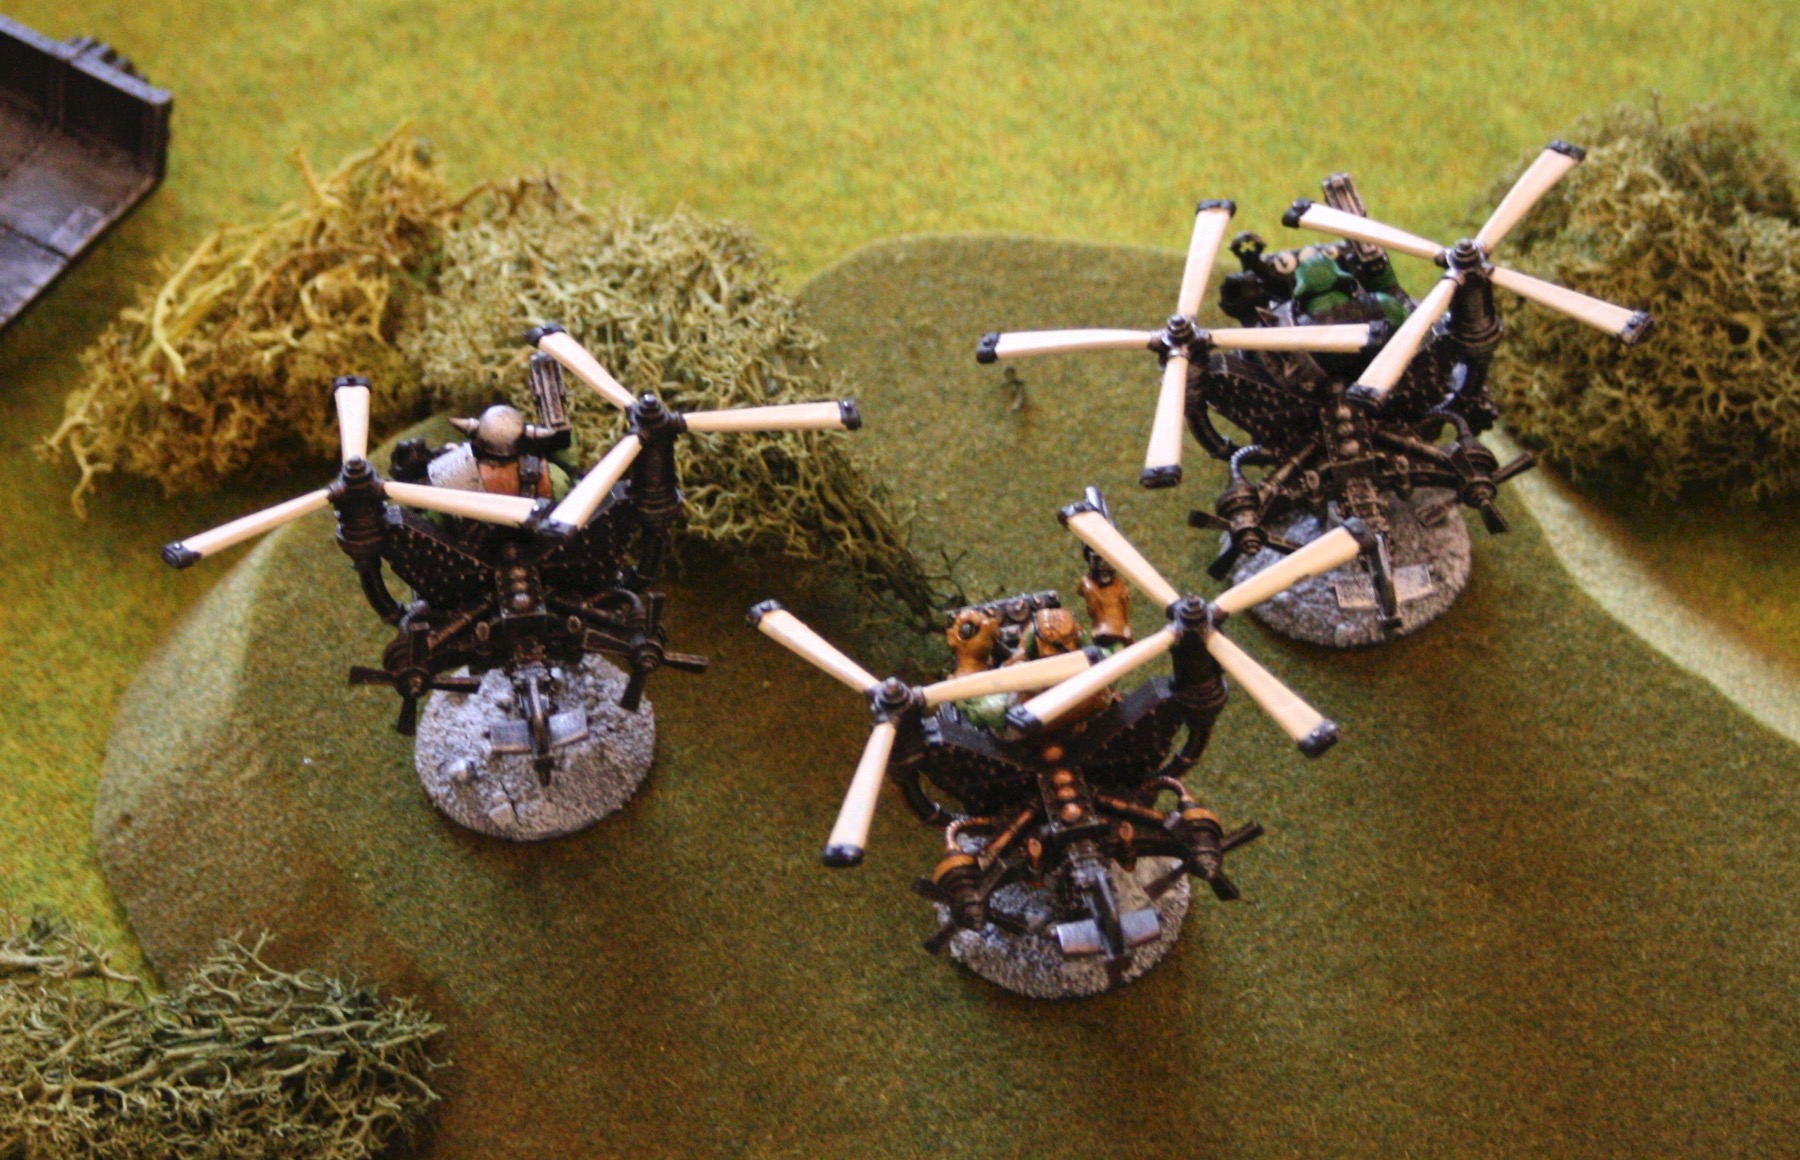
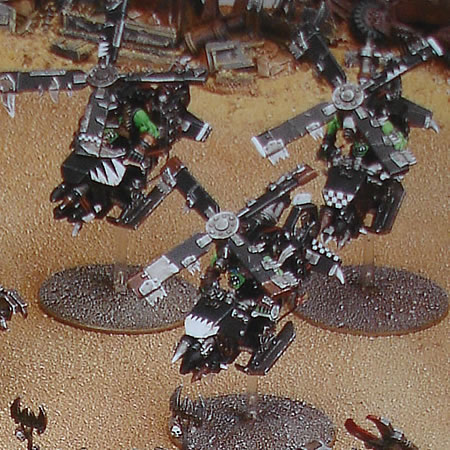
Despite my earlier reservations about the Deffkopta, having now seen the side view in Apocalypse Reload I am growing to like them.
I think I will be getting a box (or even two).