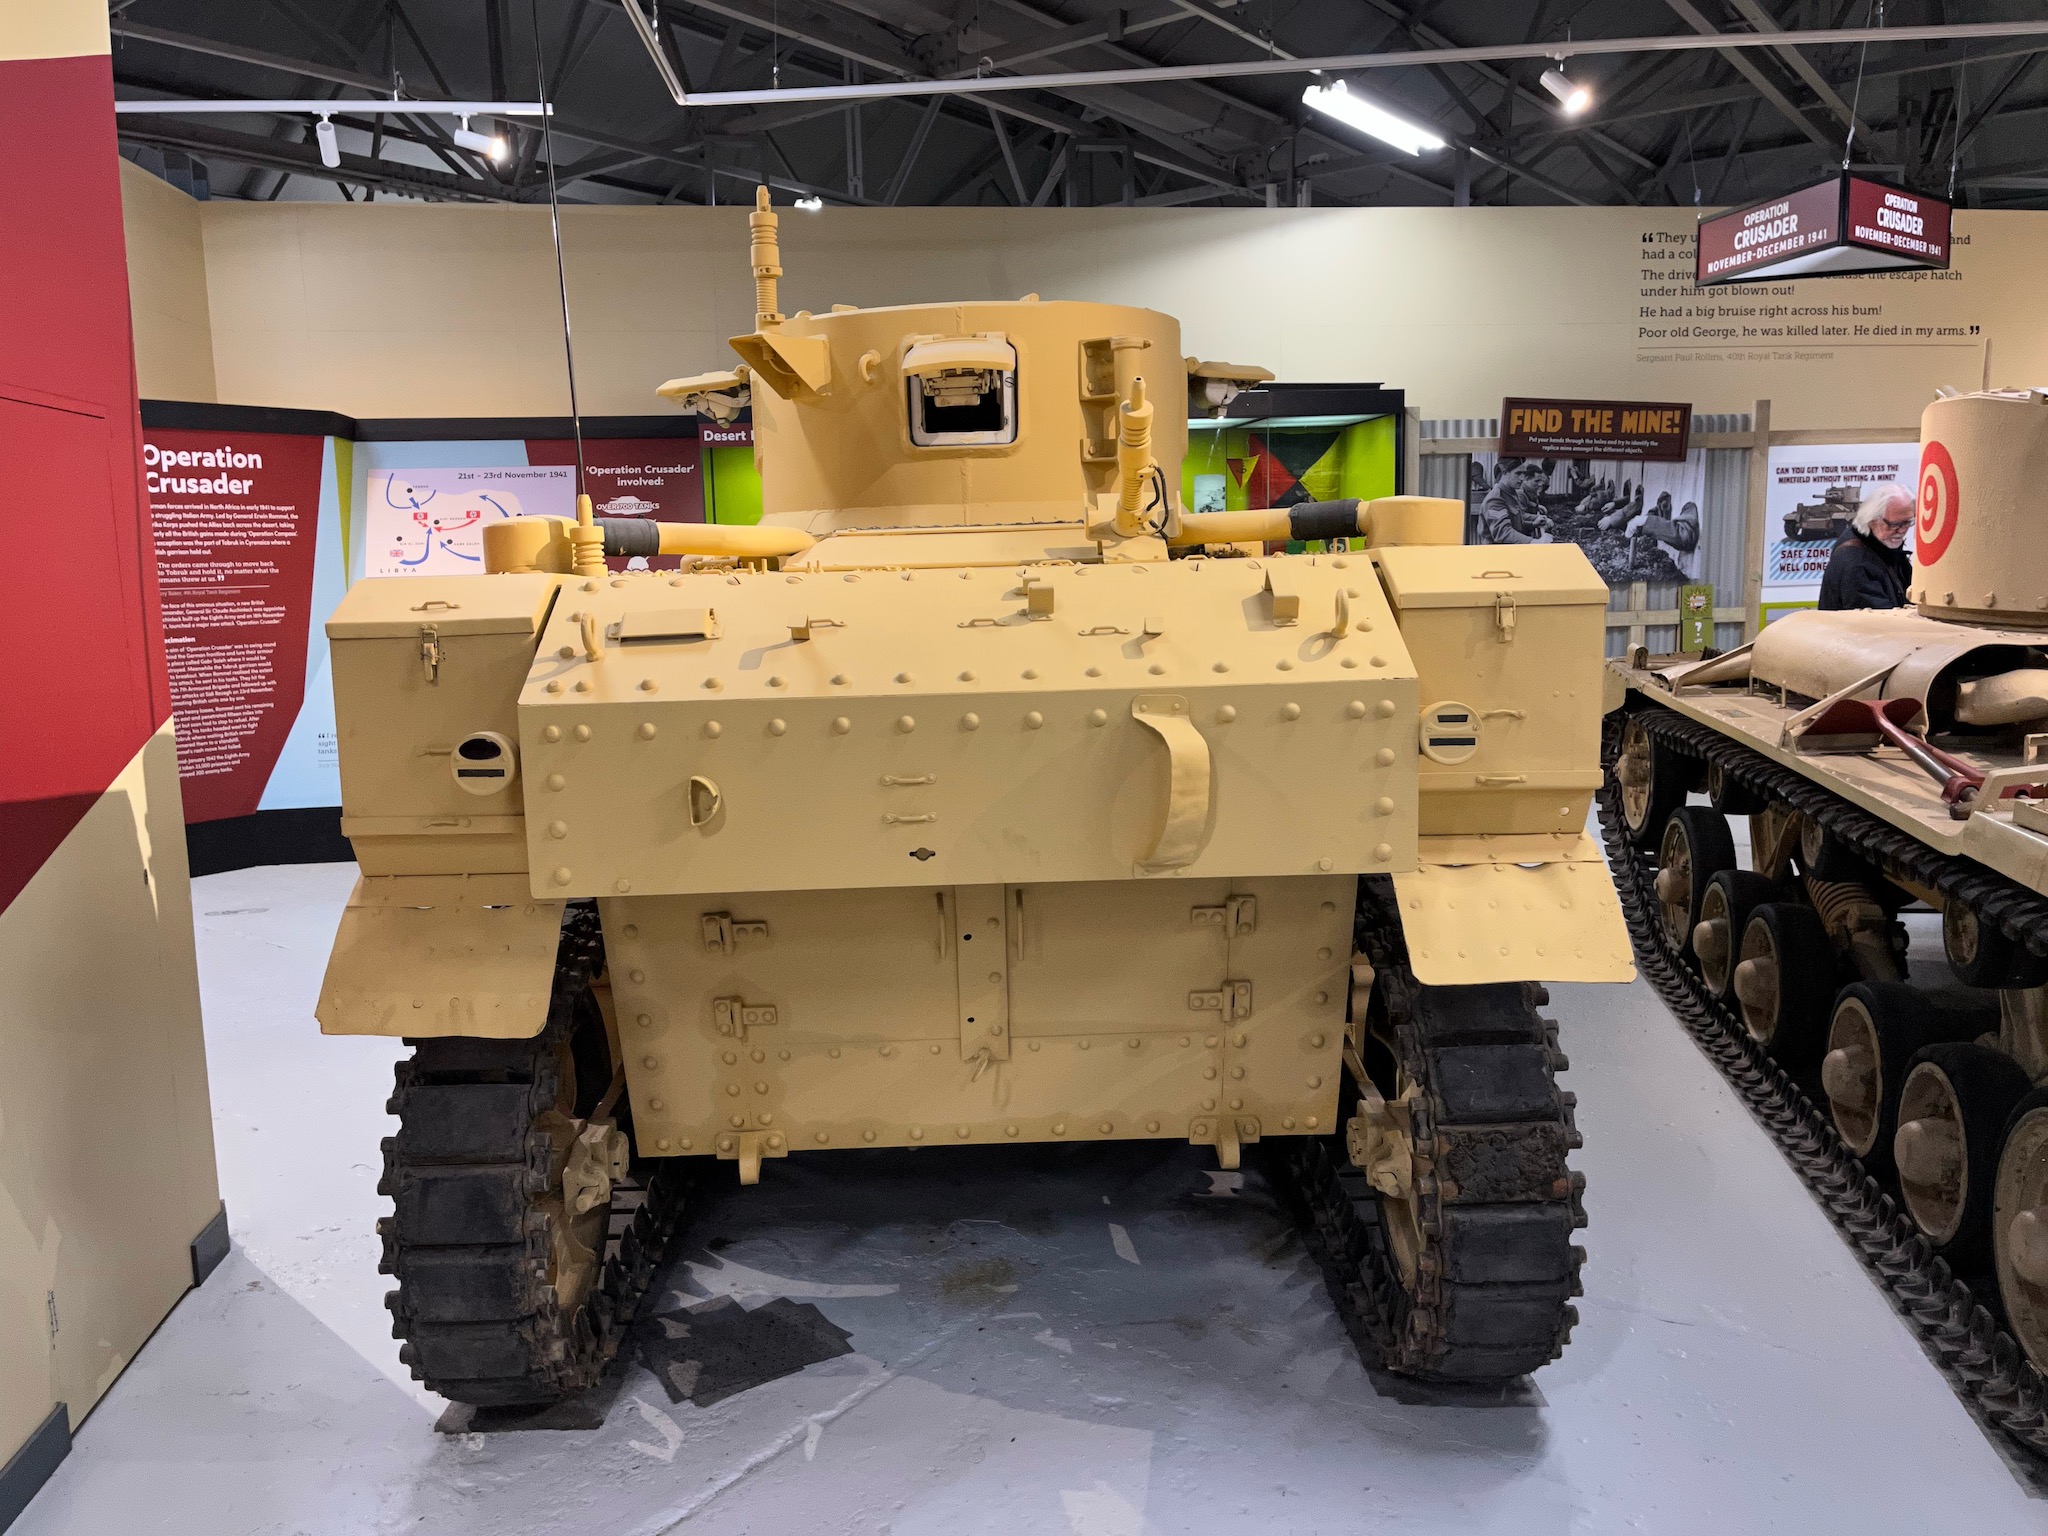
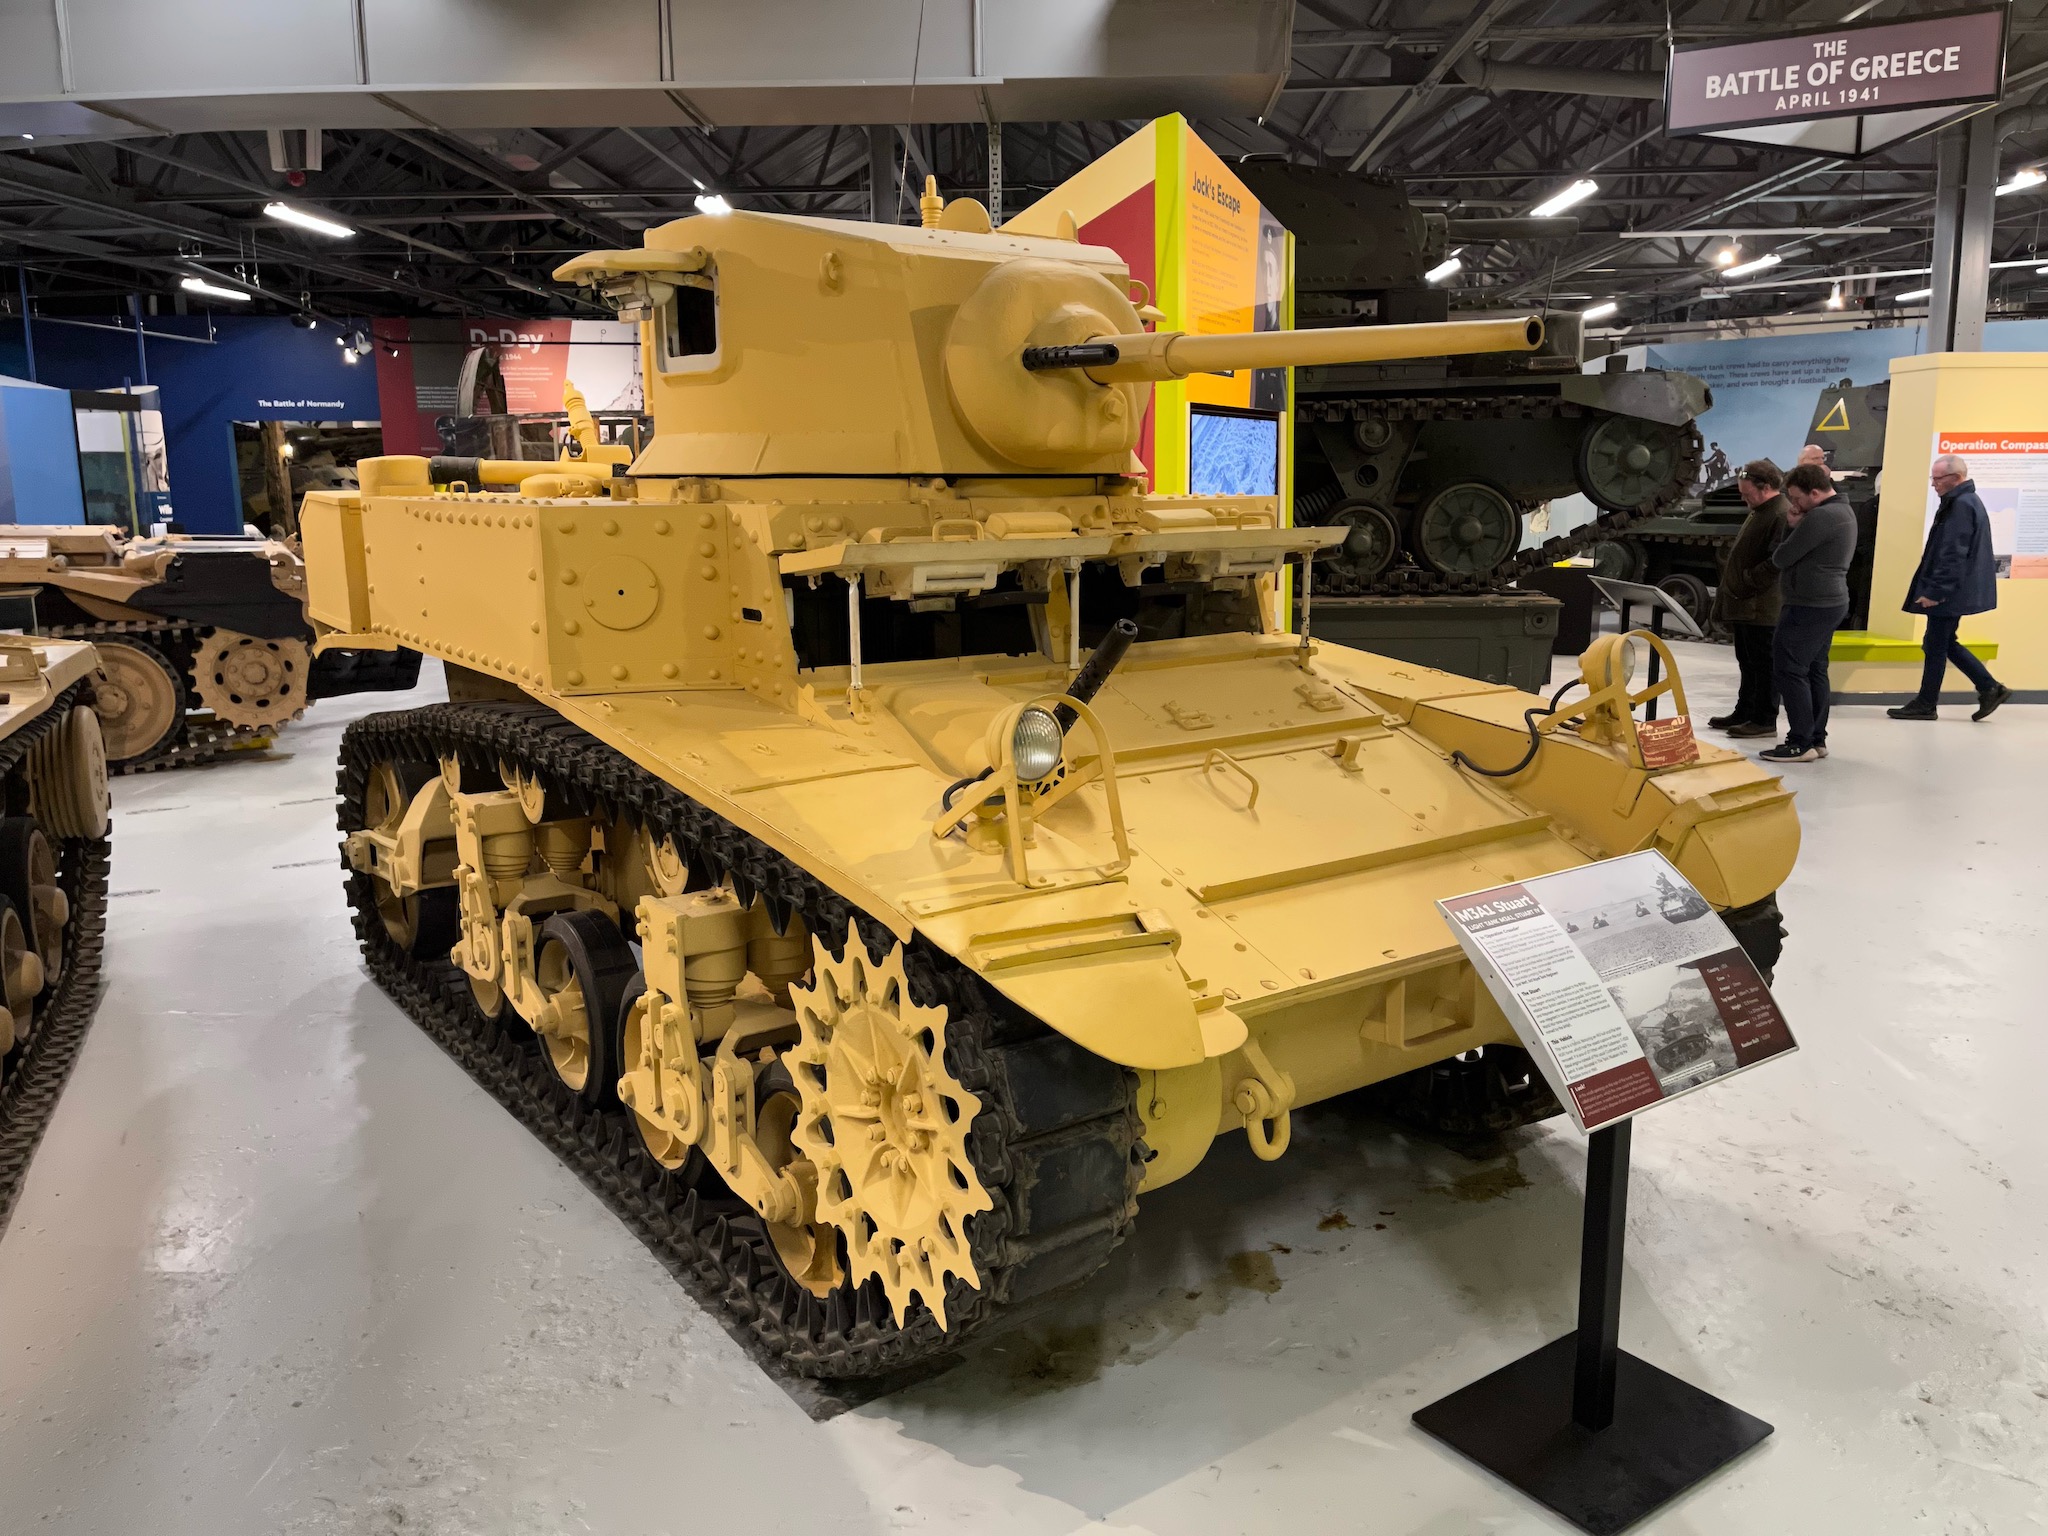
This M3A1 Stuart was on display at The Tank Museum at Bovington.
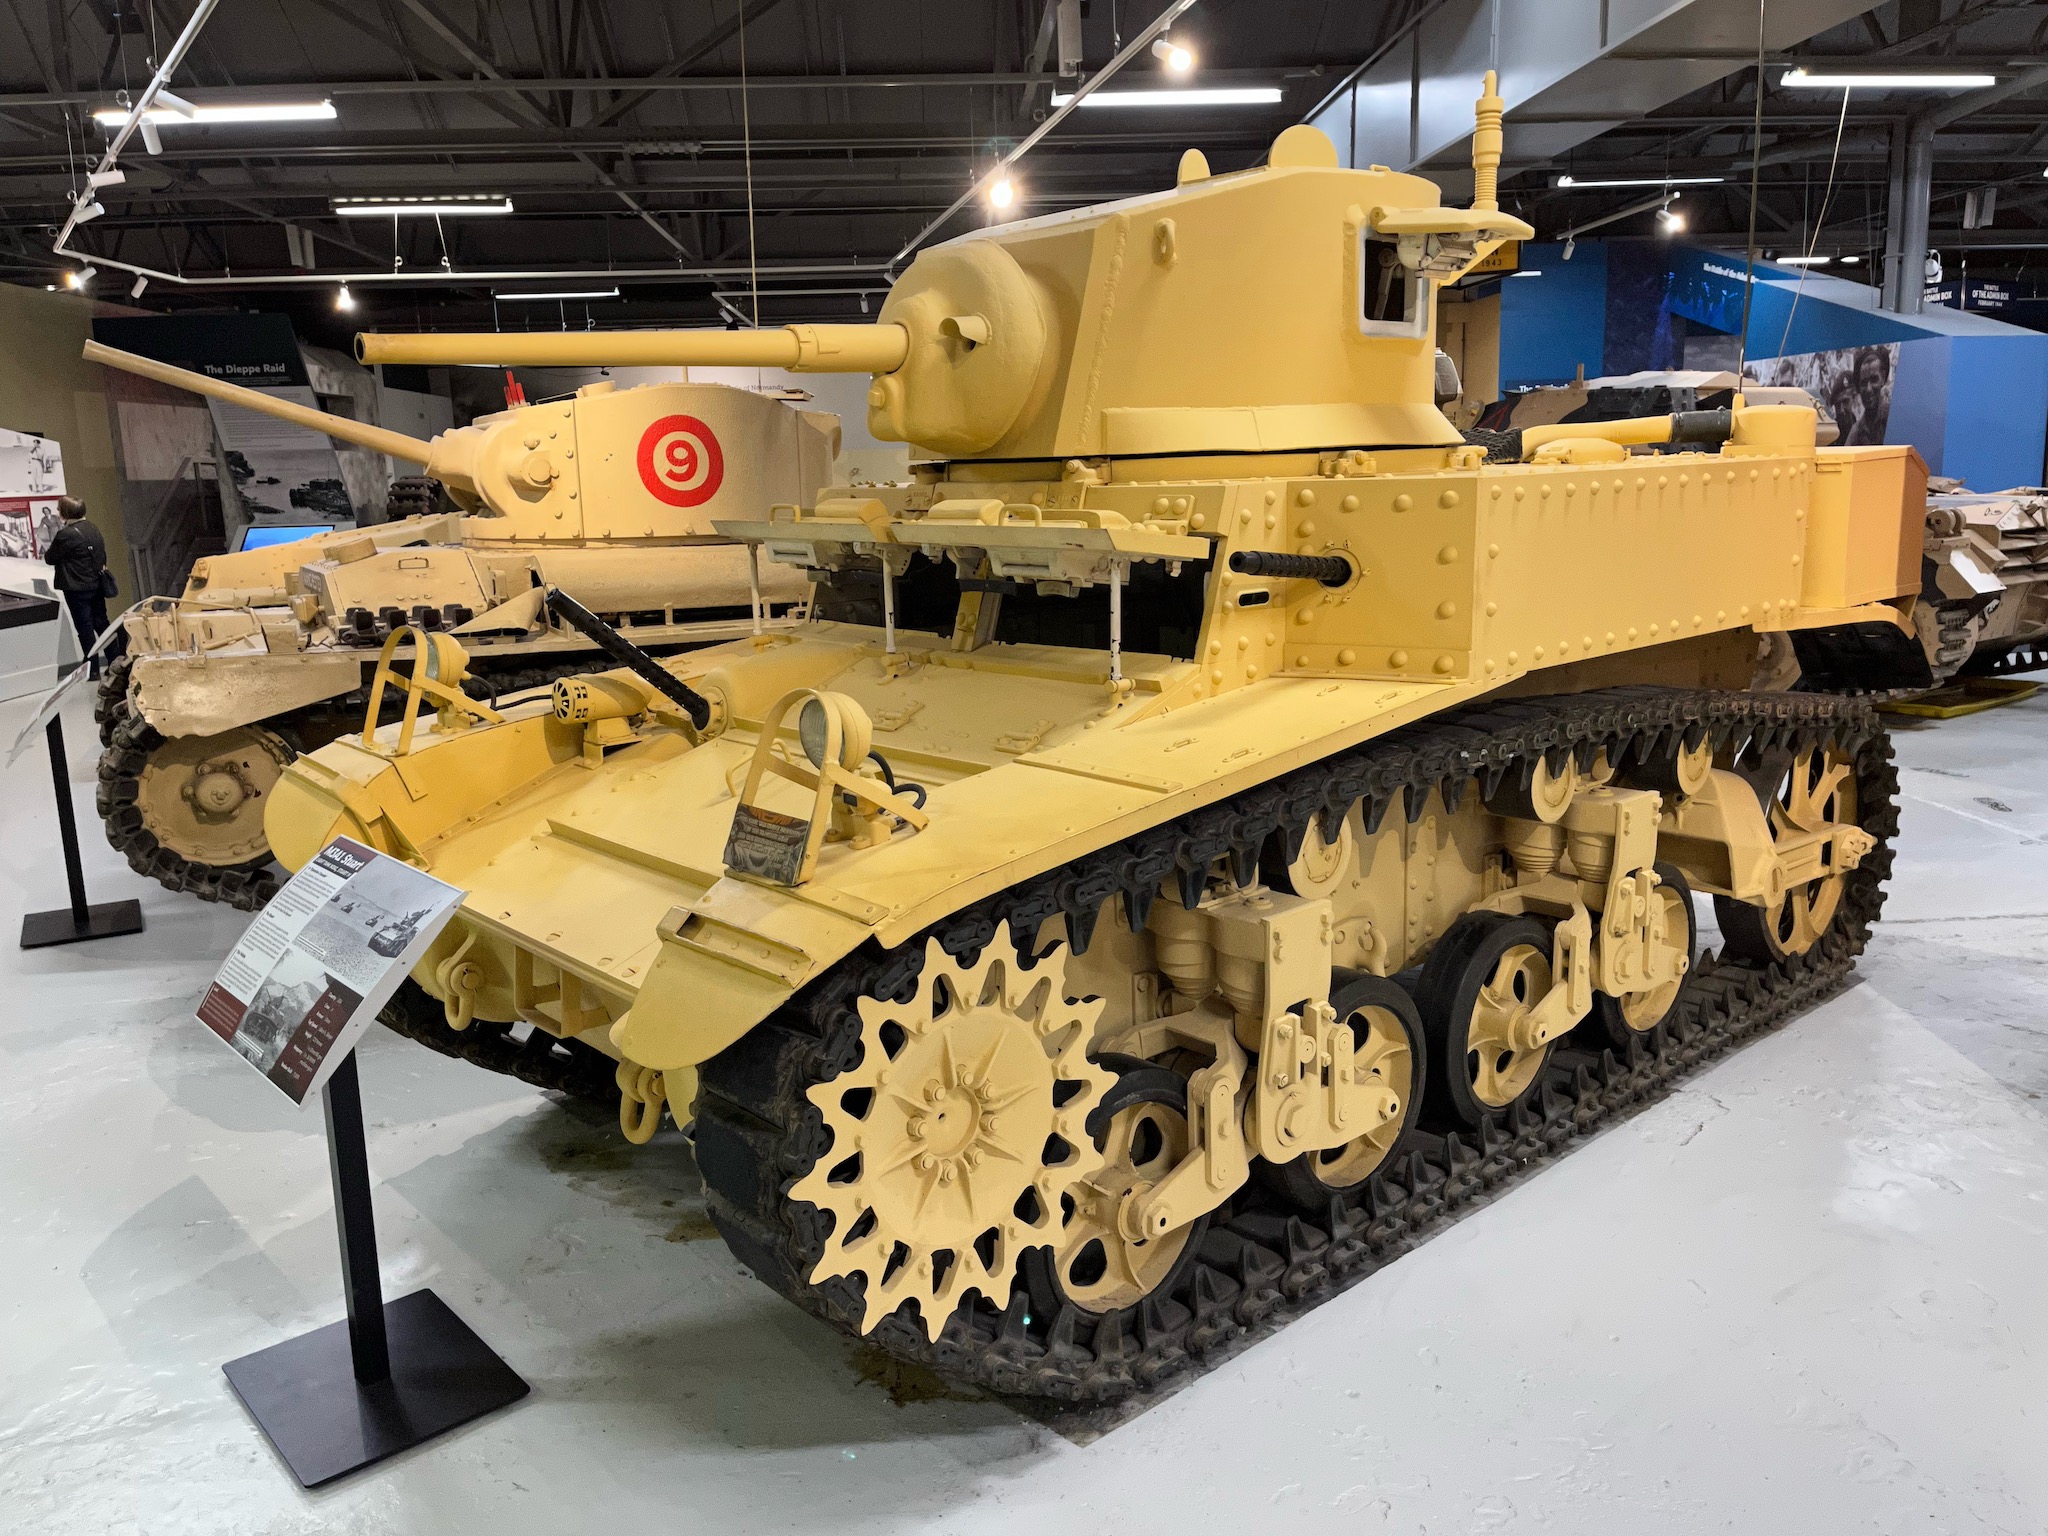
The M3A1 Stuart was a light tank that was used by the United States and its allies during World War II. The British Army was one of the largest users of the Stuart, and it used the tank in a variety of roles, including reconnaissance, scouting, and infantry support. It was designed as a reconnaissance and scouting vehicle, and was not intended to engage in direct combat with enemy tanks. However, the Stuart was often used in this role, and it sometimes proved to be successful.
The M3A1 Stuart was armed with a 37mm main gun and three .30 caliber machine guns. The main gun was capable of penetrating the armour of most German and Japanese tanks at close range, but it was not effective against the heavier tanks that were fielded later in the war. The machine guns were used for self-defence and for suppressing enemy infantry.
The Stuart was powered by a Continental W670-9A gasoline engine, which gave it a top speed of 36 miles per hour. It had a crew of four: a commander, a gunner, a driver, and an assistant driver. The tank was relatively small and lightweight, which made it easy to transport and manoeuvre.
The Stuart was first used by the British Army in North Africa in 1942. It proved to be effective in this theatre, where the terrain was often open and the enemy tanks were not as heavily armored as those in Europe. However, the Stuart began to struggle against the German Panzer IV tanks that were introduced in 1943.
The Stuart was also used in the European theatre, where it was less successful. The German tanks were generally more heavily armoured and better armed than the Stuart, and the Stuart often had difficulty penetrating their armour. However, the Stuart was still used in a variety of roles, and it sometimes proved to be effective in supporting Allied infantry.
The M3A1 Stuart was produced in large numbers, with over 20,000 tanks being built. It was the most widely produced American tank of World War II. The Stuart was also used by several other countries, including Britain, France, and China.
The M3A1 Stuart was not a perfect tank, but it was a valuable asset to the Allied forces during World War II. It was fast, manoeuvrable, and relatively easy to produce. It was also relatively inexpensive, which made it possible to equip large numbers of Allied units with it.
The Stuart’s light armour and relatively weak main gun made it vulnerable to enemy tanks, but it was still a capable vehicle in the right hands. It was used successfully in a variety of theatres of war, and it played an important role in the Allied victory.