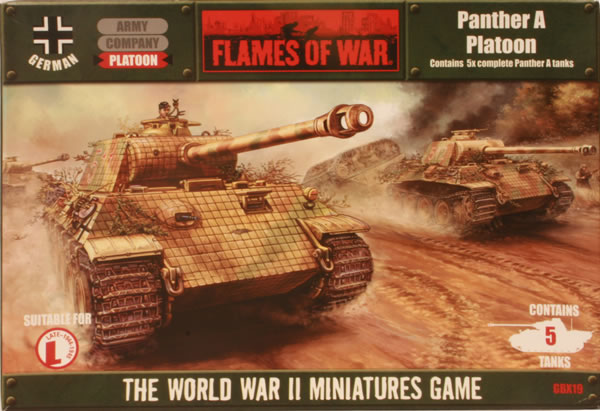
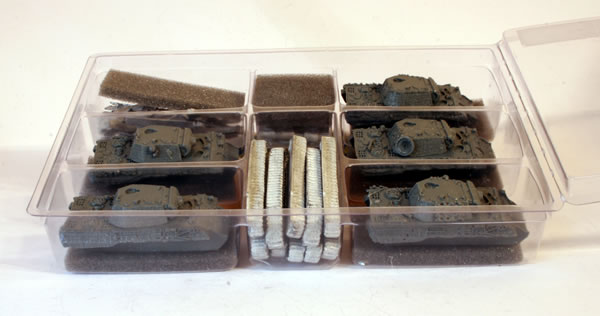
I bought this box set as it was available at Hobbycraft for a much cheaper price than the list price last year.
Panther is the common name of a medium tank fielded by Nazi Germany in World War II that served from mid-1943 to the end of the European war in 1945. It was intended as a counter to the T-34, and to replace the Panzer III and Panzer IV; while never replacing the latter, it served alongside it as well as the heavier Tiger tanks until the end of the war. The Panther’s excellent combination of firepower, mobility, and protection served as a benchmark for other nations’ late war and immediate post-war tank designs, and it is frequently regarded as one of the best tank designs of World War II.
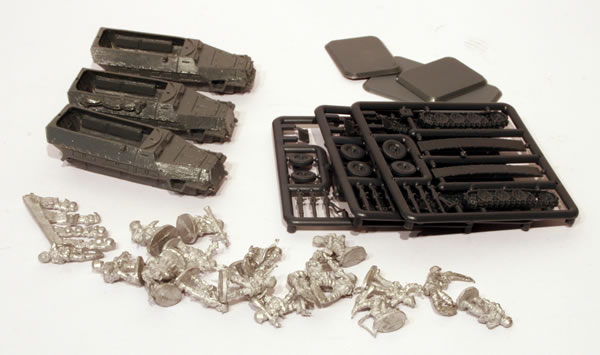
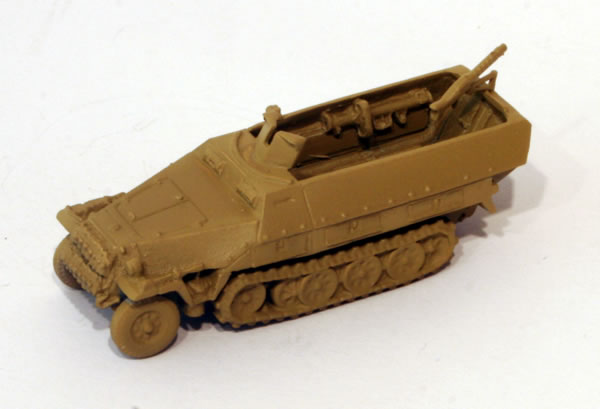
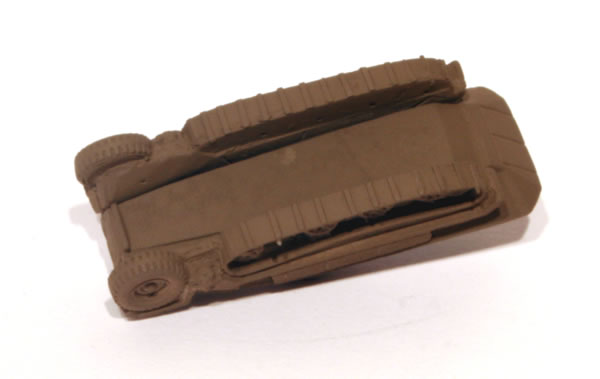
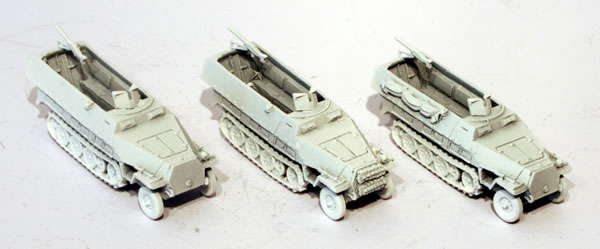
Having cleaned the castings, I then started the construction process, first by gluing the tracks onto the hull. Then adding the extra components of which there is a fair few.
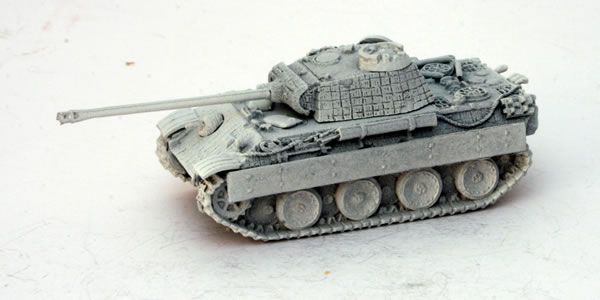
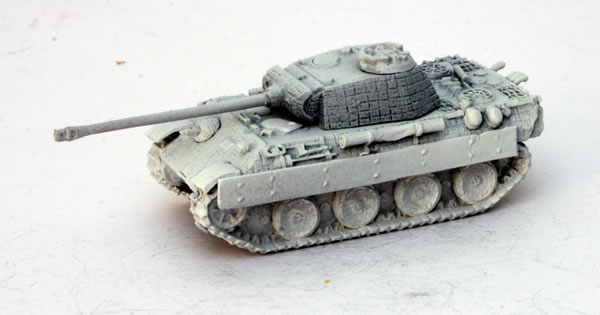
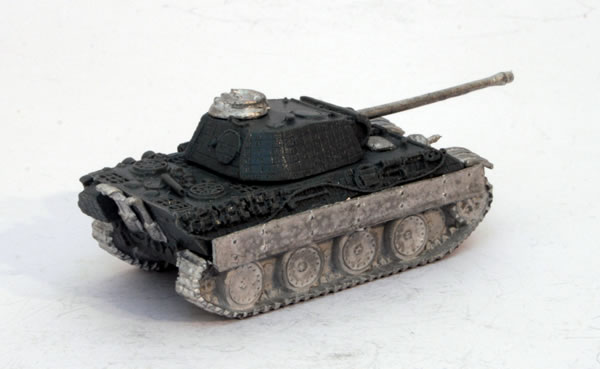
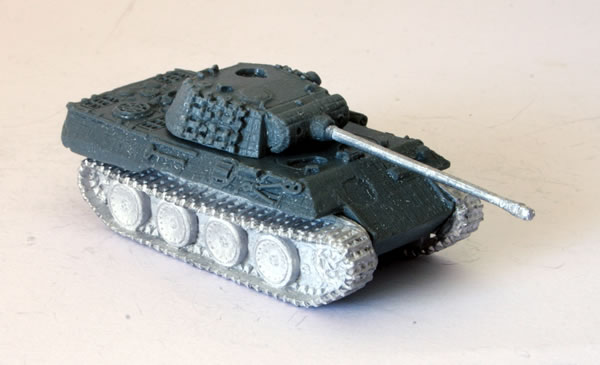
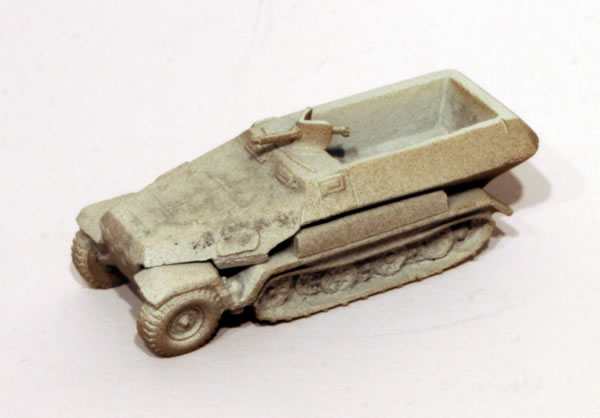
I found fitting the front mudguards the most challenging part of the model, it wasn’t easy to fit them flush and in the right position. I decided not to model any of the Panthers without them, as was shown on the box.
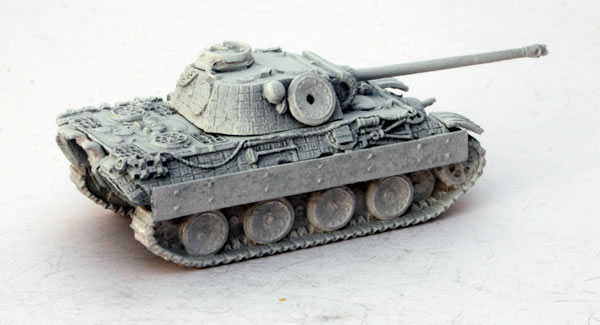
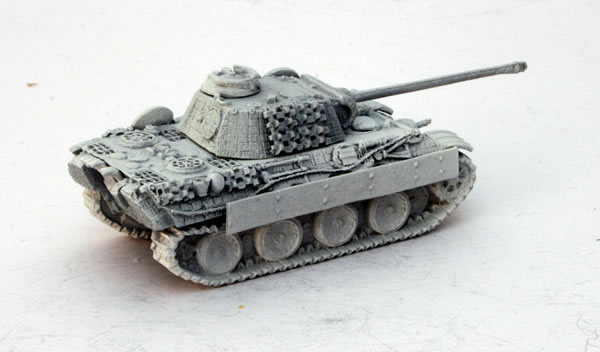
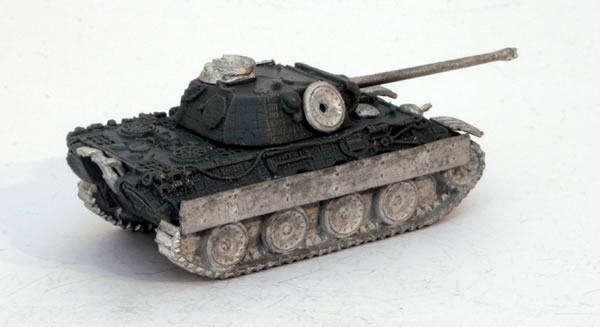
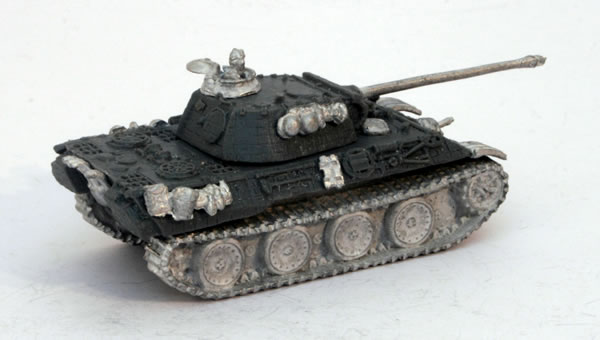
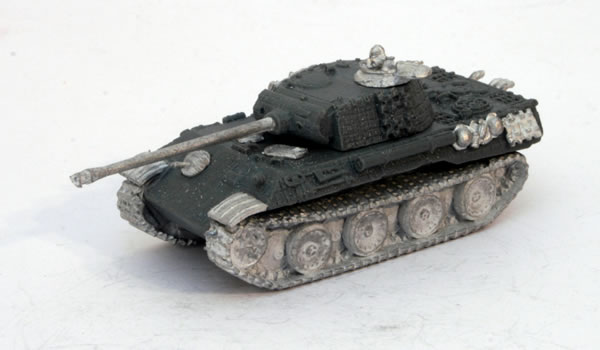
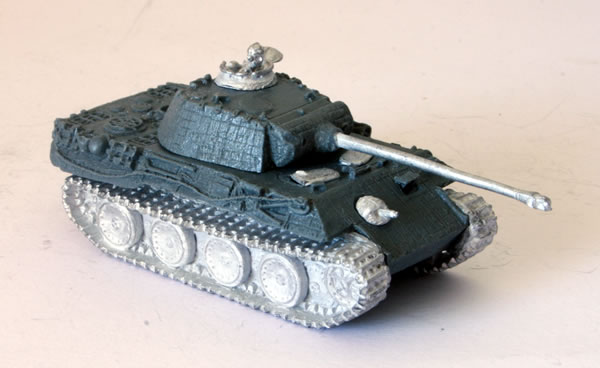
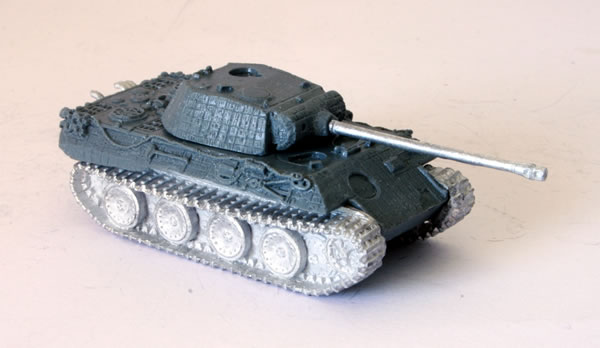
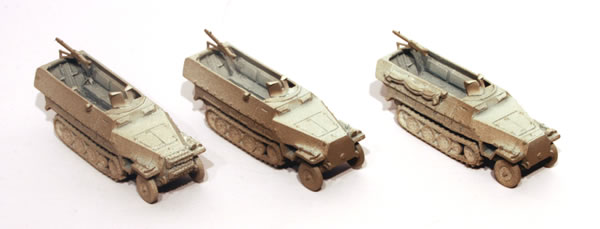
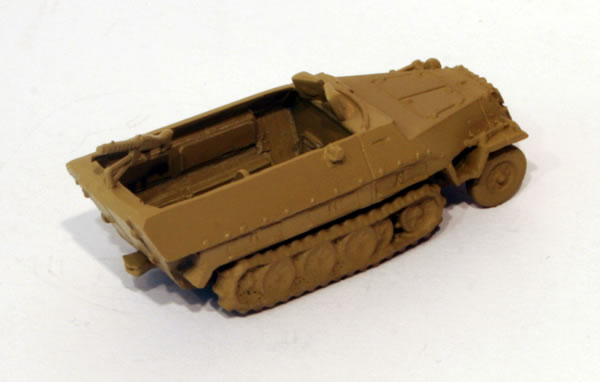
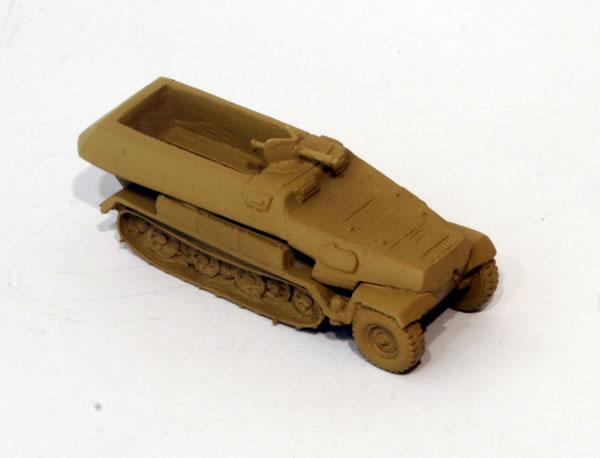
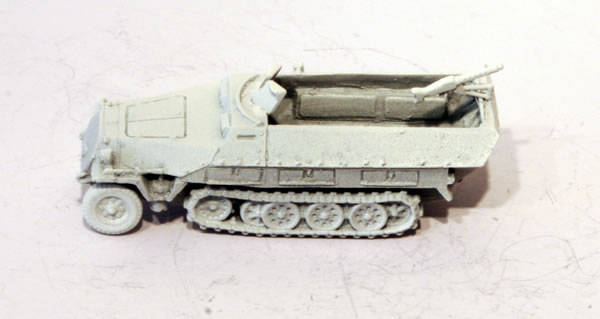
For the command vehicle I added some extra stowage from the Panzergrenadiers Headquarters pack. For this vehicle I also kept the armoured skirts off. For the others I either used the full armoured skirt or cut them down to represent battle damage.
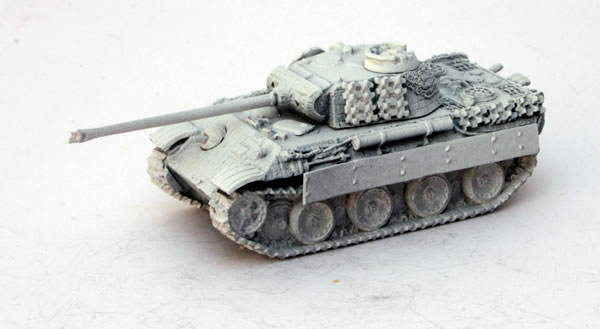
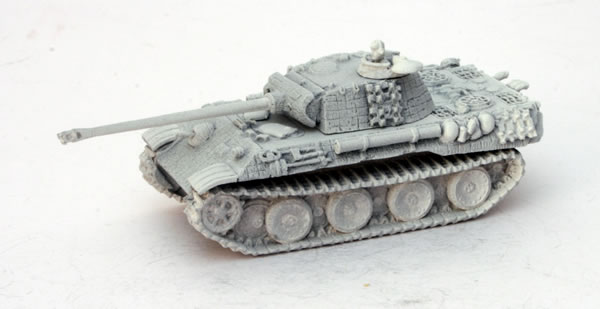
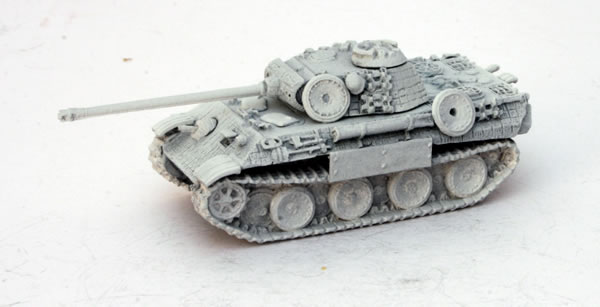
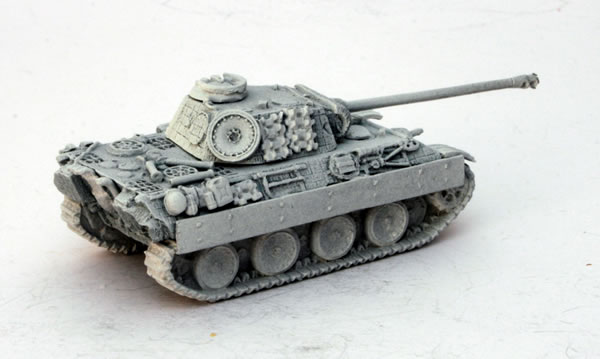
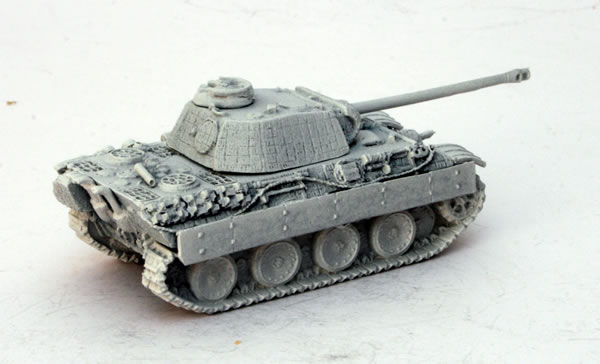
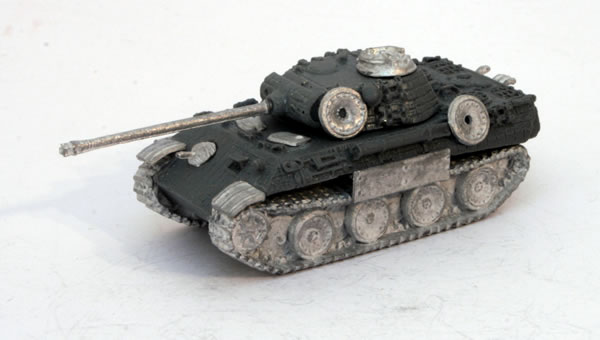
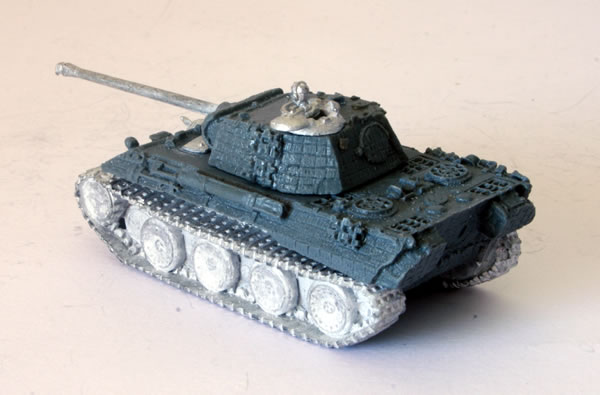
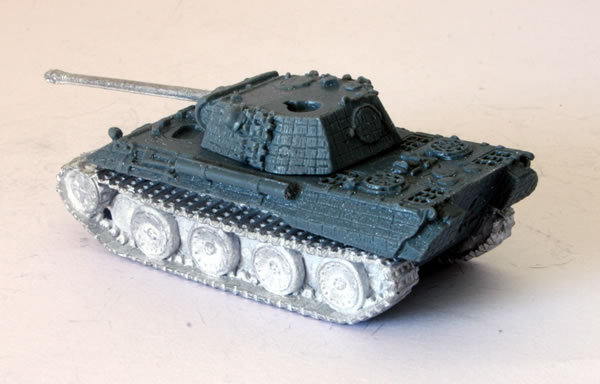
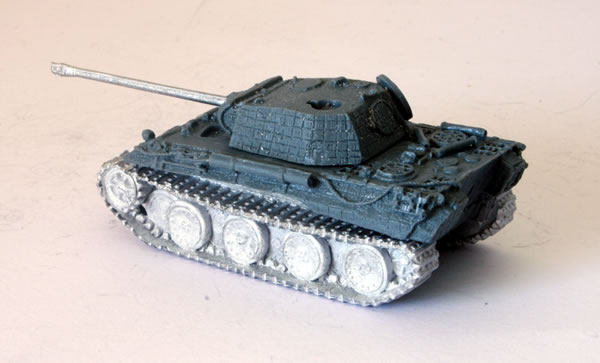
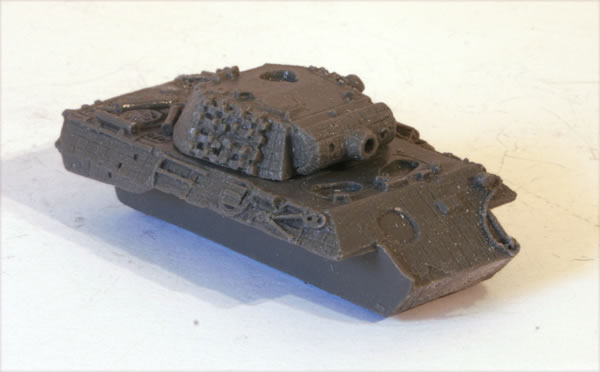
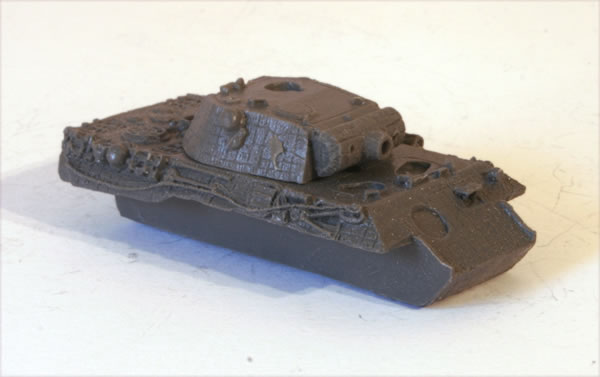
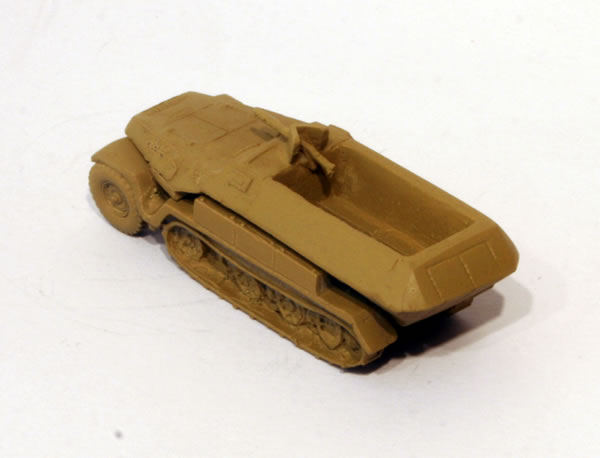
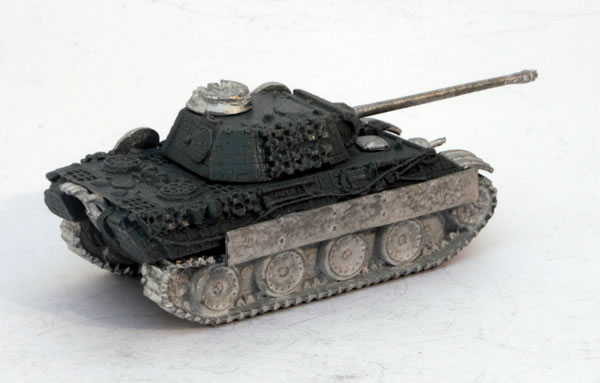
Some of the models come with “extra armour” in terms of road wheels and spare tracks. Sometimes this is sculptured on to the turret or hull. I added additional “extra armour” to some of the models.
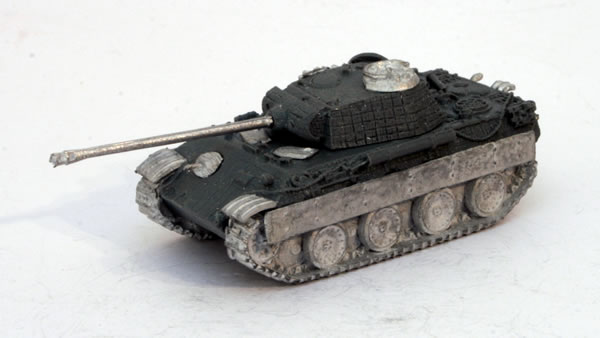
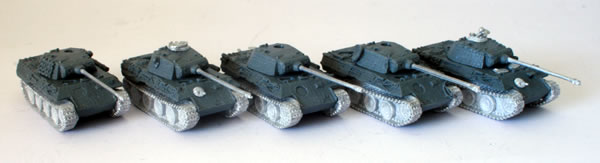
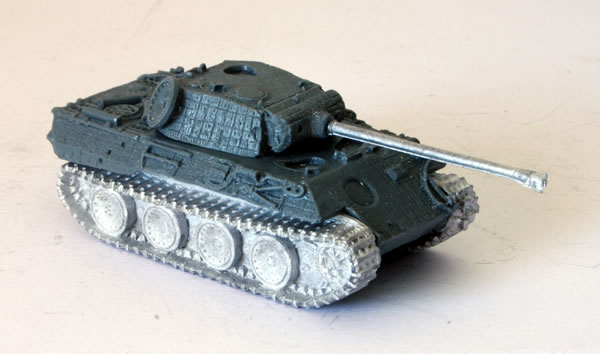
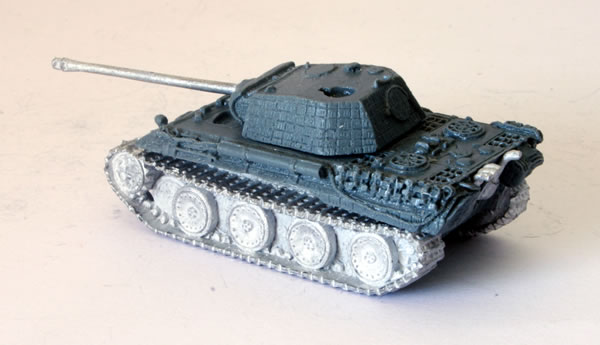
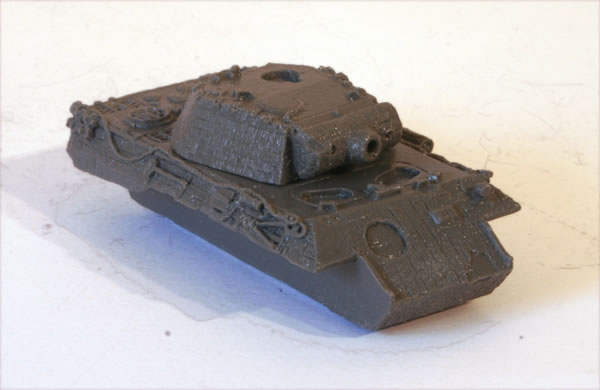
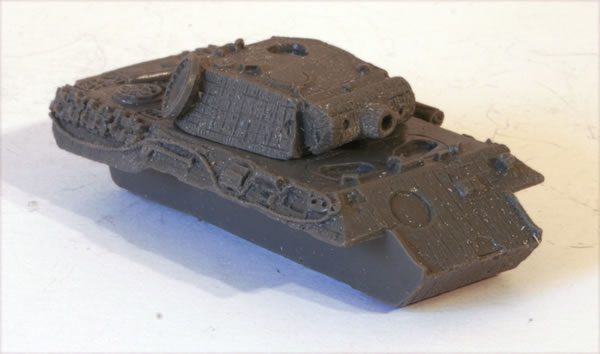
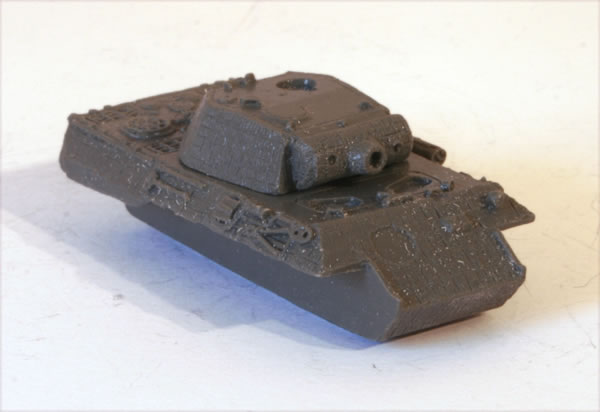
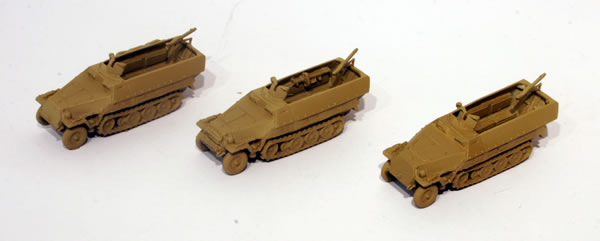
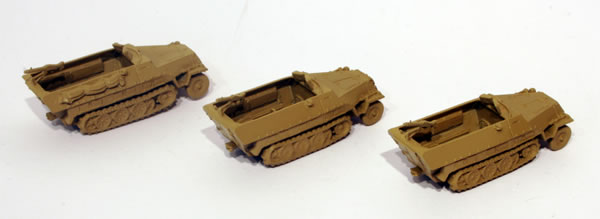
The following pictures show the finished Panthers before they are undercoated.

I found fitting the front mudguards the most challenging part of the model, it wasn’t easy to fit them flush and in the right position. I decided not to model any of the Panthers without them, as was shown on the box.

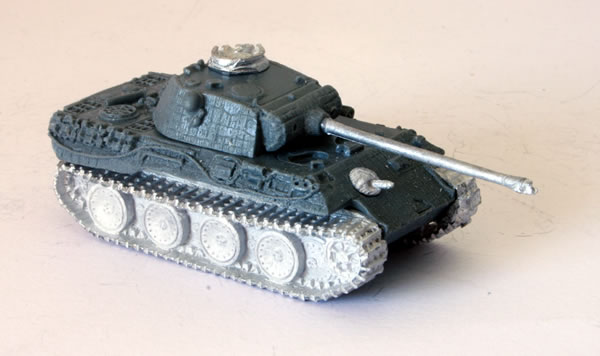
For the command vehicle I added some extra stowage from the Panzergrenadiers Headquarters pack.

For this vehicle I also kept the armoured skirts off.

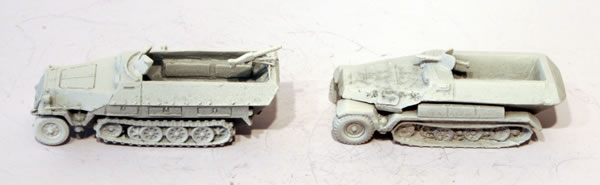
For the others I either used the full armoured skirt or cut them down to represent battle damage.

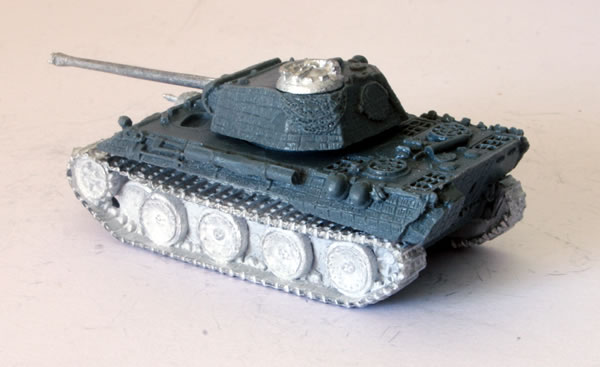
Some of the models come with “extra armour” in terms of road wheels and spare tracks. Sometimes this is sculptured on to the turret or hull. I added additional “extra armour” to some of the models.

I added some extra stowage from the Panzergrenadiers Headquarters pack.


The next stage will be an undercoat.