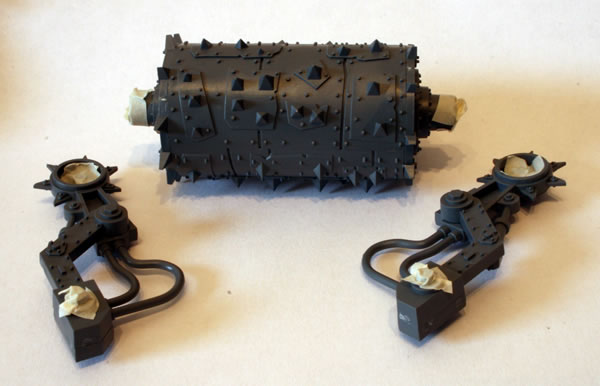
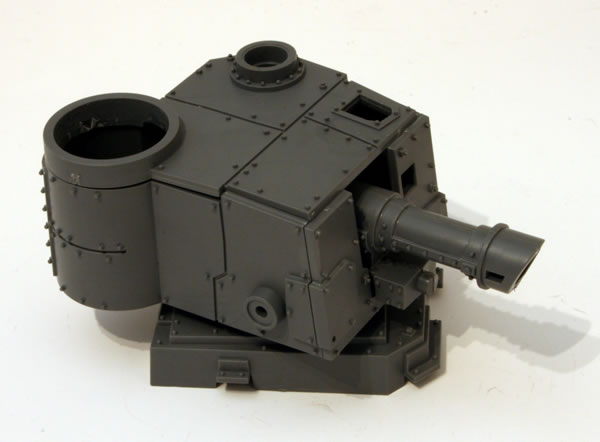
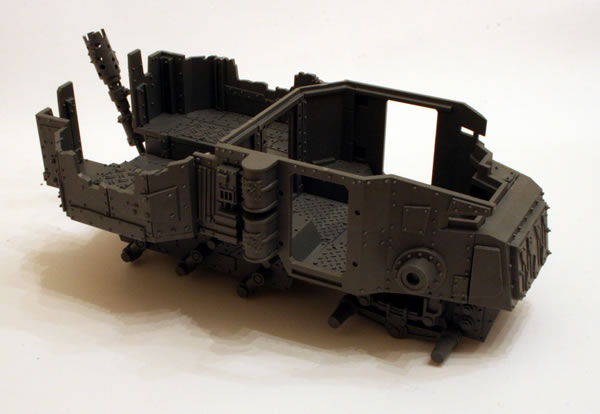
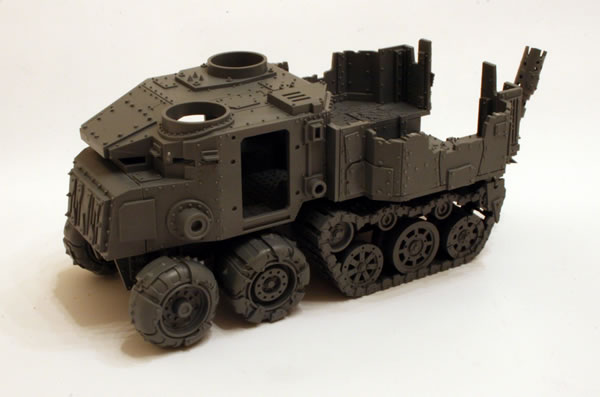
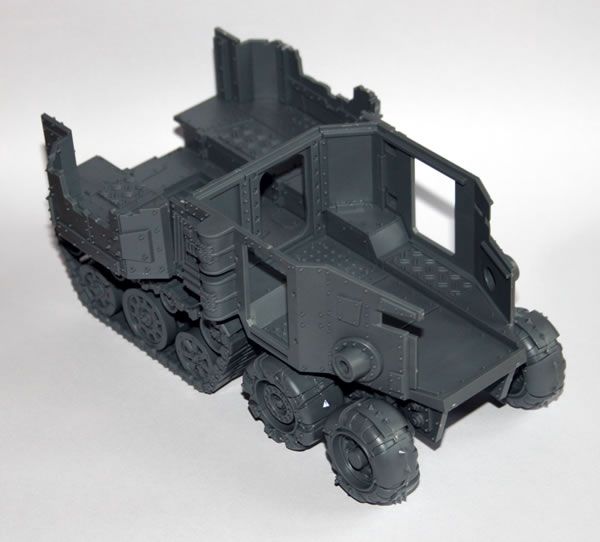
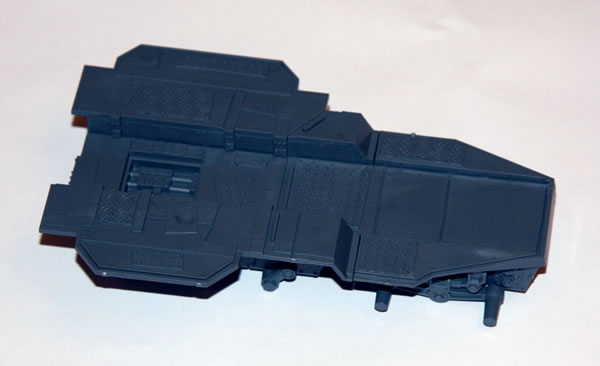
I have been thinking about using the turrets from the Ork Battlewagon on my Ork Looted Rhino.
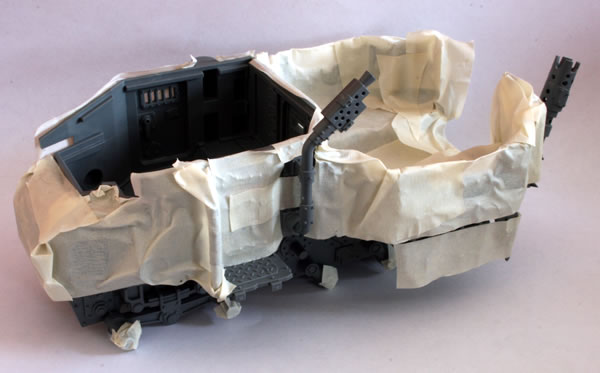
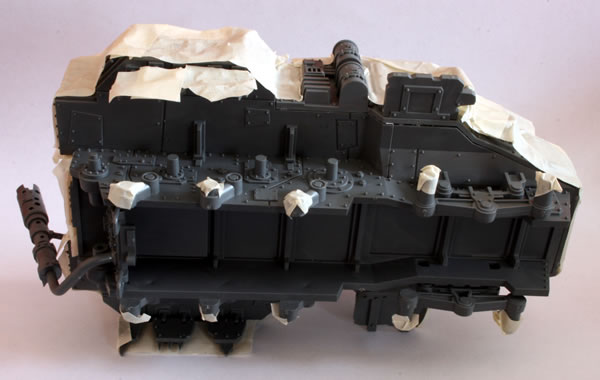
I decided that I would use two undercoats, a black undercoat for some of the model and a white undercoat for the main bodywork. In order to achieve this I masked off the areas of the model that would be brown.
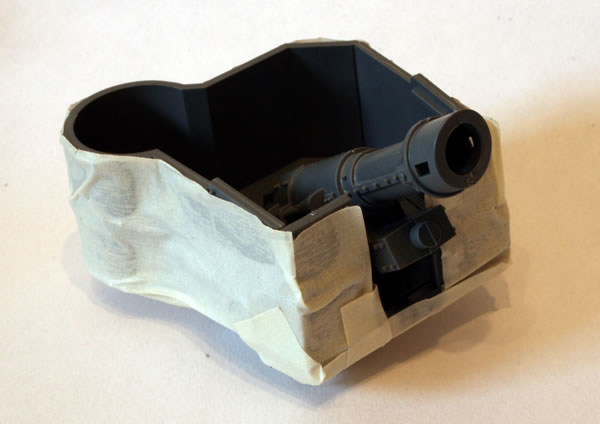

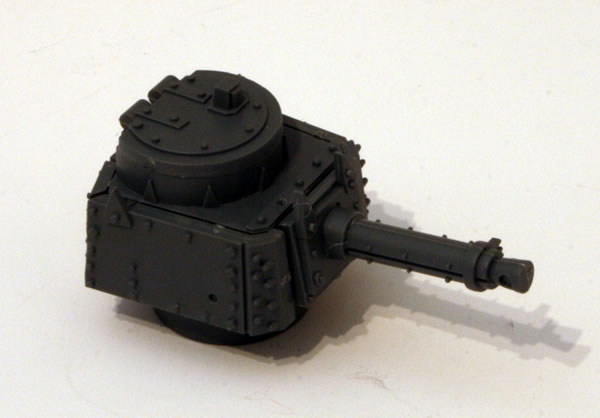
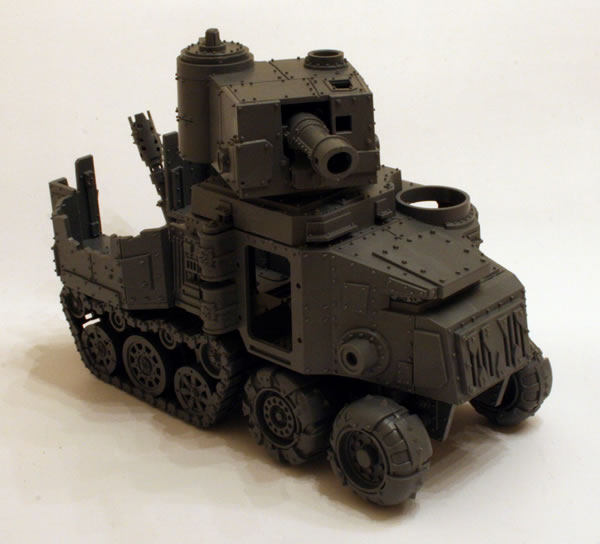
I decided that as I was using this on the Looted Rhino that I could get away with using an Imperial turret hatch and so I could use one of the Ork turret hatches (or mini turret) on another Ork vehicle.
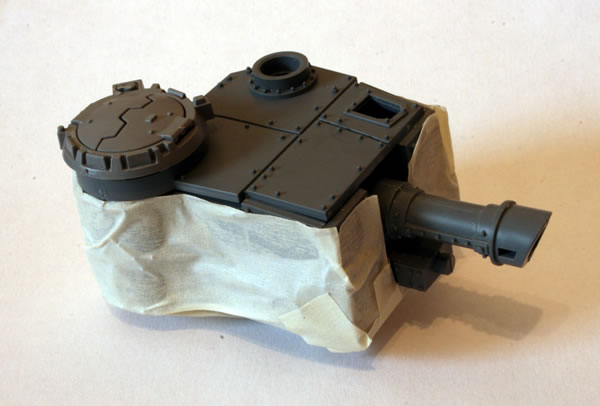
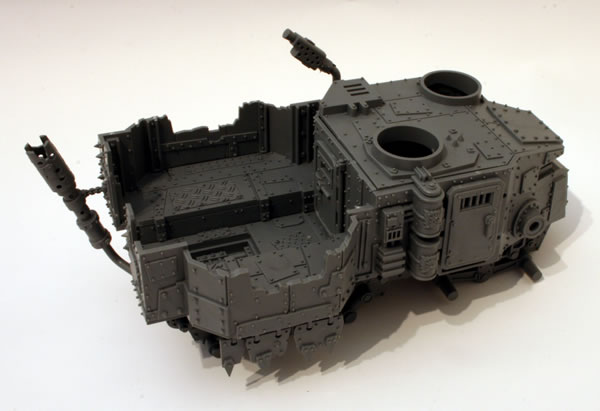
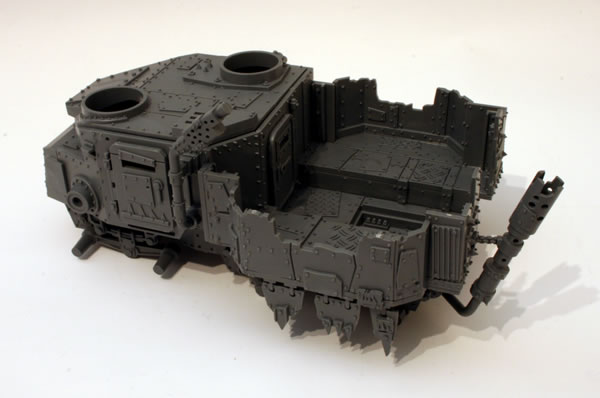
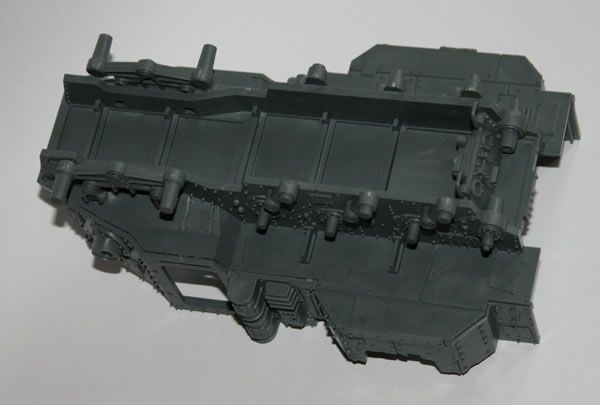
Though the photograph shows the roof of the turret on the model, that is just to show how it will look and wasn’t stuck on at this time.