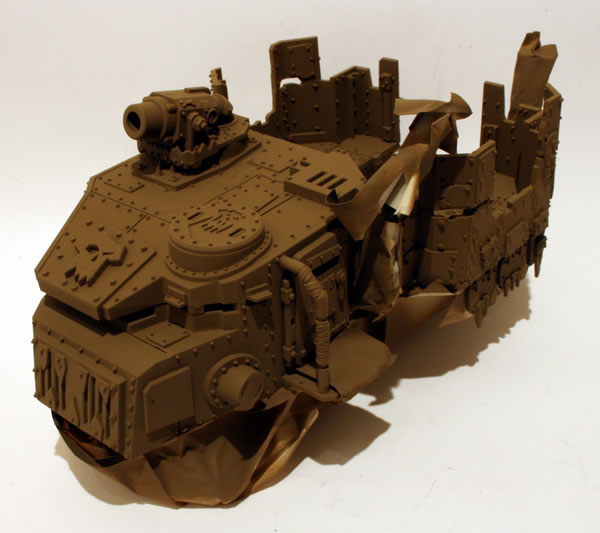
Having undercoated the Battlewagon, leaving the mask on, I have the model a basecoat of brown paint, using a Humbrol spray.

See the full workbench feature on the Ork Battlewagon.
See photographs of completed Ork Battlewagons from various shows.
warhammer, wh40k, flames of war, bolt action, aeronautica imperialis, star wars, models, news, views and stuff
Having undercoated the Battlewagon, leaving the mask on, I have the model a basecoat of brown paint, using a Humbrol spray.
See the full workbench feature on the Ork Battlewagon.
See photographs of completed Ork Battlewagons from various shows.
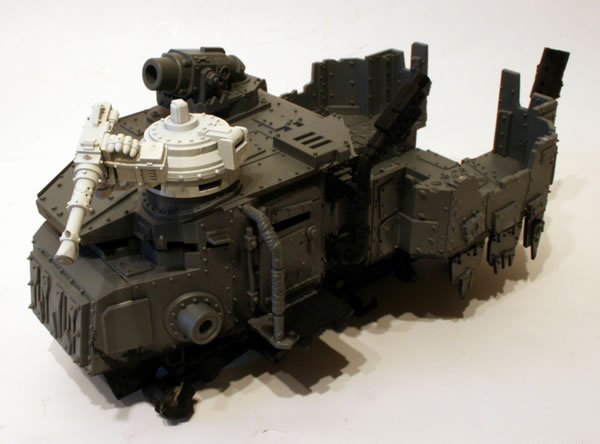
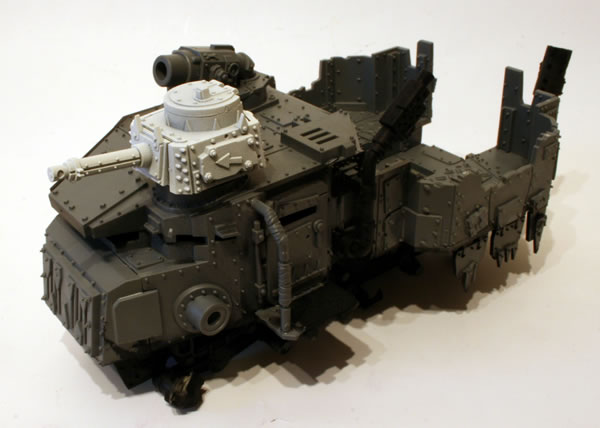
Having masked the black undercoated parts of the Battlewagon I gave the Battlewagon a white undercoat, before adding a basecoat.
See the full workbench feature on the Ork Battlewagon.
See photographs of completed Ork Battlewagons from various shows.
Having give the turret a part black undercoat, the next stage was to mask the black and undercoat the rest of the turret with a white undercoat.

This is how it looks on top of the Looted Ork Rhino.

It will be painted in the same manner as the Rhino itself.
See the full workbench feature on the Ork Looted Rhino.
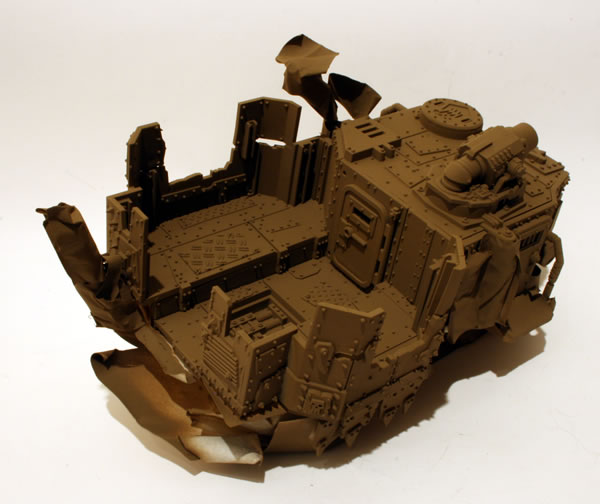
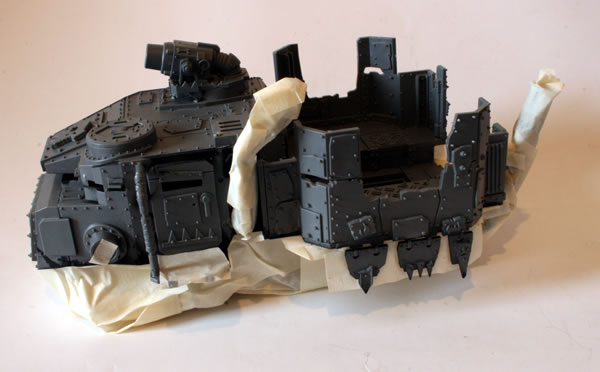
Having constructed the Battlewagon the next stage was to undercoat the model. I decided that I would use two undercoats, a black undercoat for some of the model and a brown undercoat (or basecoat) for the main bodywork. In order to achieve this I masked off the areas of the model that would be brown. I then sprayed the model black. I then removed the masking tape and masked the black areas.
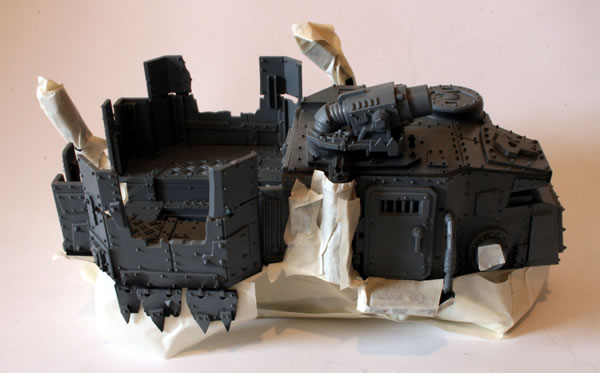
I also masked the areas that I would need to use glue on later.
See the full workbench feature on the Ork Battlewagon.
See photographs of completed Ork Battlewagons from various shows.
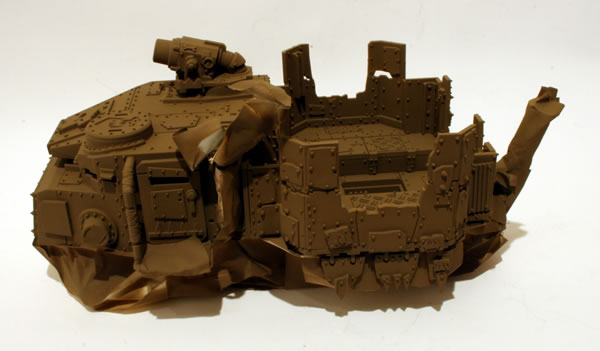
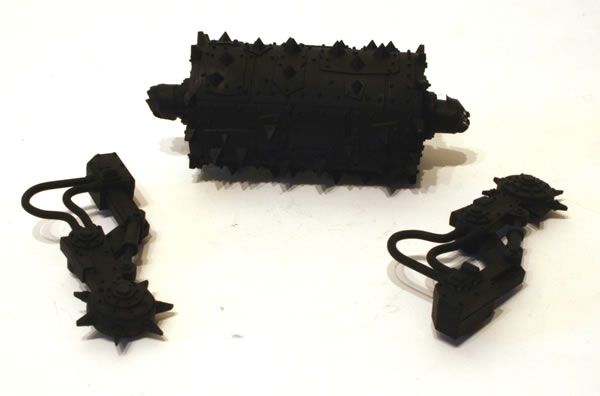
I did buy the Ork Battlewagon Upgrade Pack and decided to add the Deff Rolla to my Ork Battlewagon.
The Deff Rolla was undercoated black.
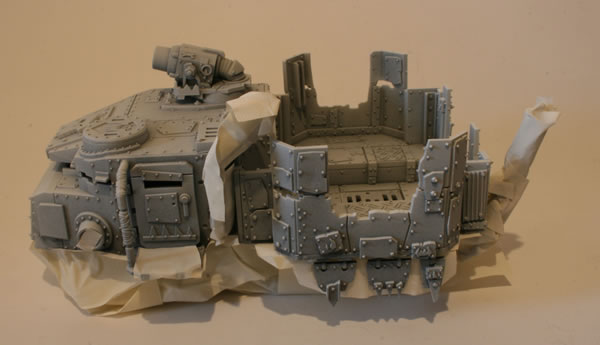
Having thought about how the Battlewagon turrets would look on my Ork Looted Rhino I thought it would only be fair to see how they looked on the Ork Battlewagon itself.
Not bad!
See the full workbench feature on the Ork Battlewagon.
See photographs of completed Ork Battlewagons from various shows.
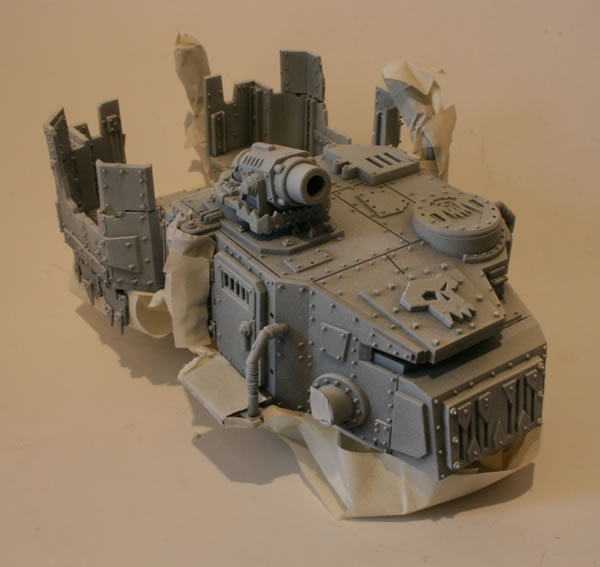
I have been trying out some of the turrets from my Battlewagon on my Ork Looted Rhino to see how they work out.
So here are some photographs seeing how the different turrets look on the looted rhino.

This is the small turret.

This is the cupola with Big Shoota.

Think they work quite well in making the Rhino Orky.
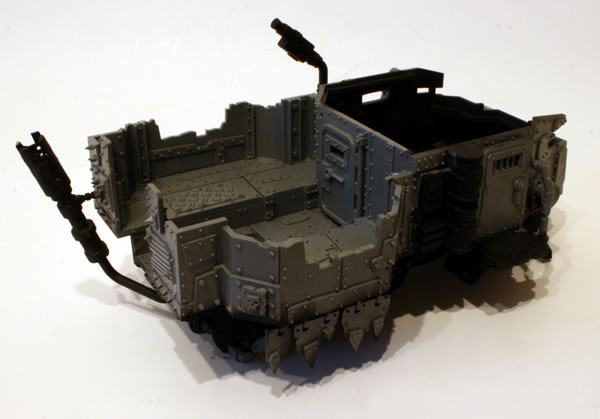
Having masked the Battlewagon I gave the underneath of the Battlewagon a black undercoat.
As you can see the black undercoated parts have been sprayed. Still need to do the bodywork.
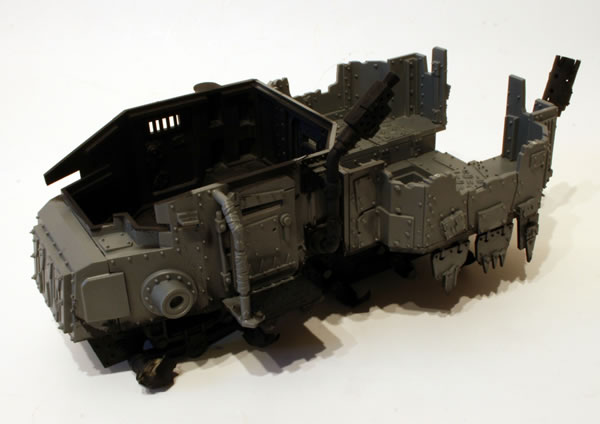
I did consider detailing the interior, but decided it was a lot of extra work and it wouldn’t be seen by anyone.
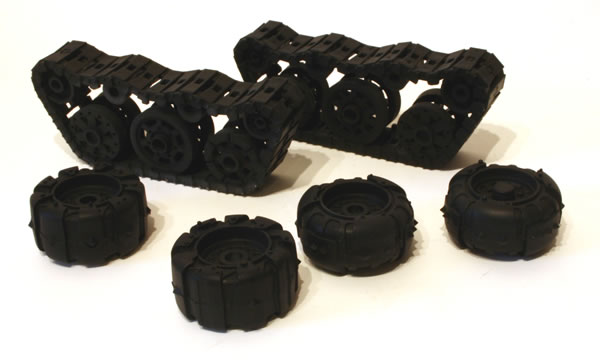
Here are the wheels and tracks, these were also undercoated black.
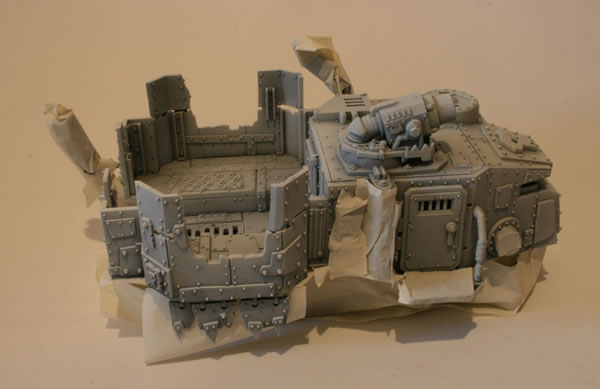
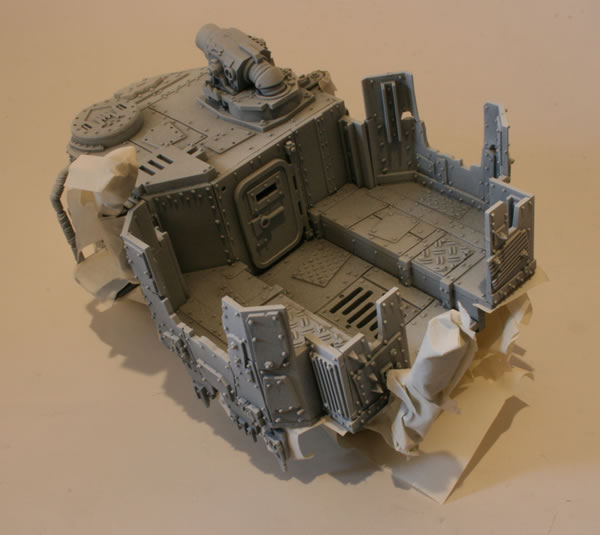
Here is how the model looks at this stage, I have added a cap to one turret and added the lobba to the other.

See the full workbench feature on the Ork Battlewagon.
See photographs of completed Ork Battlewagons from various shows.
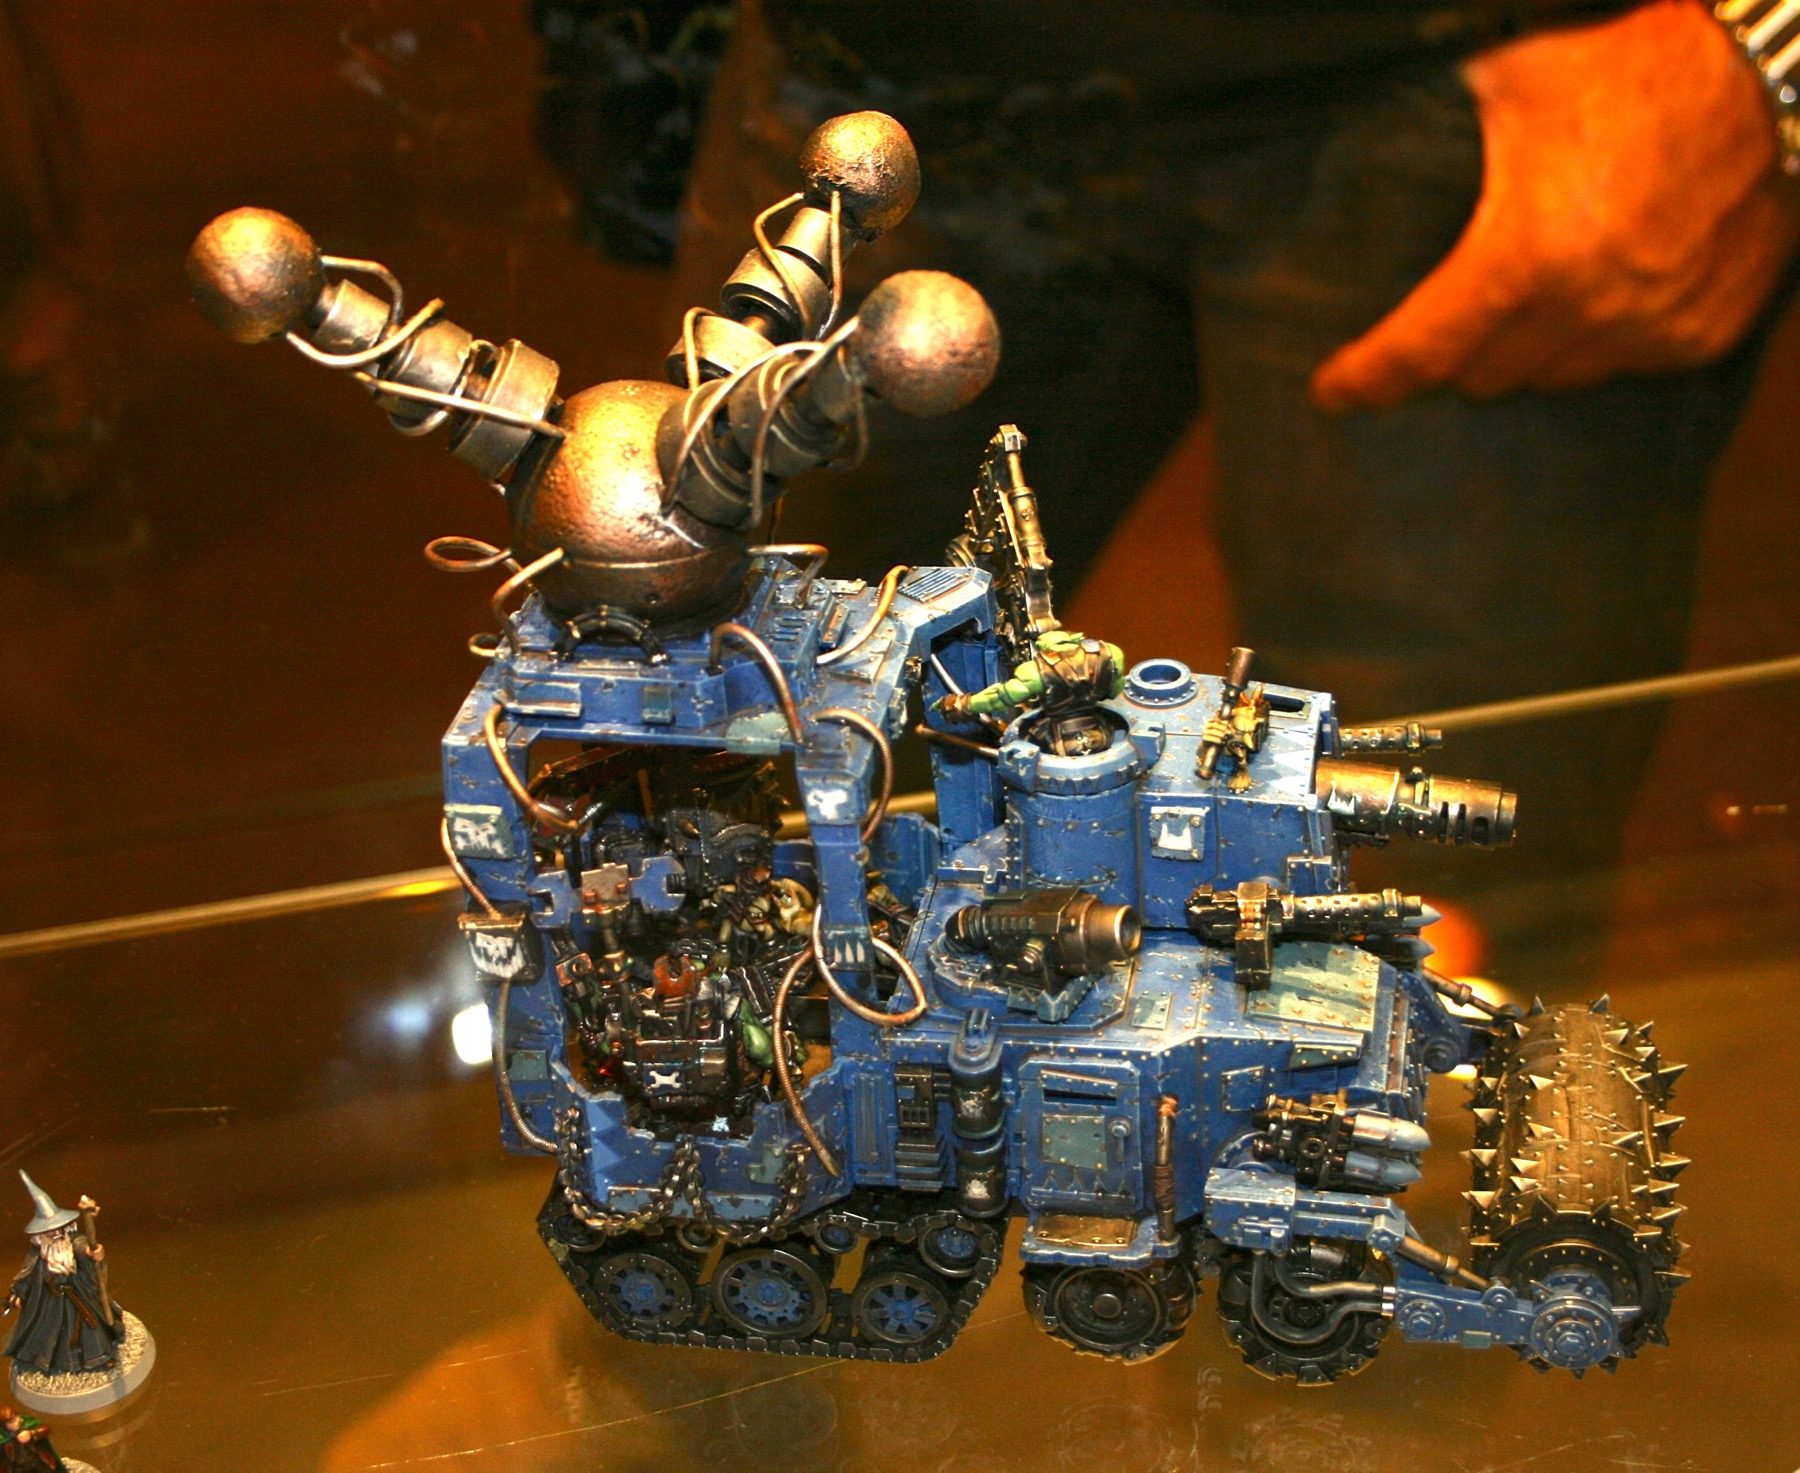
An Ork Weird Boy Battlewagon from the display cabinets at GamesDay 2009.
Having masked the turret I gave it a spray with black undercoat.
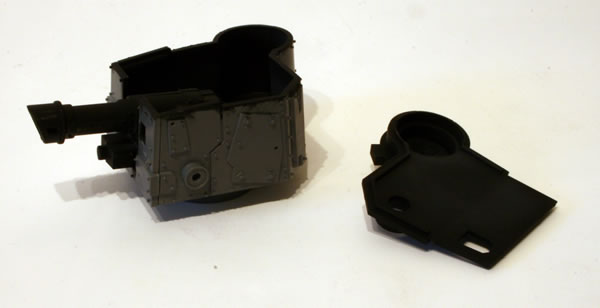
Removing the masking tape shows that only those parts I wanted black are black.


Next stage will be to mask the black areas and spray a white undercoat.