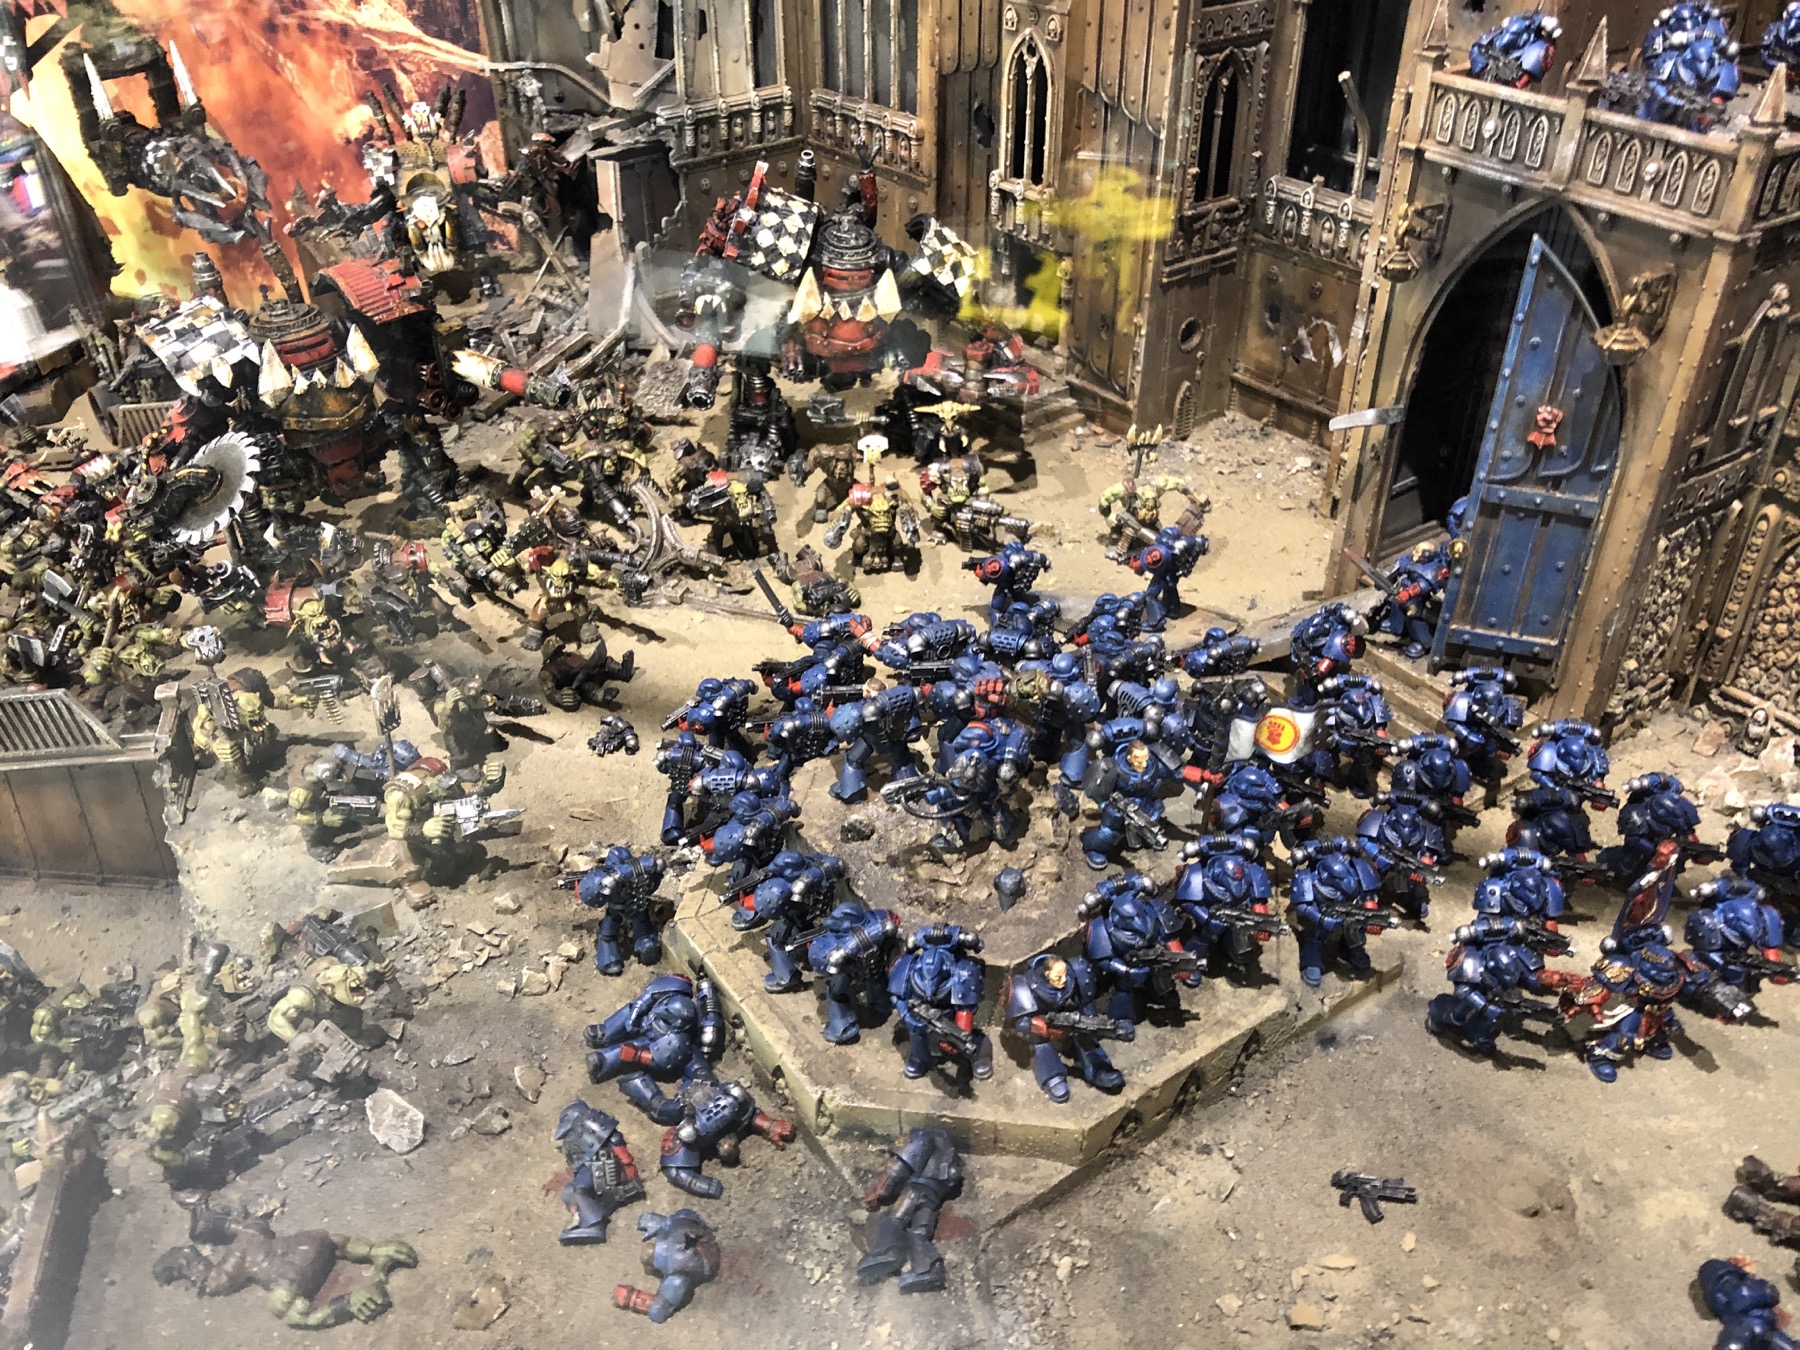
In the Ork displays at Warhammer World there were some nicely painted Ork Vehicles.
This is a Megatrakk Scrapjet.
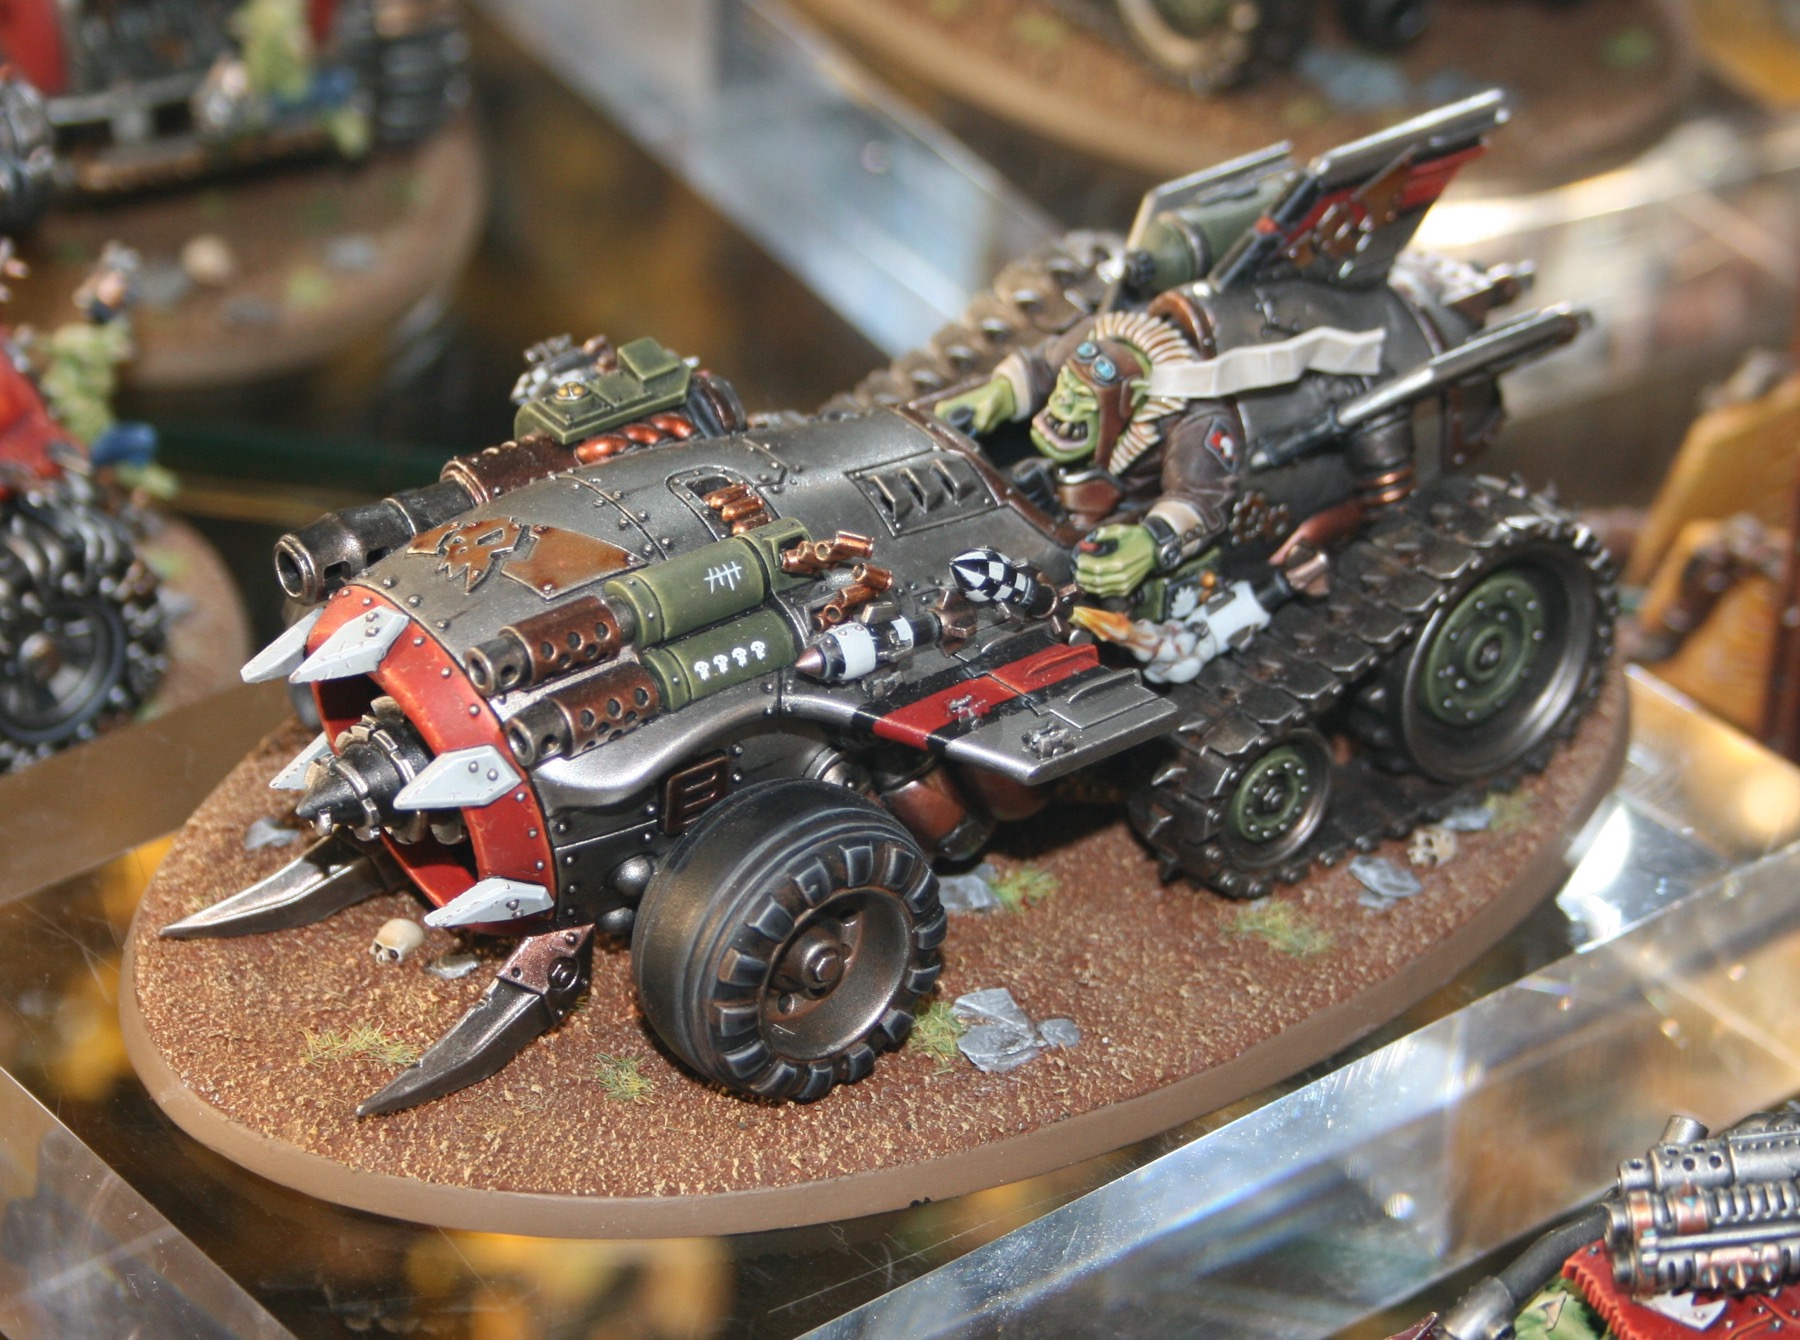
A favourite amongst Speed Freeks and grounded Flyboyz alike, Megatrakk Scrapjets provide rocket-propelled acceleration, impressive firepower and the hilarity of ramming into enemy lines at the helm of what is effectively a gigantic, thrust-driven drill. These vehicles allow former Ork pilots to revel in the dimly-remembered joy of mowing down enemies at point-blank range – a joy which, of course, often caused the Flyboy to crash in the first place. Explosions blossom amidst the enemy as rokkits and missiles collide with their targets, while Grot tail-gunners blaze away with chattering big shootas – the array of weaponry welded, bolted, riveted and lashed onto a Megatrakk Scrapjet is fearsome.
Megatrakk Scrapjet on my workbench
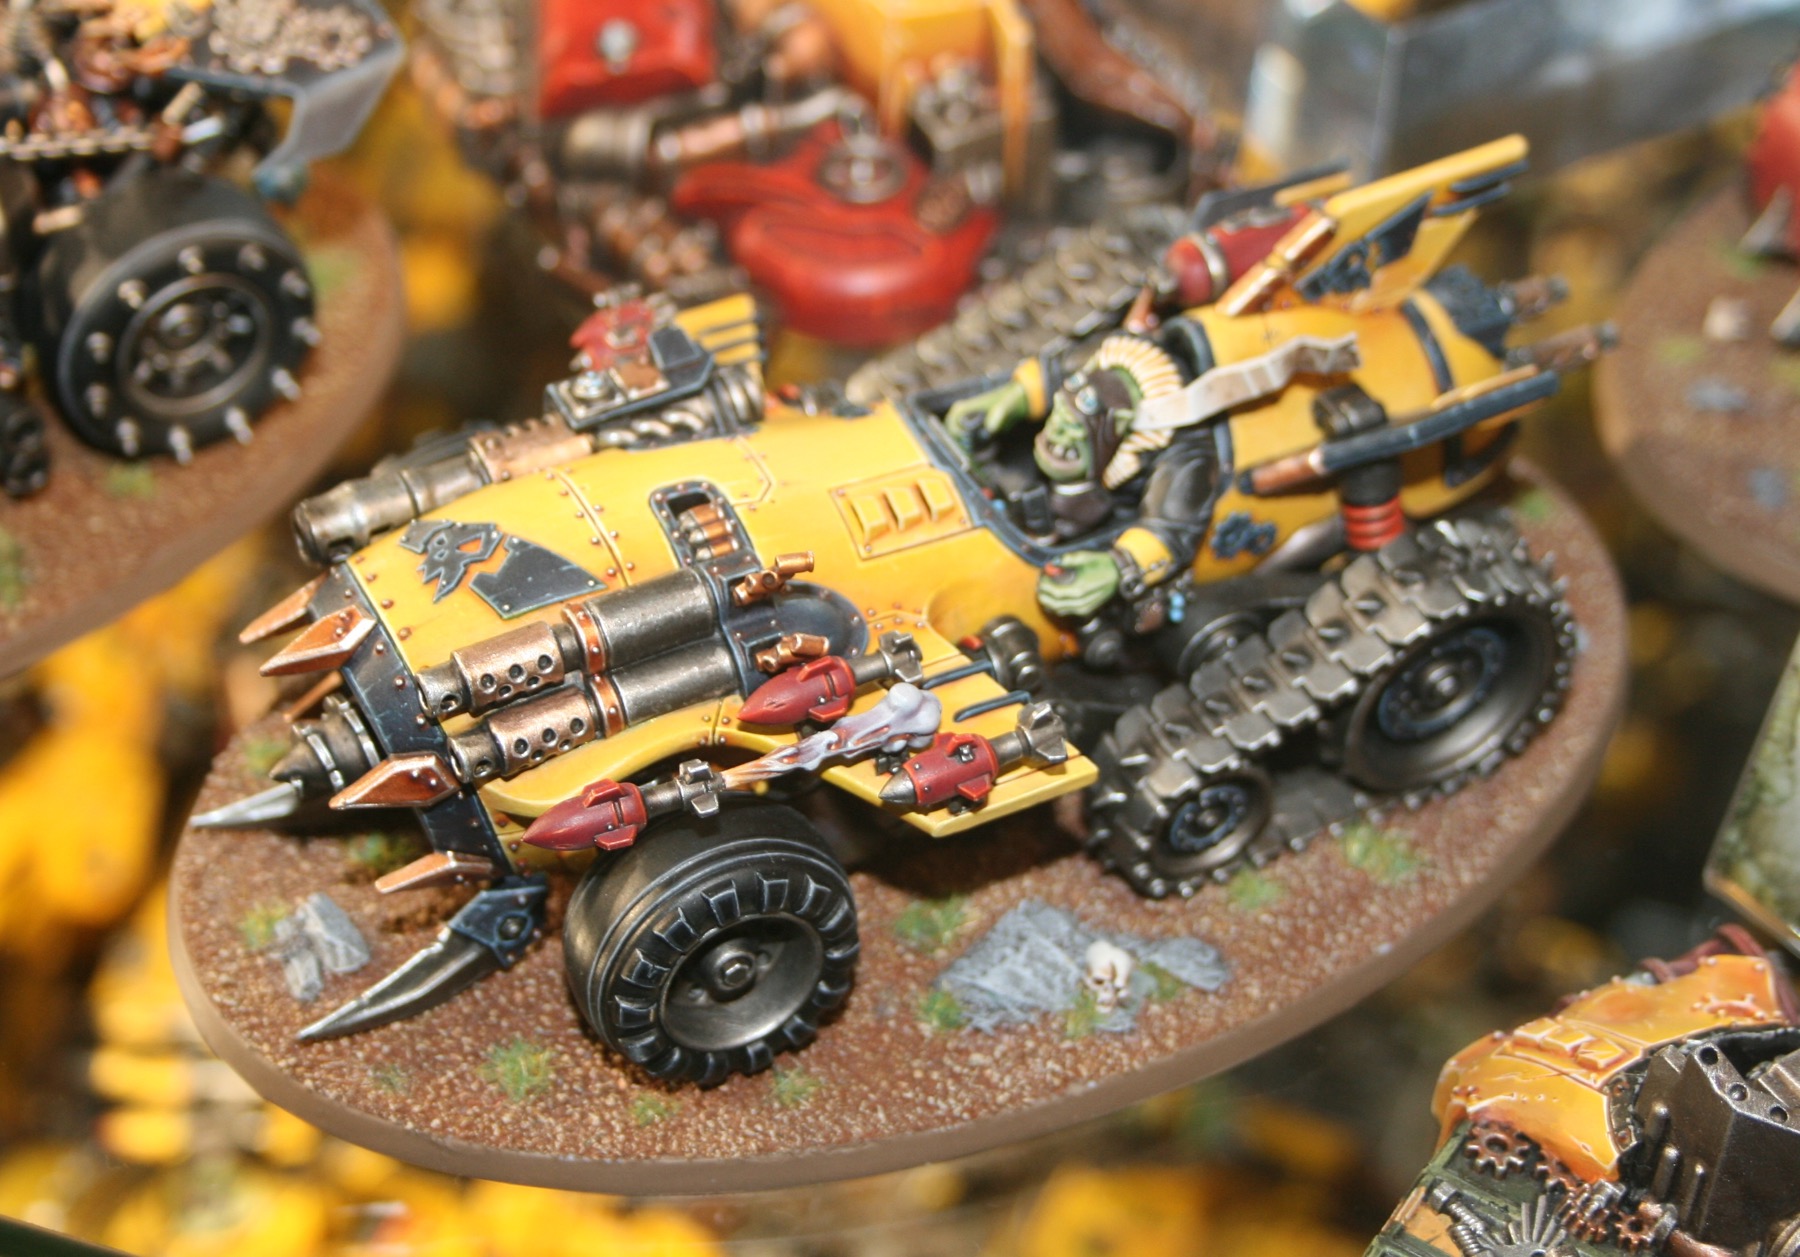
The Rukkatrukk Squigbuggy is a type of Ork attack vehicle. The first Rukkatrukk Squigbuggies were invented by enterprising Snakebites in order to feed Speed Freeks on the move. Mobile pens full of edible squigs, the vehicles kept pace with the warband’s Warbikers, buggies and Trukks while their grinning crews hawked their wares at the tops of their lungs.
Once a suitable bag of teef was slung across to them by a hungry driver or passenger, choice Squigs were loaded into the Rukkatrukk’s Squig Launchas and fired into the hands — or even waiting gobs — of the hungry customers. Legend has it that it was only after a rabid Attack Squig was accidentally stuffed into the launcha and fired into a luckless Ork’s face that the true potential of this mobile murder-menagerie was realised.
Nowadays, Rukkatrukk Squigbuggies are often seen muscling their way through their fellow Speed Freeks as they roar towards the front lines. Easily identified by their rugged construction, the throaty roar of their engines, and the anarchic masses of Squigs and Orks riding aboard them, these vehicles employ their close-range living artillery to wreak havoc amongst the enemy ranks.

Rukkatrukk Squigbuggy on my workbench
This is the Shokkjump Dragsta.
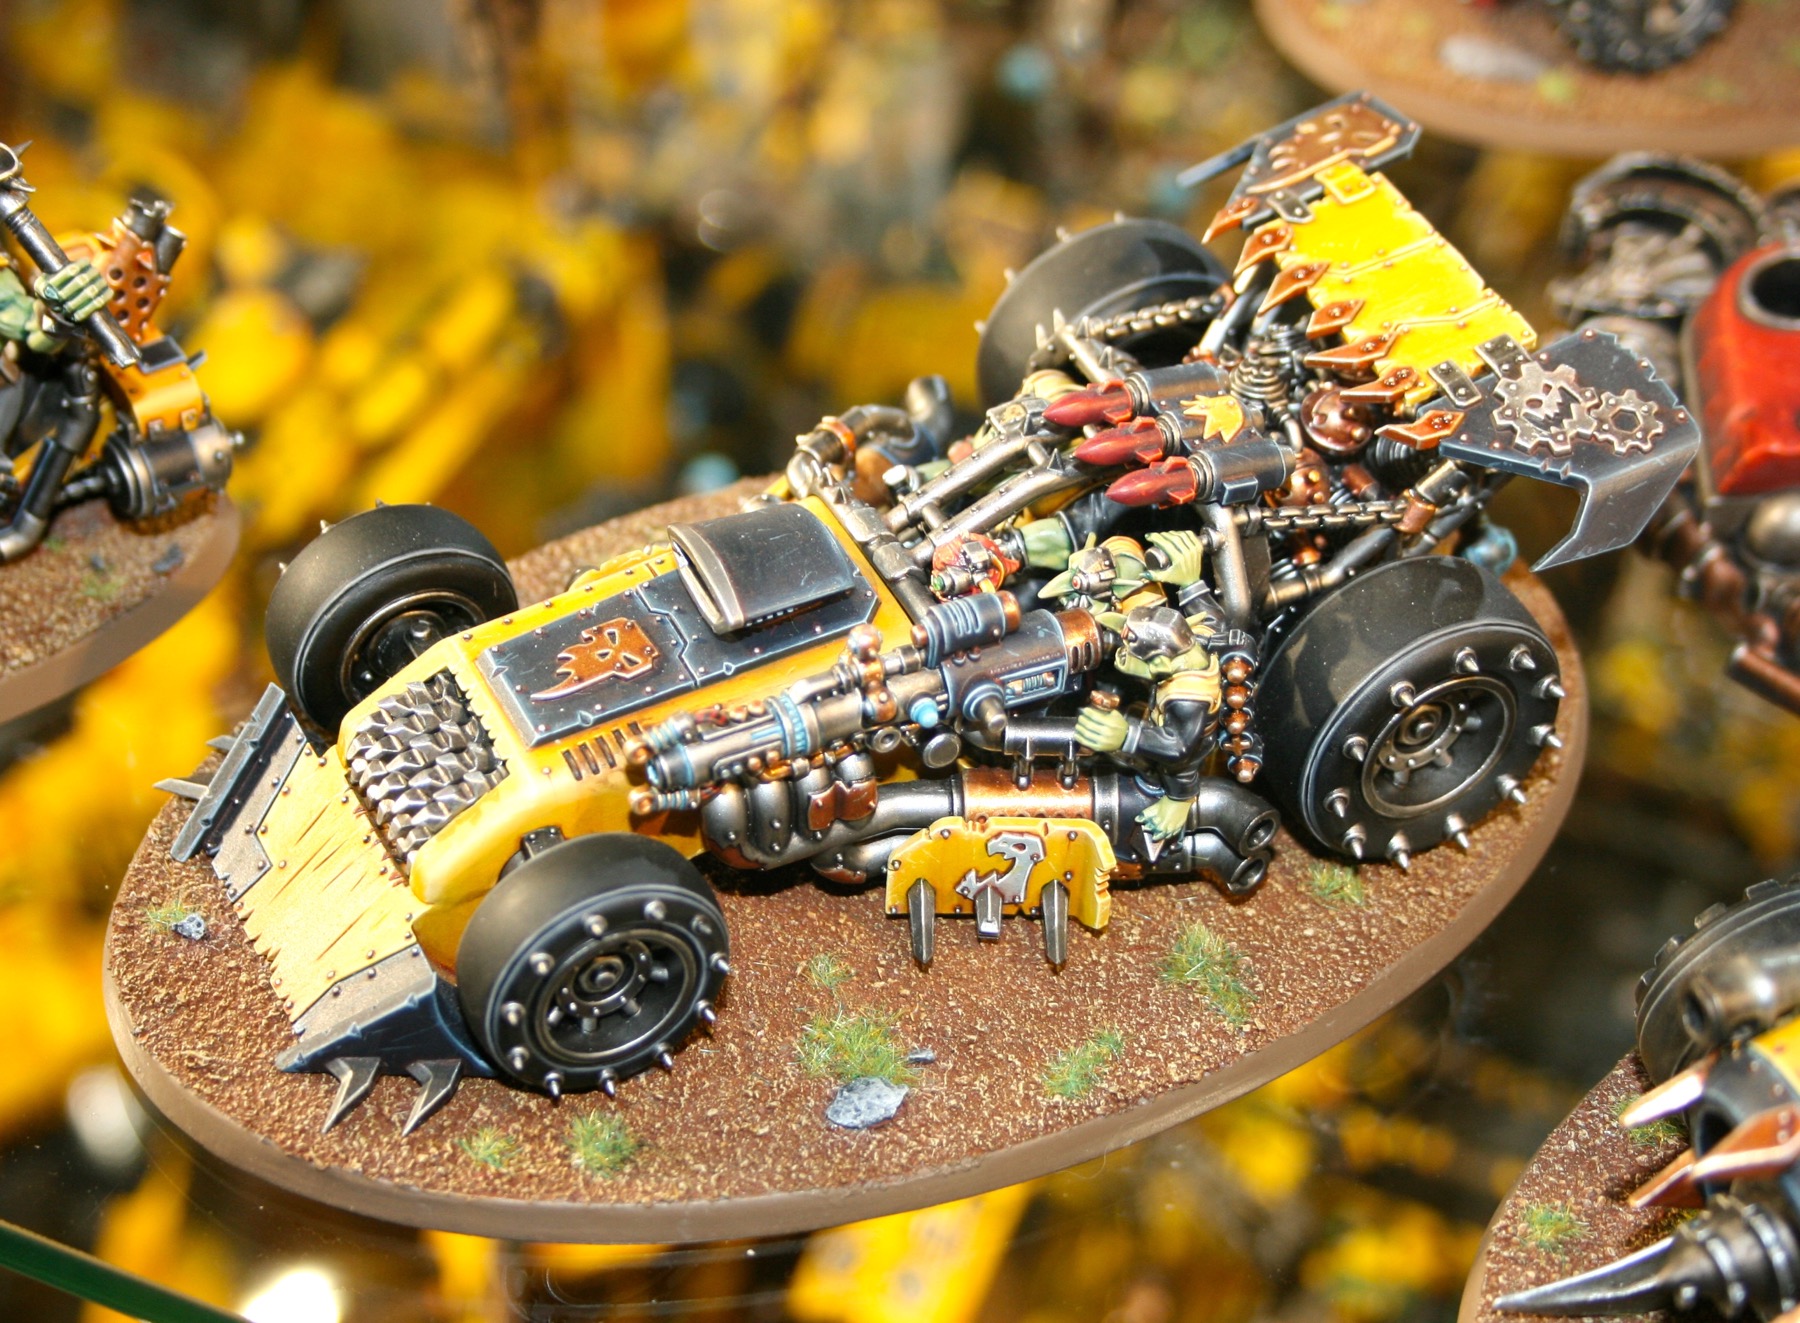
The Shokkjump Dragsta combines two of the foremost triumphs of the Mekaniak’s art – recklessly fast speedsters and deranged weaponry. It is perhaps unsurprising that it has become one of the most popular forms of transport amongst the Mekboyz of the Kult of Speed.
Armed to the grille with guns, blades and greenskins, the Kustom Boosta-blasta is one of the deadliest Ork vehicles around. Ferociously fast, absurdly heavily armed, and boasting the capacity to set things on fire by simply overtaking them, it exemplifies everything the Speed Freeks look for in a vehicle.