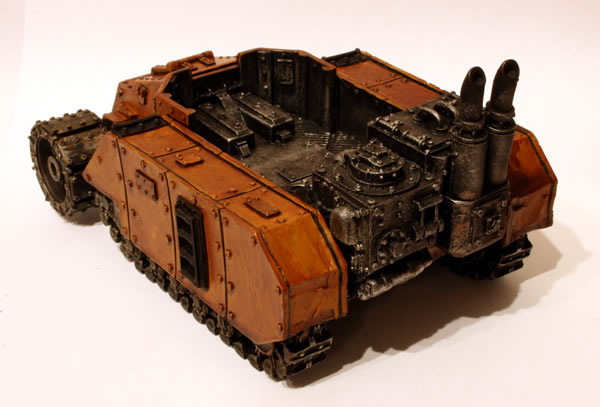
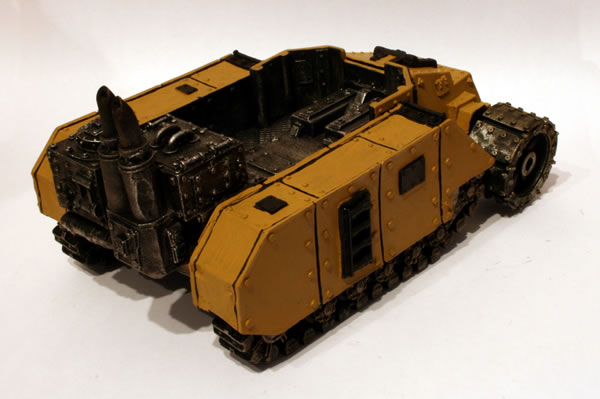
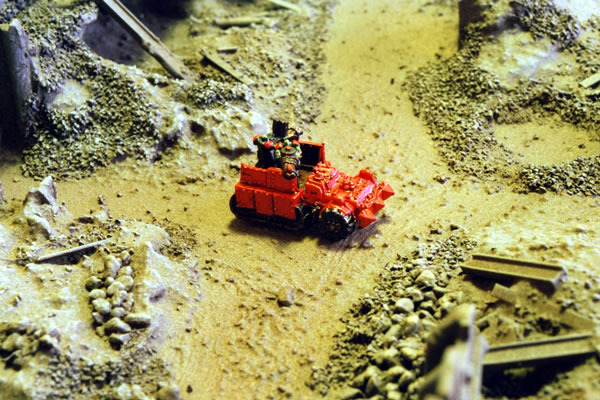
In a post the other day I showed how I drybrushed my Ork Looted Rhino. I used the same technique with my Ork Gunwagon.
I had given the Gunwagon an ink based wash, after this had dried, I gave the model a drybrush.
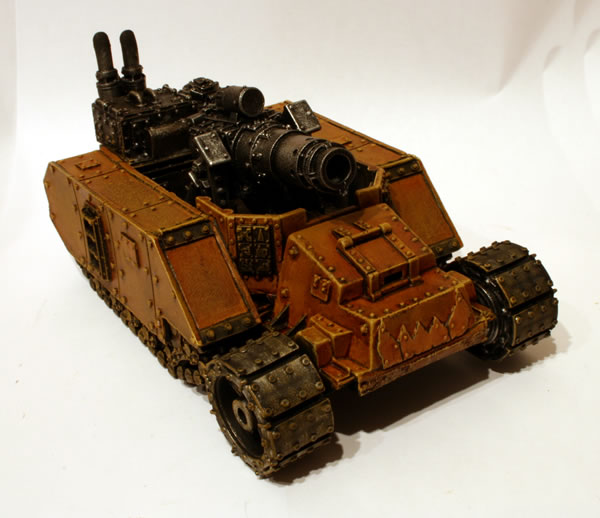
This brings out the detail, but I did try and avoid being too heavy with the brush.

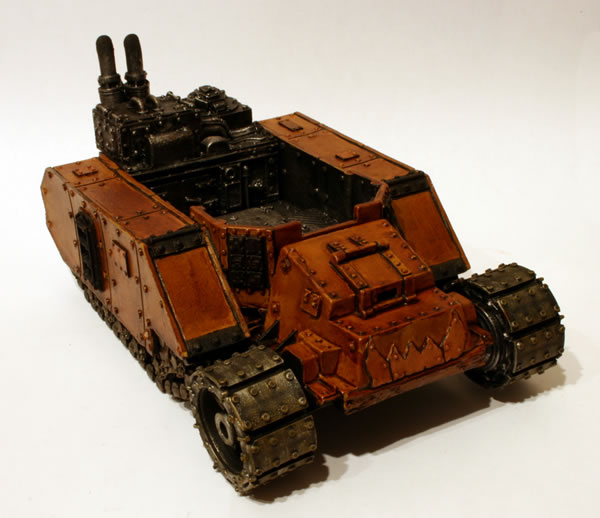
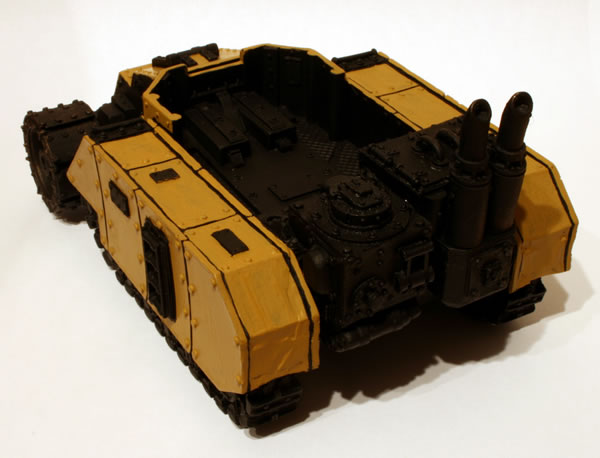
I will now need to go back over some of the metal details to lose some of the the dusty dirty look.
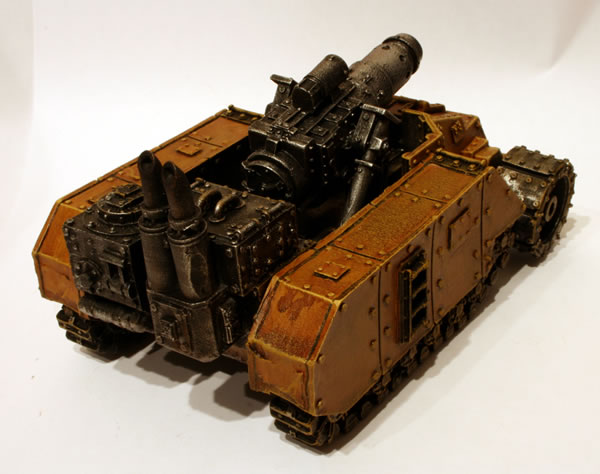
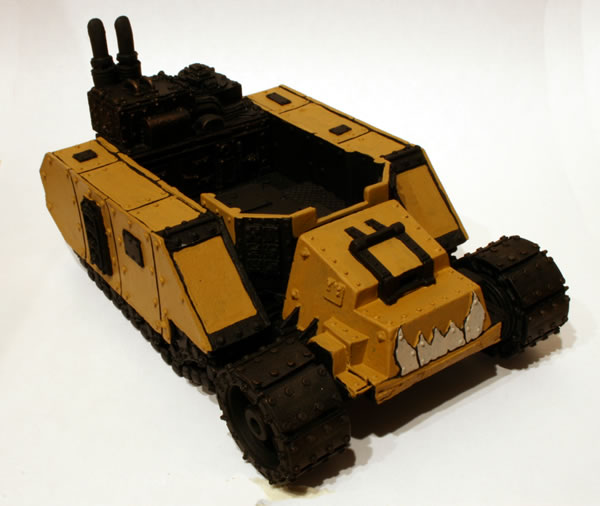
I also want to go over the front “teef” and add some weathering and scratches – well do you expect Orks to look after their vehicles and keep them clean and looking like they just came out of the showroom?
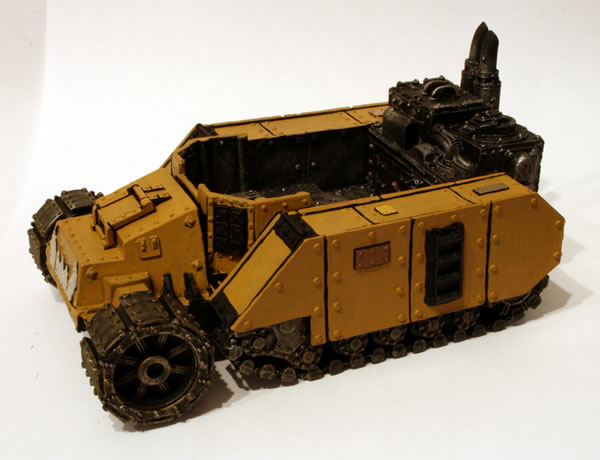
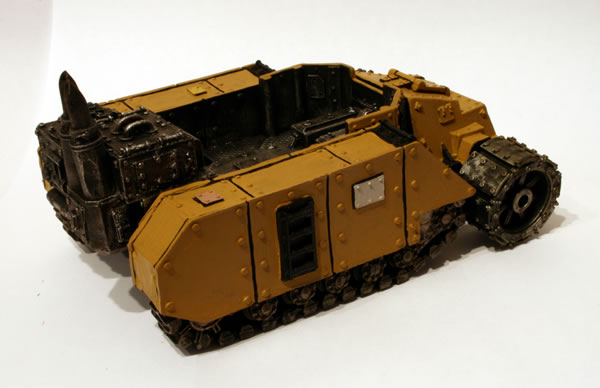
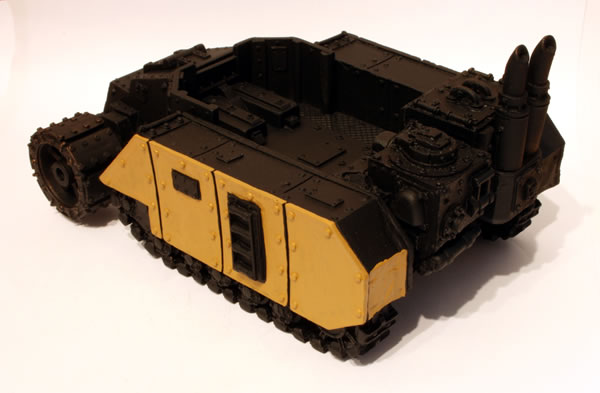
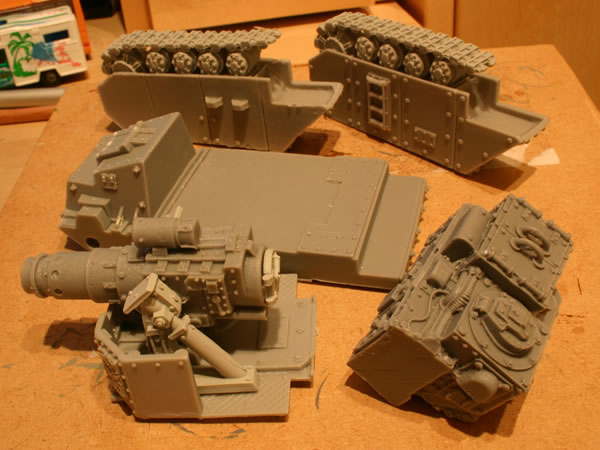
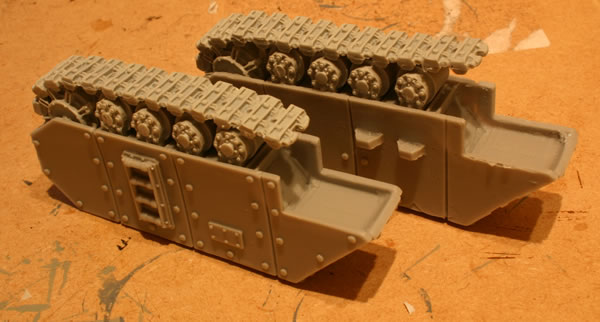
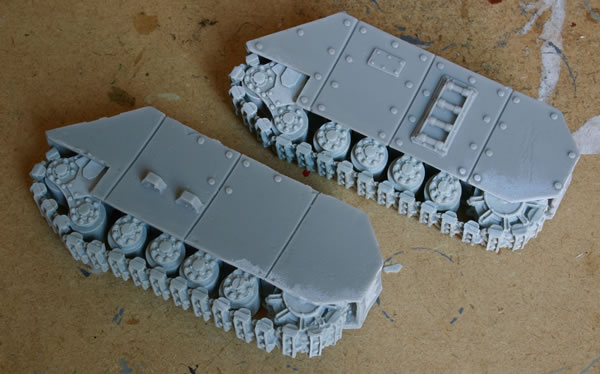
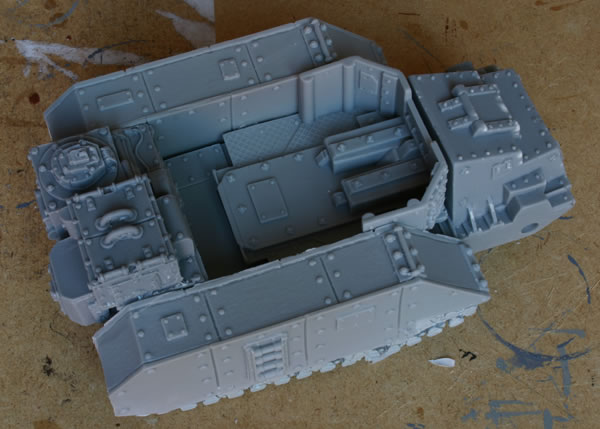
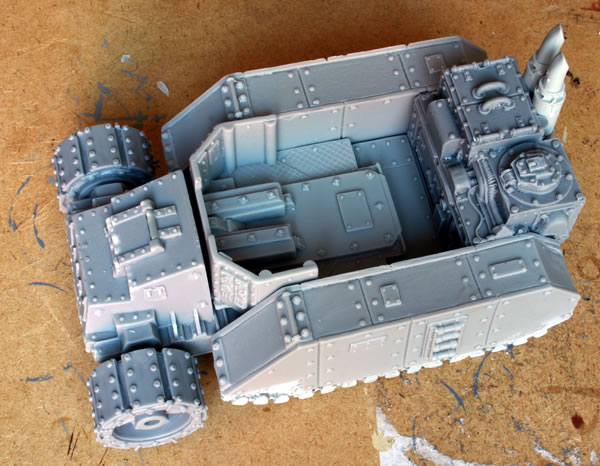
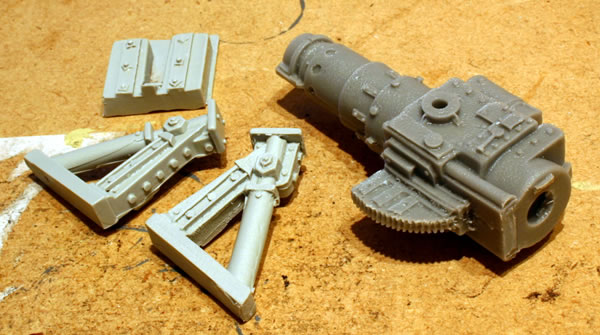
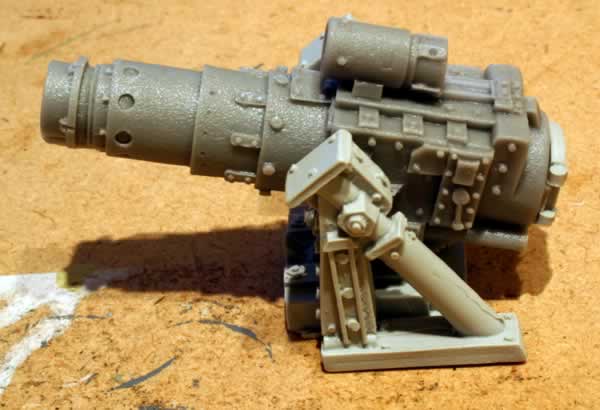
Full workbench feature on my Ork Gunwagon.
More pictures of Ork Gunwagons.