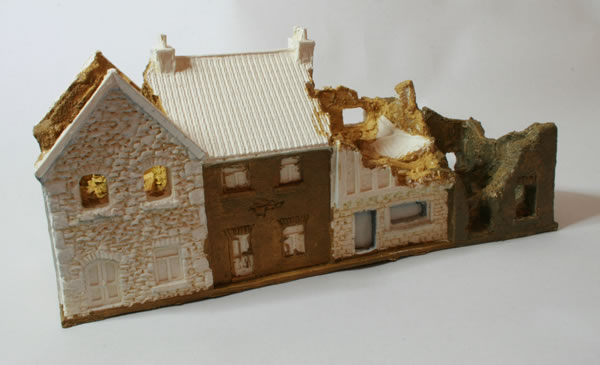
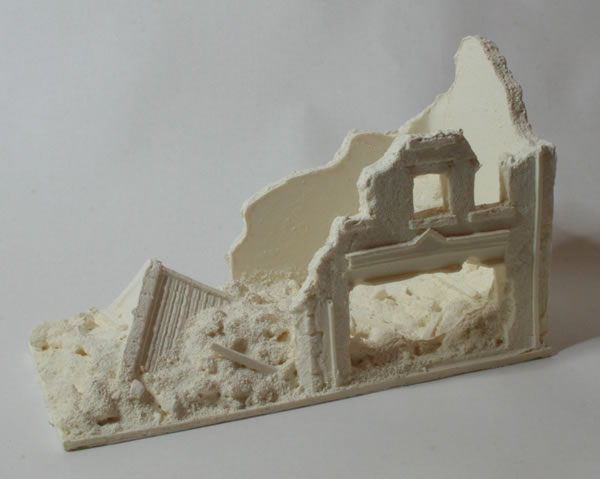
15mm Roof Tiles

I did think about how to paint the roof of my Total Battle Miniatures ruined row of three houses, in the end I thought that terracotta tiles would look very effective, probably more so than slate. So I gave the roof tiles a basecoat of Citadel Terracotta.

Looking at the Total Battle Miniatures photograph, I might repaint the “complete” roof with grey slate.

Ruined row of three houses

The next stage will be a dark wash.

15mm Ruined shop with passage

Having undercoated the Total Battle Miniatures 15mm ruined shop with passage I then added a base coat to cover the rubble and the broken parts of the walls.

I will then paint some of the detail before giving the model a wash using a brown wash.

I intend to add more debris, using wood and plasticard, as well as some printed signs and posters.

Adding detail, to the 15mm Ruined Houses

I have the ruined row of three houses and the ruined row of four houses, from Total Battle Miniatures. Having previously posted about the ruined row of three houses, here is the ruined row of four houses.

Still some work to do on the stonework and half-timbered building.

Adding the detail, to the 15mm Ruined Houses

I have the ruined row of three houses and the ruined row of four houses, from Total Battle Miniatures.

Having given most of the model a basecoat, I am now painting in the details of the ruins, using Citadel Scorched Brown.

Once I have finished painted the ruins, I think I will add some additional detrius, broken beams and so on to add a little more detail.

15mm German Königstiger

In the process of sorting some old gaming stuff out I found a bundle of old SDD models. These are 15mm metal castings that I bought back in the 1990s. It makes me think that the other metal models that I have been painting are also SDD.

This box was mainly late war stuff and included a King Tiger. Having constructed the model, I gave it a white undercoat.

The undercoat has shown that the quite severe casting lines, something you don’t always get with a resin casting.

15mm Ruins

I have some of the 15mm ruins from Ironclad Miniatures.

At this time I am using a few of them to check how certain paints of mine are working out, as well as testing out different colour combinations before I try them on the (more expensive) bigger models.

15mm Ruins

One of the conclusions I have come to is I do need to replace many of the paints in my collection.

Painting the 15mm Ruined Houses

I have the ruined row of three houses and the ruined row of four houses, from Total Battle Miniatures. Having cleaned the models, I gave the inside of the models a black undercoat and then masked the inside of the windows (with masking tape) before I give the model a white undercoat on the outer side of the model.

I then started on the basecoat of one of the houses that forms part of the building, for the brown I used a Tamiya acrylic. I intend to use a lighter brown for the remainder of the model.

15mm ruined houses

I used a thinned coat of paint, as I will be adding a drybrush and some washes.

15mm ruined houses

Once I have finished painted the ruins, I think, as I mentioned with the row of three ruined houses, I will add some additional detrius, broken beams and so on to add a little more detail.