I have been browsing the web, Instagram and Twitter looking at how people have been basing their Adeptus Titanicus titans. I was a little surprised by how many people were using Epic models and scenery.
The new Adeptus Titanicus is a different scale to the original Adeptus Titanicus (and Epic) with a figure scale of roughly 8mm compared to the 6mm of Epic. In other words a third larger!
However I knew I had a box of old Epic 40000 ruins sprues somewhere in the garage and went to hunt them down. I was a little surprised by how many of them I had in the box.
So I took some of the ruins and affixed them to the bases that came with the titans, focusing initially on the Warlord Titan and the Reaver Titan (as I had constructed their legs so had an idea of where I could put the scenic items.
I also used some plasticard strip, as well as a few spare parts I had from one of my Ork Aeronautica Imperialis model kits.
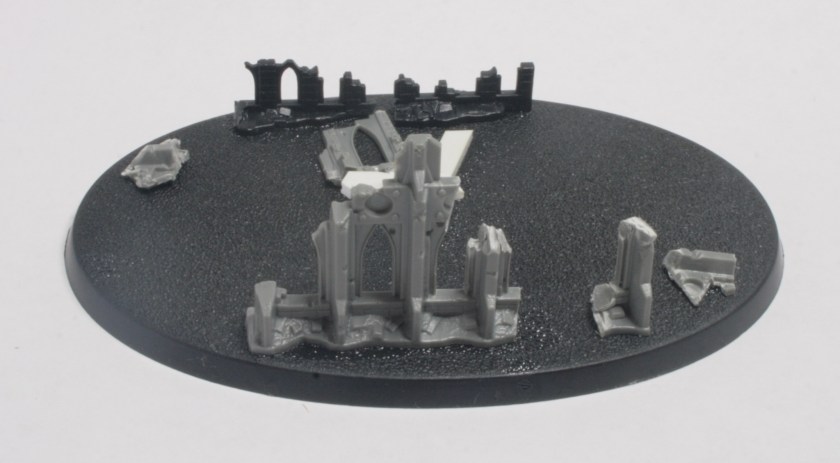
This is the Warlord Titan base.


This is the Reaver Titan base.

Overall I quite like the bases. The next step will be adding rubble and sand.


